
Operate xTool M2 with xTool Software
This page describes how to operate xTool M2 with xTool software.
Download and install xTool software
(1) Download the xTool software applicable to the operating system that runs on your PC from https://www.xtool.com/pages/software.
(2) Double-click the software you've downloaded to install it.
Connect xTool M2 to the software
(1) Make sure you have finished the preparation of the device first, visit the page.
Then use the USB cable to connect xTool M2 to your computer. And turn on the device.
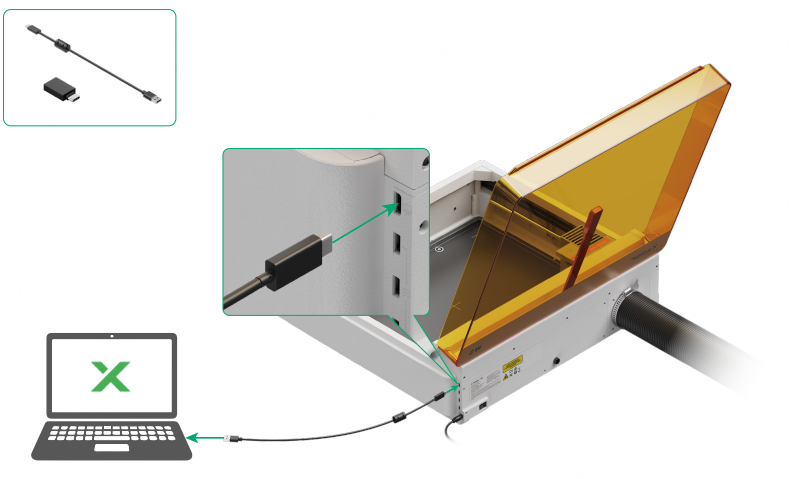

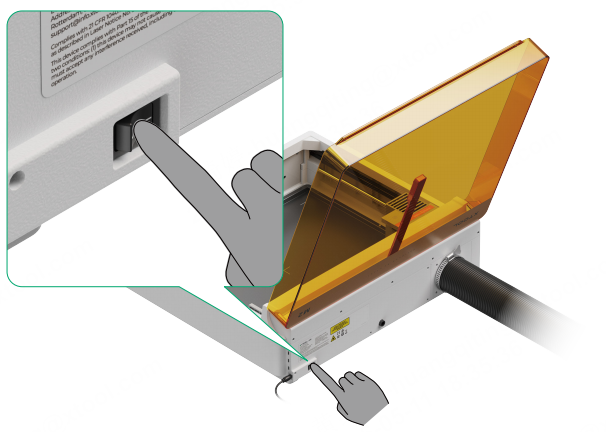
(2) Open the software on your computer. In the top-right corner of it, click the + New project button.

(3) On the right side of the software, click + Select device.
Click + Add Device. Select the device to connect.
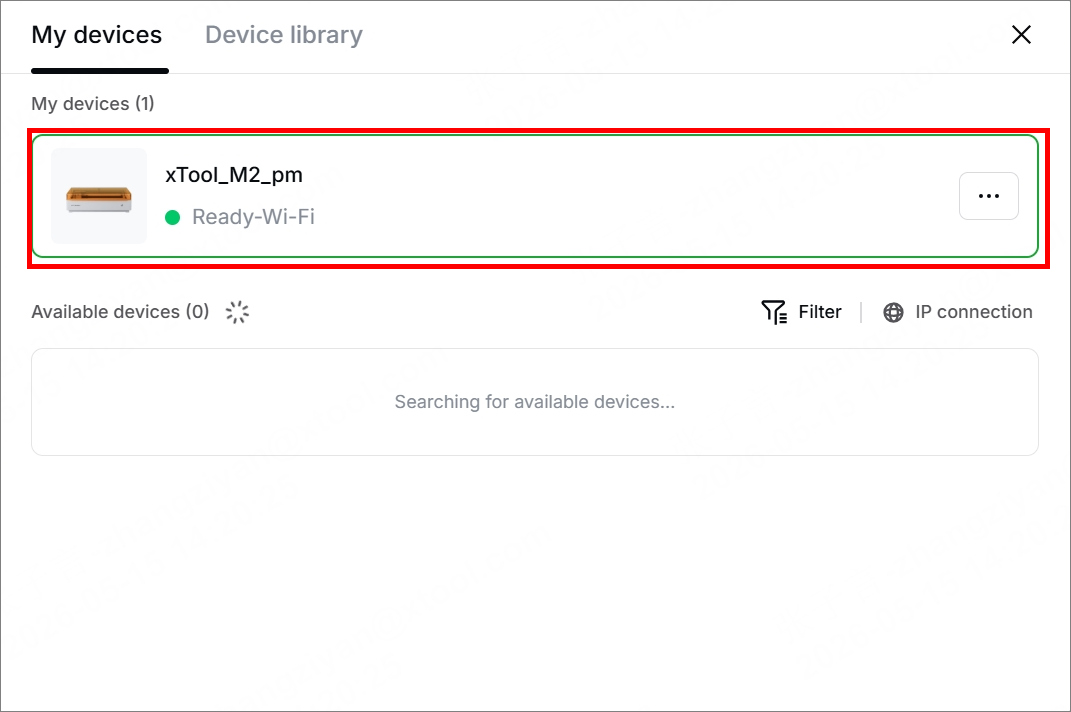
In the upper right corner of the software, xTool M2 is connected successfully.
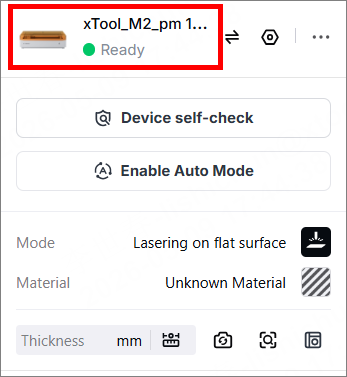
Set up xTool M2 in the software
To know more setup information about xTool M2, go to Set up xTool M2 in xTool Software.
Process materials with multiple processing modes
- To process flat materials, go to Process on Flat Surface with xTool M2.
- To process curved materials, go to Process Curved Materials with xTool M2.
- To process materials with the inkjet module, go to Use xTool M2 CMYK Inkjet Module with xTool Software.
- To process materials with the inkjet module and laser module, go to Process Materials with Print Then Cut Mode for xTool M2.
- To process materials in batches,
- Same design: Process Materials in Batches with xTool M2 (Same Design)
- Different design: Process Materials in Batches with xTool M2 (Different Designs)
- To process materials with the jigs, go to Process on Custom Jigs.
- To process cylindrical and irregular materials, go to Use Rotary Attachment 3 Lite with xTool M2.
- To process materials with the screen printer, go to Use xTool M2 to Engrave a Screen.

