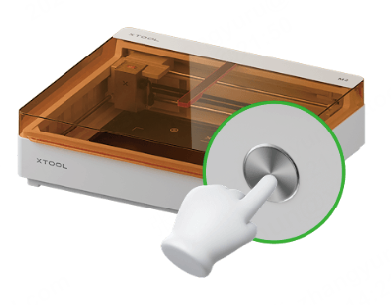
Screen printing mainly includes three steps: mount the screen, engrave the screen, and print the design. You can use xTool M2 to engrave the screen for printing.
Note:
- xTool Screen Printer is sold separately, you may purchase one on xtool.com. For more information on how to start screen printing, see Reading Guide for xTool Screen Printer.
- xTool Screen Printer includes two kits: one with the steel-mesh screen and another with the Fast-engrave screen. This article takes the latter as an example.
- xTool M2 supports only small frames (9'' × 12'') and small screens (9'' × 12'')
Mount the screen
Please mount the screen based on the screen type.
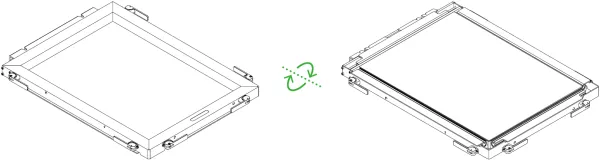
Turn over the screen assembly
Turn over the screen assembly, with the back of the screen facing up.
Connect xTool M2 in xTool software
Refer to this tutorial to connect xTool M2 in xTool software.
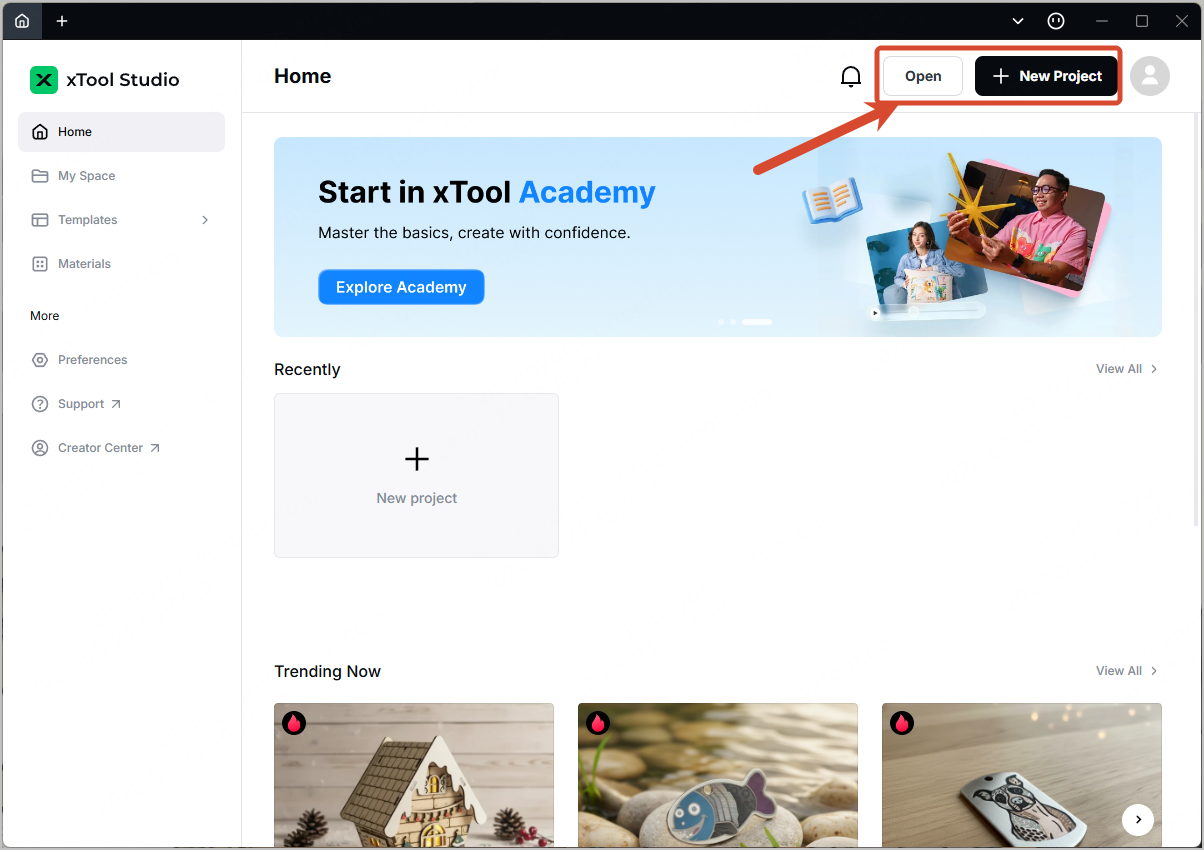
Open or create a new project
Choose processing mode and material
- On the right panel, click the current processing mode, then choose Screen preparation.
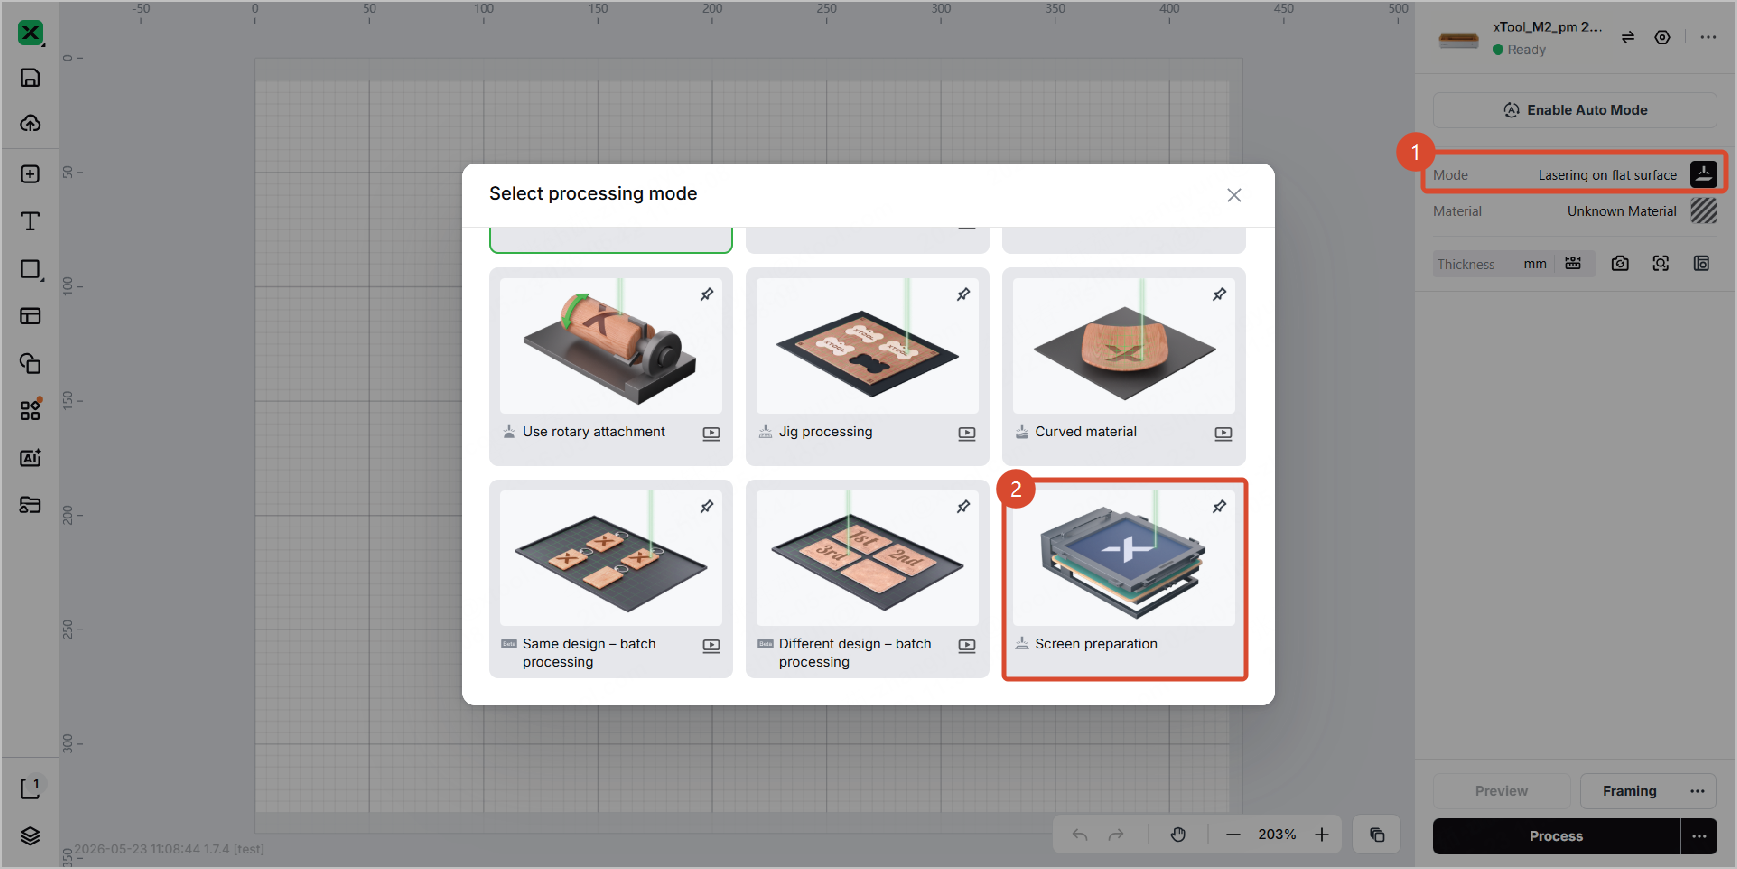
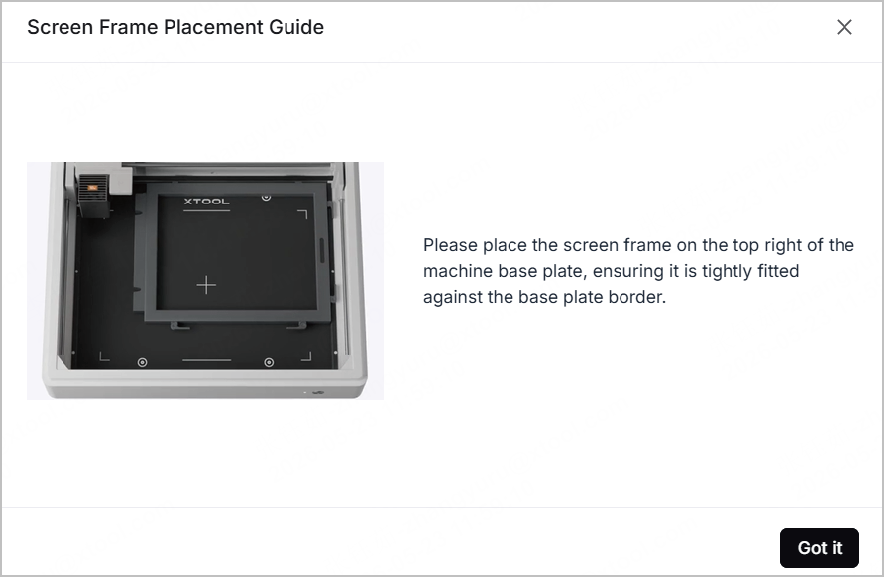
- Follow the on-screen instructions to place the screen assembly on the top right of xTool M2 baseplate. Then, click Got it.
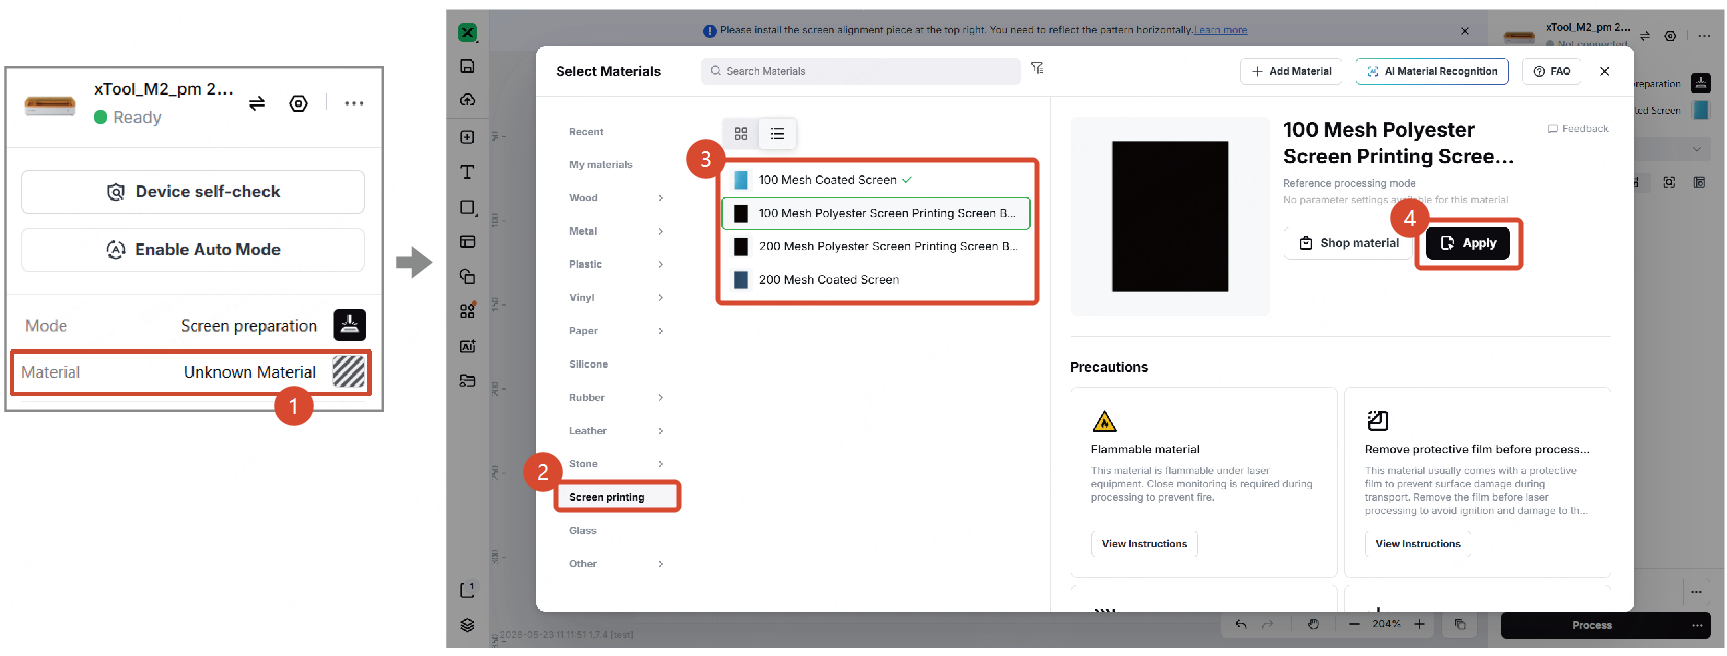
- Right below the processing mode, click Unknown Material. In the Select Materials dialog box, click Screen printing from the navigation tree and select your target material. Then, click Apply.
Note: Please remove the protective film of the screen as instructed before processing.
Measure the distance
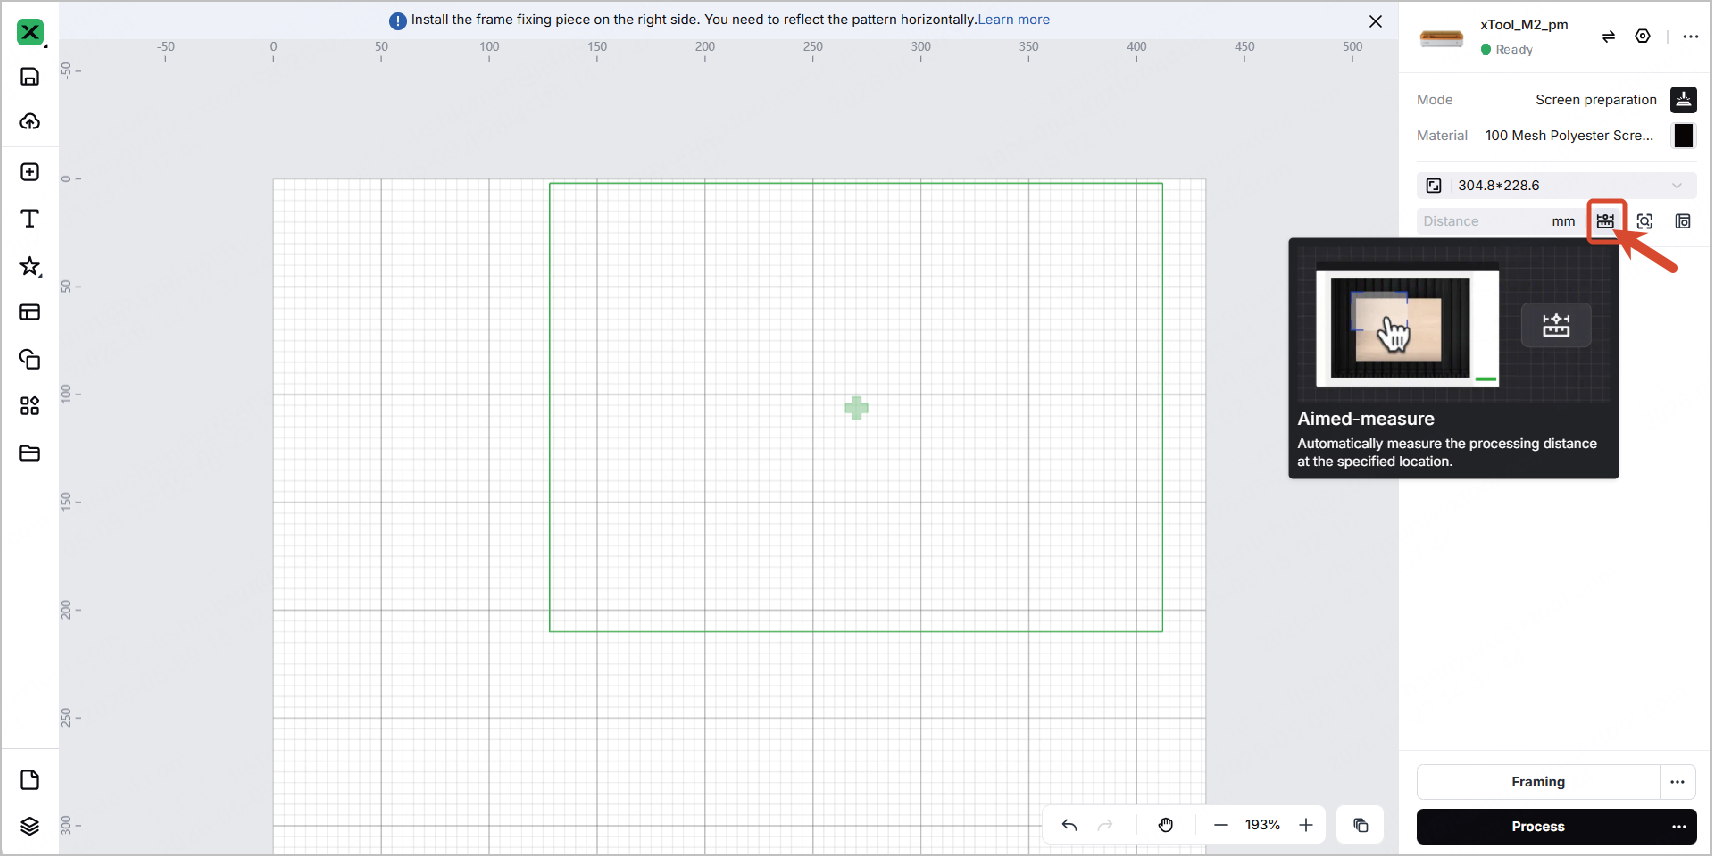
Click the Aimed-measure icon and click the measurement point on the canvas.
Note: As the screen assembly is placed on the top right of the baseplate (indicated with a green frame on the canvas), select the measurement point within the frame.
Design your pattern and set parameters
- Create or import your pattern using the tools on the left side. You can import an image, insert an element, add letters, or create a vector pattern.
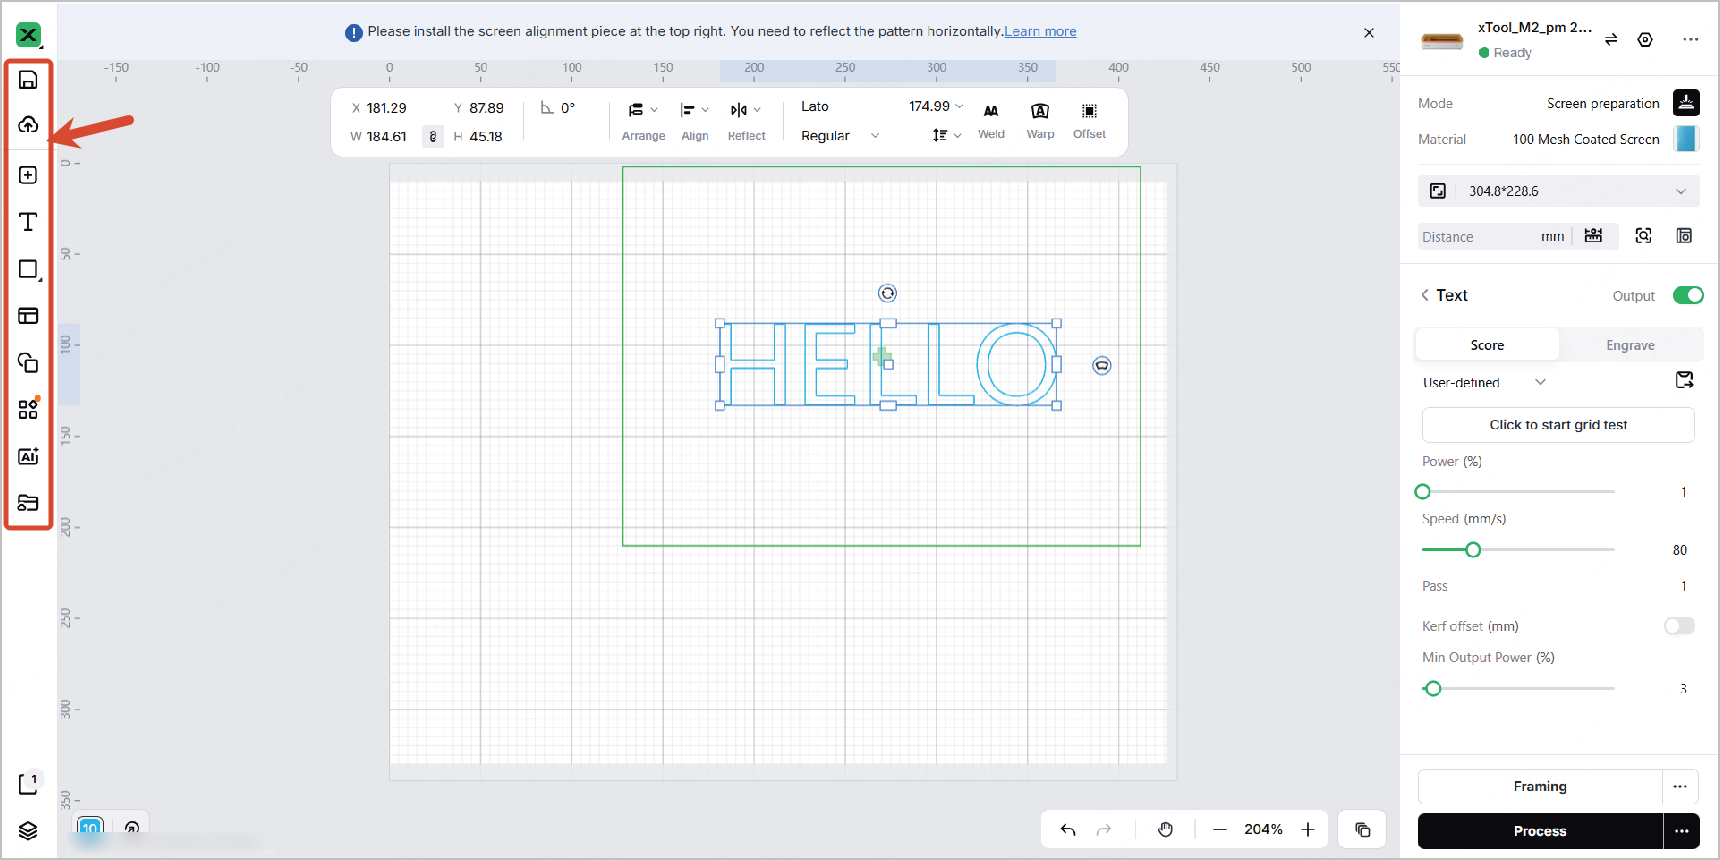
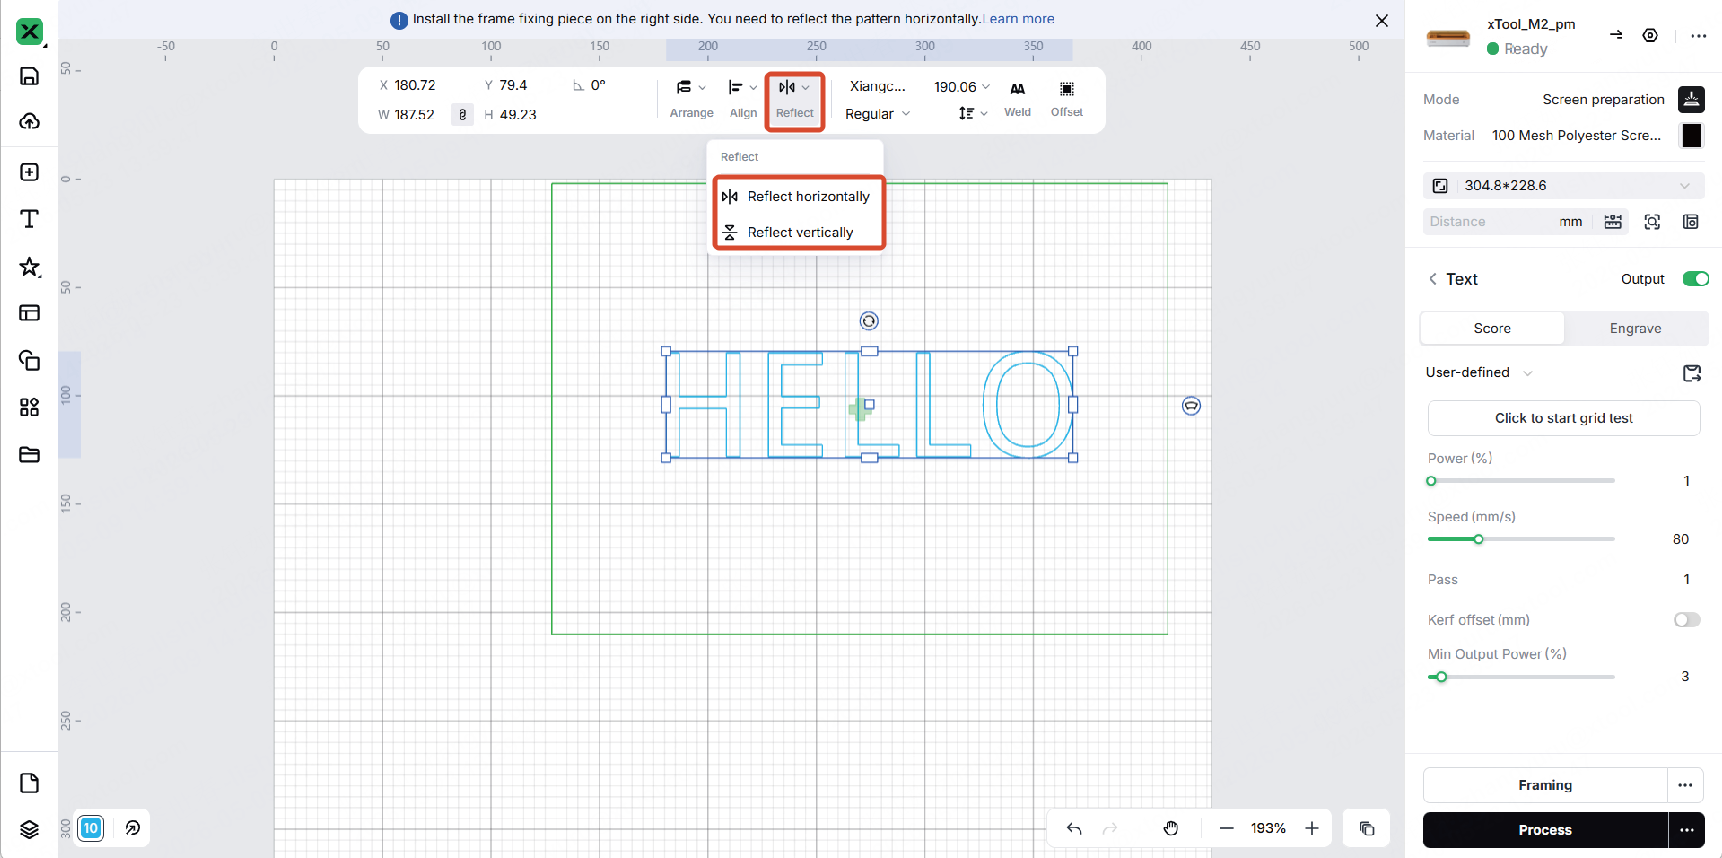
- Click the pattern on the canvas. Then, click Reflect and select Reflect horizontally or Reflect vertically according to your needs.
Note: xTool M2 will engrave on the back of the screen, so you need to reflect the pattern horizontally or vertically. In this way, the pattern can be printed on the right side of the final material by using xTool Screen Printer.
Framing
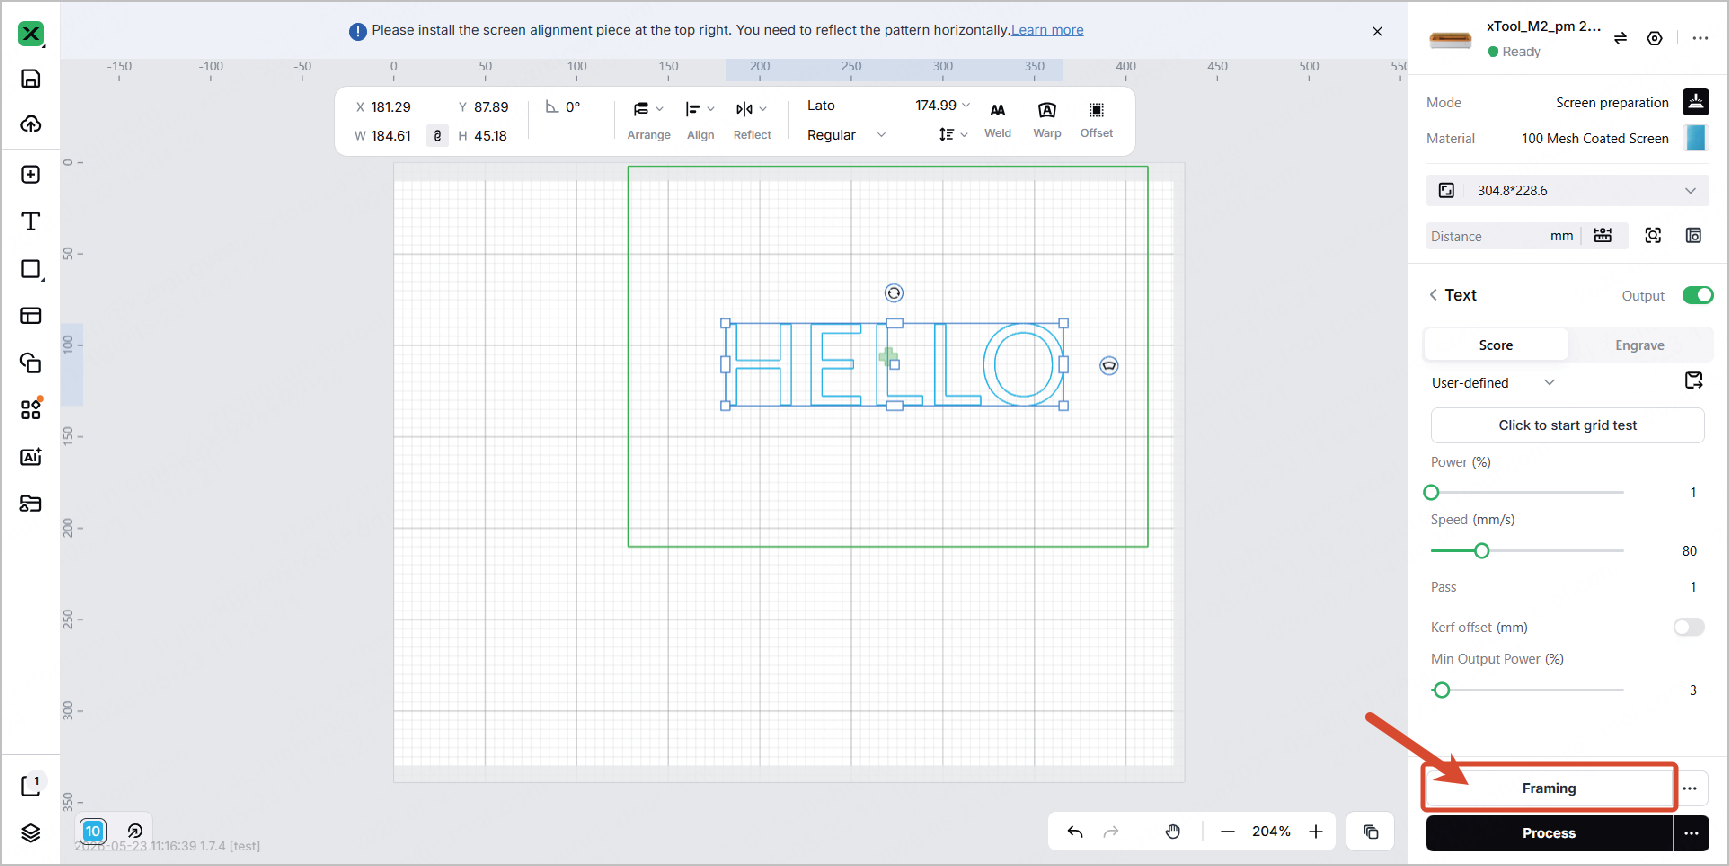
On the bottom right corner, click Framing to preview the processing area.
Note:
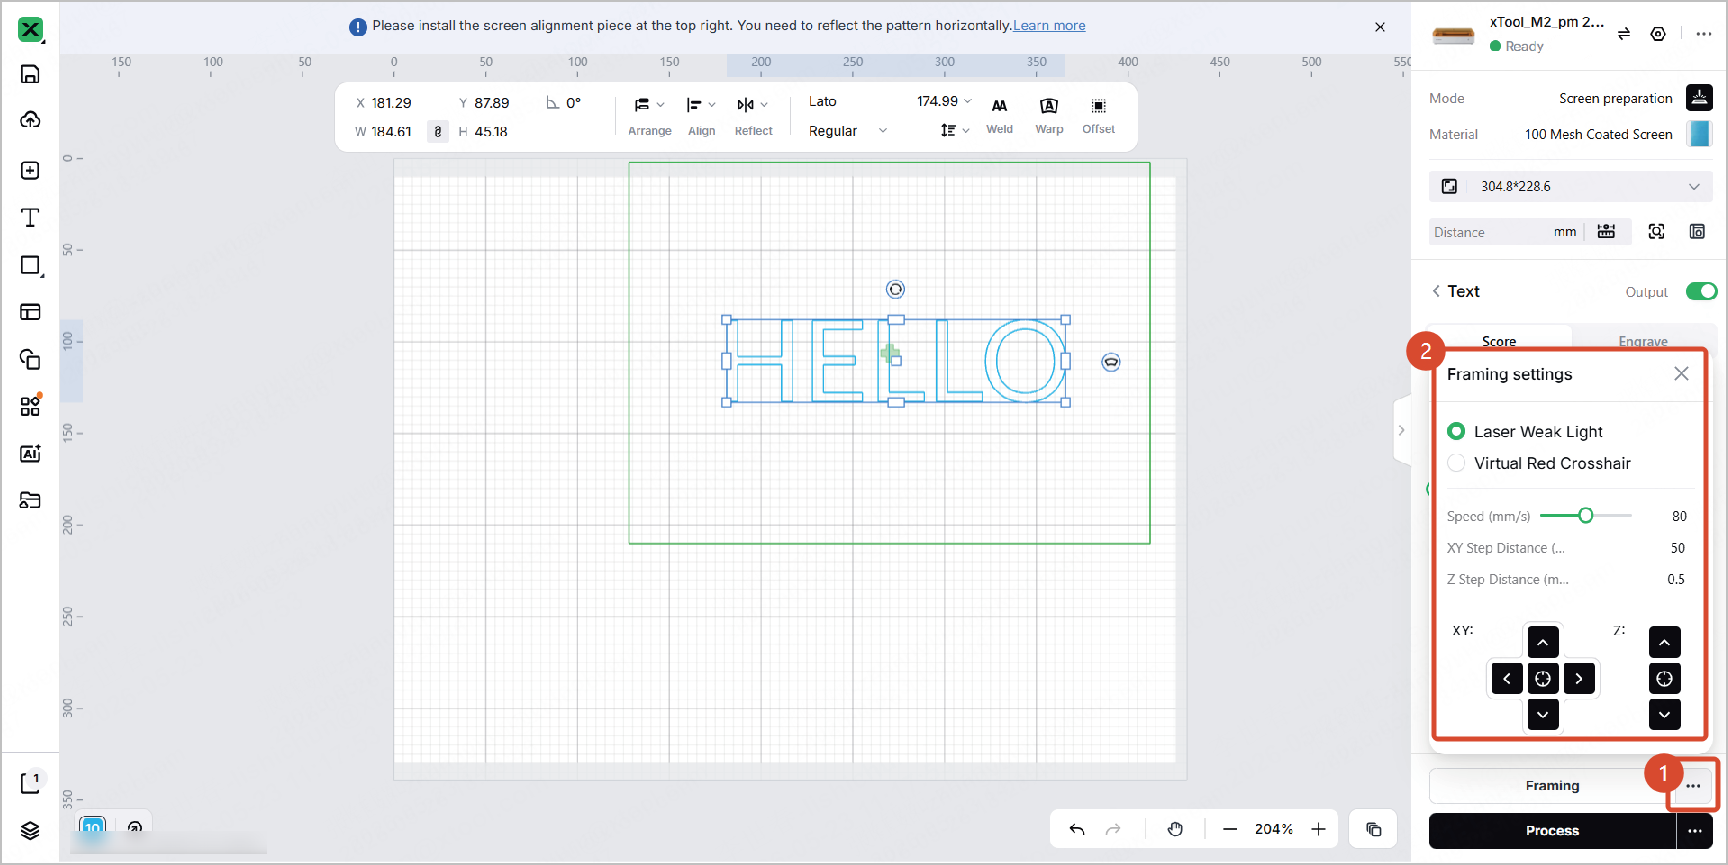
- By default, the framing mode is Laser Weak Light, meaning that the laser module will move above the material to indicate the processing range. Under this mode, close the device lid before framing according to the pop-up prompt, and press the device button.
If you want to preview the cutting area using a different method, click ... next to Framing to configure the settings.
Start processing
- In the bottom right corner, click Process.
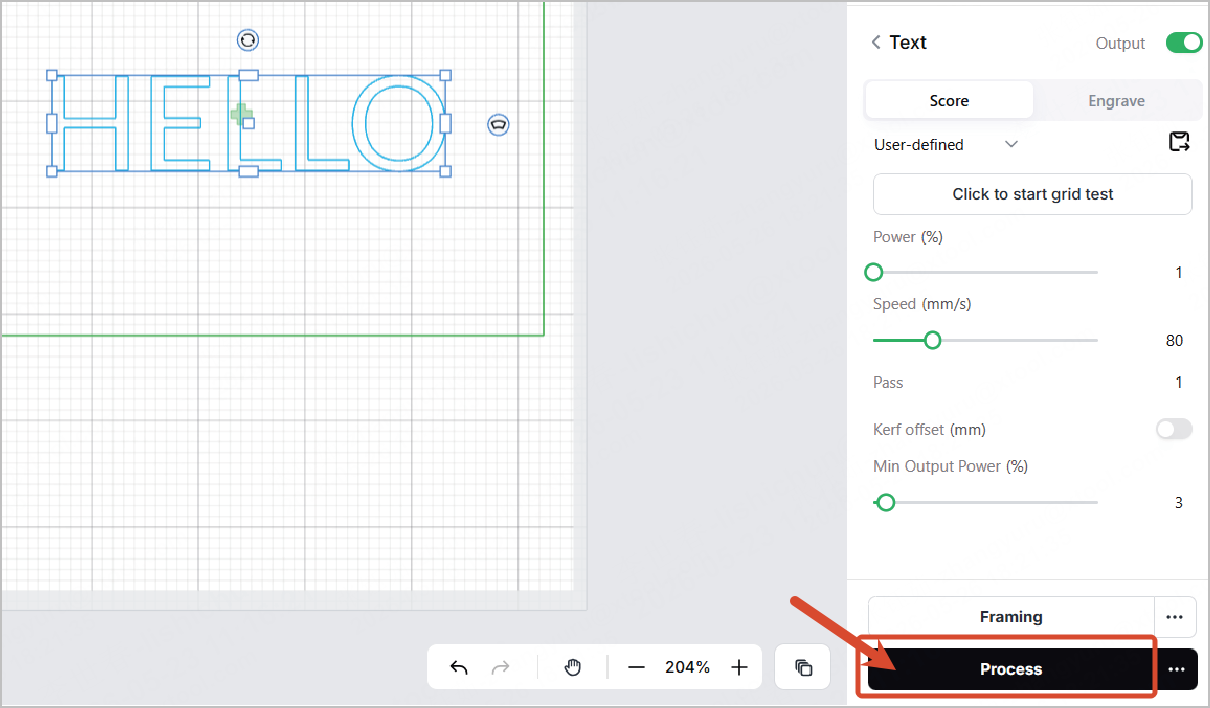
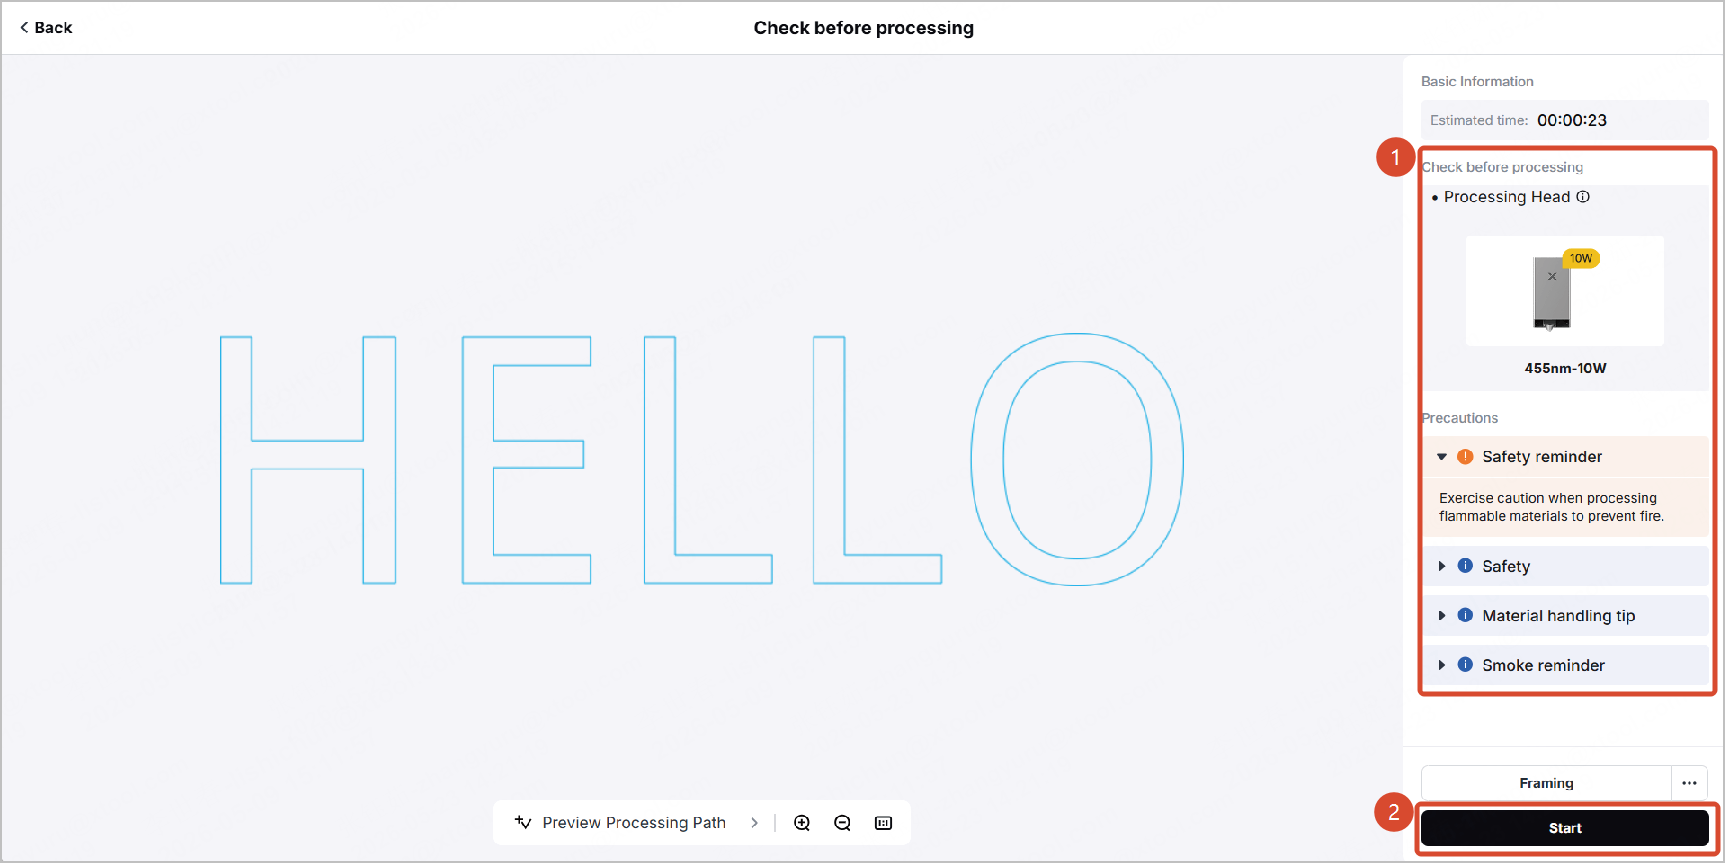
- Read Check before processing carefully and see if everything is ready. Then click Start.
- Close the lid of xTool M2 and press the its button to begin the processing.