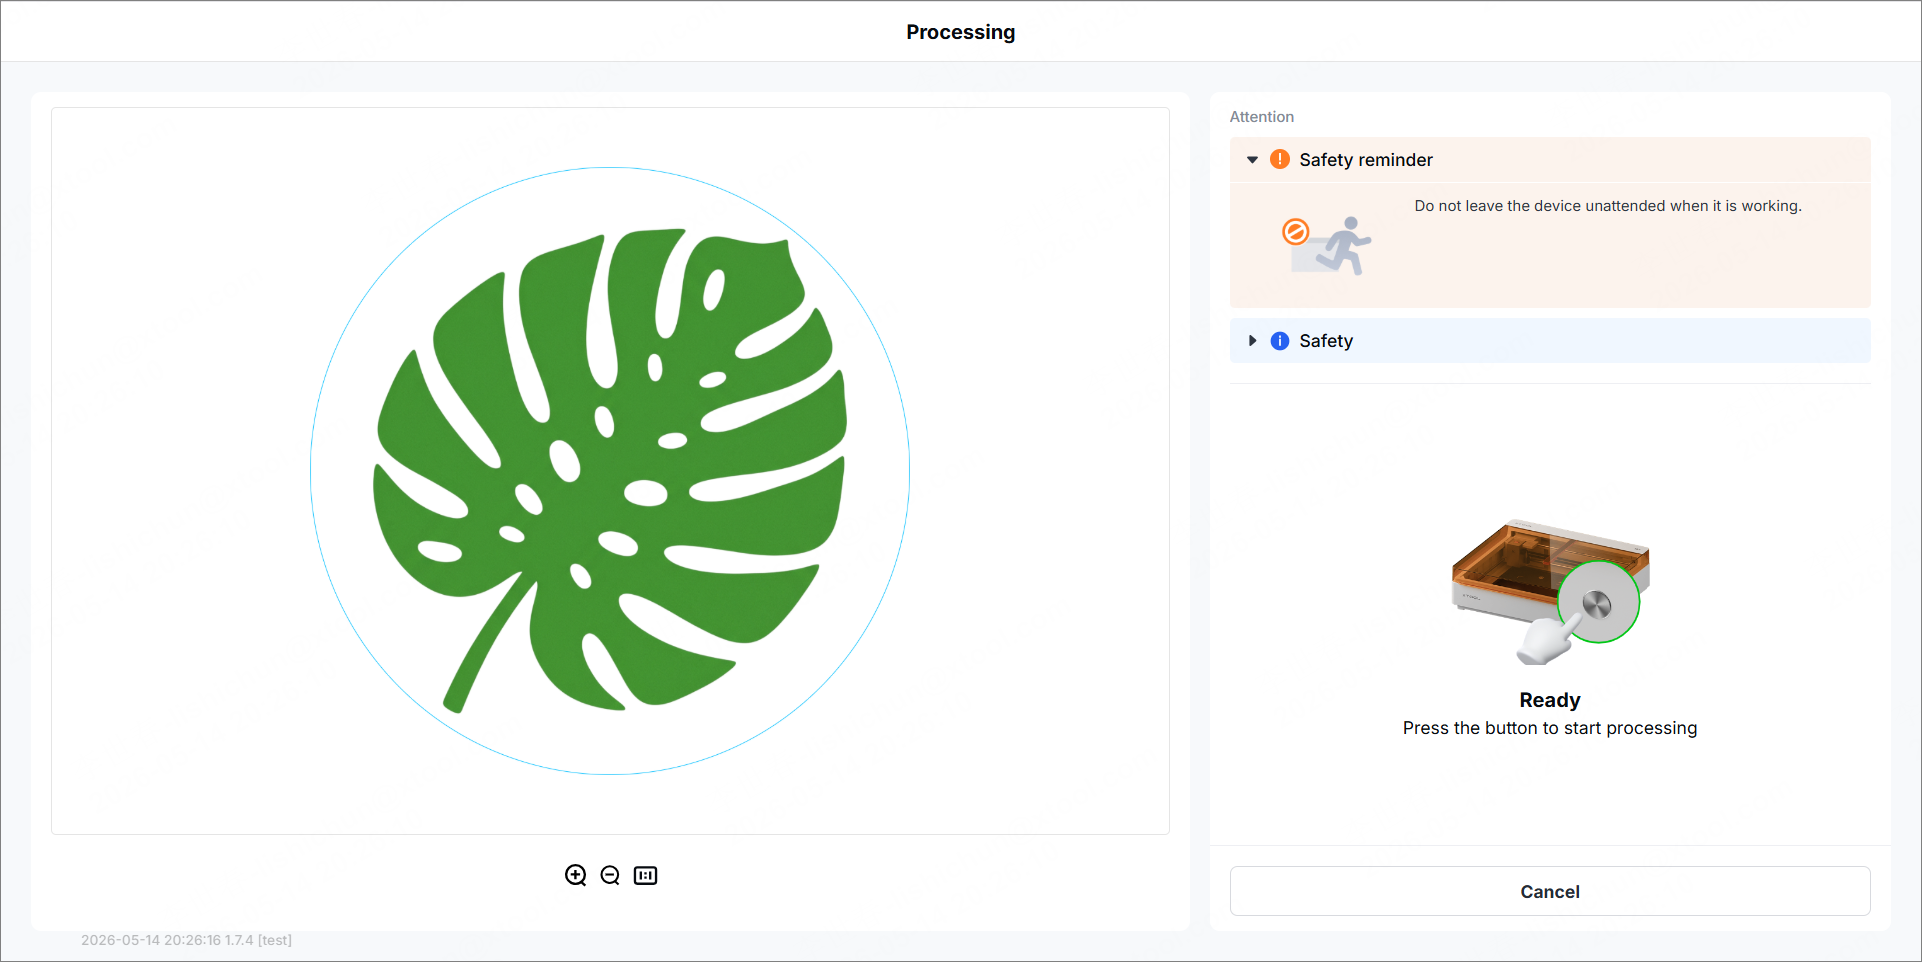
1. Install xTool M2 CMYK Inkjet Module
Follow the steps in Install the ink cartridge and Install xTool M2 CMYK Inkjet Module to install the inkjet module.
2. Calibrate xTool M2 CMYK Inkjet Module
(1) Before processing, calibrate the inkjet module according to the system prompts. Click Start.
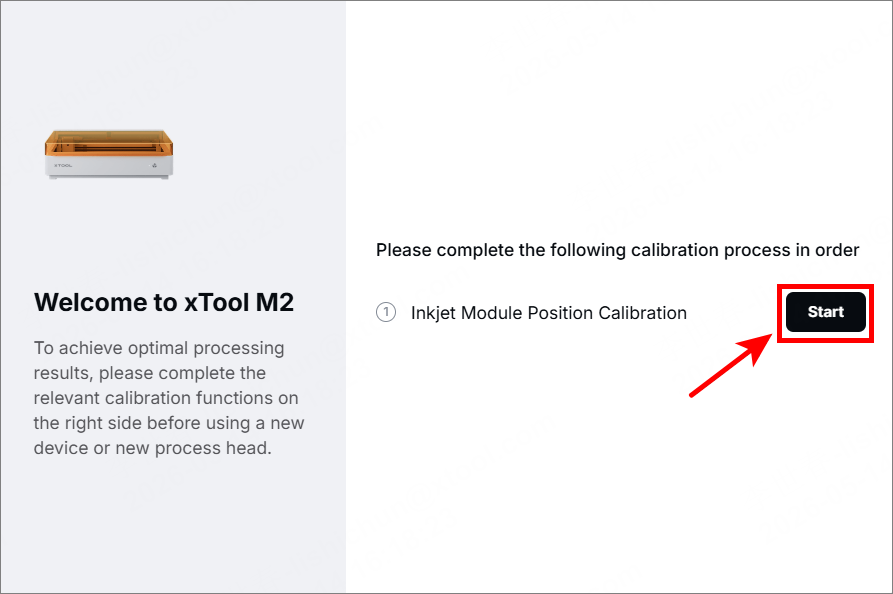
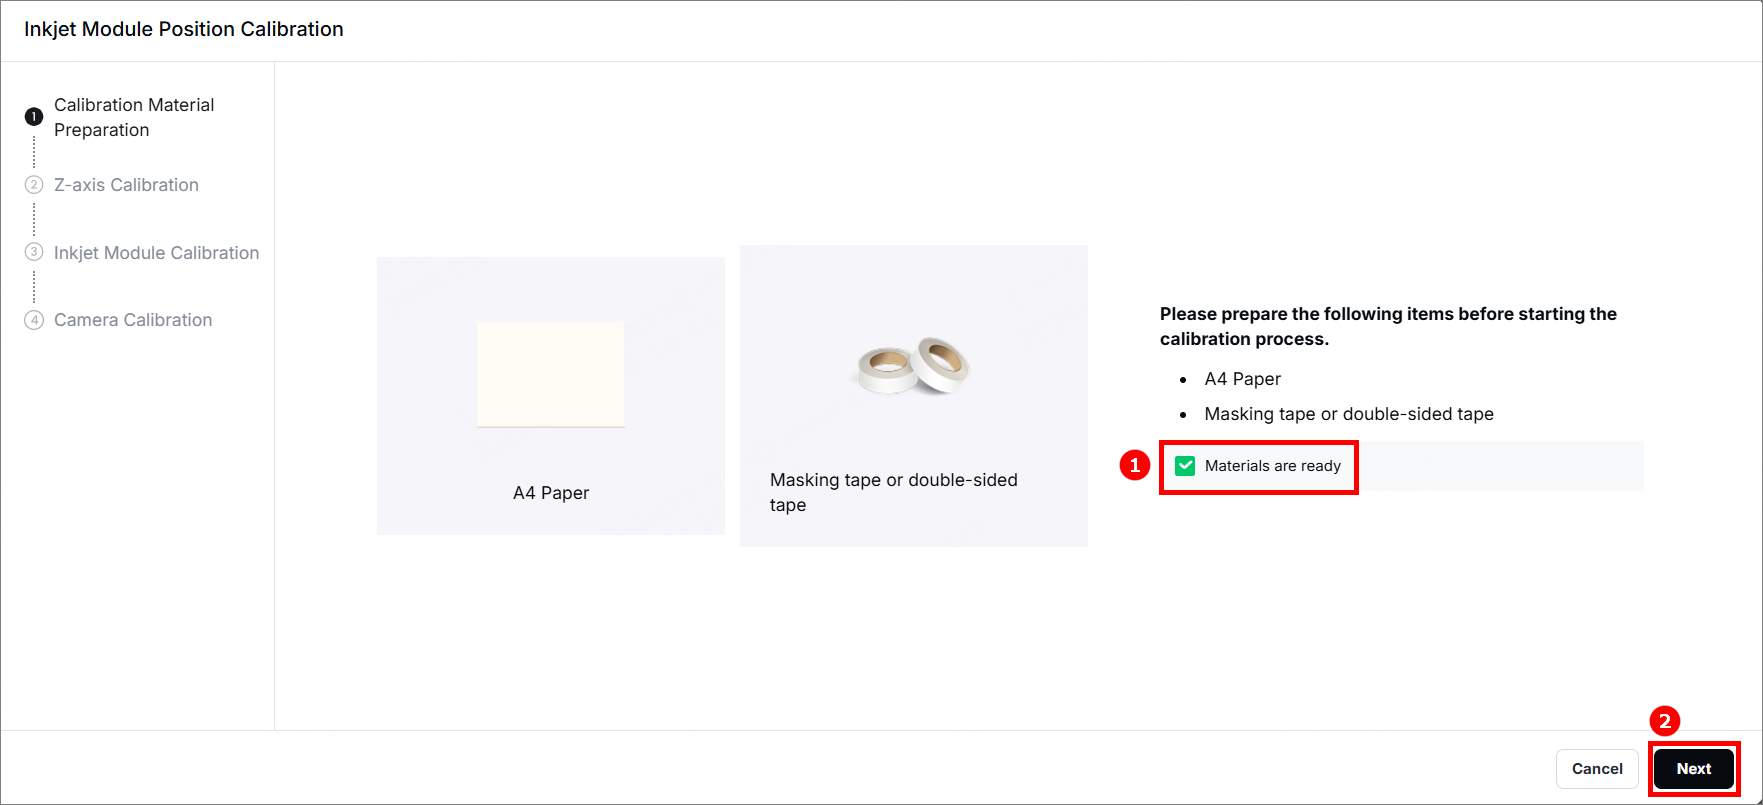
(2) Prepare the A4 paper, masking tape, or double-sided tape. Click the checkbox on Materials are ready, then click Next.
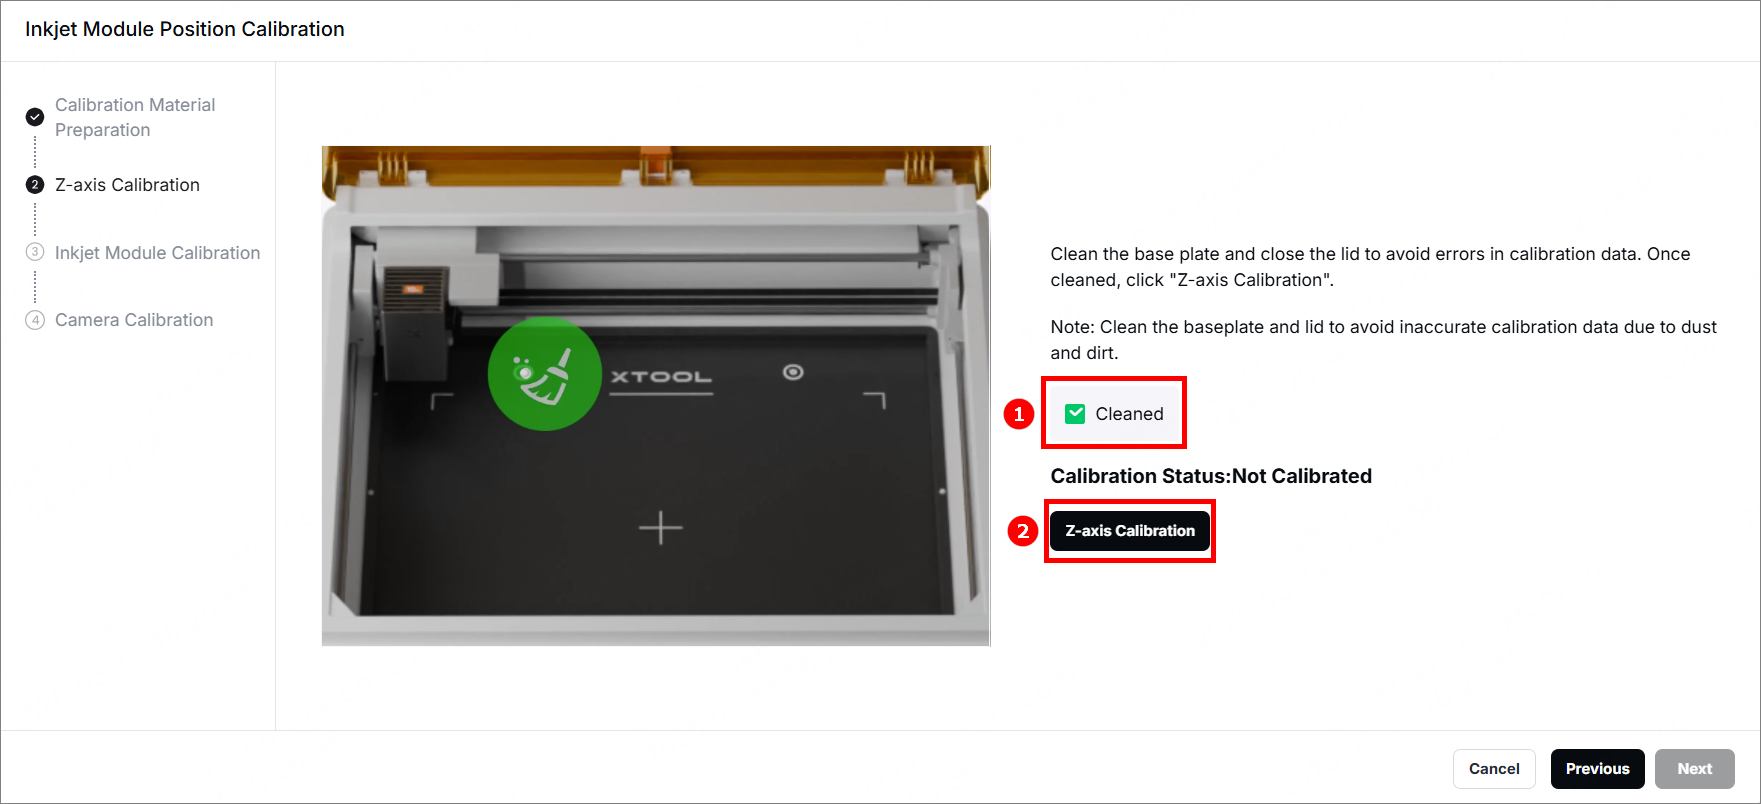
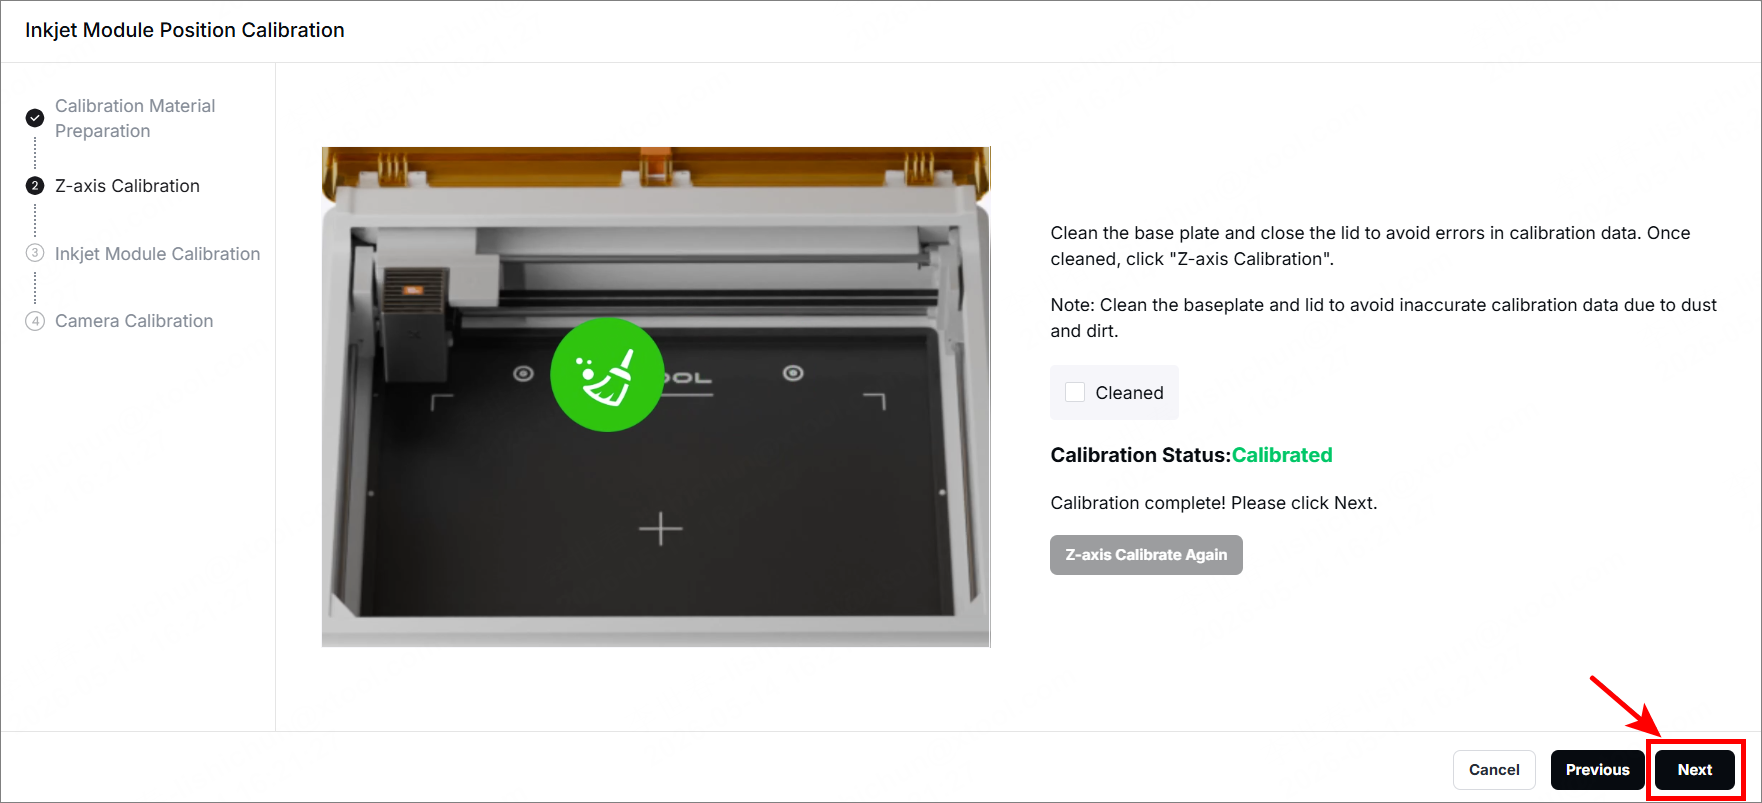
(3) Clean the residues on the baseplate. Click the checkbox on Cleaned, then click Z-axis calibration.
(4) After the z-axis calibration is completed, click Next.
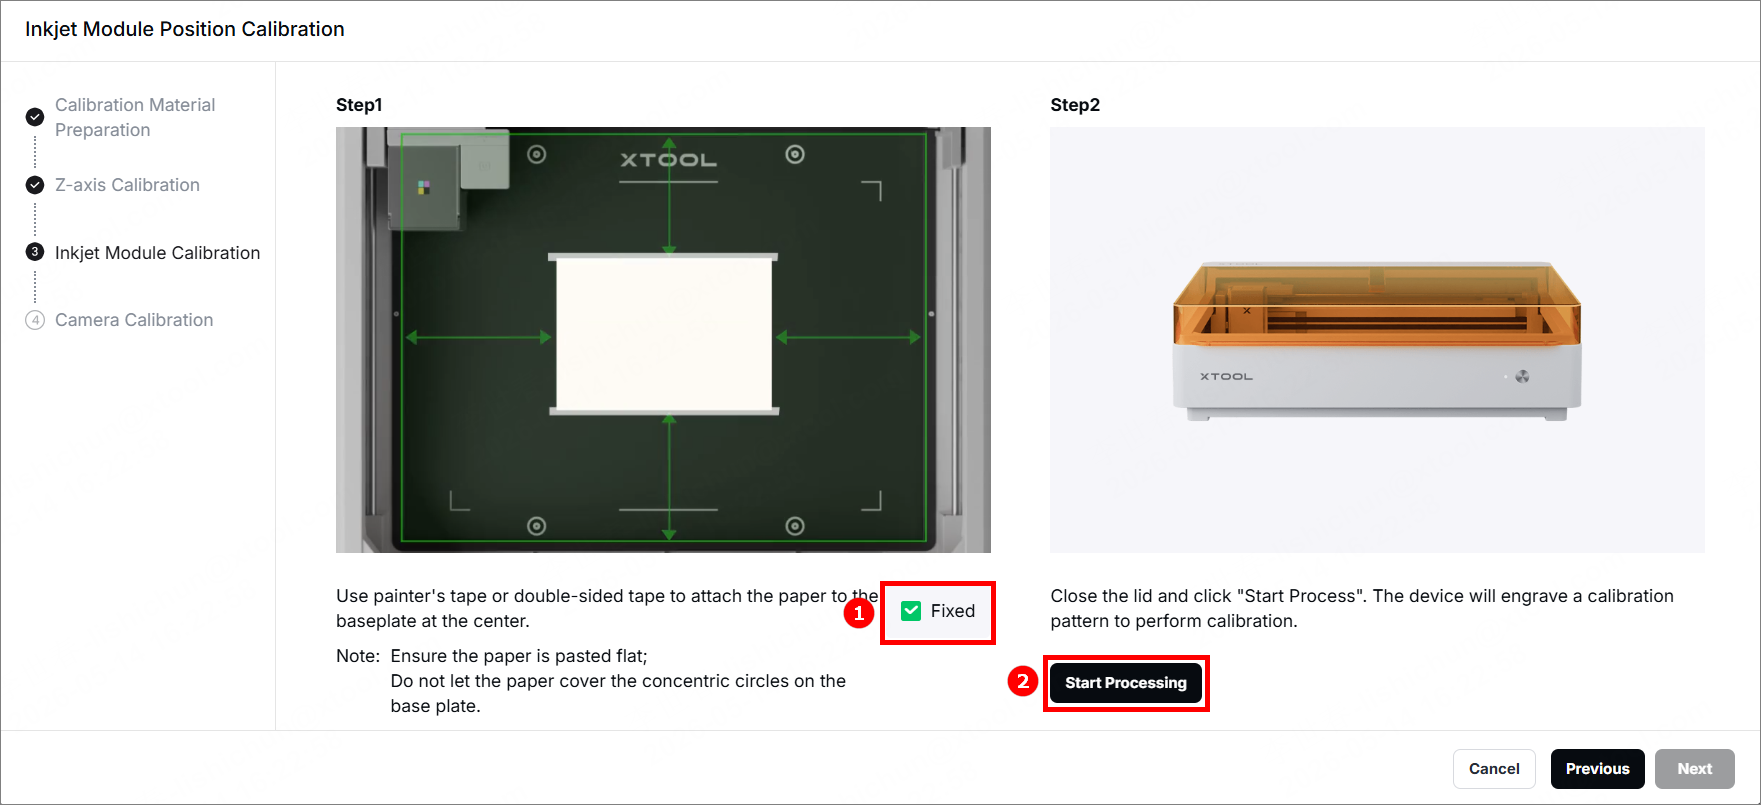
(5) Use the masking tape or double-sided tape to stick the paper on the center of the baseplate.
Note:
- Make sure the paper is applied smoothly.
- Make sure the paper does not cover the four concentric circles on the baseplate.
Click the checkbox on Fixed, then click Start processing.
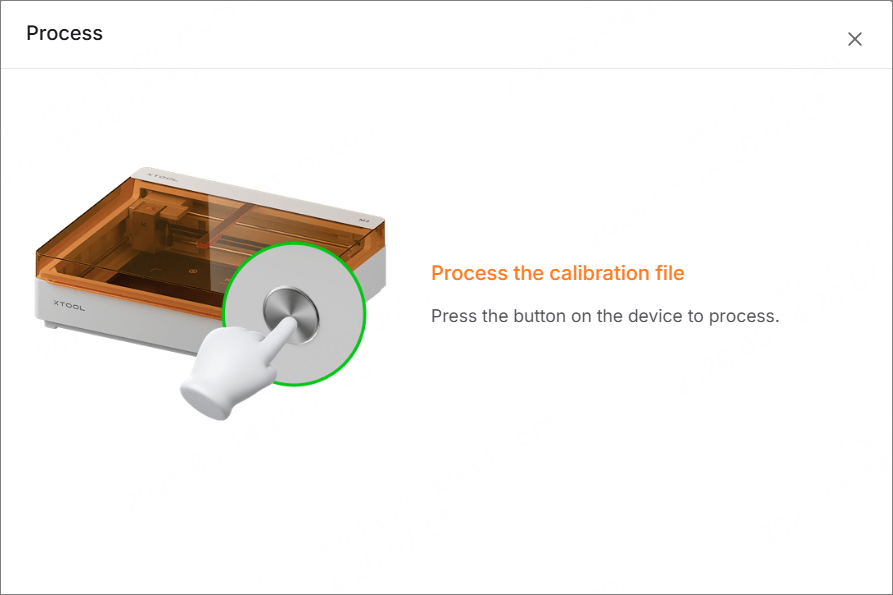
(6) Press the silver button on the device to start calibration.
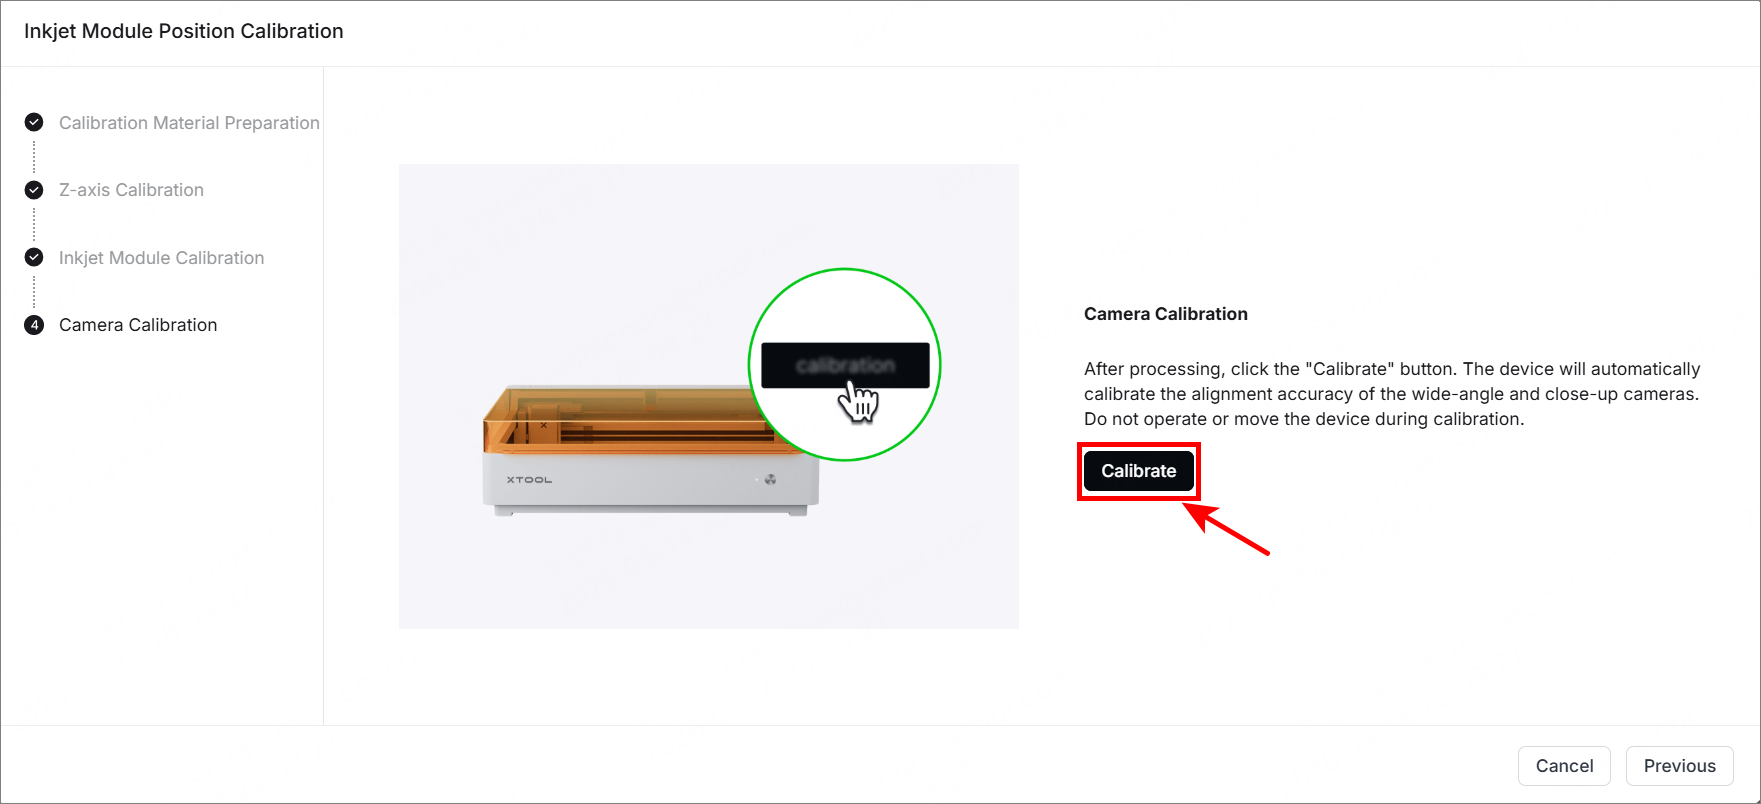
(7) After the inkjet module calibration is completed, click Calibrate to start the camera calibration.
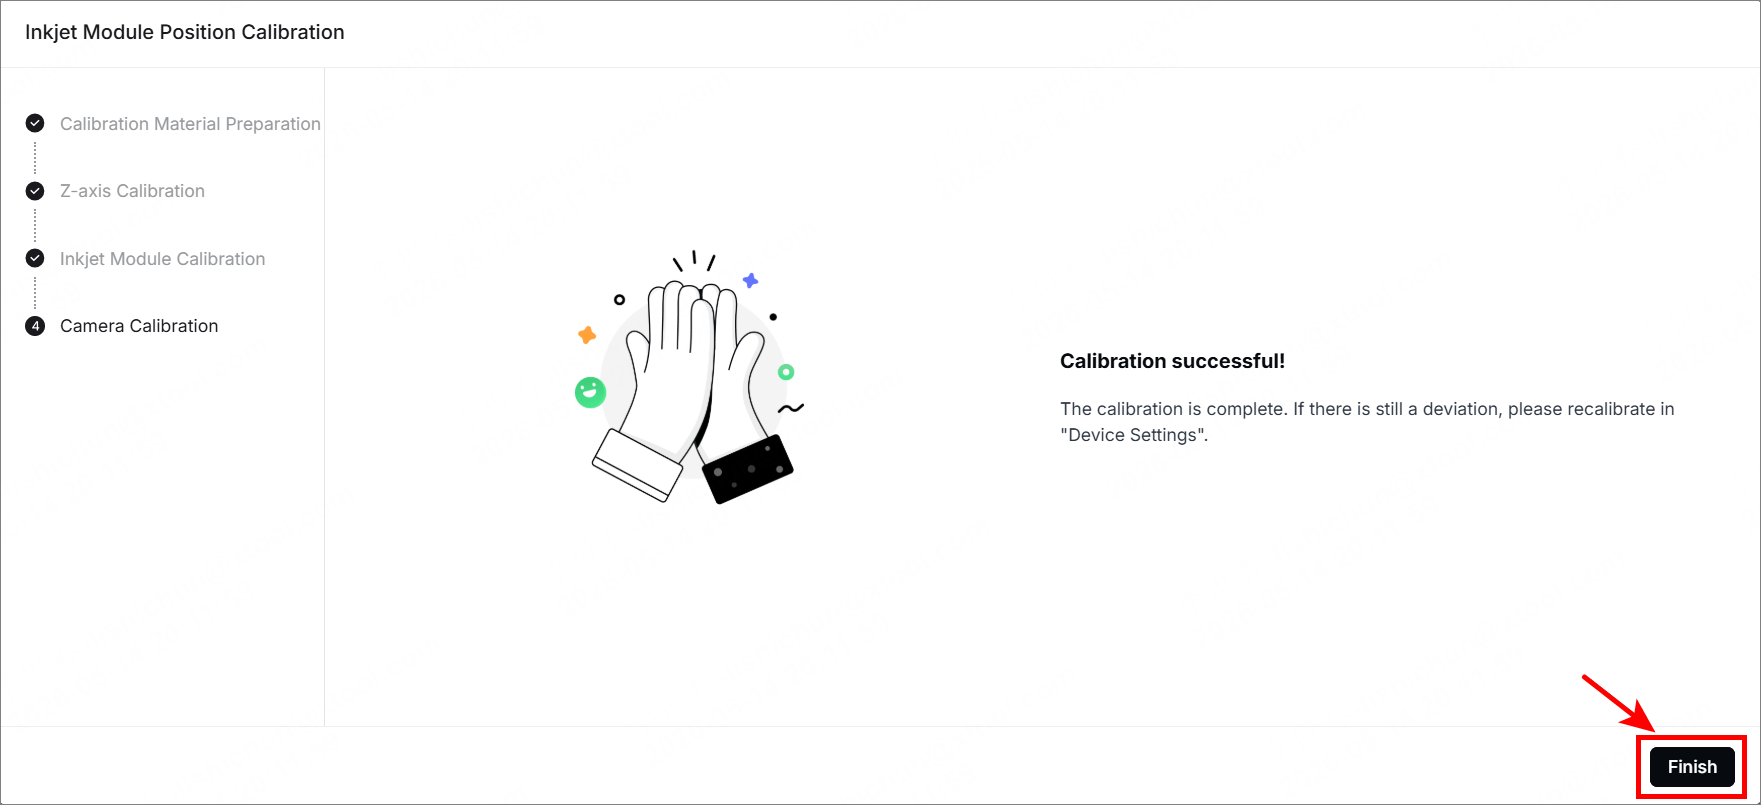
(8) All calibration is completed. Click Finish.
3. Place the material, select a processing mode and material
When you use the inkjet printing, regardless of the thickness of the material, it is recommended that you secure the material with tape to prevent the inkjet module from colliding with the material.
(1) Place the material on the baseplate, and close the lid.
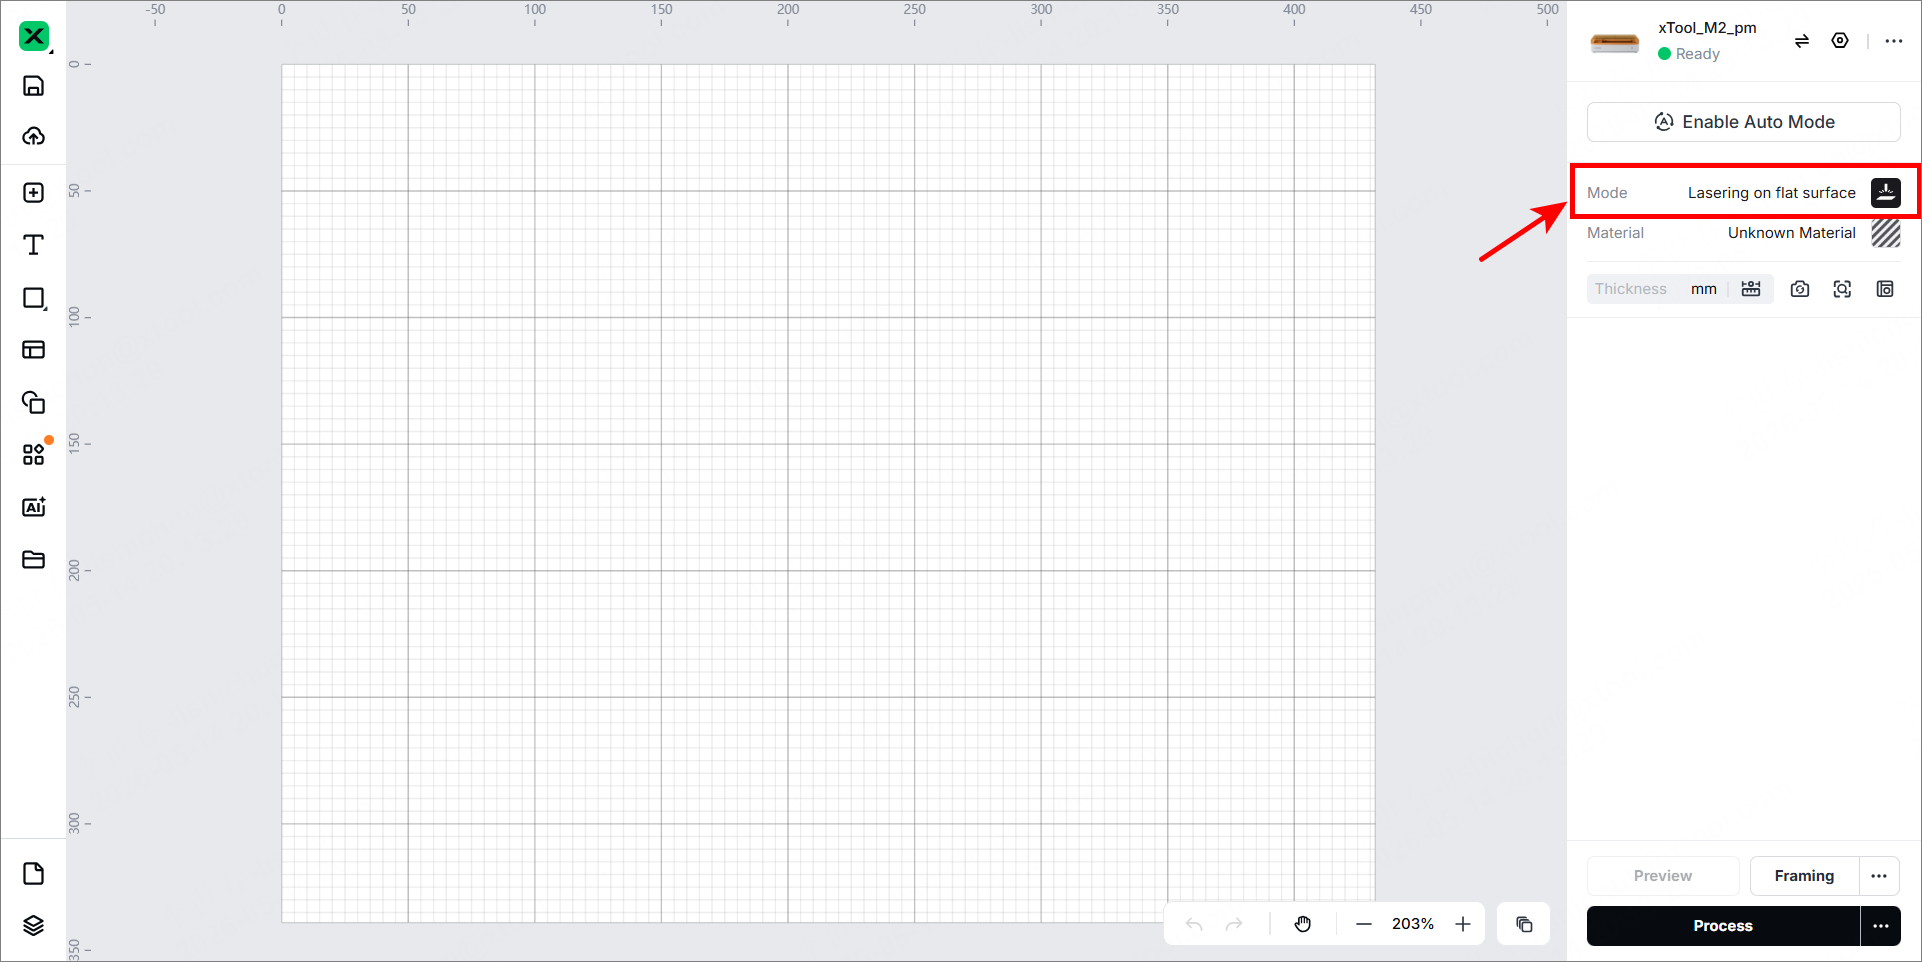
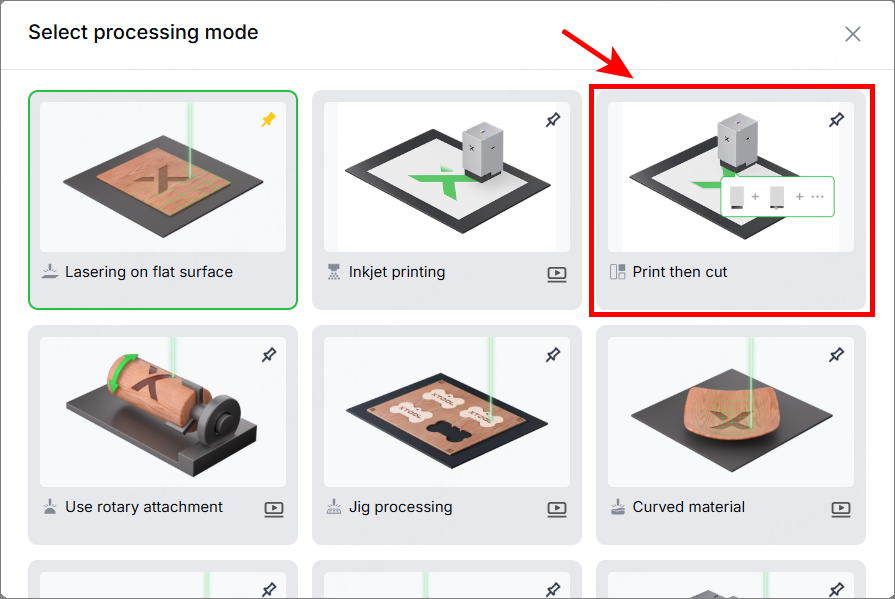
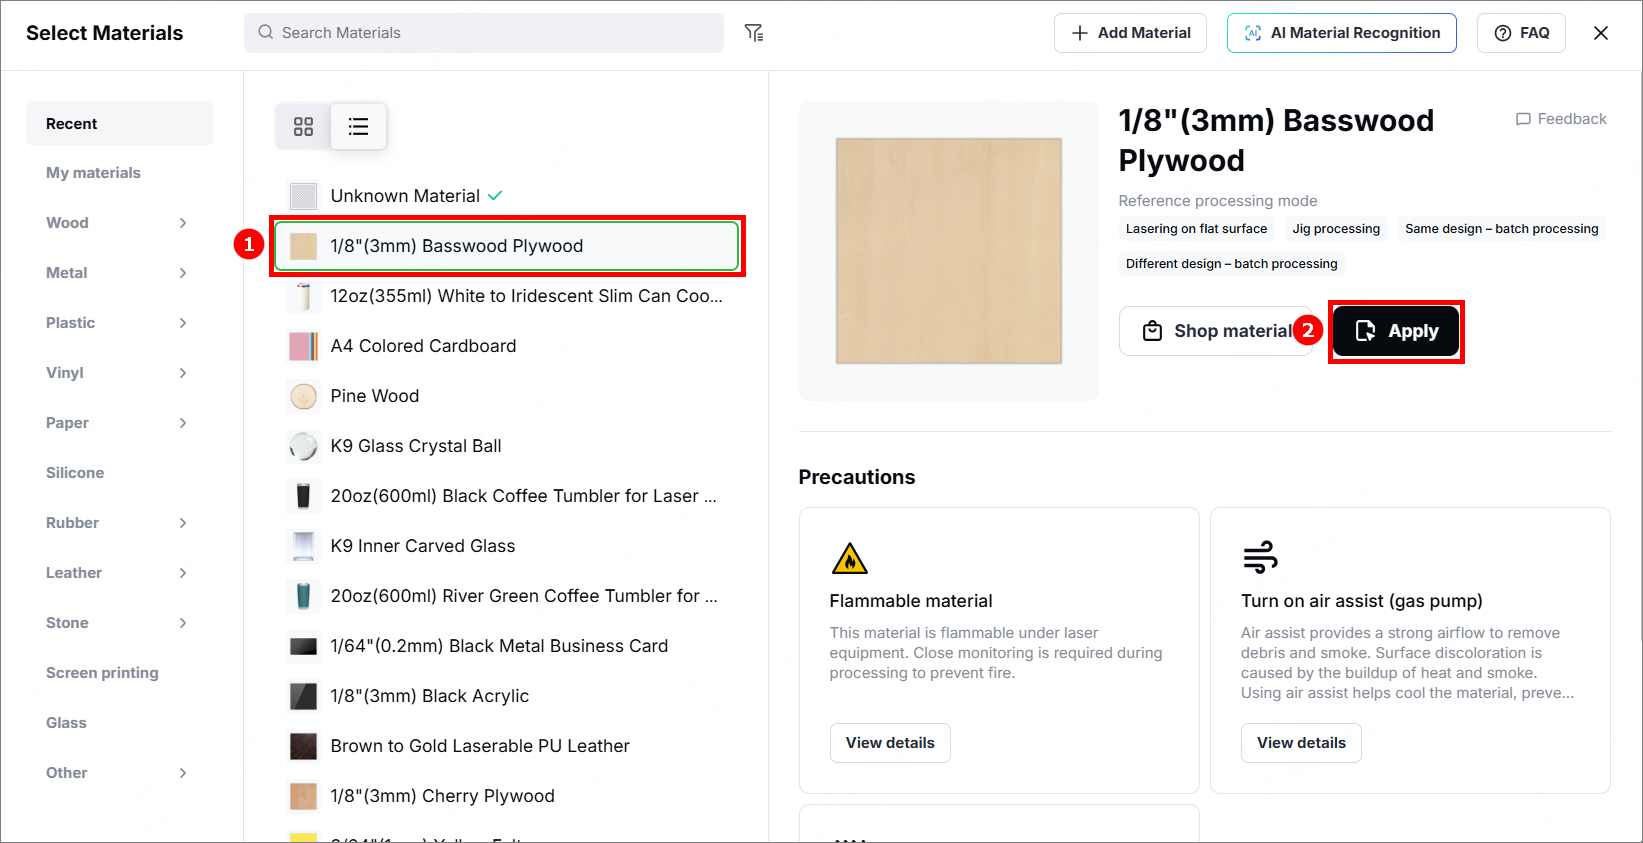
(2) On the right panel, select Print then cut as the processing mode.

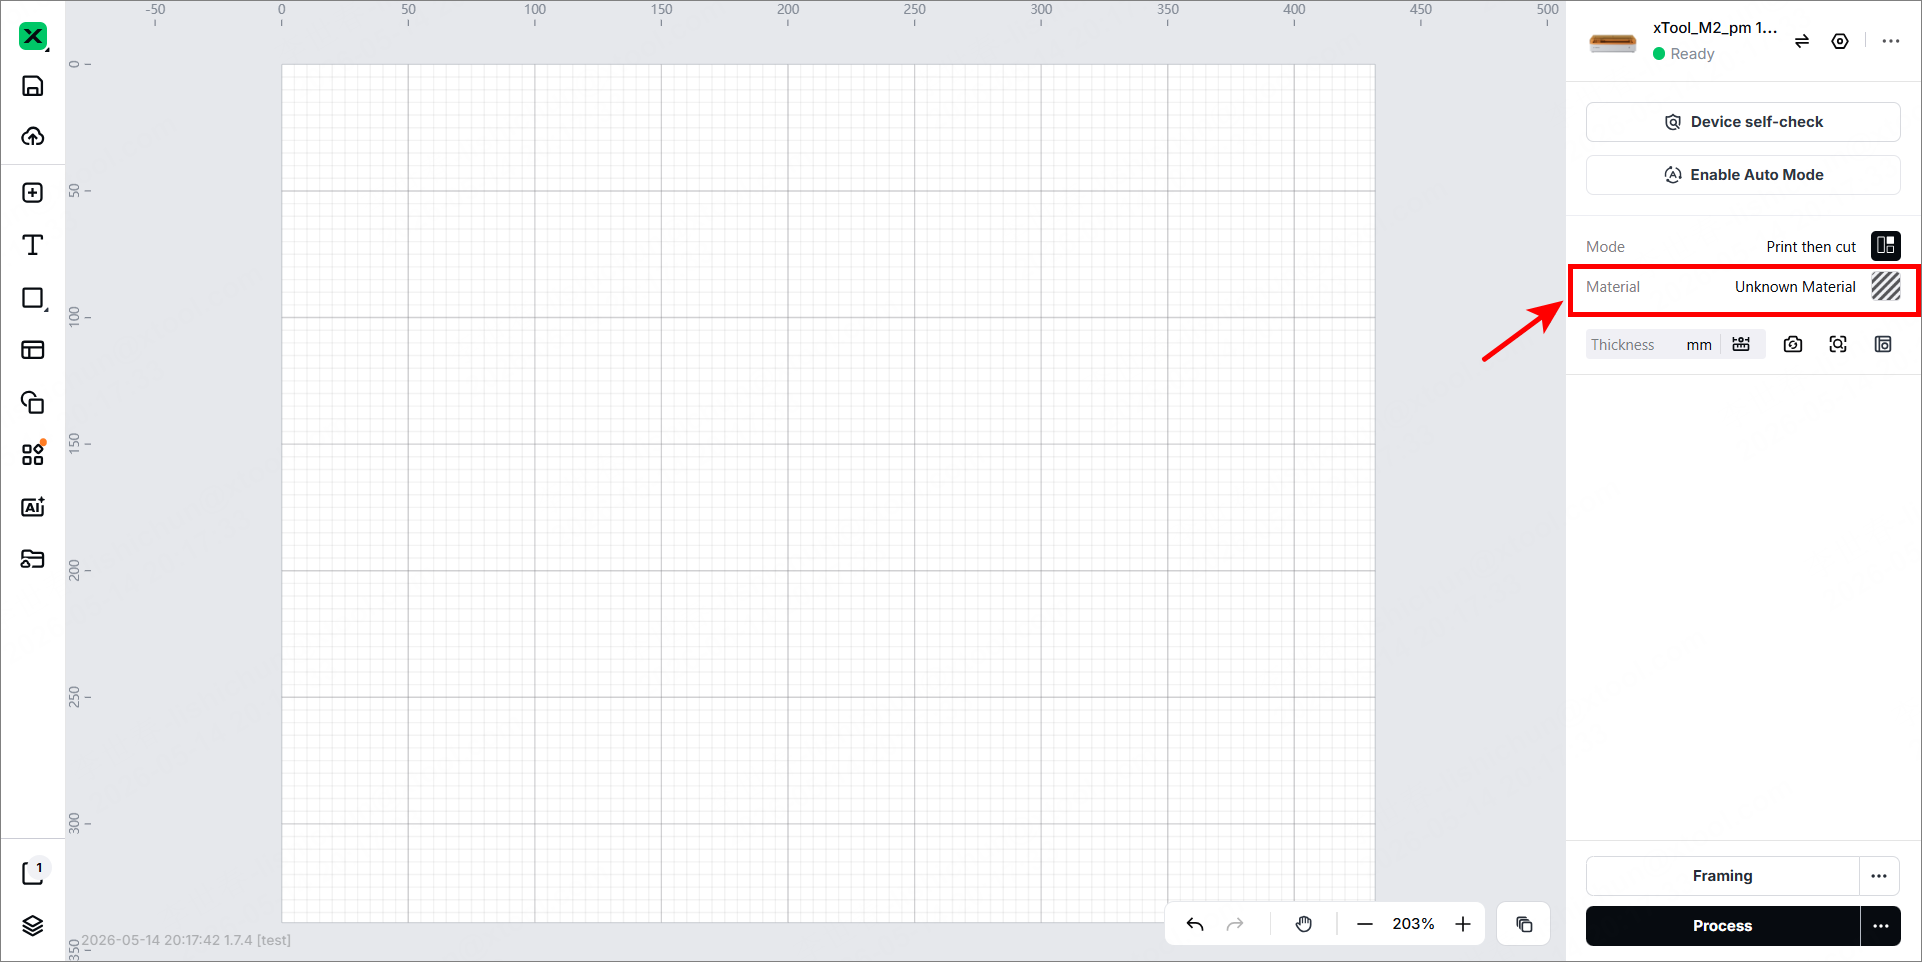
(2) Under Mode, select the material and click Apply.
4. Refresh the background and measure the distance
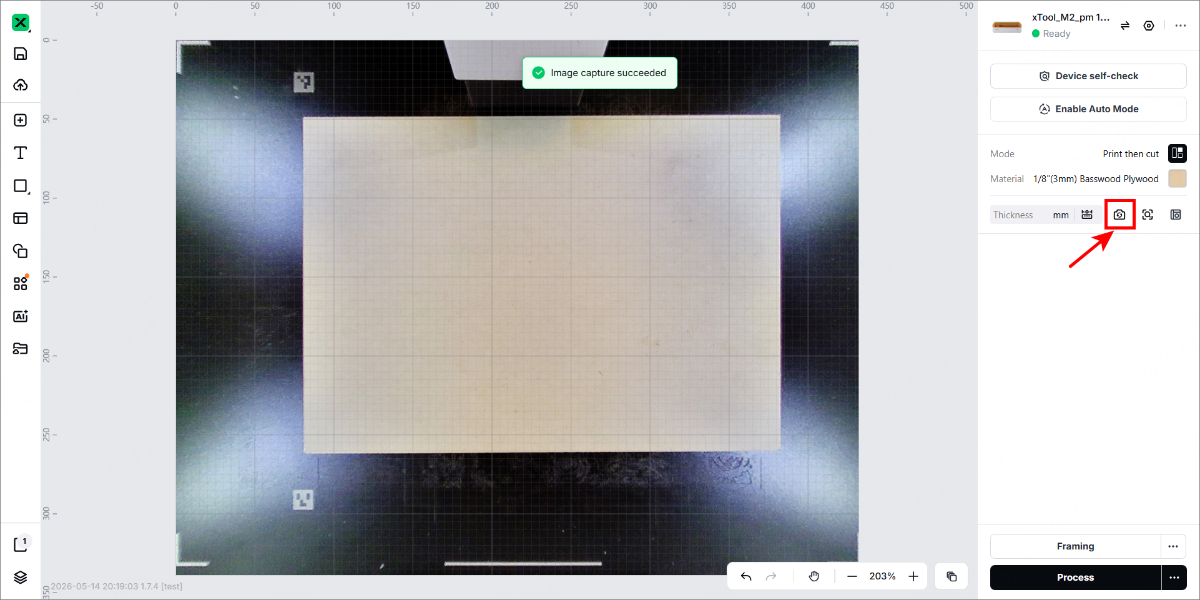
(1) Click the Refresh background icon to get the background.
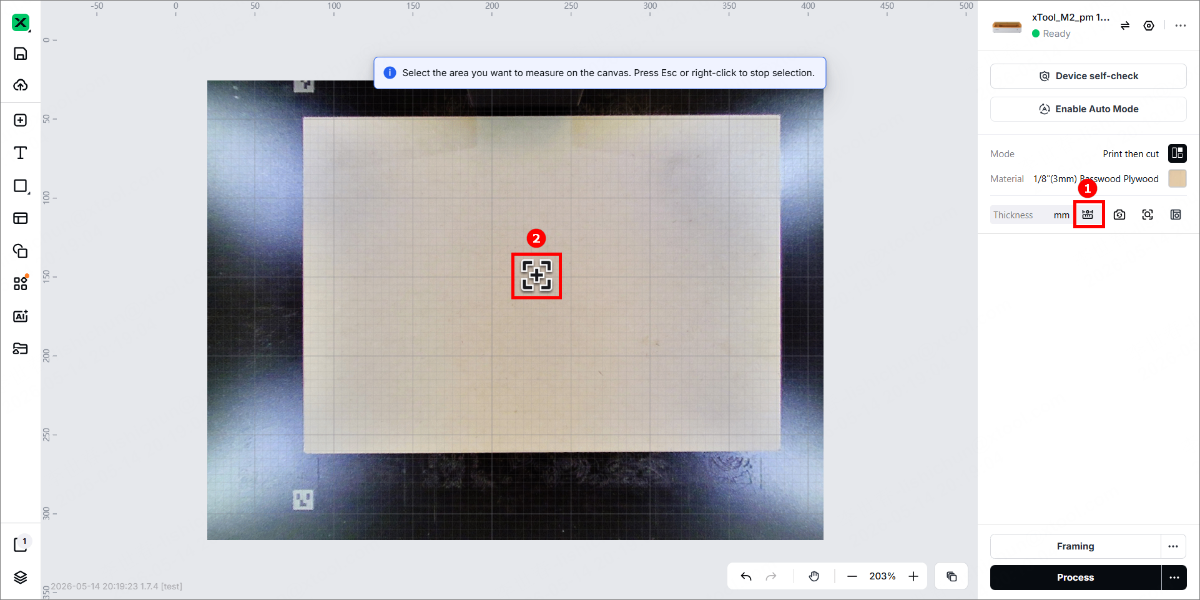
(2) Click the distance measurement icon and select the distance measurement point on the canvas.
5. Design a processing object and set parameters
(1) Use the tools on the left side of the canvas to select bitmaps and vector graphics (corresponding to inkjet and laser processing, respectively).
Here, take a leaf bitmap and a circle as examples.
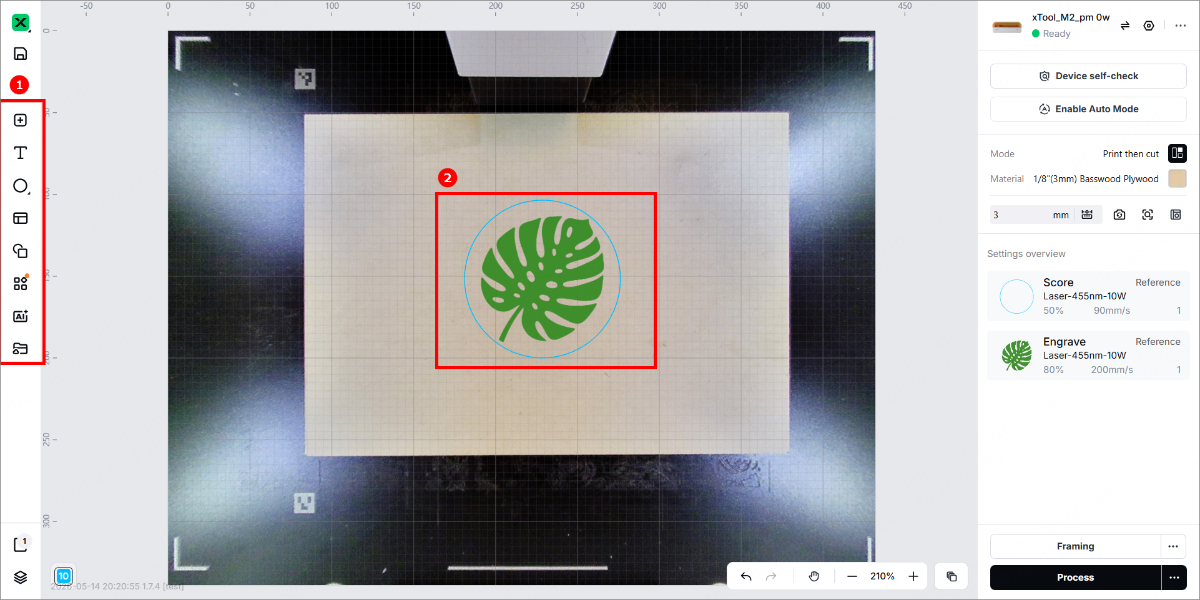
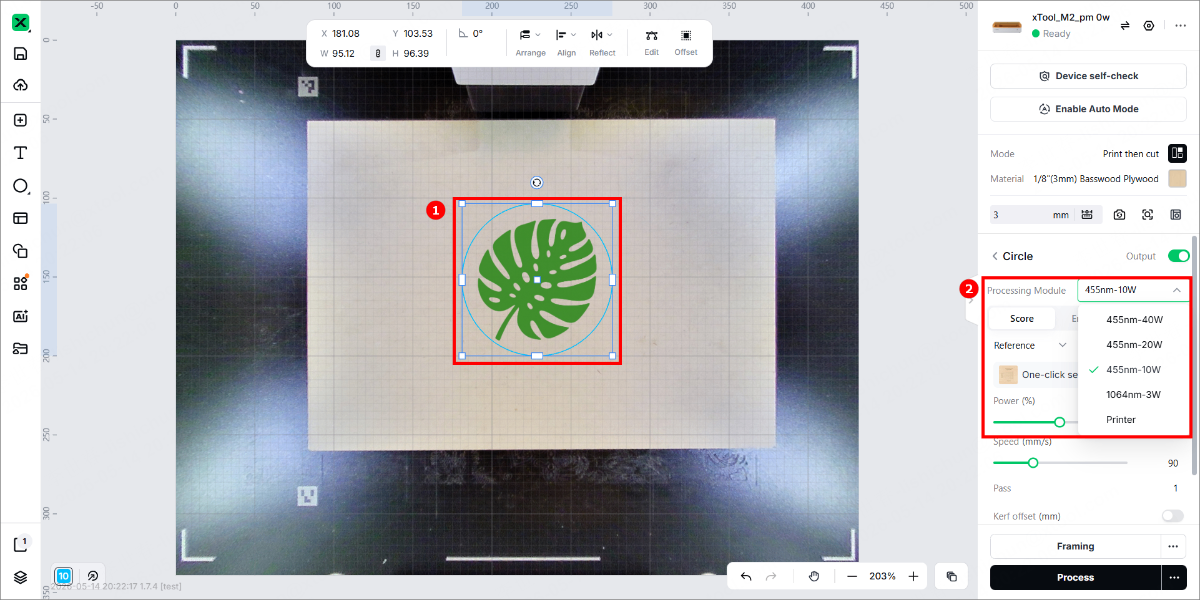
(2) Select the bitmap and its processing module 455nm-10W. Set parameters for it in the bottom-right panel.
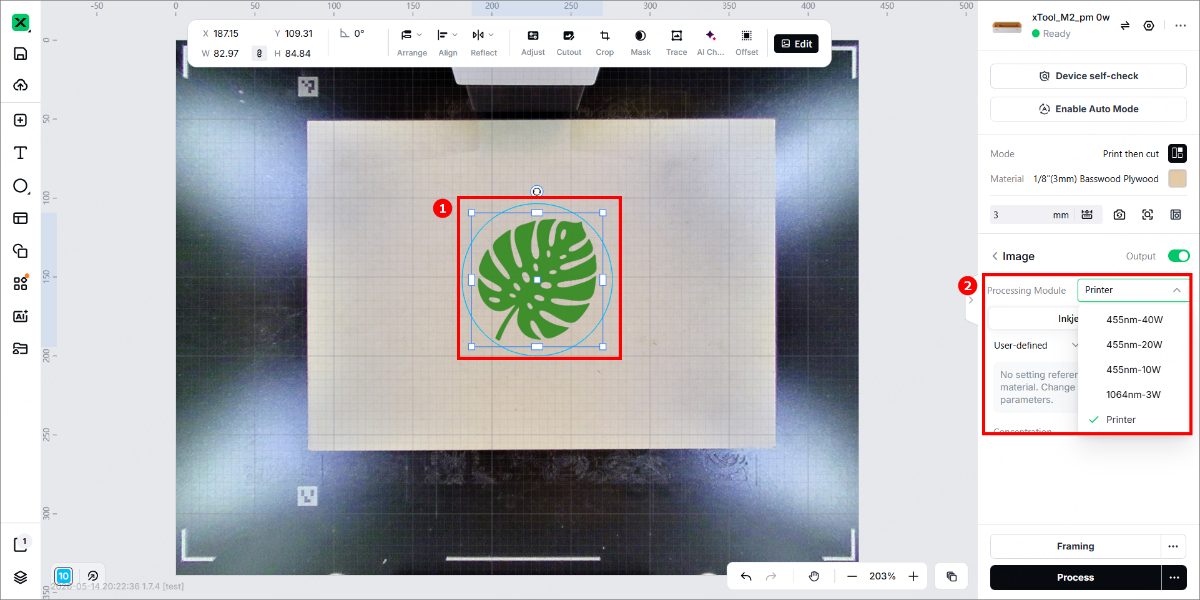
(3) Select the circle and its processing module Printer. Set parameters for it in the bottom-right panel.
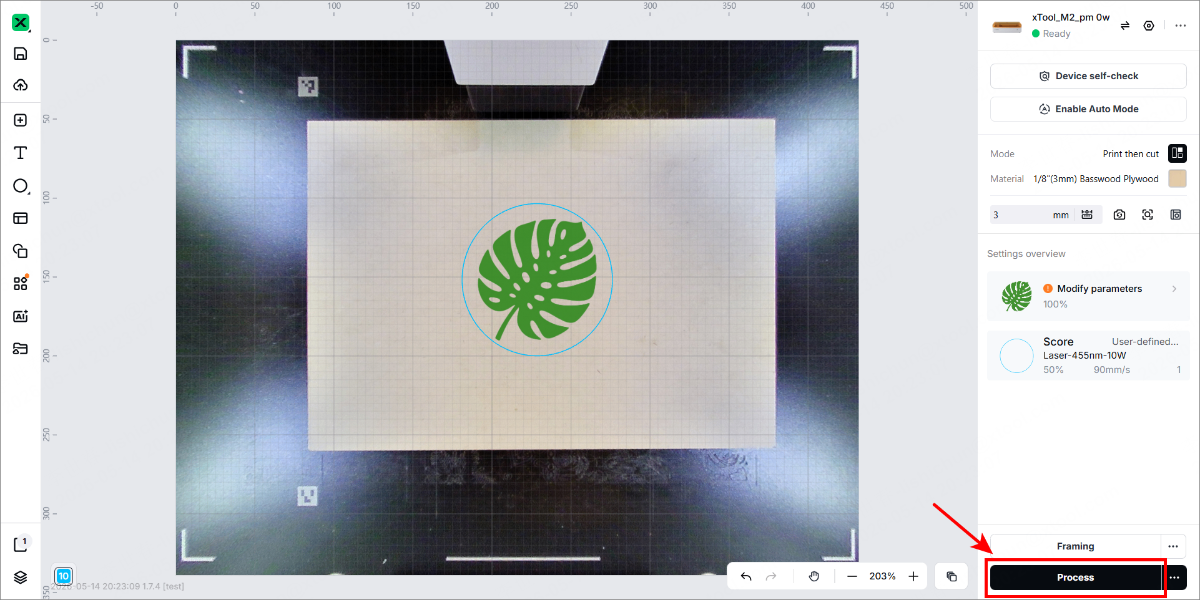
(4) The parameters are ready. Click Process.
6. Start the inkjet processing
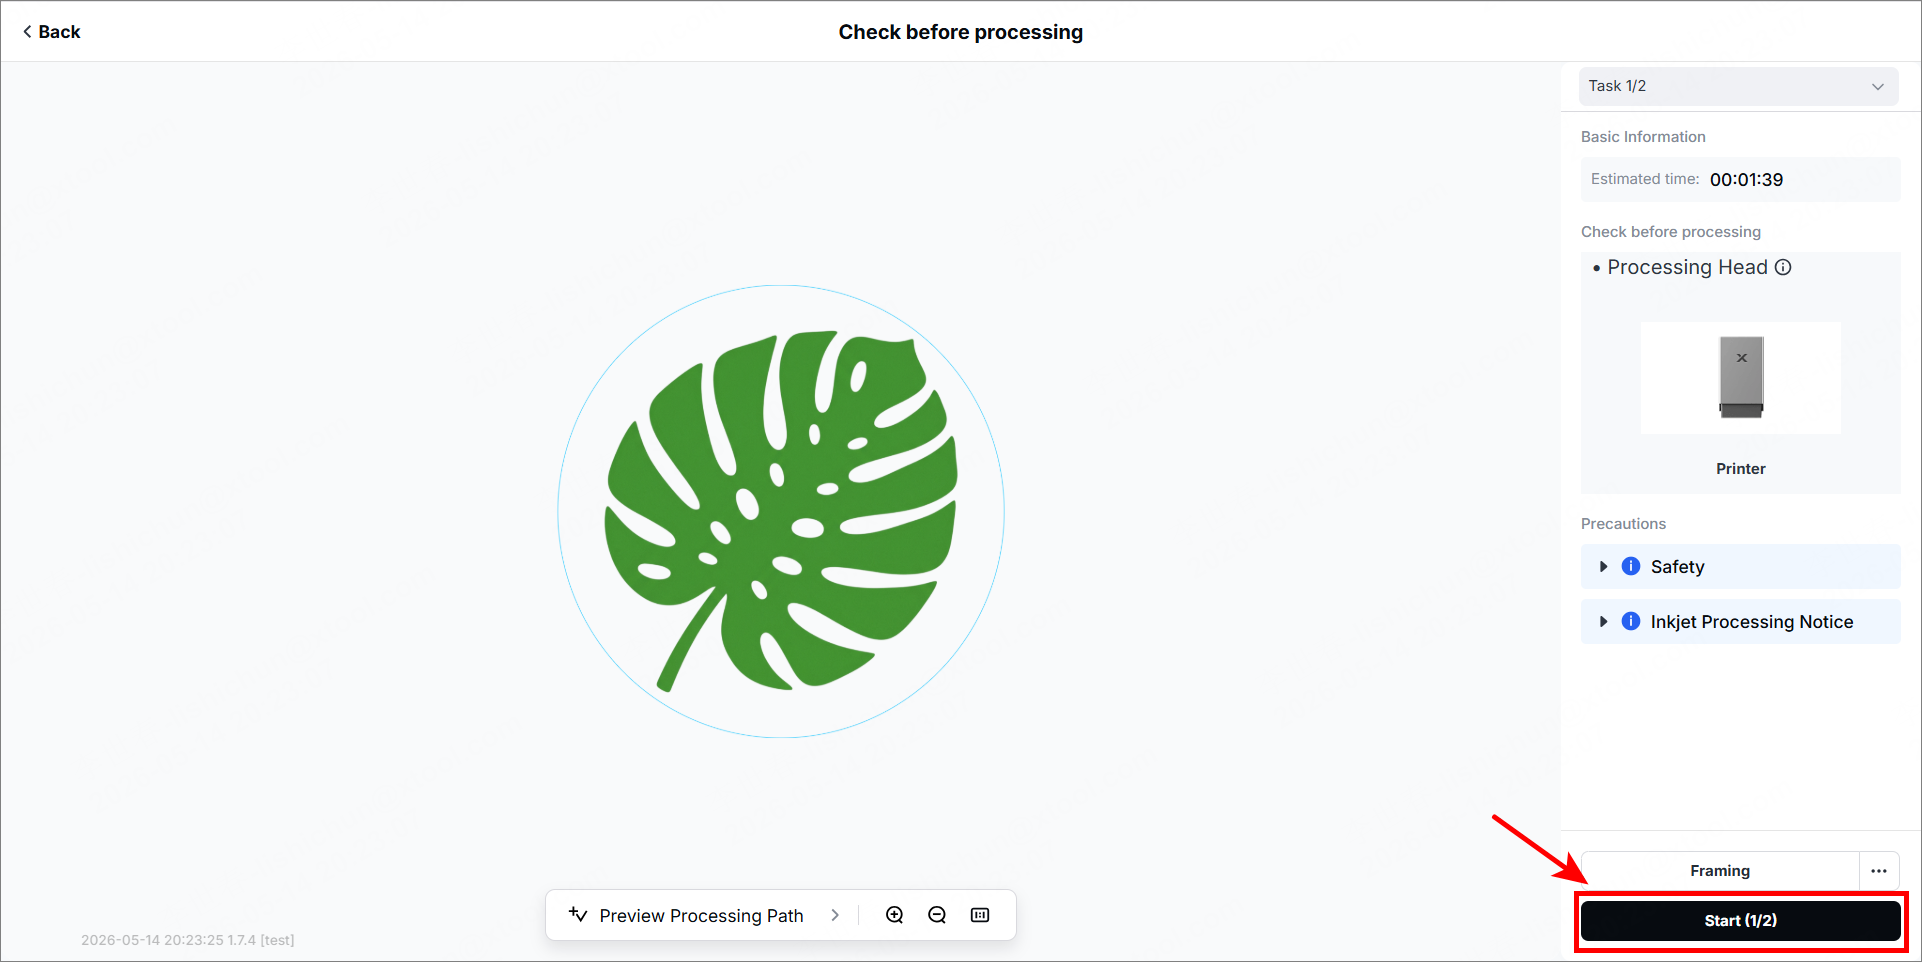
(1) Check whether the accessories are prepared before processing on the right list.
(2) In the bottom right corner, click Start(1/2) to start processing.
(3) Wait until the inkjet module completes the processing, and click Next to the next processing.
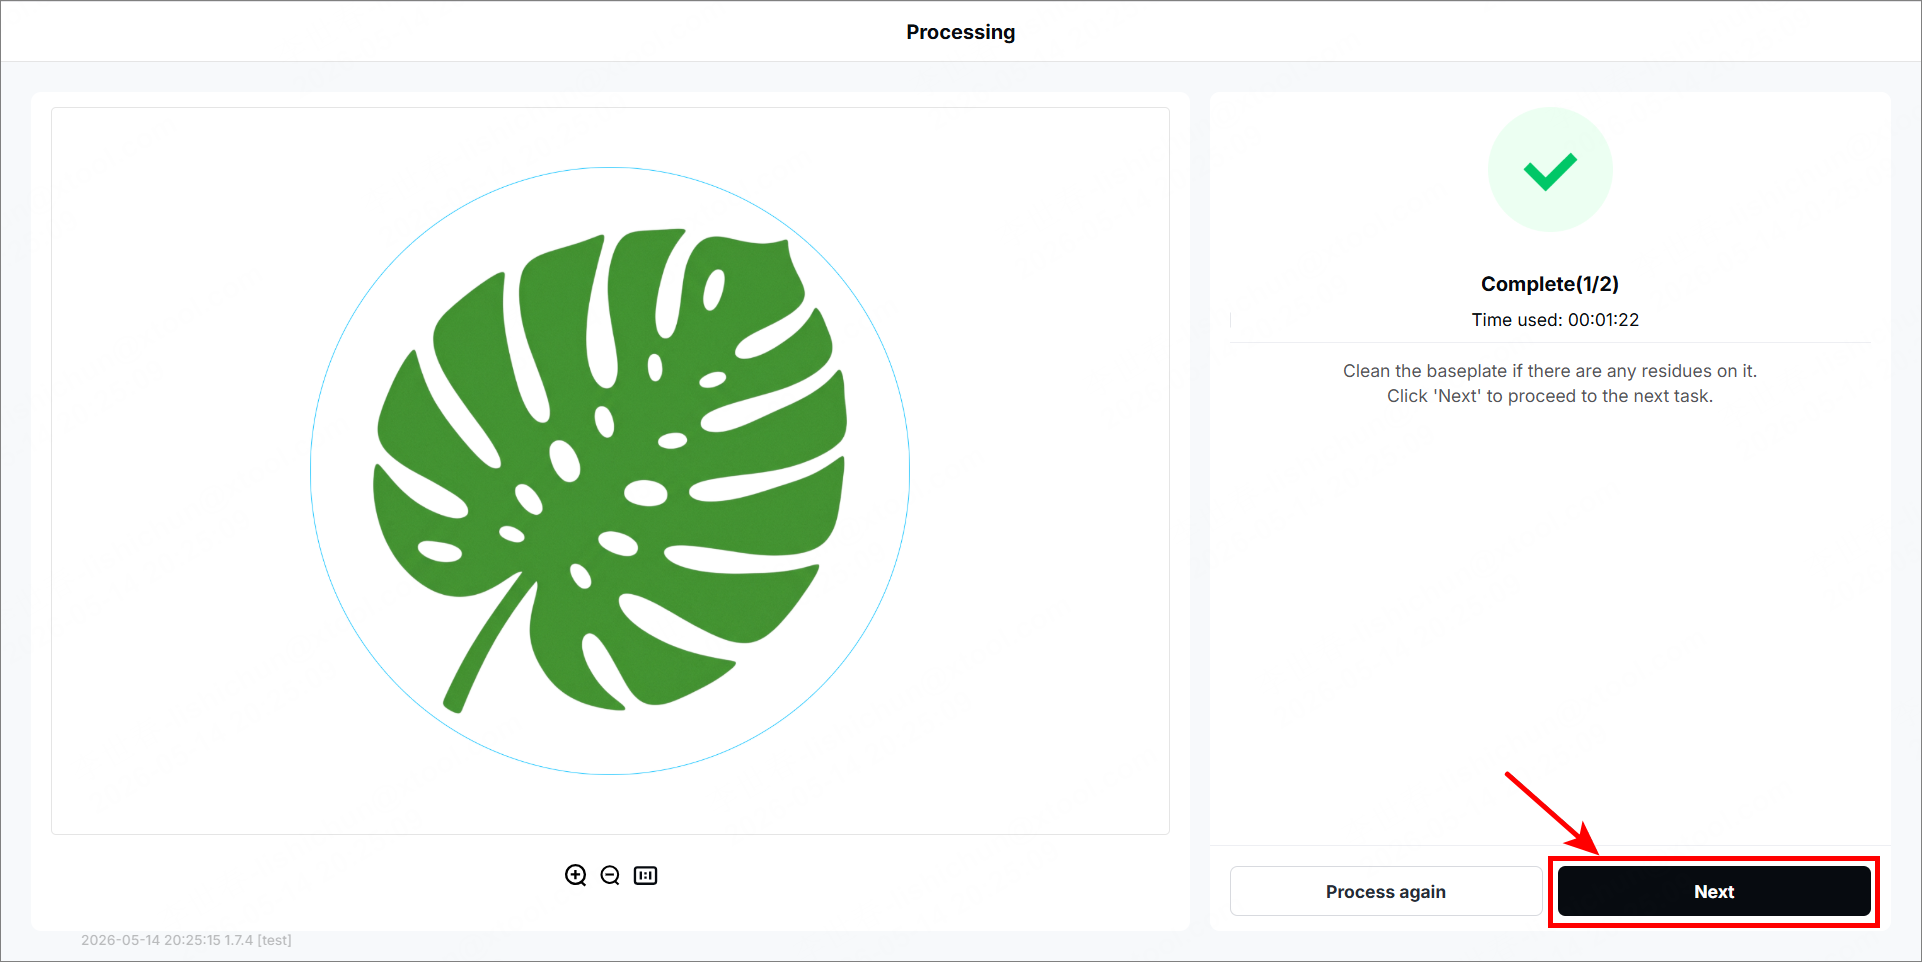
7. Start the laser processing
(1) Disconnect the module connection cable, and remove the inkjet module.
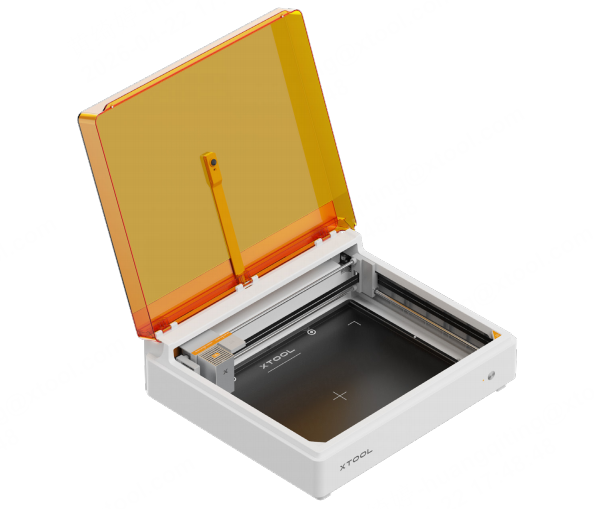
(2) When you install the laser module, the two location pins on its back and the multi-function module holder should be aligned.
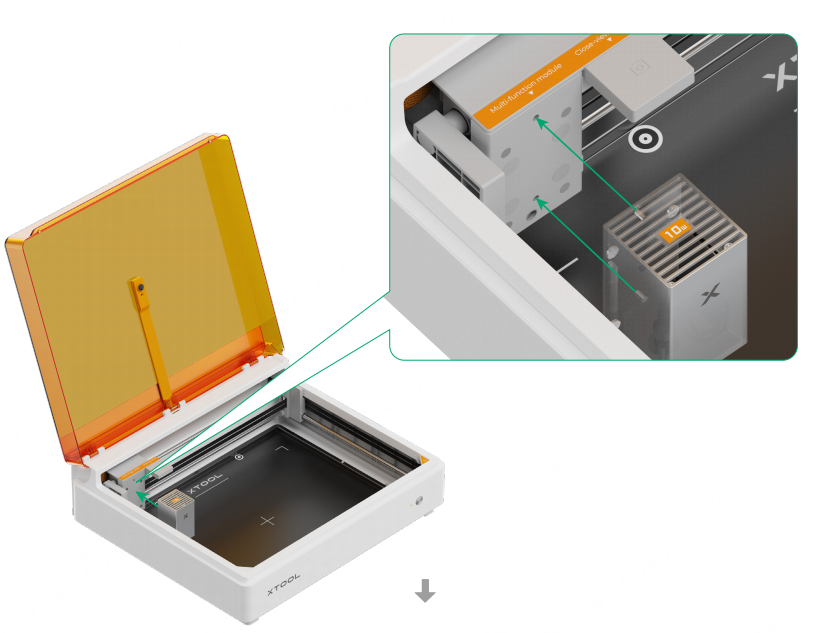
(3) Connect the module connection cable into the port of the laser module and the multi-function holder.
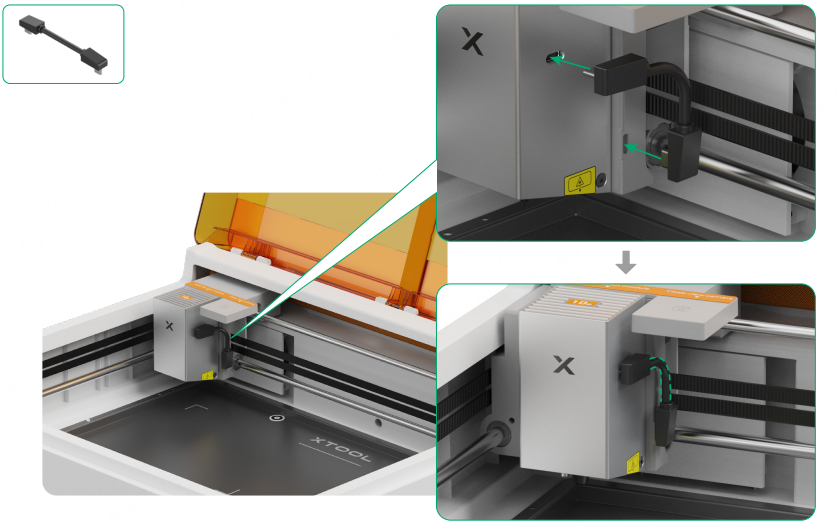
Ensure the cable is positioned close to the laser module.
(4) In the bottom right corner, click Start(2/2) to start processing.
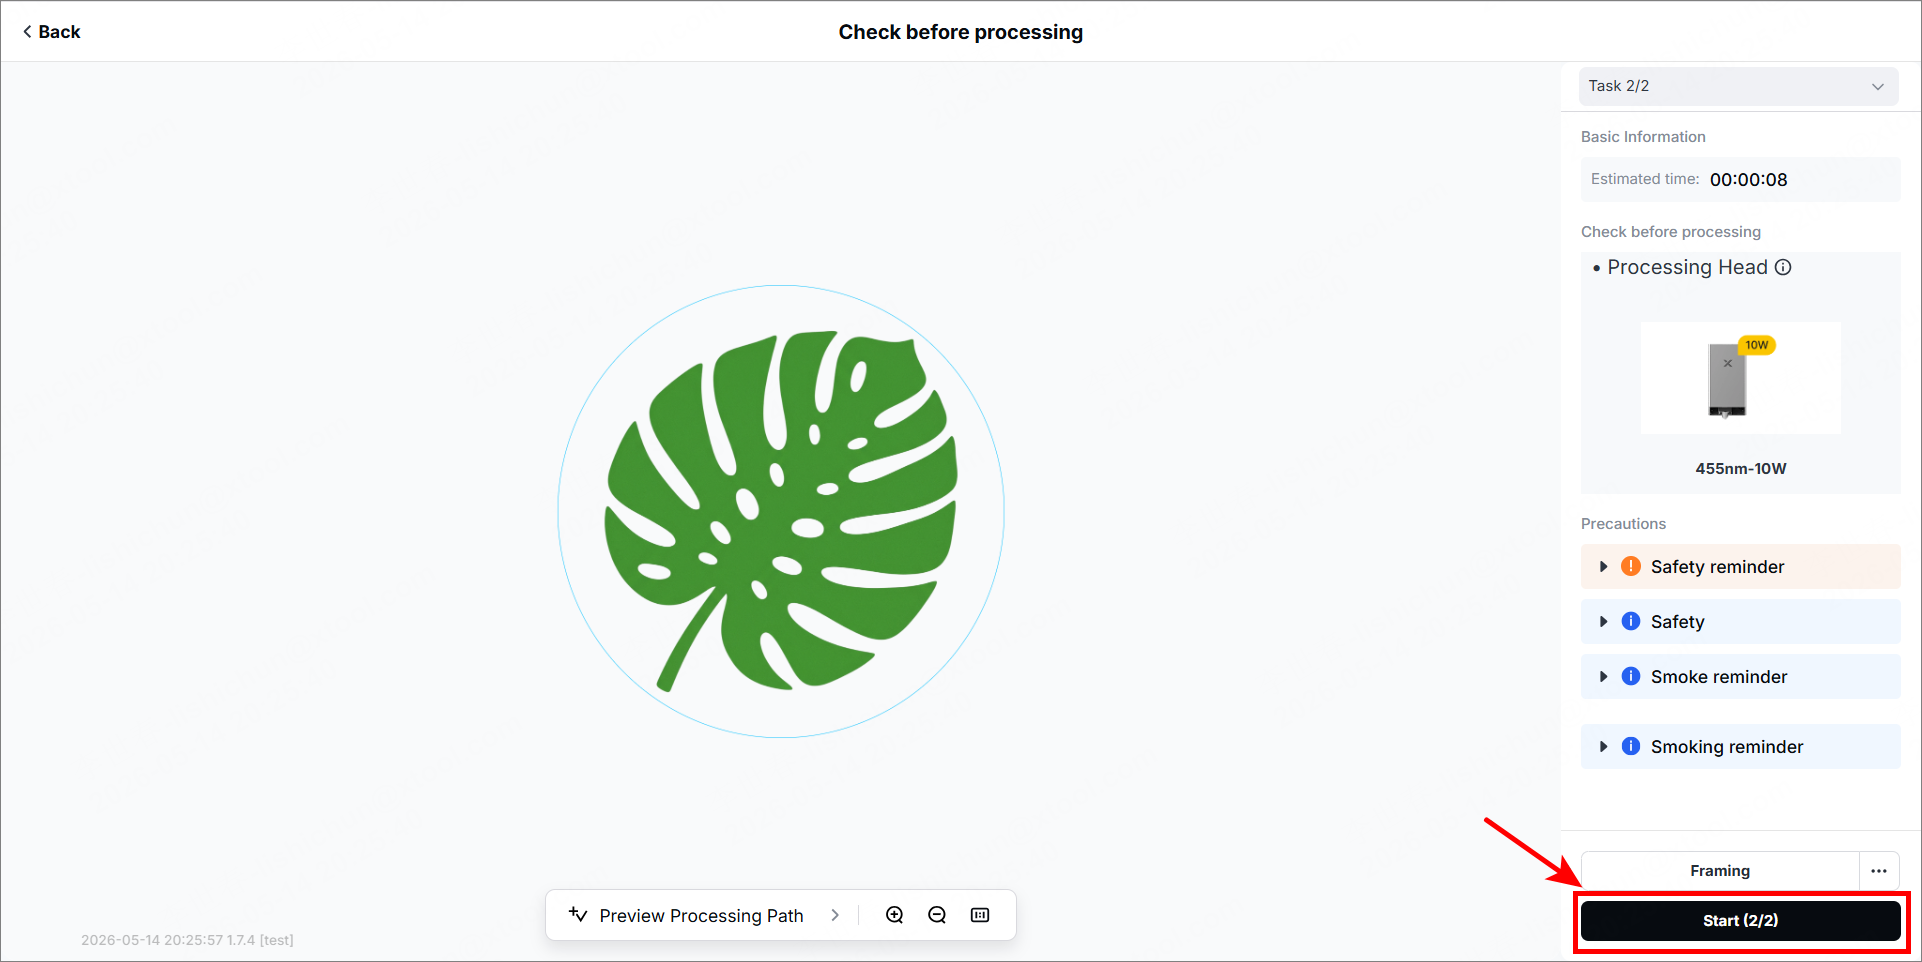
(5) Press the silver button to start processing.
Wait until the processing is completed.