
This article uses a 10W laser module as an example to show the steps of using xTool M2 with software for flat surface processing.
1. Connect xTool M2 to the software
Go to Operate xTool M2 with xTool Software and follow the steps. Make sure the device is connected successfully.
2. Preparations before processing
(1) When you process the flat materials for the first time, follow the instructions in the software. Click Start the tutorial.

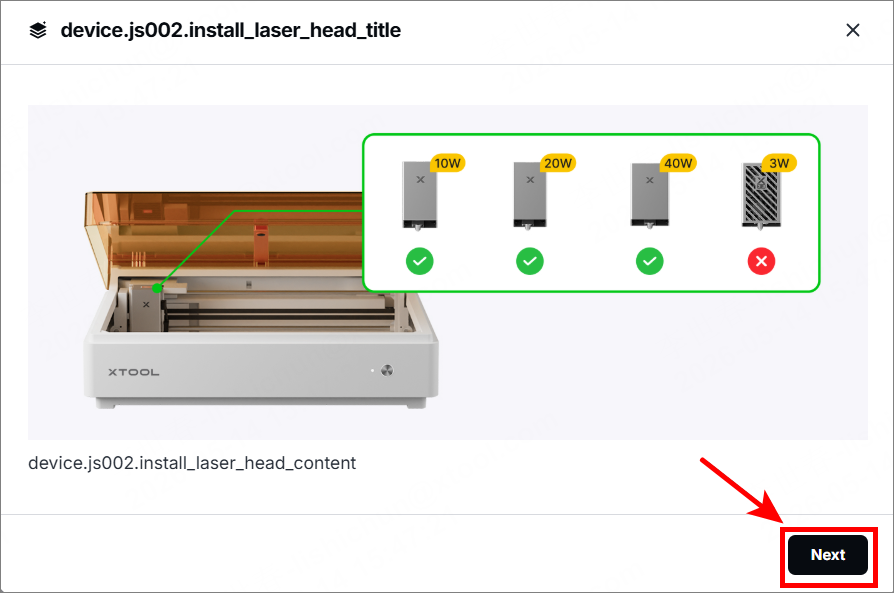
(2) Install the 10/20/40W laser module and make sure it is installed in place. Click Next.
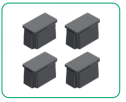
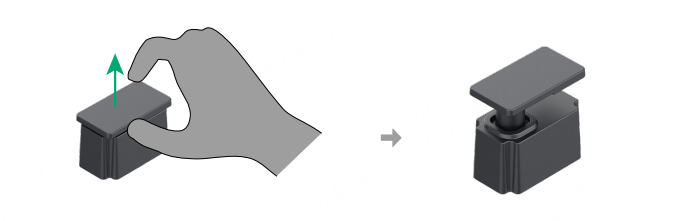
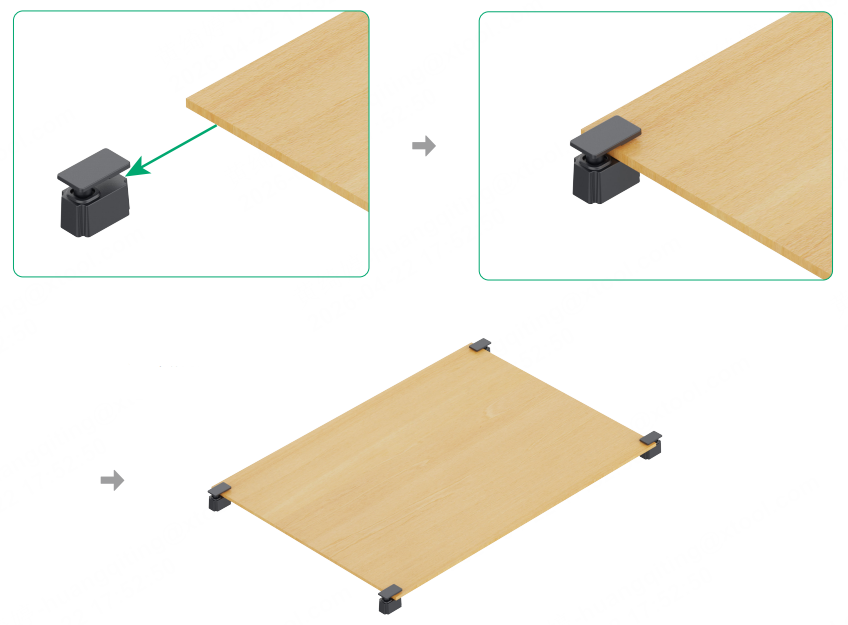
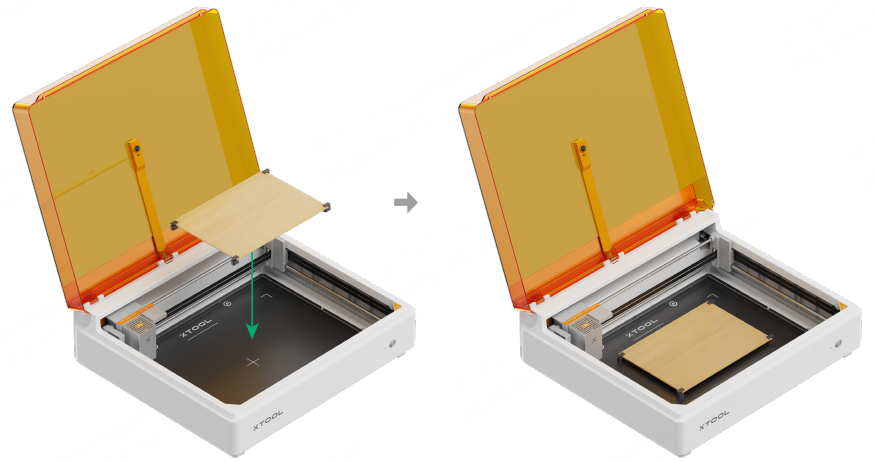
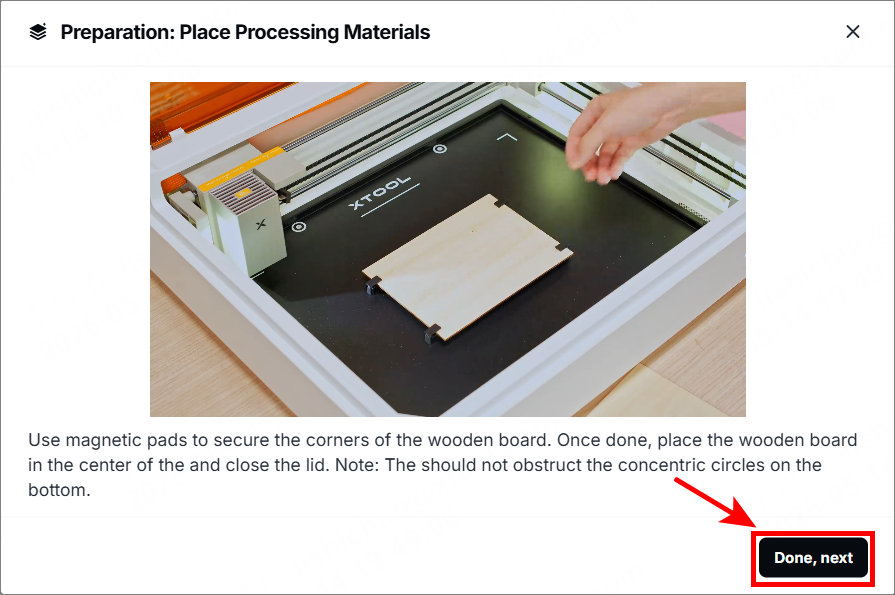
(3) When you perform laser cutting on the material 0<H ≤ 6 mm, to ensure better cutting results, lift the material with four magnetic fixtures. It provides sufficient smoke exhausting space beneath the material.
(4) Place the material in the center of the baseplate, and close the lid.
Note: The material can't cover four camera viewfinder points on the baseplate.
(5) Click Done, next.
3. Select a processing mode and material
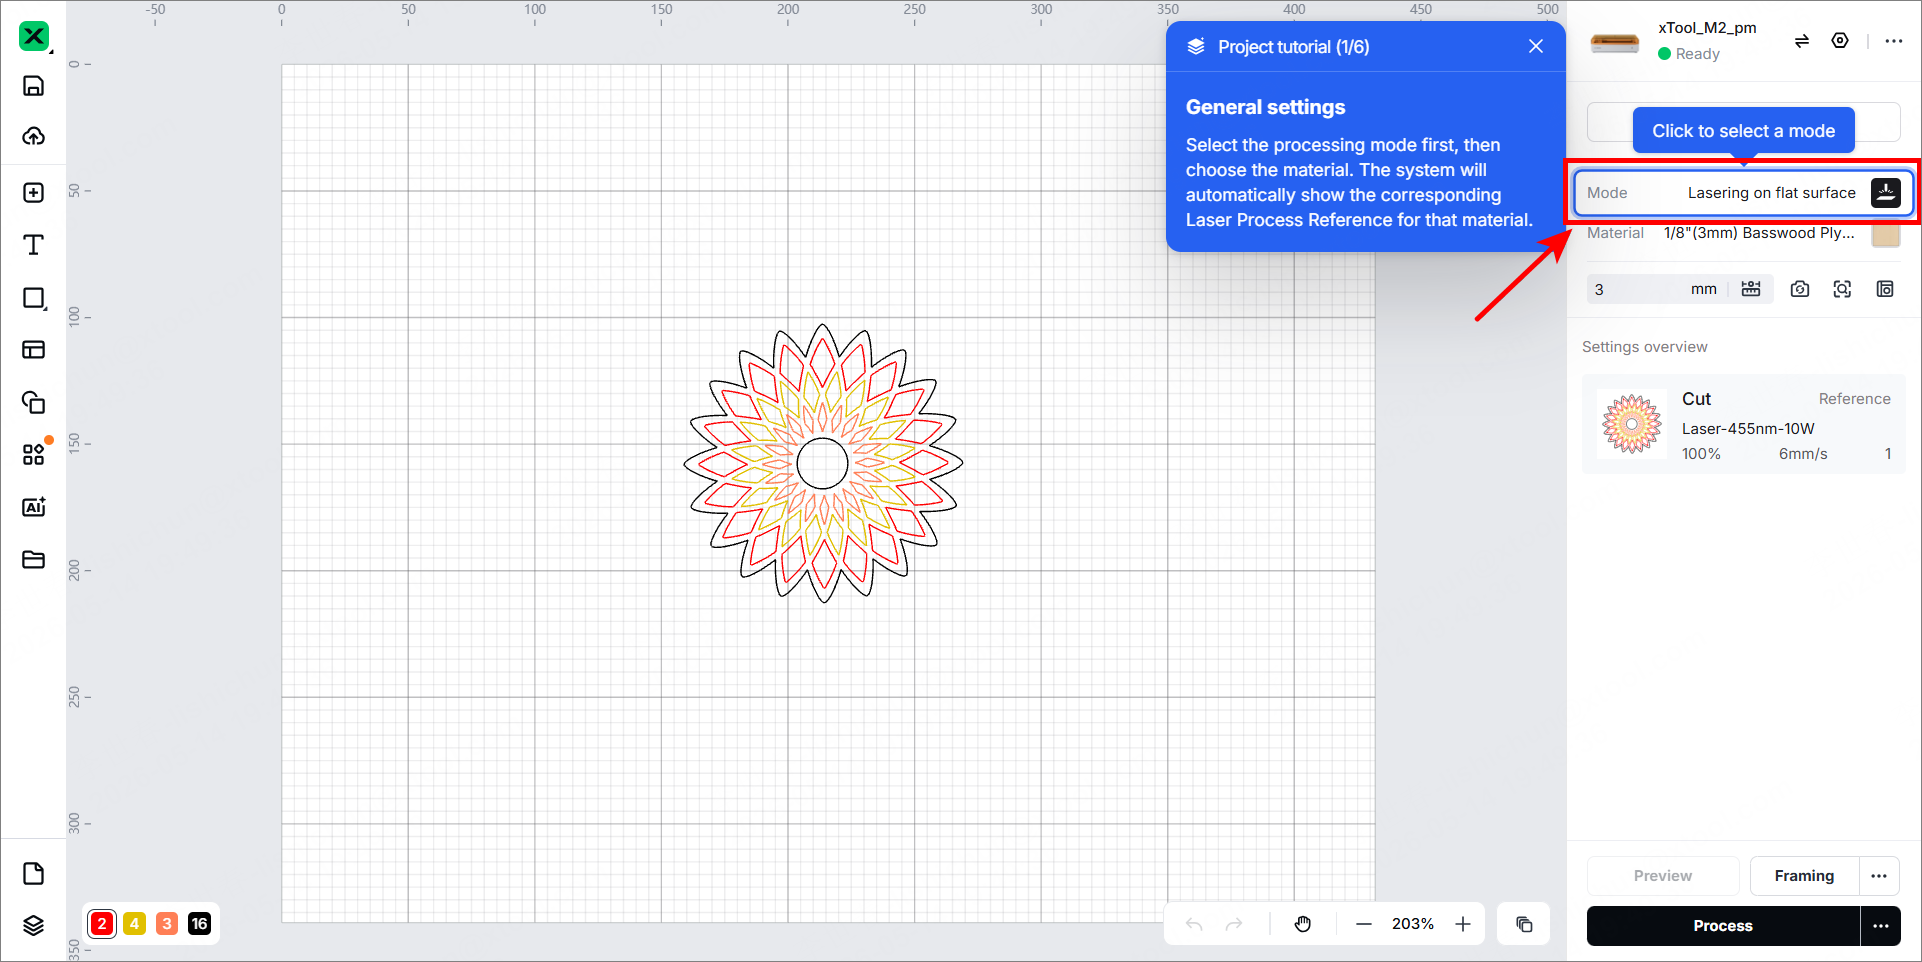
(1) On the right panel, select Lasering on flat surface as the processing mode.
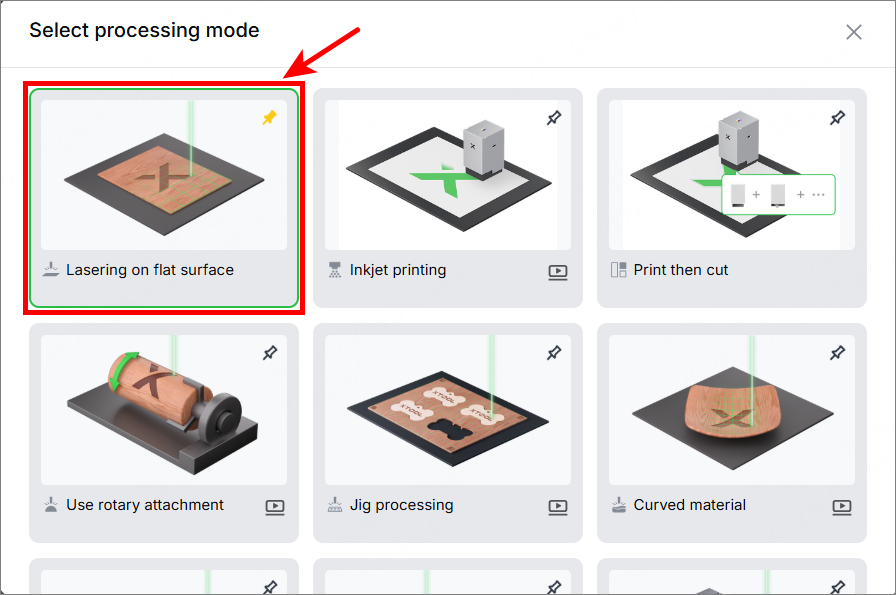
(2) Under Mode, select the material and click Apply.
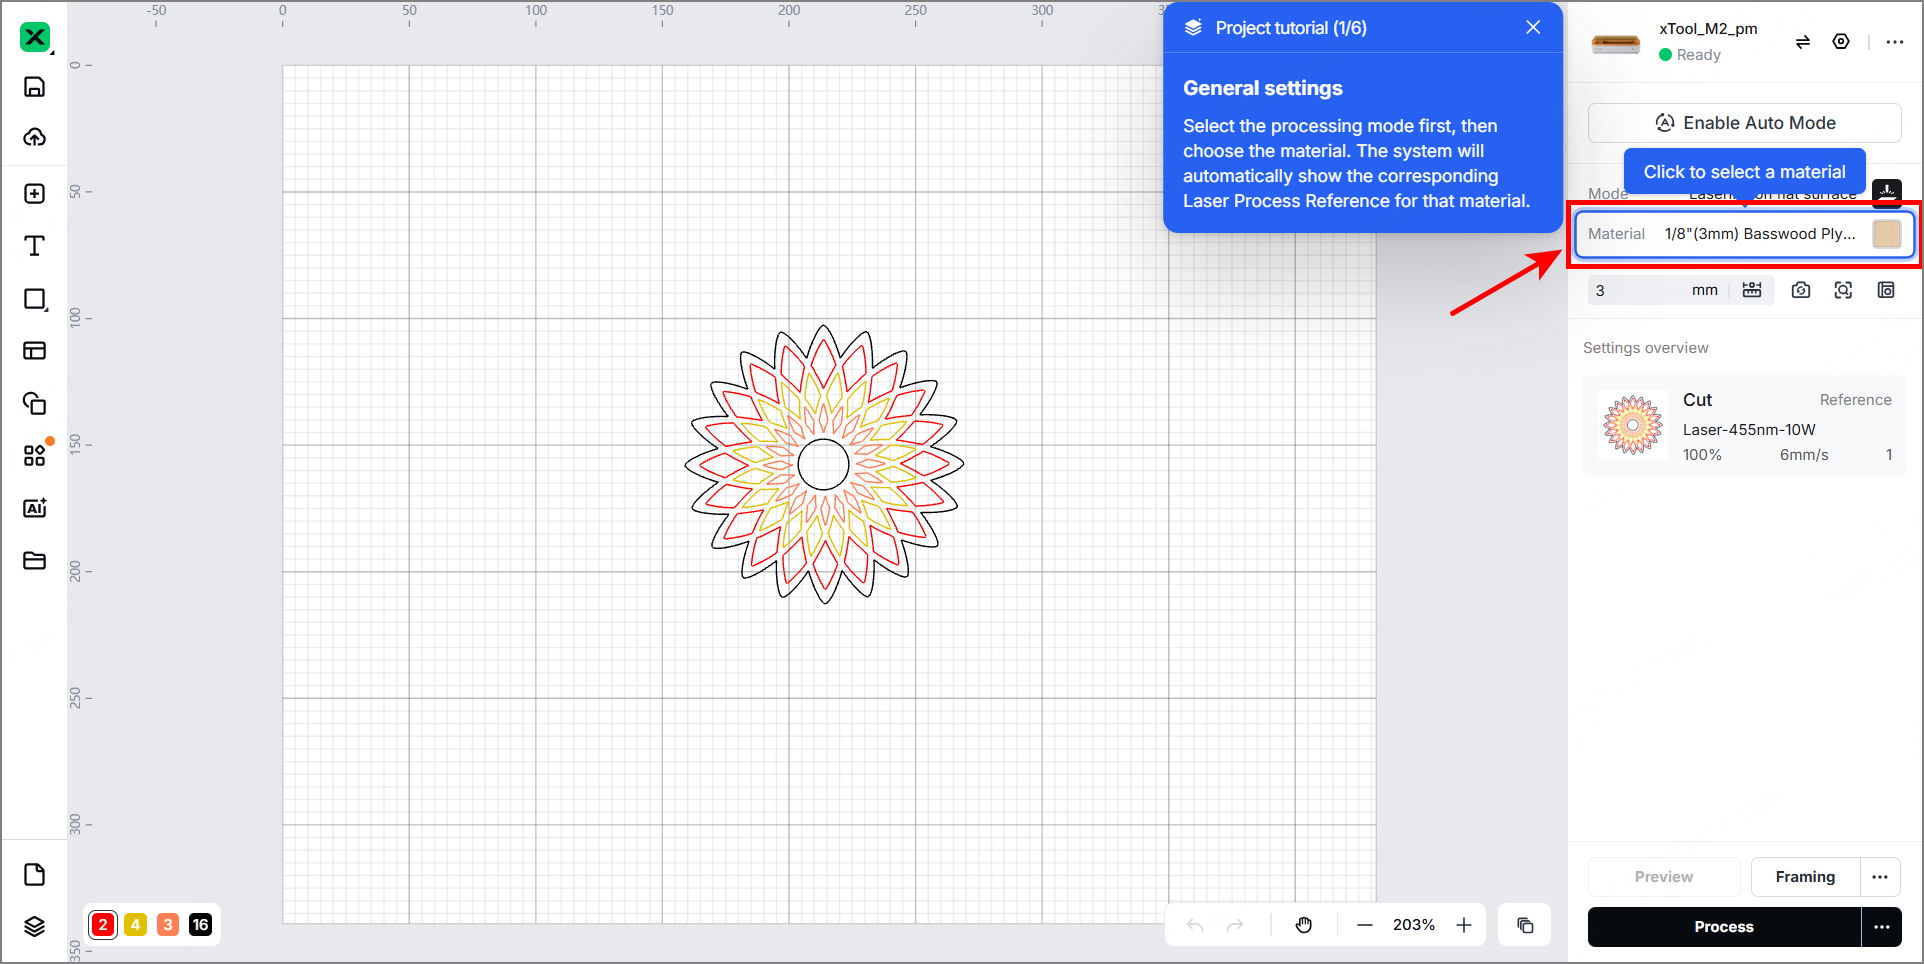
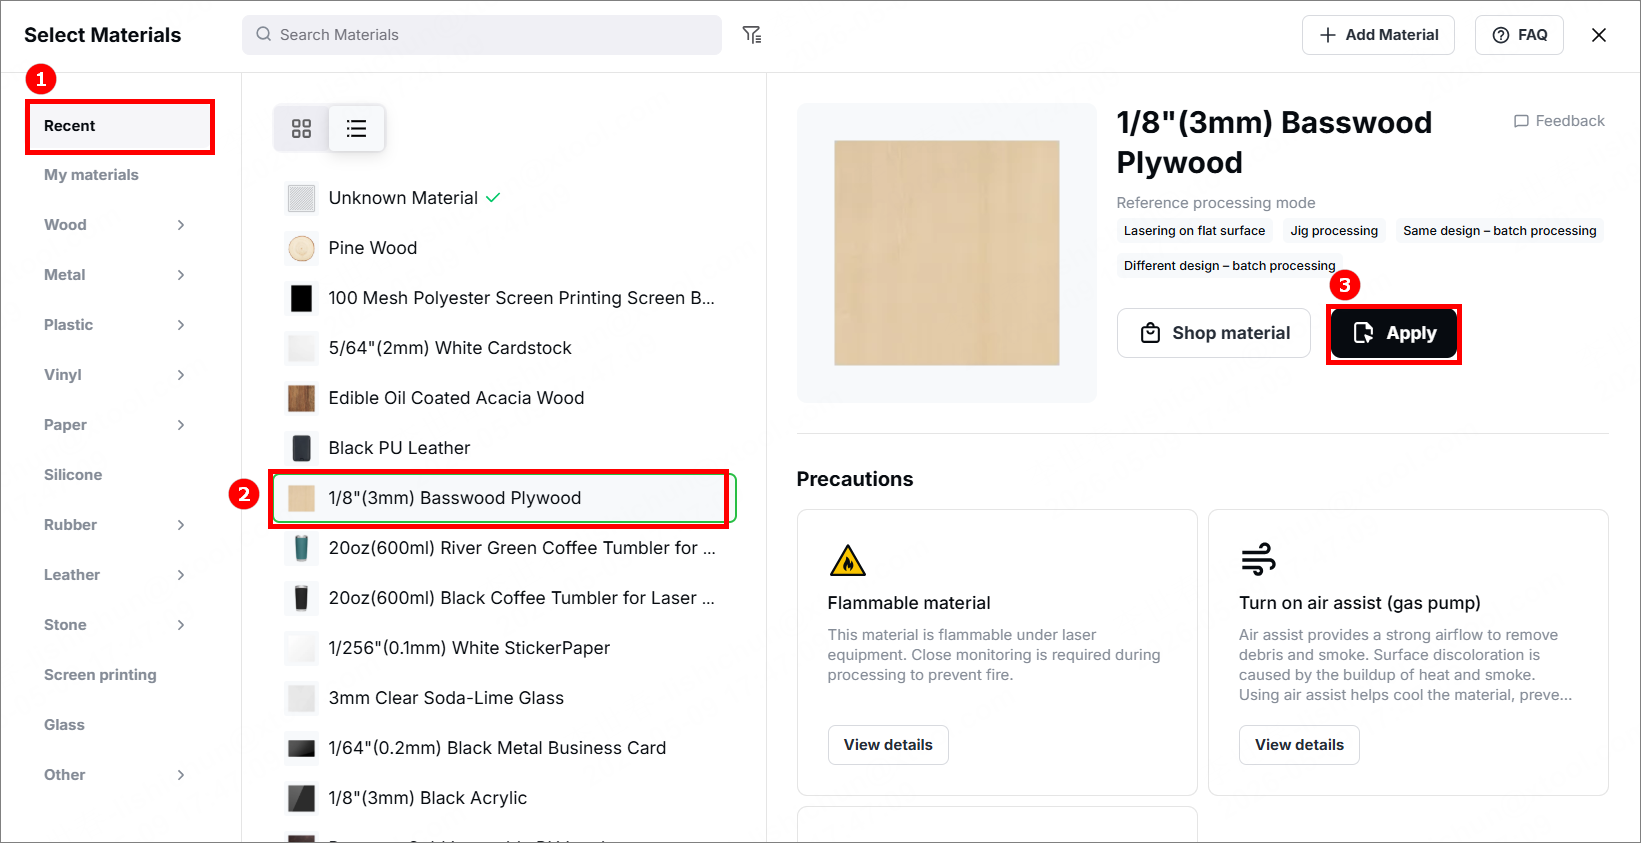
After you select a material from the material list, the software will automatically set the laser processing parameters. The default settings apply to xTool materials. You can adjust the settings based on your needs. If you select user-defined material, you need to set the processing parameters yourself.
4. Refresh the background and measure the distance
(1) Click the Refresh background icon to get the background.
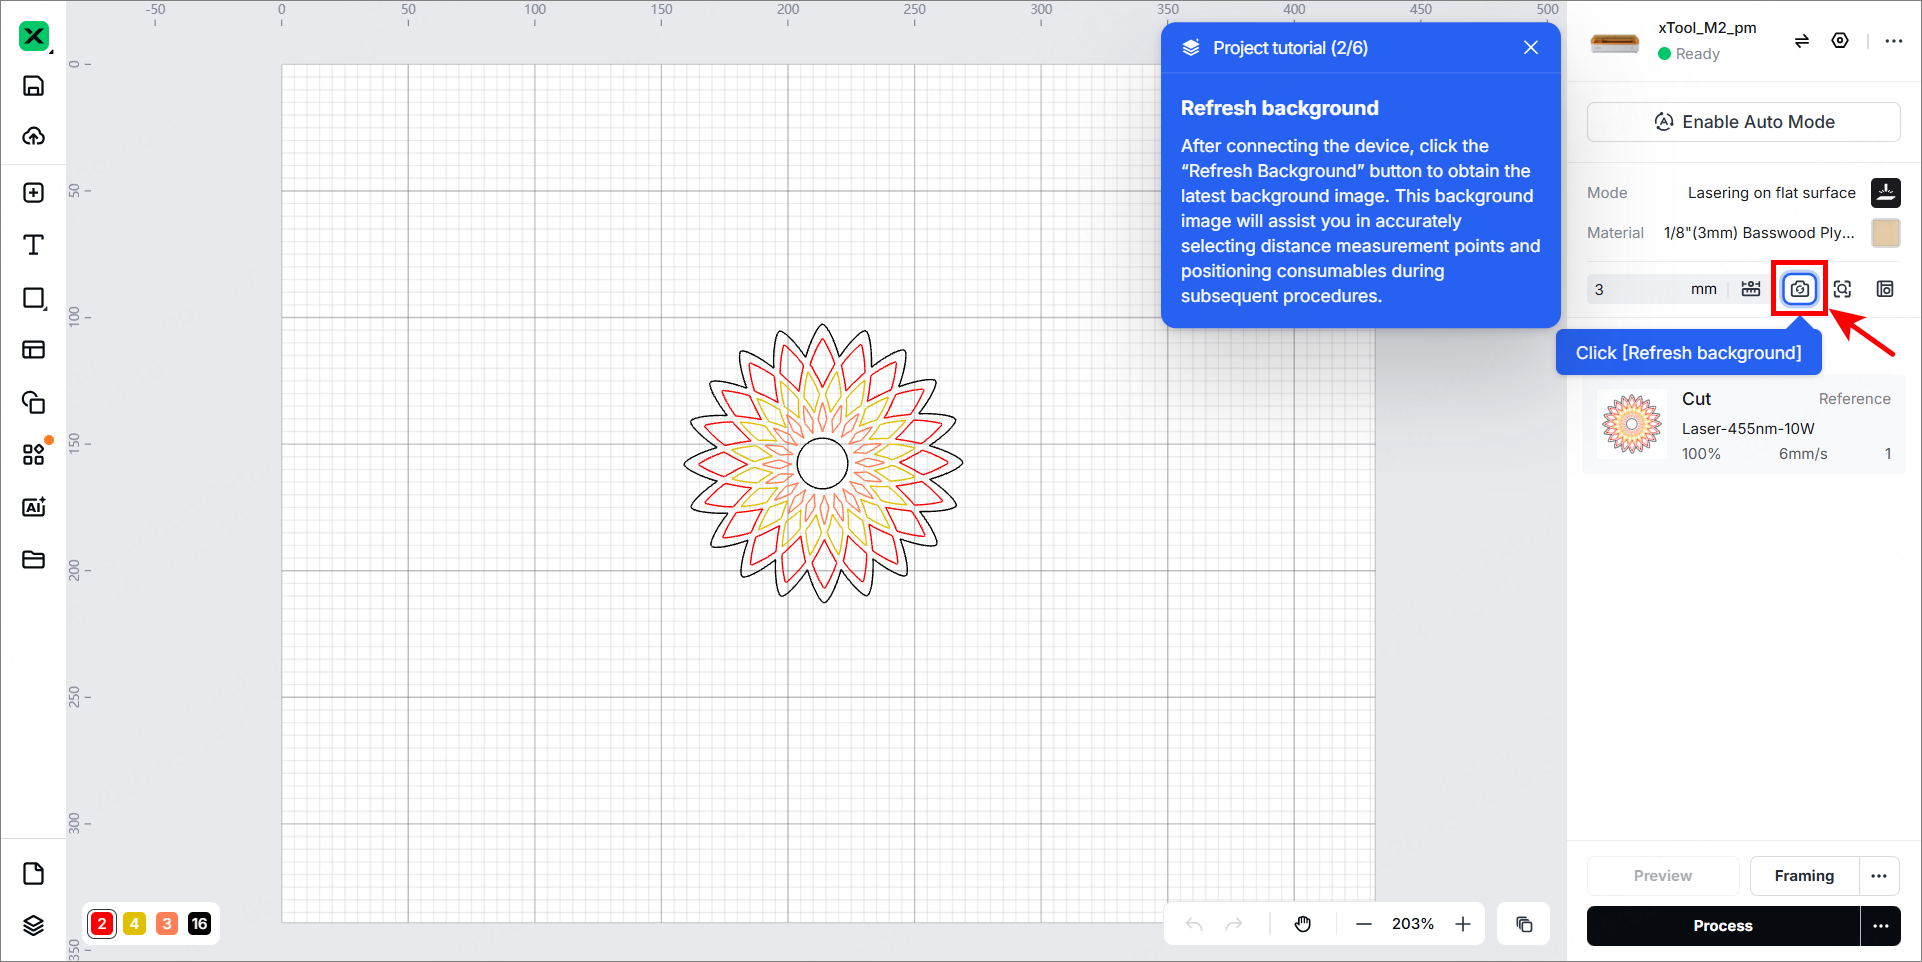
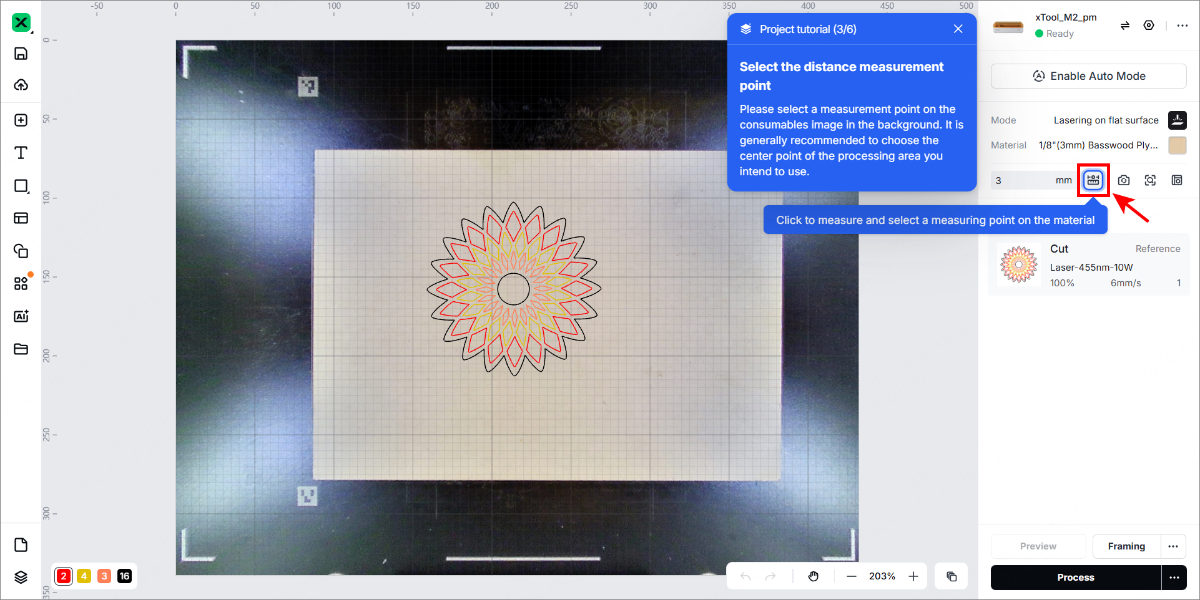
(2) Click the distance measurement icon and select the distance measurement point.
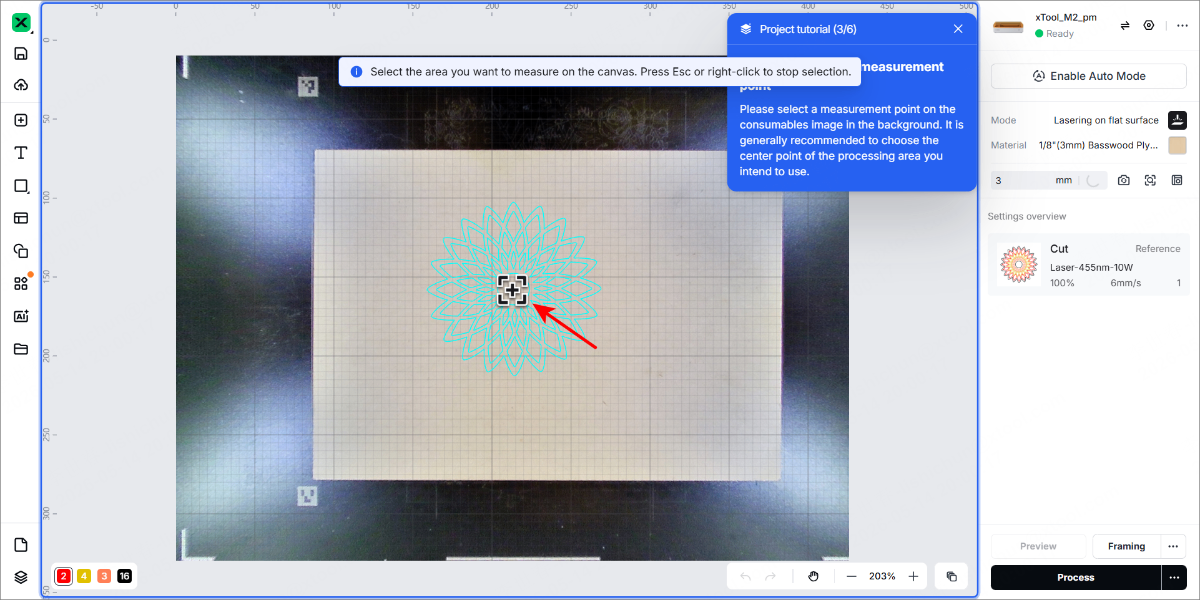
5. Design a processing object and set parameters
(1) Set parameters for them in the right panel, and further edit the objects by using the other features in the upper panel.
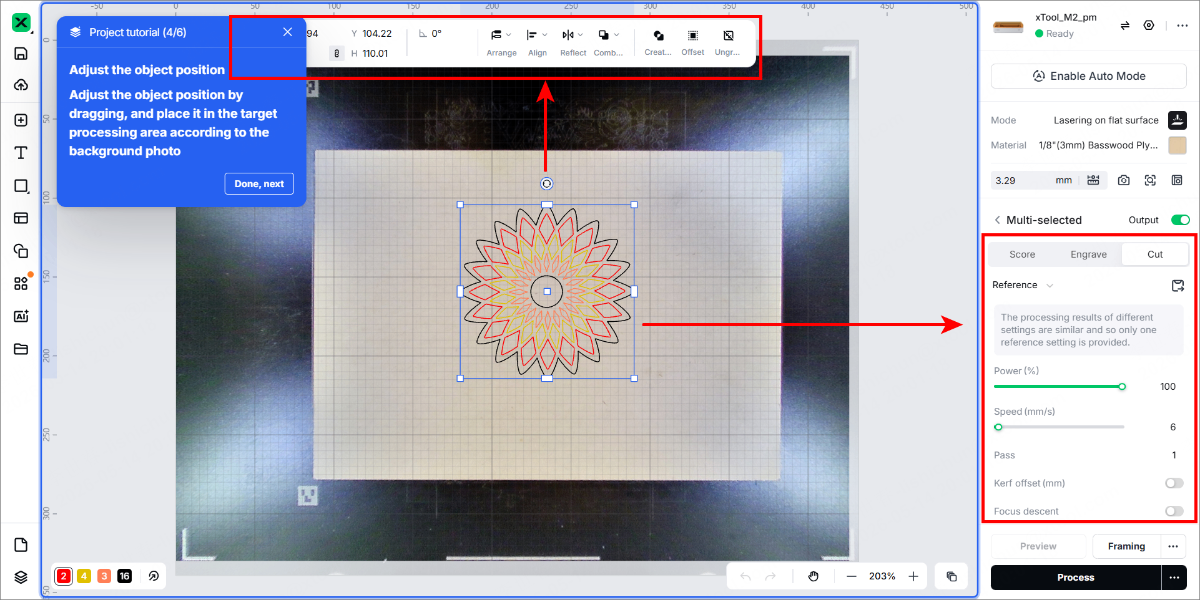
6. Start processing
(1) In the bottom right corner of the software, click Process.
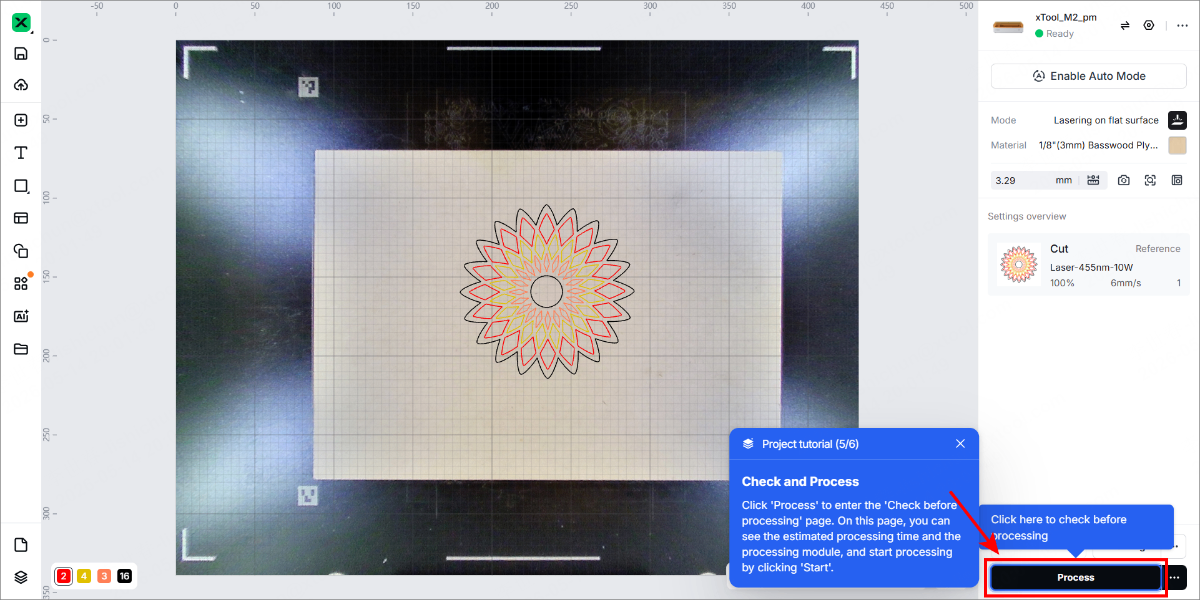
(2) Check whether the accessories are prepared before processing on the right list.
(3) In the bottom right corner, click Start to start processing.
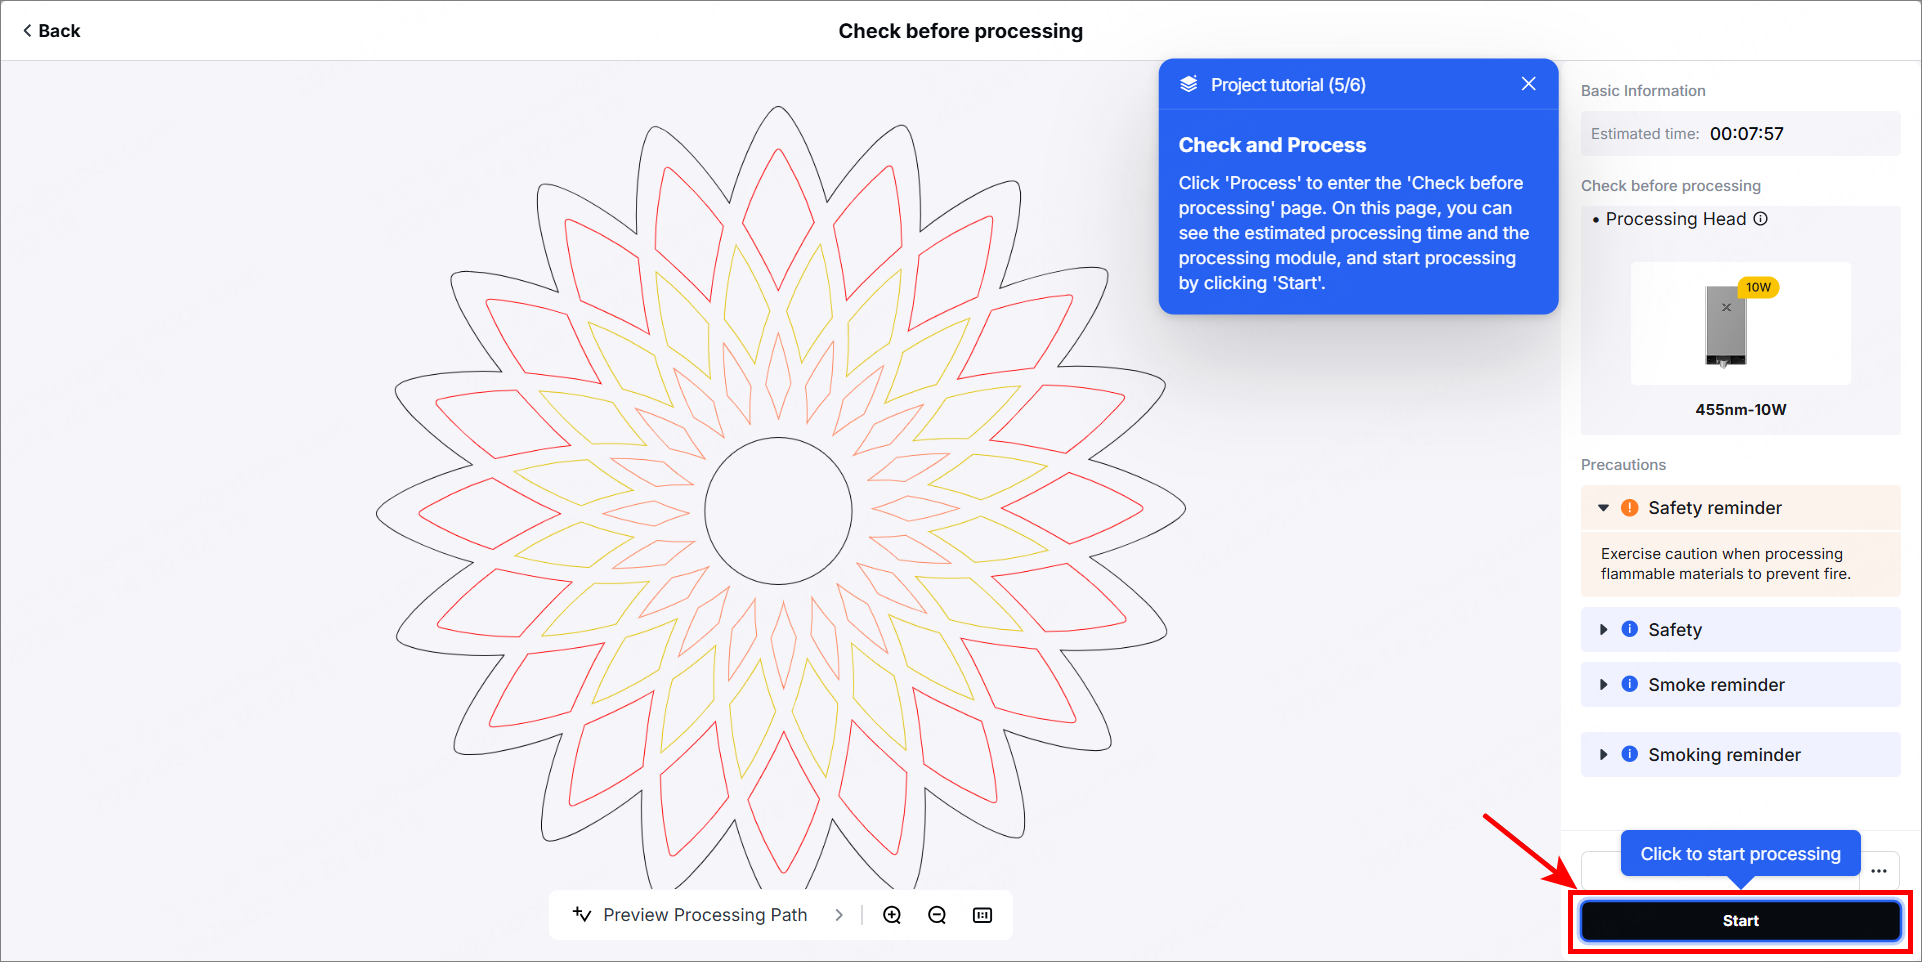
(4) When everything is ready, press the button on xTool M2 to start processing.
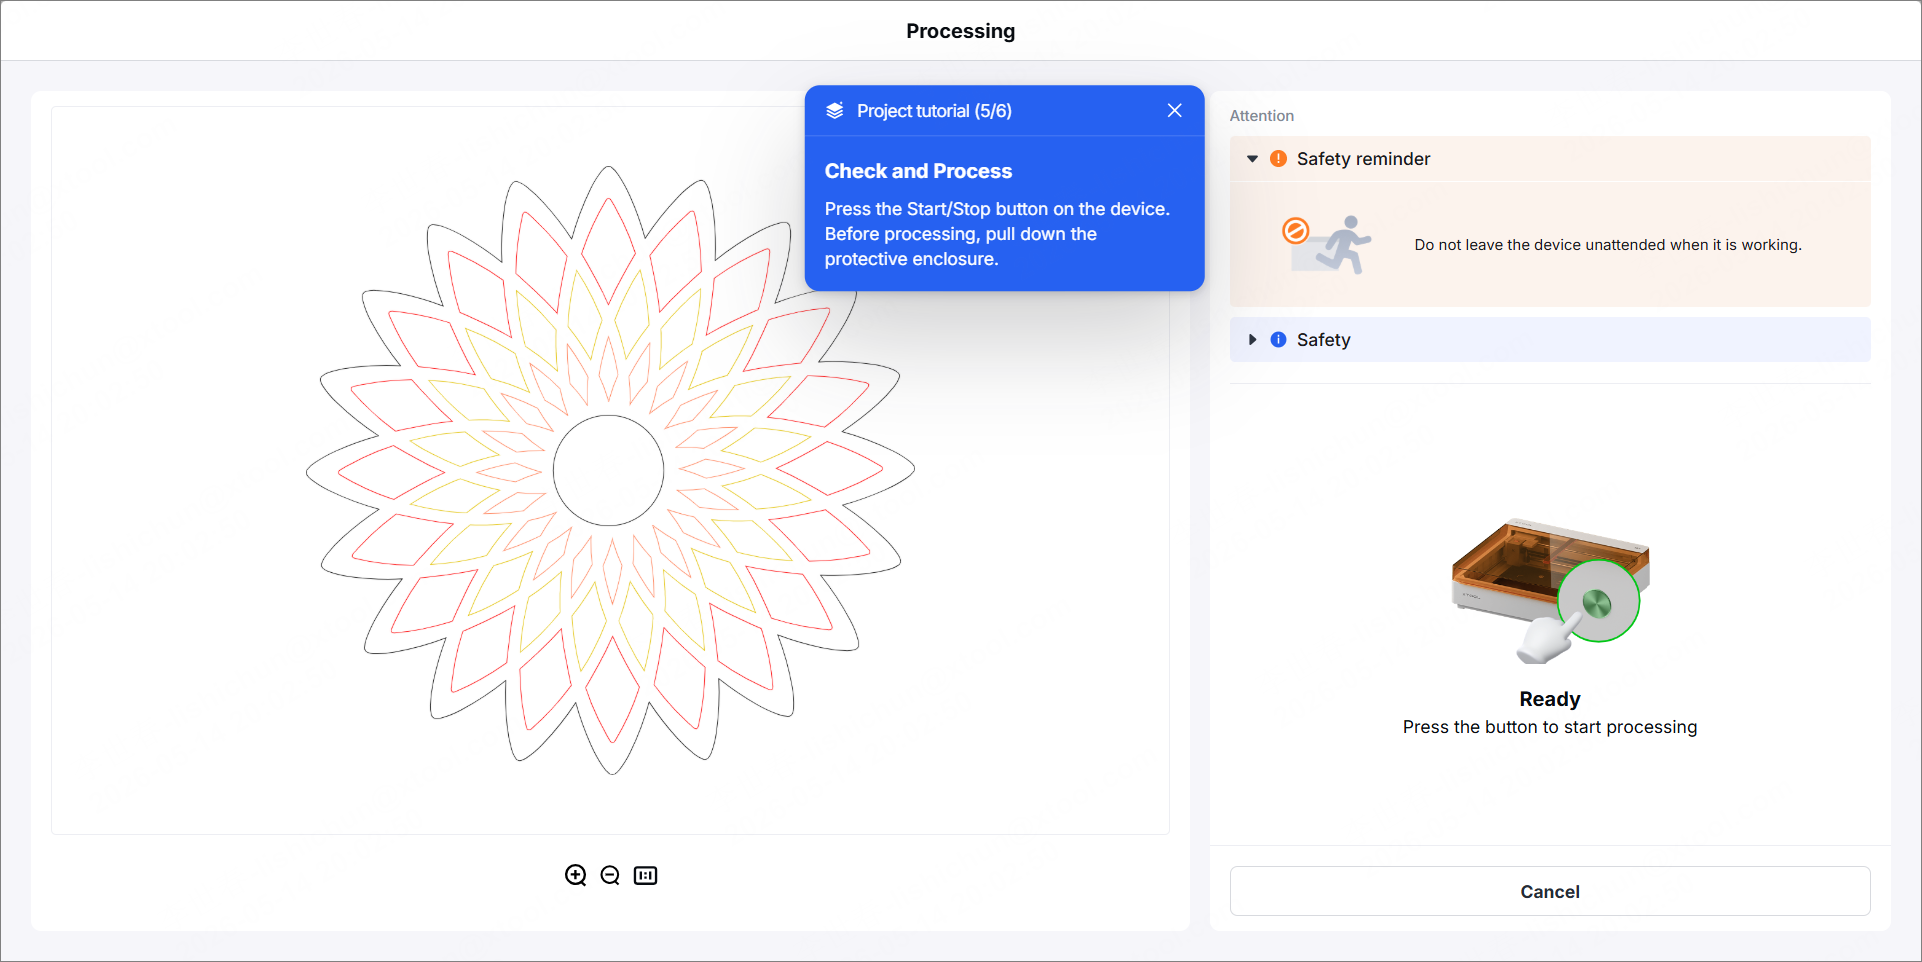
(5) Wait until the processing is completed.

