
This article describes the detailed instructions on how to use xTool OR1 Rotary Attachment with xTool O1 Omni Printer in xTool Studio.
For more information about xTool OR1 Rotary Attachment, refer to xTool OR1 Rotary Attachment for Omni Printer User Guide.
For more information about xTool O1 Omni Printer, refer to xTool O1 Omni Printer User Guide.
OR1 Rotary Attachment first-use video
Click here to watch the video.
Operation instructions
1. Open xTool Studio, and click the + New Project button in the top-right corner.

2. Switch to your xTool O1 Omni Printer connected to the computer.
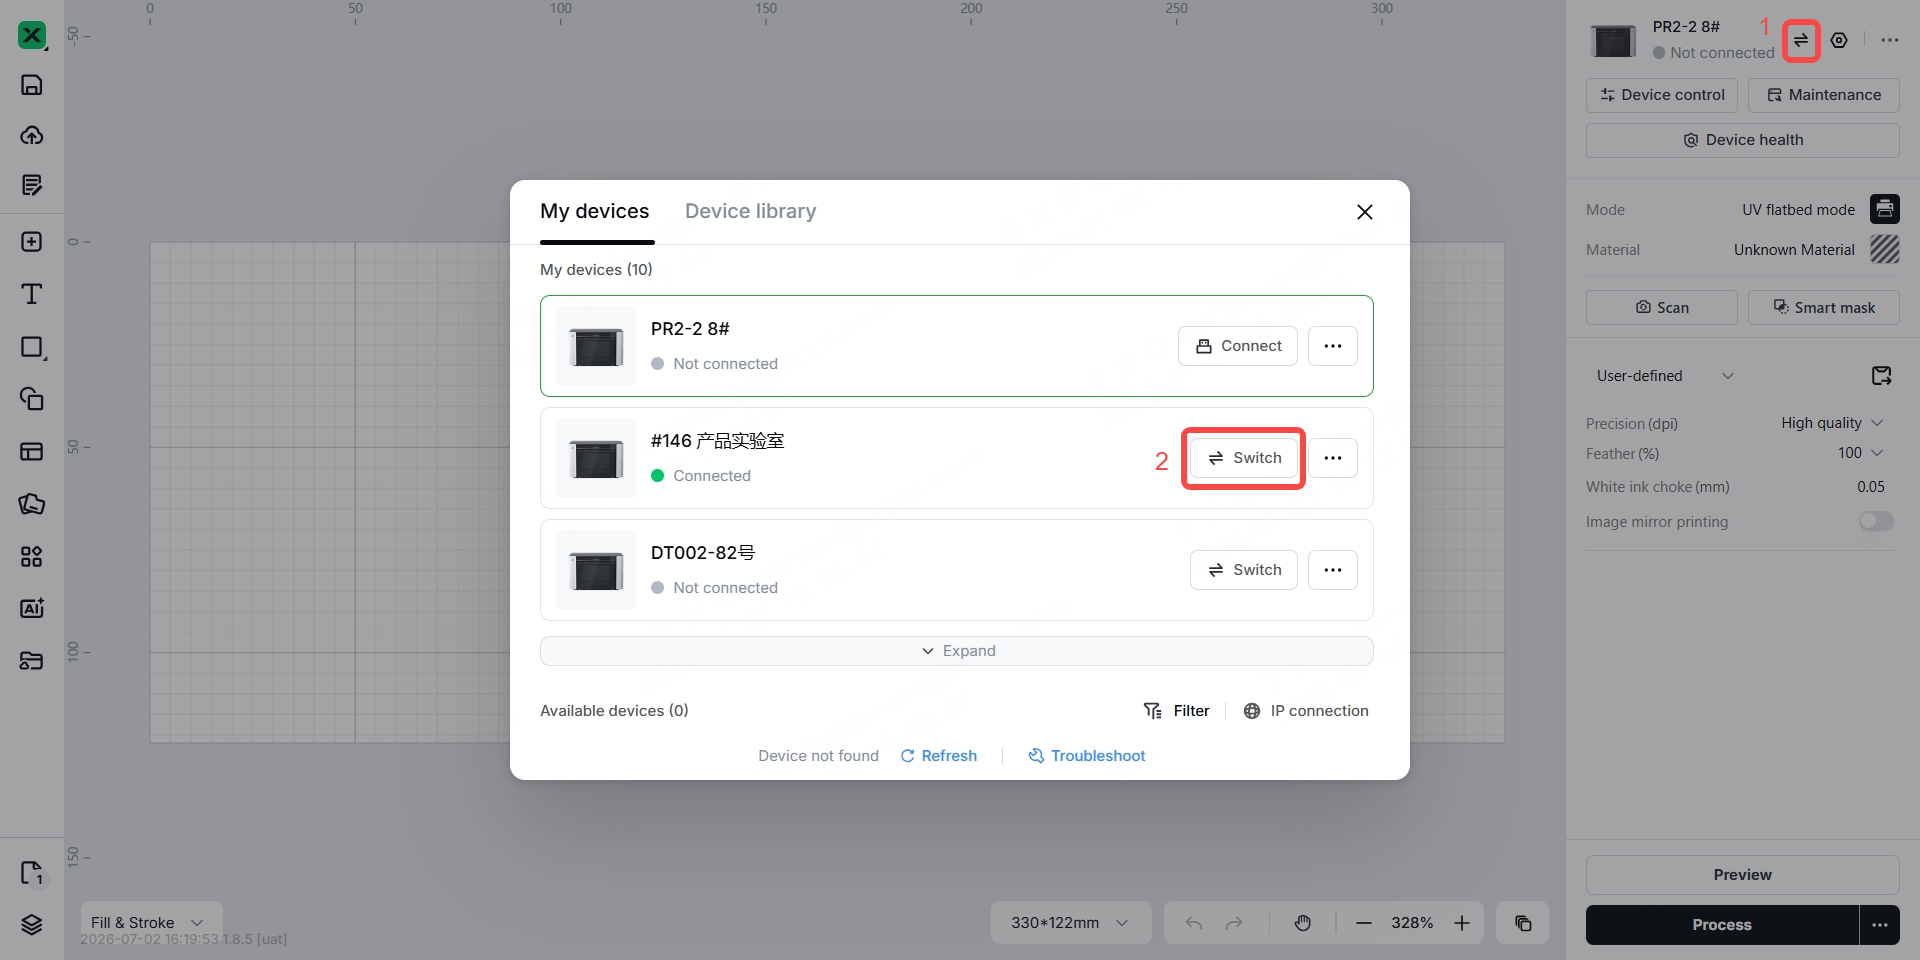
3. Click the current processing mode, then select Rotary mode.
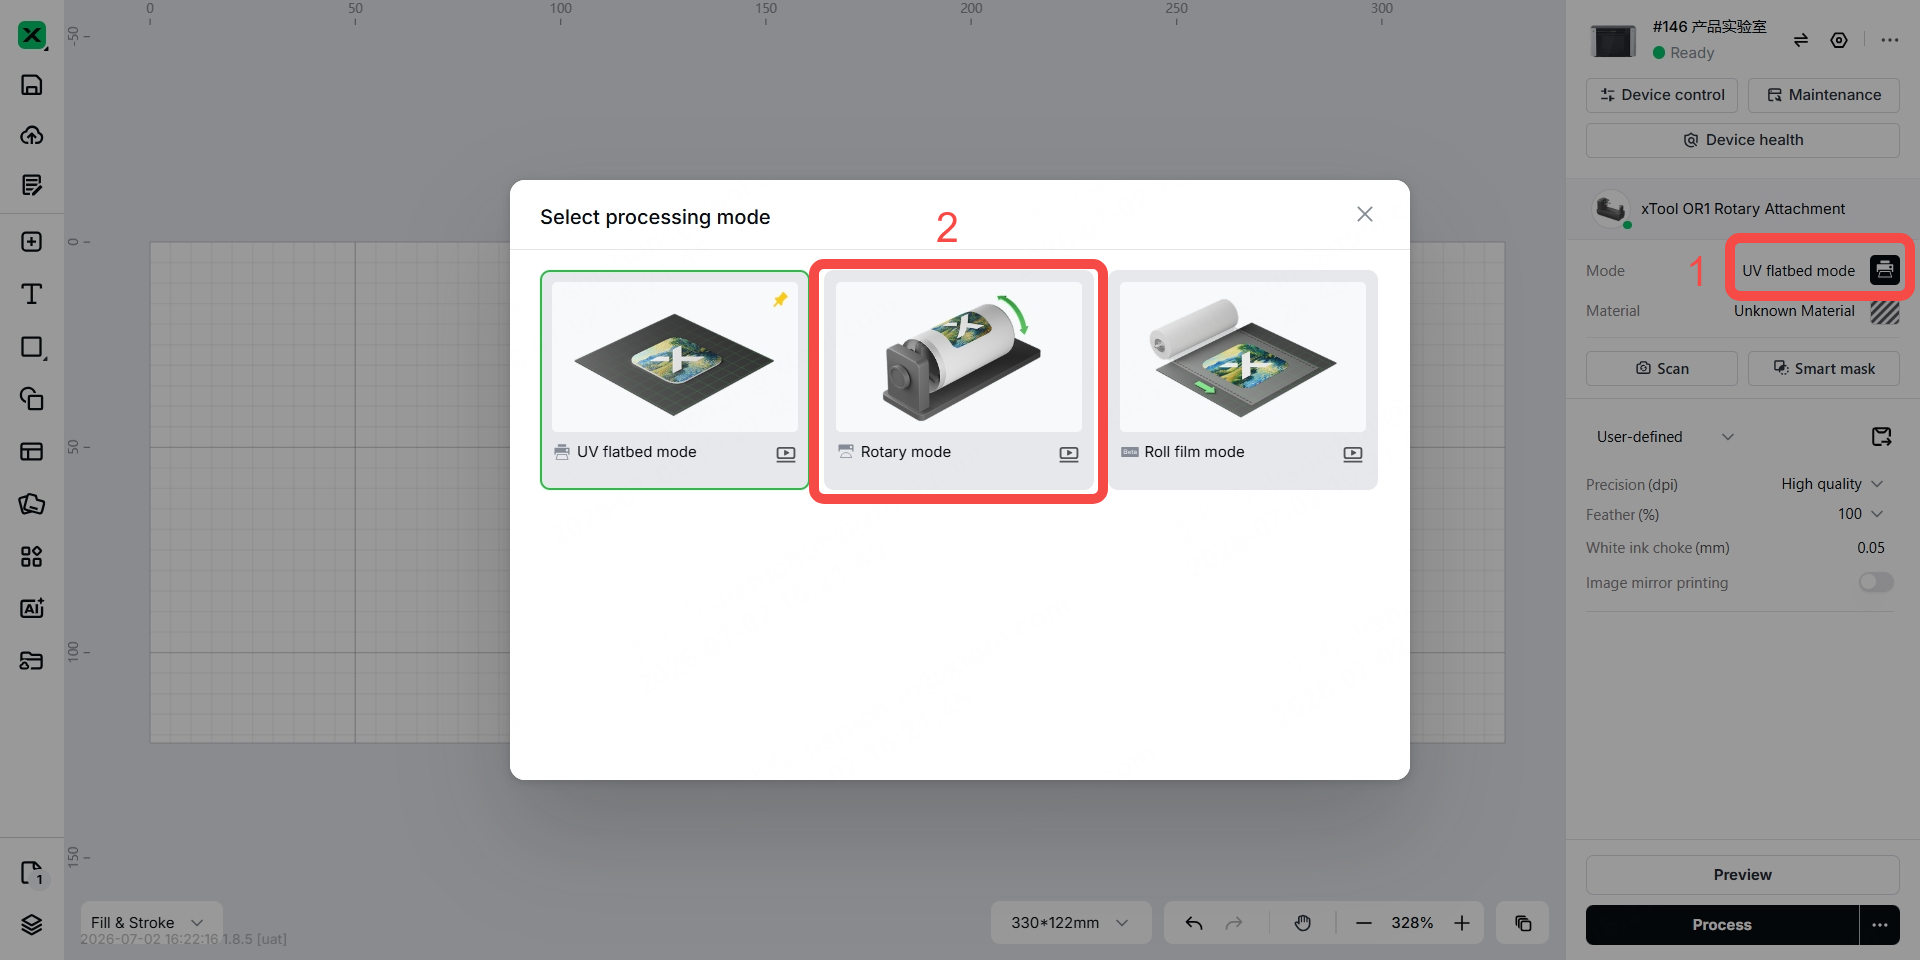
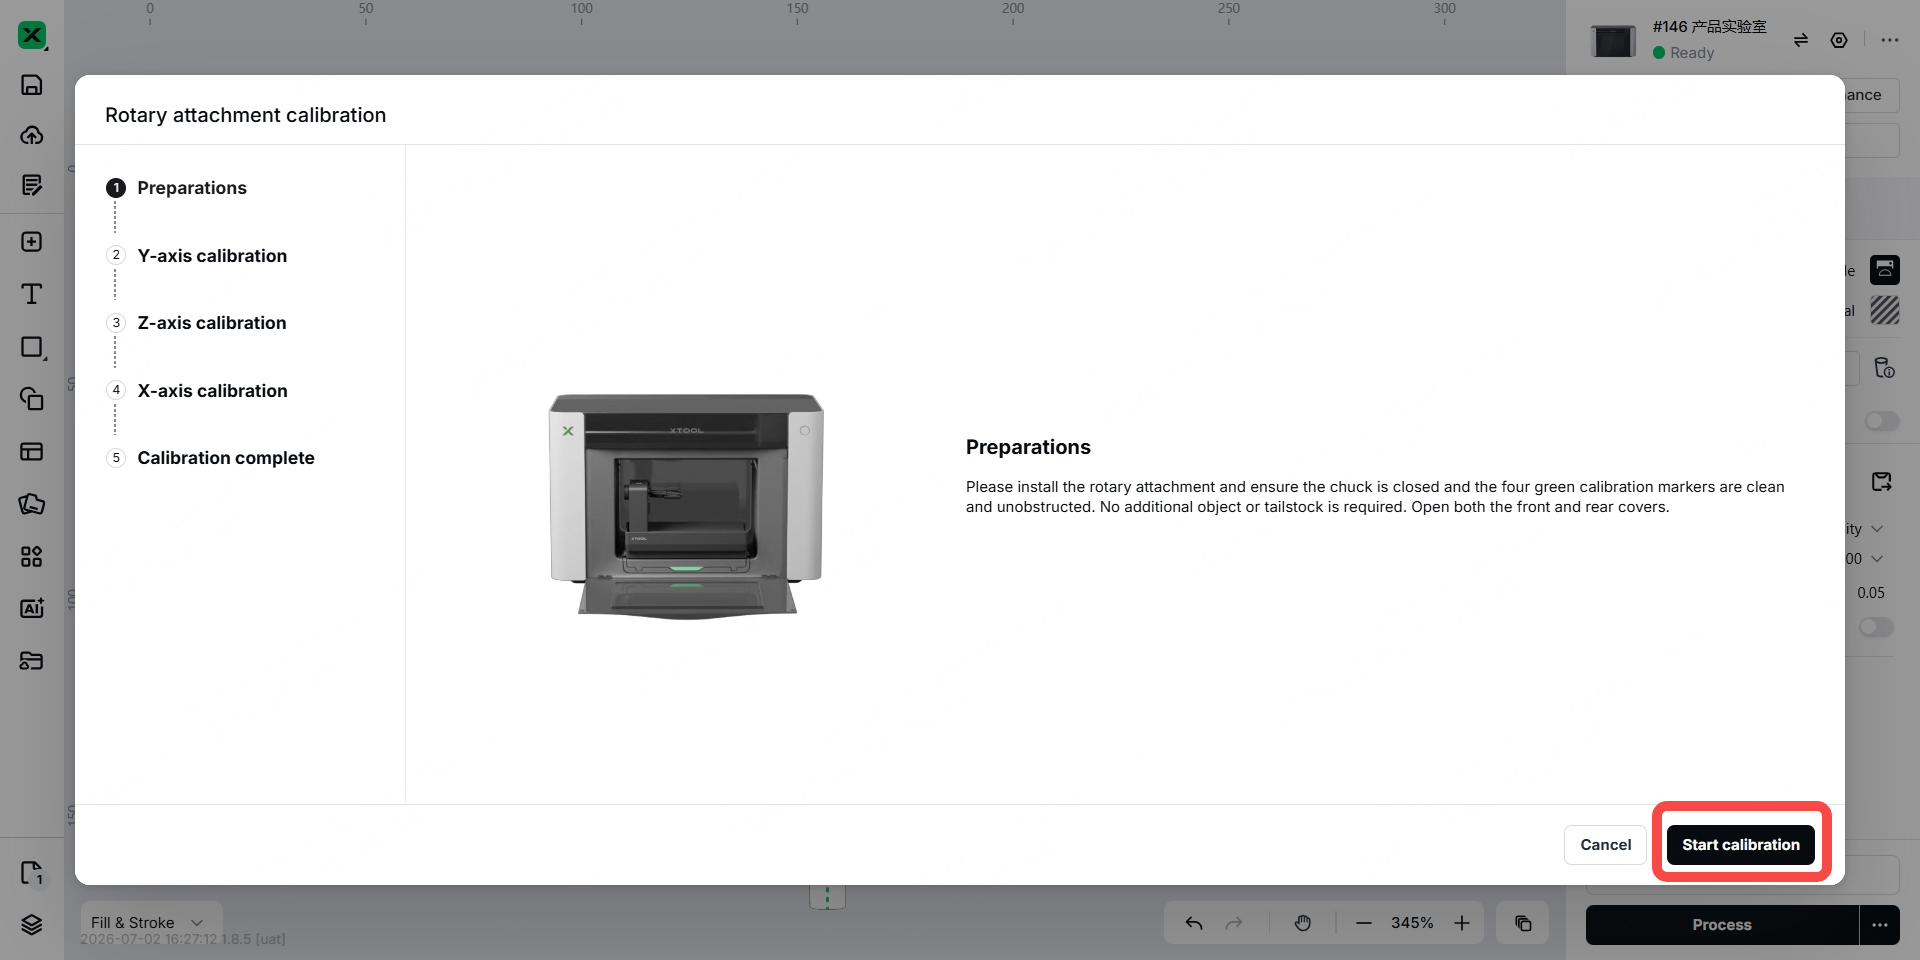
4. Click Start to start the rotary attachment calibration.
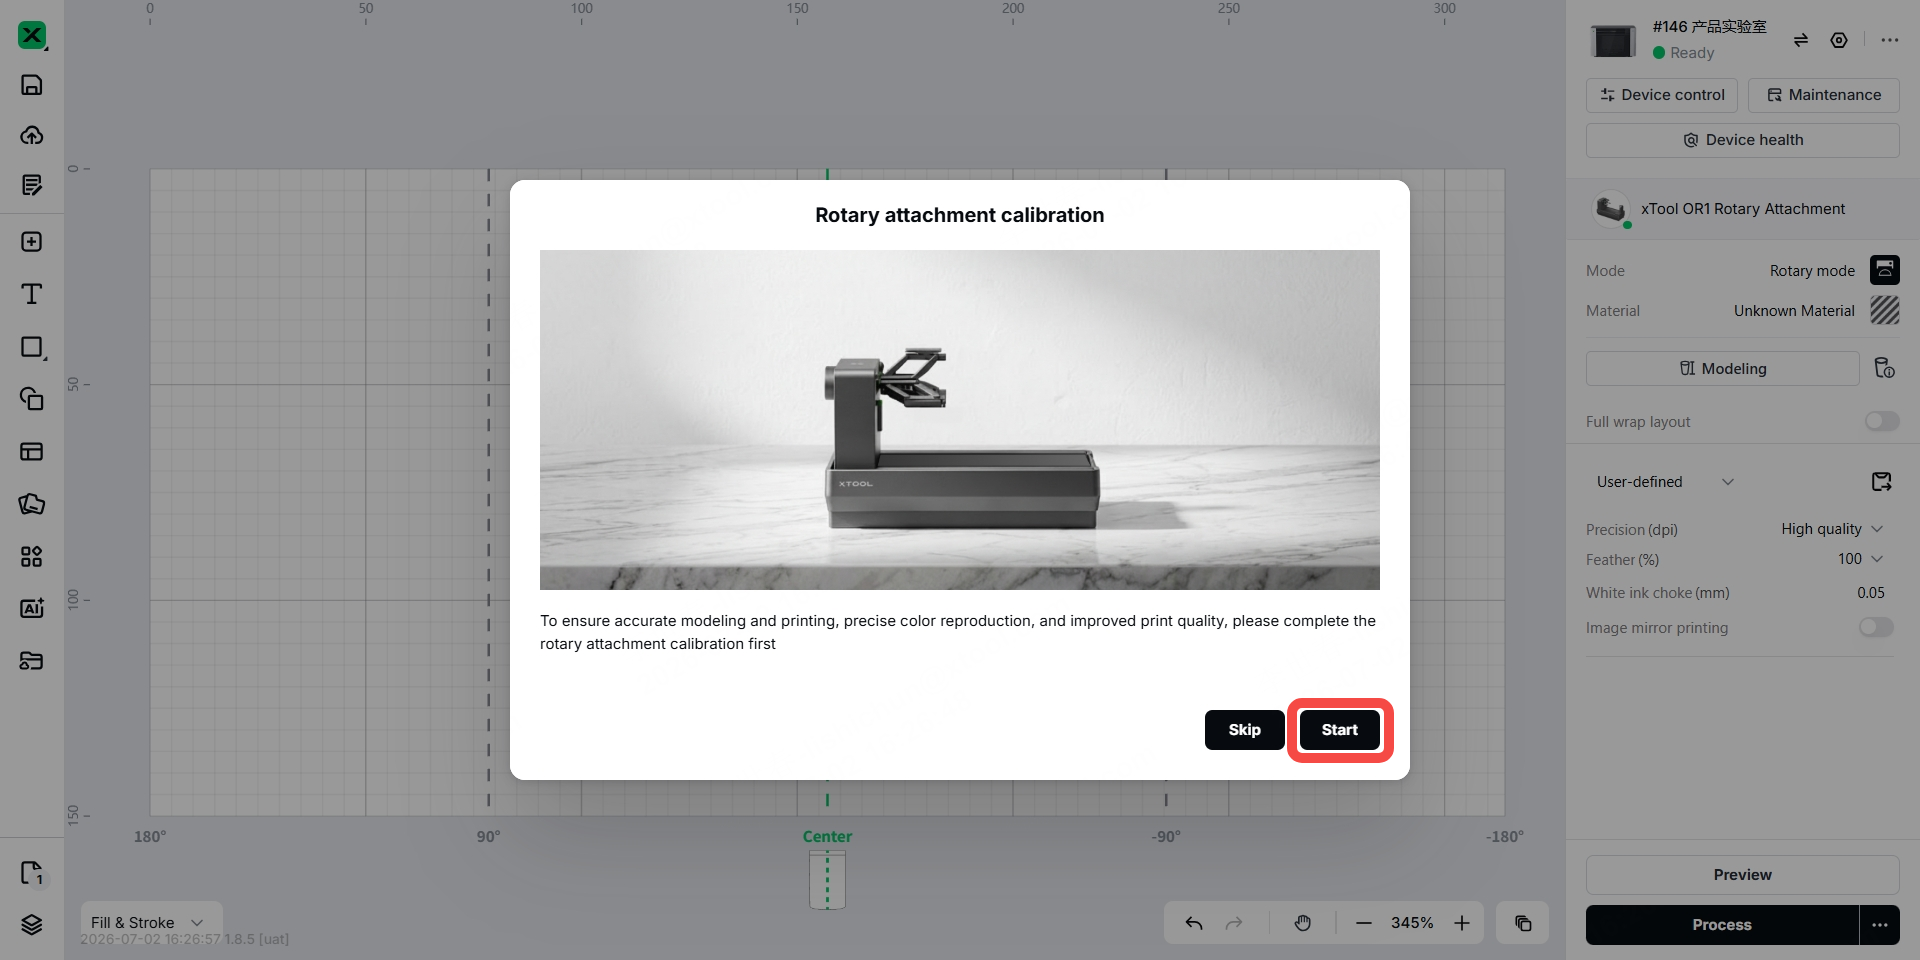
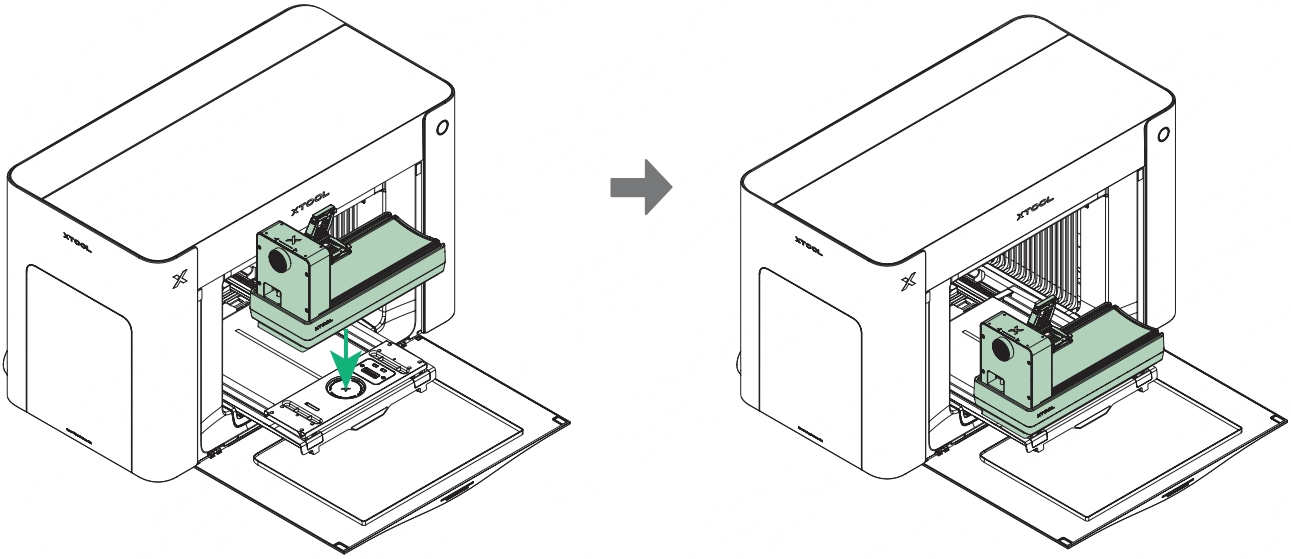
5. Follow the instructions below to install the rotary attachment main unit onto the printer's extension base.
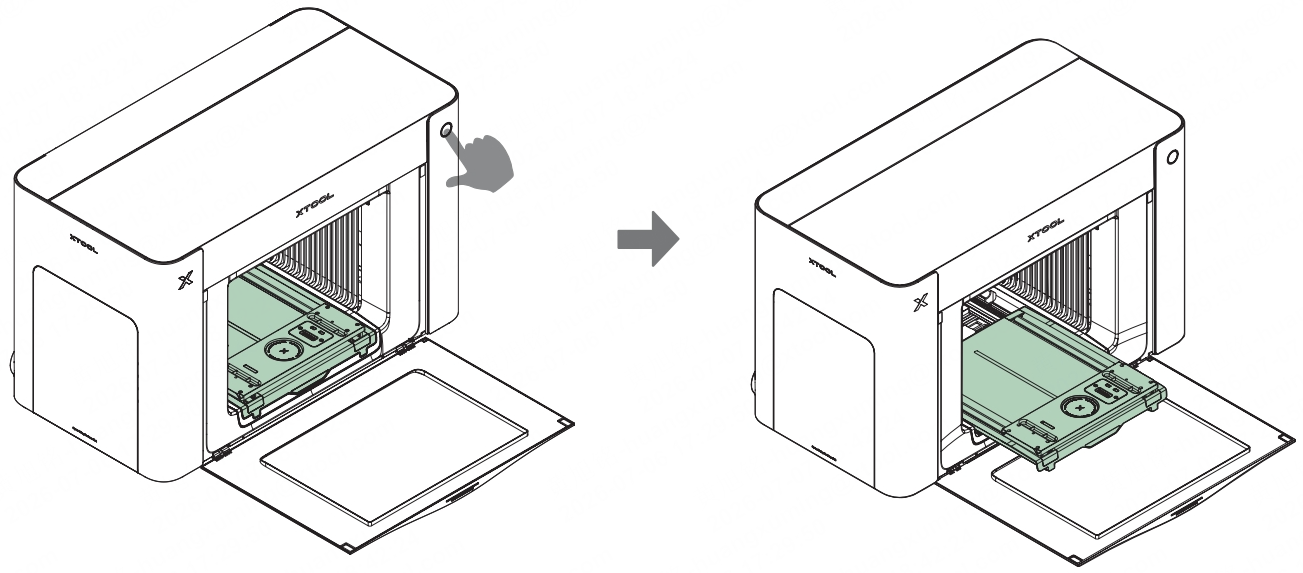
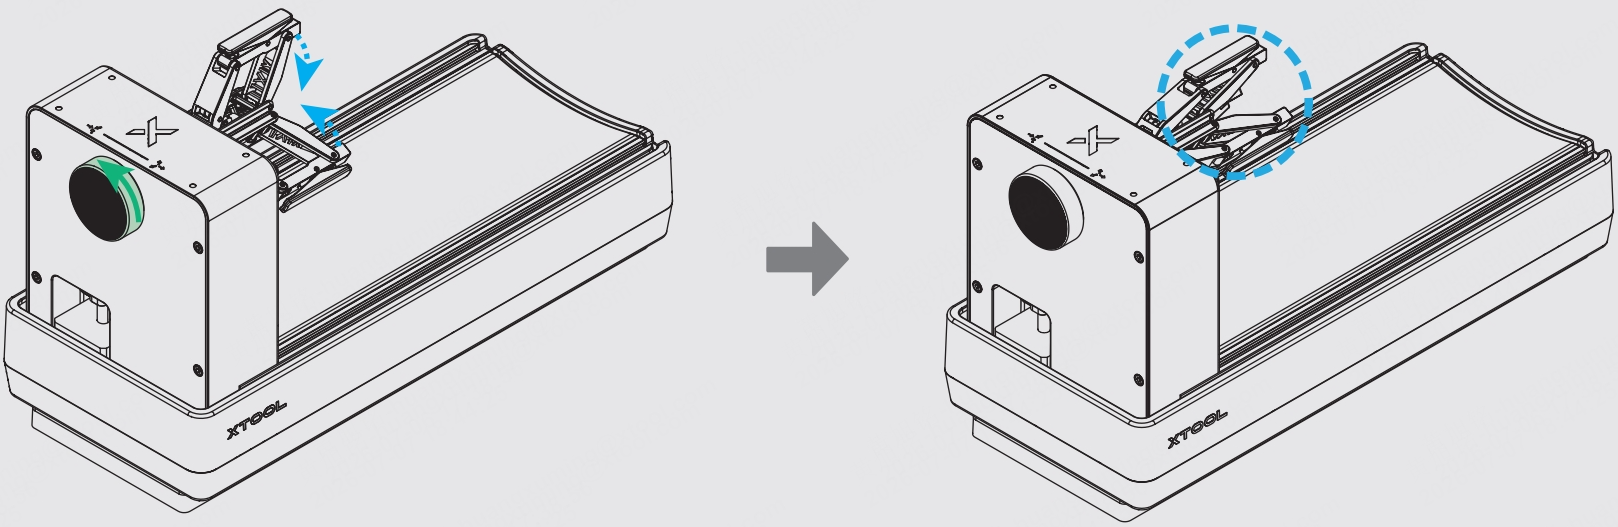
6. Follow the instructions to ensure that the four calibration dots on the rotary attachment are clean, no workpiece is installed on the rotary attachment, and the jaw chuck is adjusted to its minimum opening by turning the knob counterclockwise.
7. Click Start calibration.
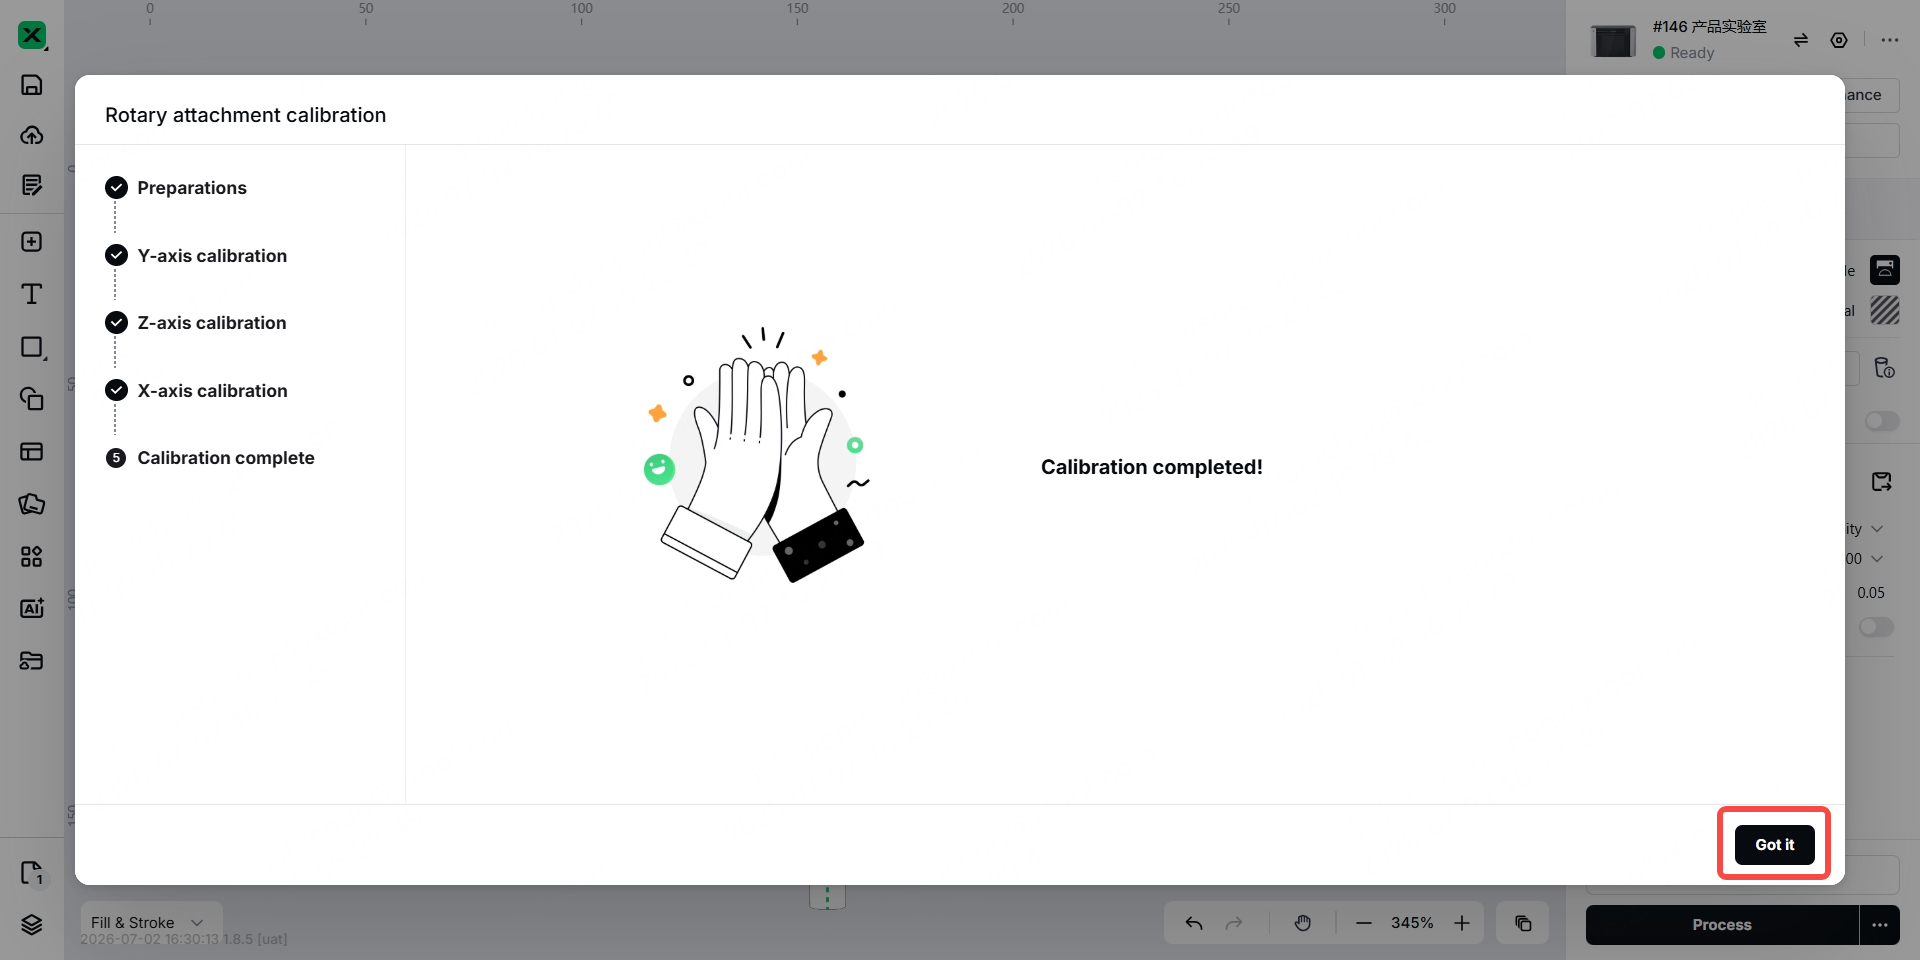
8. Click Got it after the calibration is complete.
9. Click Modeling, select the appropriate model based on the shape of the workpiece, select the applicable options from the three checkboxes below, and then click Start modeling.
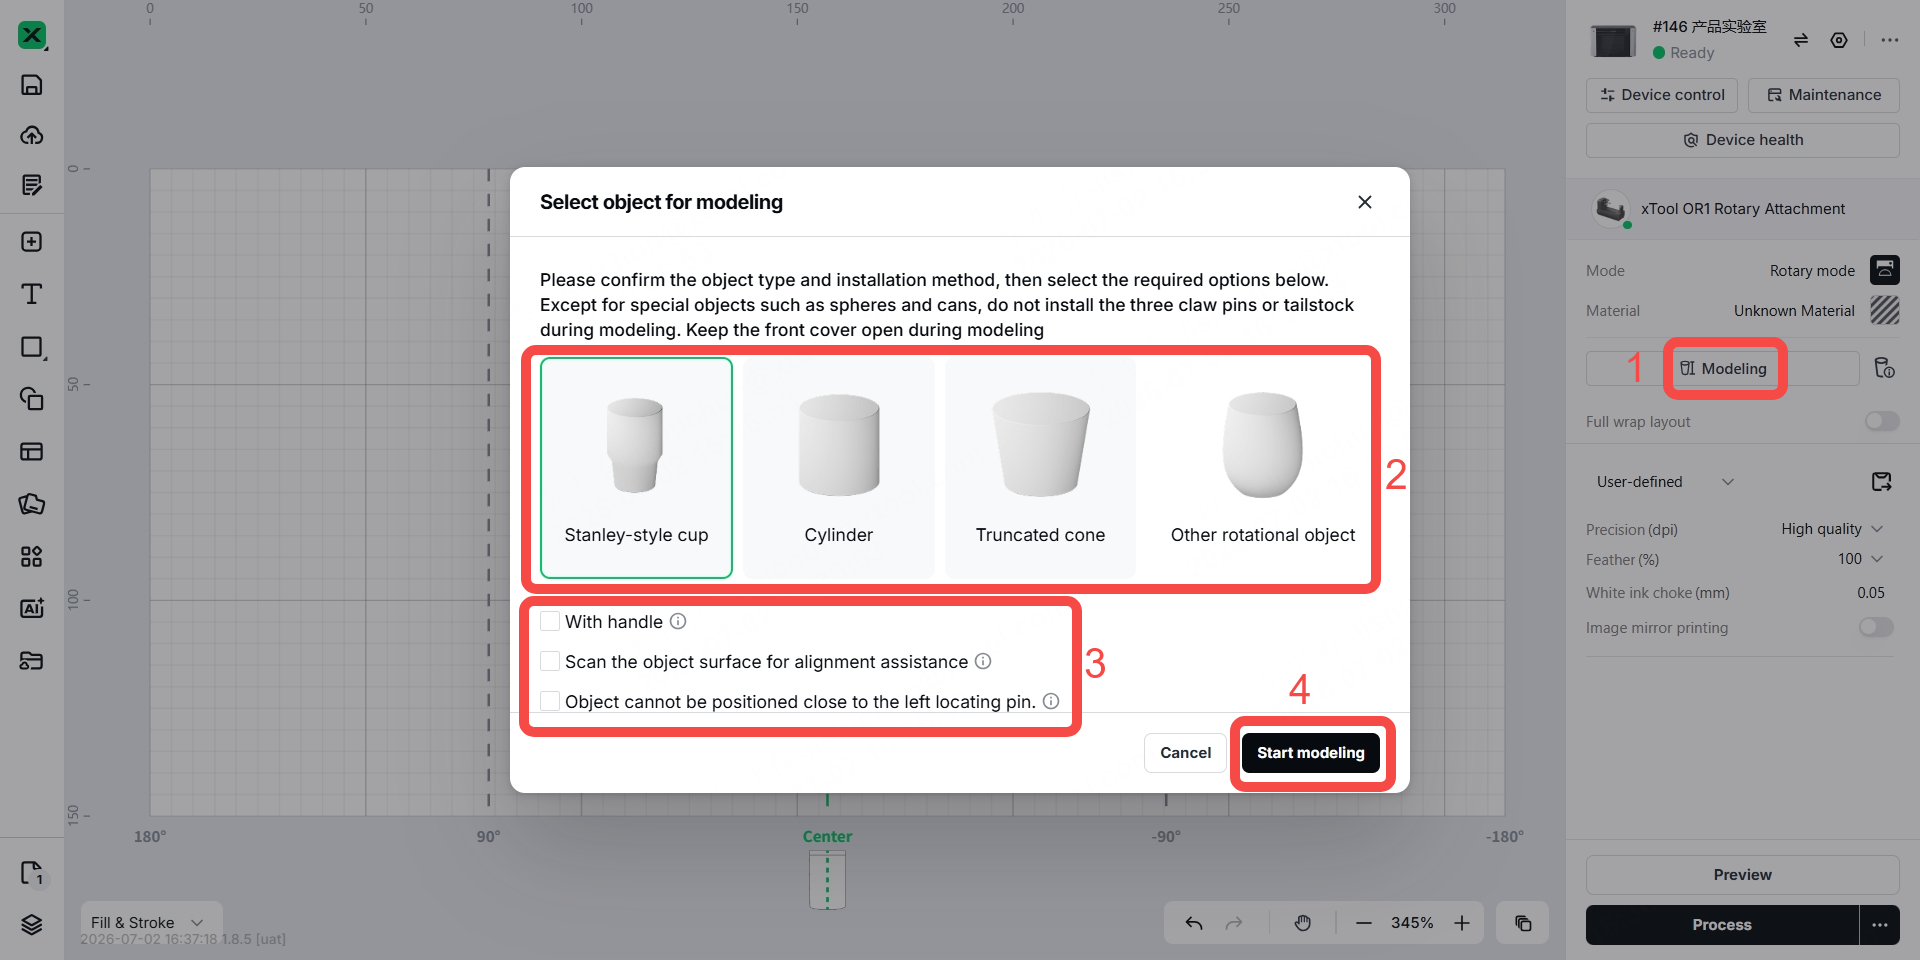
Note: If your workpiece is a can or a spherical object, select Other rotational object.
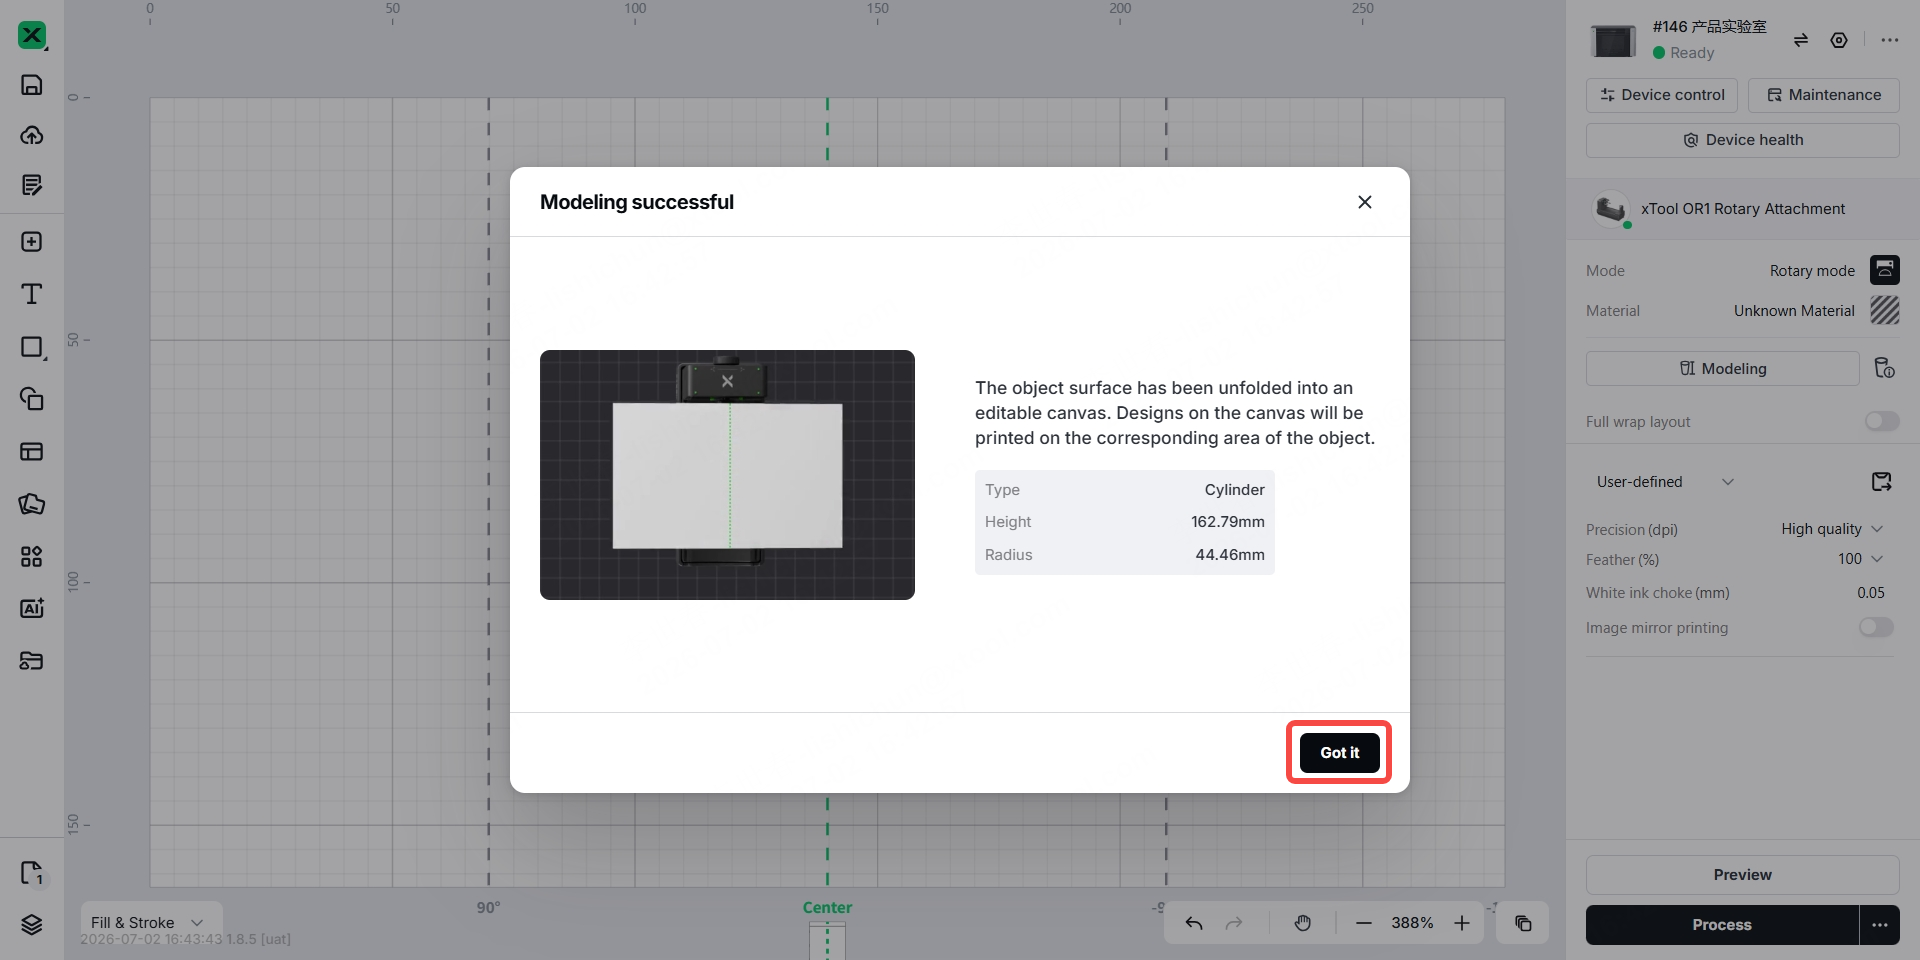
10. Wait for modeling to finish. After modeling is successful, click Got it.
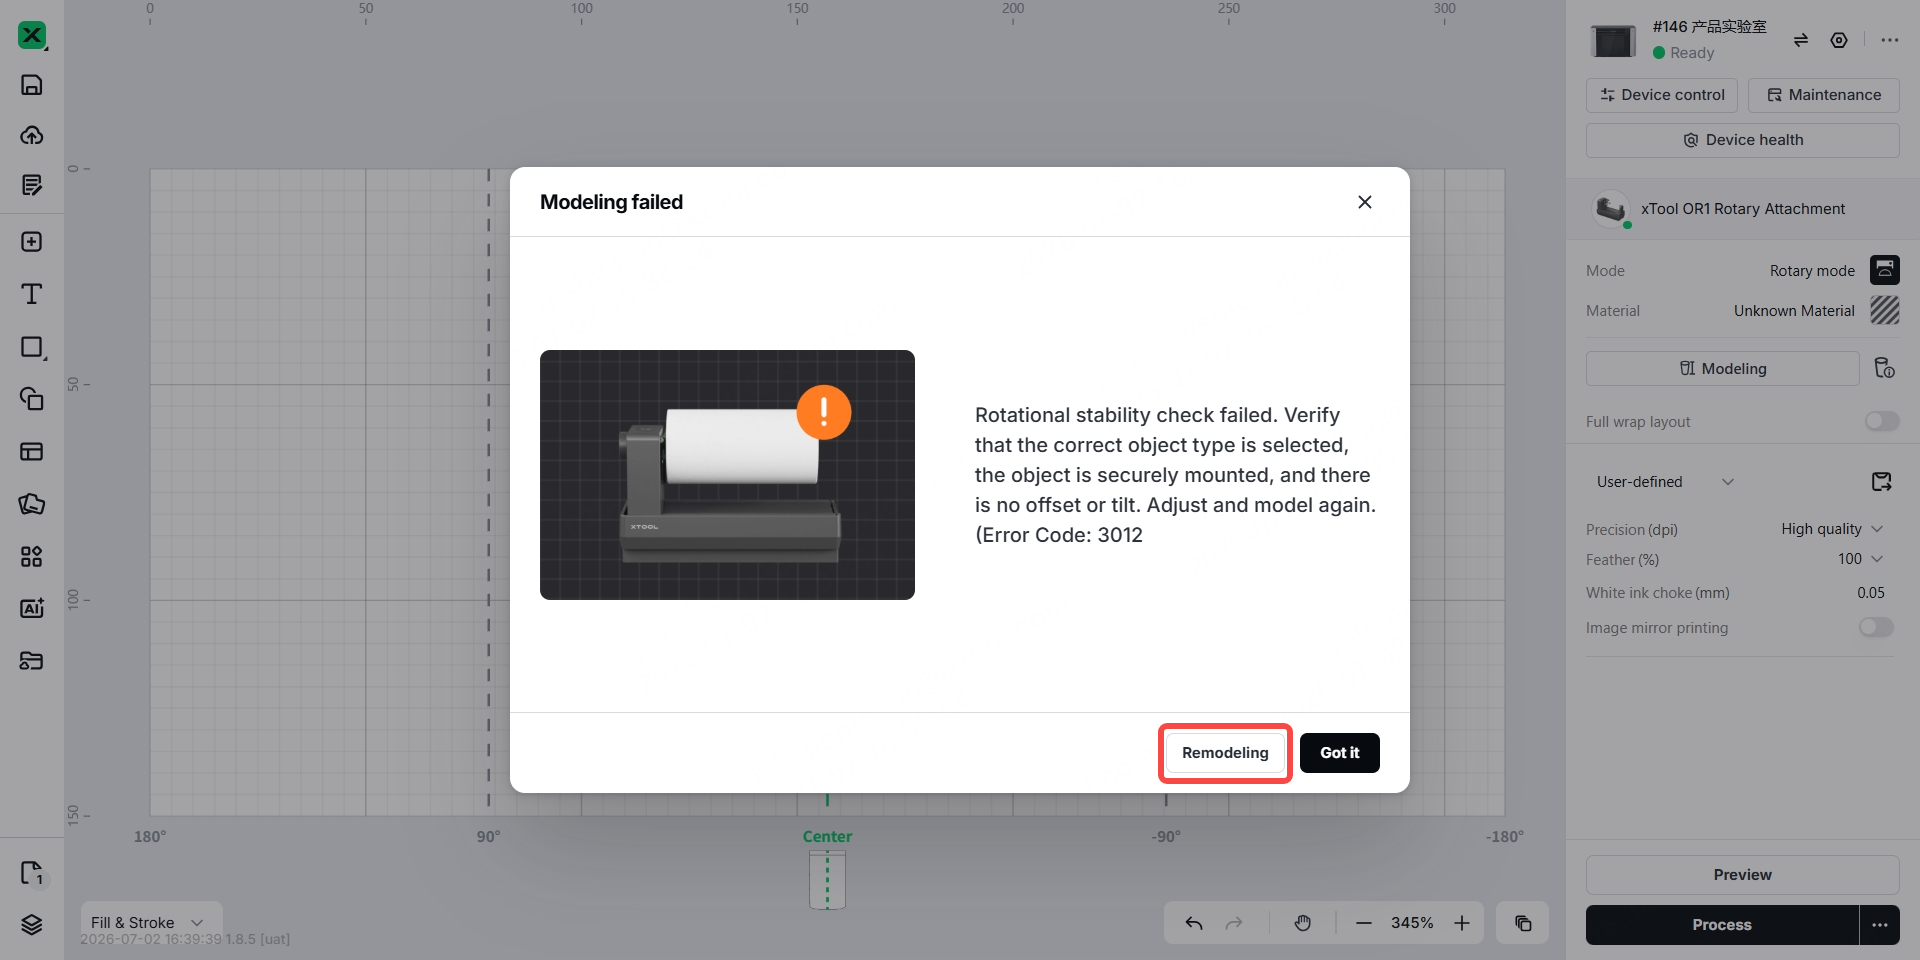
Note: If modeling fails, refer to the OR1 Rotary Attachment User Guide and make sure the workpiece is installed correctly as described in the "Install the workpiece" section. After adjusting the workpiece, click Remodeling.
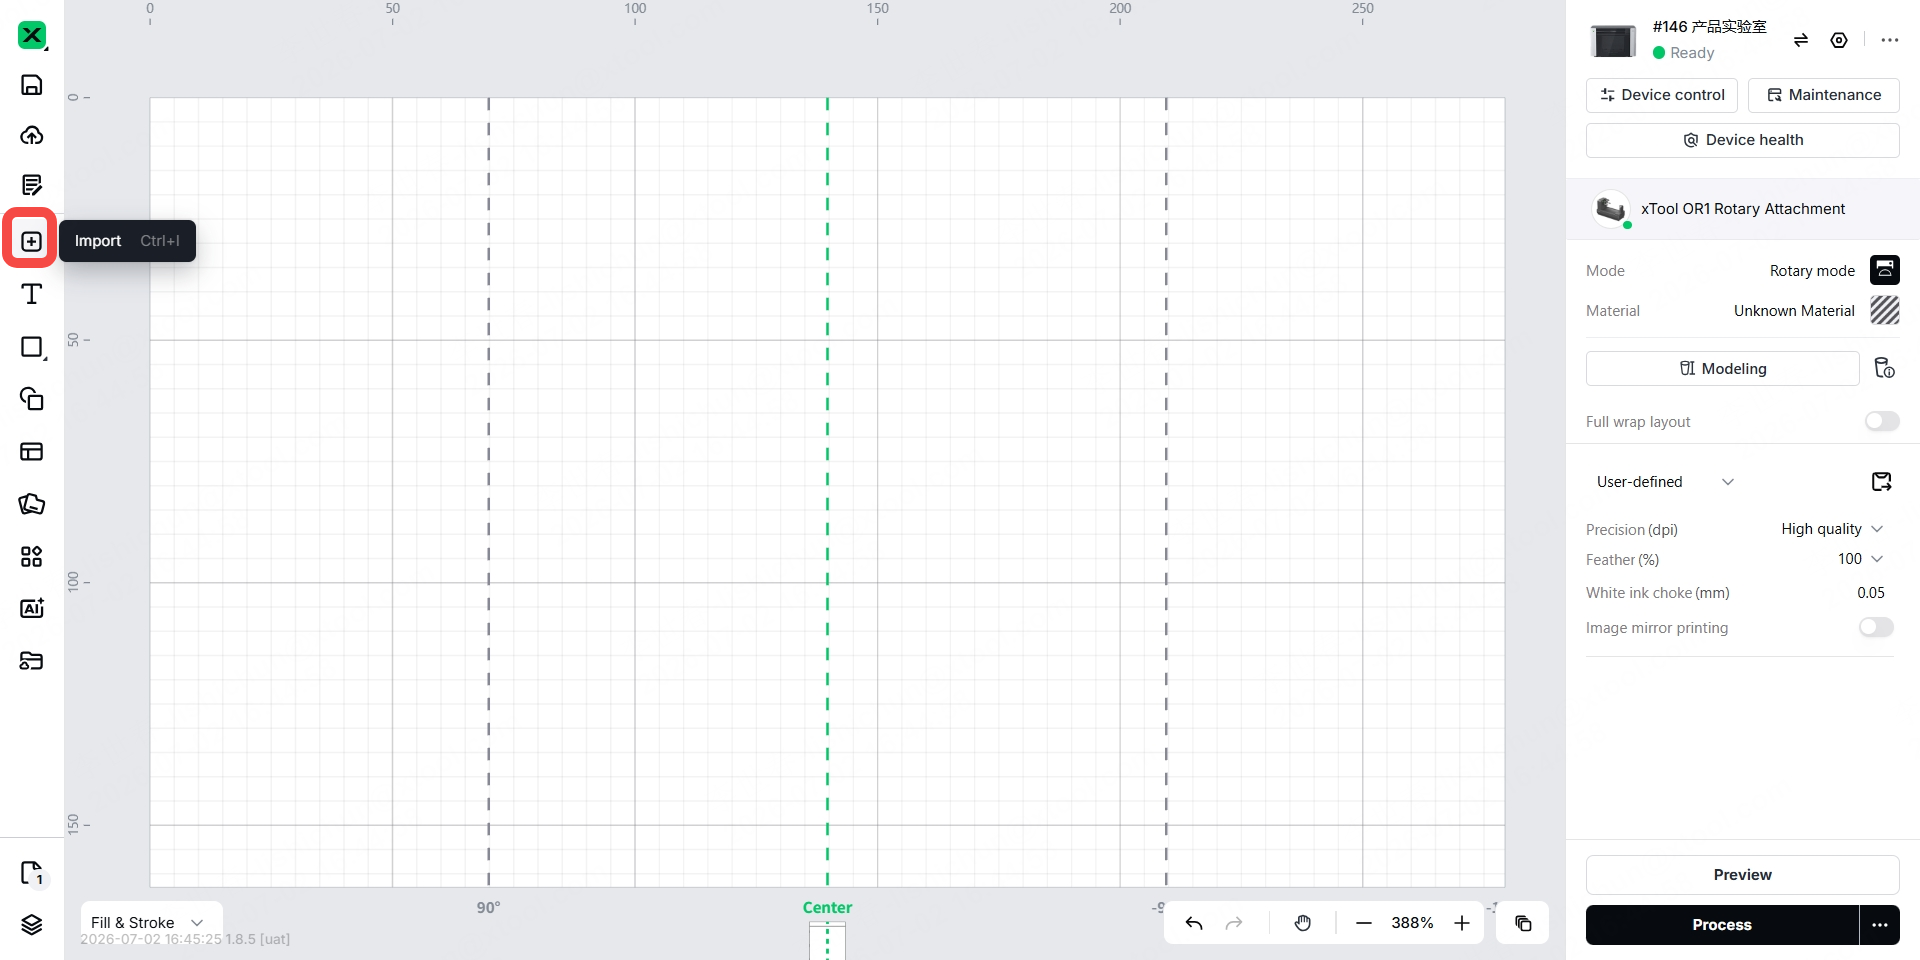
11. Click the Import icon on the left to import the image.
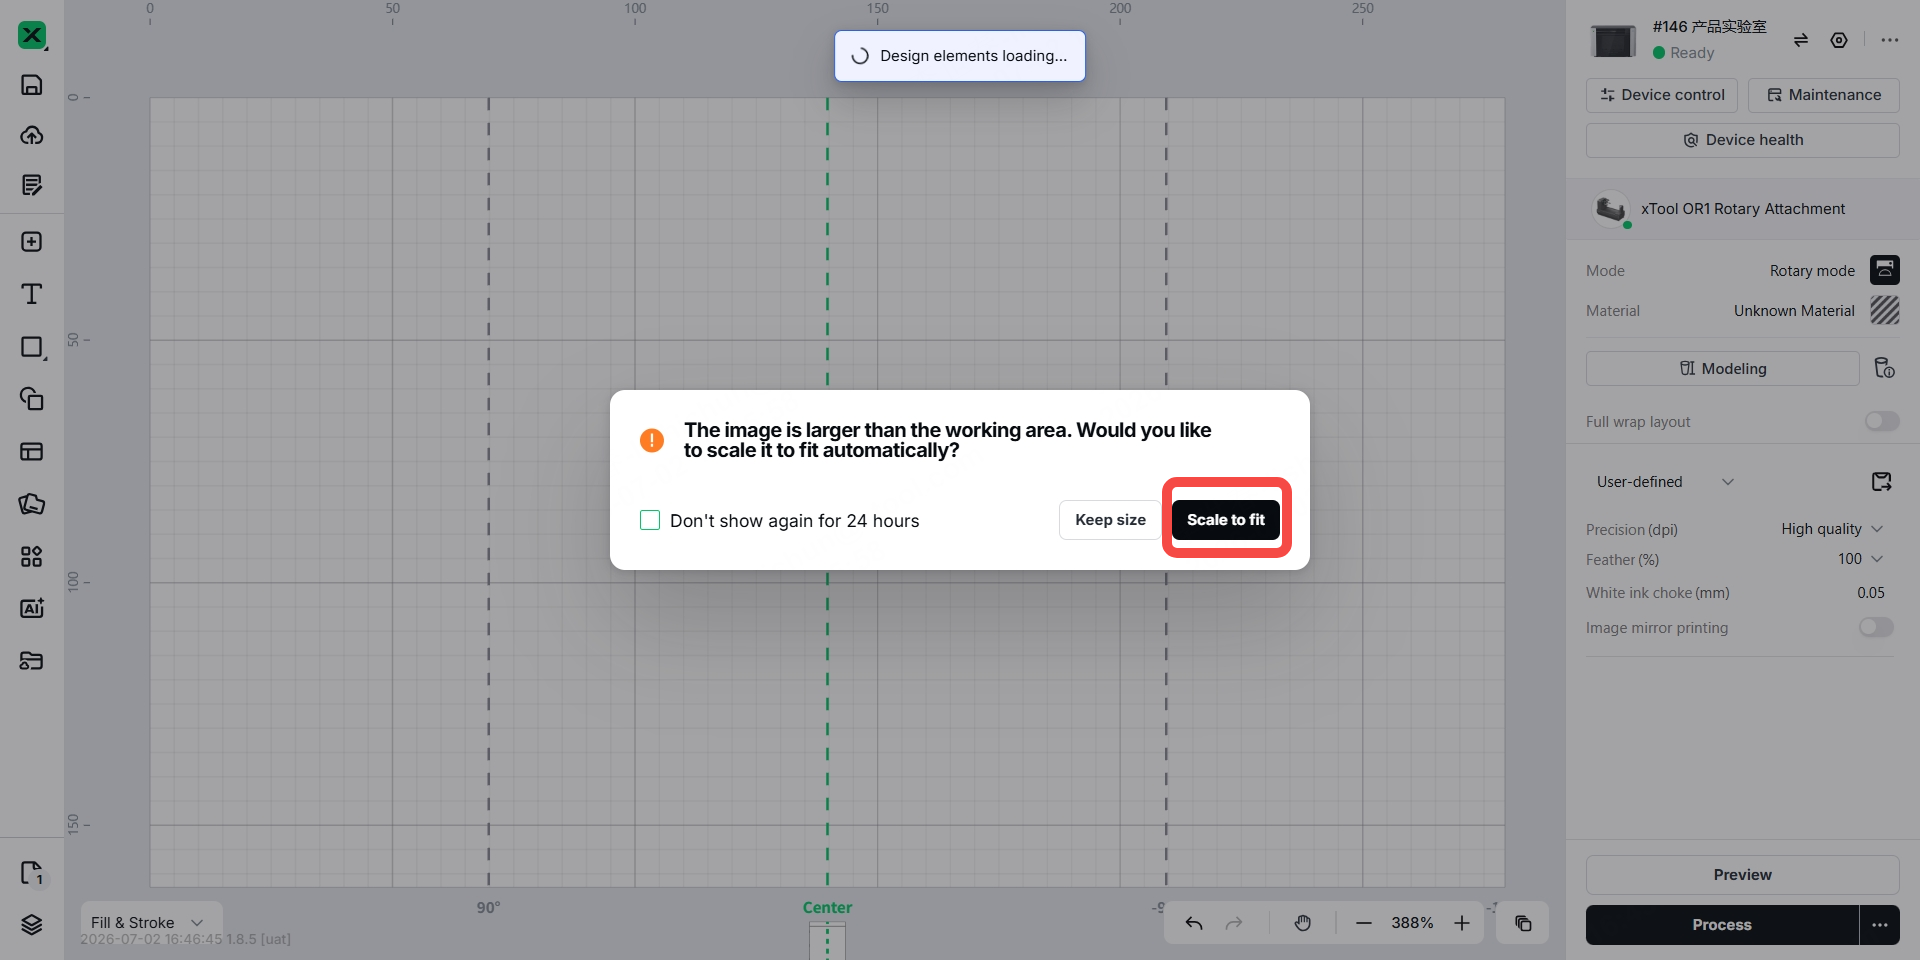
12. (Optional) Click Scale to fit.
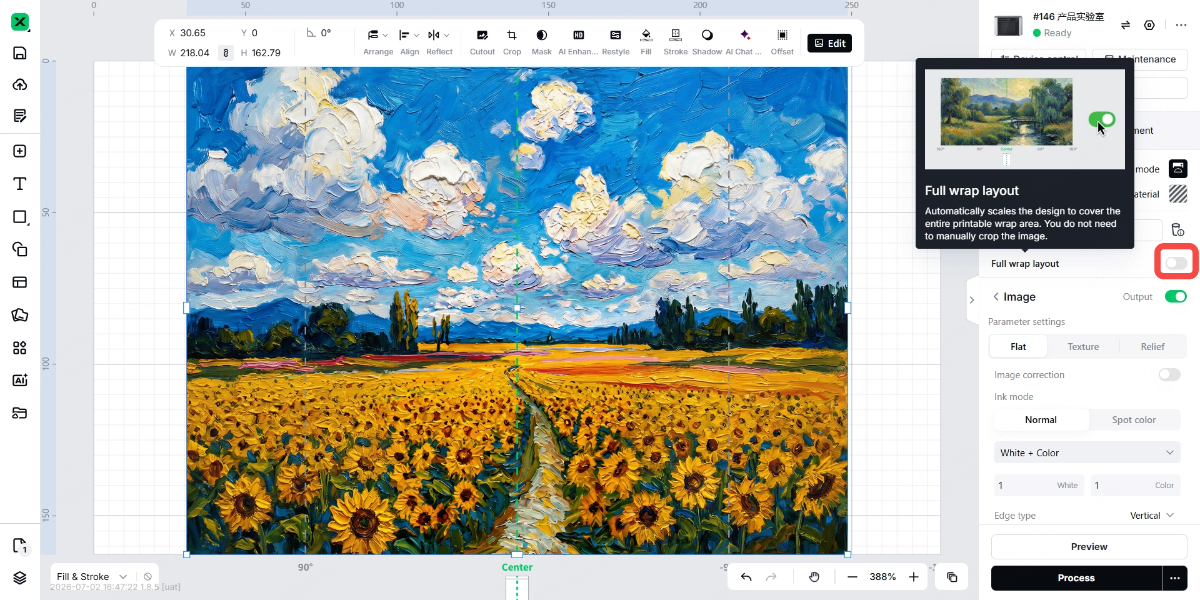
13. (Optional) Enable Full wrap layout to quickly adjust the image.
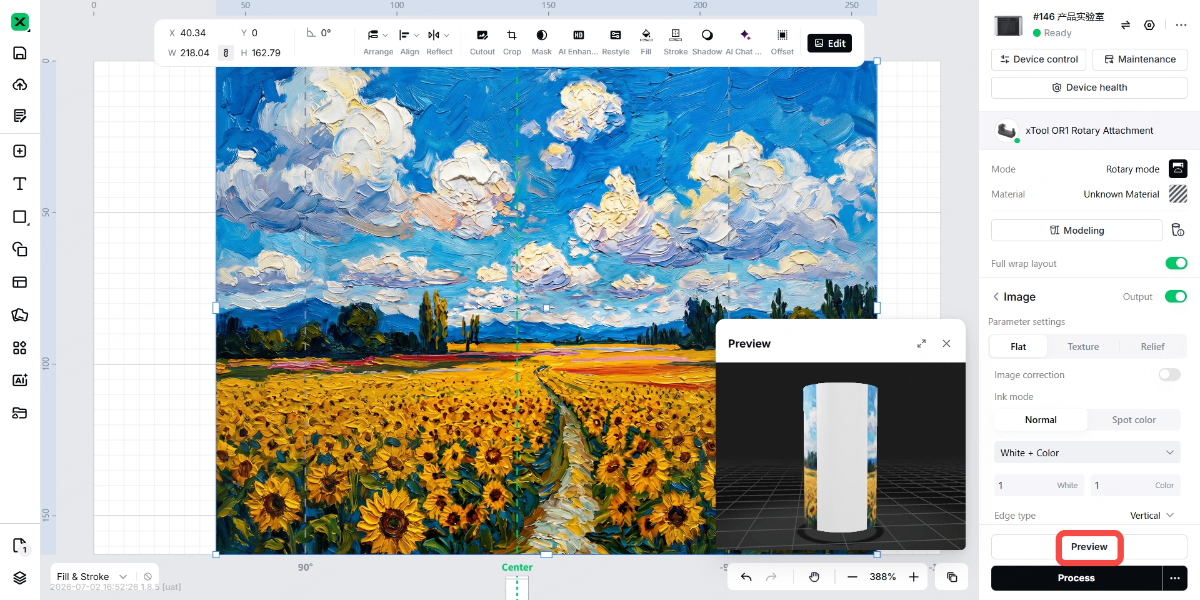
14. Click Preview. In the preview window, left-click and drag the workpiece to rotate it and preview the print result. If it doesn't look as expected, readjust the image.
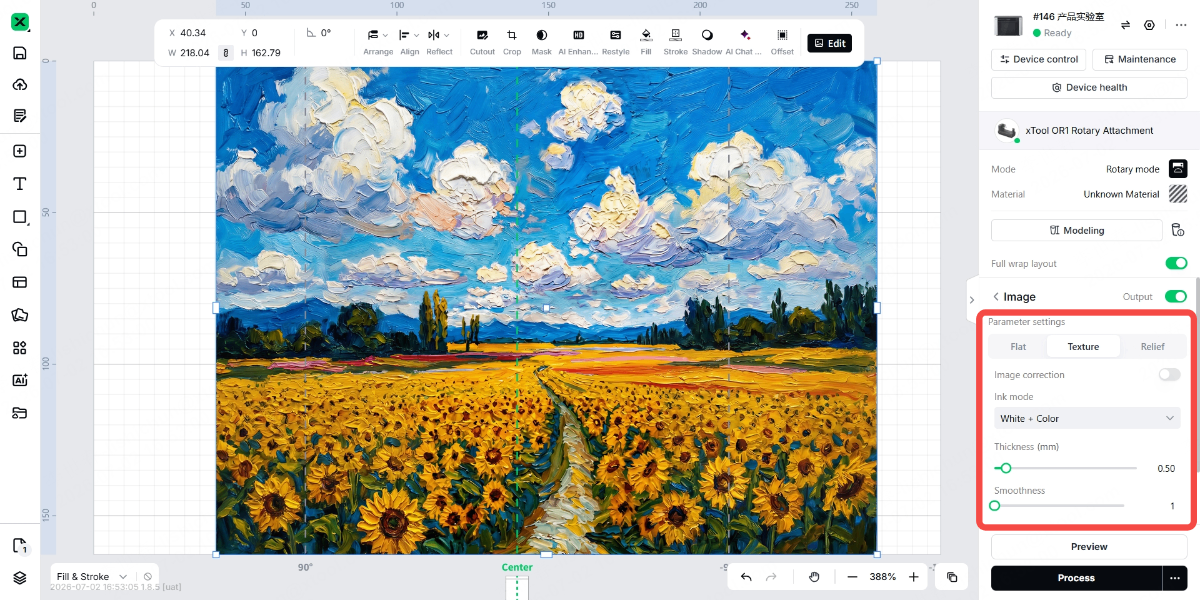
15. Set the parameters under the Flat, Texture, and Relief tabs as needed.
16. Click Process.
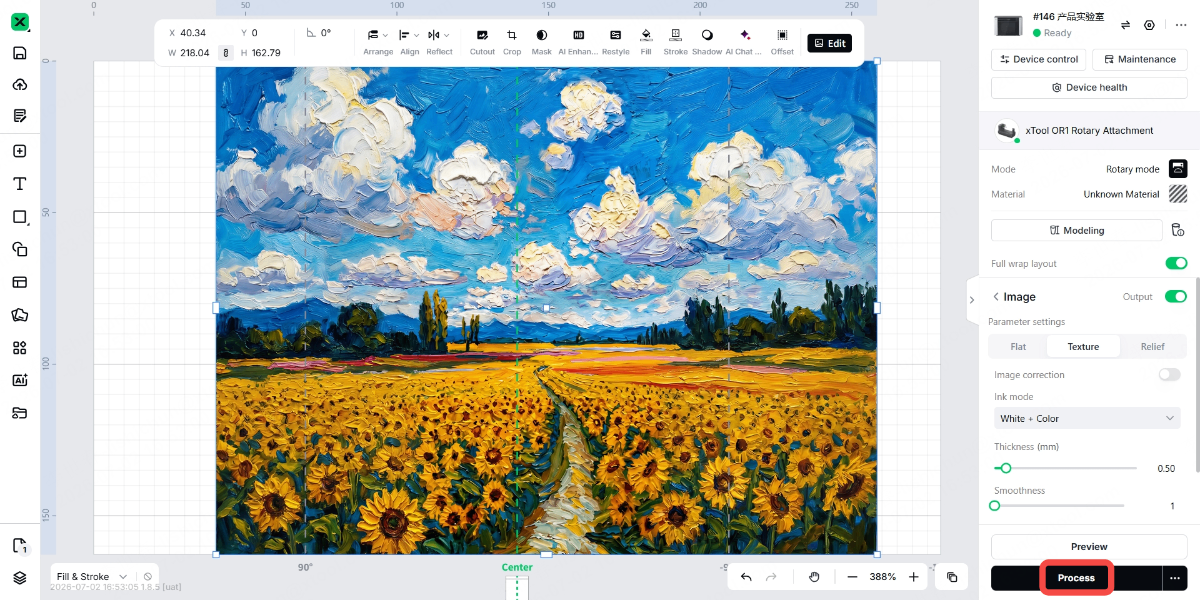
17. Close the printer's front and rear covers, then click Print.

18. After printing is complete, click Finished if you do not need to continue processing the same type of workpiece with the same settings.
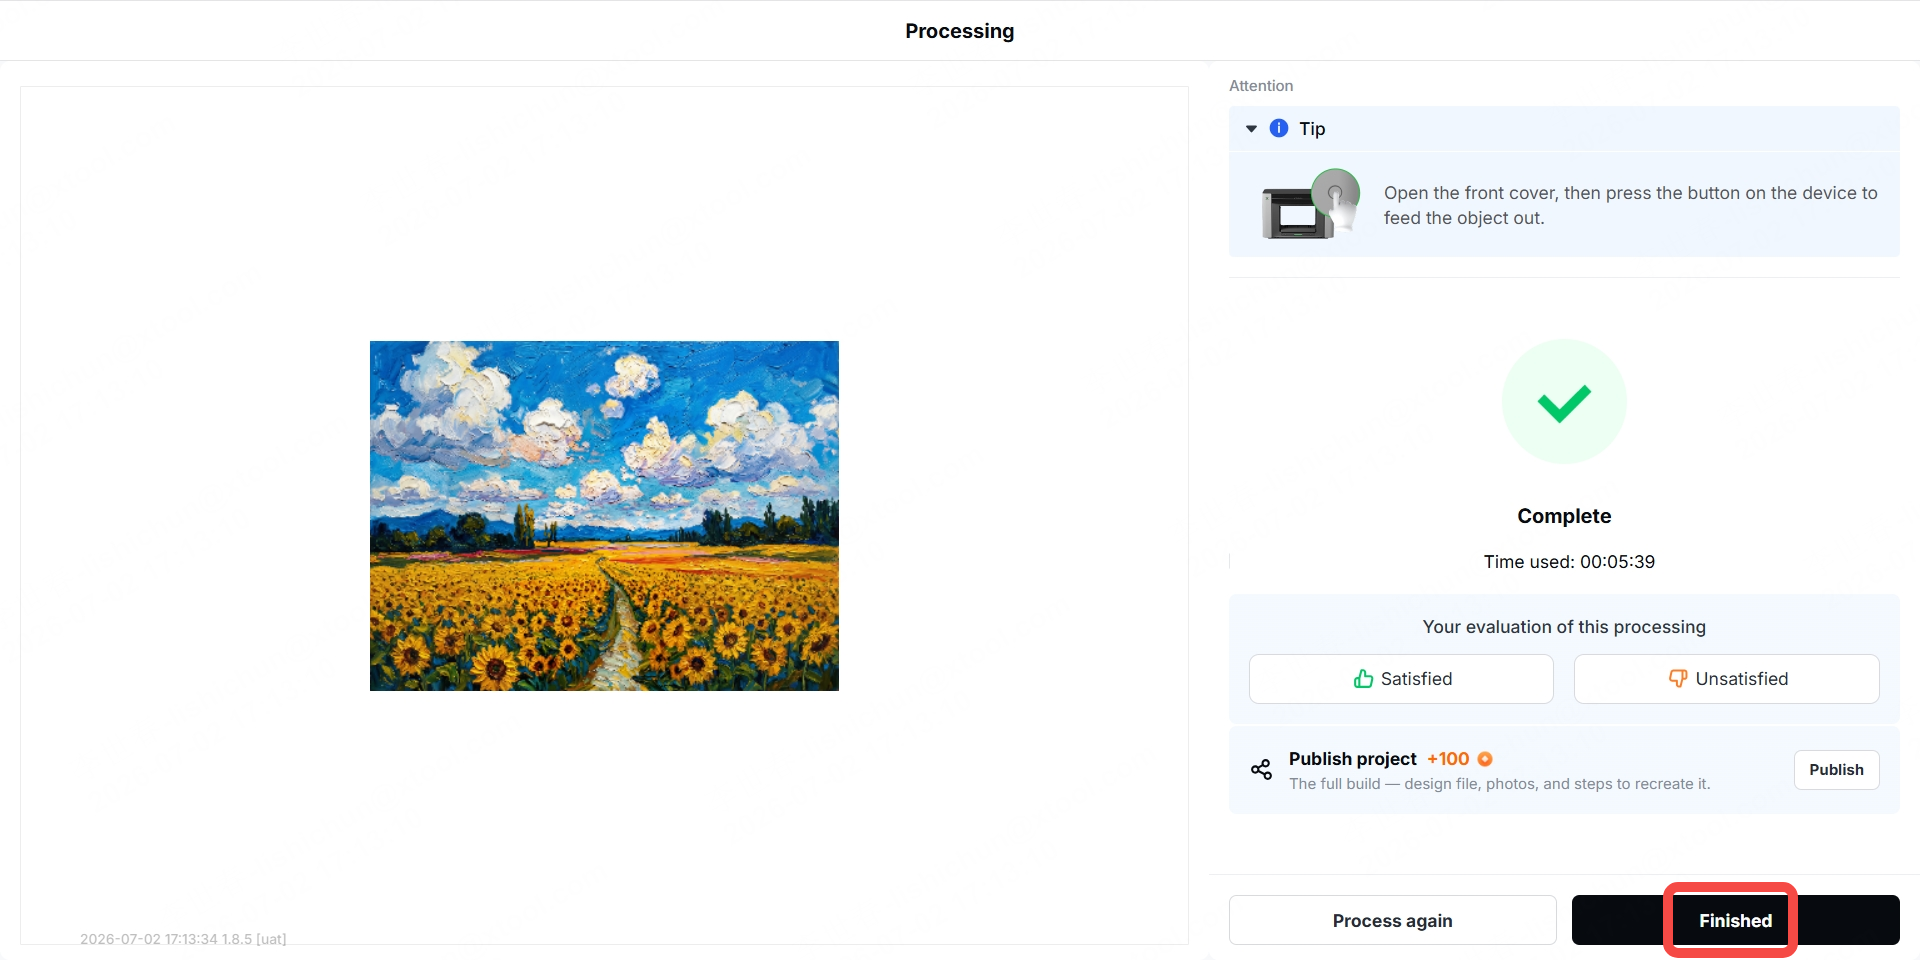
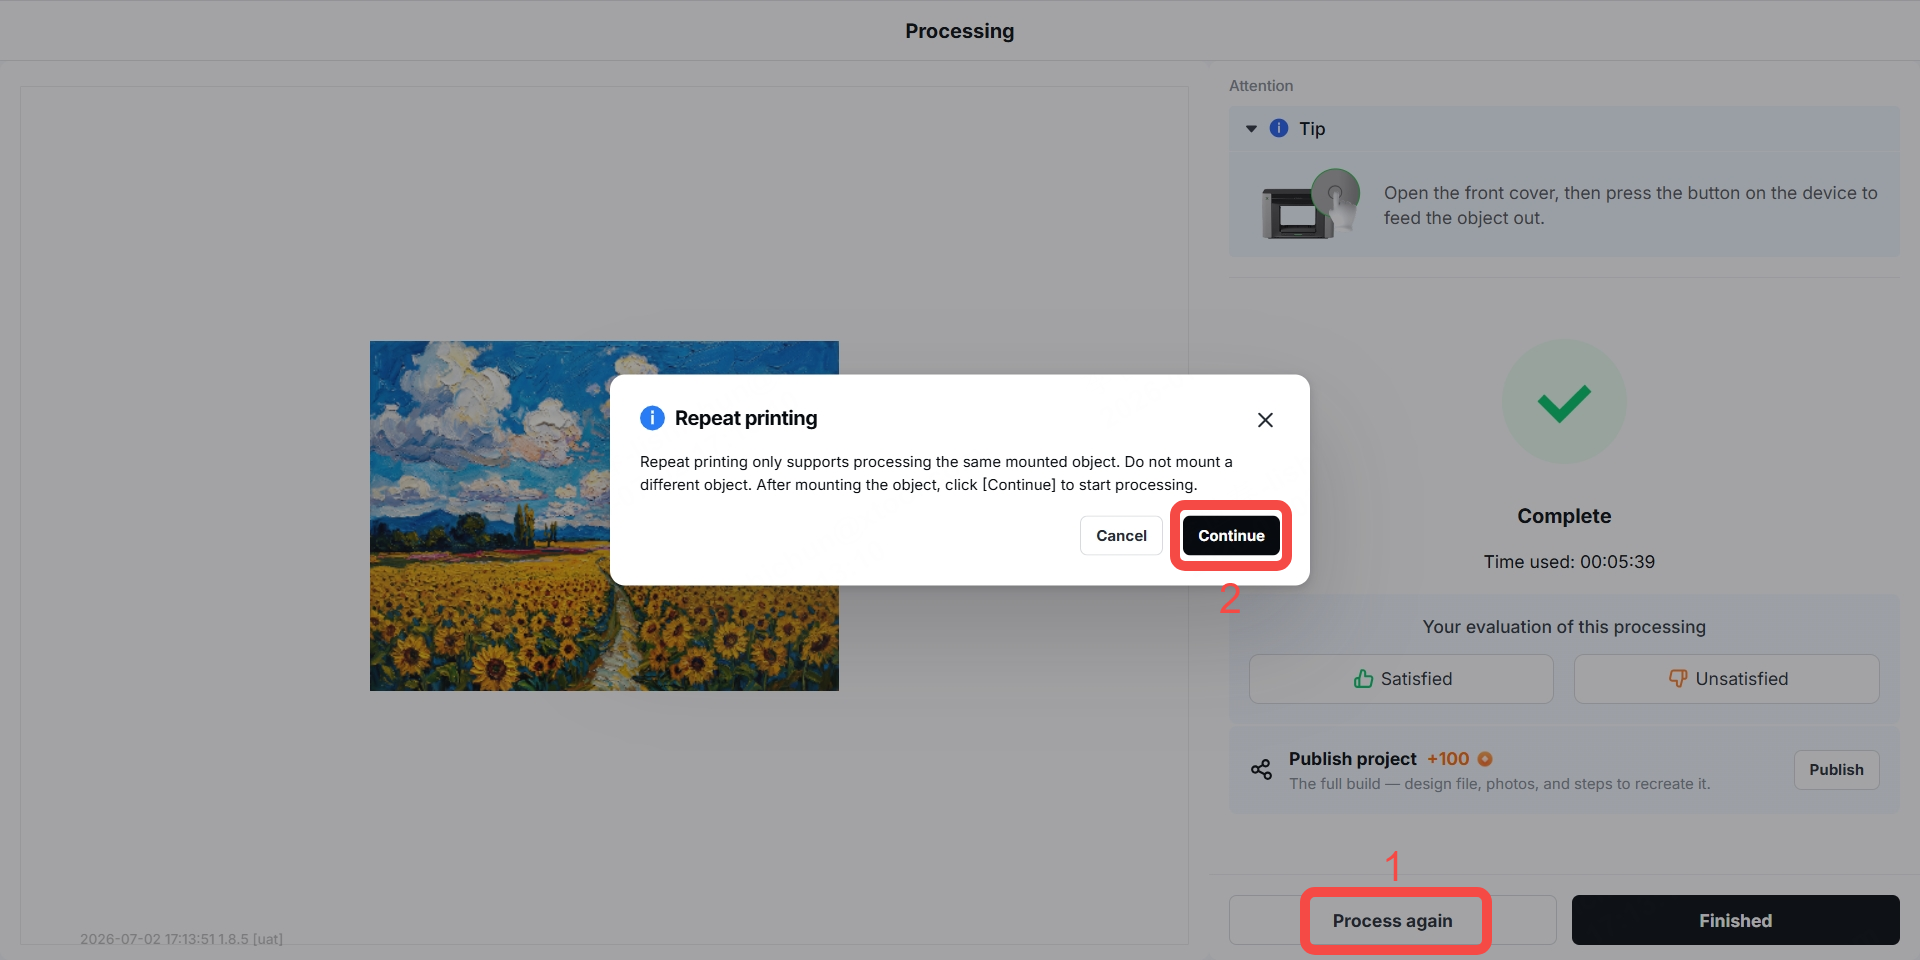
Note: If you want to continue processing the same type of workpiece with the same settings, click Process again, then click Continue.
More information
xTool OR1 Rotary Attachment for Omni Printer User Guide
Workpiece Types Supported by xTool OR1 Rotary Attachment for Printing

