This article describes how to engrave a mental business card with xTool F2 Ultra.
What you need
- An xTool F2 Ultra
Get your xTool F2 Ultra ready following the instructions in xTool F2 Ultra User Guide.
- A computer
Download and install xTool Creative Space (XCS) to you computer.
- A USB cable
Included in the pack of xTool F2 Ultra.
- A metal business card
Included in the example project pack of xTool F2 Ultra.
- A project file (Download any of the following files)
Engrave the metal business card
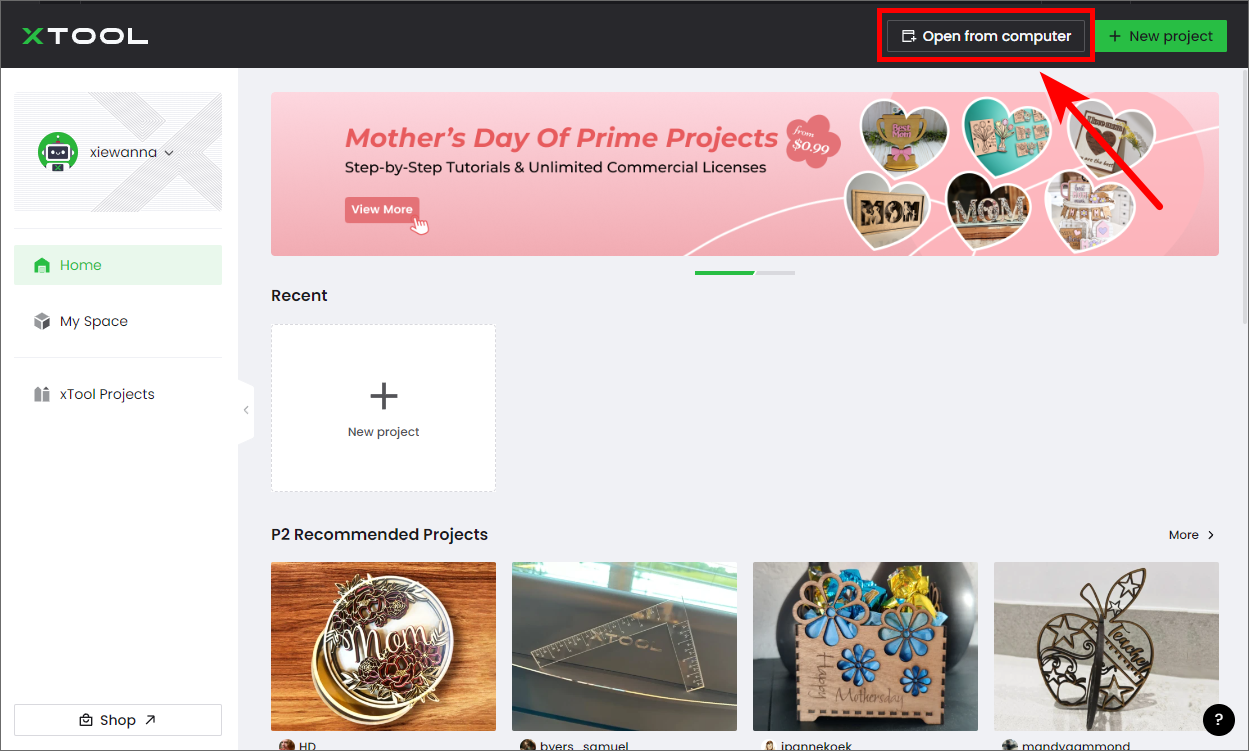
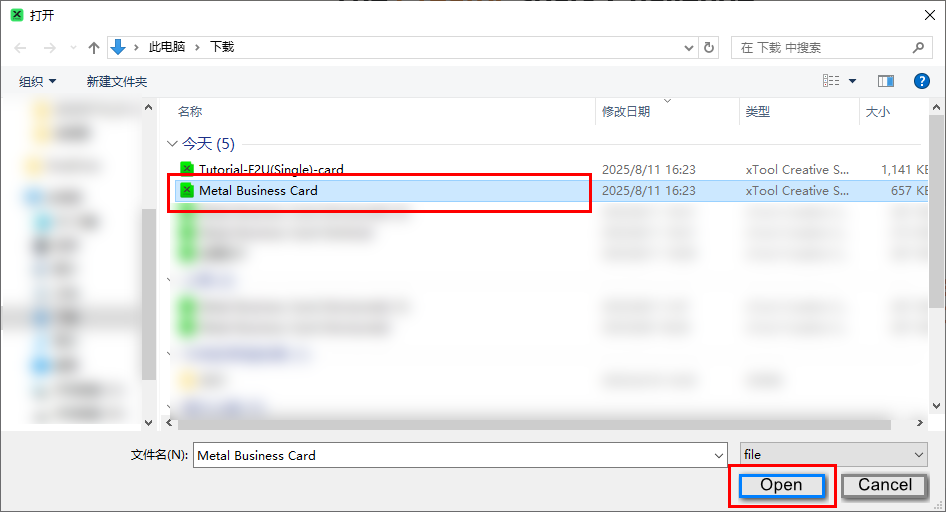
1. Open the project file
Open XCS on your computer. In the top-right corner of XCS, click Open from computer > select the file you have downloaded > click Open.
![]()
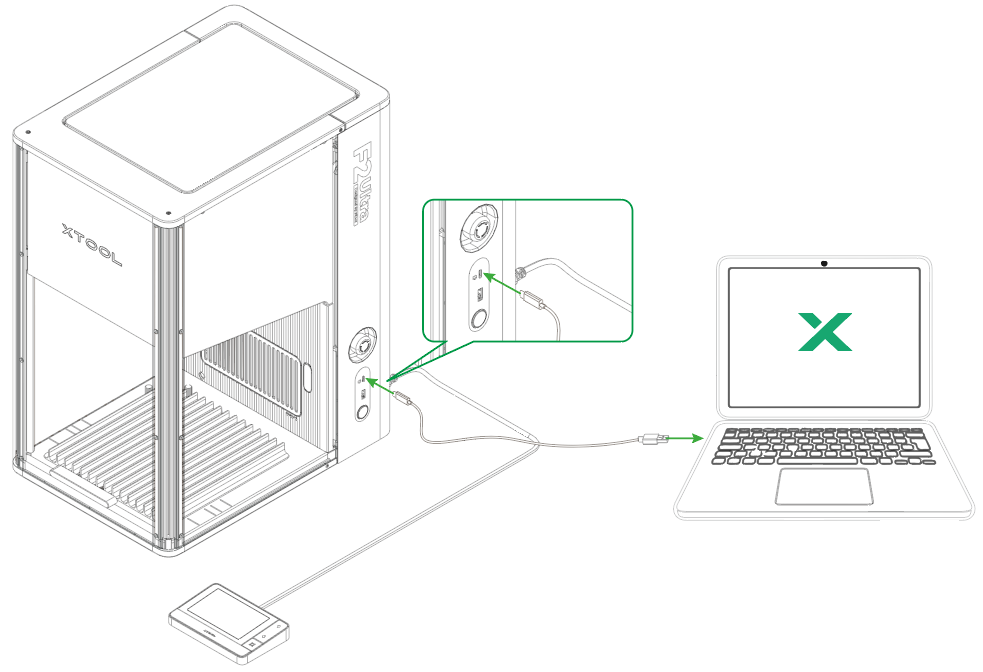
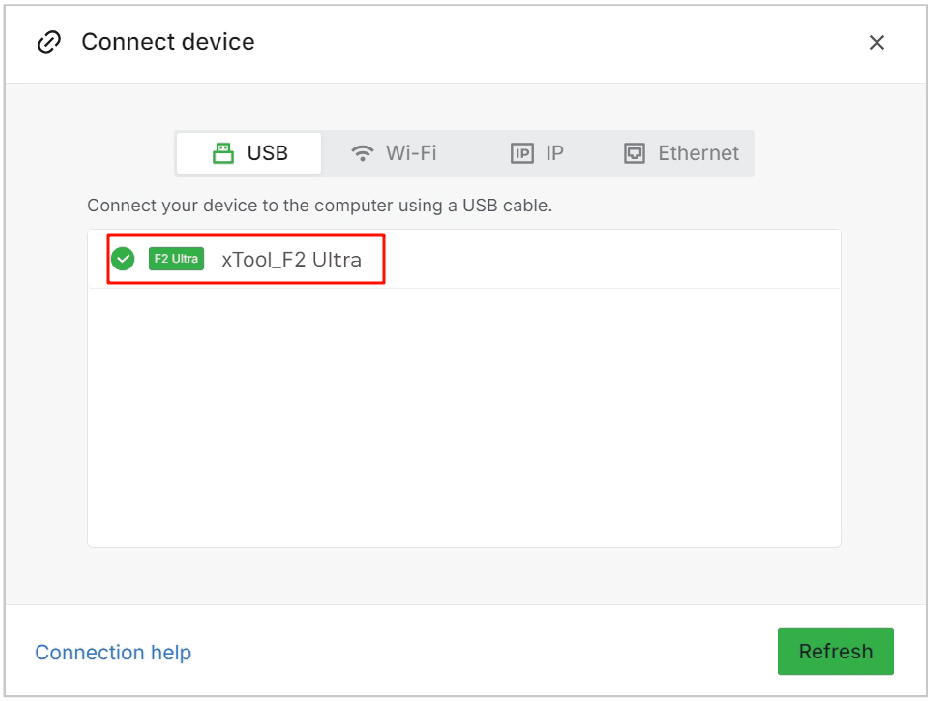
2. Connect xTool F2 Ultra to XCS
(1) Connect xTool F2 Ultra to your computer using the provided USB cable.
(2) In the top-right corner of the project editing page, click  > Connect device.
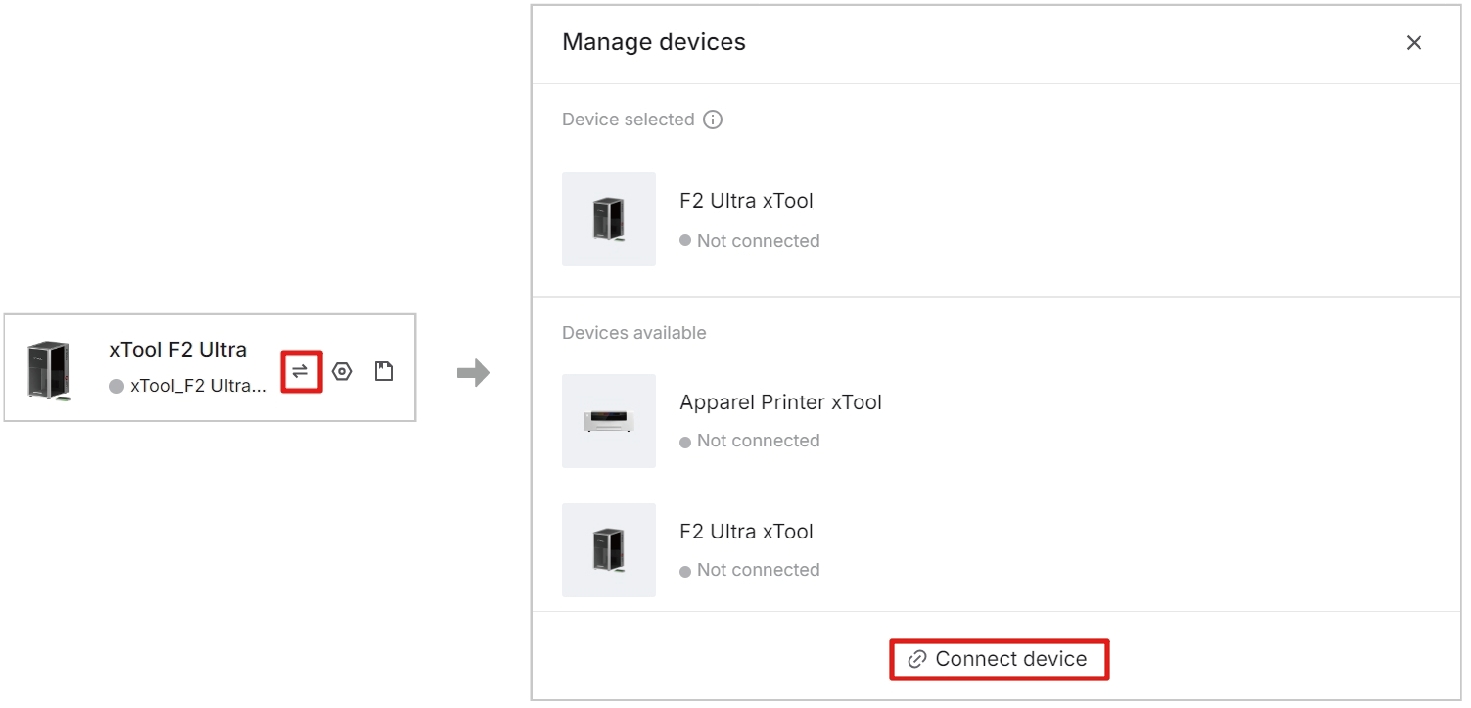
(3) On the pop-up window, click the name of your device to connect to it.
Note: You can also connect xTool F2 Ultra to the computer through Wi-Fi and IP address. For details, see Connect xTool F2 Ultra to XCS on the Computer. |
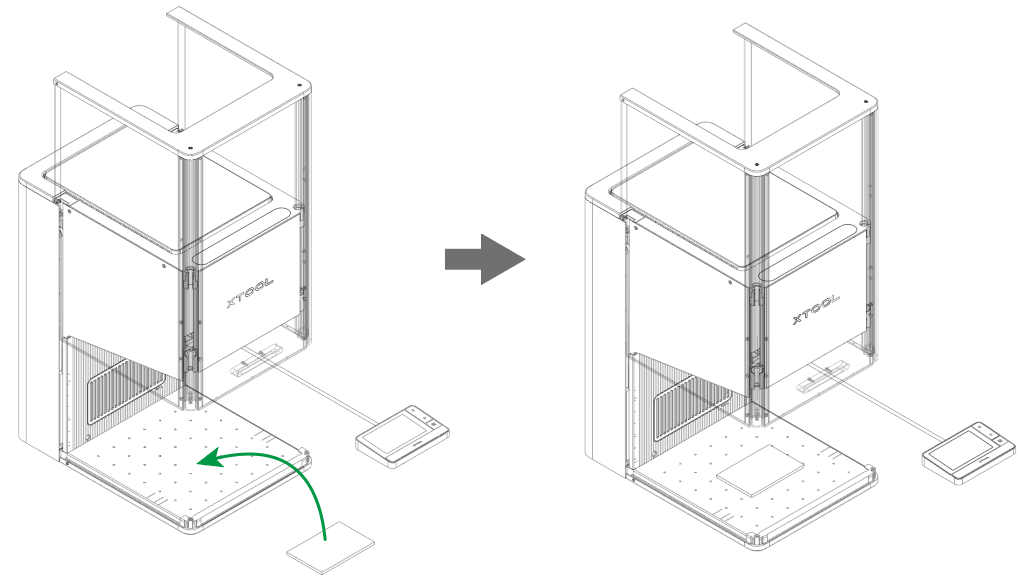
3. Place the material
(1) Lift the protective enclosure and place the metal business card on the baseplate.
Note: If the blue spot and red spot do not overlap, you need to manually perform laser focusing. For details, see "Place the material and perform laser focusing" in Start Offline Processing with the Touchscreen Controller. |
(2) In the top-right corner of XCS, click  . The device will automatically measure the material thickness.

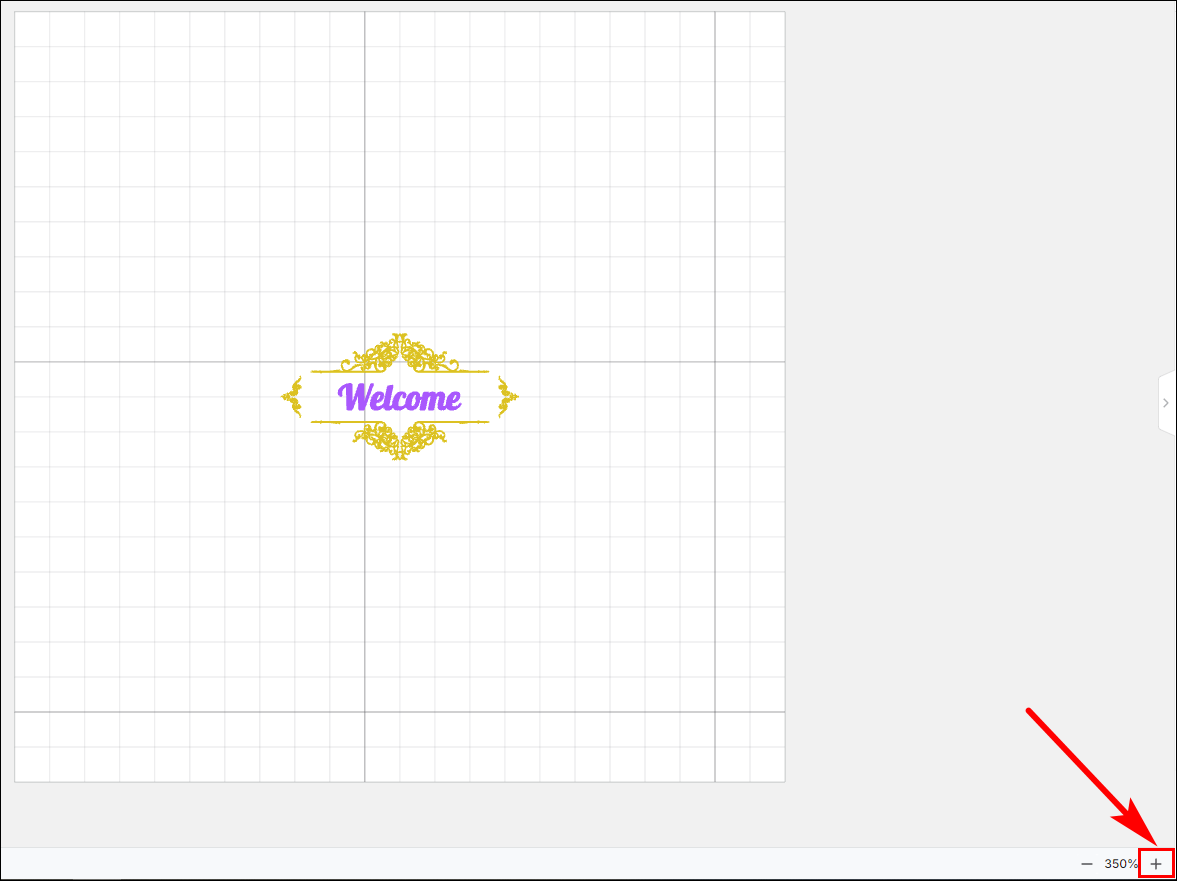
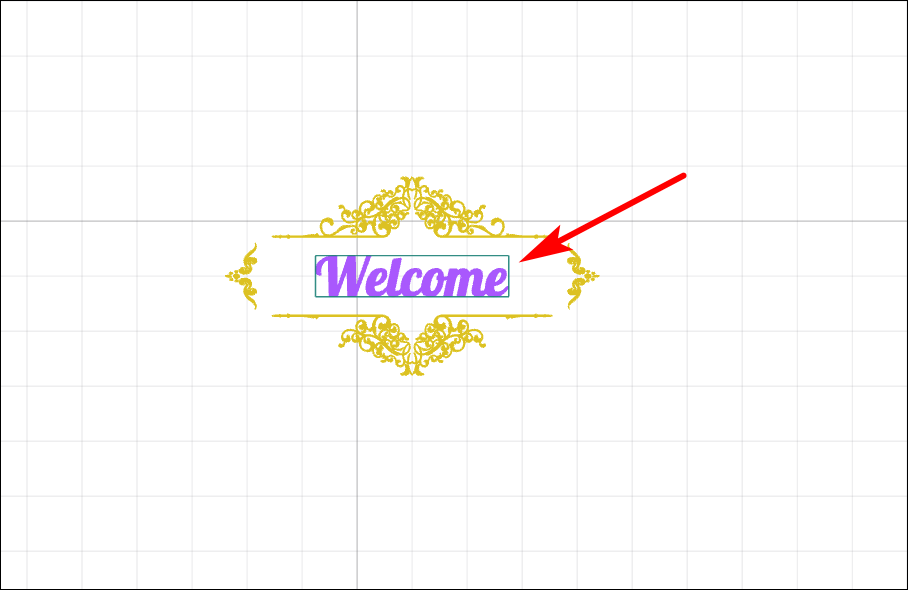
4. Design the business card
(1) Zoom in the canvas.
(2) Double-click to modify the text.
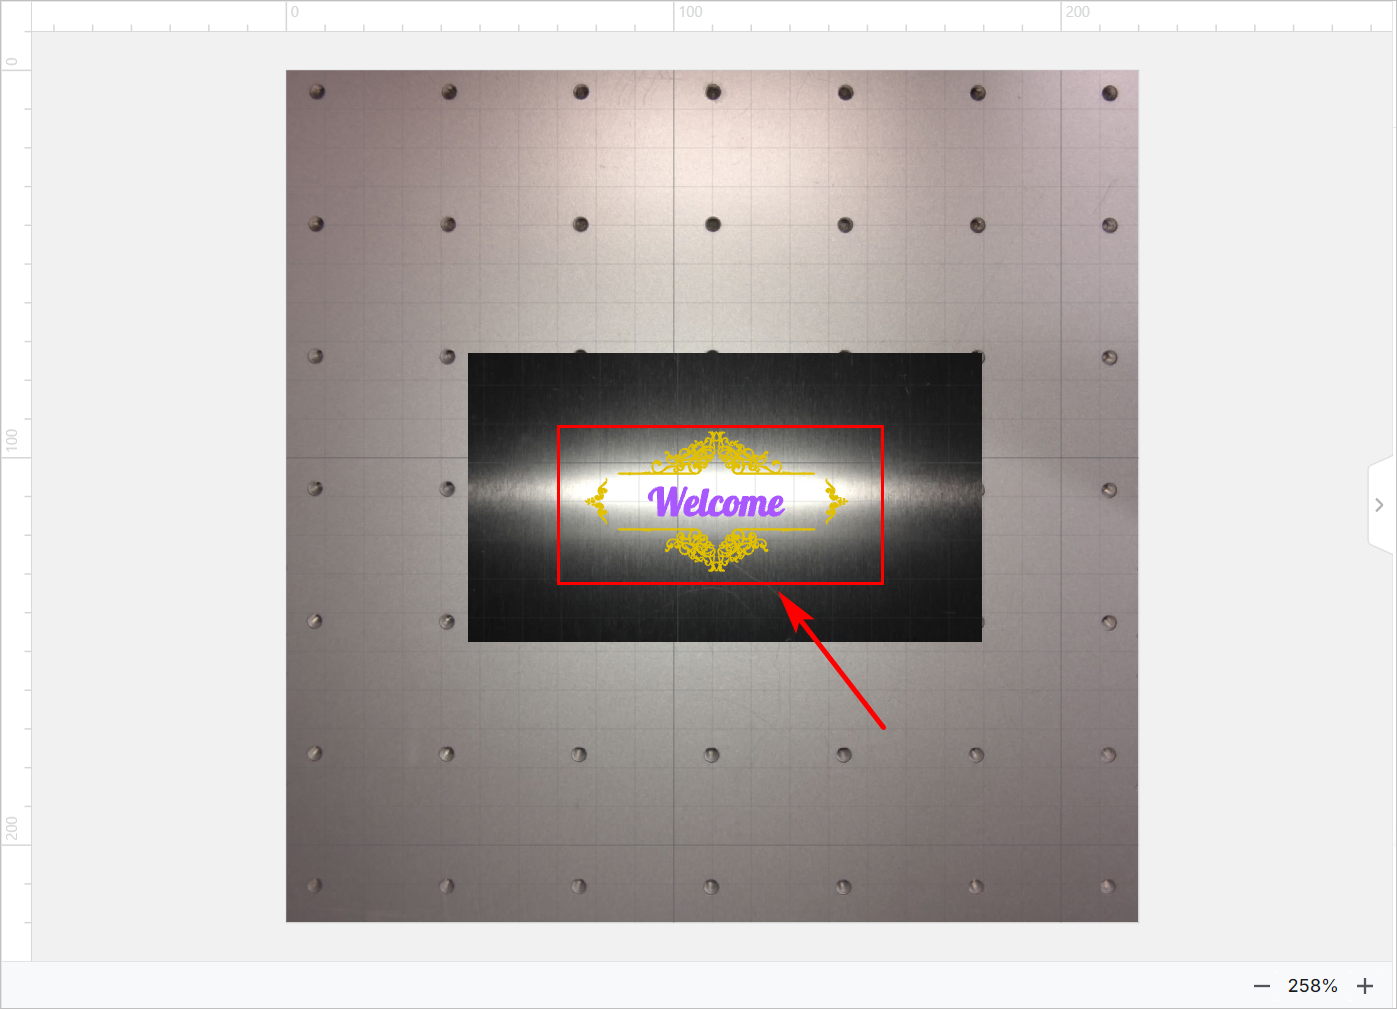
5. Shoot background and adjust object positions
(1) In the right-corner of XCS, click  .
.
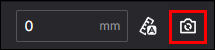
Note: XCS takes a photo of the processing area and uses it as the canvas background. You can adjust the objects to the desired position. |
(2) Select all the objects and move them to the middle of the business card.
Note: The project file has the processing parameters and processing path set ready and you do not need to set them. |
6 Preview the processing area
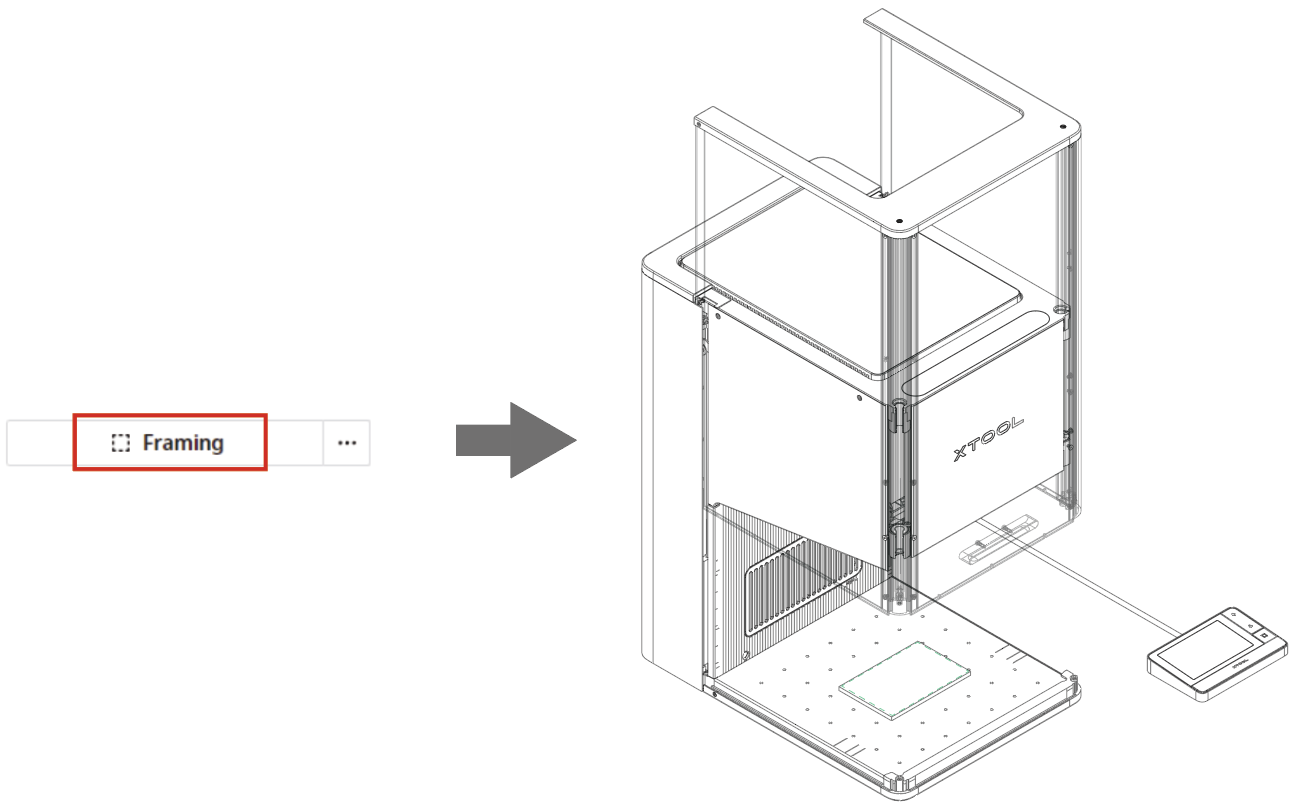
You can preview the processing area on the material by framing. Framing means laser dots walk along the border of the processing objects on the material. Take the following steps to start framing:
(1) In the bottom -right corner of the software, click ![]() next to Framing and set the parameters for framing.
next to Framing and set the parameters for framing.
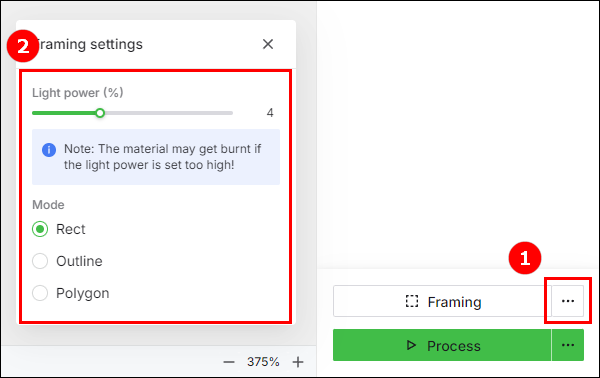
- Light power: Sets the laser power for framing.
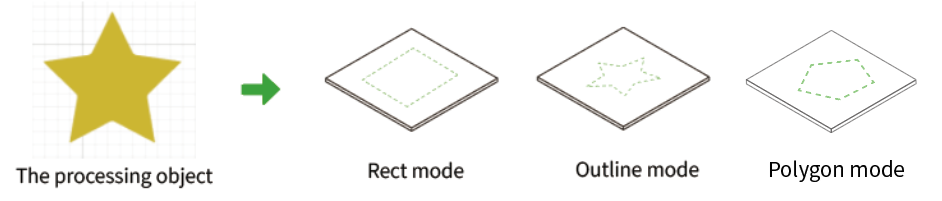
- Mode: Rect mode, Outline mode, and Polygon mode are supported.
- Rect mode: Laser dots walk along the rectangle border of the processing objects.
- Outline mode: Laser dots walk along the outline of the processing objects.
- Polygon mode: Laser dots walk along the outline frame borders of the processing objects.
(2) Click Framing in XCS. The laser dots will move along the boundary of the processing objects on the material, allowing you to preview the processing area.
To stop framing, click the Stop Framing button in the bottom-right corner of XCS.

Note: If the processing area is not ideal, you can adjust the material position or the object position in XCS. |
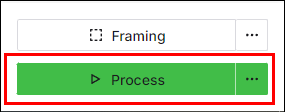
7. Start processing
(1) In the bottom-right corner of XCS, click Process.
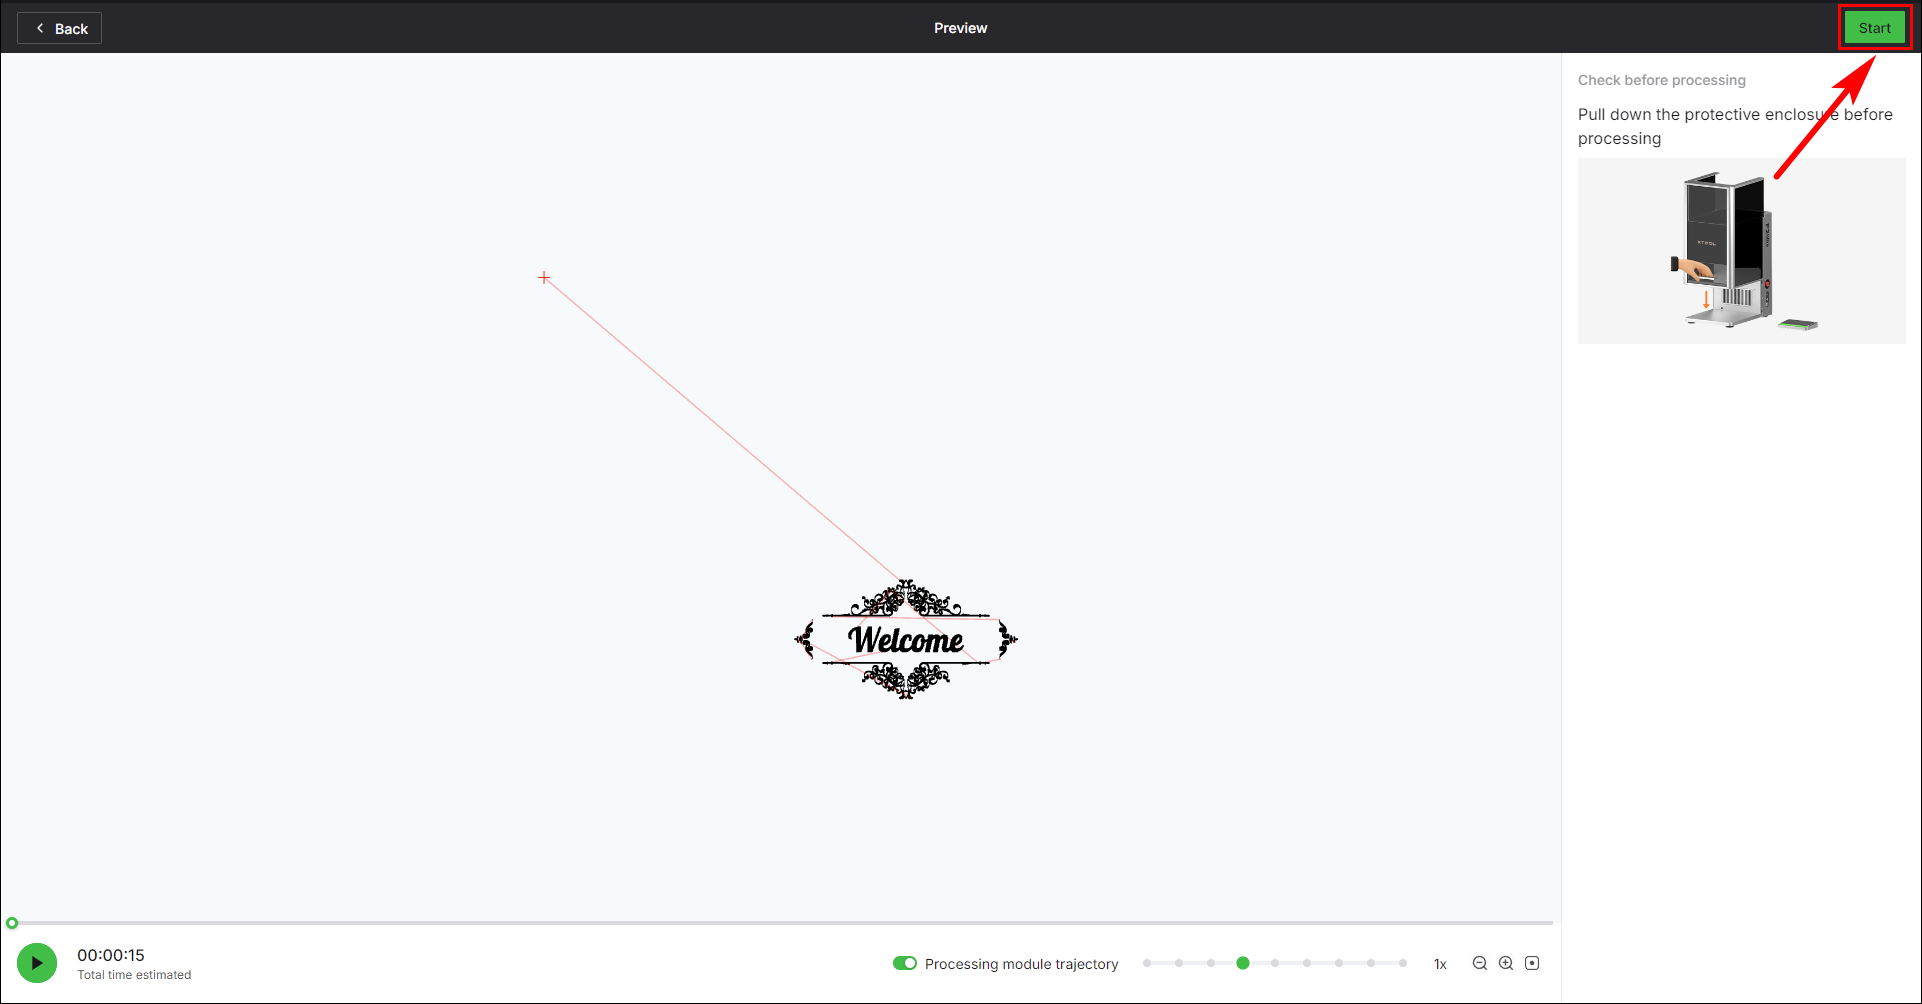
(2) Click ![]() to preview the processing pattern and path.
to preview the processing pattern and path.
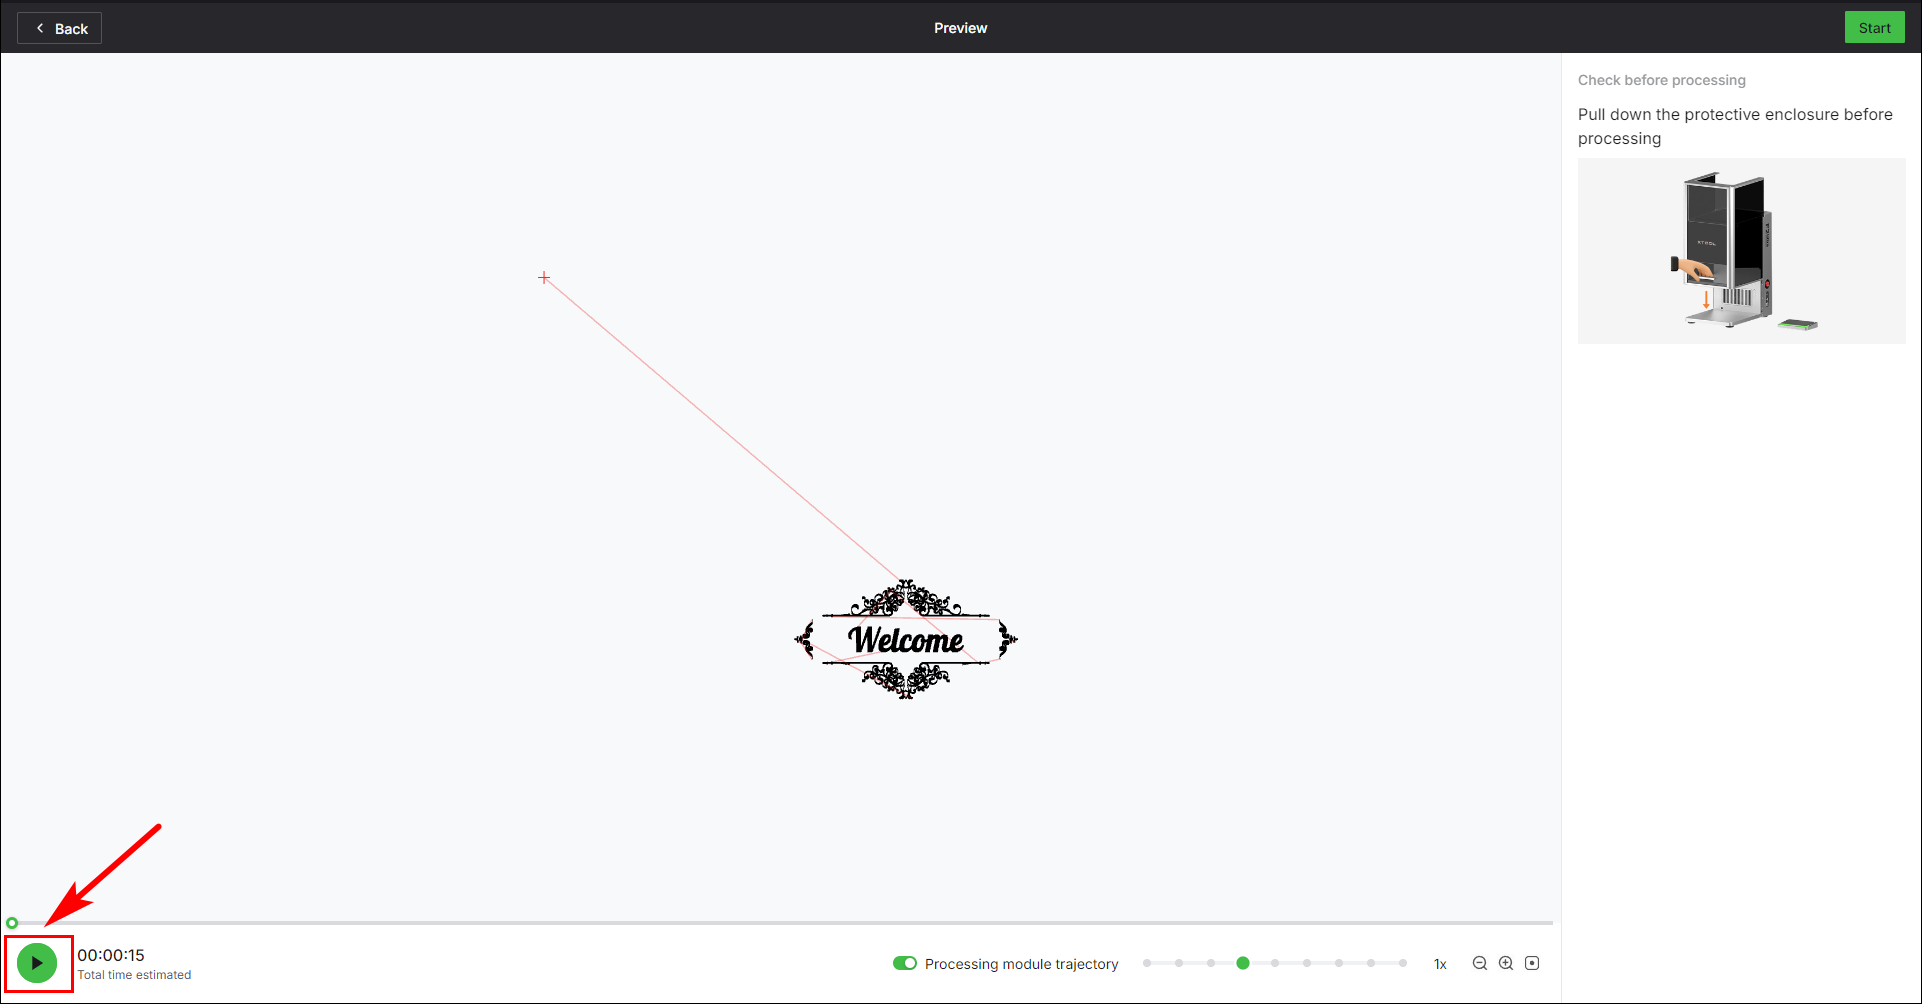
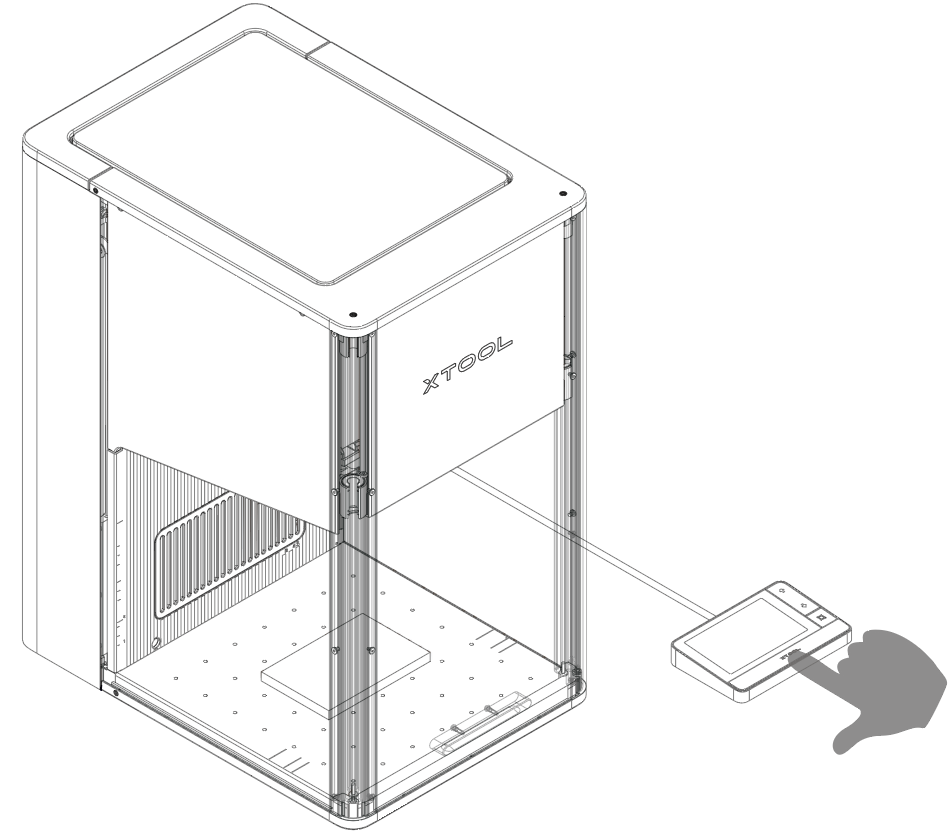
(3) Close the protective enclosure. In the upper-right corner of XCS, click Start. When XCS shows Ready, press the Start/Stop button on the touchscreen controller to start processing.
![]()
Note: During processing, keep the protective enclosure closed or wear googles that can shield laser beams of 445 ± 15 nm and 1064 ± 5 nm. |
More example projects
For more project tutorials and files, see xTool DesignFind.
Services & Help
Learn & Education

Copyright © 2025 xTool All Rights Reserved.