Download PDF files (multi-language)
Português_xTool SafetyPro™ IF2 2.0_Manual de referência rápida | Język Polski_xTool SafetyPro™ IF2 2.0_Manual de referência rápida | |
|
Unboxing and setup
List of items
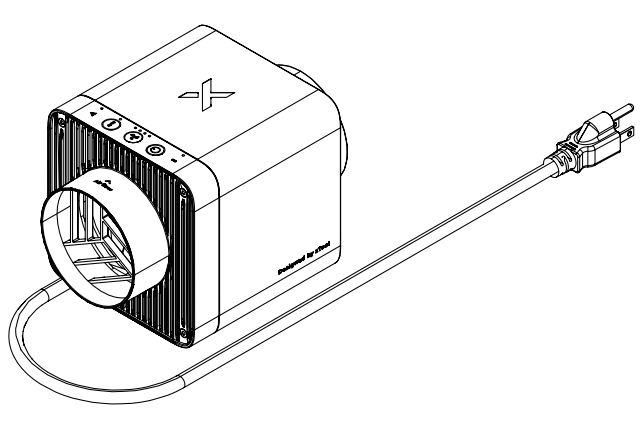
| xTool SafetyPro™ IF2 2.0 |
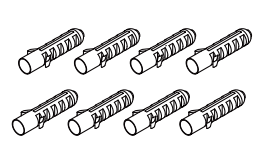
| Ribbed plastic anchors |
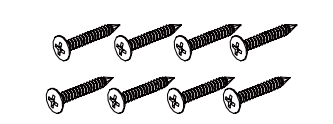
| Screws |
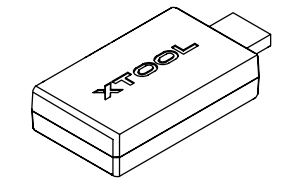
| Bluetooth dongle |
| Wall-mounting fixture |
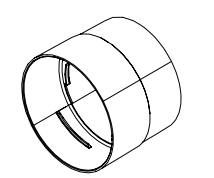
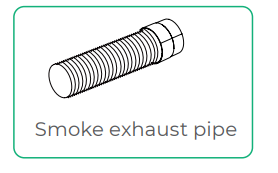
| Smoke exhaust pipe |
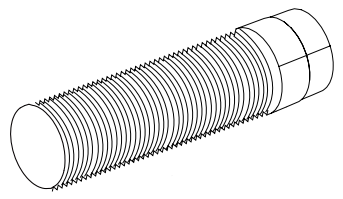
| Pipe connector 1 |
| Pipe connector 2 |
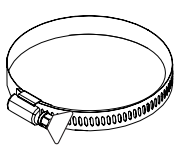
| Pipe clamp |
| Hex key |
| Quick start guide |
| Safety instructions |


Note:
■ The power cable may vary depending on the region and country where the product is delivered.
■ Pipe connector 1 is compatible with xTool machines' rigid exhaust pipes (hard and shape-adjustable) with a diameter of 80 mm.
■ Pipe connector 2 is compatible with xTool machines' rigid exhaust pipes (hard and shape-adjustable) with a diameter of 65 mm.
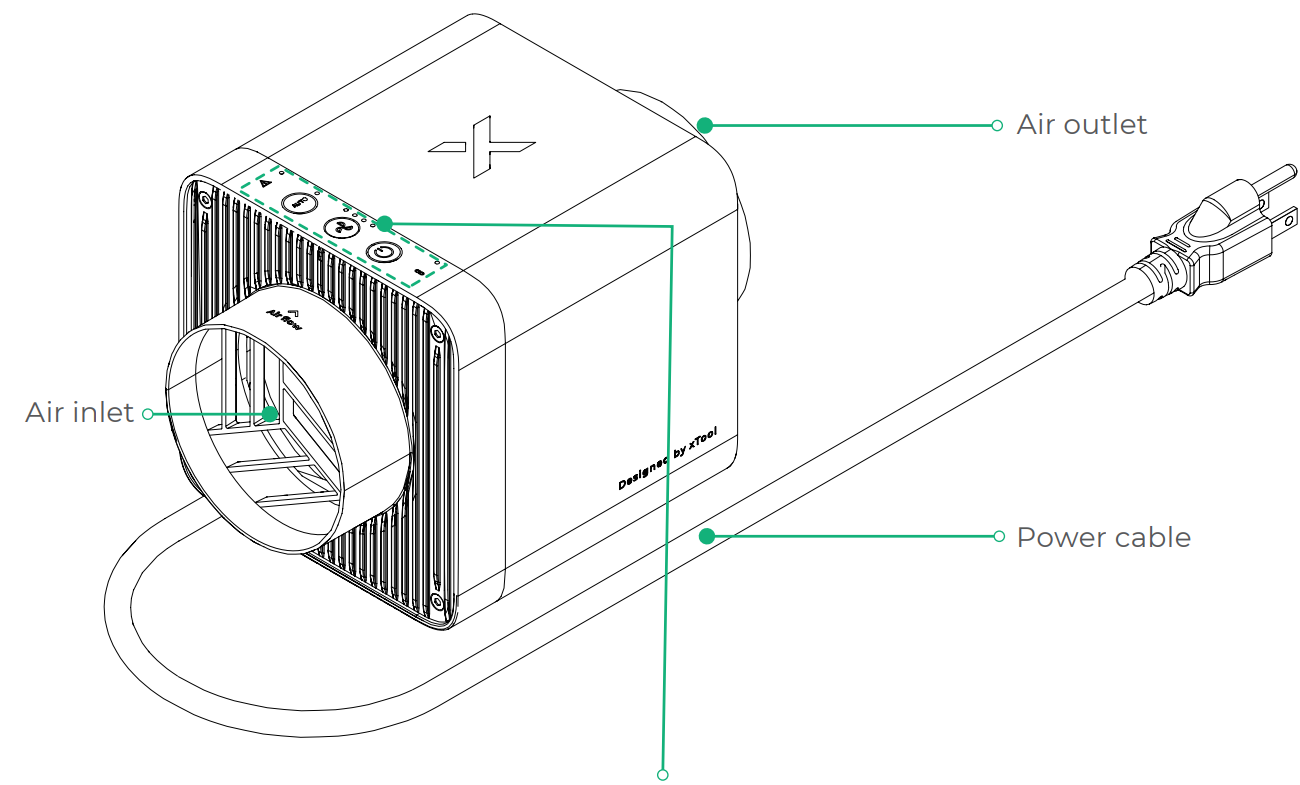
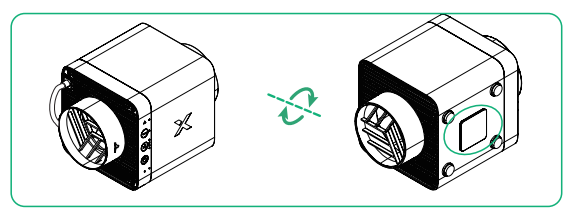
Meet xTool SafetyPro™ IF2 2.0
Connect xTool SafetyPro™ IF2 2.0
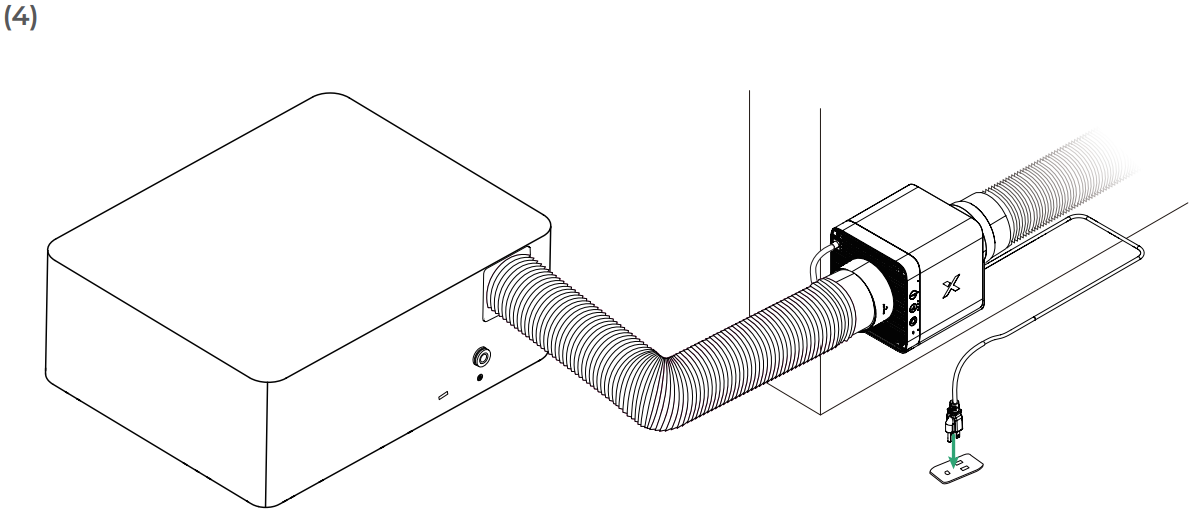
1. Connect your xTool laser machine to IF2 2.0
Scenario 1: Diameter of the smoke exhaust pipe of the xTool laser machine = 80 mm, applicable to xTool P3, S1, F1 Ultra, and F2 Ultra series
Scenario 2: Diameter of the smoke exhaust pipe of the xTool laser machine = 65 mm, applicable to xTool M1 Ultra, F2, and F1
Scenario 3: Diameter of the smoke exhaust pipe of the xTool laser machine = 65 mm to 90 mm, applicable to xTool P2, P2S, D1, and D1 Pro
The connection process for pipe connectors 1 and 2 is the same in the following steps, and the process for pipe connector 1 is illustrated as an example.
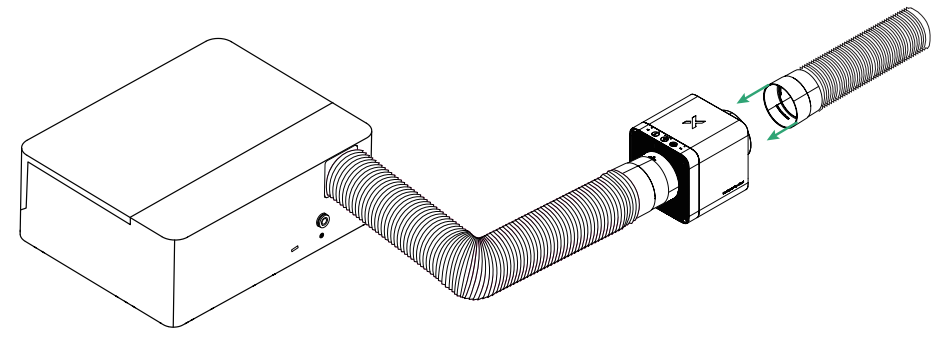
2. Install the smoke exhaust pipe of IF2 2.0
Connect the pipe connector and pipe assembly included in the package to the air outlet of the inline fan.
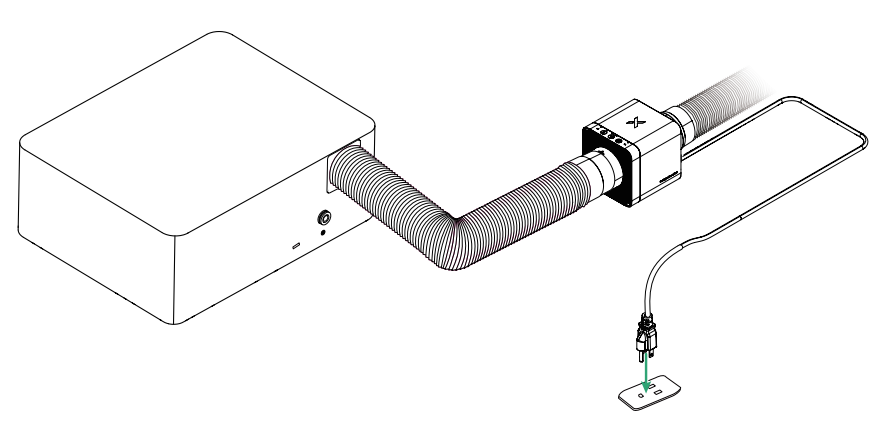
3. Connect to a power supply
4. Set up wireless connection
IF2 2.0 can establish a wireless connection only with xTool laser machines that support Bluetooth.
Scenario 1: Bluetooth dongle required
Applicable to xTool M1 Ultra, P2S, F1 Ultra, and S1
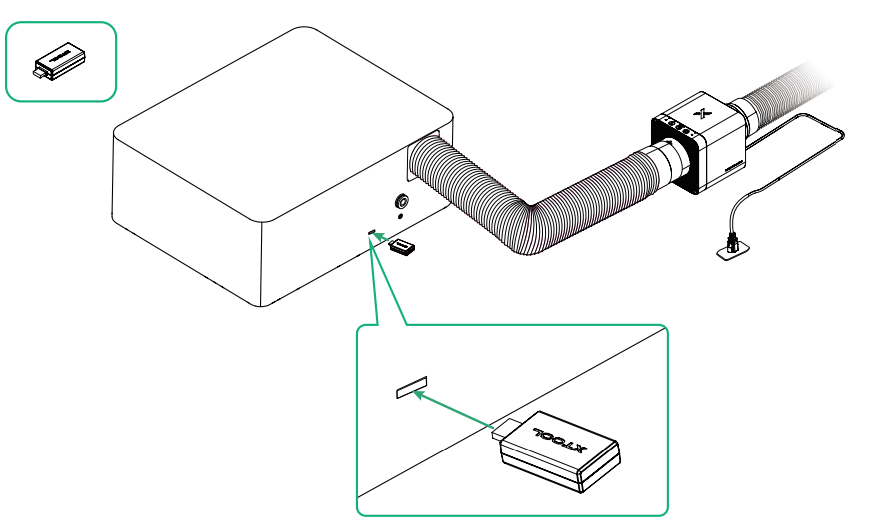
- Insert the Bluetooth dongle to the extension port of the xTool machine. The preceding figure is for reference only.
- After the Bluetooth dongle is connected, IF2 2.0 automatically establishes a connection with the xTool machine. The machine's device settings page on the xTool software displays information about IF2 2.0. For more details, see "Use with xTool software."
- If a Bluetooth dongle has been connected to the machine already or you need to pair again, press and hold IF2 2.0's power button for at least five seconds. The Bluetooth status indicator will blink white, indicating that IF2 2.0 is in pairing mode.
Scenario 2: Bluetooth dongle not required
Applicable to xTool P3, F2, and F2 Ultra series
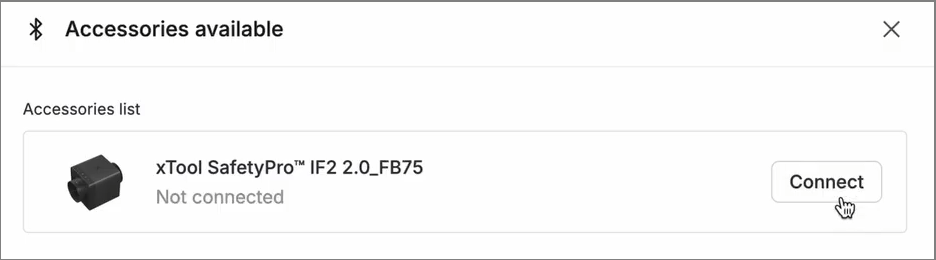
Step 1: Long press IF2 2.0's power button for at least 5 seconds until the Bluetooth status indicator blinks. At this time, IF2 2.0 enters pairing mode.
Step 2: Connect IF2 2.0 in the xTool software.
Choose Device settings > Accessory Information. Click Add in the upper-right corner. Then click Connect.
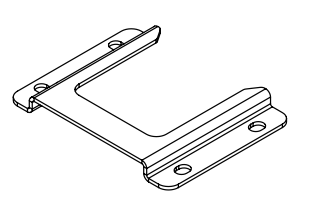
(Optional) Mount on the wall
You can mount the inline fan on the wall or other suitable locations using the wall-mounting fixture included in the package.
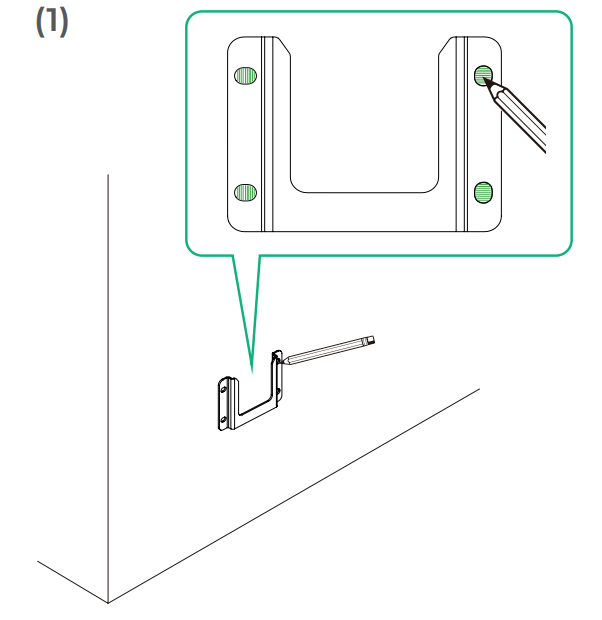
Place the wall-mounting fixture against the wall, determine the proper position, and mark each hole's location with a pencil.
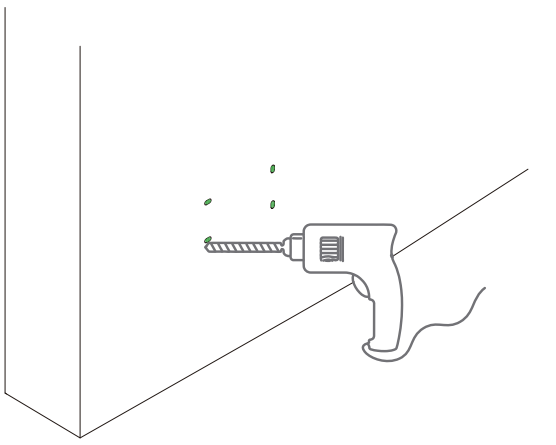
Drill the four holes marked.
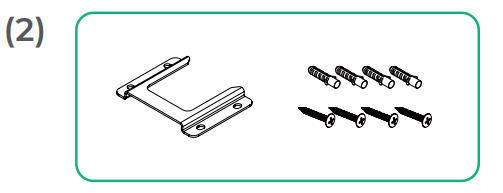
To better secure the screws, you can hammer the ribbed plastic anchors into the holes before applying the screws.
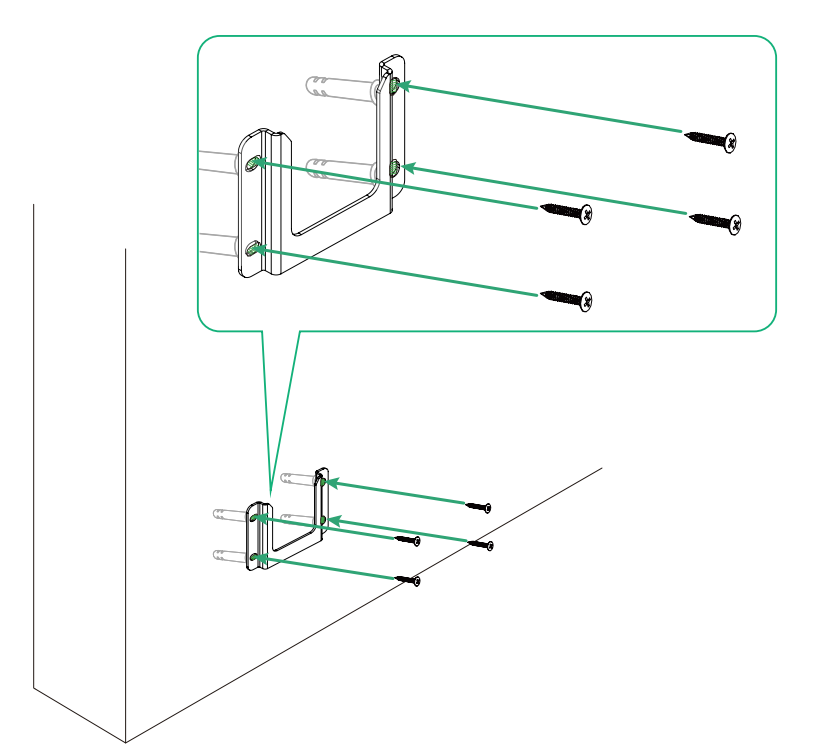
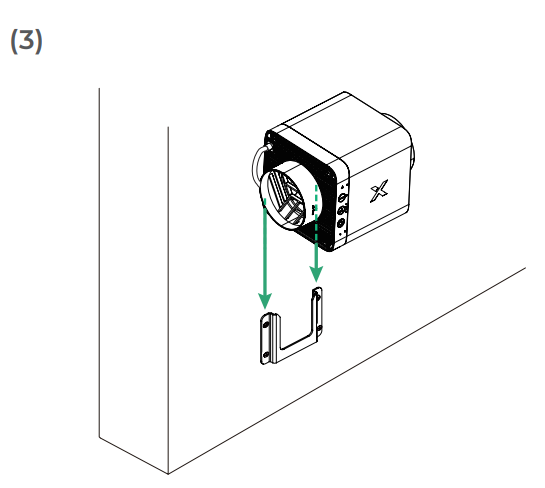
Slide the fan body along the fixture, with the wall-mounting bracket of the fan fitting on the fixture.
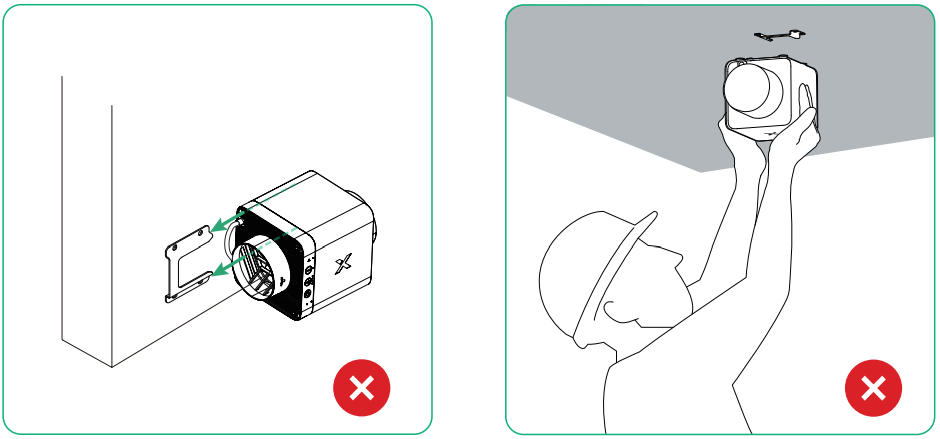
Never mount the wall-mounting fixture sideways or mount on a ceiling. Otherwise, the inline fan may not be fixed properly.
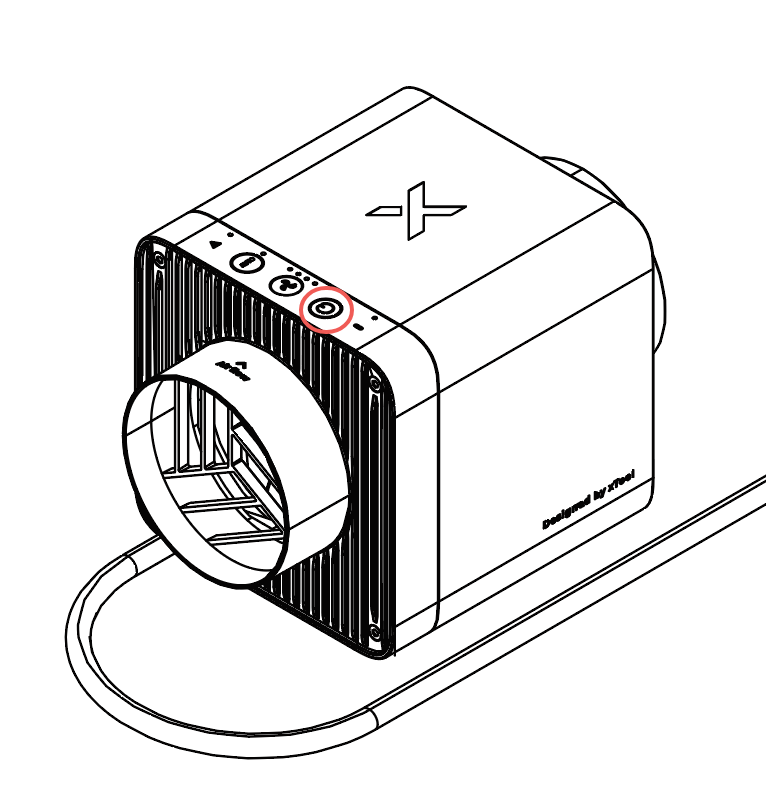
Use xTool SafetyPro™ IF2 2.0
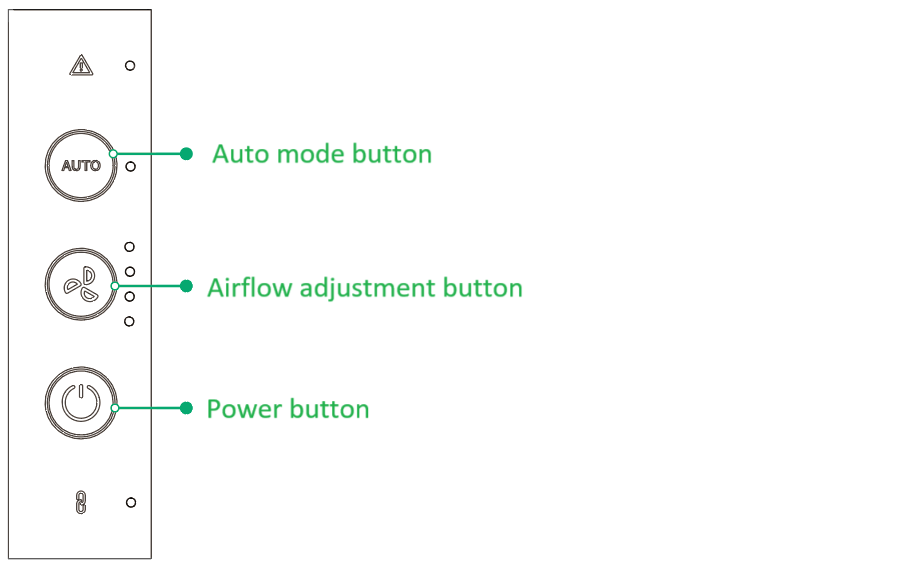
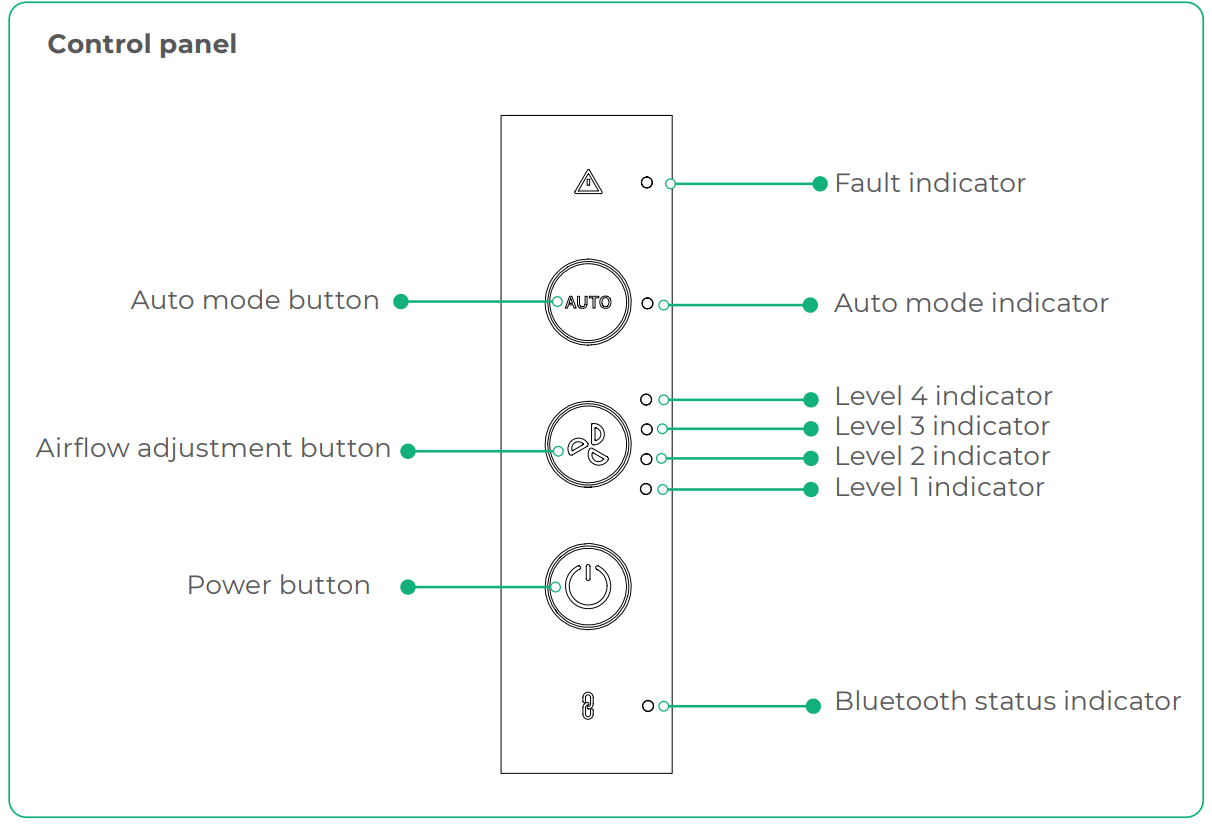
- Auto mode button: In Auto mode, the inline fan adjusts the airflow based on the materials being processed. Note: Auto mode is available only for Bluetooth-enabled xTool machines.
- Airflow adjustment button: The indicator lights, arranged from top to bottom, represent airflow levels four, three, two, and one.
- Power button: Press to turn the inline fan on or off. Press and hold this button for at least five seconds and the inline fan enters pairing mode.
Indicator description
Indicator | Indicator status | Device status |
|---|---|---|
| Blinking white | Enters pairing mode |
Solid white | Pairing succeeds | |
Off | Pairing fails or Bluetooth connection is not established | |
| Solid red | The inline fan motor stalls and the fan blades need cleaning |
Blinking red | Firmware upgrade fails | |
| Solid white | The inline fan works in Auto mode |
| Solid white | The inline fan works at the current airflow level |
| ||
Use with xTool software
1. Download xTool software
Go to s.xtool.com/software to get the xTool software.
2. Use xTool SafetyPro™ IF2 2.0 with the xTool software
Use xTool SafetyPro™ IF2 2.0 with the xTool software
FAQ
Maintenance
Clean the fan of xTool SafetyPro™ IF2 2.0
