Before starting the user guide of xTool P3, see the unboxing video first.
Download PDF file (multi-language)
|
|
|
|
|
|
|
|
|
|
|
|


List of items
Unbox xTool P3 and check the items inside the pack. If you find items missing or broken, please contact us for after-sales support.
|
|
|
|
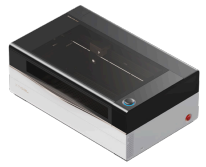
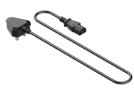
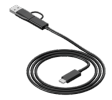
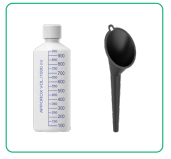
xTool P3 | Power cable | USB cable | Antifreeze |
|
|
|
|
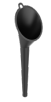
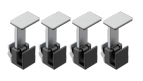
Funnel | Material clamp | Masking tape | Cardboard |
|
|
|
|
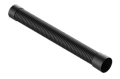
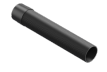
Basswood 3 mm | Smoke exhaust pipe | Quick start guide | Safety instructions |
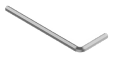
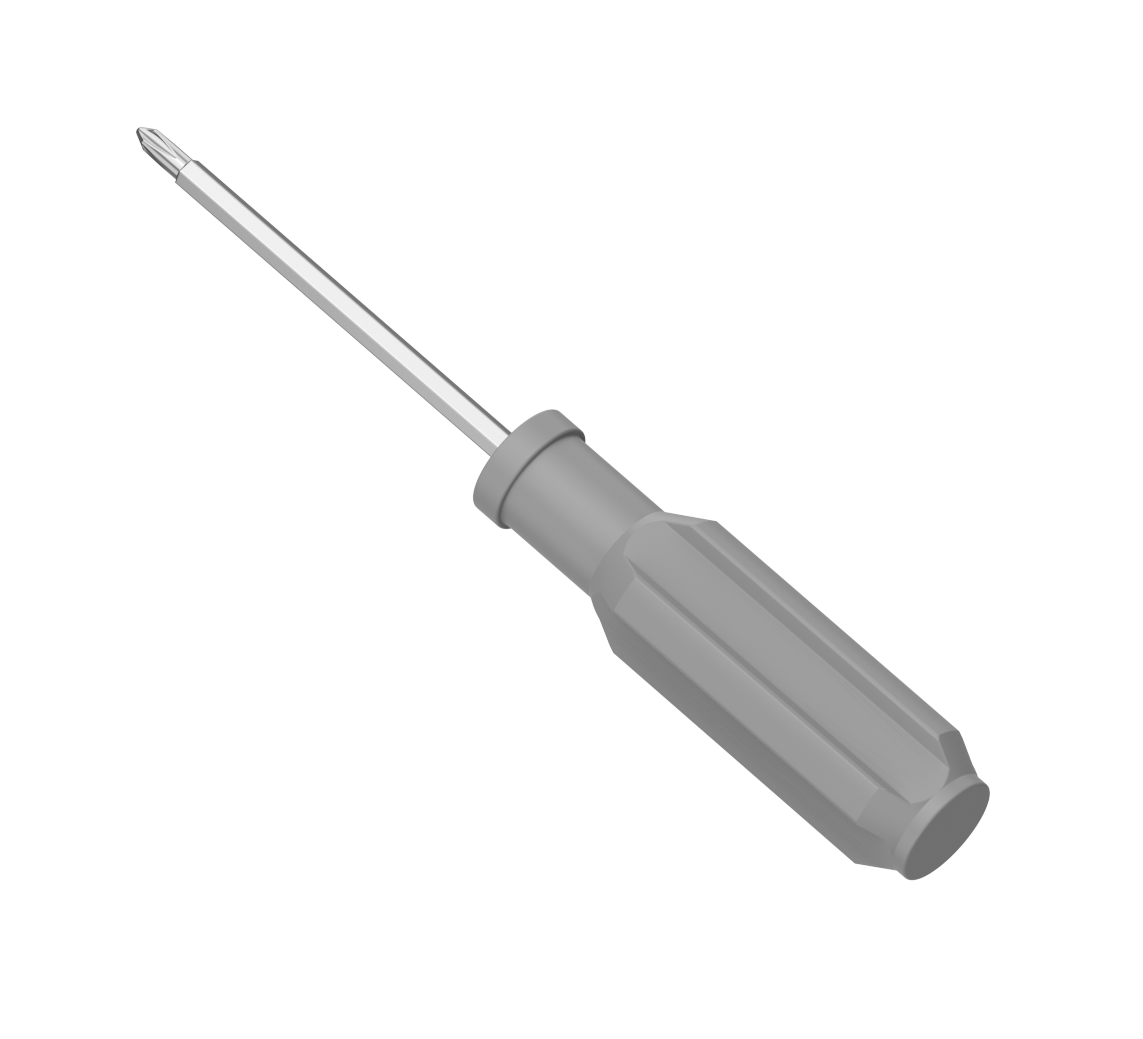
Tool kit:
*All the screws in the tool kit are spare. | |||
|
|
|
|
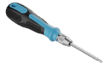
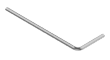
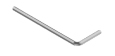
Key | Double-end screwdriver | Hex key 1.5 mm | Hex key 3 mm |
|
|
|
|
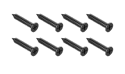
Screw M3*6 | Screw M3*5 | Screw M4*10 | Screw M3*10 |
Self-tapping screw ST2.9*9.5 | |||
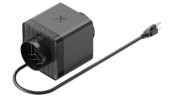
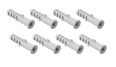
xTool SafetyPro™ IF2 2.0 kit: | |||
|
|
|
|
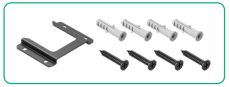
xTool SafetyPro™ IF2 2.0 | Ribbed plastic anchors | Screw M3*10 | Smoke exhaust pipe |
|
| ||
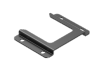
Wall-mounting fixture | Hex key 2 mm | ||


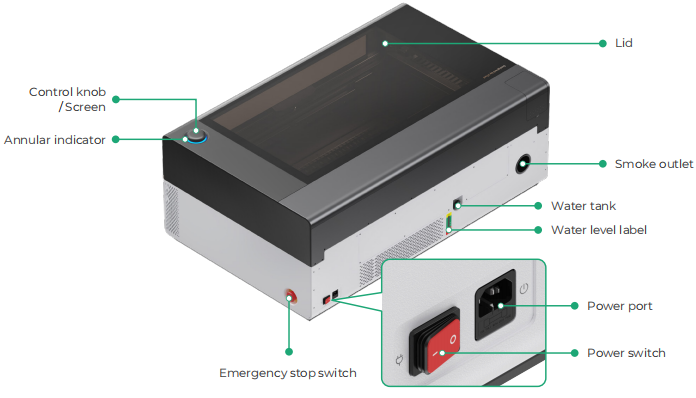
Meet your xTool P3
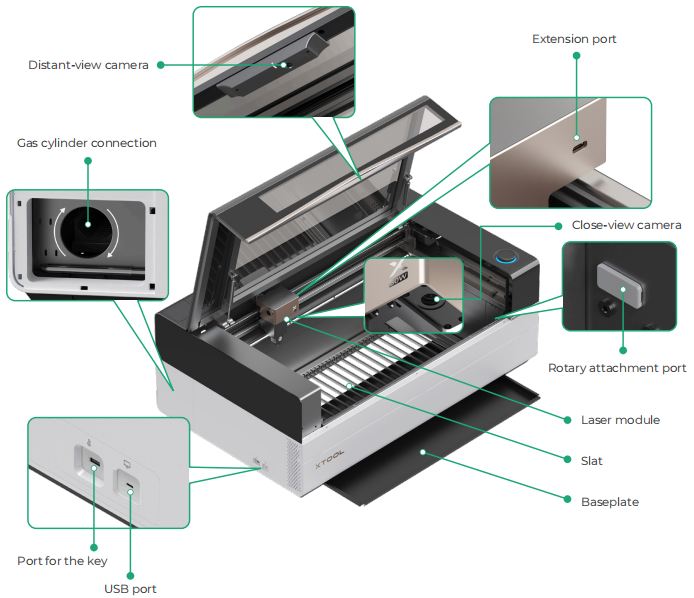
Product structure
Specifications
Product name | xTool P3 |
|---|---|
Safety Classification | Class 1 Laser Safety |
Product size | 1250 mm × 780 mm × 496 mm |
Weight | 105 kg |
Processing area | 915 mm × 458 mm |
Maximum processing speed | 400 mm/s (bitmap) 1200 mm/s (vector) |
Input power | 100 – 240 V AC, 50 / 60 Hz, 1700 W |
Camera resolution | Close-view camera: 5 MP Distance-view camera: 16 MP |
Annular indicator and knob description
Annular indicator | Device status |
|---|---|
Solid white | Standby, not connected to the network |
Blinking blue slowly | Ready to work |
Solid blue | Standby, connected to the network |
Solid purple | Bluetooth configuring |
Solid purple | Firmware updating |
Solid yellow | AP network configuring |
Solid green | Processing completed |
Solid red | Exception occurs |
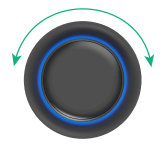
Turn the knob:
· Switch between options
· Adjust the parameters

Press the knob:
· Enter the option
· Confirm the parameter

Hold down for 2s:
Exit the option
Meet your xTool SafetyPro™ IF2 2.0
For more information of xTool SafetyPro™ IF2 2.0, go to xTool SafetyPro™ IF2 2.0 User Guide.
Product structure
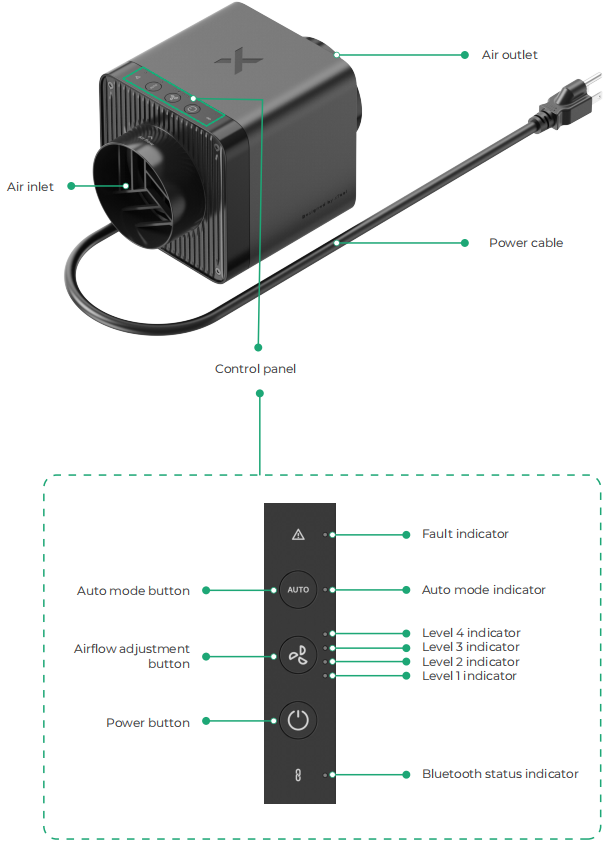
Inline fan indicator description
Indicator | Indicator status | Device status |
|---|---|---|
Bluetooth status indicator | Blinking white | Enters pairing mode |
Solid white | Pairing succeeds | |
Off | Pairing fails or Bluetooth connection not established | |
Fault indicator | Solid red | Inline fan motor stalls and the fan blades need cleaning |
Blinking red | Firmware upgrade fails | |
Auto mode indicator | Solid white | The inline fan works in AUTO mode |
Airflow adjustment indicator | Solid white | The inline fan works at the current airflow level |
The fault indicator and Bluetooth status indicator blink alternately: Firmware upgrade in progress The fault indicator and Bluetooth status indicator are off and the buzzer sounds once: Firmware upgrade succeeds | ||


Preparations
Attention: Do not connect the device to a power supply before filling the antifreeze. |
1. Check the casing of the device
If it is severely damaged, do not use the device and contact xTool after-sales services.

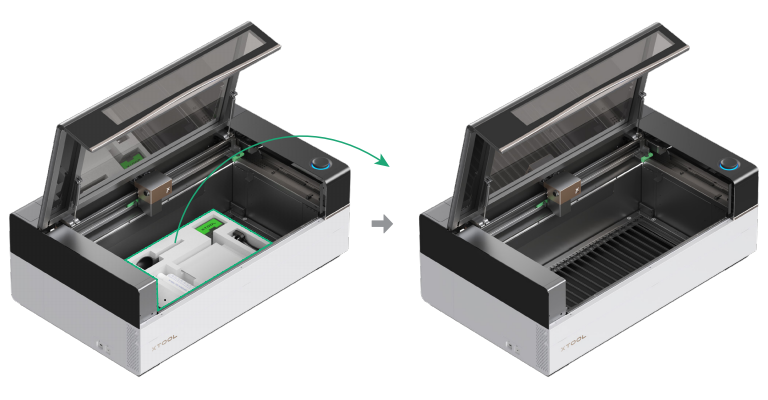
2. Open the lid and take out the items
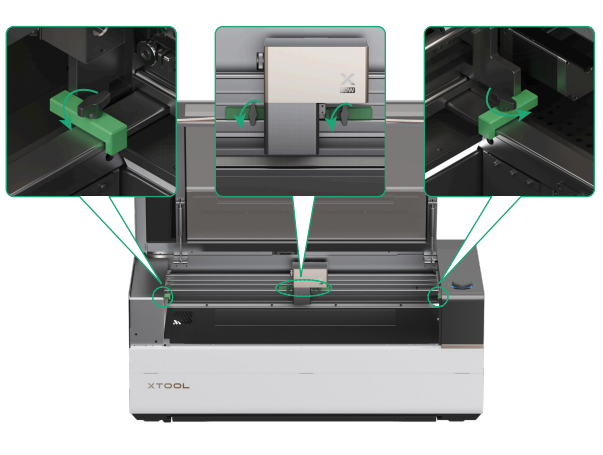
3. Remove the thumb screws on the x-axis and y-axis guide rails
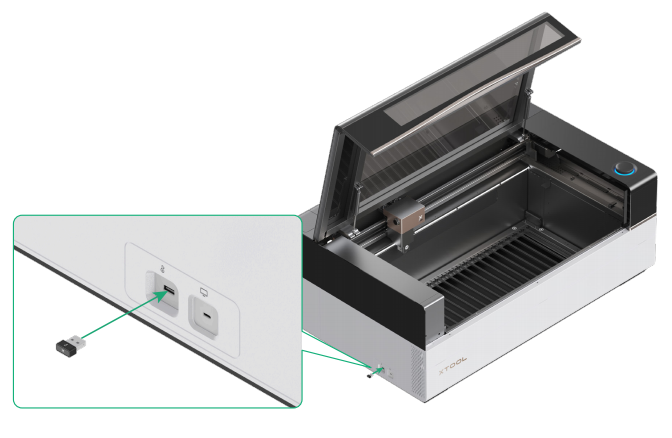
4. Insert the access-control key
The key can function as both an access control key and an interlock connector. For more information, go to xTool Access Control Key to learn more. |
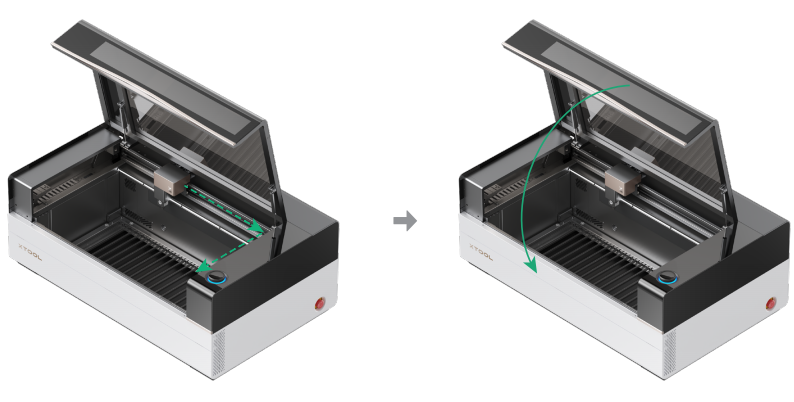
5. Turn the emergency stop switch to reset it

6. Manually move the laser module to check whether it can move properly
If yes, close the lid. If no, do not use the device and contact xTool after-sales services.
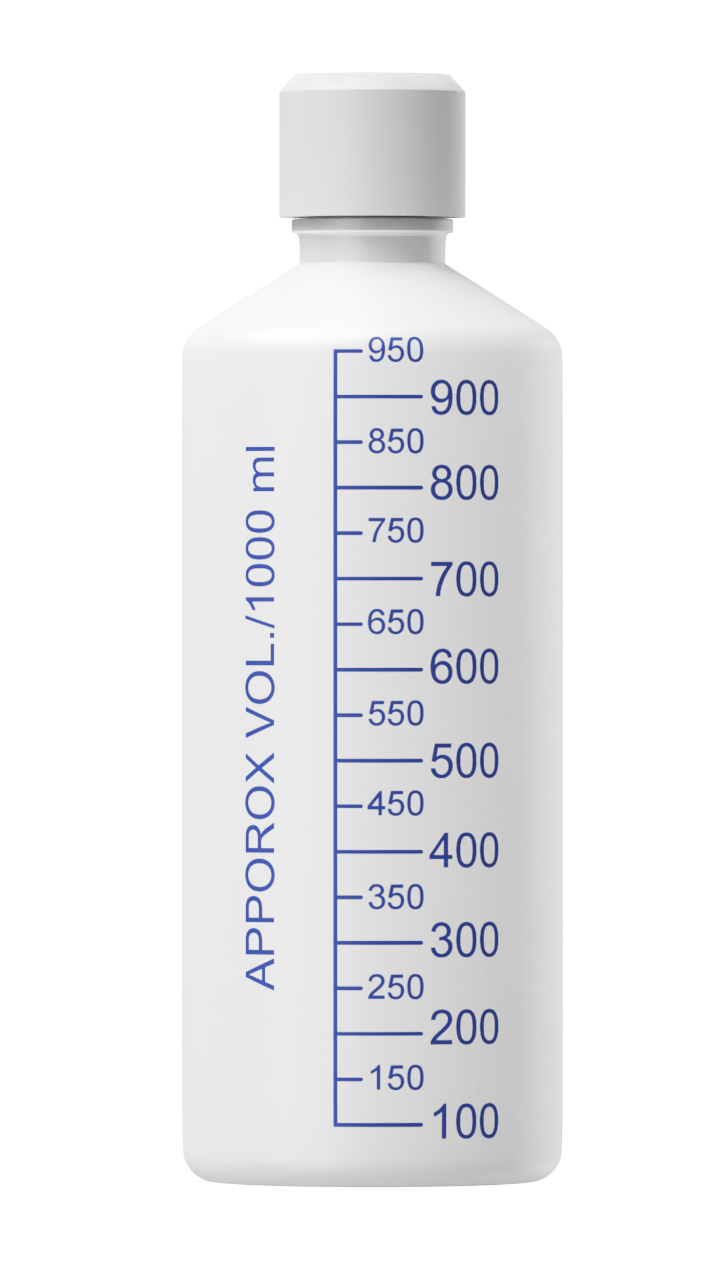
7. Fill the water tank with antifreeze
|
|

(1) Determine the volumes of antifreeze and purified water to be used
Lowest annual temperature in your region (℃) | Recommended concentration (%) | Antifreeze (ml) | Purified water (ml) |
|---|---|---|---|
T > 0 | 0 | 0 | 1200 |
-10 ≤ T ≤ 0 | 20 | 240 | 960 |
-20 ≤ T ≤ -10 | 35 | 420 | 780 |
-30 ≤ T ≤ -20 | 45 | 540 | 660 |
-40 ≤ T ≤ -30 | 50 | 600 | 600 |
-50 ≤ T ≤ -40 | 60 | 720 | 480 |
*The capacity of the water tank is 1200 ml.
(2) Pull out the water tank cap and insert the funnel into the water tank.
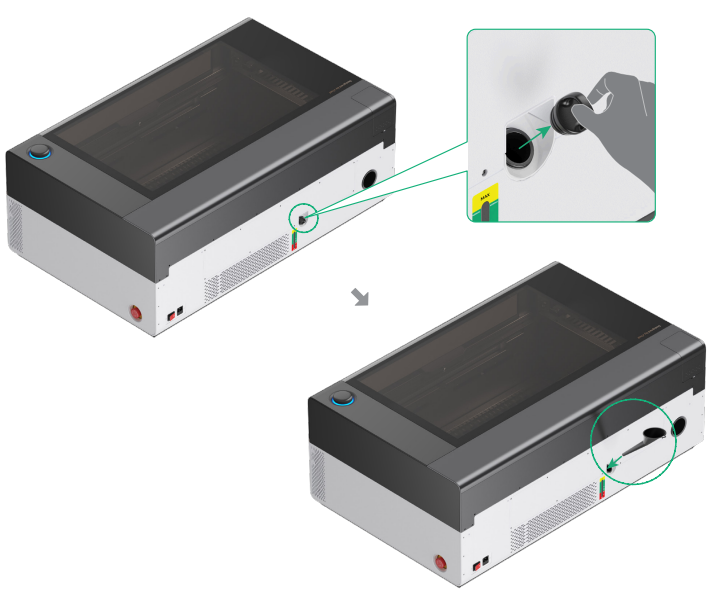
(3) Start the filling (Take -10°C as an example)
Refer to the table in (1), and fill 240 ml of antifreeze until the water level reaches the -10°C mark on the label.

Slowly pour 960 ml of purified water until the water level reaches the NORMAL mark, then close the water tank cap.
Observe the water level during the filling to avoid overflow. |
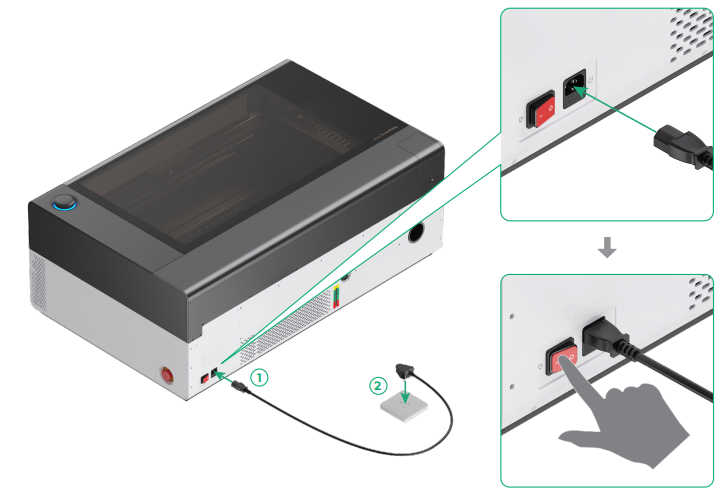
(4) Connect the device to a power supply and turn on the device
Make sure you add the antifreeze into the water tank before connecting the device to a power supply.
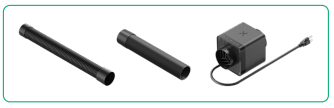
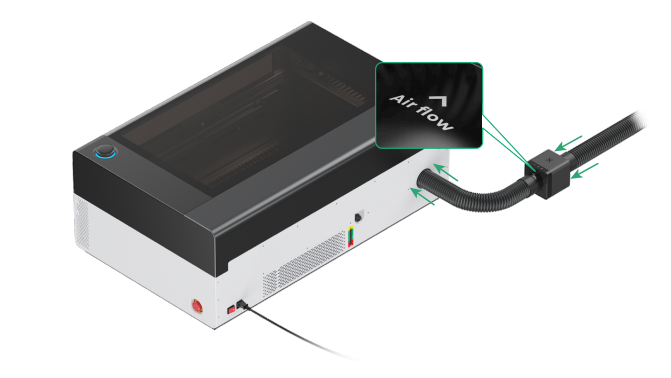
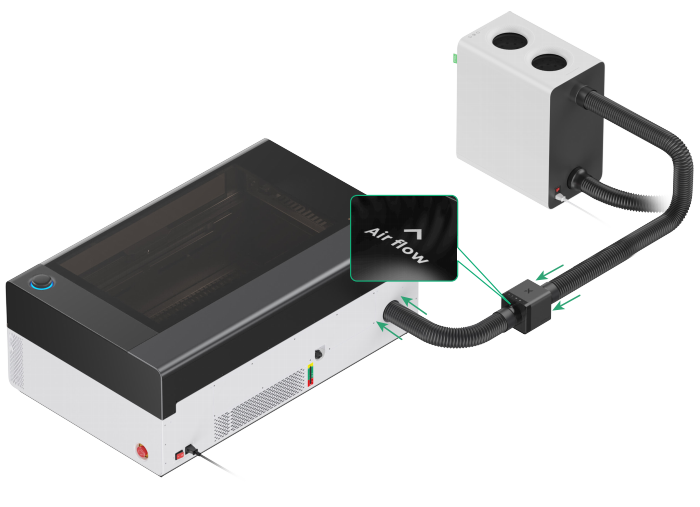
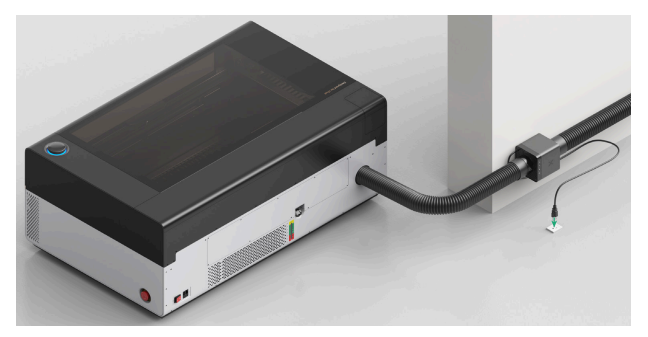
8. Install the smoke exhaust pipe
Connect xTool P3 to xTool SafetyPro™ AP2 and xTool SafetyPro™ IF2 2.0.
|
- Use with xTool SafetyPro™ IF2 2.0
Connect the pipe to the inline fan, and connect the inline fan and xTool P3 via another pipe (with two adapters).
- Use with xTool SafetyPro™ AP2
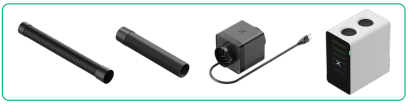
Connect the pipe to the air purifier and inline fan, and then connect the inline fan and xTool P3 via another pipe (with two adapters).
9. (Optional) Mount the inline fan on the wall
You can mount the inline fan on the wall or other suitable locations using the wall-mounting fixture included in the package.
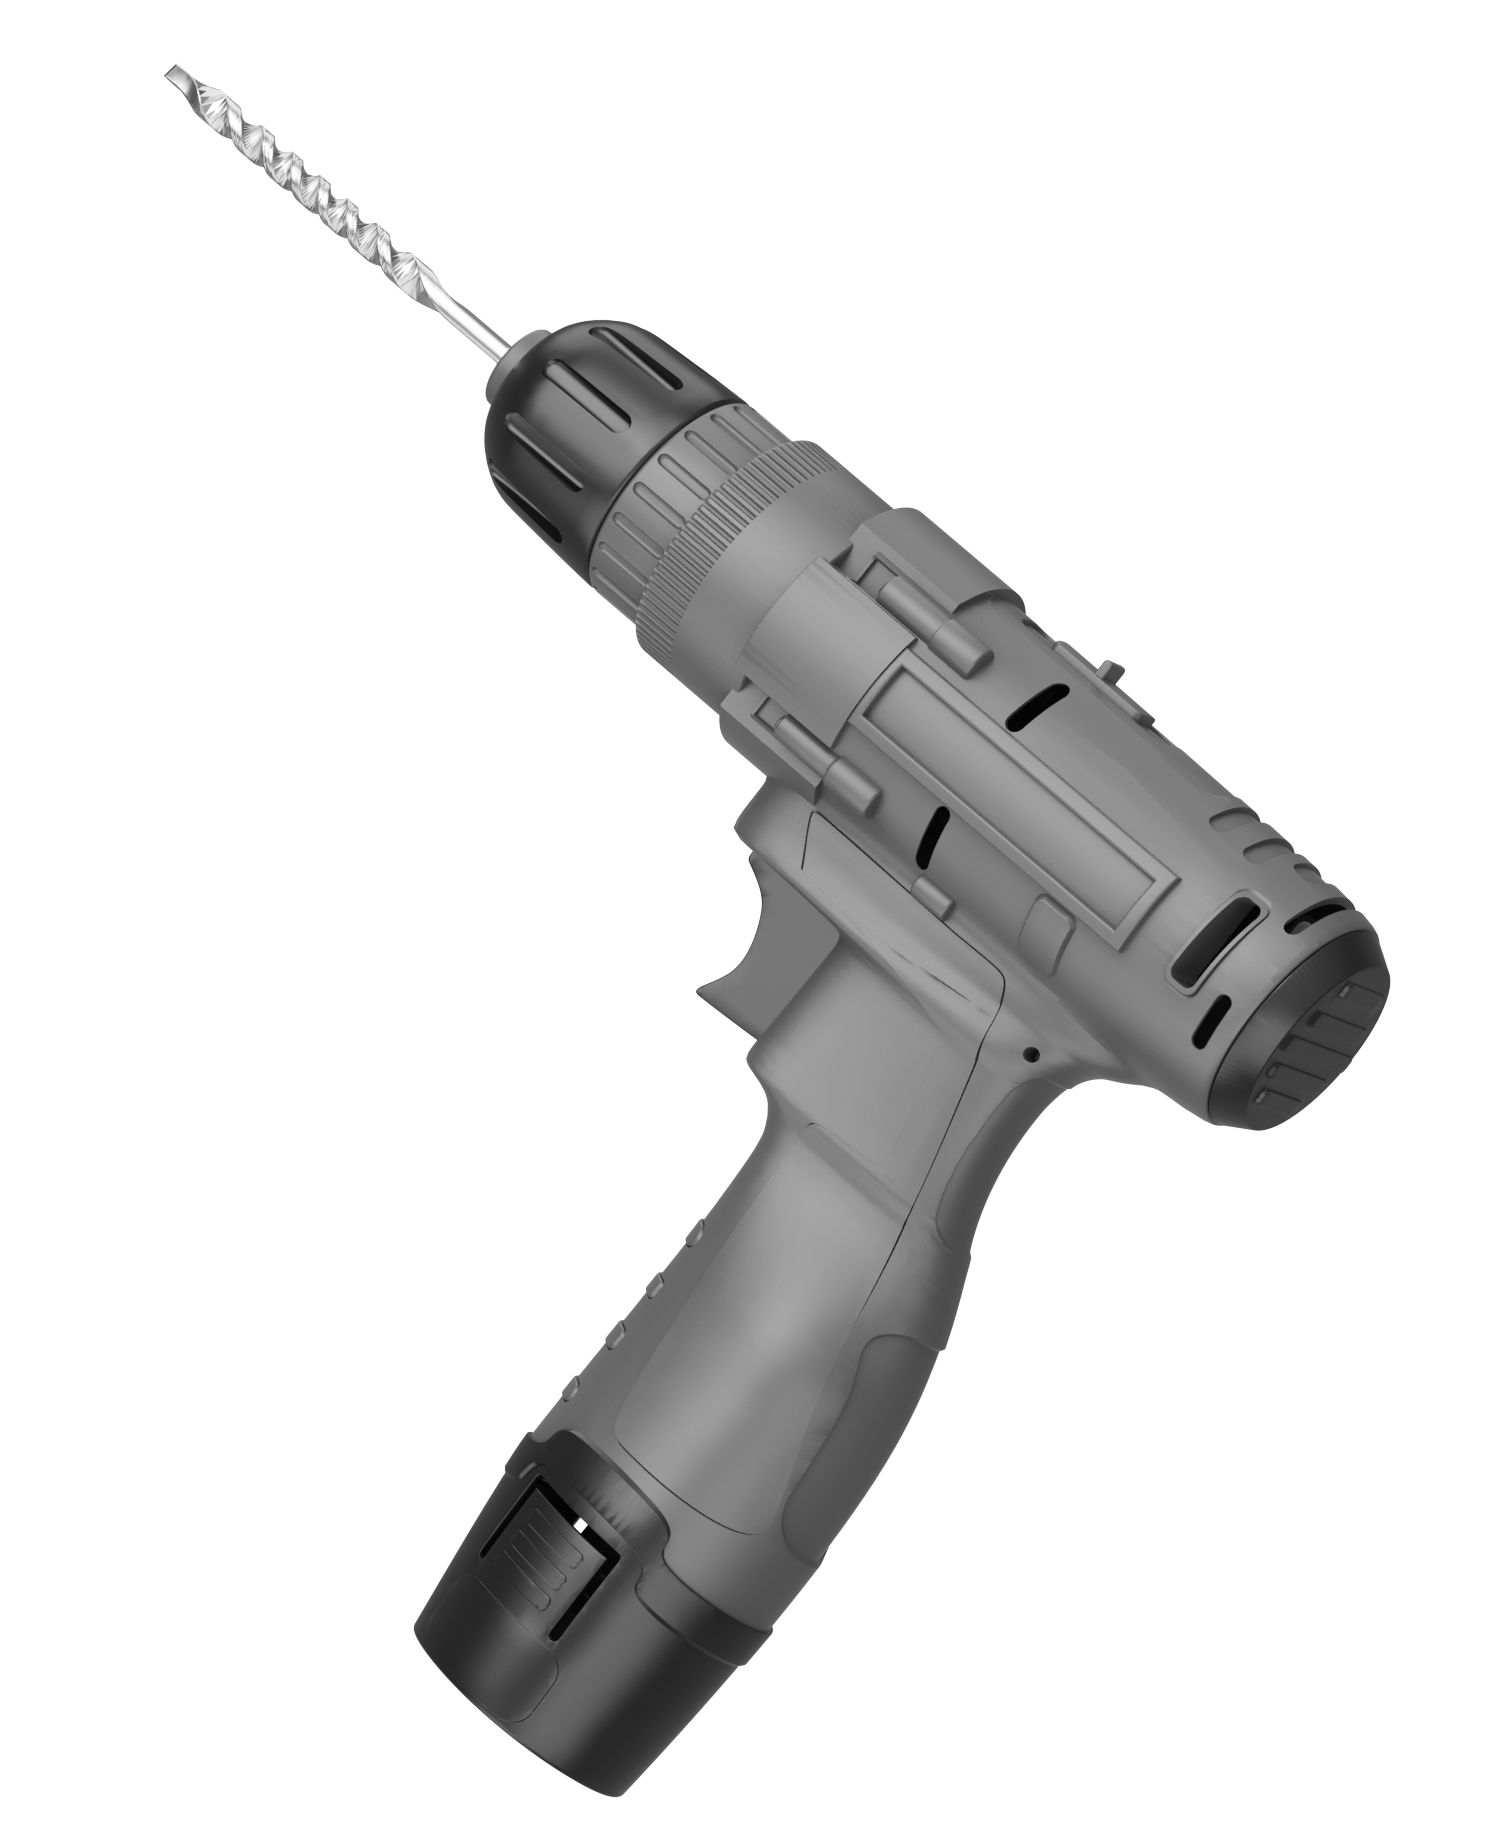
The following tools are required but not included in the package:
Phillips screwdriver Pencil Drill |

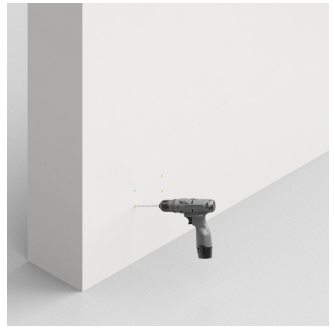
(1) Determine the proper position, place the wall-mounting fixture against the wall, and mark each hole's location with a pencil.

Drill the four holes marked.
(2) To better secure the screws, you can hammer the ribbed plastic anchors into the holes before applying the screws.
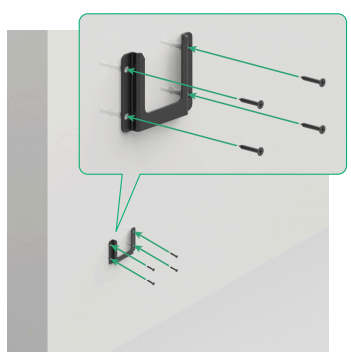
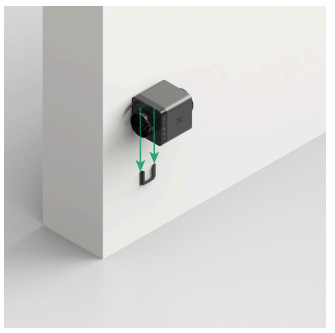
(3) Slide the fan body along the fixture, with the wall-mounting bracket of the fan fitting on the fixture.
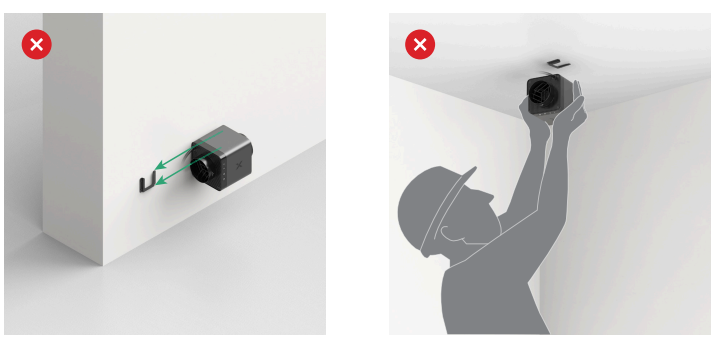
Never mount the wall-mounting fixture sideways or mount on a ceiling. Otherwise, the inline fan may not be fixed properly.
|
(4) Connect the inline fan to xTool P3 and then to a power supply.
Use xTool P3
1. Get the xTool software
Go to s.xtool.com/software to get the xTool software.
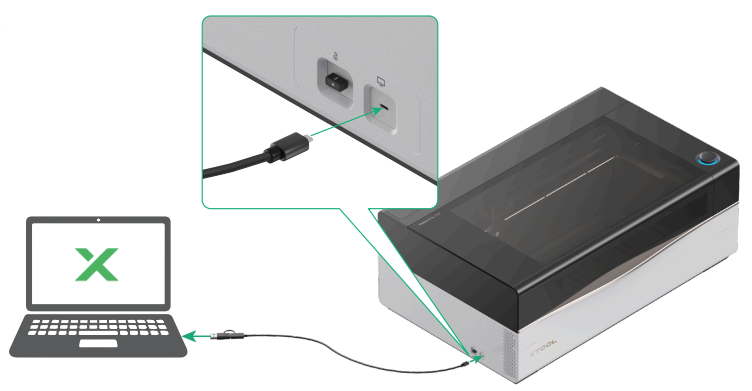
2. Connect xTool P3 to your computer via a USB cable
For details about how to use the software to operate xTool P3, visit Operate xTool P3 with xTool Software.
3. Set up wireless connection
A Bluetooth is internally installed in xTool P3. After the inline fan is connected to xTool P3, go to the software to add the inline fan.
The device settings page of xTool P3 on the xTool software displays information about the inline fan.
For more details, visit Support for SafetyPro™ IF2.
