💡 Before operating the printer in the software, make sure you get the device ready (see xTool Apparel Printer User Manual) and complete the beginner's guide on the screen. |
Download the software
Minimum and recommended PC requirements
Item | Minimum configuration | Recommended configuration |
Processor | Intel Core i5-6200U | Intel Core i5-11600 |
Operating system | Win 10 (64-bit) macOS 10.14 or higher | |
RAM | 8 GB | 16 GB |
Display resolution | 1280 × 720 (pixels) | 1920 × 1080 (pixels) or higher |
Hard drive | 8 GB | 12 GB |
- With the minimum configurations, all the functions of the software can be used properly. The software may fail to run smoothly when you import a complex image, such as an image larger than 50,000,000 pixels or an SVG image larger than 1 MB.
- With the recommended configurations, the software can run more smoothly when you import and edit a complex image, the software delay may be shorter, and the performance is better.
Download and install the software
1. Download the software applicable to the operating system that runs on your PC froms.xtool.com/software.
2. Double-click the software you've downloaded to install it.

3. Open the software. On the top-right corner, click the icon and select Settings, and set the display language for the software.


Connect xTool Apparel Printer to the software
1. Connect your printer and computer using the USB cable.

2. On the top-right corner of the software, click + New project.

3. Watch the following video to learn how to connect the device to the software.
4. Make sure the device is connected successfully.

First calibration in the software
After connecting the device to the software, you need to calibrate the device for the first time you use it.
1. On the pop-up window displayed as below, click Start to start calibration.

2. Close the lid and click Next.
💡 Do not open the lid or disconnect the software during calibration. |

3. Wait until the device completes the following three calibration steps: camera calibration, nozzle detection, and printhead calibration.


4. Three calibration steps are completed. Click Confirm.

Set up xTool Apparel Printer in the software
See Set up xTool Apparel Printer in the Software to set up the device.
Start a project
1. Design a processing object
Click the icon in the top left corner.
- Create a file: Choose File > New
- Import a file: Choose File > Import Image

2. Edit objects and set parameters
The default settings apply to xTool Selected DTF film. You can adjust the settings based on your needs.
(1) Select an object on the canvas. Set parameters in the right panel.

(2) You can edit the object with the editor tools on the top toolbar.

To learn more details, watch the video:
💡 You need to set parameters for every object. A missed object may fail to be processed. The parameters that can be set for bitmap objects and vector objects are different. You can select multiple objects of the same type and set parameters for them at once. |
3. Preview a mockup
(1) Click Mockup on the bottom-right corner to enter the mockup settings.

(2) Set mockup parameters:
① On the left panel, select the clothes type.
② On the right panel, specify the print side, size, and color.

③ When you complete the setting, click Apply scaling.

④ Click Print current design.

4. Start processing
(1) Return to the canvas and click Next to Print. Specify printing settings as needed.

(2) Click Print to enter the preview page.
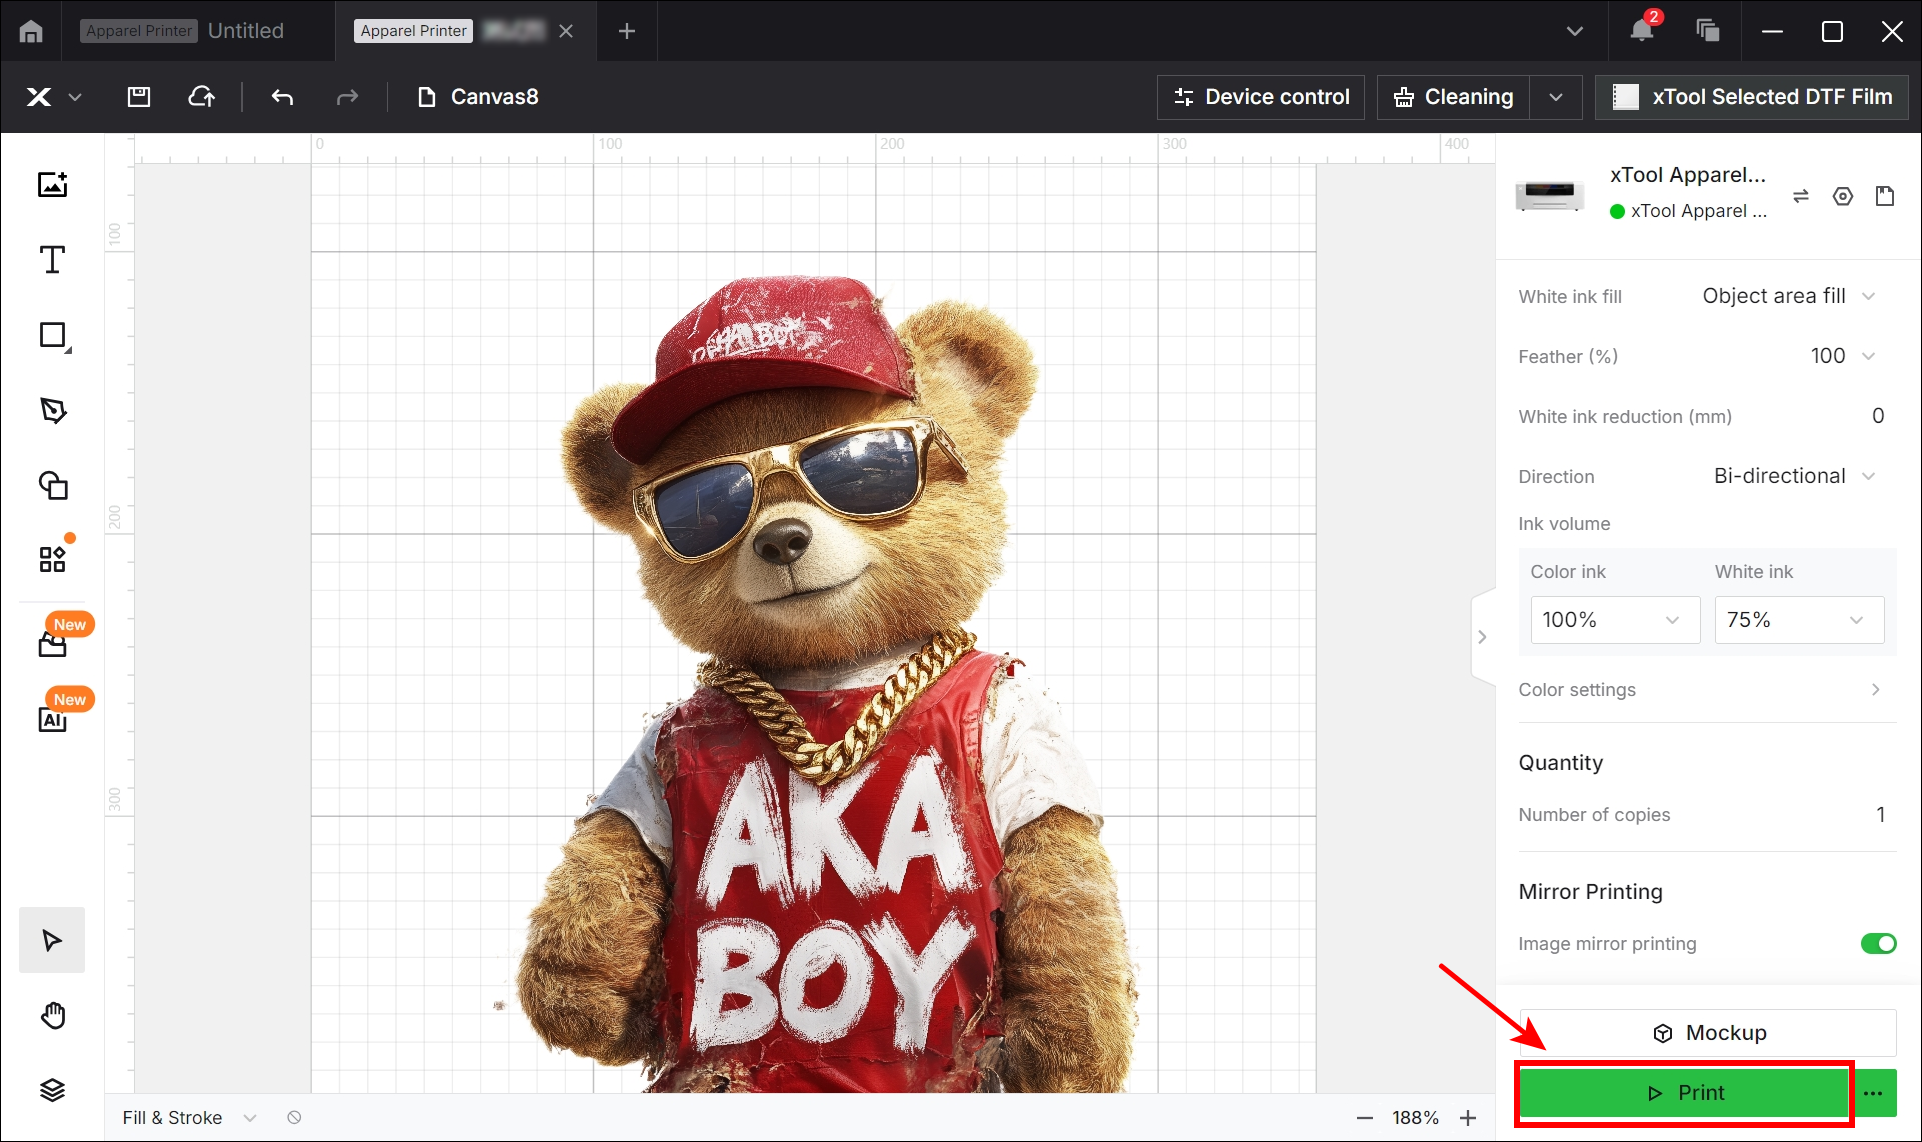
(3) On the preview page, you can see printing information on the right.
Click Print on the top right to start processing.

You can select Upload before print or Export printing file for printing types.
|


Wait until the printing is complete, and take out the film from the printer.
Services & Help
Learn & Education

Copyright © 2025 xTool All Rights Reserved.