1. Connect xTool Retail Marker to xTool Studio
Refer to Connect and Set Up xTool Retail Marker with xTool Studio.
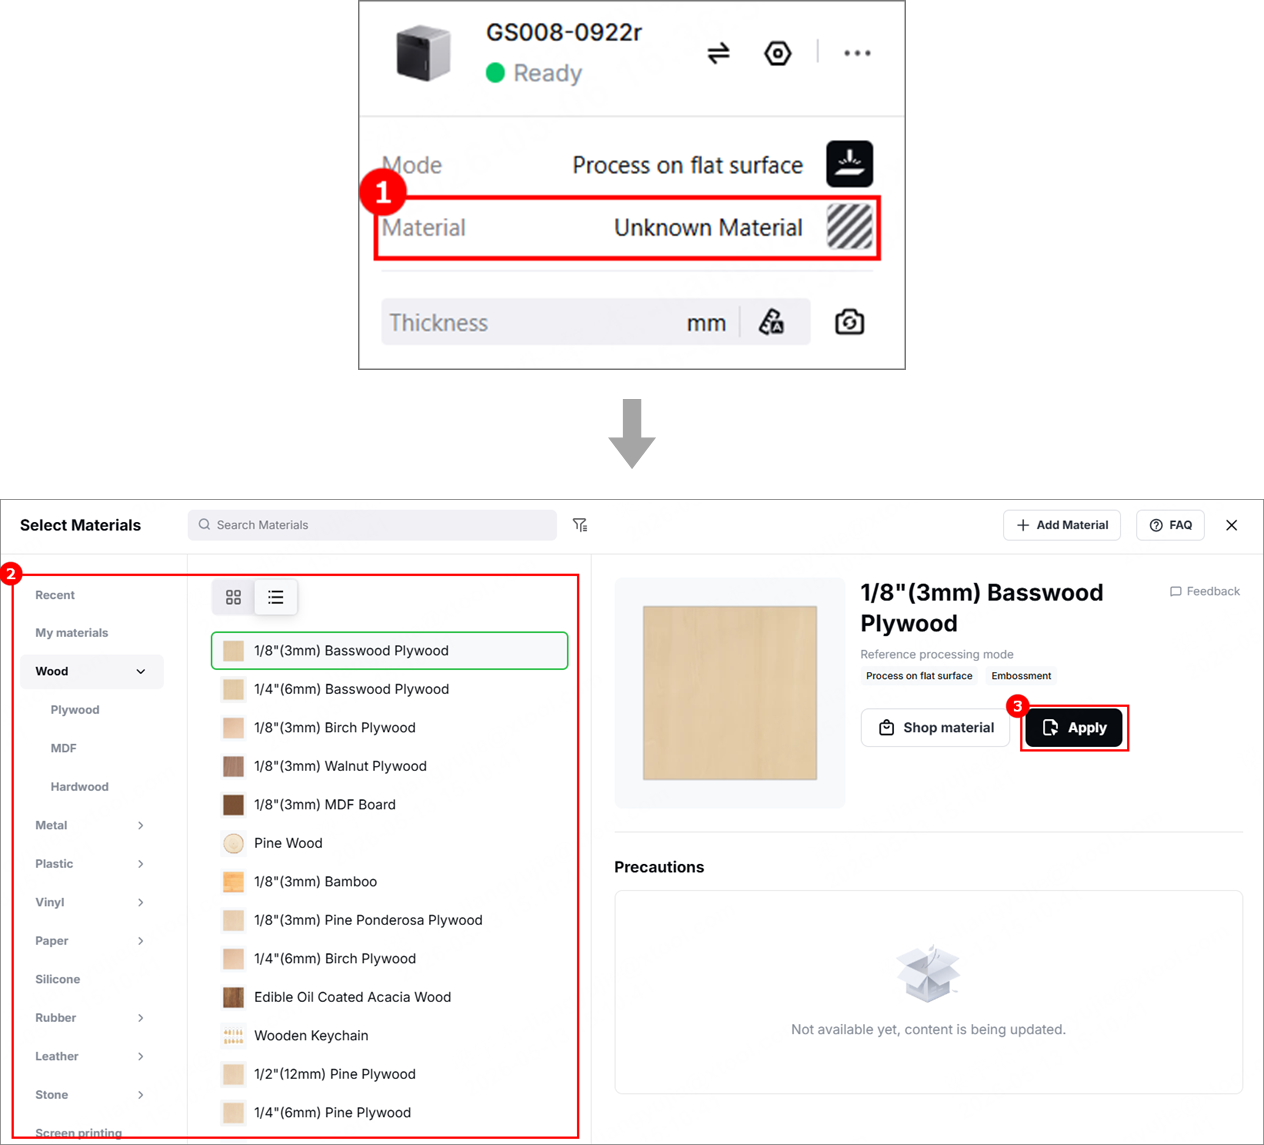
2. Select the processing mode and material
(1) In the right panel, click the current processing mode, and then select Process on Flat Surface.
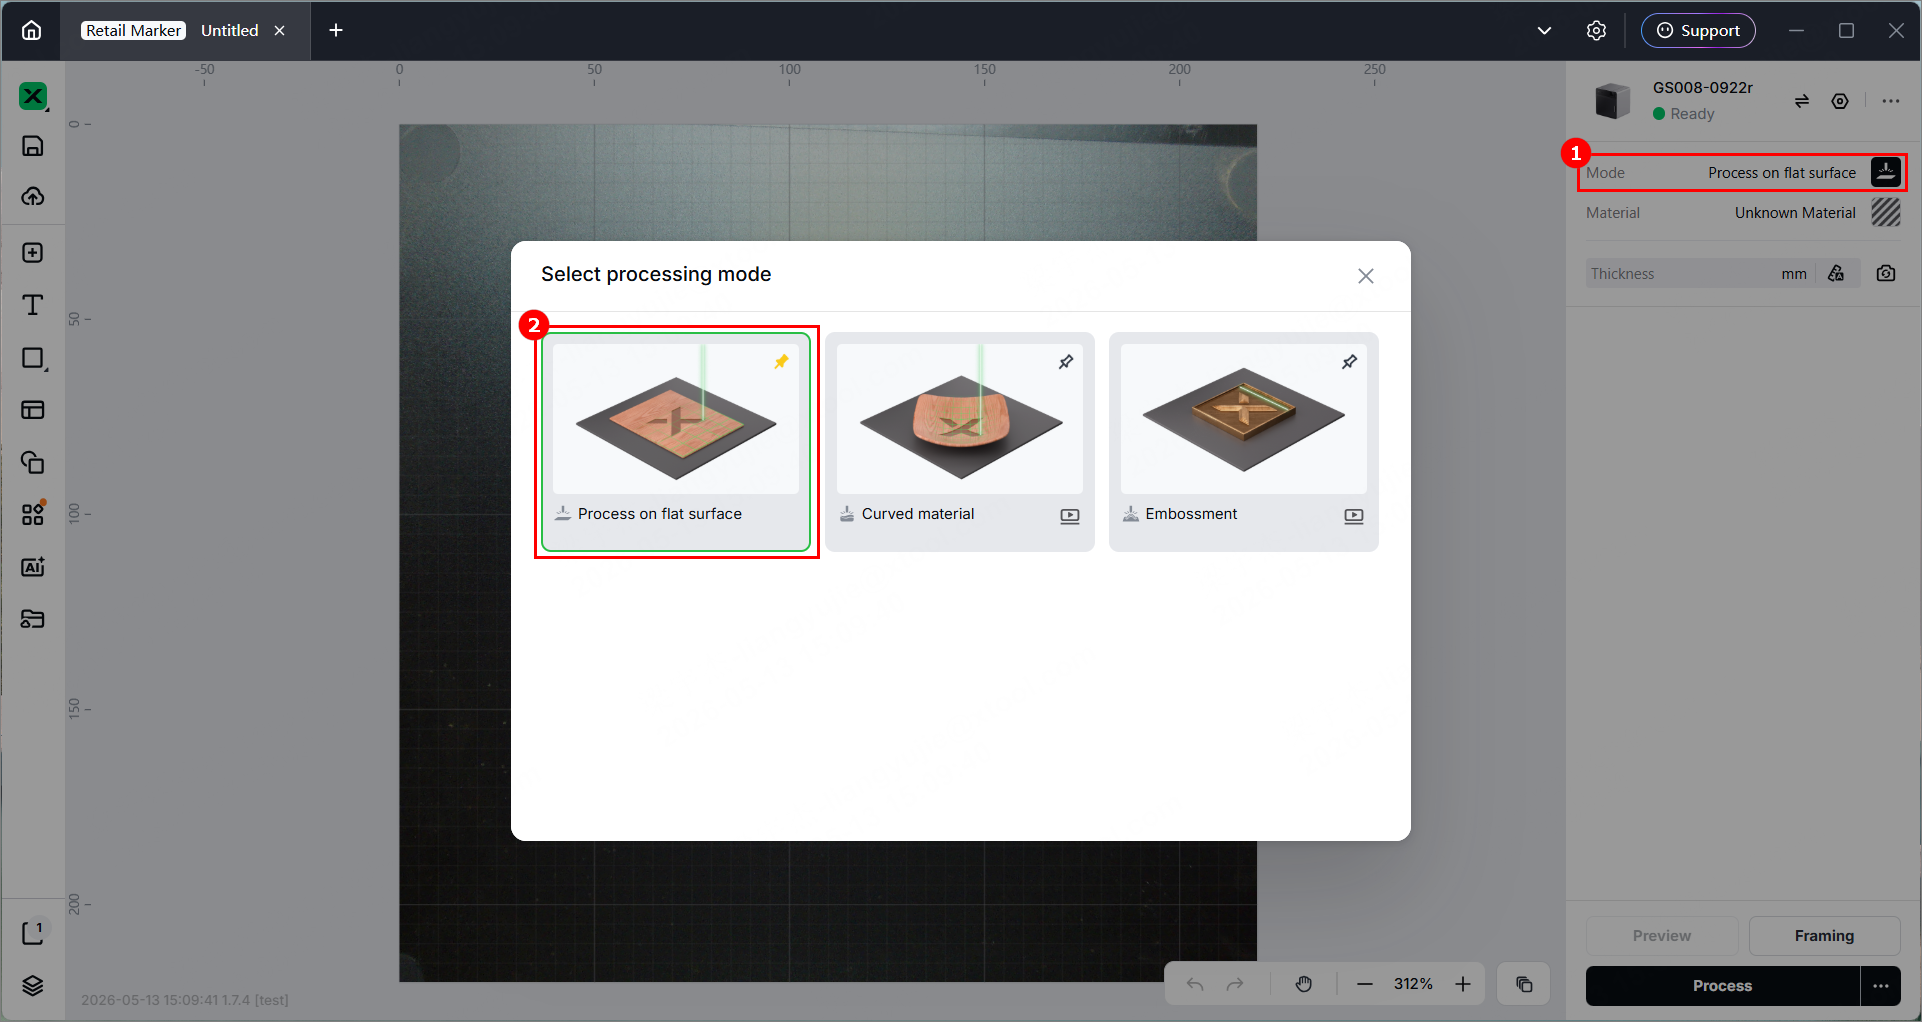
(2) Click Unknown Material, select a desired material, and click Apply.
3. Place the material and perform laser focusing
(1) Open the protective door and place the material on the baseplate, allowing the blue light spot to fall on the surface of the material.
(2) Hold down on the Up/Down button to lift or lower the laser module. When the red and blue light spots overlap, the focus is successfully set.
Note: The blue light spot does not move. If the laser module moves up, the red light spot moves towards the left. If the laser module moves down, the red light spot moves towards the right.
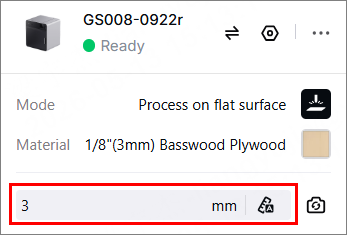
(3) After finishing focusing, the measured material thickness can be seen in the top-right corner.
4. Shoot background and design processing objects
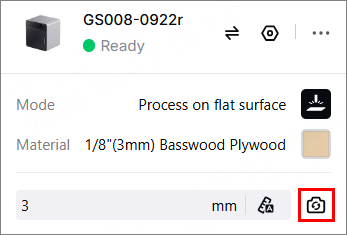
(1) In the right panel, click theicon to refresh the background.
Note:
- To ensure positioning accuracy, set the laser focus before shooting the background.
- Ensure that the background photo can fully and clearly display the material. You can adjust the shooting environment by adjusting the device's fill light or closing the protective door.
(2) Use the tools on the left side of the canvas to create objects. You can import images, insert shapes, enter text, or draw vector graphics.
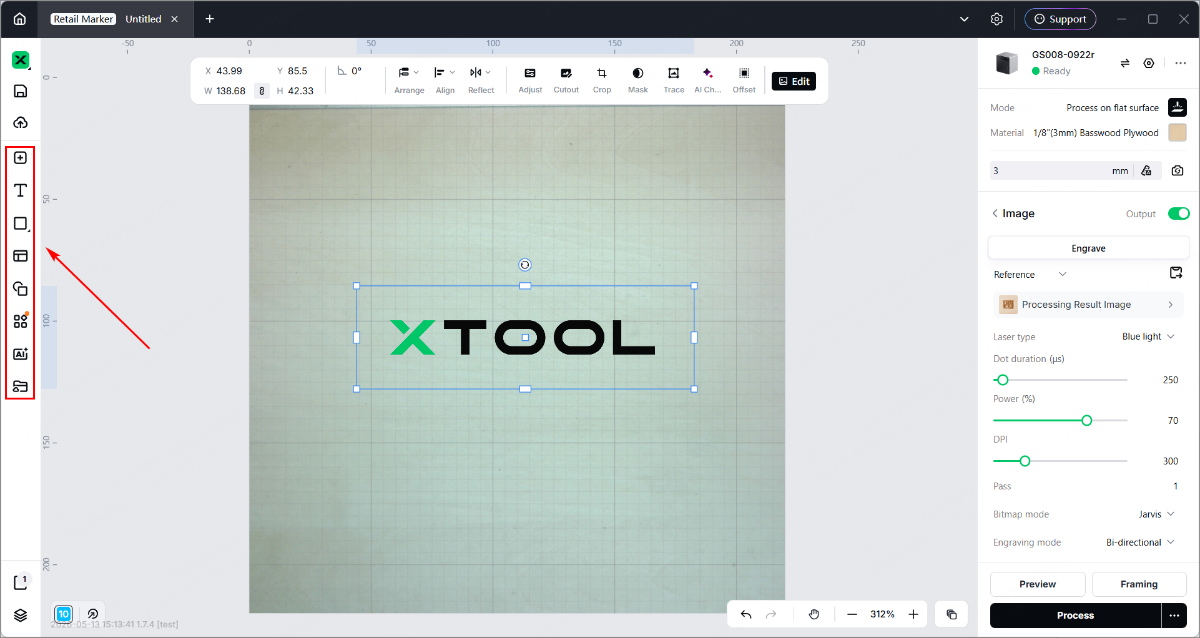
(3) Use the tools above the canvas for further editing.
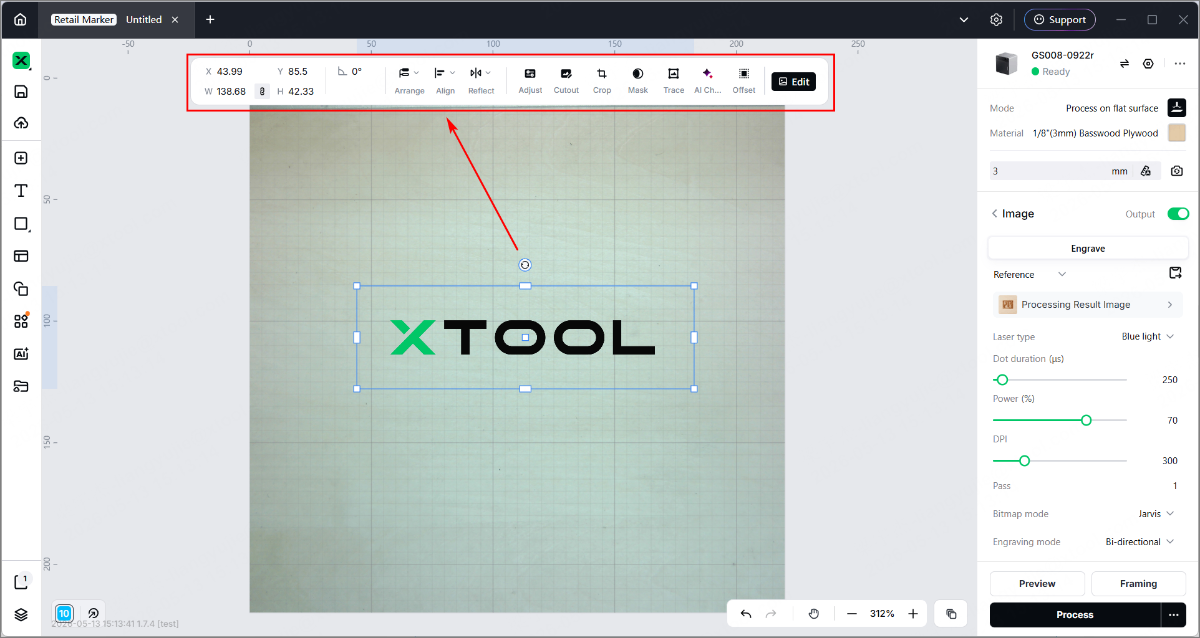
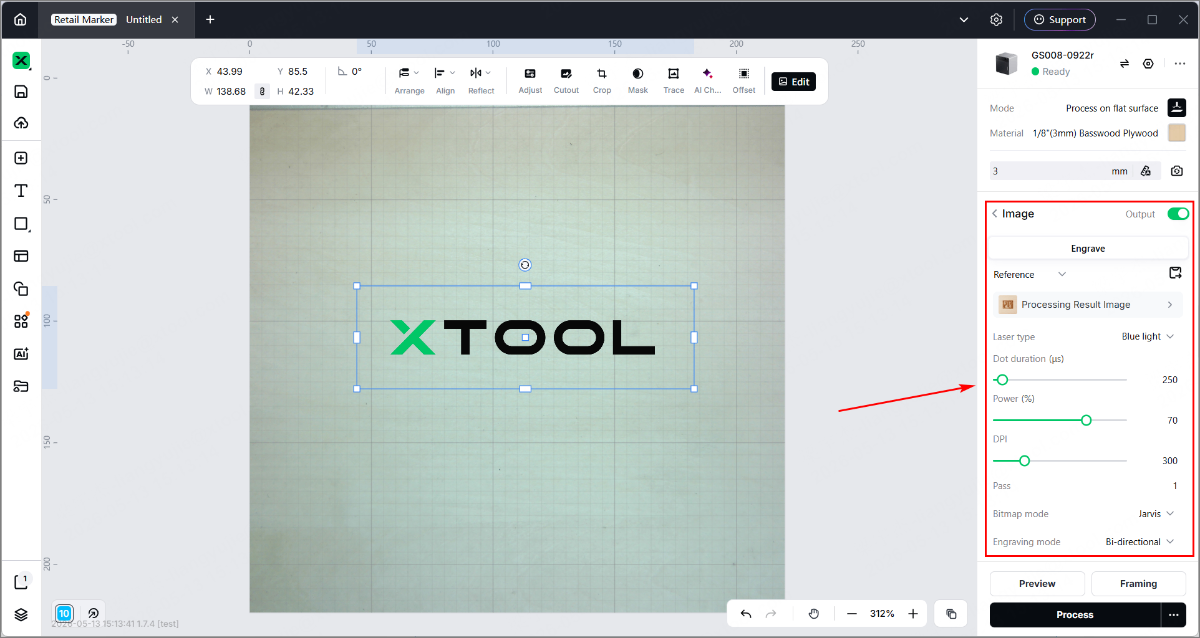
(4) Select objects on the canvas. In the right panel, set parameters for the selected objects.
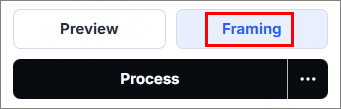
5. Preview processing area and set processing path
(1) In the bottom-right corner, click Framing to preview the processing area.
To stop framing, click the same button.
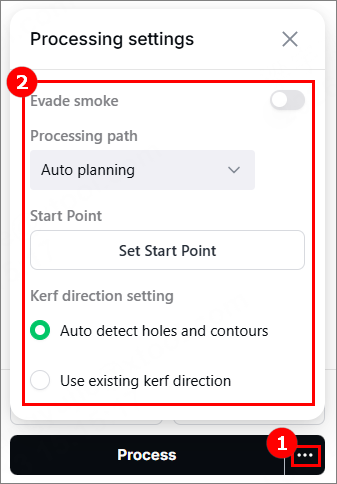
(2) In the bottom-right corner, click "···" to configure processing settings.
6. Start processing
(1) In the bottom-right corner, click Process.
(2) Click Preview Processing Path and to preview the processing path.
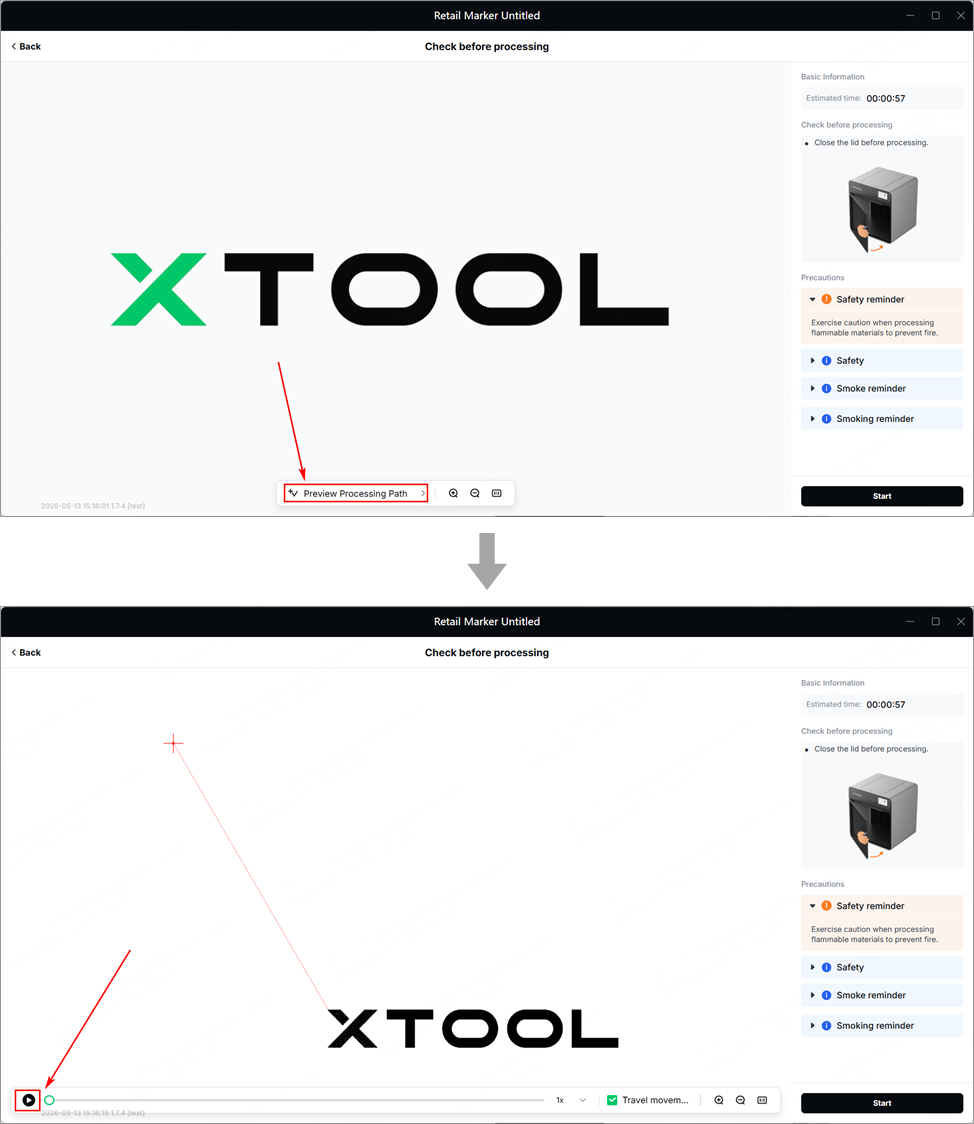
(3) Close the protective door. In the bottom right corner, click Start.
(4) When the software shows Ready, press the XTOOL Start/Stop button on the touchscreen controller to start processing.
Services & Help
Learn & Education

Copyright © 2025 xTool All Rights Reserved.