xTool Studio is an all-in-one software for graphic designing and editing, laser process setting, and device controlling.
Minimum and recommended PC requirements
Item | Minimum configuration | Recommended configuration |
|---|---|---|
Processor | Intel Core i5-6200U | Intel Core i5-11600 |
Operating system | Win 10 (64 bit) macOS 11 or later | |
RAM | 8 GB | 16 GB or more |
Display resolution | 1280 × 720 (pixels) | 1920 × 1080 (pixels) or higher |
Hard drive | 8 GB | 12 GB or more |
- With the minimum configurations, all the functions of xTool Studio can be used properly. When you import a complex image, such as an image larger than 50,000,000 pixels or an SVG image larger than 1 MB, however, xTool Studio may fail to run smoothly.
- With the recommended configurations, xTool Studio can run more smoothly when you import and edit a complex image; the software delay may be shorter, and the performance is better.
Download and install xTool Studio
(1) Download xTool Studio from xtool.com/pages/software.
(2) Double-click the software you've downloaded to install it.
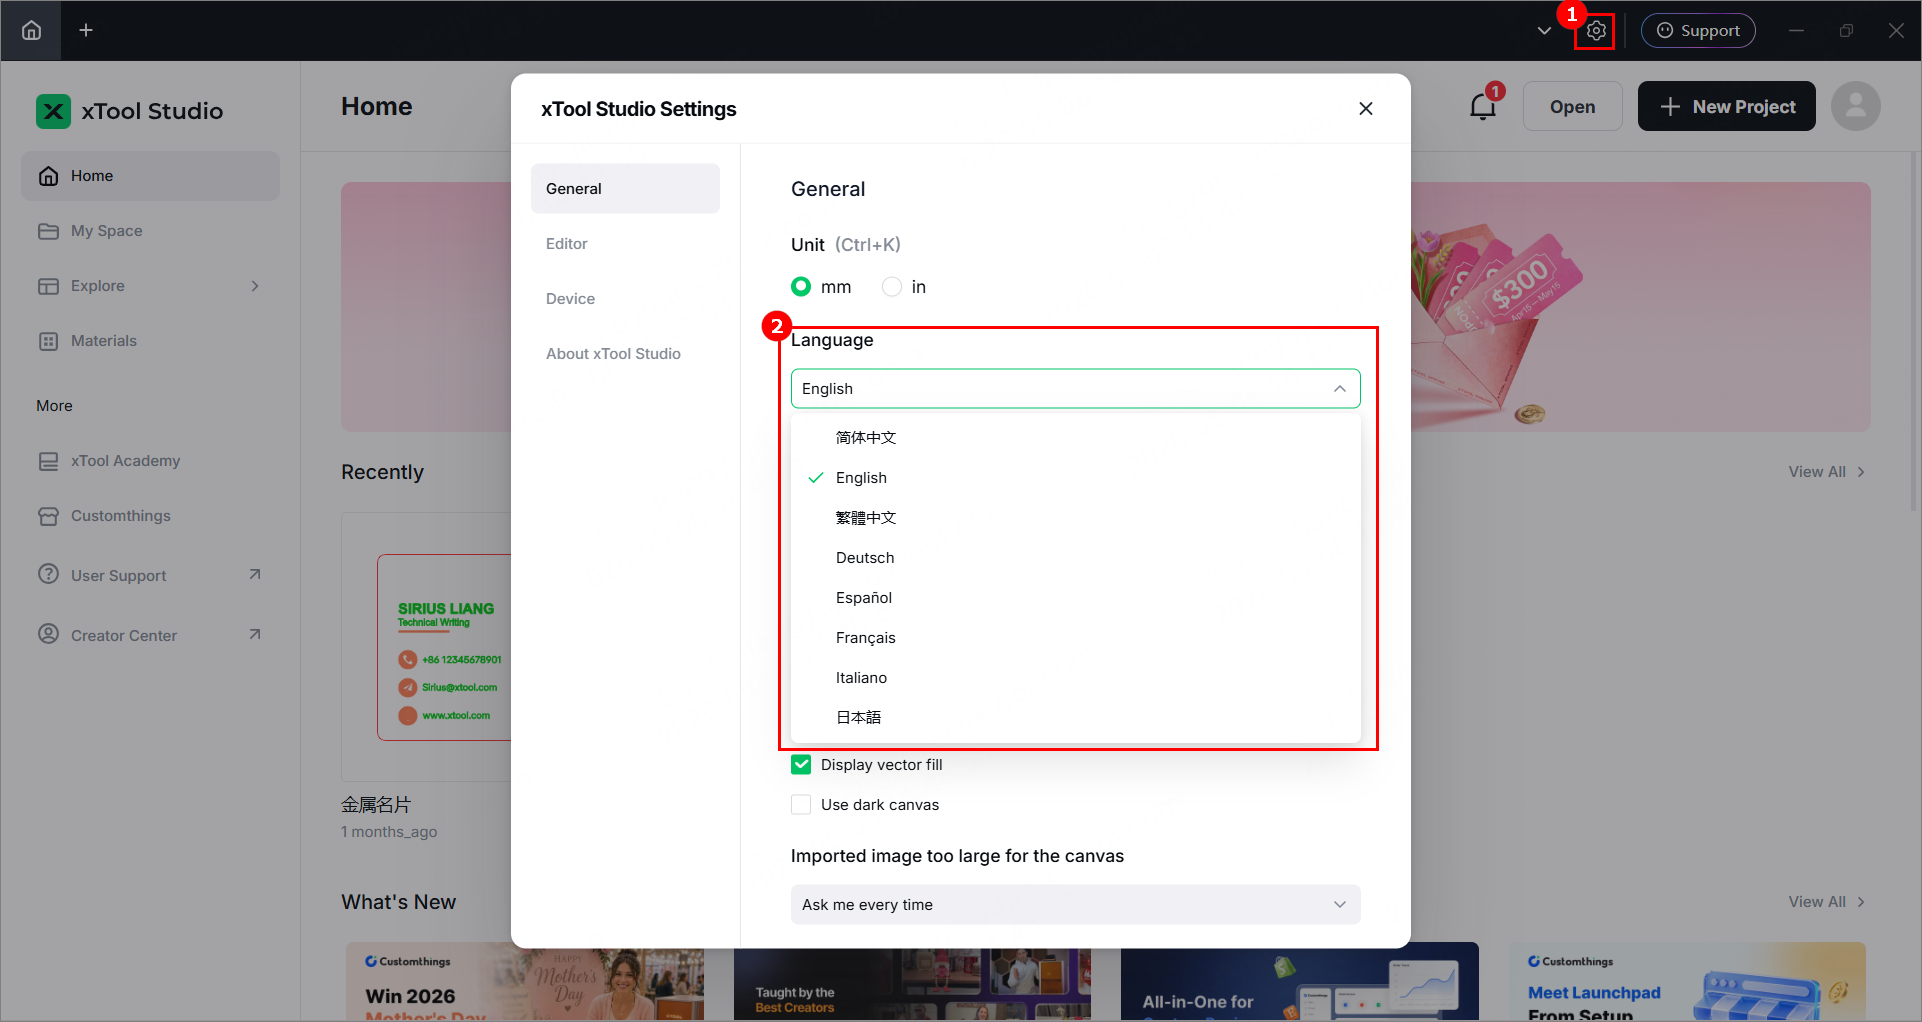
(3) Open xTool Studio. In the top-right corner, click the icon and set the language on the General tab page.
Connect xTool Retail Marker to xTool Studio
USB connection
(1) Use the USB cable to connect xTool Retail Marker to your computer.
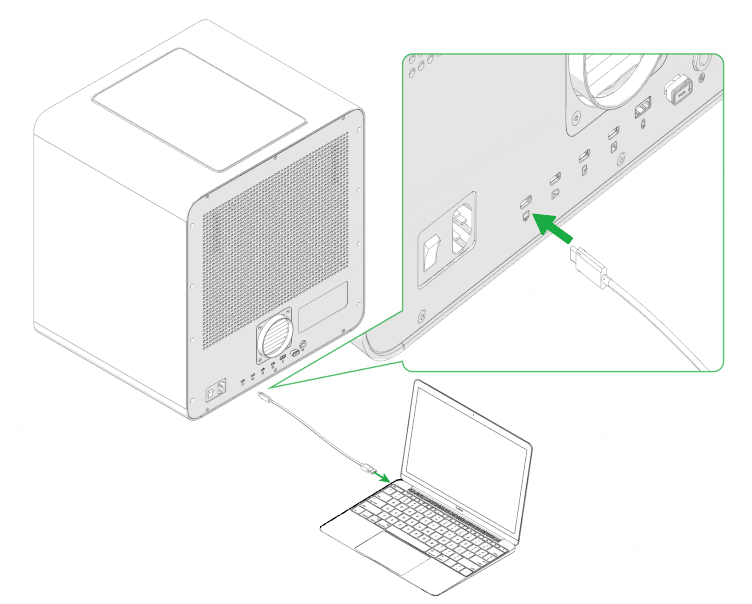
Note: If the provided USB cable is incompatible with your computer, you need to use an adapter, which is not included in the pack.
(2) Open xTool Studio on your computer, click + New Project.
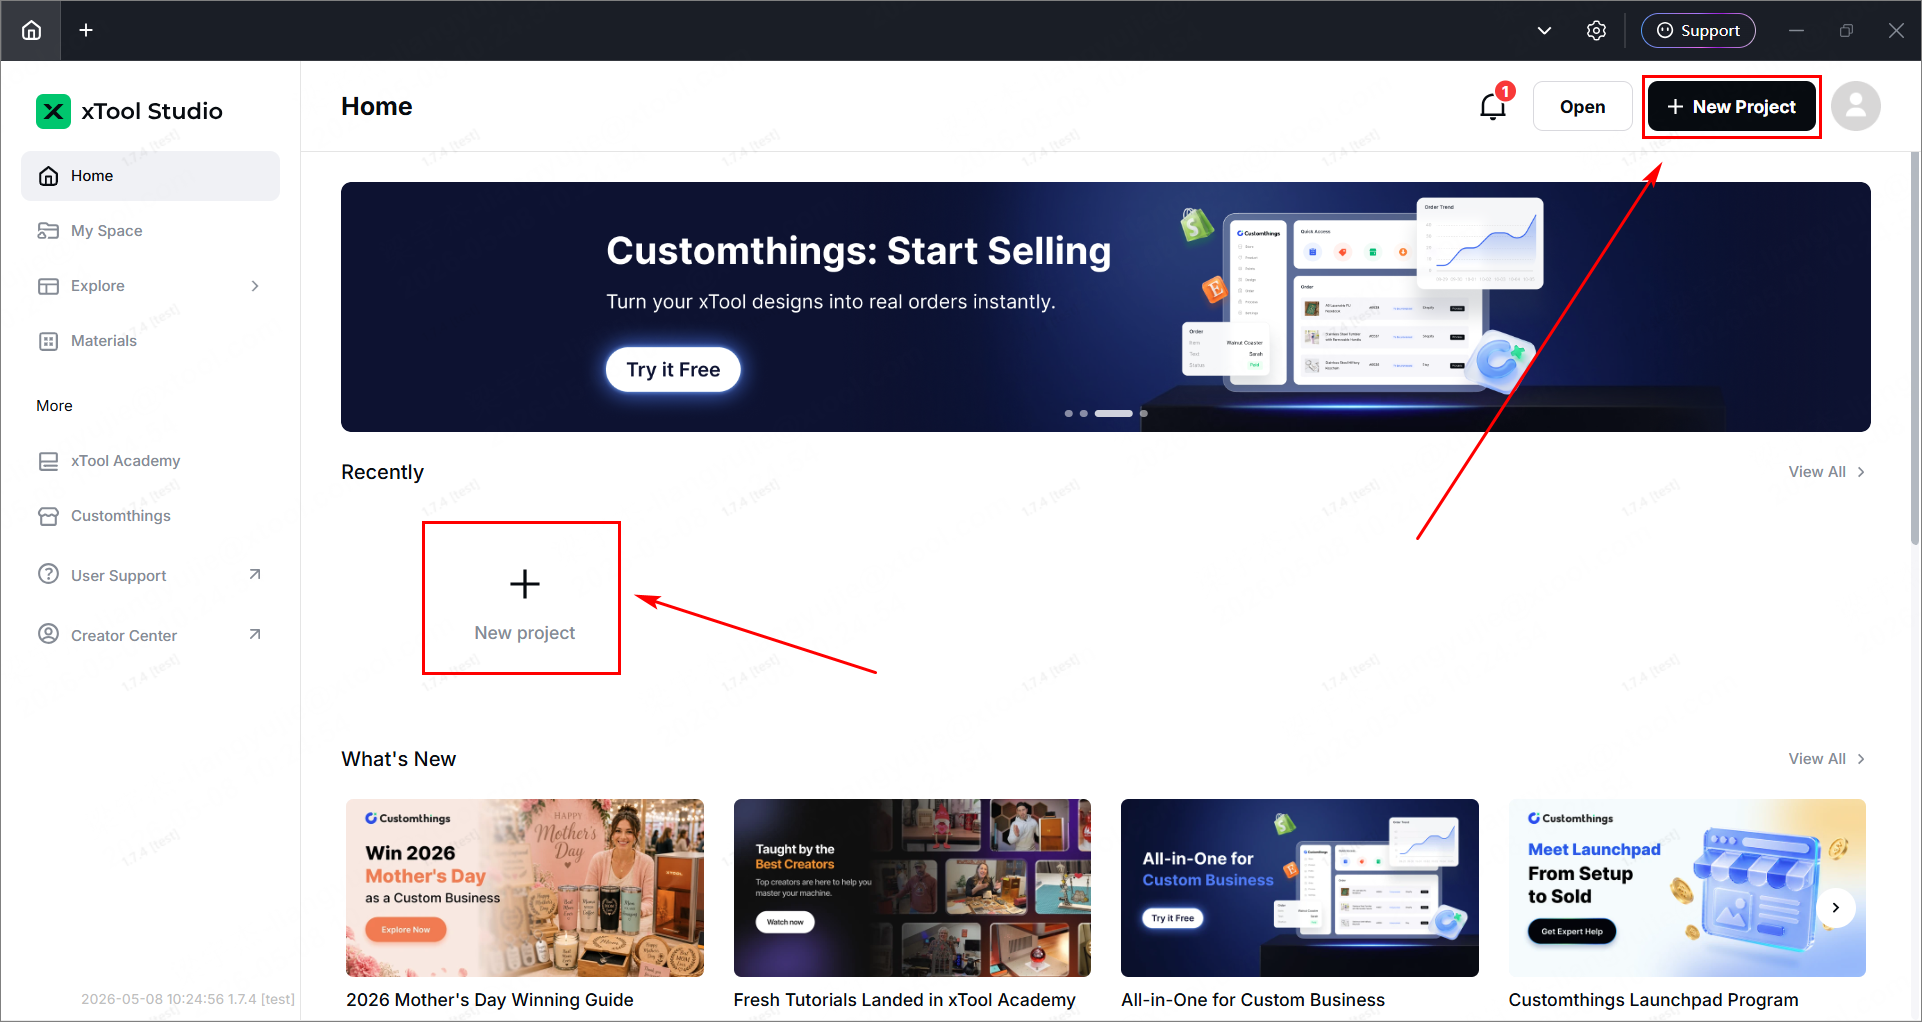
(3) In the right panel, click Select device to enter the device page.
Note: If you have connected an xTool device in xTool Studio before, click the device image or the icon next to it.
(4) Choose your device and click Connect.

Note: After the device is connected, you can configure Wi-Fi for it so that you can connect it to xTool Studio through Wi-Fi next time.
Wi-Fi connection
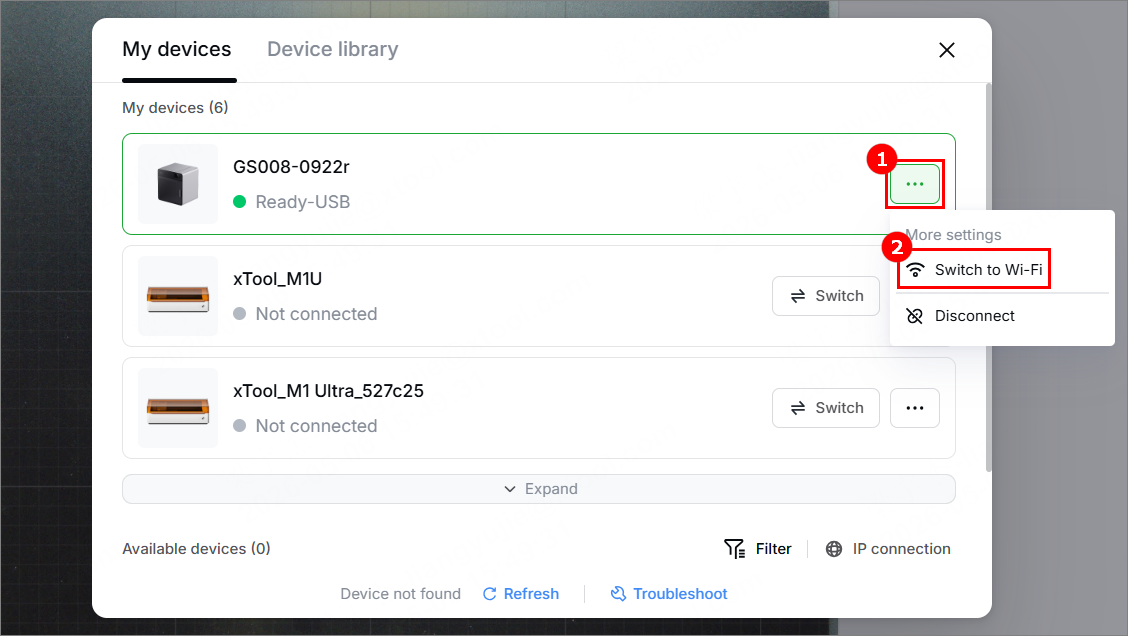
On the same page, click "···", then click Switch to Wi-Fi.
IP address connection
(1) In the top-right corner of xTool Studio, click  .
.
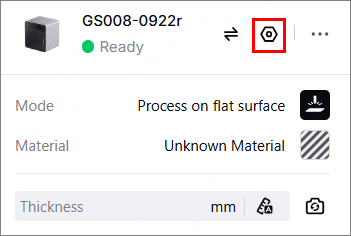
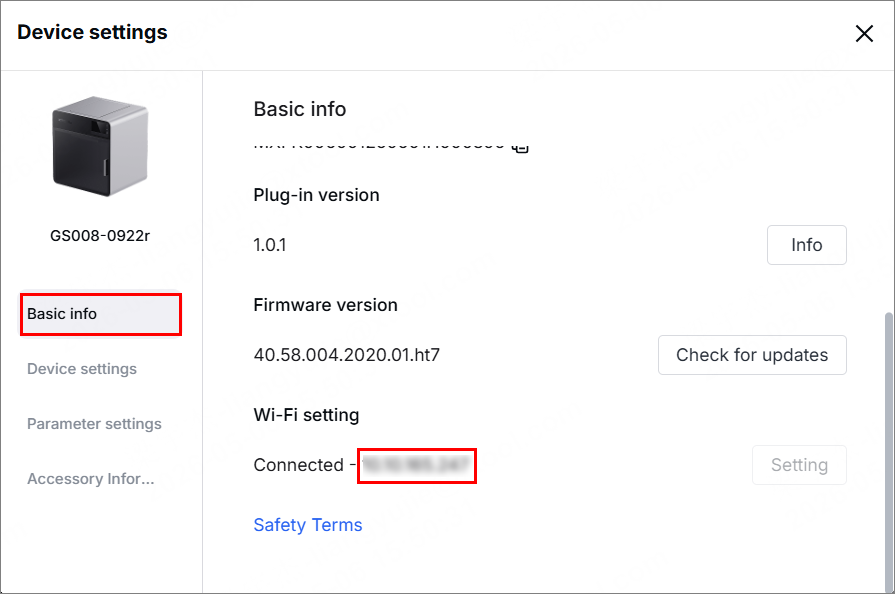
(2) Note down the IP address and return to the device page.
(3) Click IP connection.
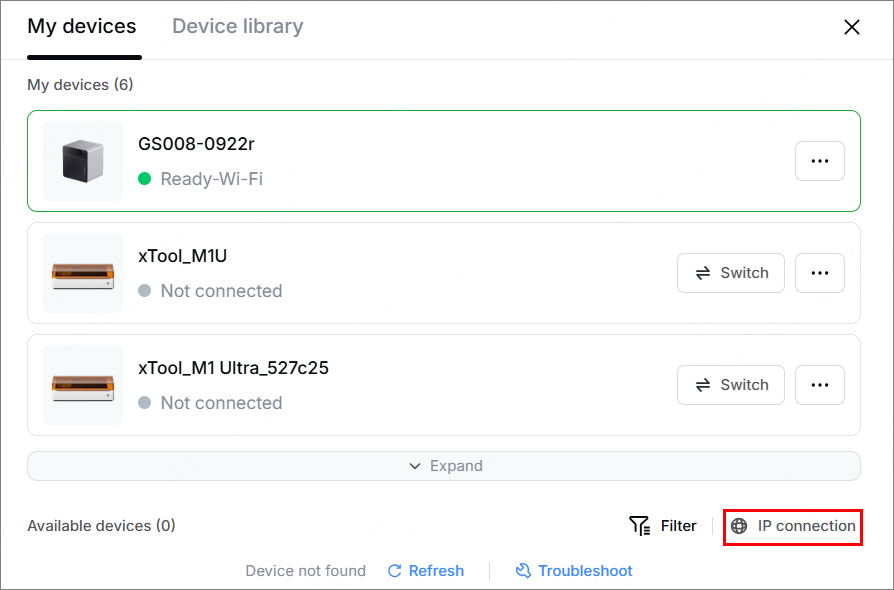
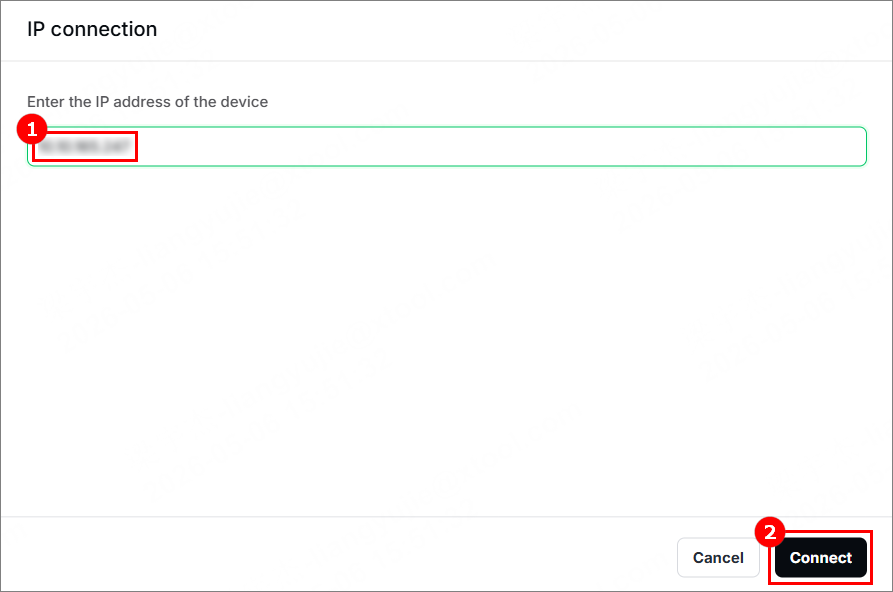
(4) Enter the IP address noted down in step (2), and click Connect.
Set up xTool Retail Marker
(1) In the top-right corner of xTool Studio, click .
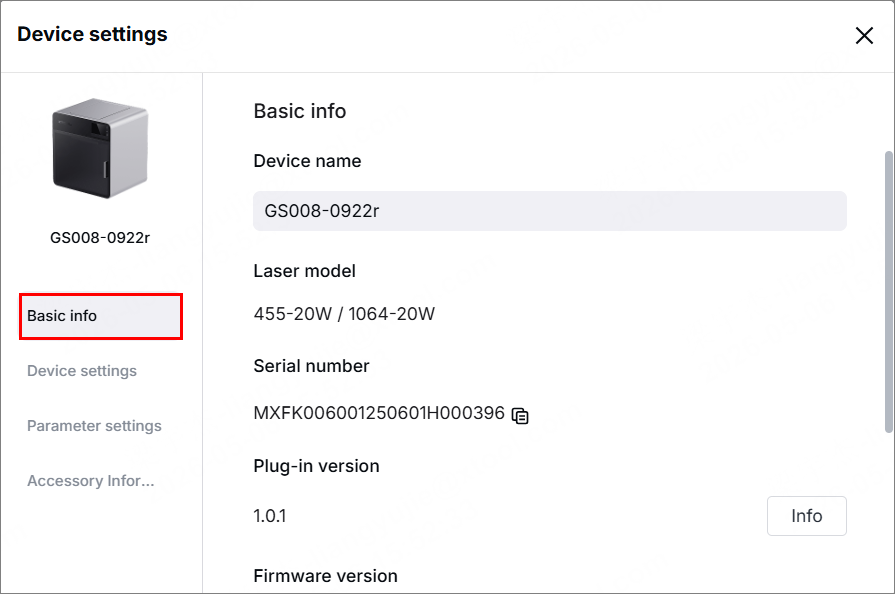
(2) In the Basic info tab page, you can view the basic information of xTool Retail Marker and modify the following information.
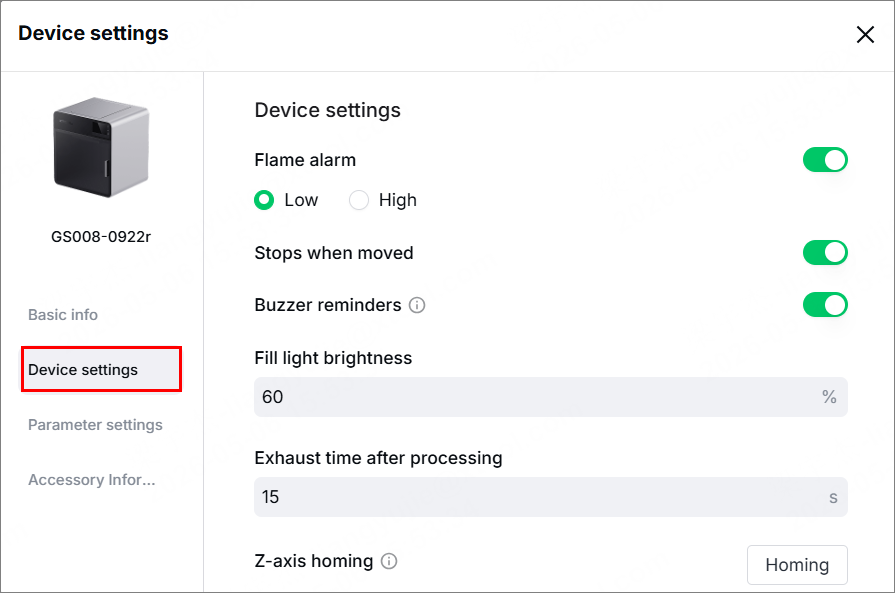
(3) In the Device settings tab page, you can set up the device and export files as needed.
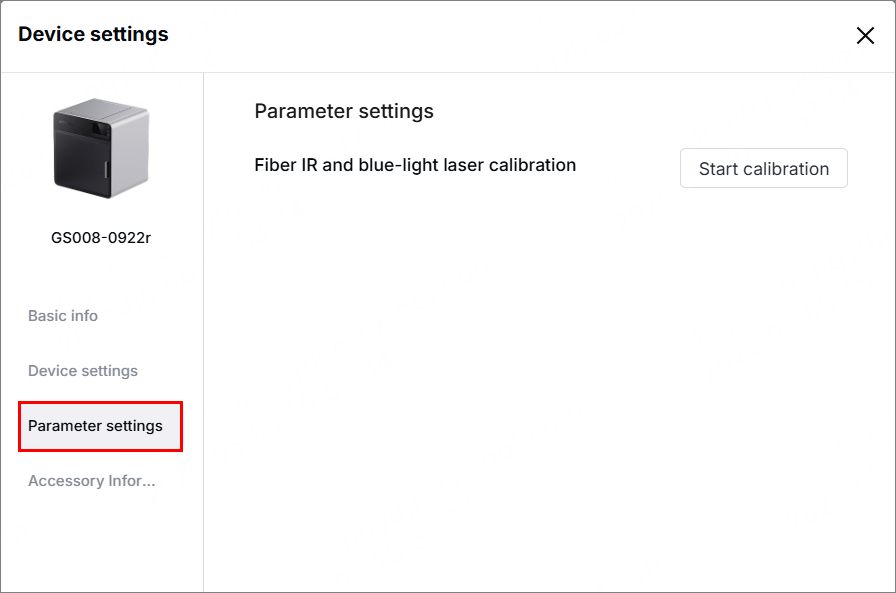
(4) In the Parameter settings tab page, you can click Start calibration to compensate for some mechanical errors due to long-distance transportation or other reasons.
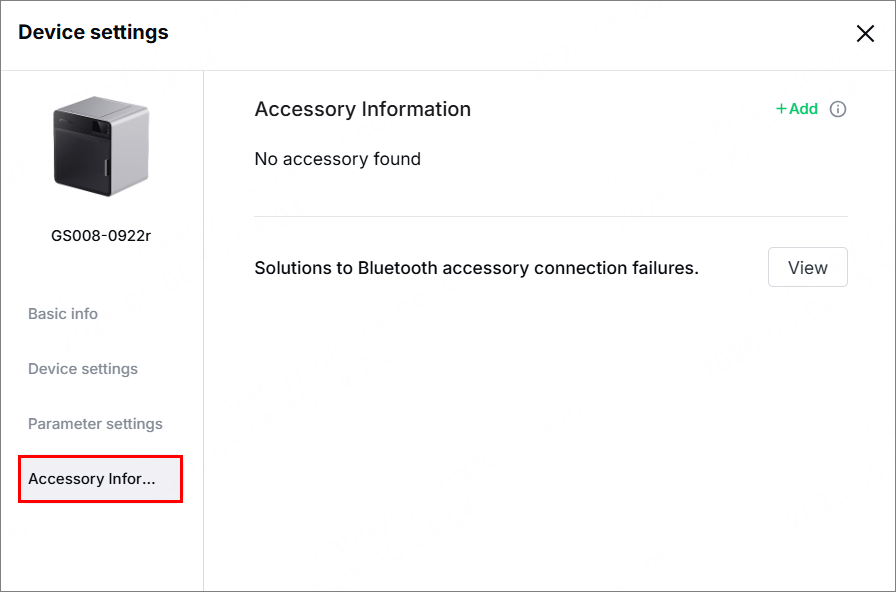
(5) In the Accessory Information tab page, you can see the information about accessories connected to xTool Retail Marker.
Processing modes
xTool Studio supports multiple processing modes for xTool Retail Marker.
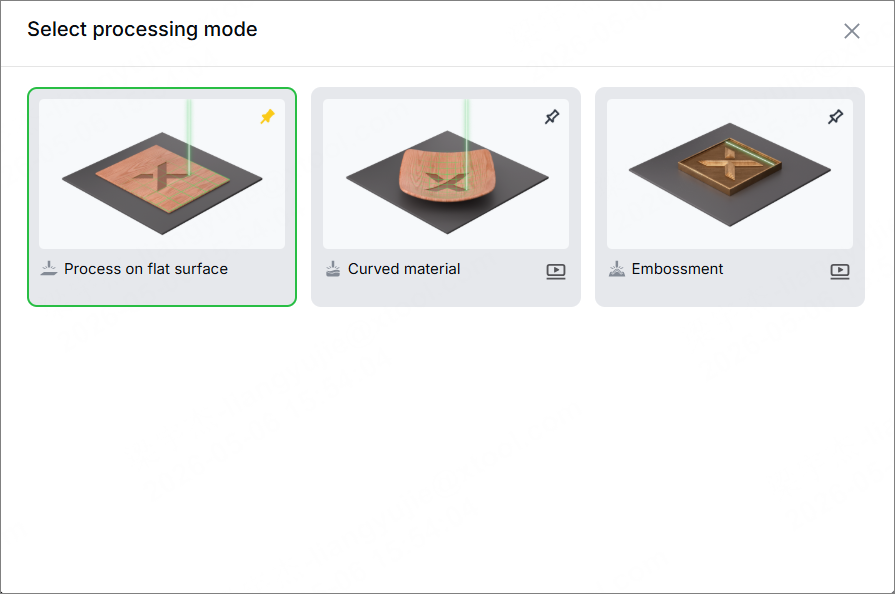
- Process on flat surface: to process small and flat materials
In this mode, you need to place the material on the baseplate of xTool Retail Marker. - Curved material: to process materials with curved surfaces
In this mode, the processing path is adjusted to match the curvature of the material surface. - Embossment: to create raised or embossed effects on the material surface
In this mode, multiple processing passes are applied to achieve an embossing effect.
Services & Help
Learn & Education

Copyright © 2025 xTool All Rights Reserved.