
Download PDF file (multi-language)
xTool F2 Air Purifier Go unboxing and first use
Safety precautions
- The product can work only with xTool F2. Read and get familiar with all safety precautions and procedures about xTool F2 before using this product.
- The product contains small parts. Keep it away from children to prevent accidental ingestion.
- This product must be used within the specified ambient temperature range of 0℃ to 35℃. Do not use the product in areas where flammable or explosive substances, liquids, or oil contamination are present.
- This product must be used within the specified humidity range of 40% to 80%. Excessive humidity may accelerate filter failure and damage the internal circuitry.
- This product cannot completely purify the harmful substances generated during processing with xTool F2 (purification rate is not 100%). Avoid approaching the air outlet to prevent inhaling harmful substances. It is recommended to use the product outdoors or in a well-ventilated environment.
- Ensure that the filter is installed in the product before operation. Operating the product without the filter may allow smoke or dust particles to enter the fan and control system, potentially causing damage.
- The filter included is disposable; do not wash or reuse it.
- Ensure that the power supply is properly grounded before operating this product.
- Do not open the back cover or remove the filter while the fan is operating.
- Do not touch the rotating impeller with hands or other objects.
- When the filter becomes blocked, loses suction, or stops functioning, replace it promptly with original filters.
- Discontinue use of the product if the filter becomes heavily blocked, as this may impact its performance, shorten its lifespan, or cause damage. Clean and maintain the product promptly based on actual usage, and replace the filter as required to ensure optimal operation at all times.
- Before cleaning or maintaining this product, always disconnect the power supply first by unplugging the DC power splitter cable from xTool F2 power adapter.
- The front cover must not be opened for inspection or repair by non-professionals.
Note: Click here for multi-language safety instructions.
List of items
|
|
|
|
|---|---|---|---|
Purifier | DC power splitter cable | G4 filter cotton | Screw |
|
|
|
|
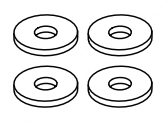
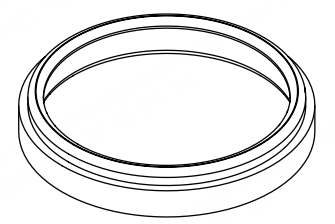
Washer | Sealing ring | Quick Start Guide | Safety Instructions |
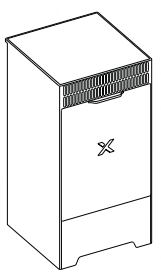
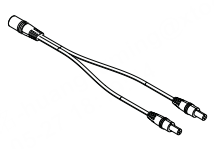
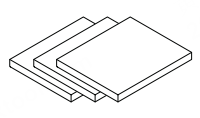
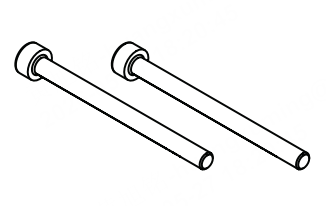

First use
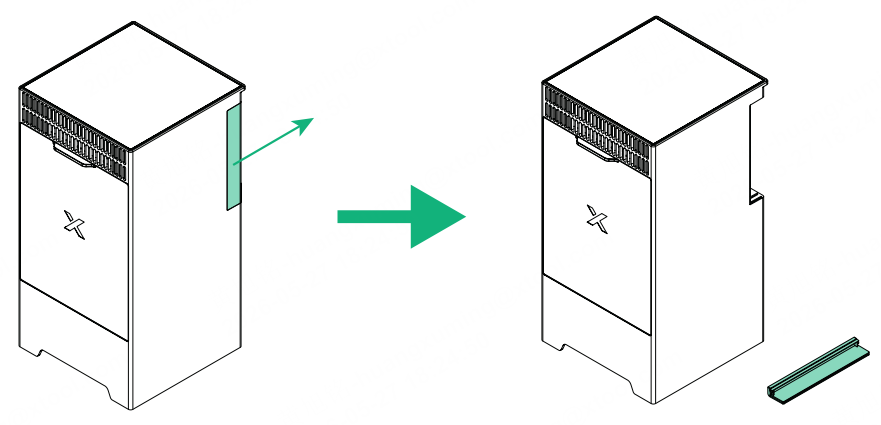
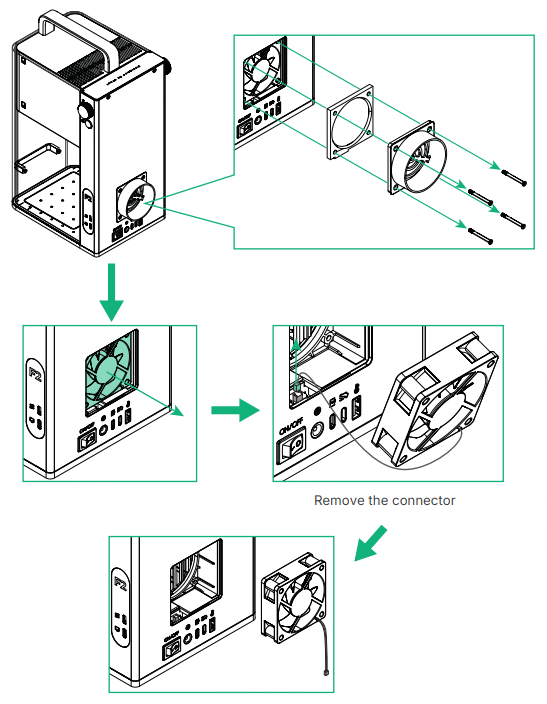
Note: If the xTool F2 model you purchased is MXF-K005-003, remove the shield highlighted in the images below before proceeding with the next steps.
1. Open the cover, and then take out the fan module.
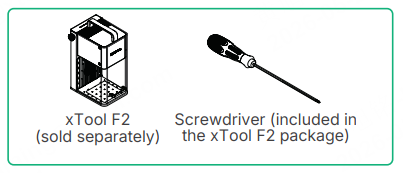
Note: Use the Phillips end of the double-ended screwdriver included in the xTool F2 package.
2. Install the sealing ring.
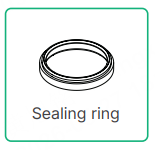
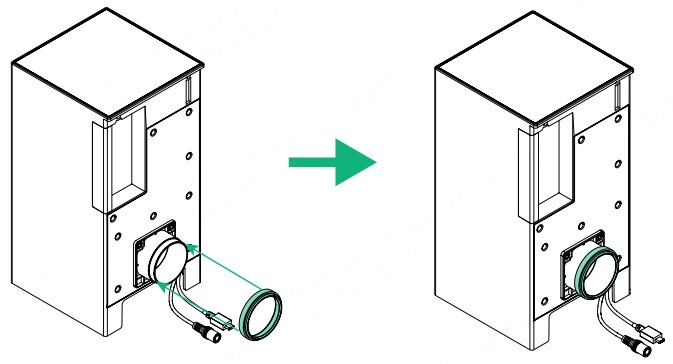
Note: Make sure the sealing ring is installed in the correct orientation.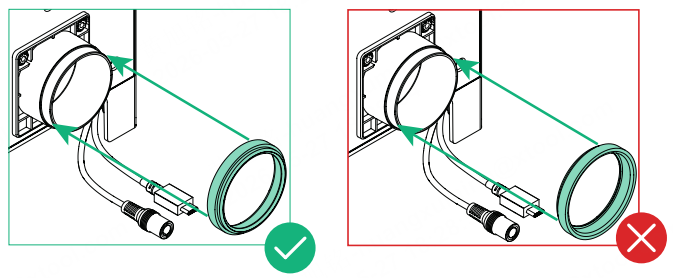
3. Connect the purifier to xTool F2.
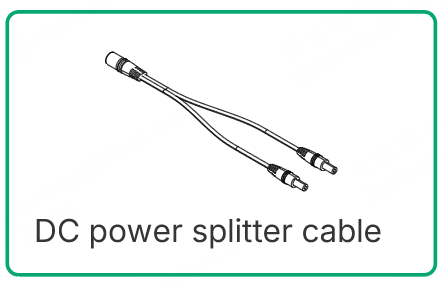
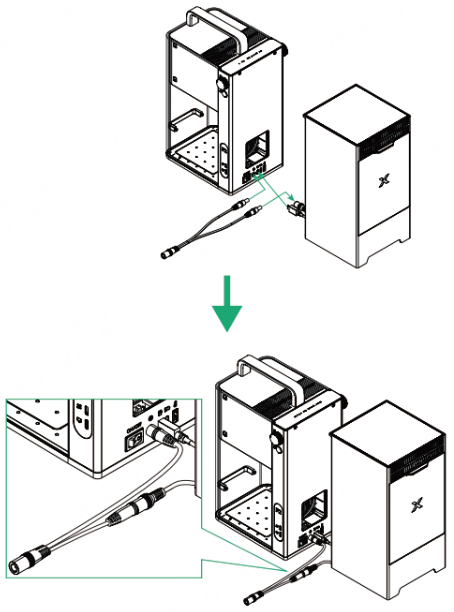
4. Turn on the power switch on xTool F2.
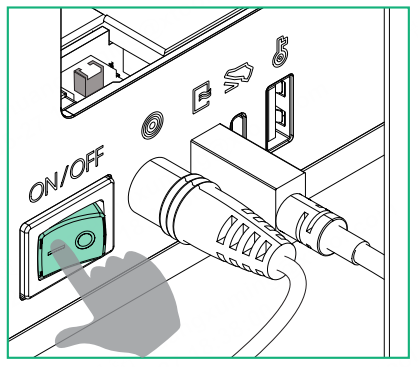
5. Open the rear cover of the purifier, and take out the pre-installed filter.
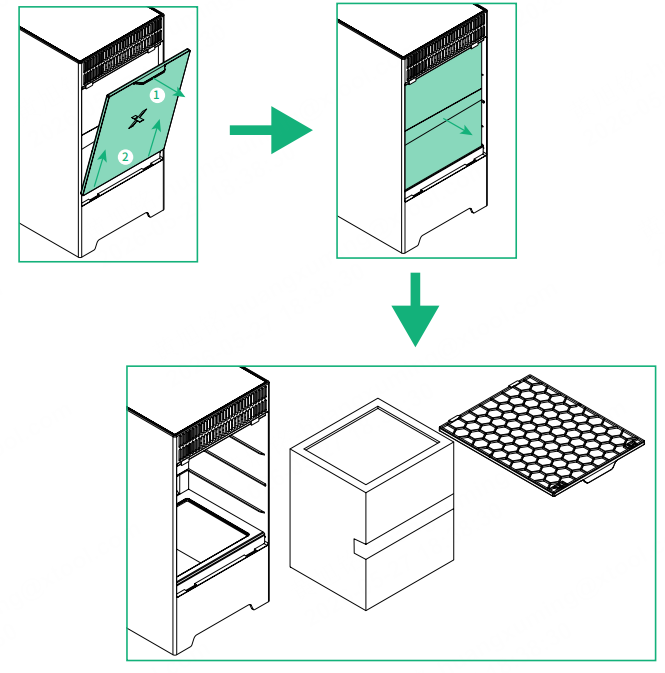
6. Install the purifier onto xTool F2.
Note: Use the hex end of the double-ended screwdriver included in the xTool F2 package.
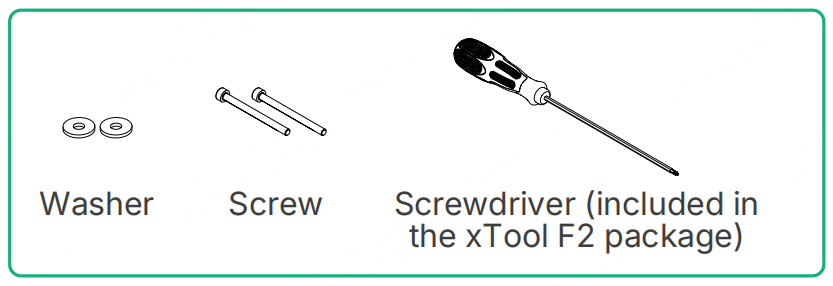
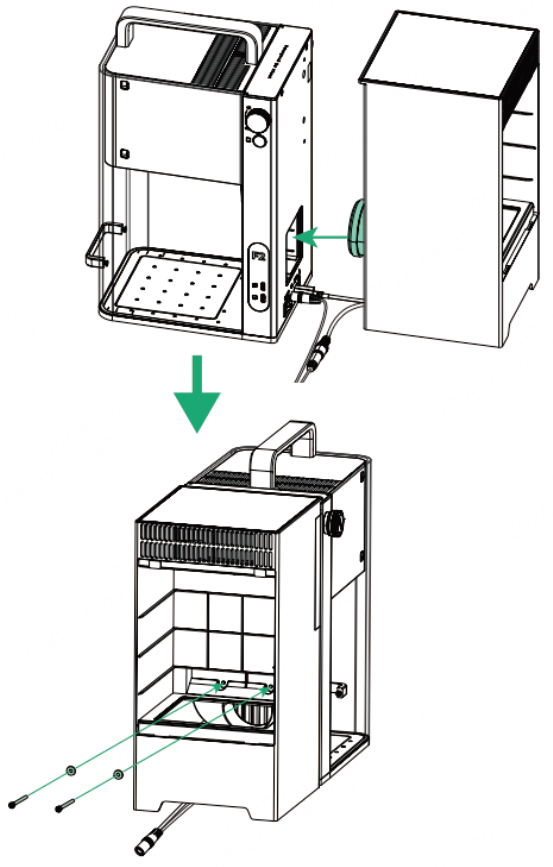
Note: It is recommended to place the connected cables at the bottom of the purifier.
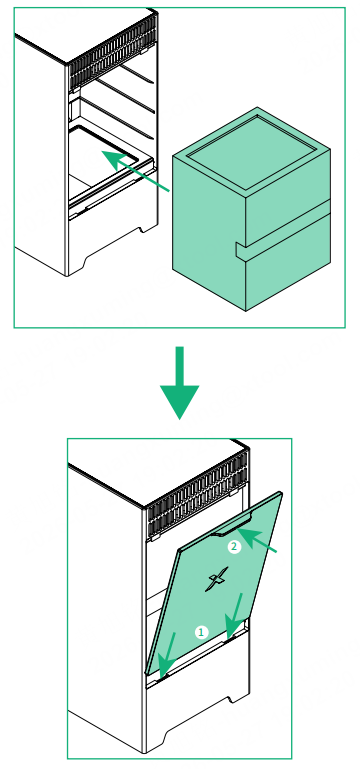
7. Place the filter back into the purifier, and close the rear cover.
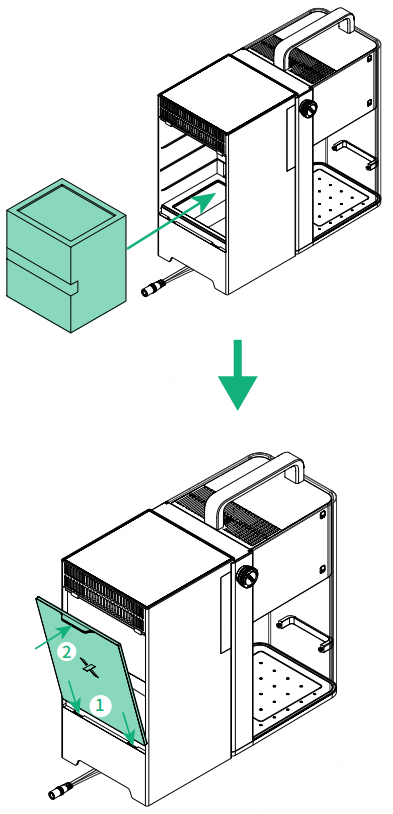
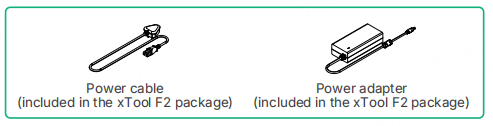
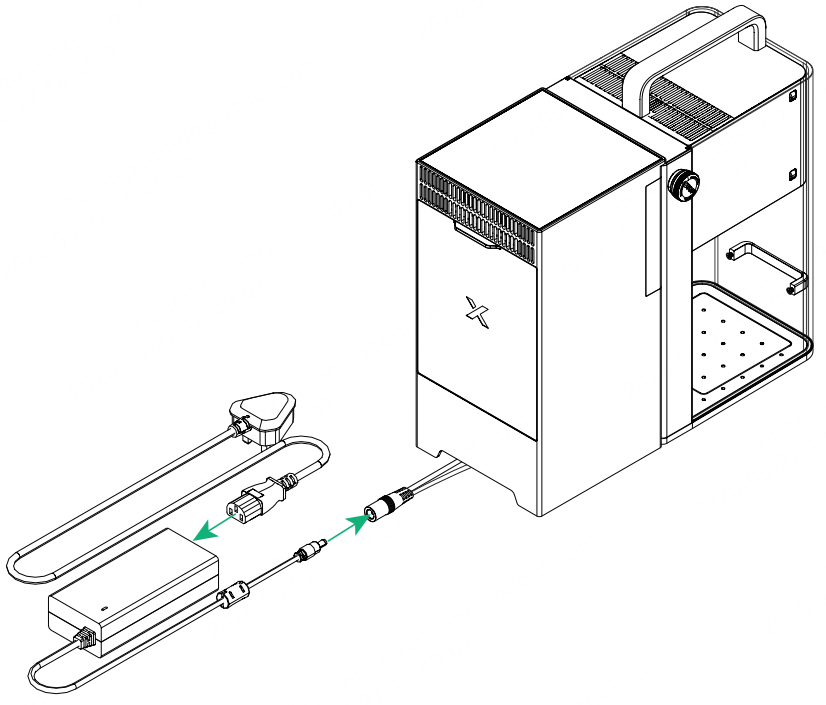
8. Connect the DC power splitter cable to xTool F2's power adapter, then connect the power adapter to the power cable.
Replacement
Filter replacement
Click here to buy filters.
Note: Before replacing the filter, always disconnect the power supply first by unplugging the DC power splitter cable from xTool F2 power adapter.
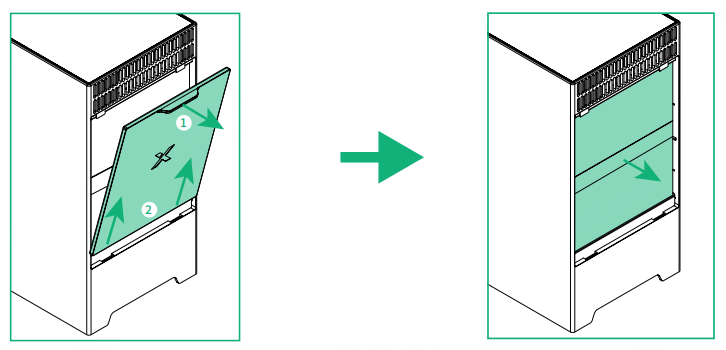
1. Take out the existing filter.
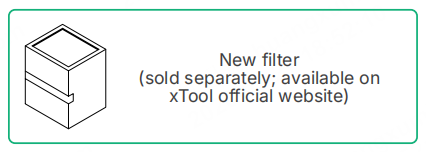
2. Install a new filter.
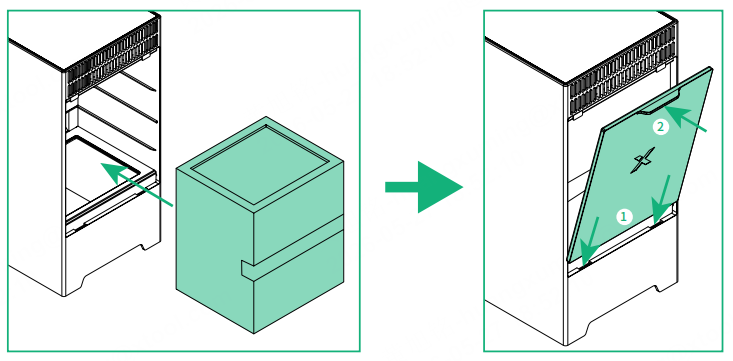
3. Connect the power, open the xTool software, click the "Device settings" icon near the purifier, and reset the filter's working time. Click here for details.
Filter cotton replacement
Note: When processing materials that produce large amounts of smoke (such as basswood), it is recommended to replace the G4 filter cotton in a timely manner (three spare filter cotton sheets are included in the package). Below are the steps for replacing the filter cotton. Before replacing the filter cotton, always disconnect the power supply first by unplugging the DC power splitter cable from xTool F2 power adapter.
(1) Take out the filter.
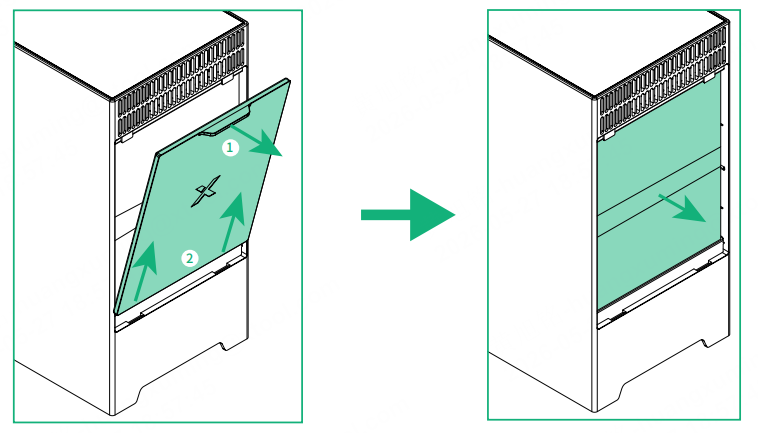
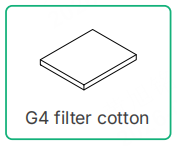
(2) Take out the filter cotton from the bottom of the filter, and install a new filter cotton.
1) Flip the filter.
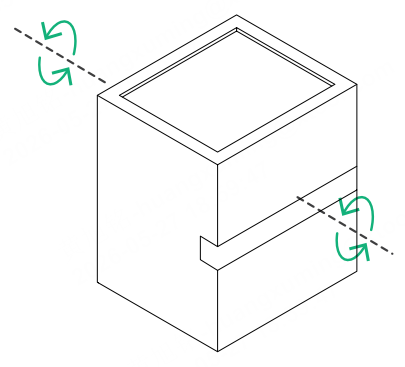
Note: Since the filter cotton is pre-installed at the bottom of the filter, you need to flip the filter upside down (rotate it 180 degrees) to access and remove the existing filter cotton before installing a new one.
2) Take out the filter cotton.
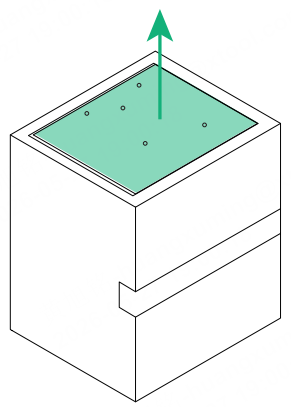
Note: Since the filter cotton is pre-installed inside the filter, you need to pull it out before installing a new one.

3) Install a new filter cotton.
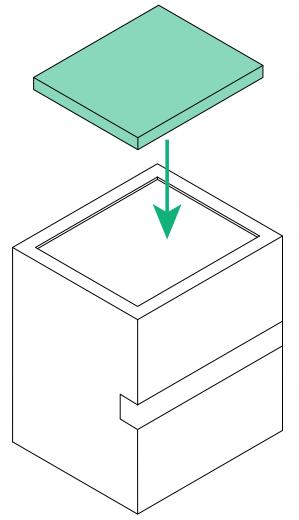
Note: Since the filter cotton needs to be placed inside the filter, you need to tuck the edges of the filter cotton into the filter to secure it in place.
4) Flip the filter back.
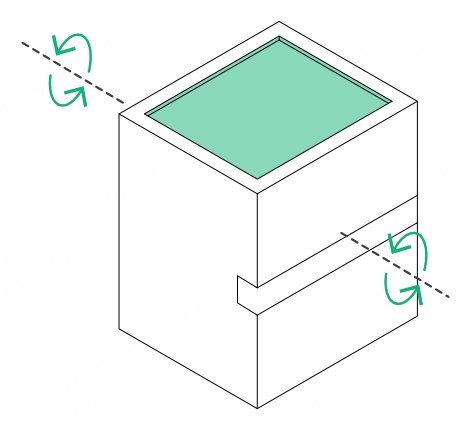
Note: The installation direction of the filter is important for effective filtration. Make sure to flip the filter back to the correct orientation before reinstalling it into the purifier.
The correct orientation of the filter is shown below.
|
|
|---|
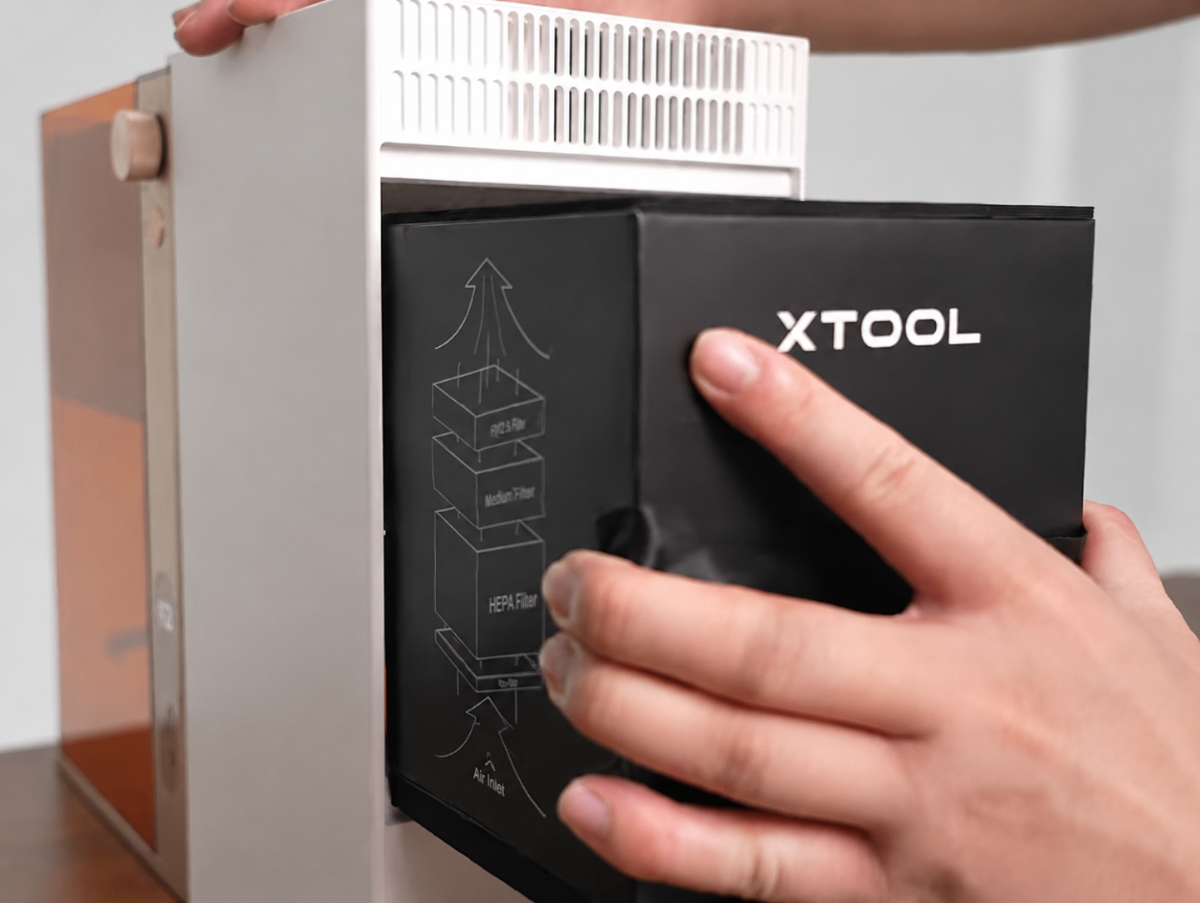
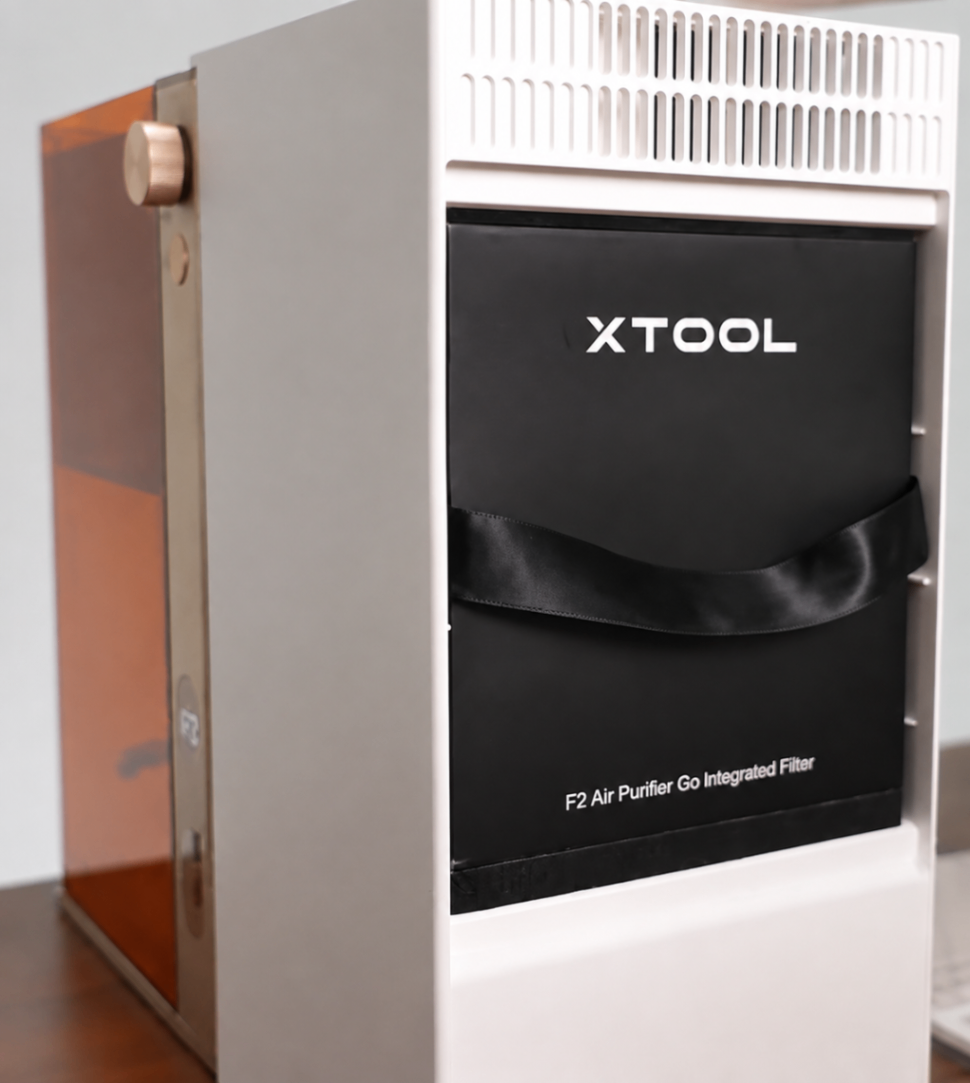
(3) Place the filter back into the purifier, and close the rear cover.
Product maintenance tip:
Gently wipe with a clean cloth to keep the product surface dry and free of stains.

