xTool Apparel Printer Plus Unboxing and First Use
Download PDF file (multi-language)
List of items
Unbox the product and check the items inside the pack. If you find items missing or broken, please get in touch with us for after-sales support.
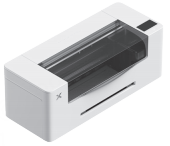
xTool Apparel Printer Plus |
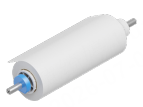
xTool Apparel Printer film holder and roll 25 m |
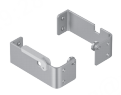
Bracket |
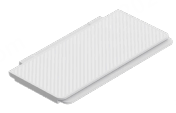
Output tray |
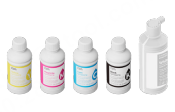
Ink |
Moisturizing liquid |
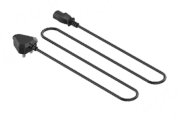
Power cable |
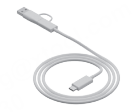
USB cable |
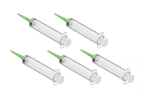
Syringe |
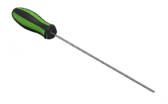
Screwdriver |
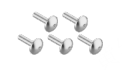
Screw M4*16 (A spare screw is provided.) |
Cleaner |
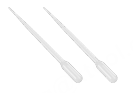
Dropper |
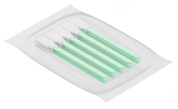
Cleaning swab |
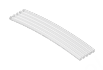
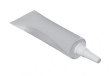
Tube |
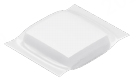
Cleaning cloth |
Lubricating oil |
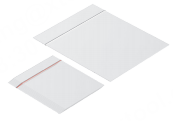
Plastic bag |
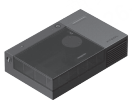
xTool Internal Humidity Module for Apparel Printer |
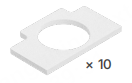
Ink stack foam |
Quick start guide |
Maintenance instructions |
Safety instructions |
Essential guidelines |
Note: The power cable may vary according to kits. The illustration is for reference only. | |||


Meet your xTool Apparel Printer Plus
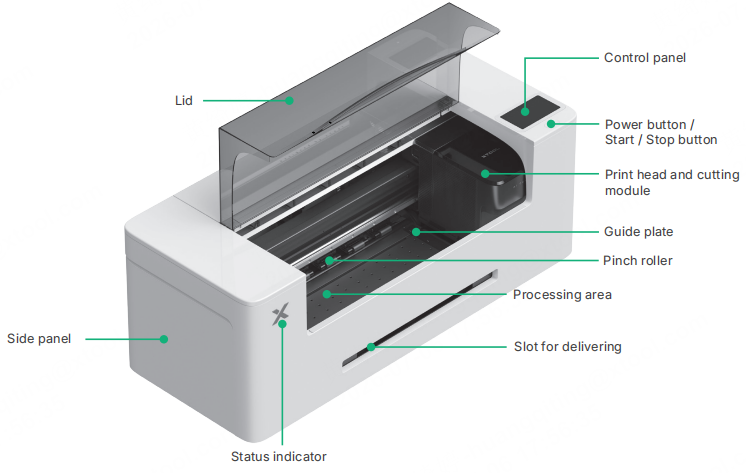
Product structure
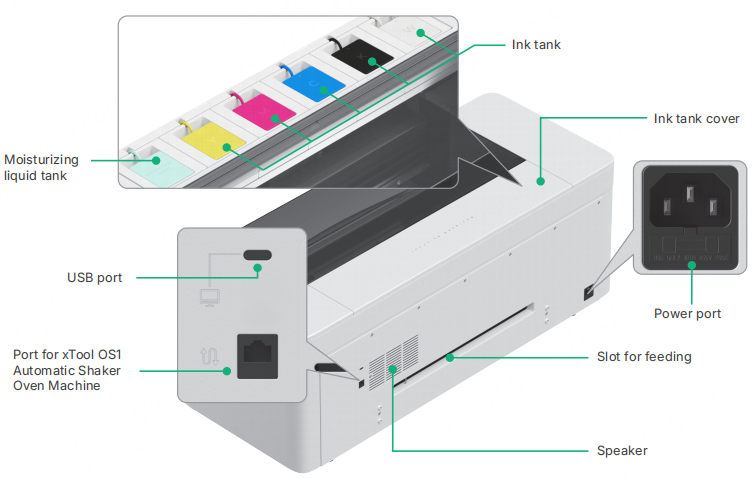
Indicator description
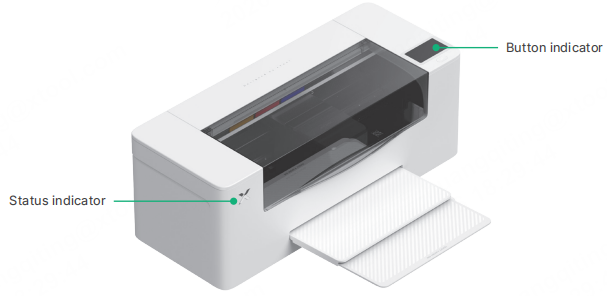
Button indicator | Status indicator | Speaker | Device status |
|---|---|---|---|
Solid white | Solid white | / | Idle |
Going off | Going off | / | Standby |
Solid white | Solid green | / | Printing |
Solid white | Solid green | Sounding once | Printing paused |
Solid white | Blinking purple slowly | Sounding once | Firmware updated |
Solid white | Blinking purple slowly | Sounding once | Calibrate the print head |
Solid white | Blinking purple slowly | Sounding once | Clean the print head |
Solid white | Blinking red rapidly | Sounding once | Exception occurs |
Meet your humidity module
Product structure
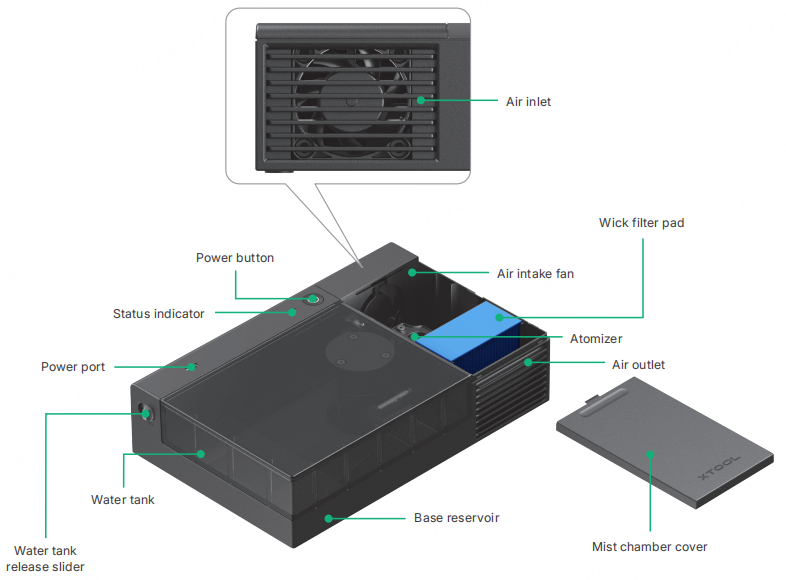
Recommended usage conditions:
· When ambient relative humidity is below 50%, it is recommended to turn on the module to significantly improve print quality.
· When ambient relative humidity is above 70%, it is strongly recommended to turn off the module to prevent excessive humidity from affecting print quality.
Indicator description
Status indicator | Device status description |
|---|---|
Solid | Device is operating normally. |
Blinking | Water tank is empty. |
Off | Device is powered off or unplugged. |
Get xTool Apparel Printer Plus ready
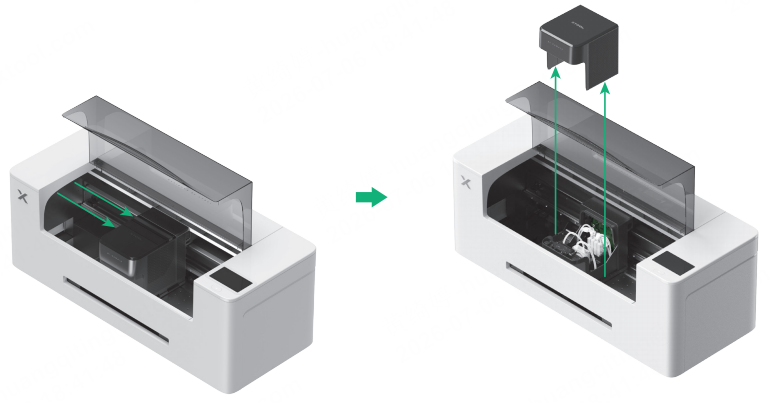
1. Prepare the print head
(1) Open the lid of the printer.
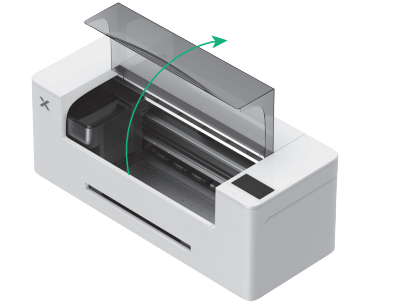
(2) Move the print head to the middle of the printer, and remove its cover.
2. Install the ink stack foam
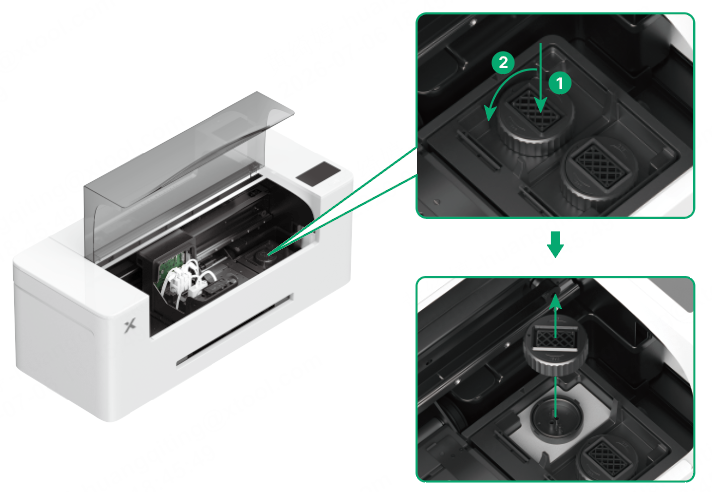
(1) First, press down on the cover, then turn it counterclockwise 45° to open it.
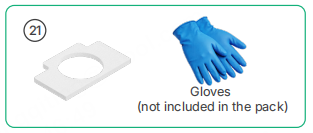
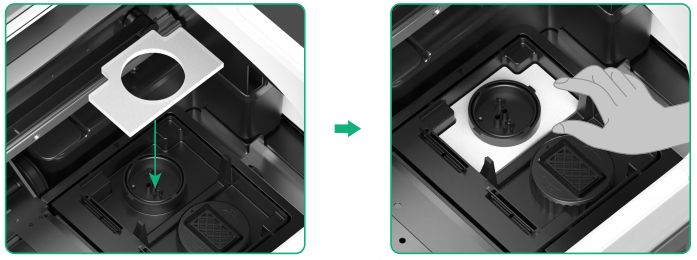
(2) Place the foam and press it down with your hand so that it lies flat against the bottom.
💡It is recommended to wear gloves for placing or removing the foam.
(3) Install the ink pad and ensure that the two arrows are aligned.
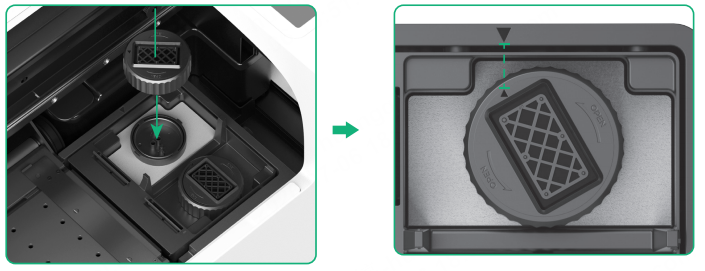
Do not install the ink pad upside down.
(4) Press down on the cover and turn it clockwise 45° to lock it in place. Install the other foam in the same way.
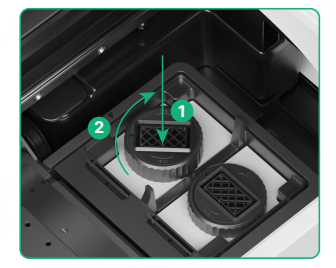
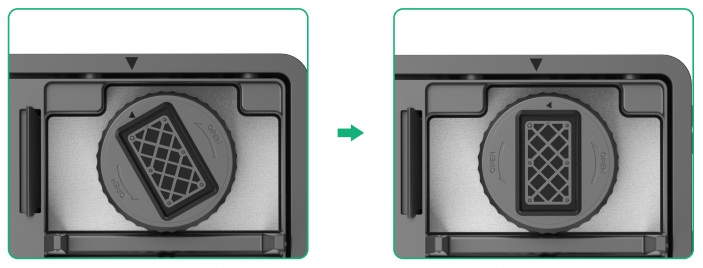
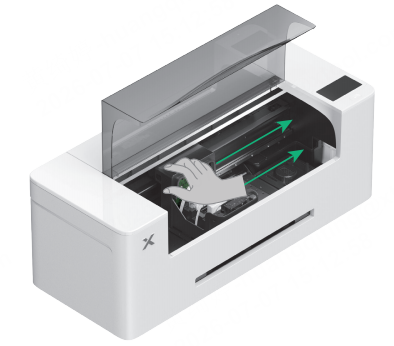
(5) Move the print head to the right.
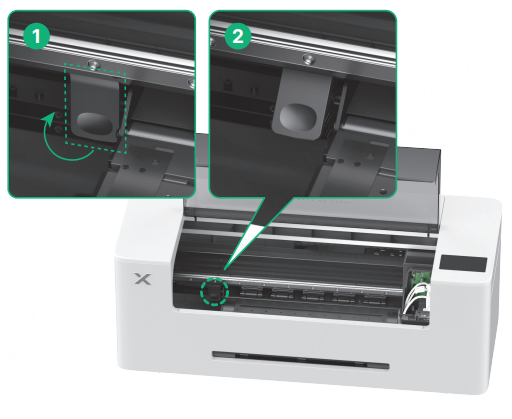
(6) Find the pinch roller switch in the printer. Toggle up the switch to open the pinch rollers.
2. Install the bracket and xTool Apparel Printer film roll
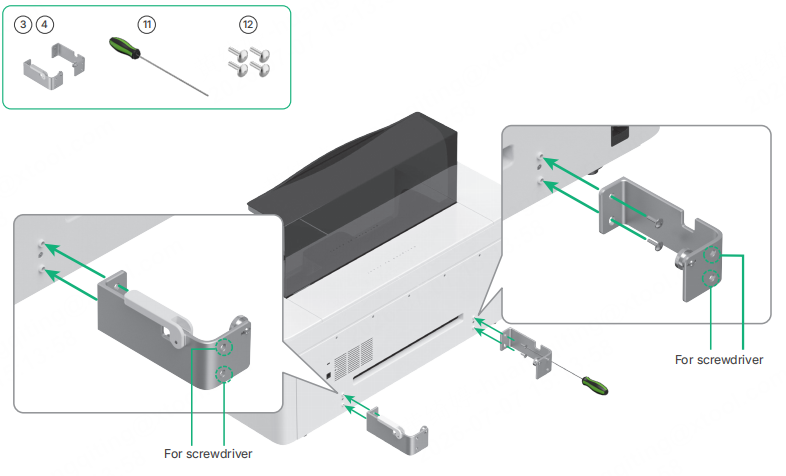
(1) Go through the four holes in the brackets with a screwdriver. Use four screws to secure the brackets on the printer.
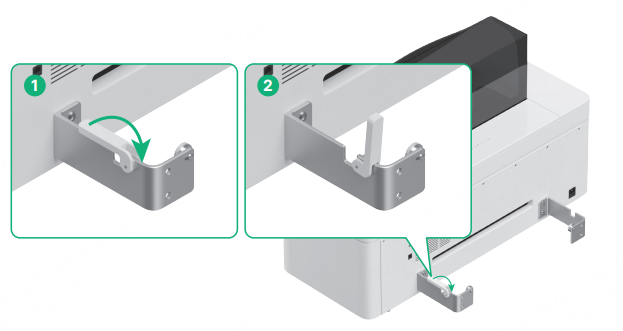
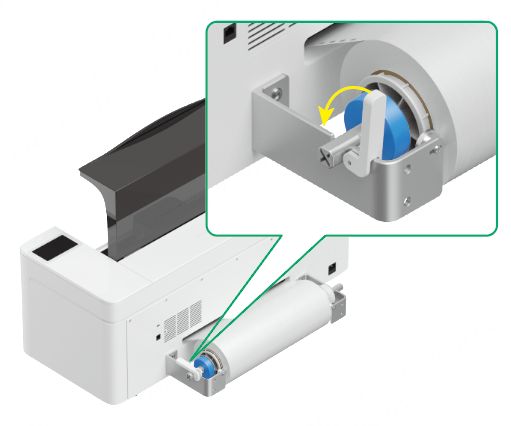
(2) Make sure the brackets are secured firmly. Lift the locking bar on the left bracket.
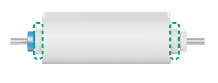
(3) Install the roll on the bracket with the roll's two sides aligned with the notch of the bracket.
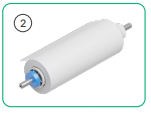
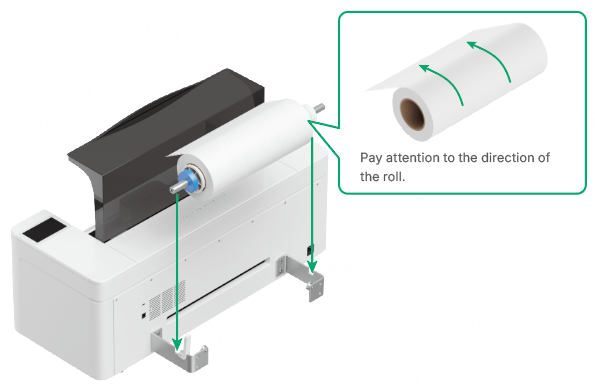
💡Note: When placing the holder, mind your hands and make sure that the fasteners on both sides of the holder are secured properly.
(4) Press down the locking bar.
3. Feed film into the printer
💡Note: Remove the sticker from the roll before feeding the film.
(1) Feed the film into the printer through the feeding slot.
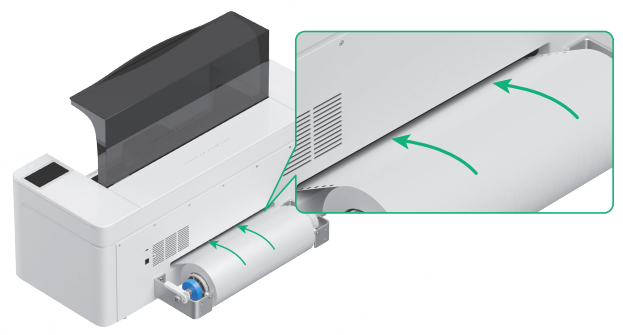
(2) Pull the film from under the pinch rollers.
Ensure that the film covers the starting position of the processing area and aligns with the white marking line on the right.
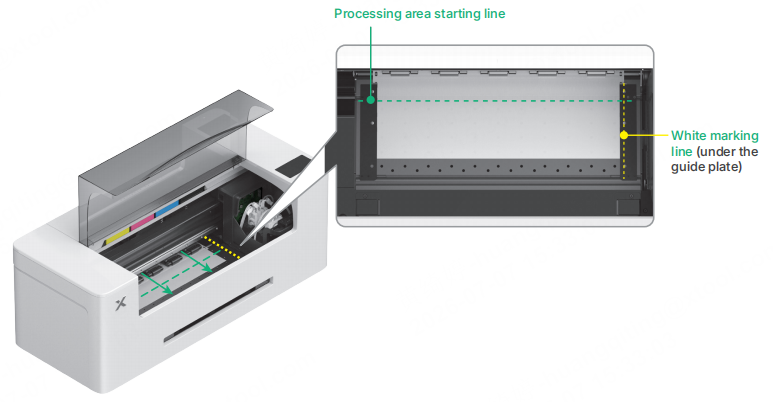
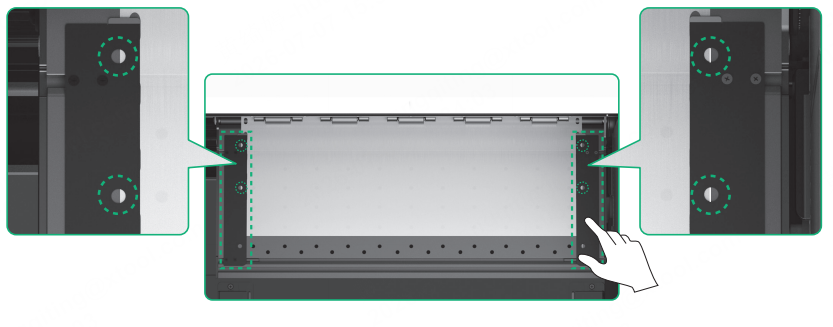
(3) Adjust the guide plates on both sides to cover the film.
💡Move the film until its side edges are in the center of the guide plate holes, as illustrated in the following figure. Note that the distance between the guide plate and the film should not be too close or too far. Otherwise, it may cause problems such as film bulging.
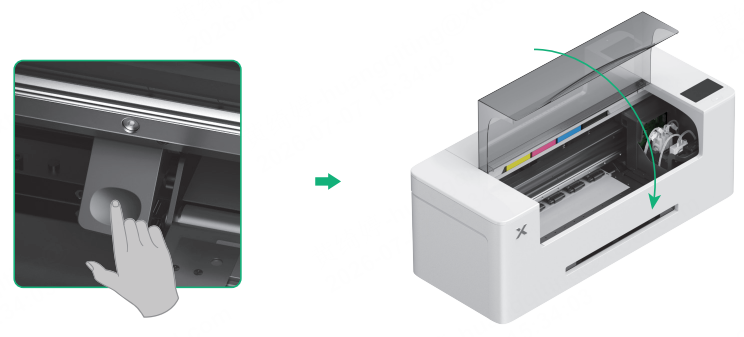
(4) Press down the pinch roller switch and close the lid.
4. Fill in moisturizing liquid and ink
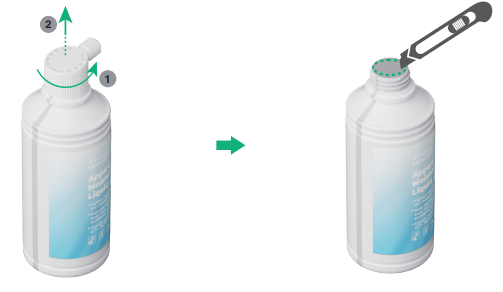
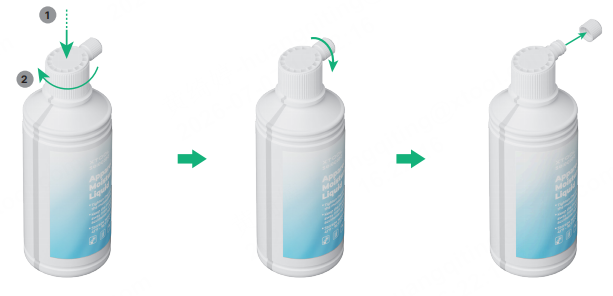
(1) Open the cap of the moisturizing liquid bottle, remove the sealing film, and screw the cap back on.
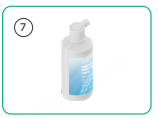
Rotate the cap nozzle and remove it.
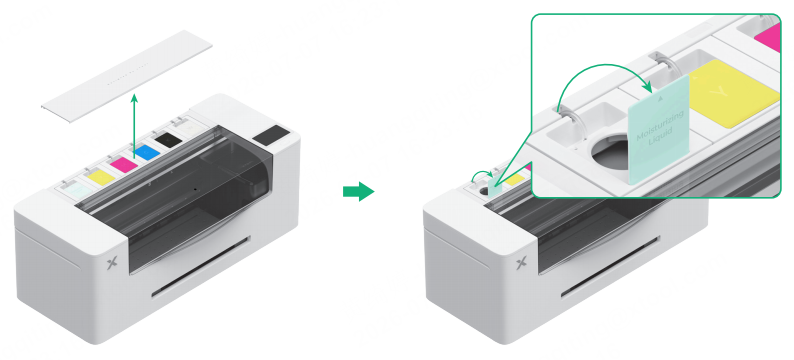
(2) Remove the ink tank cover and open the cover of the moisturizing liquid tank.
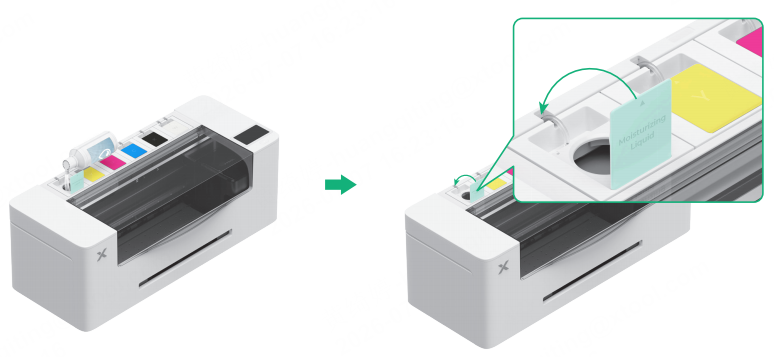
(3) Fill the moisturizing liquid tank with moisturizing liquid. Close the silicone cover.
💡Note:
· Be careful not to overfill the moisturizing liquid tank (maximum capacity: 1000 ml).
· Please reserve a proper amount of moisturizing liquid for regular maintenance.
(4) Open the ink tank cover.
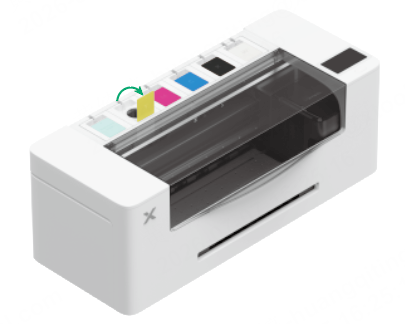
(5) Open the cap of the ink bottle, remove the sealing film, and screw the cap back on.
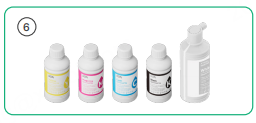
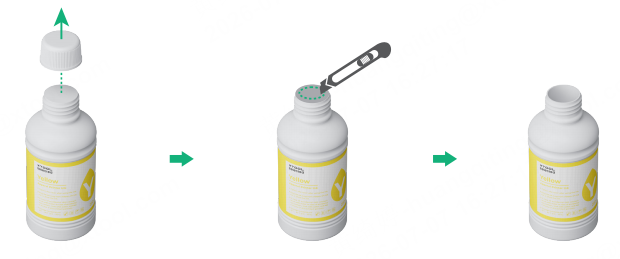
💡Note:
· When filling ink, take care to prevent spills on your clothes.
· When you use white ink, remember to shake it well before adding it.
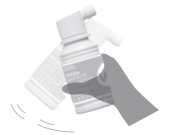
Fill the ink tank with ink.
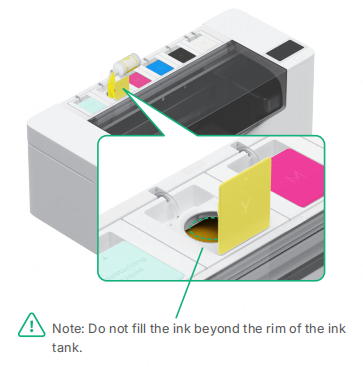
💡Note: After adding ink, be careful when you open the ink tanks again, as the ink may splash into the inside of the device.
(6) Repeat the steps above to fill the other four ink colors. And close the ink tank covers.
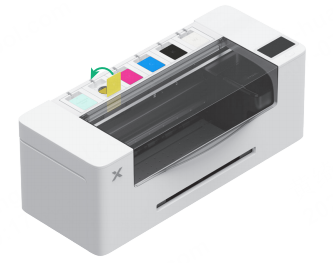
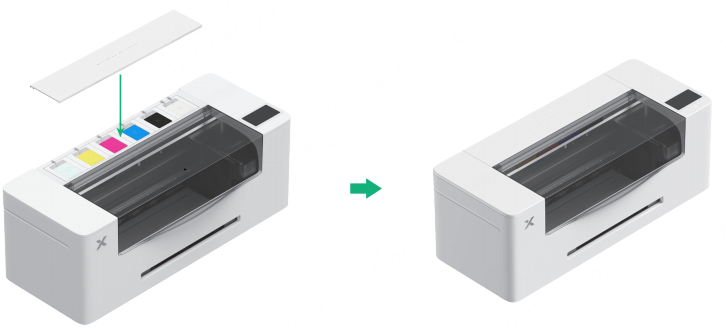
(7) Put the cover back on the device.
5. Install the humidity module
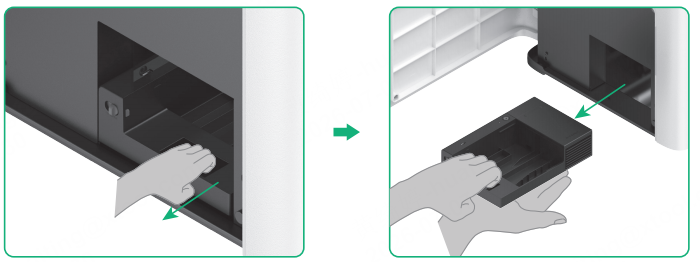
(1) Open the left-side panel of the printer.
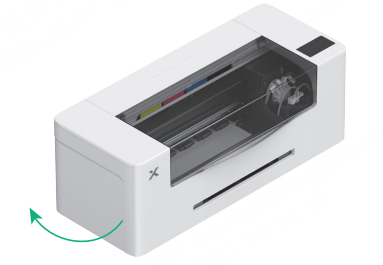
(2) Insert the humidity module horizontally into the printer, ensuring that the air outlet and air inlet of the module face the inside of the printer. Push it inward until the humidity module fits snugly against the inside of the printer and cannot be pushed any further.
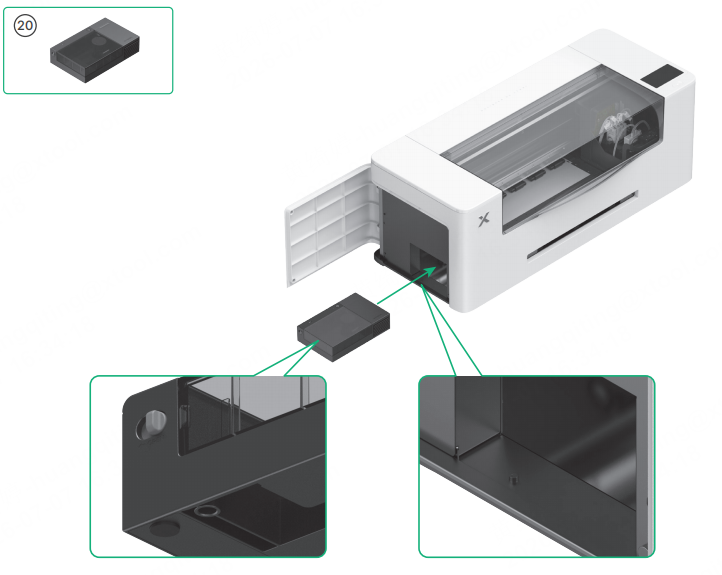
Ensure that the recessed hole at the bottom left corner of the humidity module aligns with the protruding screw on the left side of the printer's installation area, and snaps securely onto the screw.
6. Prepare and fill the water tank
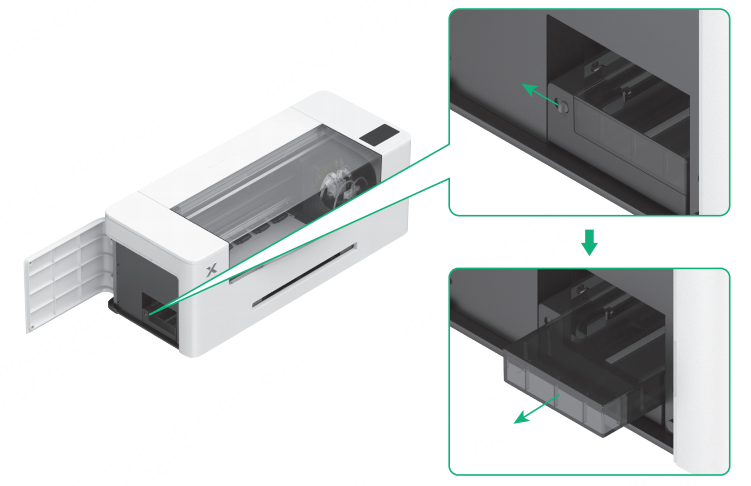
(1) Toggle the water tank release slider to the left, and the water tank will pop out automatically.
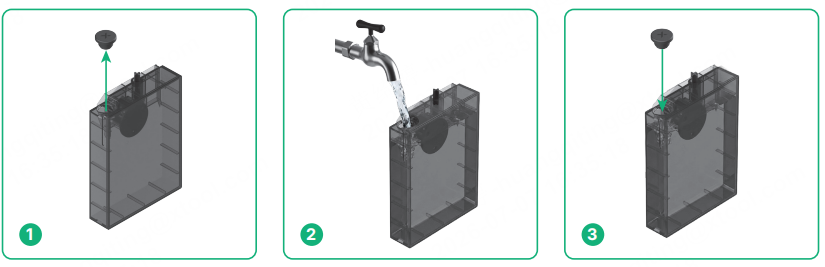
(2) Unplug the silicone plug on the side of the water tank and fill the tank with water. Once filled, insert the silicone plug back tightly.
Always use clean tap water
■ If local tap water tends to produce white scale deposits, it is recommended to use treated or softened water.
■ Do not use purified water or distilled water, as this may affect the humidity module's mist output.
■ Water with high levels of impurities or scale can clog the atomizer components and reduce humidification performance.
(3) Insert the water tank horizontally and push it into the humidity module slowly and steadily to prevent liquid from splashing out. A "click" sound indicates that it is installed in place.
■ Do not tilt the water tank during insertion or when pushing it in to prevent liquid spills that may cause electric shock or device short circuits.
■ If any water droplets are present on the tank surface, wipe them dry before installation.
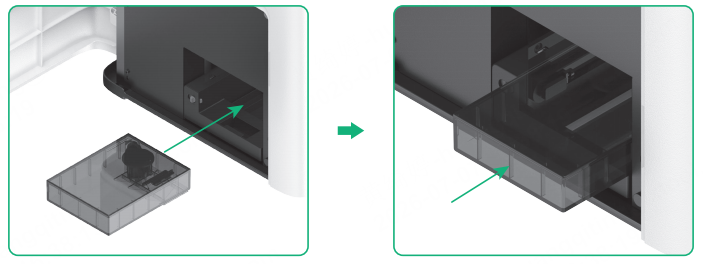
Daily water refilling: During normal use, it is not necessary to remove the entire module. Remove and refill the water tank.
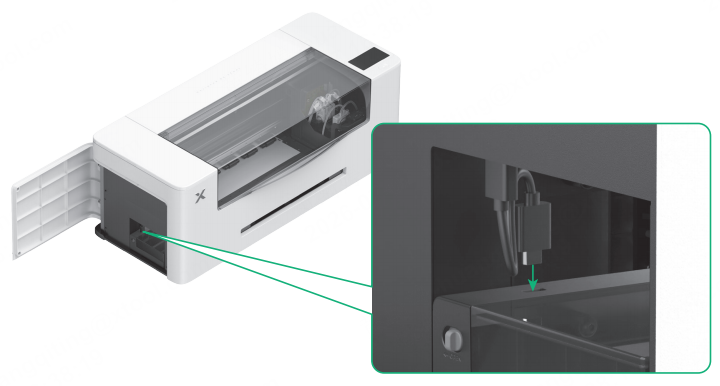
7. Connect the humidity module and the printer
(1) Connect the other end of the connection cable to the port of the humidity module.
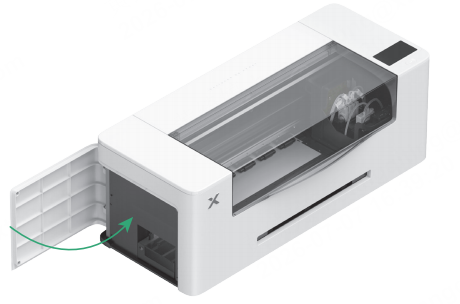
(2) Close the left-side panel of the printer.
8. Install the output tray
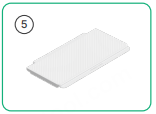
(1) Unfold the output tray.
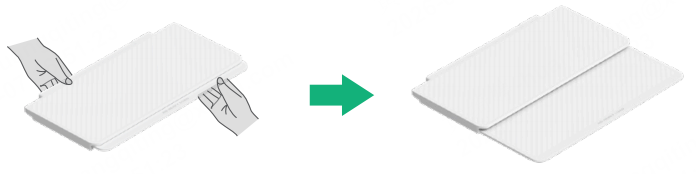
💡Note: When you use the shaker oven, it is necessary to open the two stands under the output tray.
(2) Install the output tray into the slot.
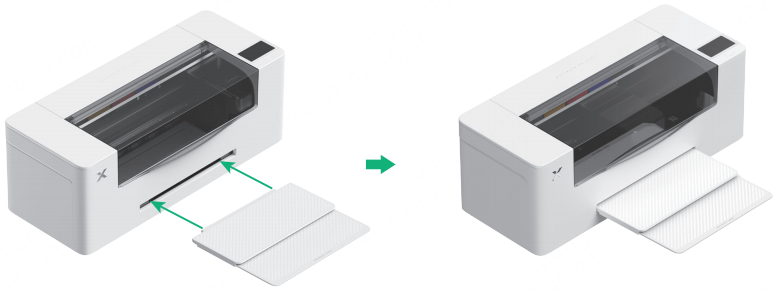
9. Connect to a power supply and follow the setup
(1) Insert the connector end into the power port of the device and the plug end into the socket. The device powers on.
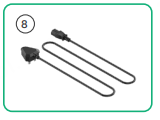
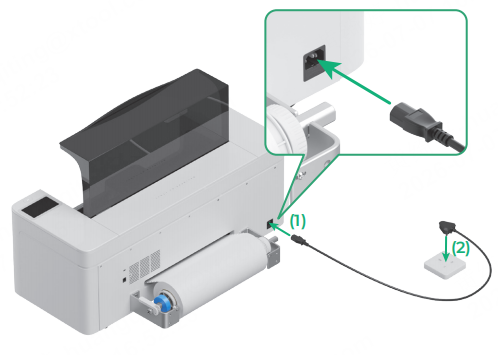
💡Note: To ensure proper running and maintenance of the device, please keep it connected to a power supply.
(2) Tap the screen to start the setup.
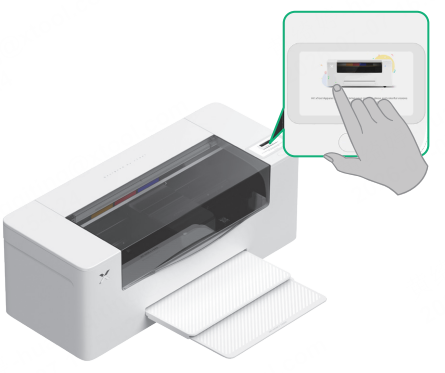
💡Note: Complete the beginner's guide on the printer before connecting the printer to a computer and using the software.
10. Power on the humidity module
(1) Open the lid.
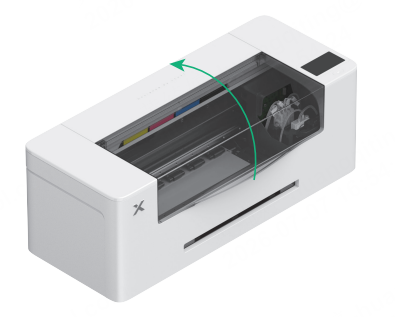
(2) Press the power button of the humidity module to turn it on. Then close the lid.
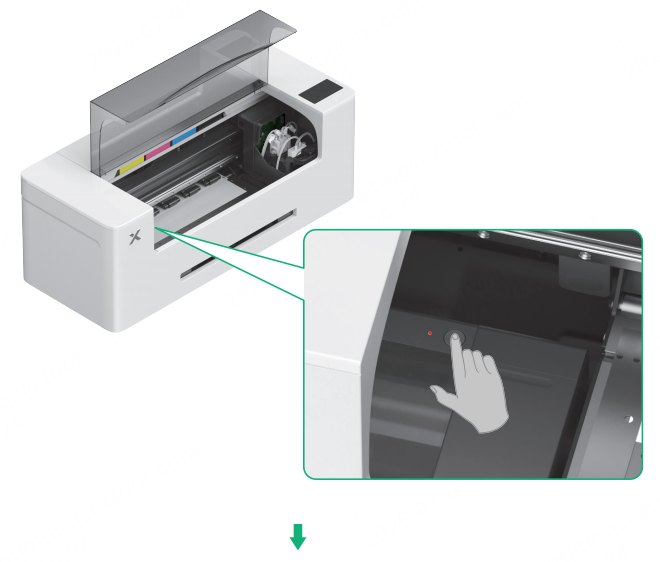
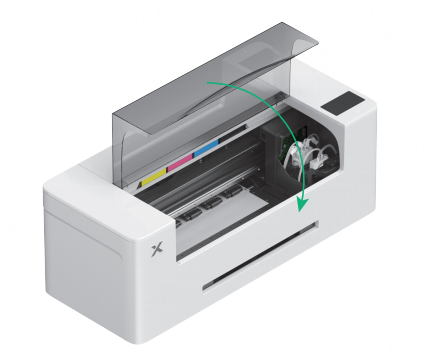
Pressing the power button again during operation will pause the humidification.
Use xTool Apparel Printer Plus
1. Get the xTool software
Go to s.xtool.com/software to get the xTool software. Download and install the software.
2. Connect xTool Apparel Printer Plus to your computer
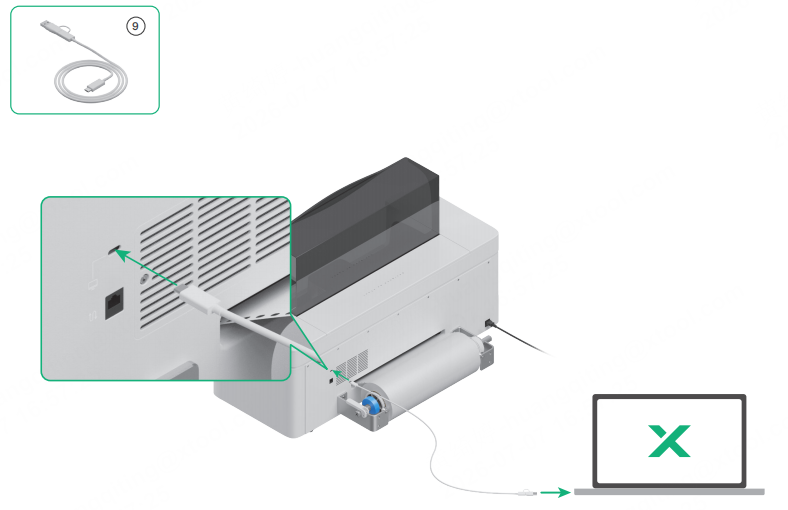
Connect one end of the USB cable to the printer's USB port and connect the other end to your computer.
3. Use with the software
For details about how to process materials using xTool Apparel Printer Plus and the software, visit Operate xTool Apparel Printer Plus with the software.
How to remove the humidity module?
■ During normal use, do not frequently remove the entire humidity module to avoid spilling liquid from the water tank or base reservoir.
■ Only when performing maintenance on the printer or the humidity module, follow the steps below to remove the entire humidity module.
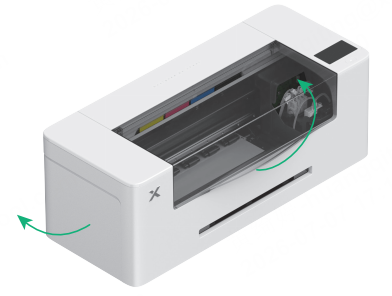
(1) Open the left-side panel and lid of the printer.
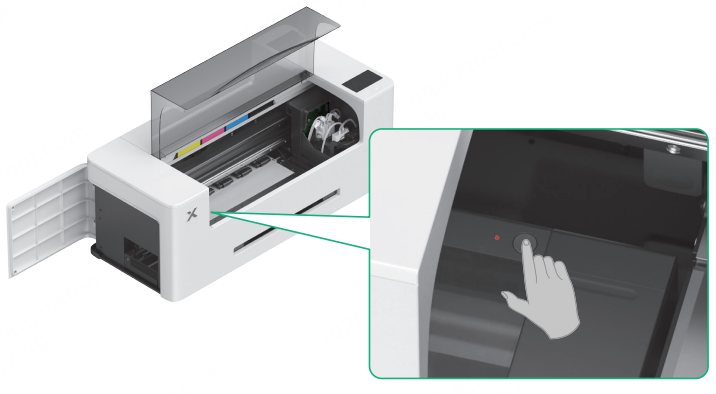
(2) Press the power button to turn off the module.
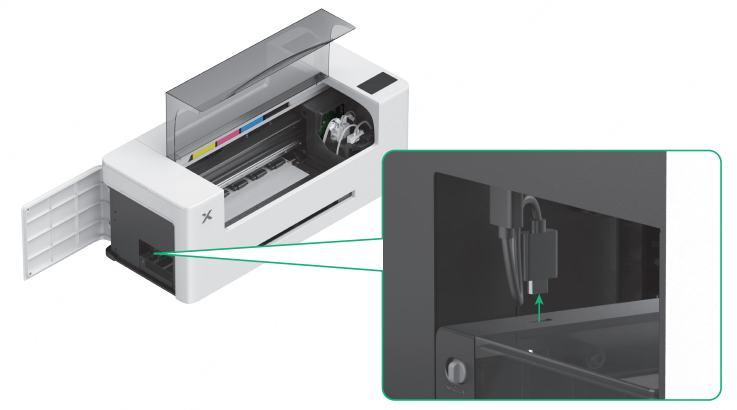
(3) Unplug the connection cable of the humidity module.
(4) Toggle the water tank release slider to the left to pop out the water tank. Remove the water tank slowly and horizontally to prevent liquid from splashing out.
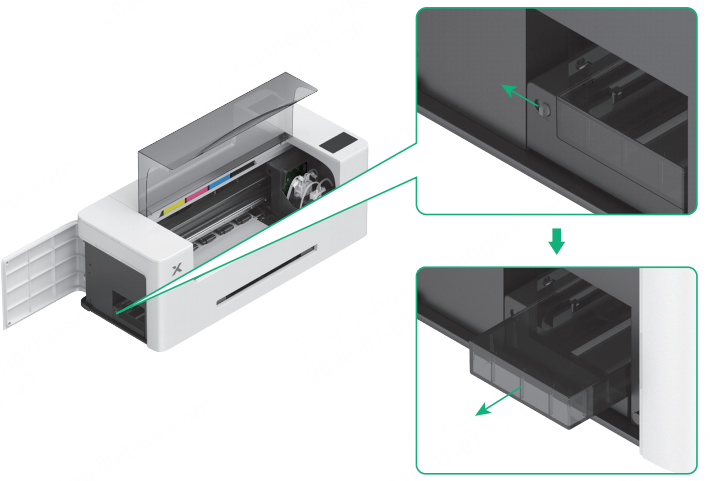
(5) Use the grip slot on the base reservoir to smoothly pull the humidity module out horizontally.