
💡 Prerequisite: Before operating the printer with xTool Studio, ensure you have:
- Completed the initial hardware setup (refer to xTool Apparel Printer Plus User Manual).
- Completed the beginner's guide on the printer's LCD control panel.
Download xTool Studio
Minimum & recommended PC requirements
Item | Minimum configuration | Recommended configuration |
Processor | Intel Core i5-6200U | Intel Core i5-11600 or higher |
Operating system | Win 10 (64-bit) macOS 11 (Big Sur) or later | |
RAM | 8 GB | 16 GB or larger |
Display resolution | 1280 × 720 (pixels) | 1920 × 1080 (pixels) or higher |
Hard drive | 8 GB | 12 GB or larger |
- Minimum Configuration: Supports all basic software functions. However, performance may lag when importing complex images (e.g., bitmaps larger than 50 million pixels or SVG files larger than 1 MB).
- Recommended Configuration: Ensures smoother performance, reduced latency, and better handling of complex image editing.
For more pertinent information on xTool Studio, visit: xTool Studio & Creative Space: Minimum and Recommended Specifications
Download and install the software
1. Download: Visit s.xtool.com/software and download the appropriate installer for your operating system.
2. Install: Double-click the downloaded installer file to initiate the installation process. Follow the on-screen instructions.
3. Launch & Configure:
- Once installation is complete, launch xTool Studio.
- Click the down arrow icon
in the top-right corner.
- Select Settings to set your preferred display language.
Connect xTool Apparel Printer Plus to the software
1. Connect your printer to your computer via USB.
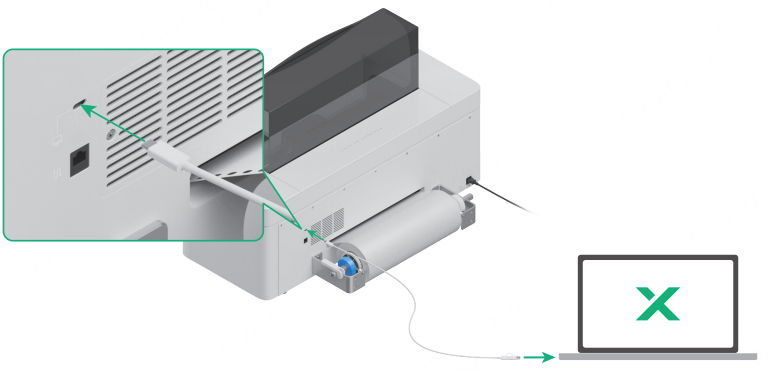
2. In the top-right corner of the software, click + New project.
3. Watch the following video to learn how to connect the device to the software.
4. Ensure your device is connected successfully.
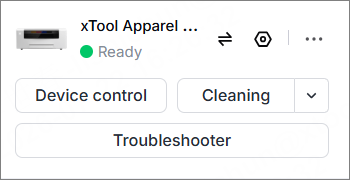
First-time calibration
After connecting the printer to xTool Studio for the first time, you must perform calibration before use:
1. On the pop-up window displayed below, click Start to start calibration.
2. Close the printer lid and click Next.
⚠️ Warning: DO NOT open the lid or disconnect the software during the calibration.
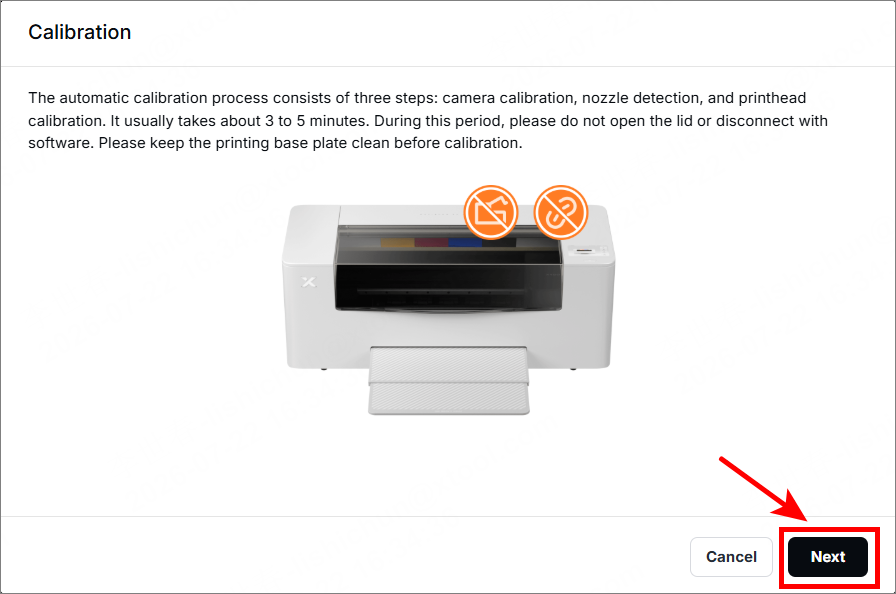
3. Wait for the device to complete the three calibration steps: camera calibration, nozzle detection, and printhead calibration.
4. Click Confirm. Remove the film from the device.
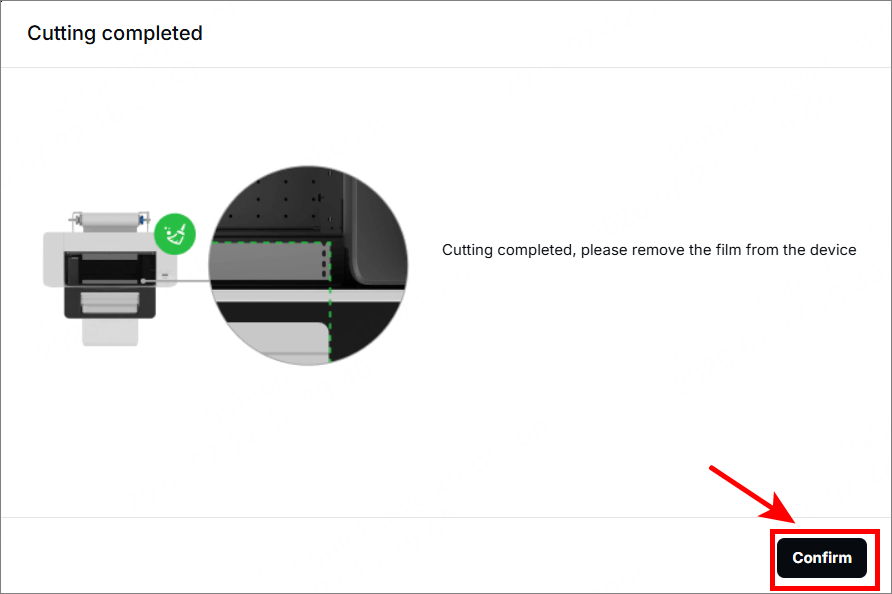
5. Once all steps are finished, click Confirm.
💡 Note: If you skipped the initial calibration accidentally, you can manually trigger the calibration later:
- Click the three dots icon next to the device image in the top-right corner.
- In the Calibration tab of the Device settings pop-up window, click the Calibrate button near the Automatic calibration.
Start a project
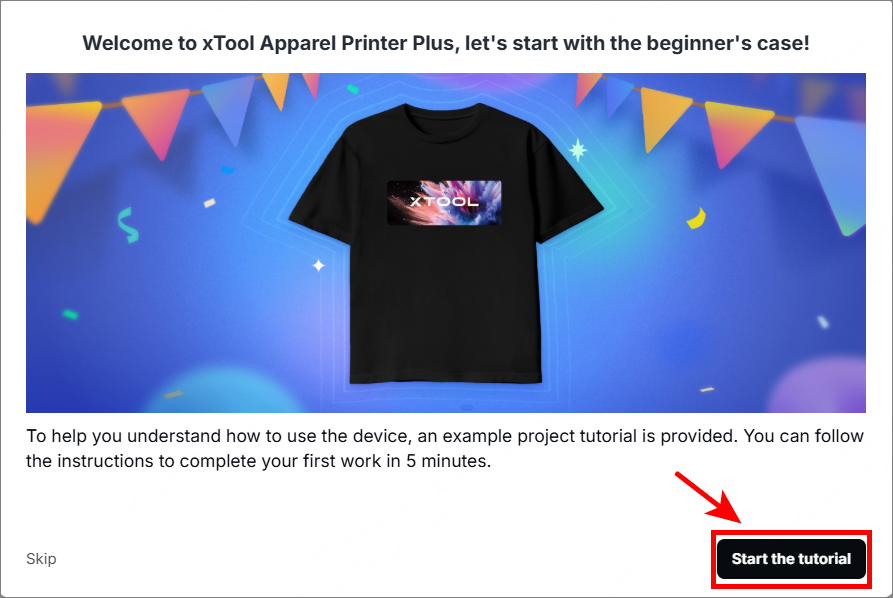
After the calibration, click Start the tutorial to start a project on xTool Apparel Printer.
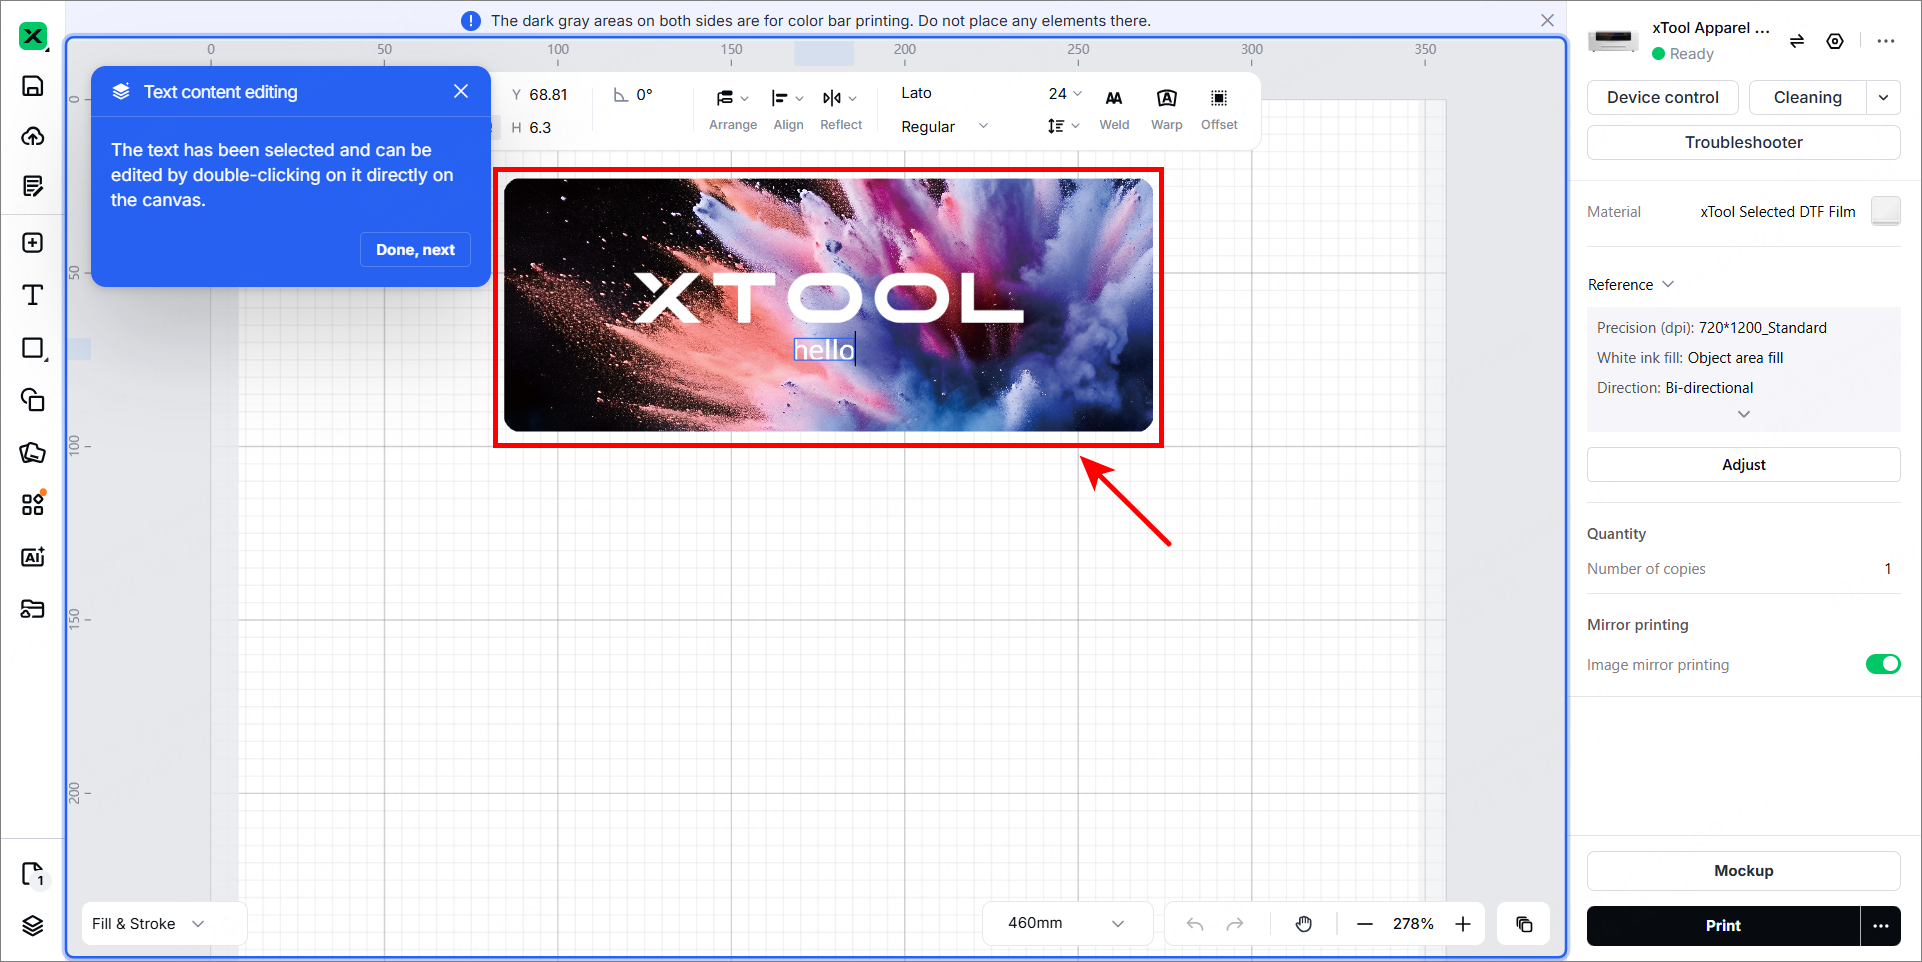
1. Design a processing object
The default processing file has been shown. You can double-click the text to modify.
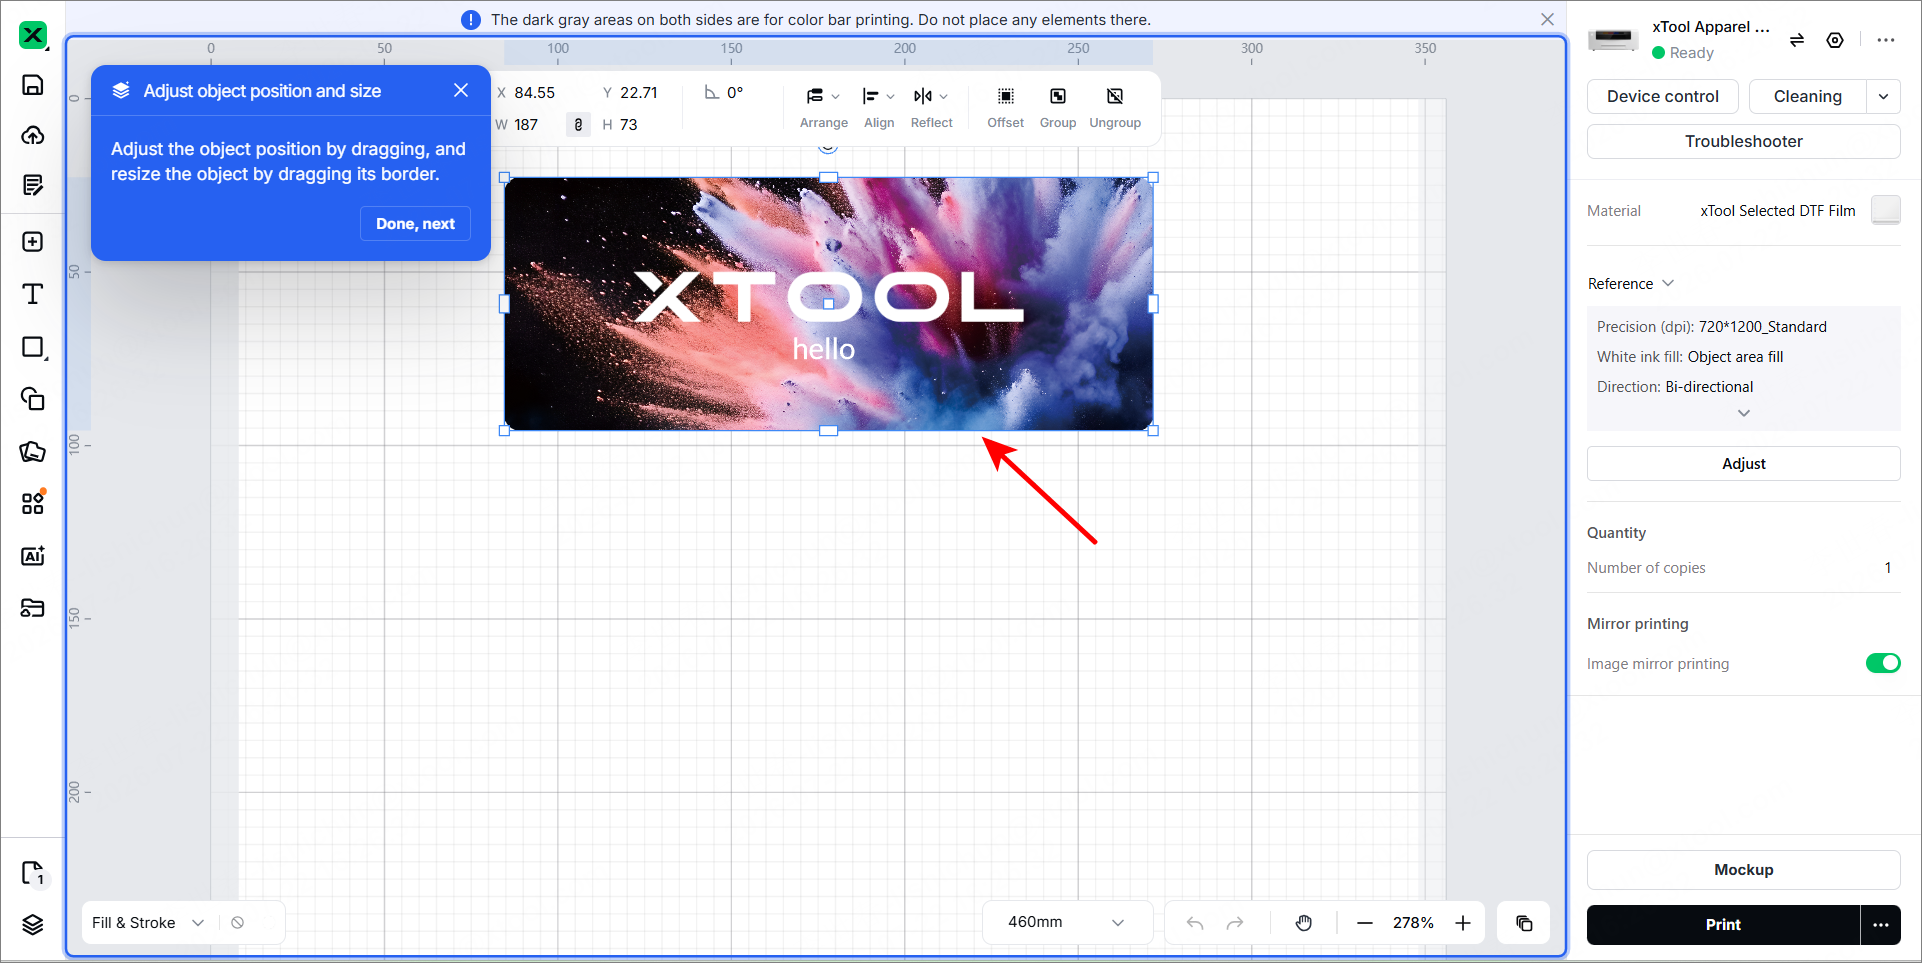
2. Edit designs & set parameters
The default settings are optimized for xTool Selected DTF film. You may adjust these based on your specific material needs.
(1) Click on your design object on the canvas. Adjust object position and size.
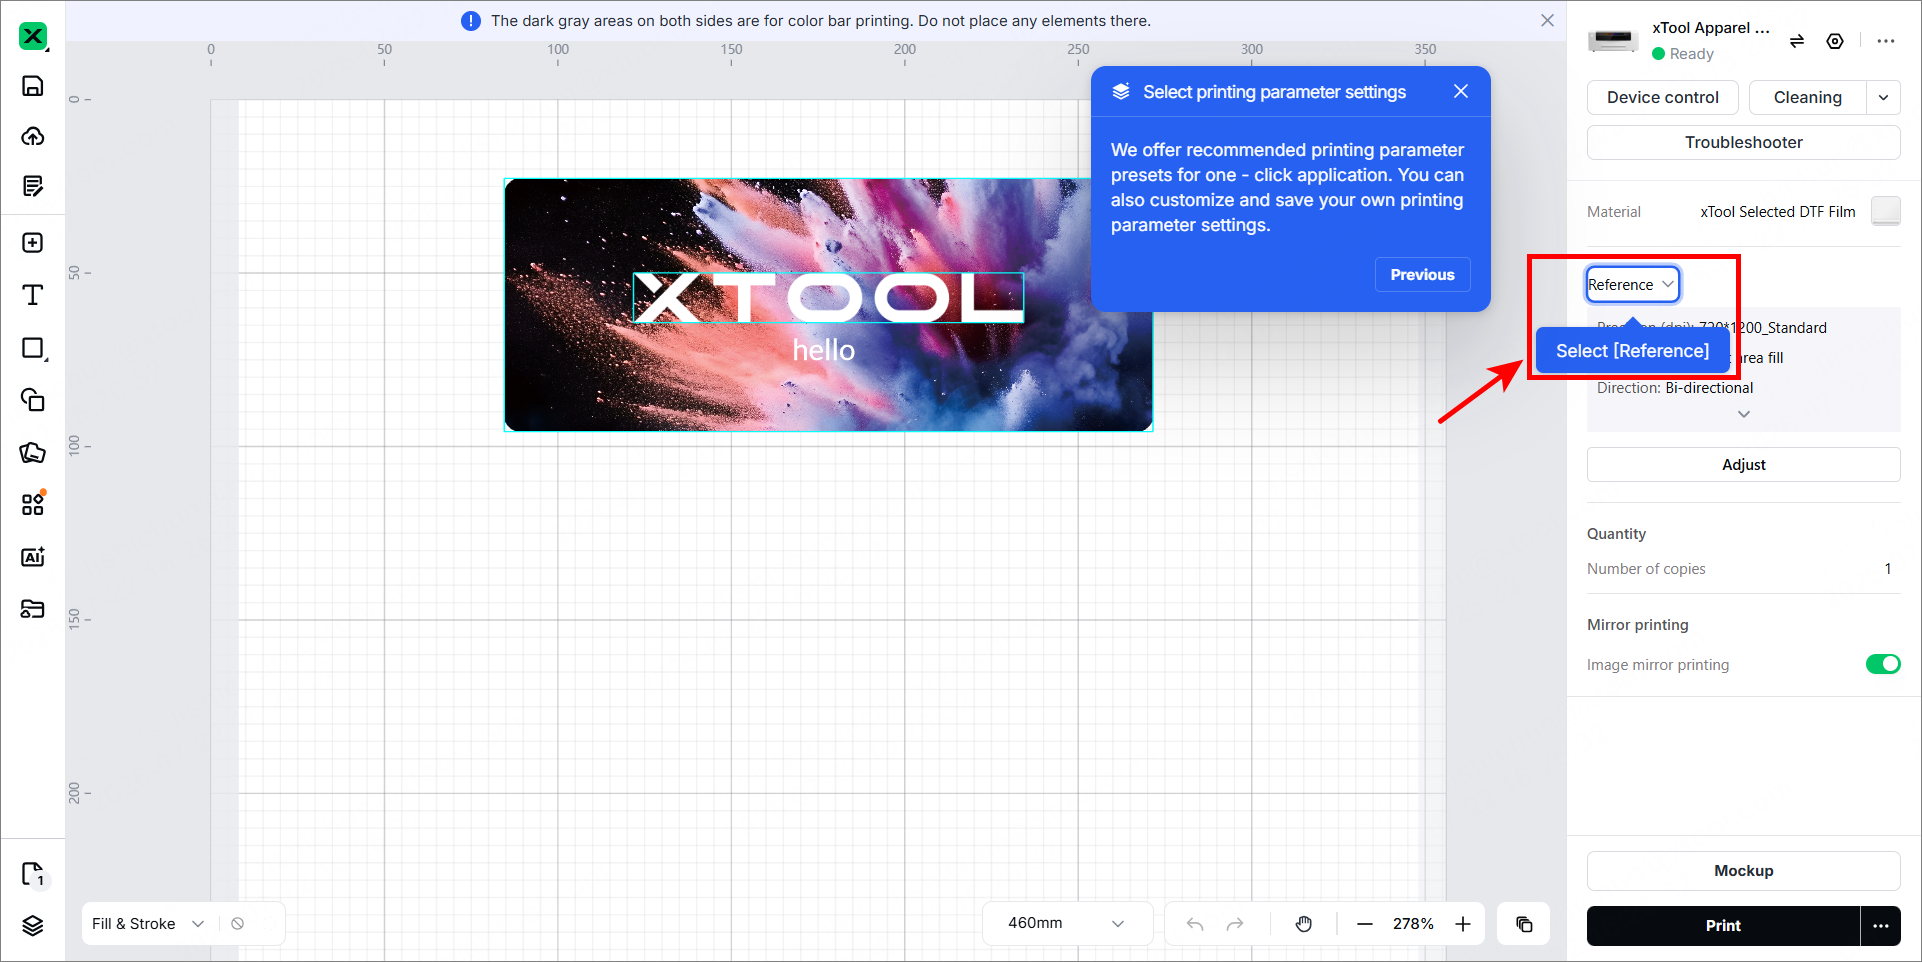
(2) After selecting your design, select the reference parameters for it.
To learn more details, watch the video:
💡 Important: You must set parameters for every object on the canvas. Any object without assigned parameters may fail to print.
- Parameters differ for bitmap images vs. vector objects.
- You can select multiple objects of the same type to apply settings simultaneously.
3. Preview a mockup
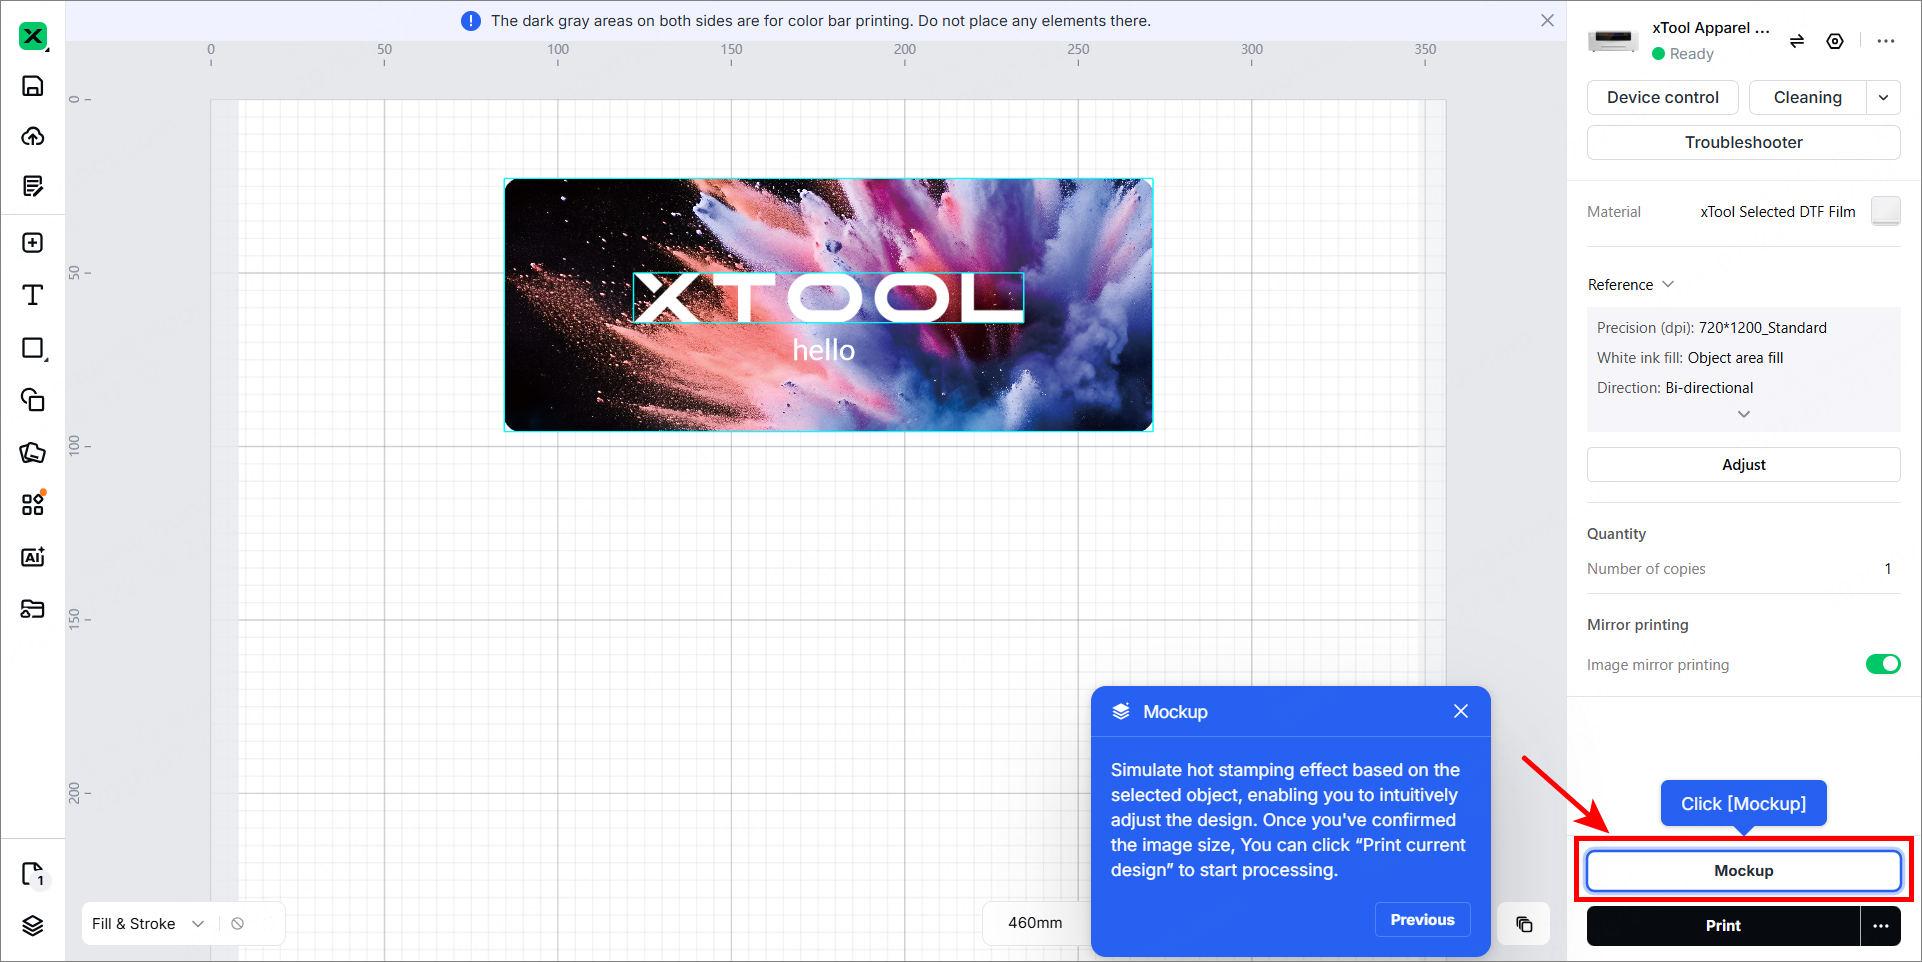
(1) Click Mockup in the bottom-right corner to enter the mockup pop-up window.
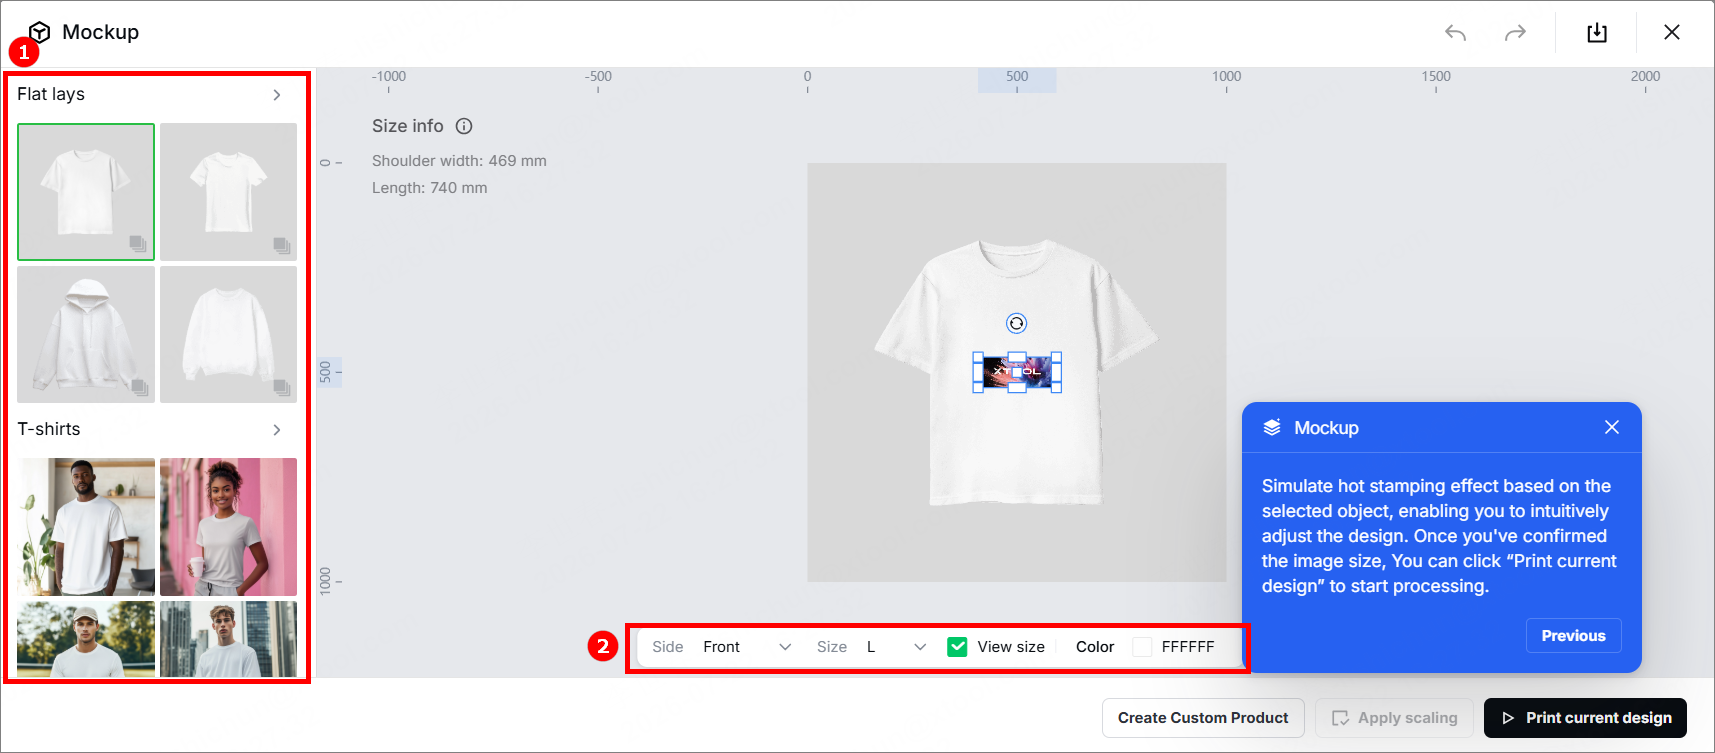
(2) Configure the mockup settings:
① Left Panel: Select the type of garment (e.g., T-shirt, Hoodie).
② Bottom Tools: Specify the print location (Front/Back), size, and color of the garment.
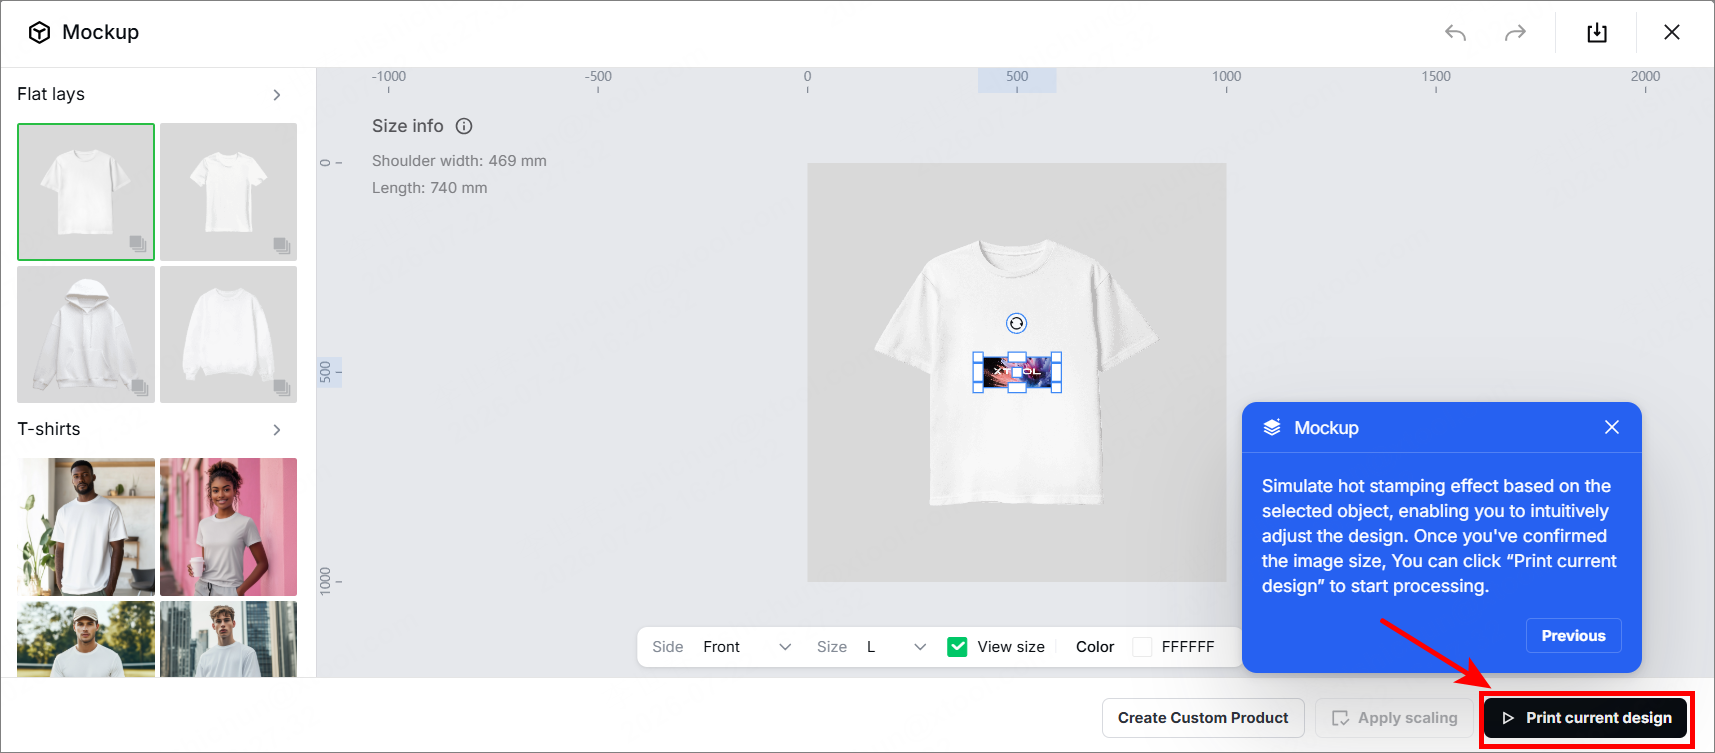
③ Click Print current design to proceed.
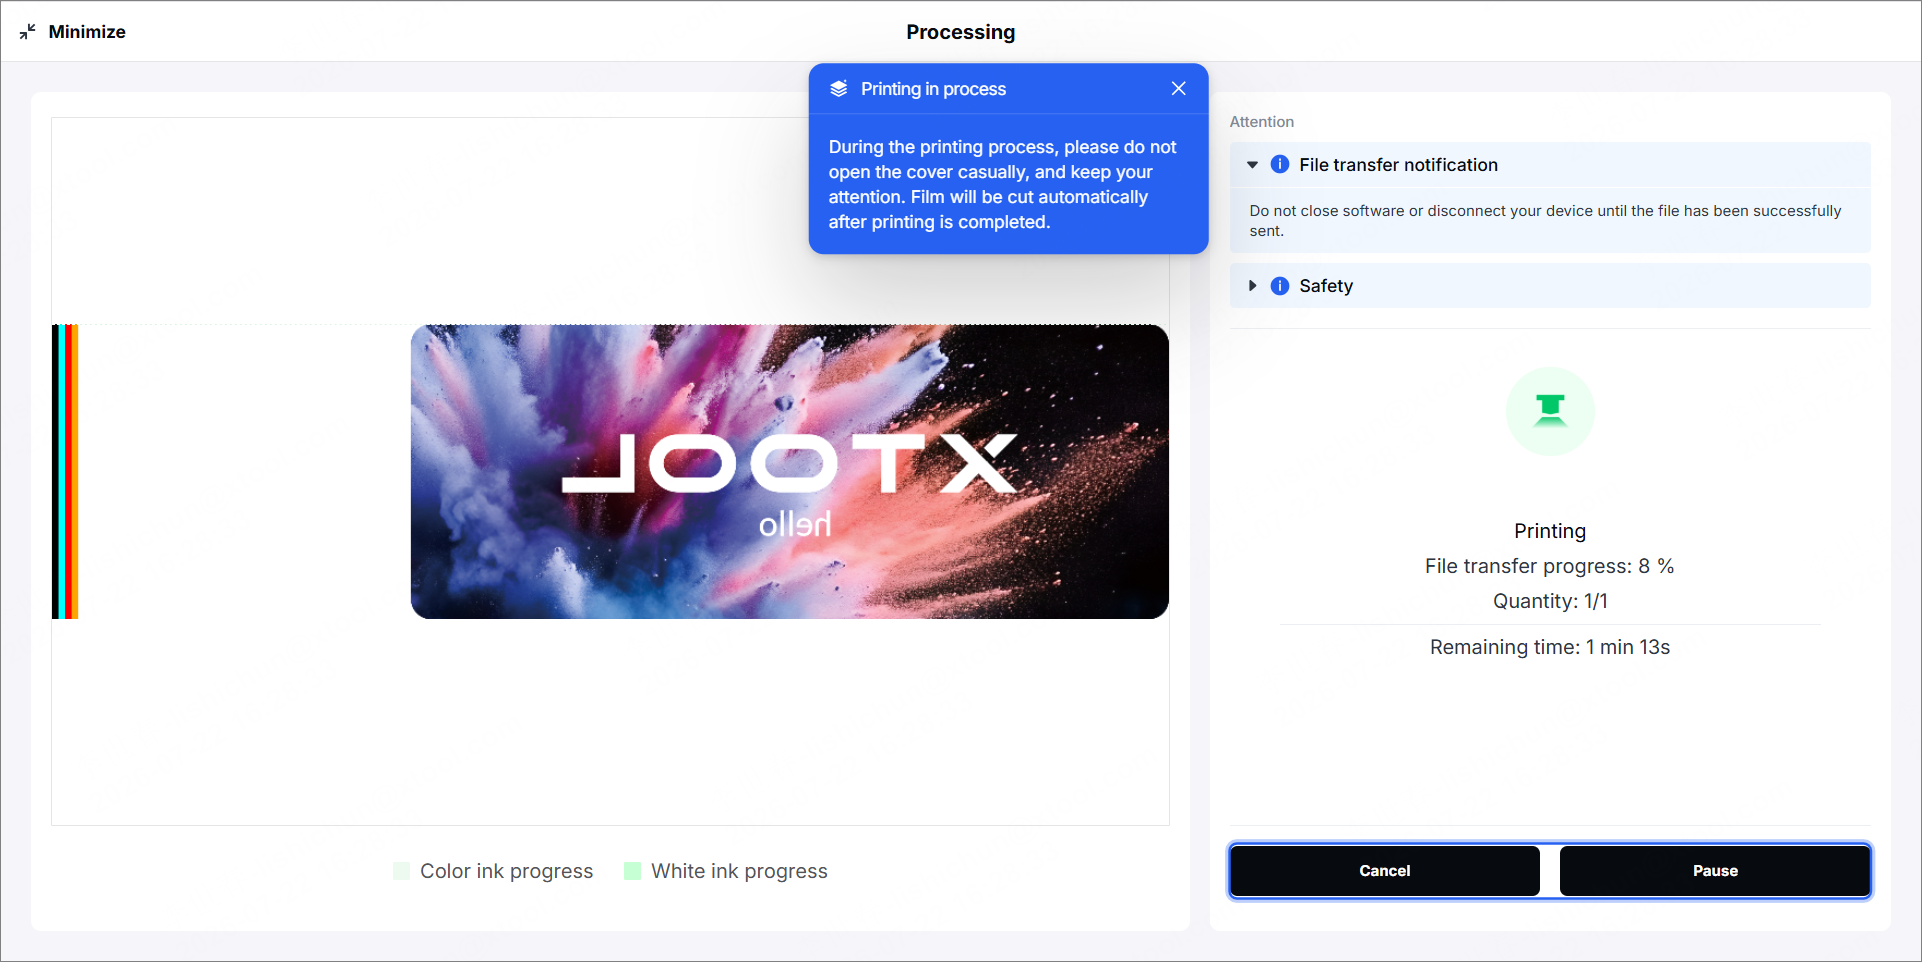
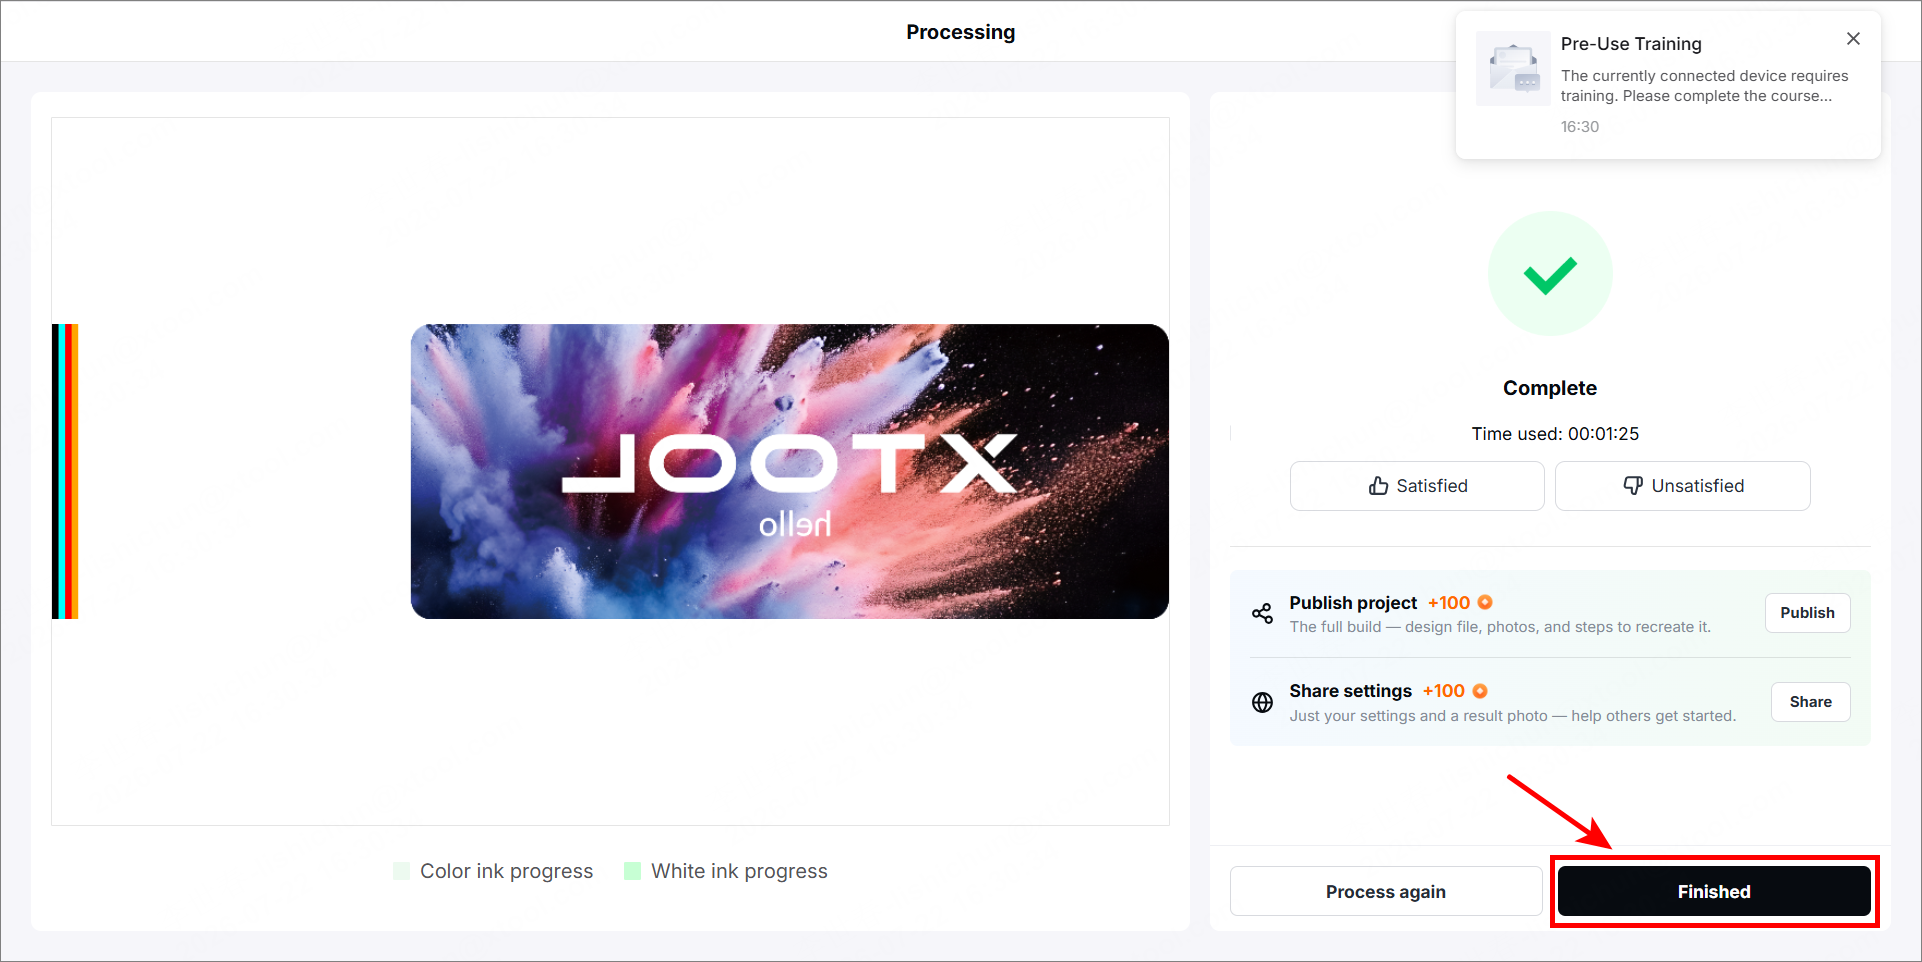
4. Start processing
(1) Start: Click Print in the bottom-right corner to begin the task.
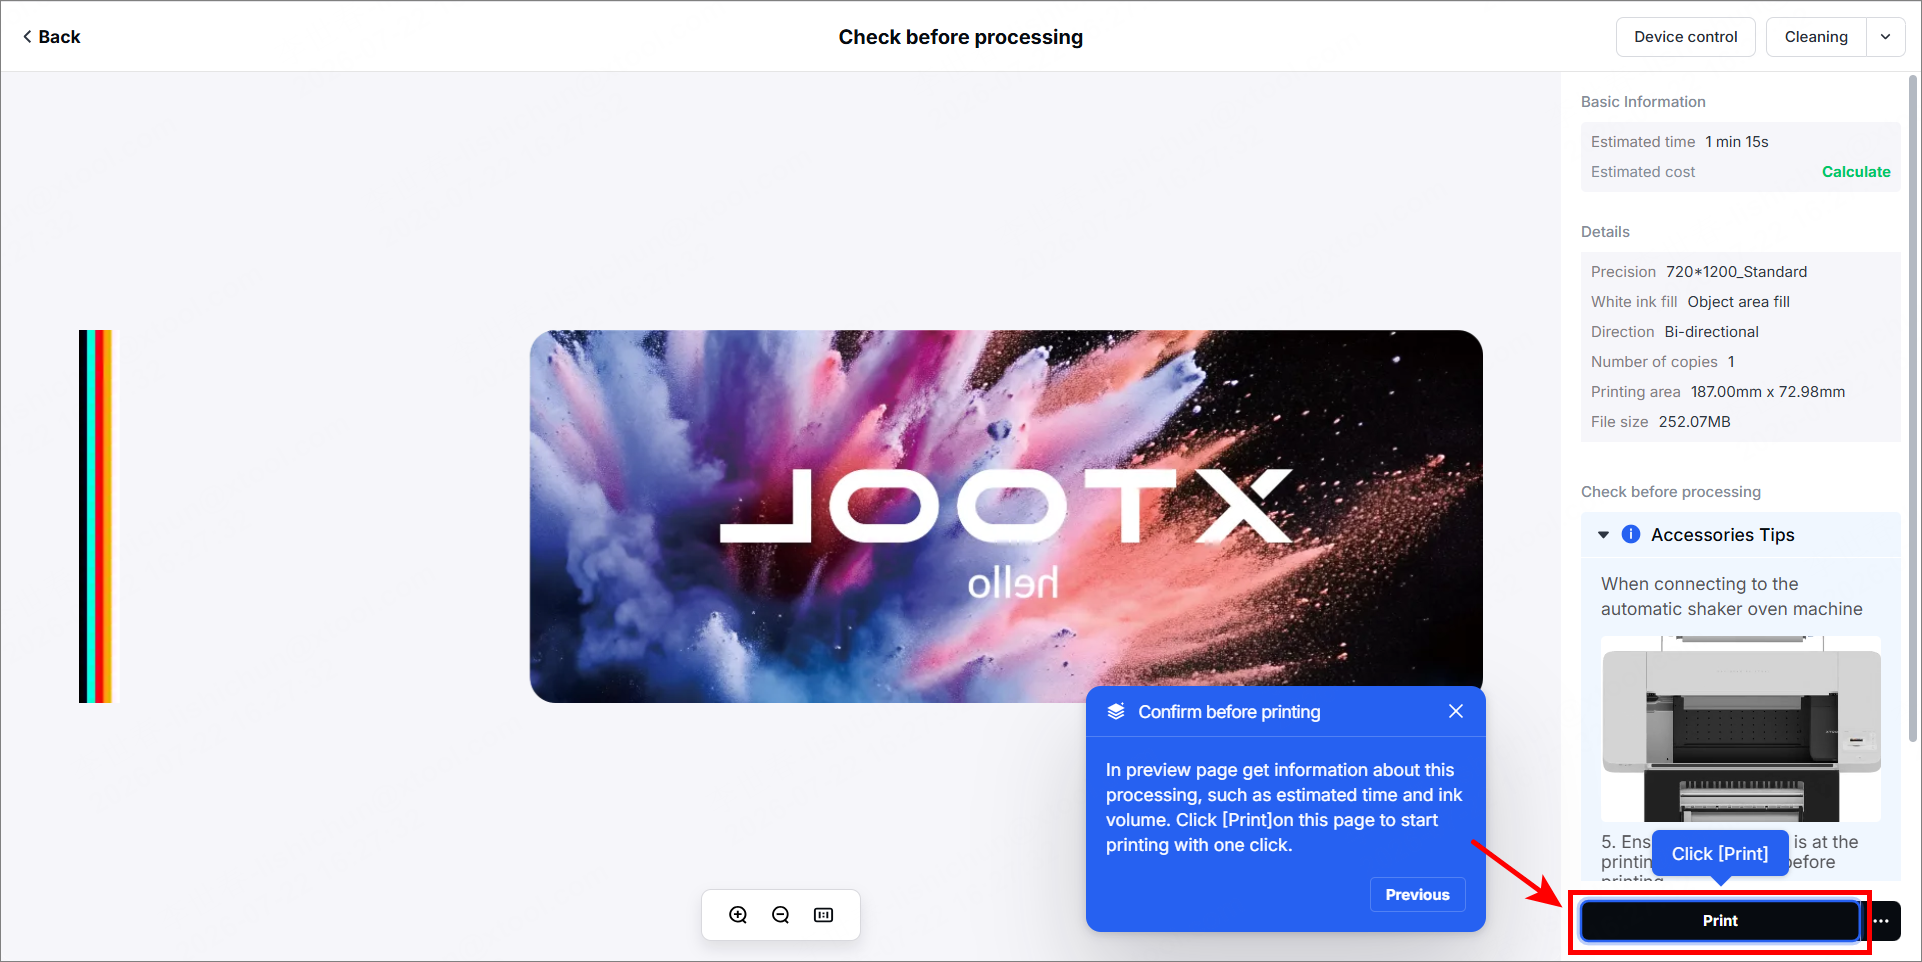
Next to the Print button, two options for you to set:
- Export printing file (.prx): Saves the processed file locally. You can store this on a USB flash drive or in "My Space" for direct processing later without re-slicing.
- Upload before print: The software fully uploads the file to the printer before printing begins. Use this option to prevent interruptions caused by unstable Wi-Fi or network conditions.
(2) Finish: Wait for printing to complete, then retrieve the processed film from the printer.

Set up xTool Apparel Printer in the software
For detailed configuration settings, please refer to Set up xTool Apparel Printer Plus in xTool Studio.

