🔔 This article describes how to use xTool LM1 Laminator for O1 Omni Printer for lamination on its own. To learn how to use it with xTool RF1 Roll Feeder, visit xTool RF1 Roll Feeder User Guide.
Before starting the user guide of xTool LM1 Laminator for O1 Omni Printer, see the unboxing video first.
Download PDF file (multi-language)
List of items
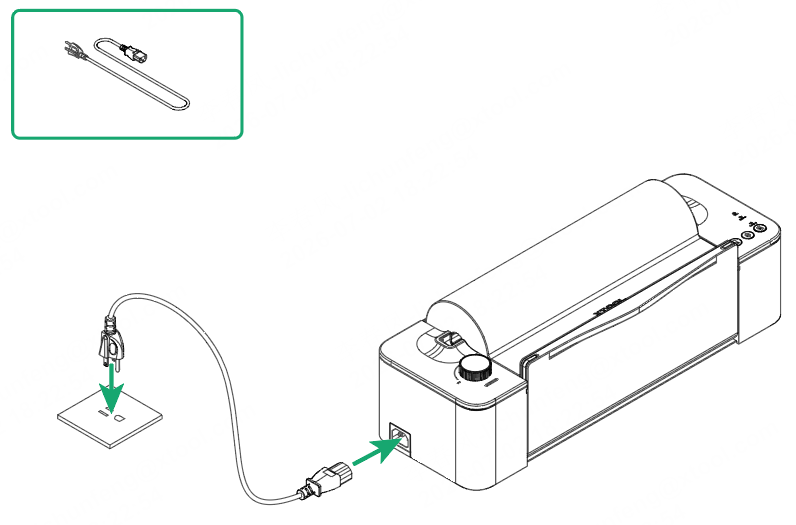
🔔 The power cable varies according to the region in which the product is delivered.
|
|
|
|
xTool LM1 Laminator for Omni Printer | Paper cutter | Power cable | A film |
|
|
|
|
B film | Push plate | Scraper | Crochet hook |
|
| ||
Quick start guide | Safety instructions |
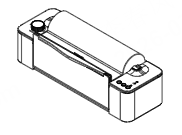
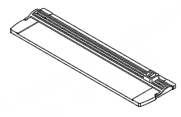
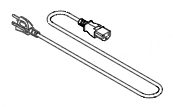
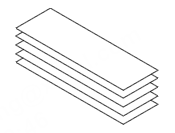
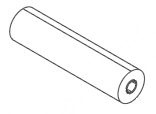
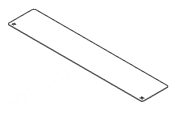
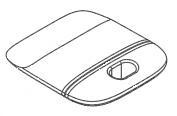
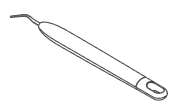
Meet the device
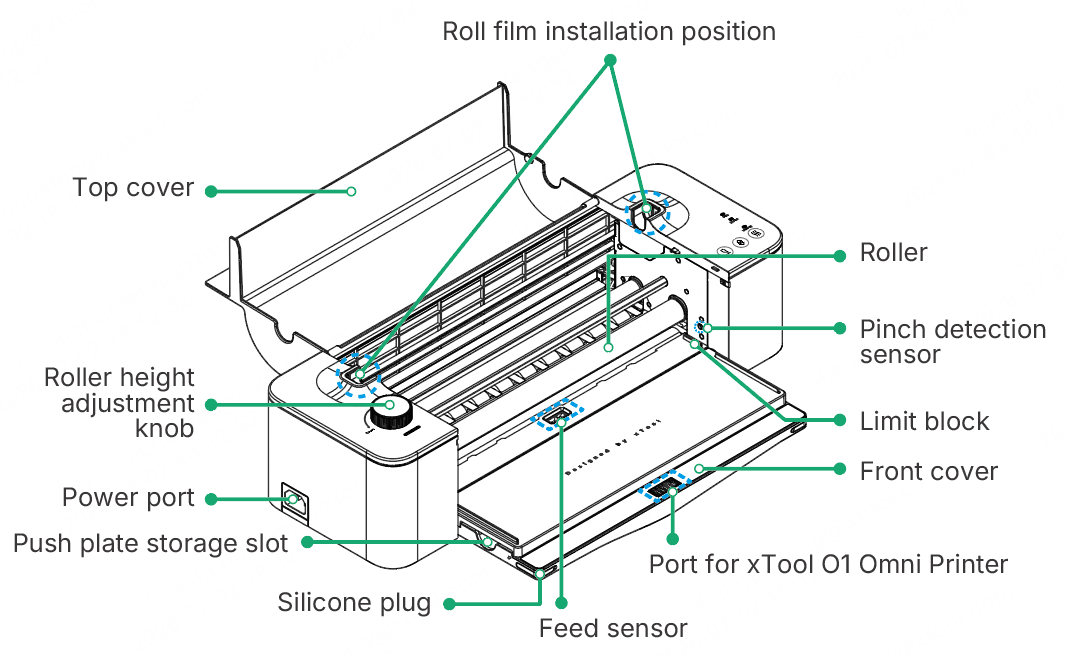
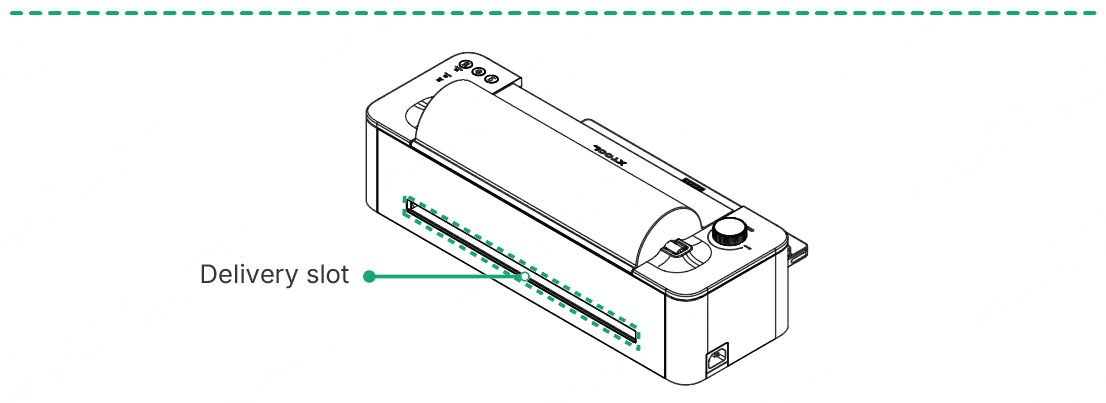
Product structure
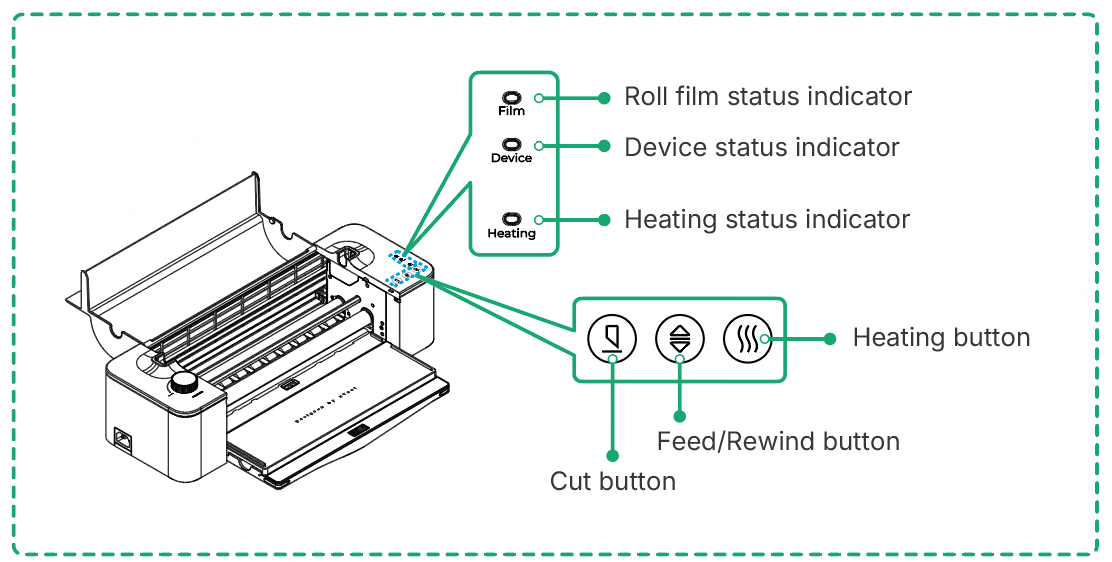
Button description
Button | Operation |
|---|---|
Cut button | Press once to start button |
Feed/Rewind button | Press once to start/stop feeding |
Long press to rewind | |
Heating button | Press once to start/stop heating |
When the device is idle, long press to enter standby mode. | |
Cut button, Feed/Rewind button, Heating button | Concurrently press the three buttons to enable/disable the automatic feeding function. |
Indicator description
Indicator | Indicator status | Device status |
|---|---|---|
Heating status indicator | Off | At room temperature |
Blinking orange slowly | Heating... | |
Solid orange | Heating complete | |
Roll film status indicator | Off | Roll film sufficient |
Solid orange | Roll film insufficient | |
Device status indicator | Blinking white slowly | In standby mode |
Solid white | Not connected to xTool O1 Omni Printer | |
Solid green | Connected to xTool O1 Omni Printer | |
Blinking red rapidly | Exceptions occur |
Install the device
1. Connect to the power supply
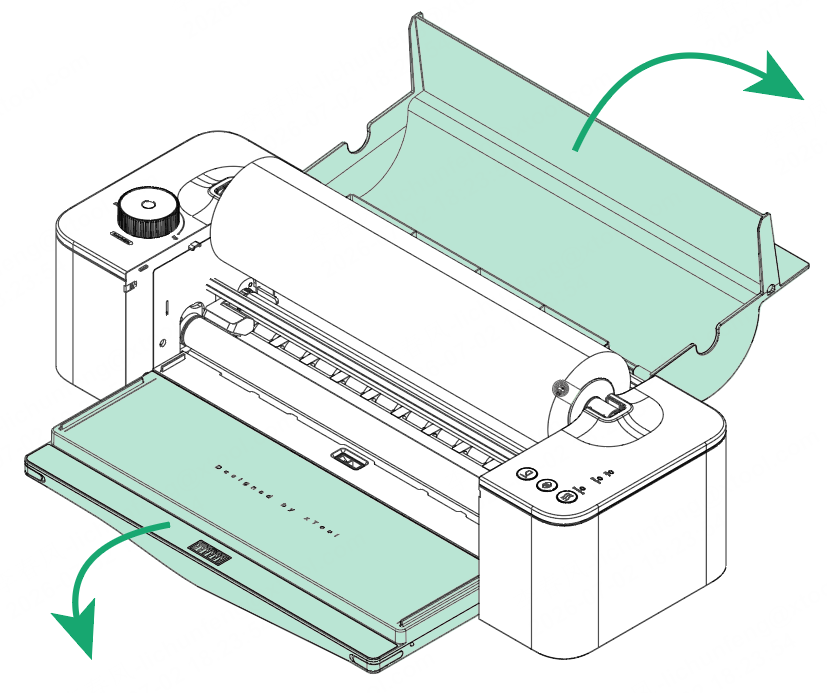
2. Open the front and top covers
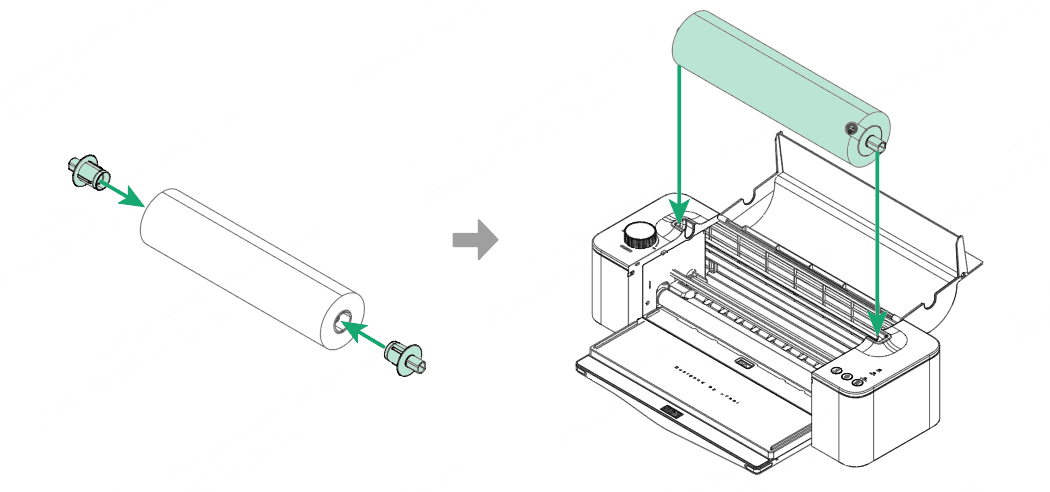
3. Prepare the roll film
🔔 This product supports B film, hot stamping foil, and waste stripping film. (Hot stamping foil and waste stripping film are sold separately.) The preparation and replacement steps are the same for all the three types of film and this manual uses B film as an example.
(1) Peel off the sticker from the roll film, pull the film out until it aligns with the top edge of the front cover, and close the top cover.
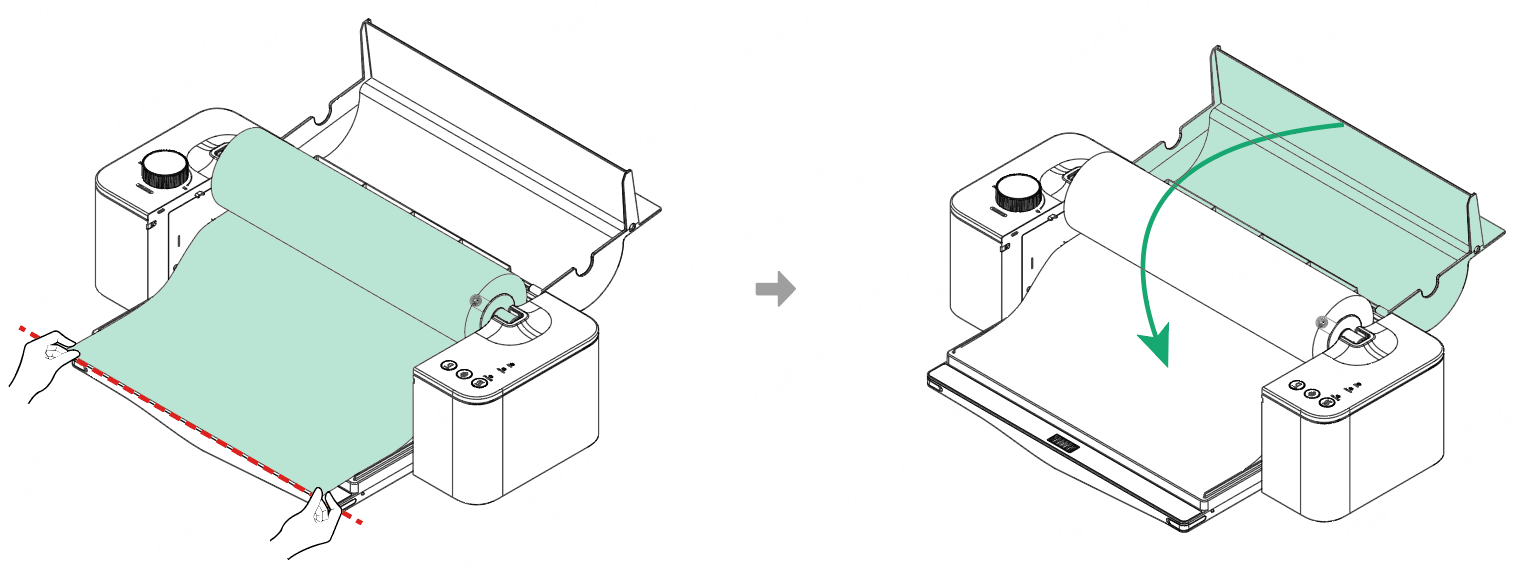
(2) Take out the push plate, place it on the film, and push it towards the roller. When the feed sensor detects the film, the laminator automatically starts feeding.
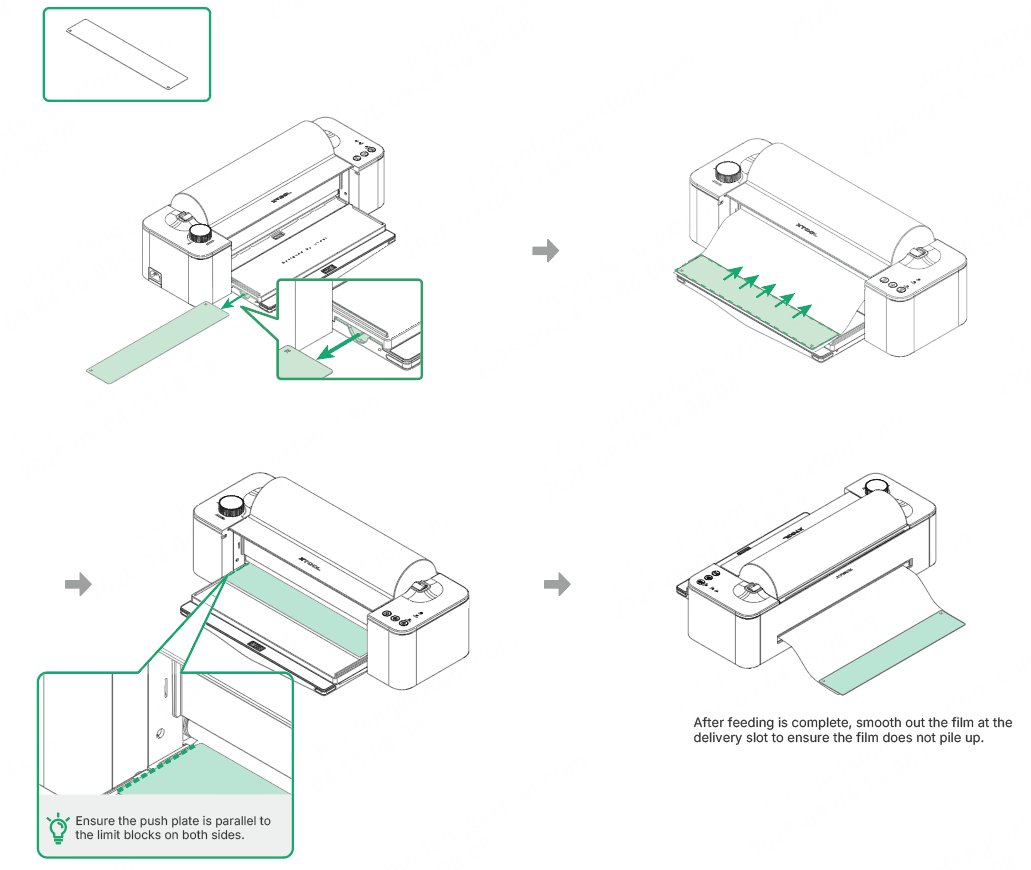
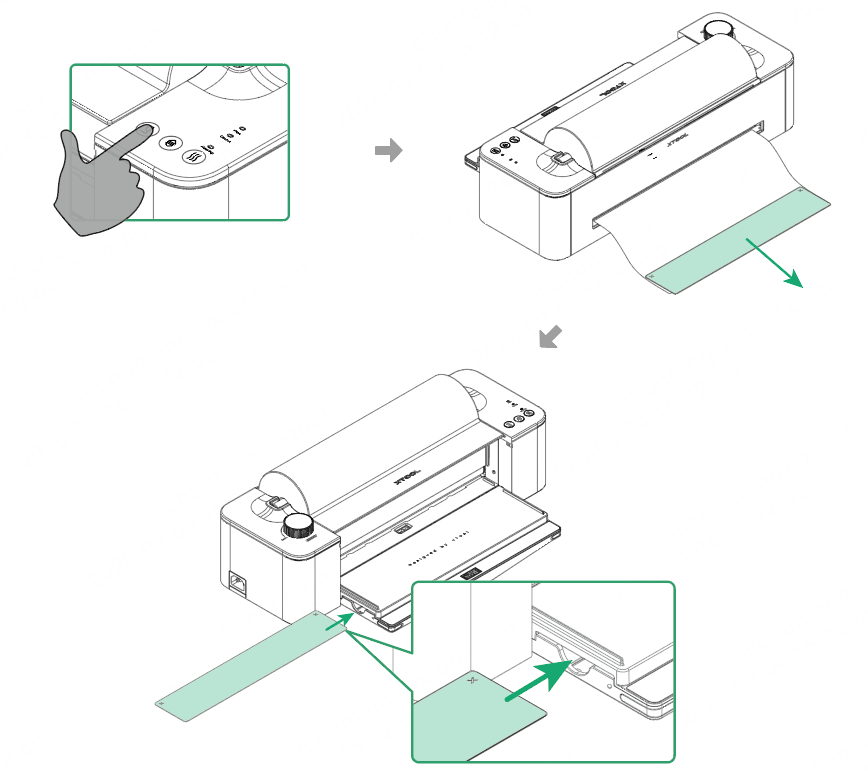
(3) After feeding, press the cut button to cut the film. Then, remove the push plate and store it in its storage slot.
🔔 Replace the film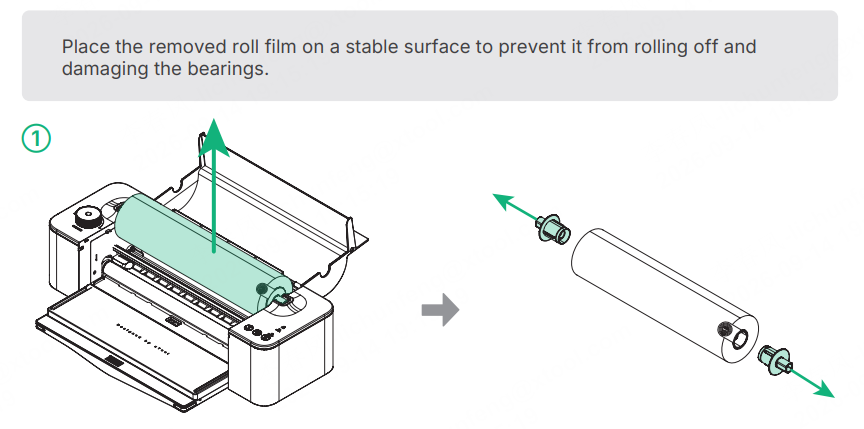
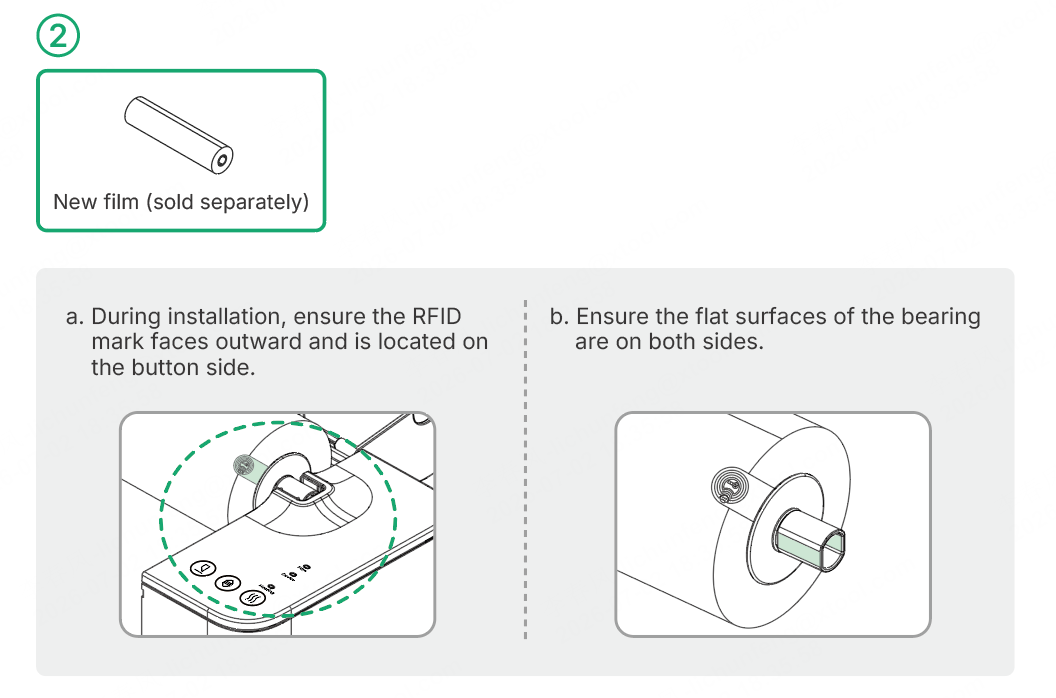
Use the device
1. Print patterns
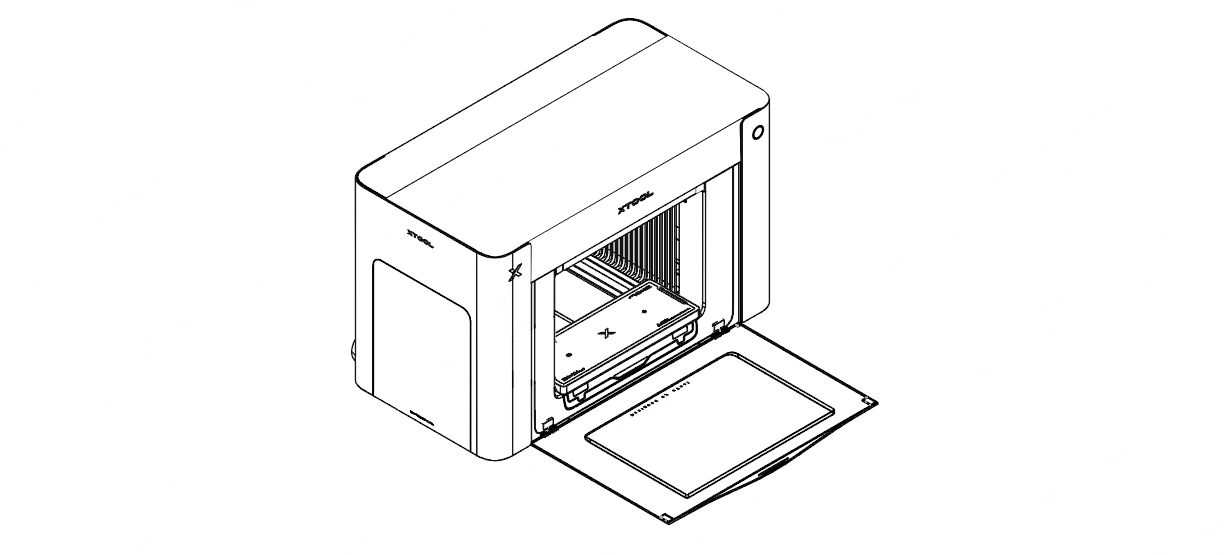
(1) Prepare xTool O1 Omni Printer referring to the instructions in its Quick Start Guide, ensuring it is ready for printing.
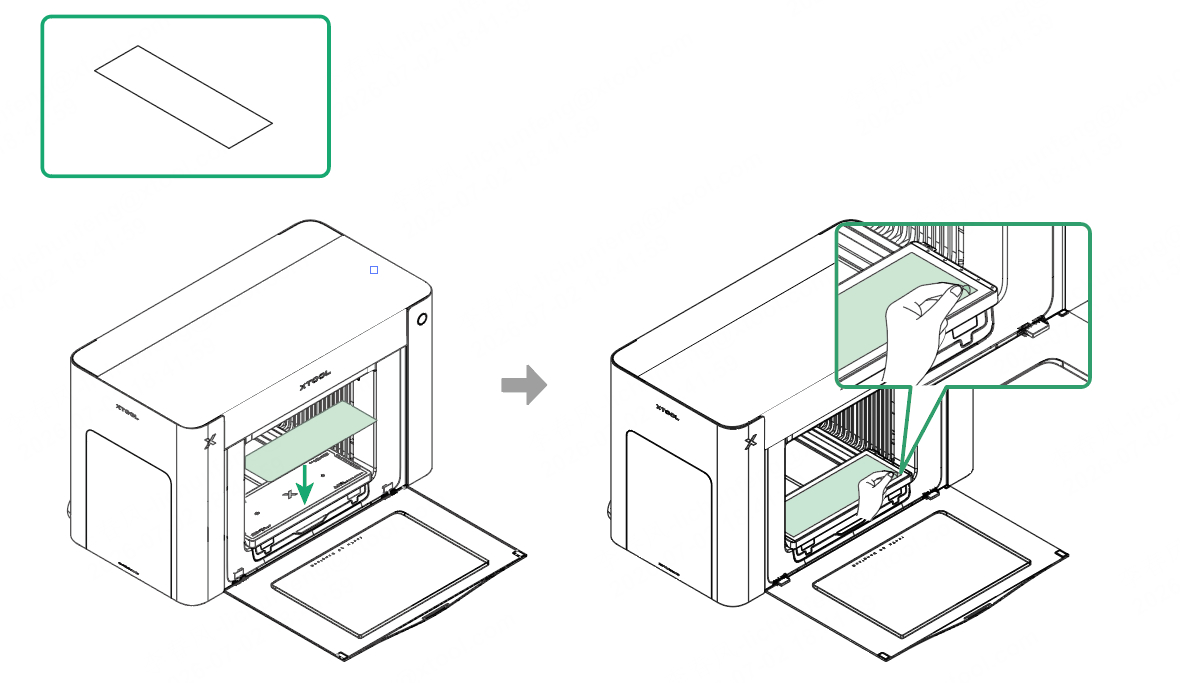
(2) Stick A film to the mini adhesive mat and peel off the release paper.
🔔 Ensure that the release paper side (the thinner, non-adhesive side) faces upward.
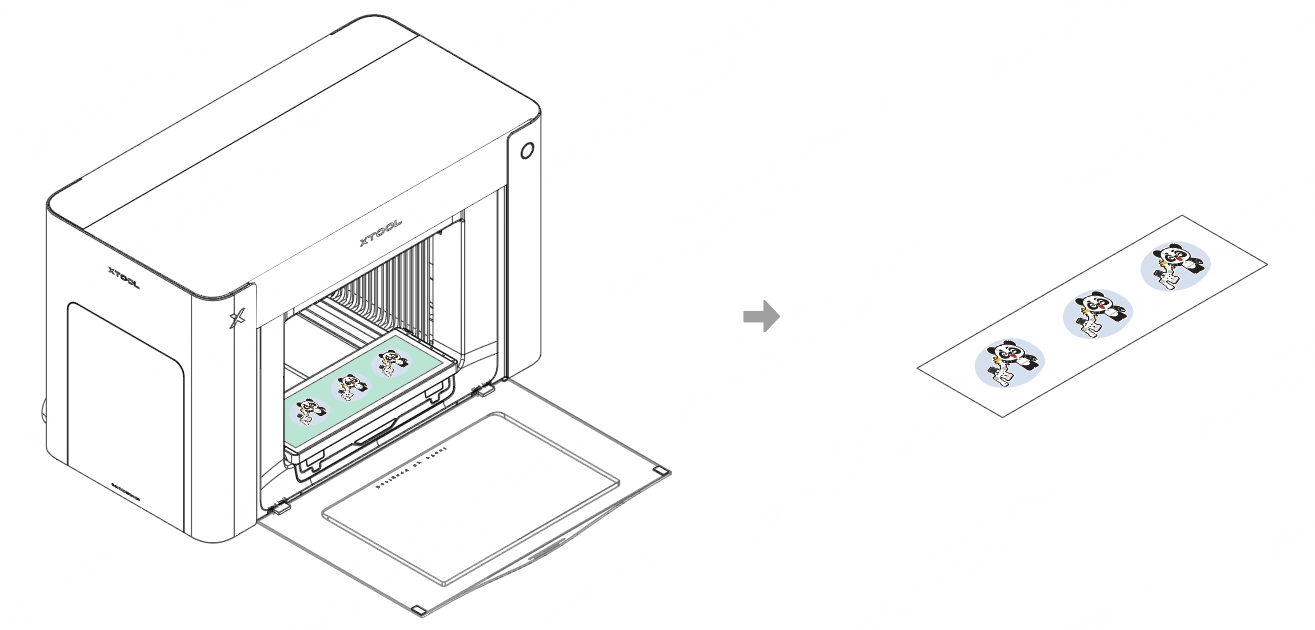
(3) Print patterns referring to the printing procedures for xTool O1 Omni Printer, then take out the A film.
2. Adjust the roller height
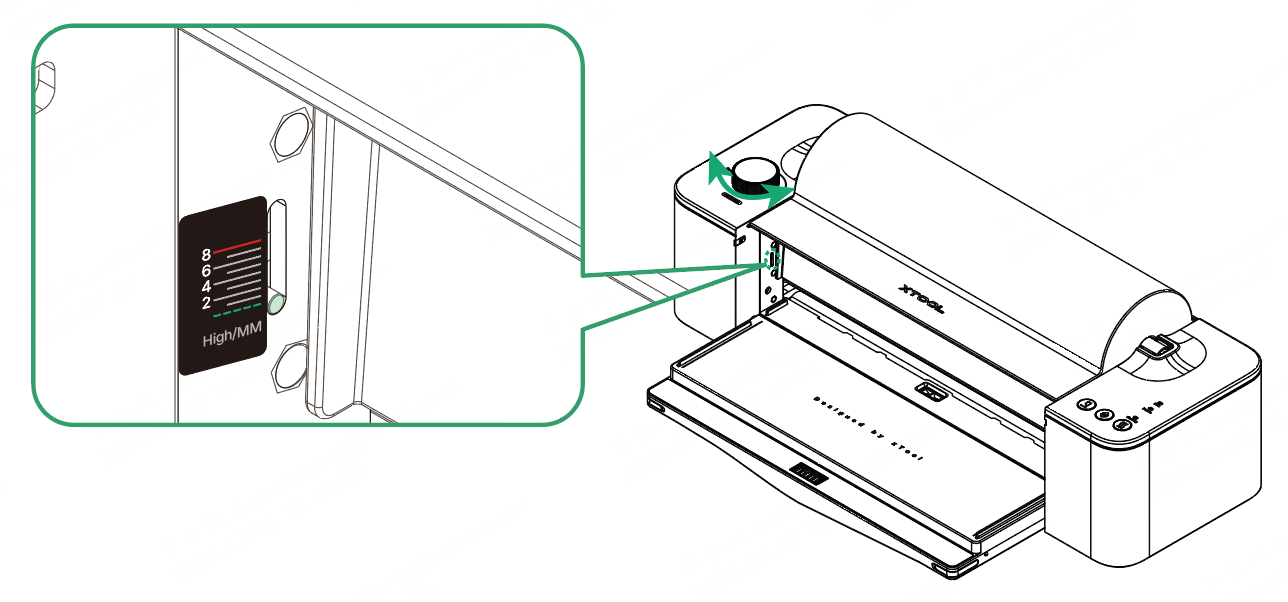
Based on the type of material to be laminated, turn the roller height adjustment knob to set the scale mark to the desired position. (Turn clockwise to raise the roller and counterclockwise to lower it.)
Material type | Scale mark |
|---|---|
Film | 0 |
Thick materials such as wooden boards | 0–1 mm lower than the material thickness. For example, for a 6 mm thick material, the scale mark should be between 5 and 6. |
3. Preheat the laminator
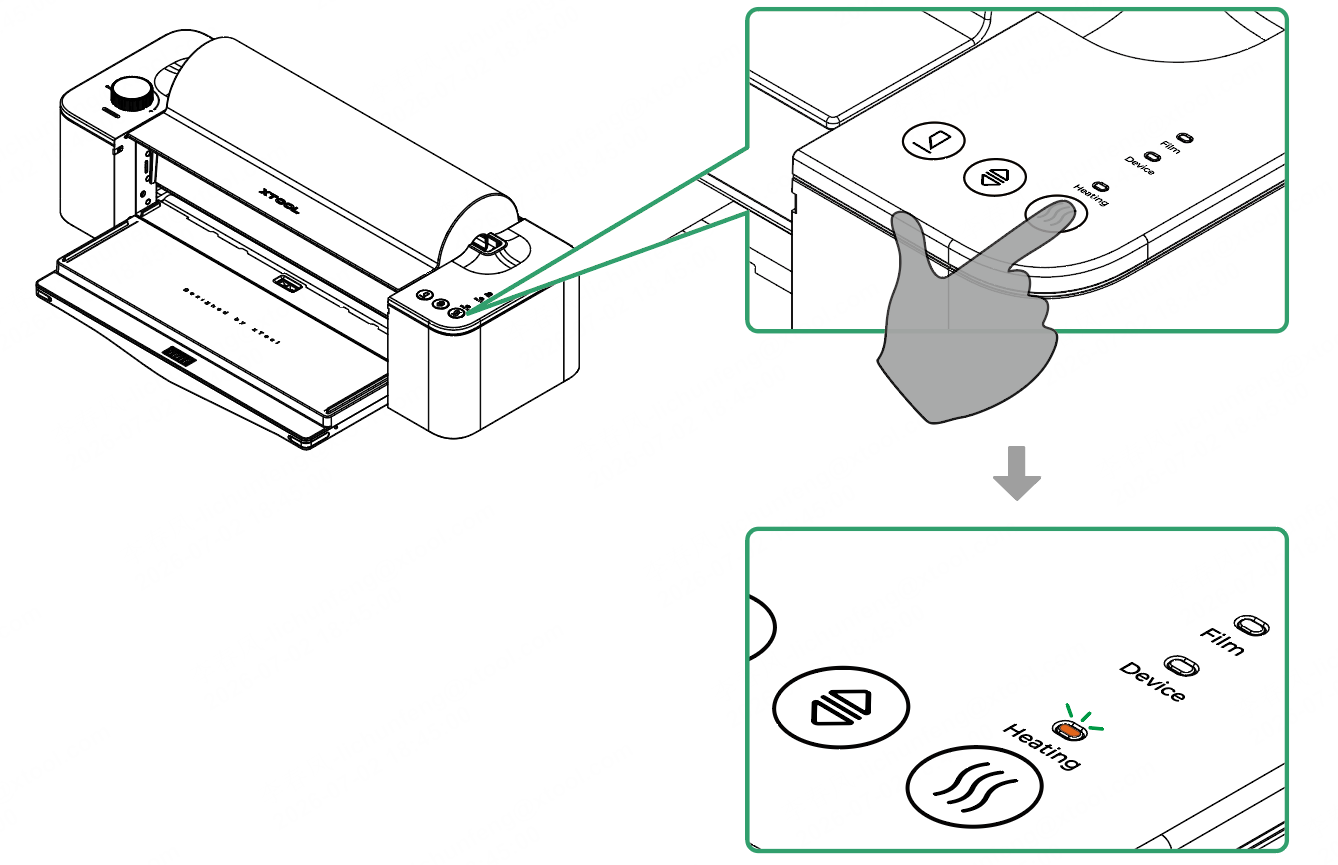
Press the heating button once to start the heating process. Once the heating is complete, you can hear a "beep" and the heating status indicator turns solid orange.
4. Laminate and cut
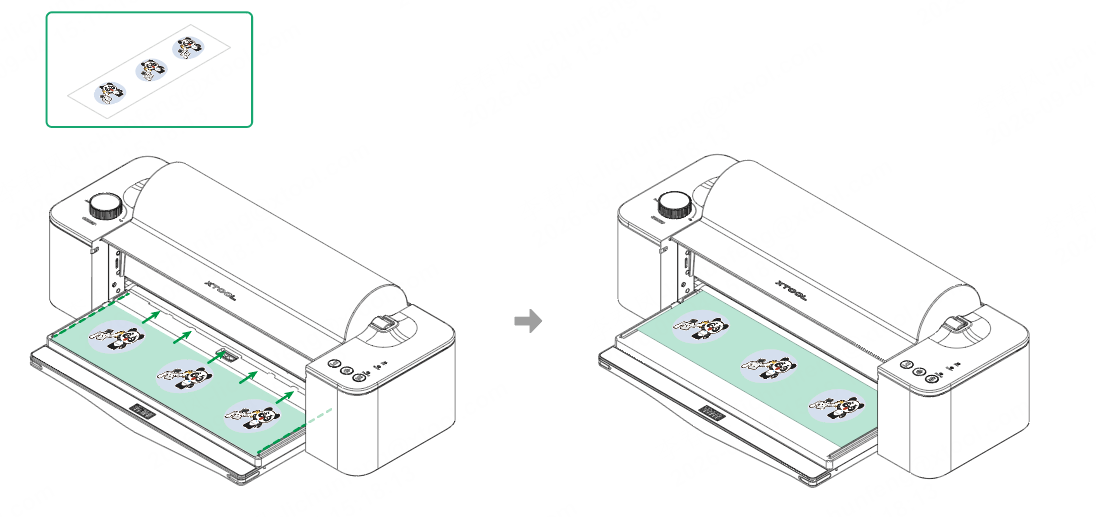
(1) Place the printed material into the laminator and push it toward the roller; once the sensor detects the material, the laminator will automatically feed it and begin laminating.
🔔 Ensure that the material is parallel to the limit blocks on both sides.
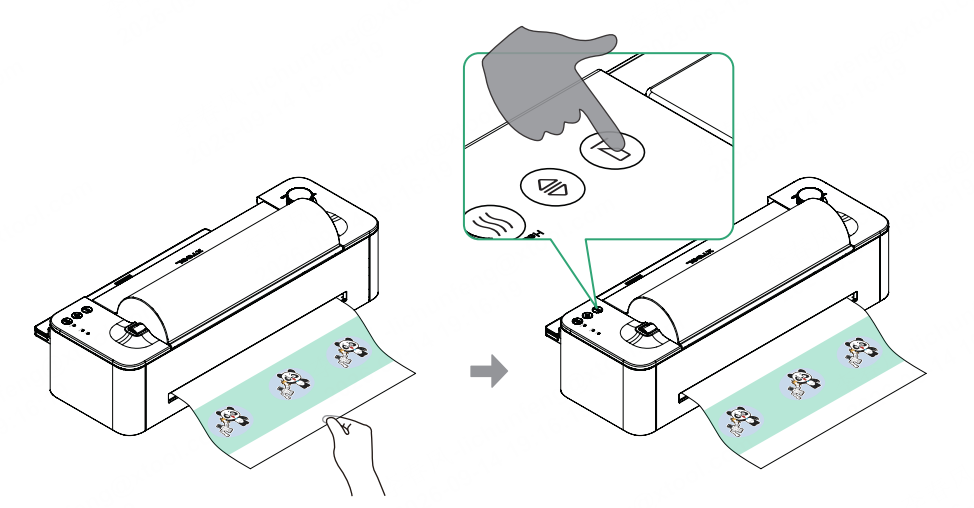
(2) After lamination is complete, pull the material out through the delivery slot, press the cut button to cut the film, then remove the material.
5. Paste the pattern
(1) Cut out the pattern.
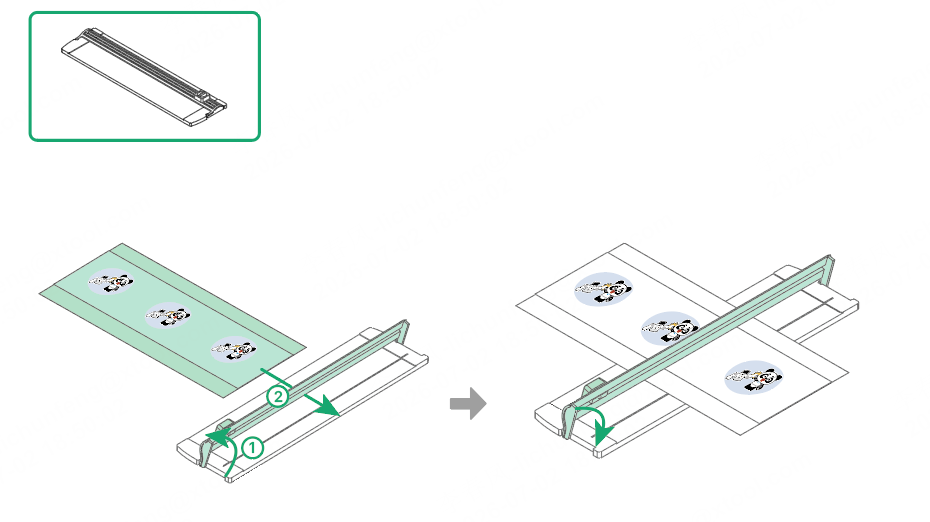
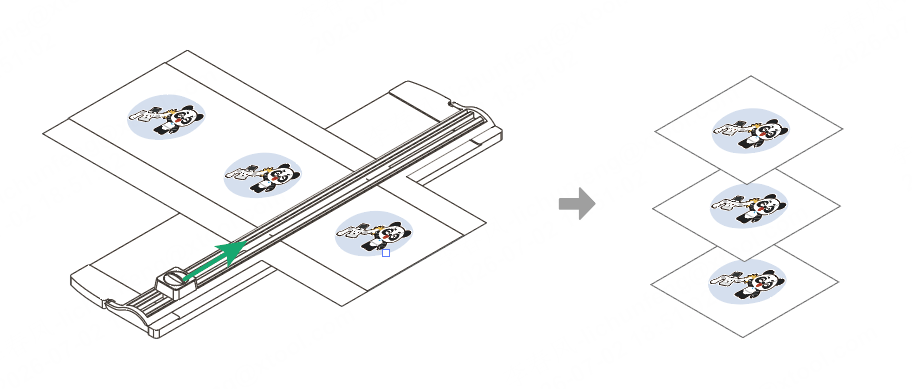
(2) Peel off A film and apply the pattern to the target item, then use the scraper to smooth it back and forth until the pattern adheres completely to the surface.
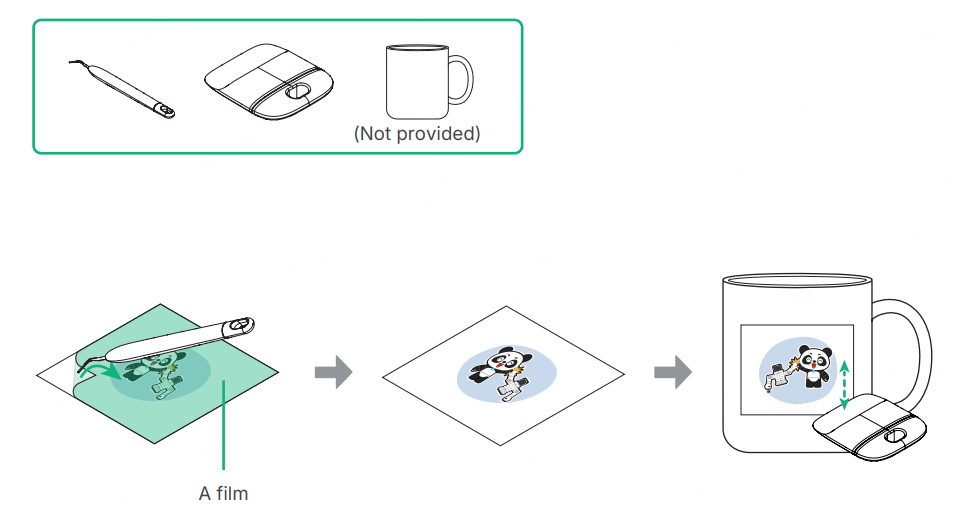
(3) Peel off the film.