This passage describes how to process thick material, for example, a jewel case with a thickness greater than 25 mm, in Slats removed mode with xTool P2/P2S.
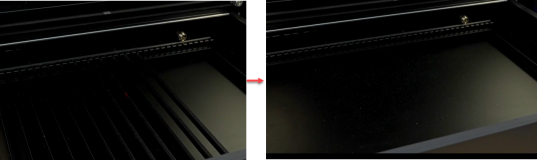
1. Remove the removable slats
(1) Take out the removable slats from xTool P2/P2S.
2. Place the material
Place the material to be processed on the baseplate of xTool P2/P2S.
3. Connect xTool P2/P2S to xTool Studio
Refer to Connect and Set Up xTool P2/P2S with xTool Studio for instructions on connecting xTool P2/P2S to xTool Studio.
4. Select the processing mode and material
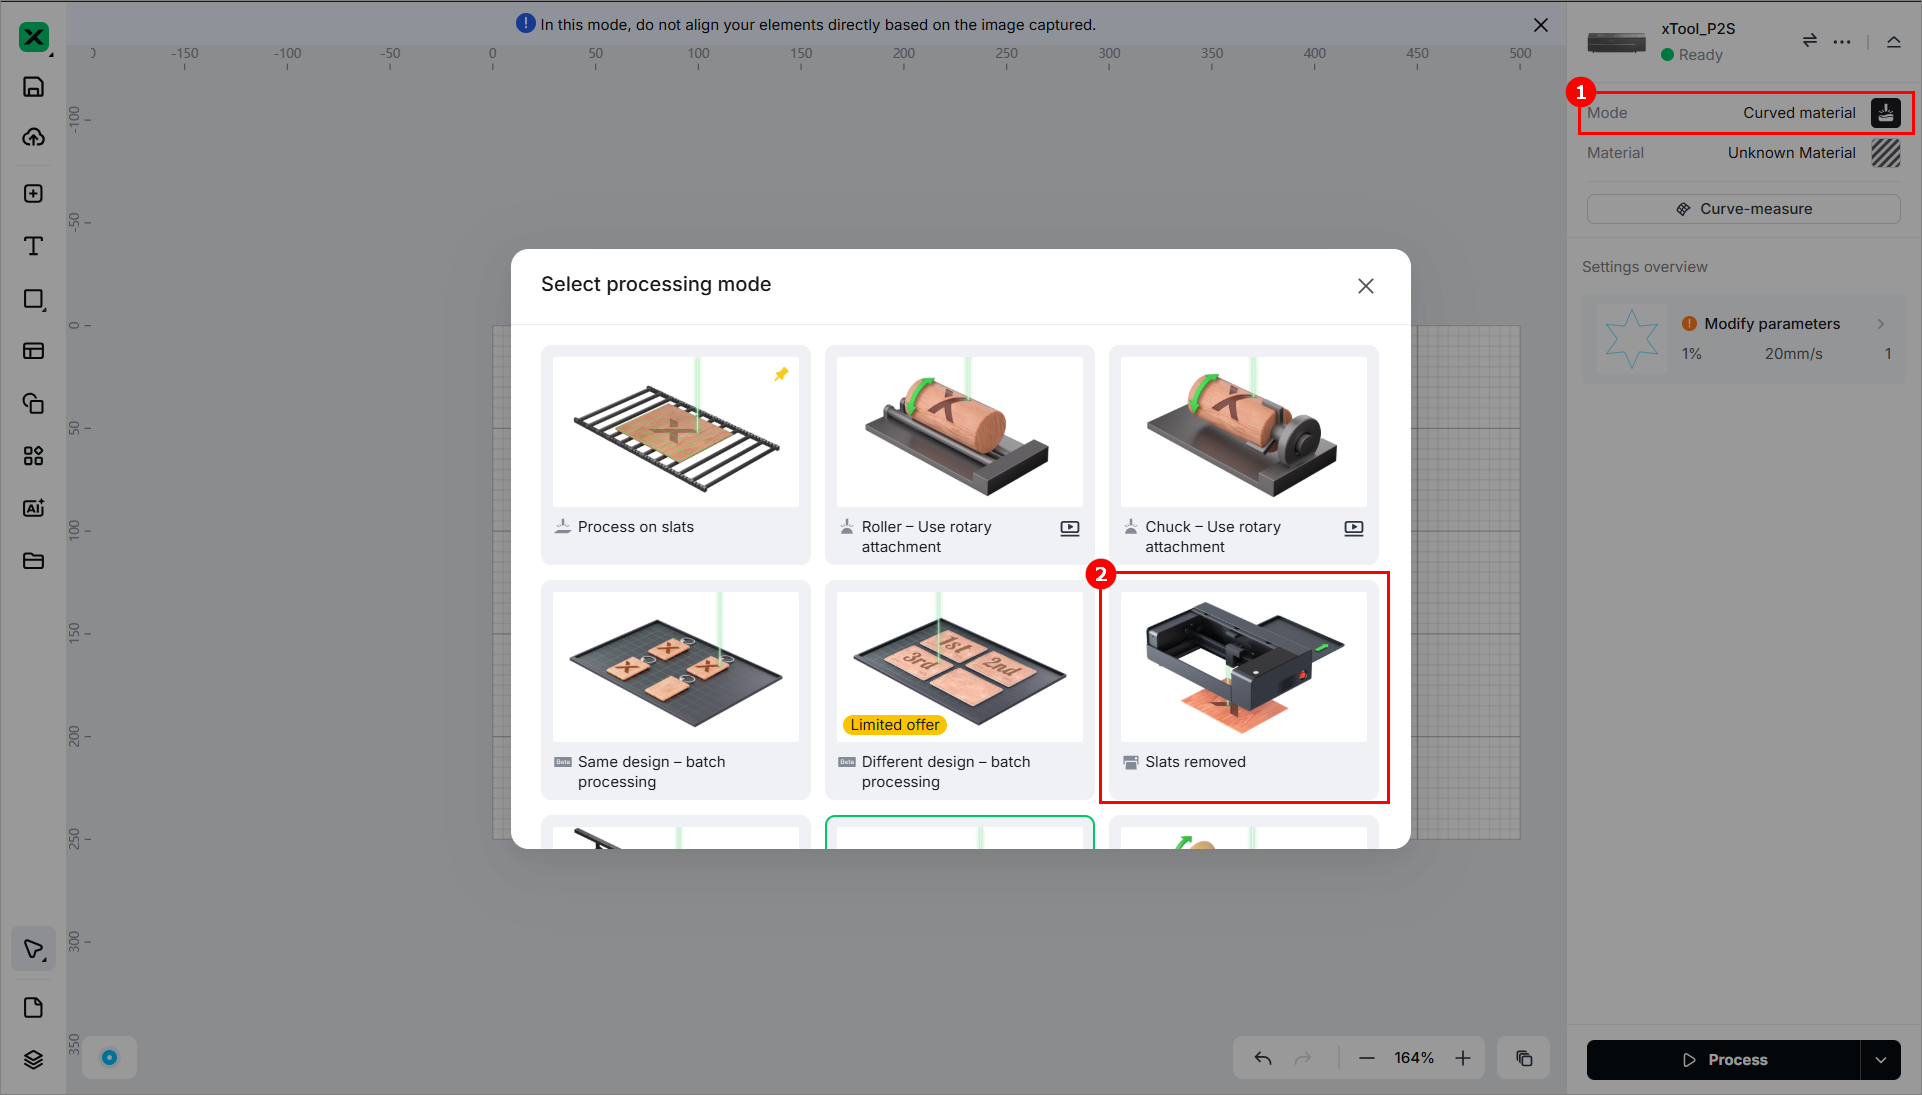
(1) In the right panel, click the current processing mode, then select Slats removed.
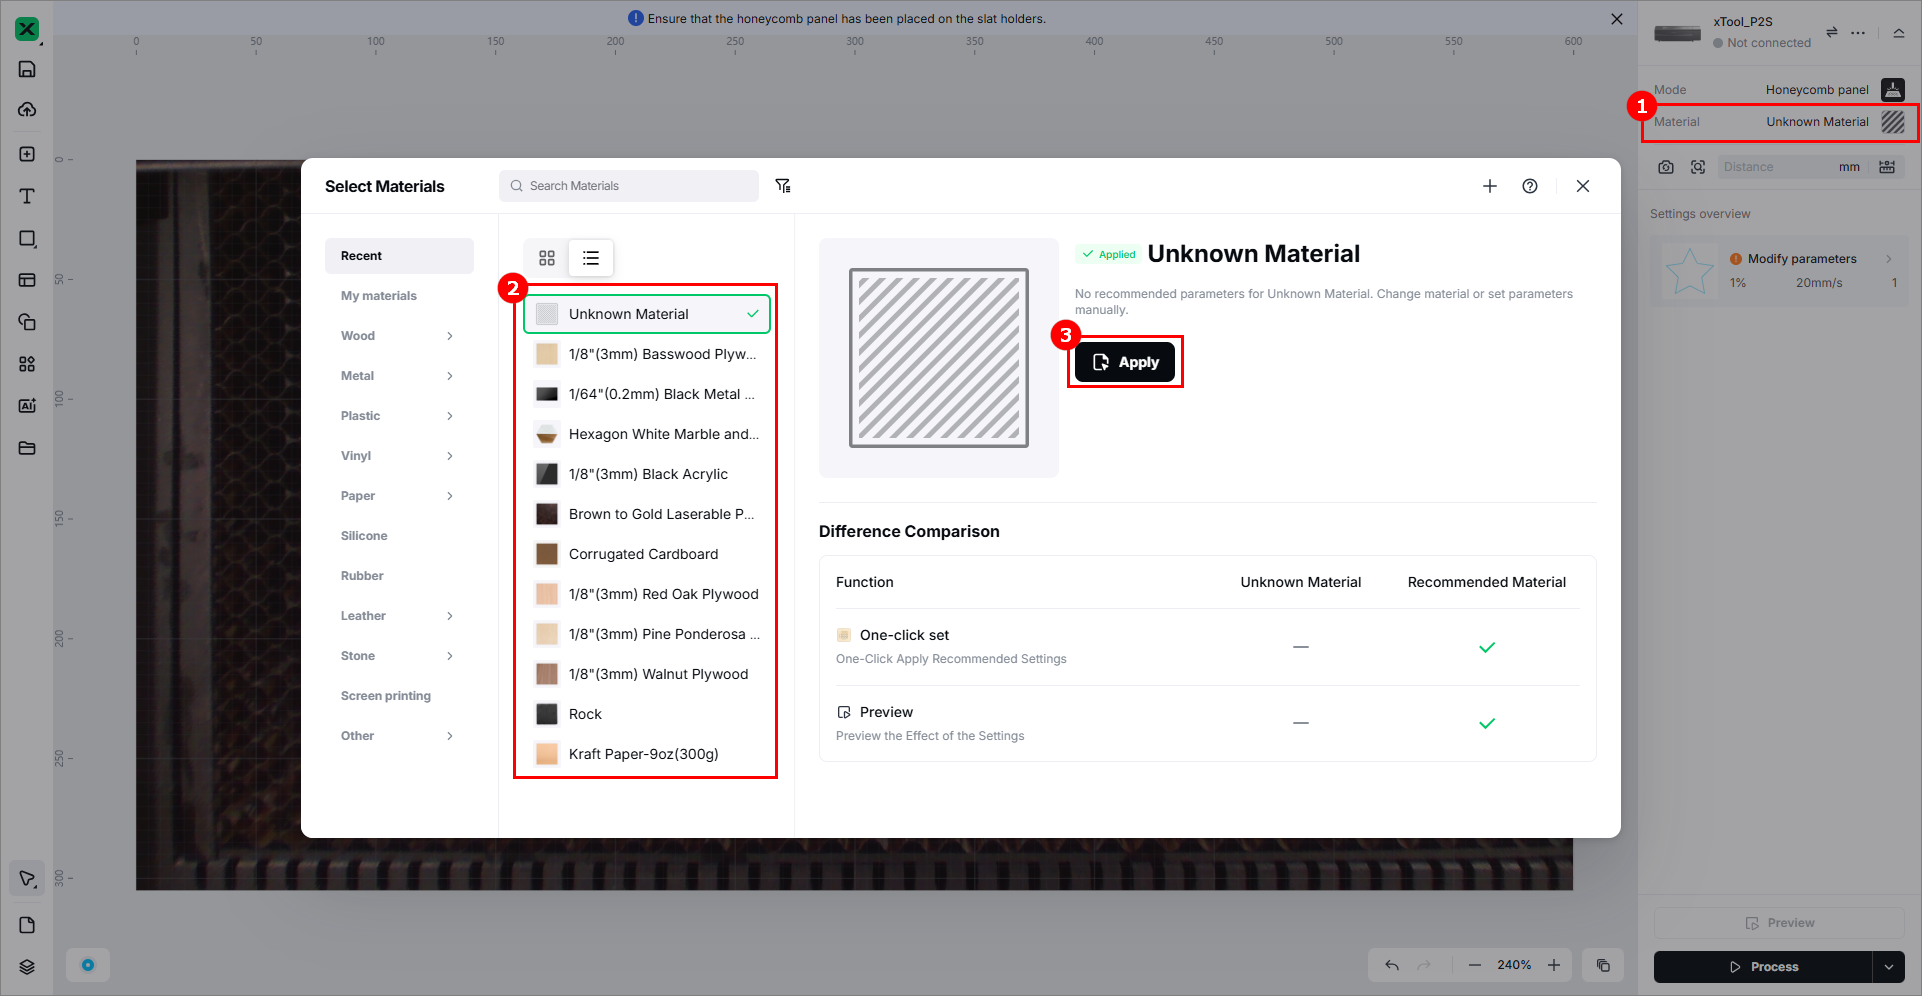
(2) Click Unknown Material, select a desired material, and click Apply.
(3) Click  > Device settings. In the dialog box that is displayed, click Device settings and disable Baseplate detection. This step is required only for Class 4 xTool P2/P2S.
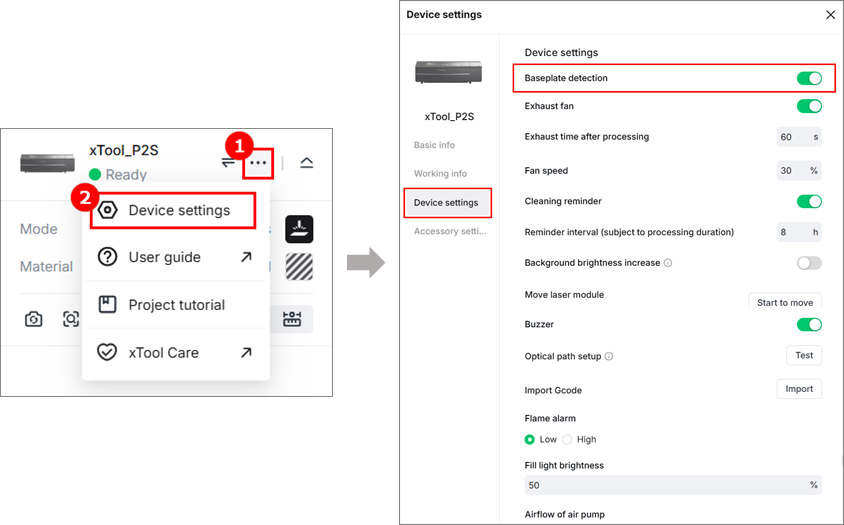
Note: By default, baseplate detection is enabled for xTool P2/P2S. For Class 4 laser machines, if you don't disable this function, xTool Studio keeps prompting you to remove the baseplate in Slats removed mode. For Class 1 laser machines, you don't need to disable it.
You can identify whether your machine is a Class 1 or Class 4 one based on the sticker on the back of the machine.
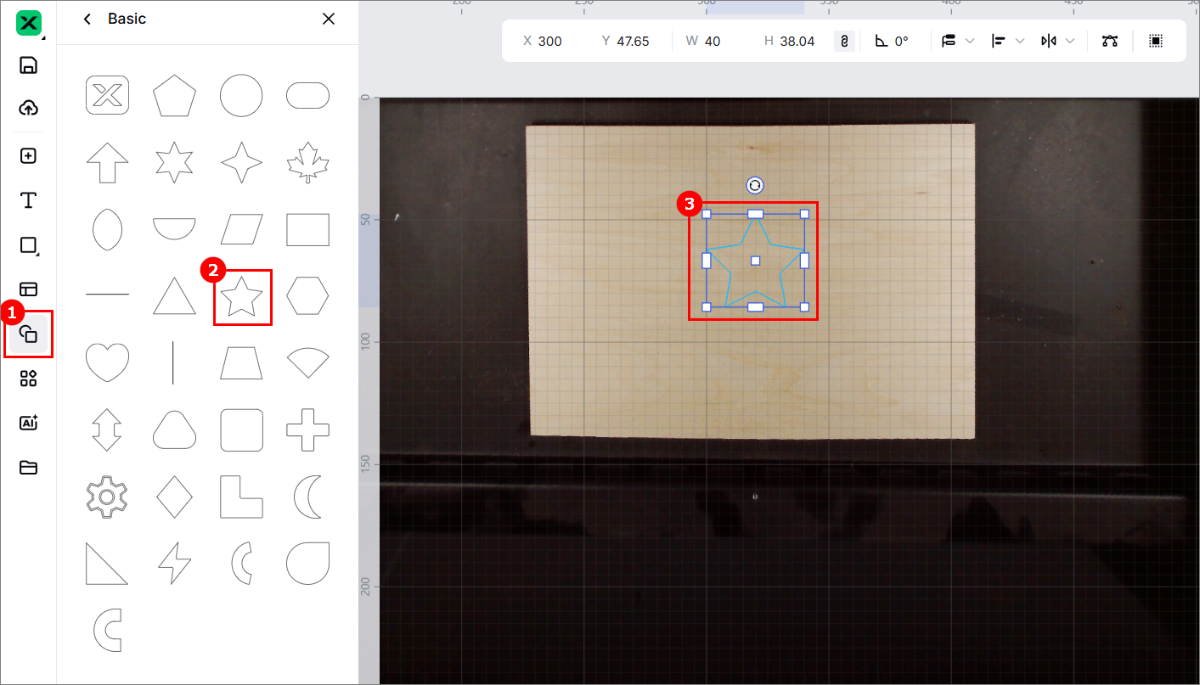
5. Design objects for processing
(1) Use the tools on the left side of the canvas to create objects. You can import images, insert shapes, enter text, or draw vector graphics.
Note: xTool Studio supports importing the following image formats: SVG, DXF, JPG, JPEG, PNG, BMP, etc.
(2) You can further edit the objects by using the other features in the upper panel.
(3) Set processing parameters for the object to be processed.
6. Start processing
(1) Set the processing path. This project contains only one object. You can set the processing path to Auto planning.
(2) Click Process.
(3) Preview the object and click Start.
(4) Press the button on xTool P2 to start processing.
Services & Help
Learn & Education

Copyright © 2025 xTool All Rights Reserved.