1. Place the material
Ensure that the slats are installed, and place the material on the slats.
Note: If the material to be processed is very small or lightweight, secure it with tape or similar tools. Otherwise, the airflow from the exhaust fan may cause the material to shift during processing.
2. Connect xTool P2/P2S to xTool Studio
Refer to Connect and Set Up xTool P2/P2S with xTool Studio for instructions on connecting xTool P2/P2S to xTool Studio.
3. Select the processing mode and material
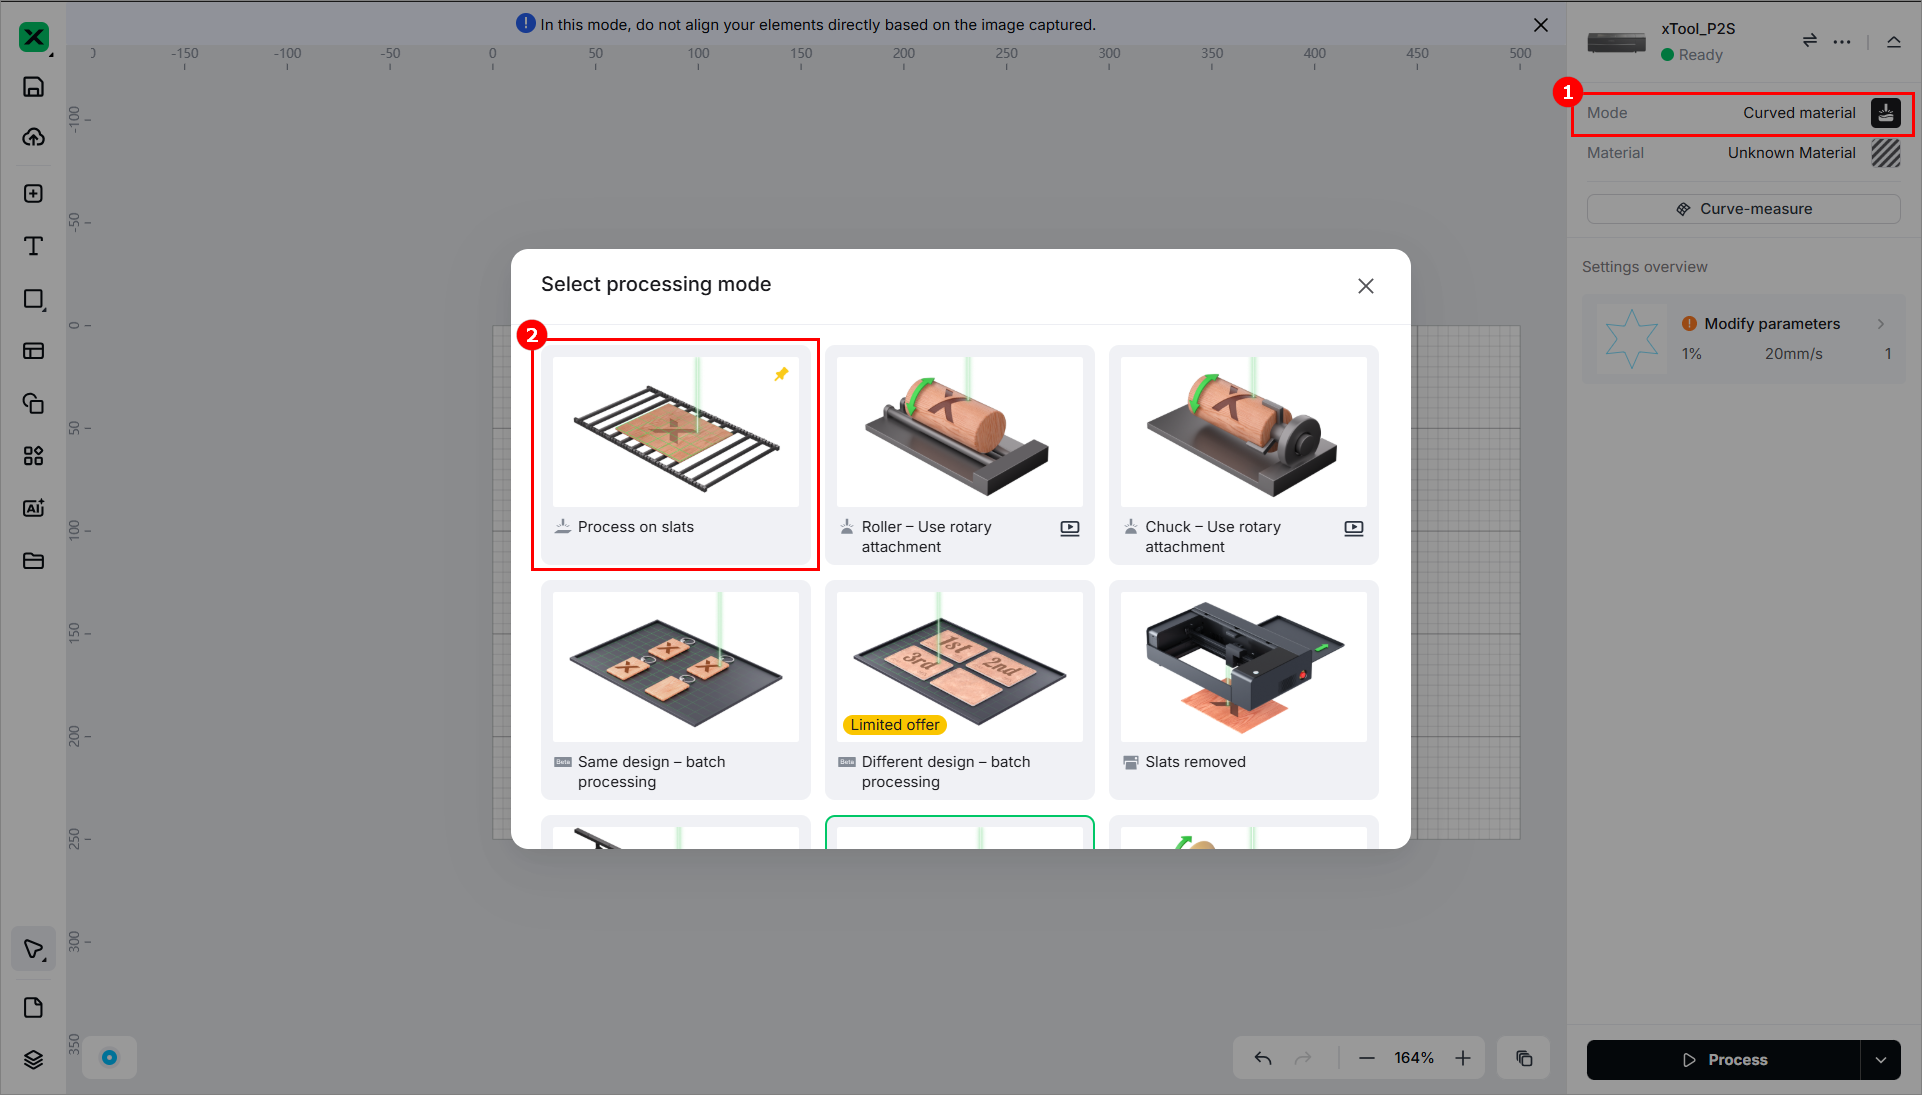
(1) In the right panel of the page, click the current processing mode, and then select Process on slats.
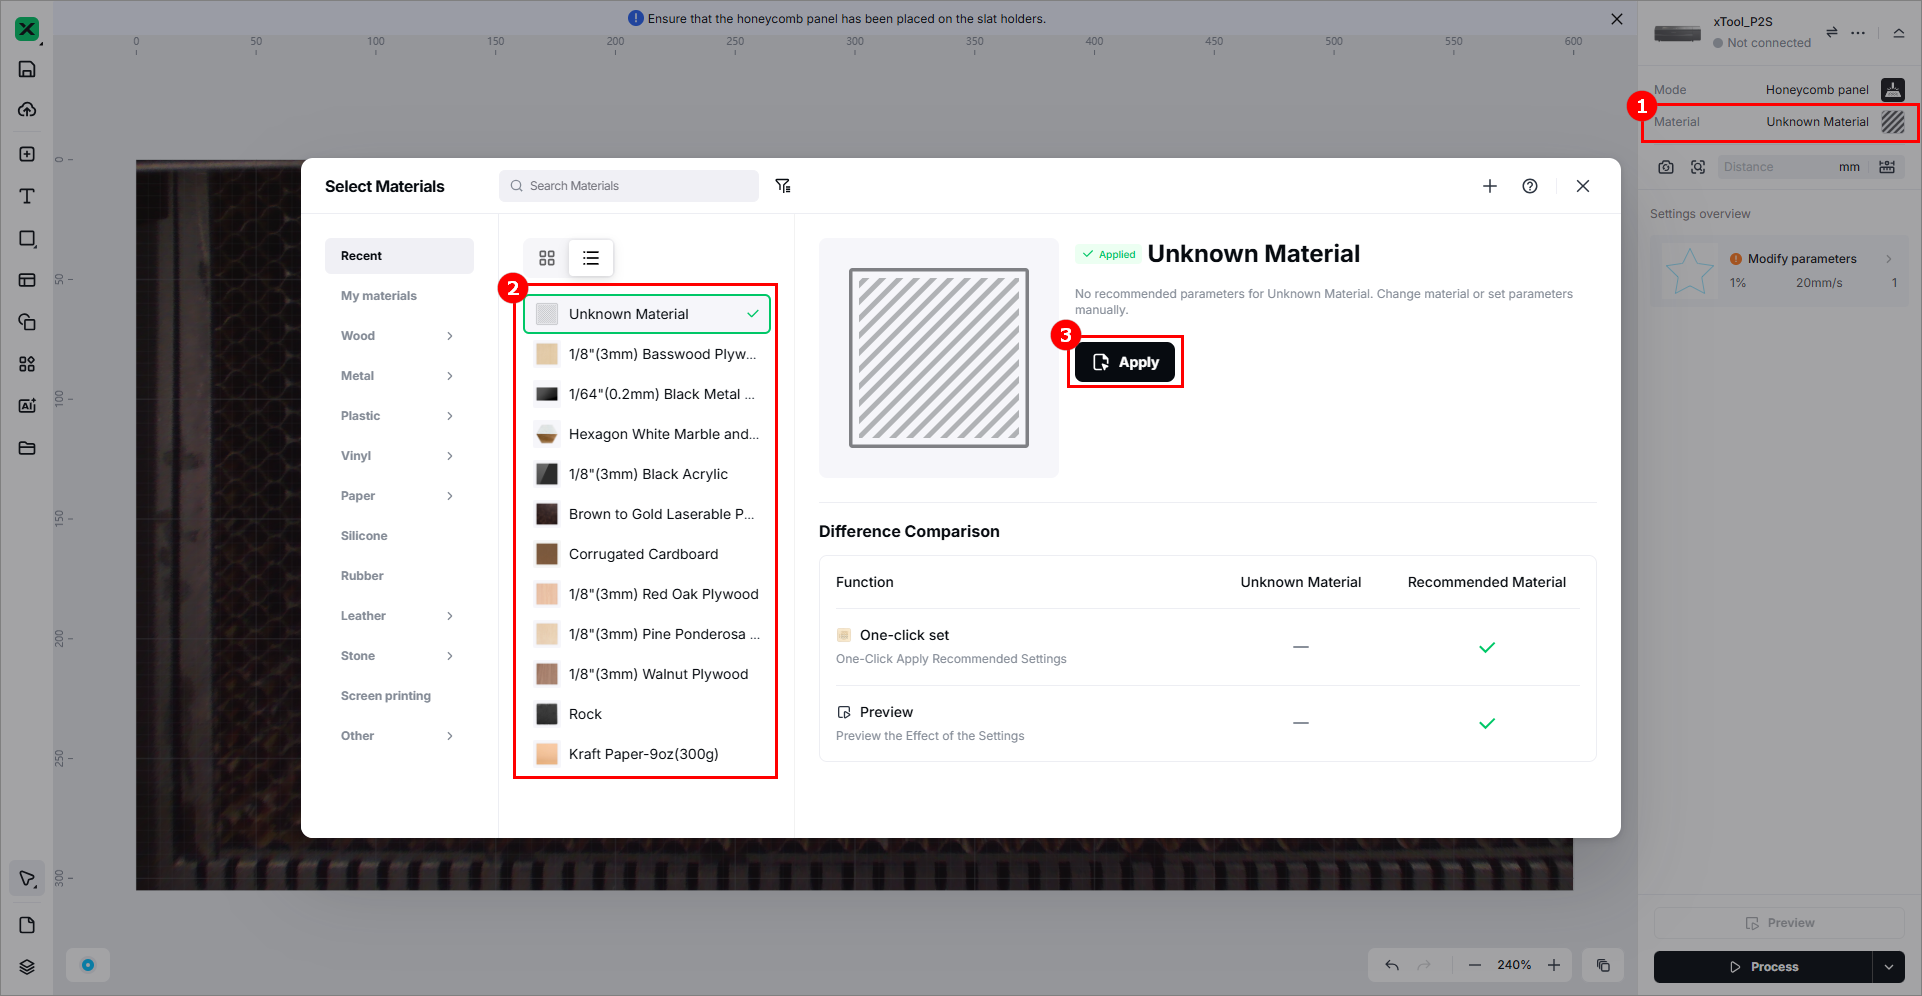
(2) Click Unknown Material, select a desired material, and click Apply.
4. Measure the material thickness and shoot the background
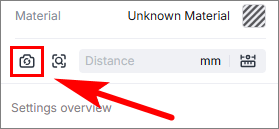
(1) Click the Aimed-measure icon or Quick-measure icon to measure the thickness of the material.

(2) In the top-right corner, click . You can choose to refresh background or take a close shot.
5. Design objects for processing
(1) Use the tools on the left side of the canvas to create objects. You can import images, insert shapes, enter text, or draw vector graphics.
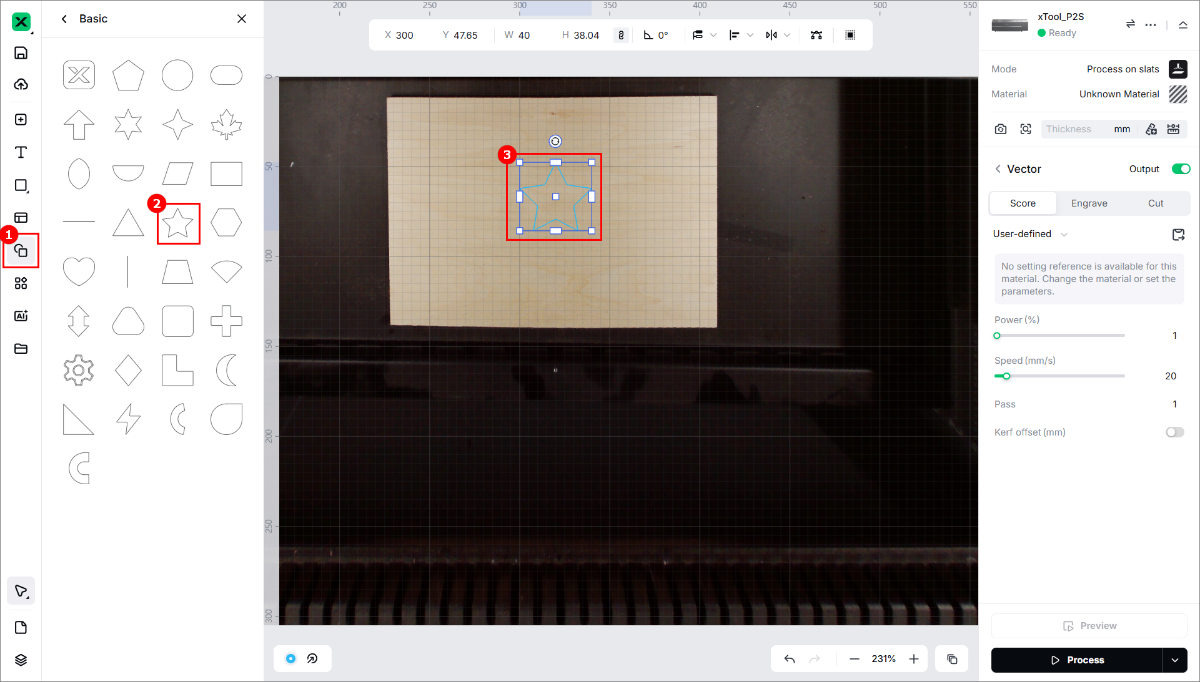
(2) Set processing parameters for the object to be processed.

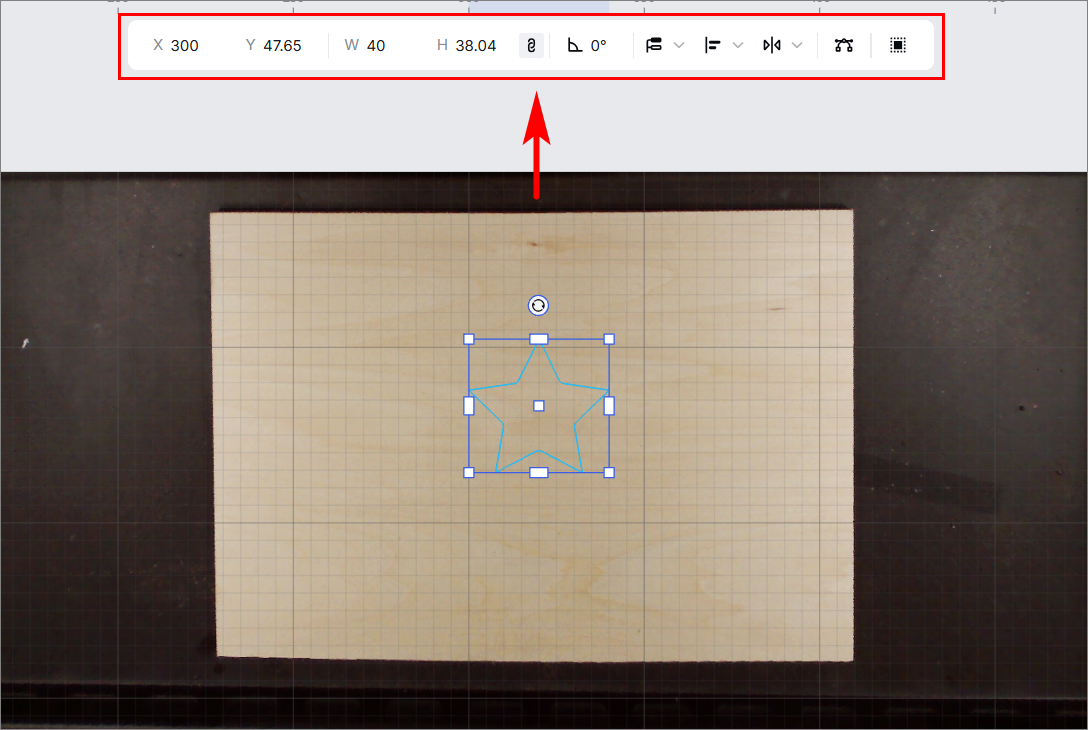
(3) You can further edit the objects by using the other features in the upper panel.
6. Start processing
(1) Set the processing path. This project contains only one object. You can set the processing path to Auto planning.
(2) Click Process.
(3) Preview the object and click Start.
(4) Press the button on xTool P2/P2S to start processing.
Services & Help
Learn & Education

Copyright © 2025 xTool All Rights Reserved.