
1. Prepare a processing file
- If you use xTool F1 Ultra for the first time, the home screen displays a pre-stored file "Cat". You can tap to open it.
- If you have used xTool F1 Ultra for processing before, the home screen displays the last processing file. You can tap to open it.
(1) Follow the instructions in Connect and Set up xTool F1 Ultra via xTool Studio to connect F1 Ultra and xTool Studio.
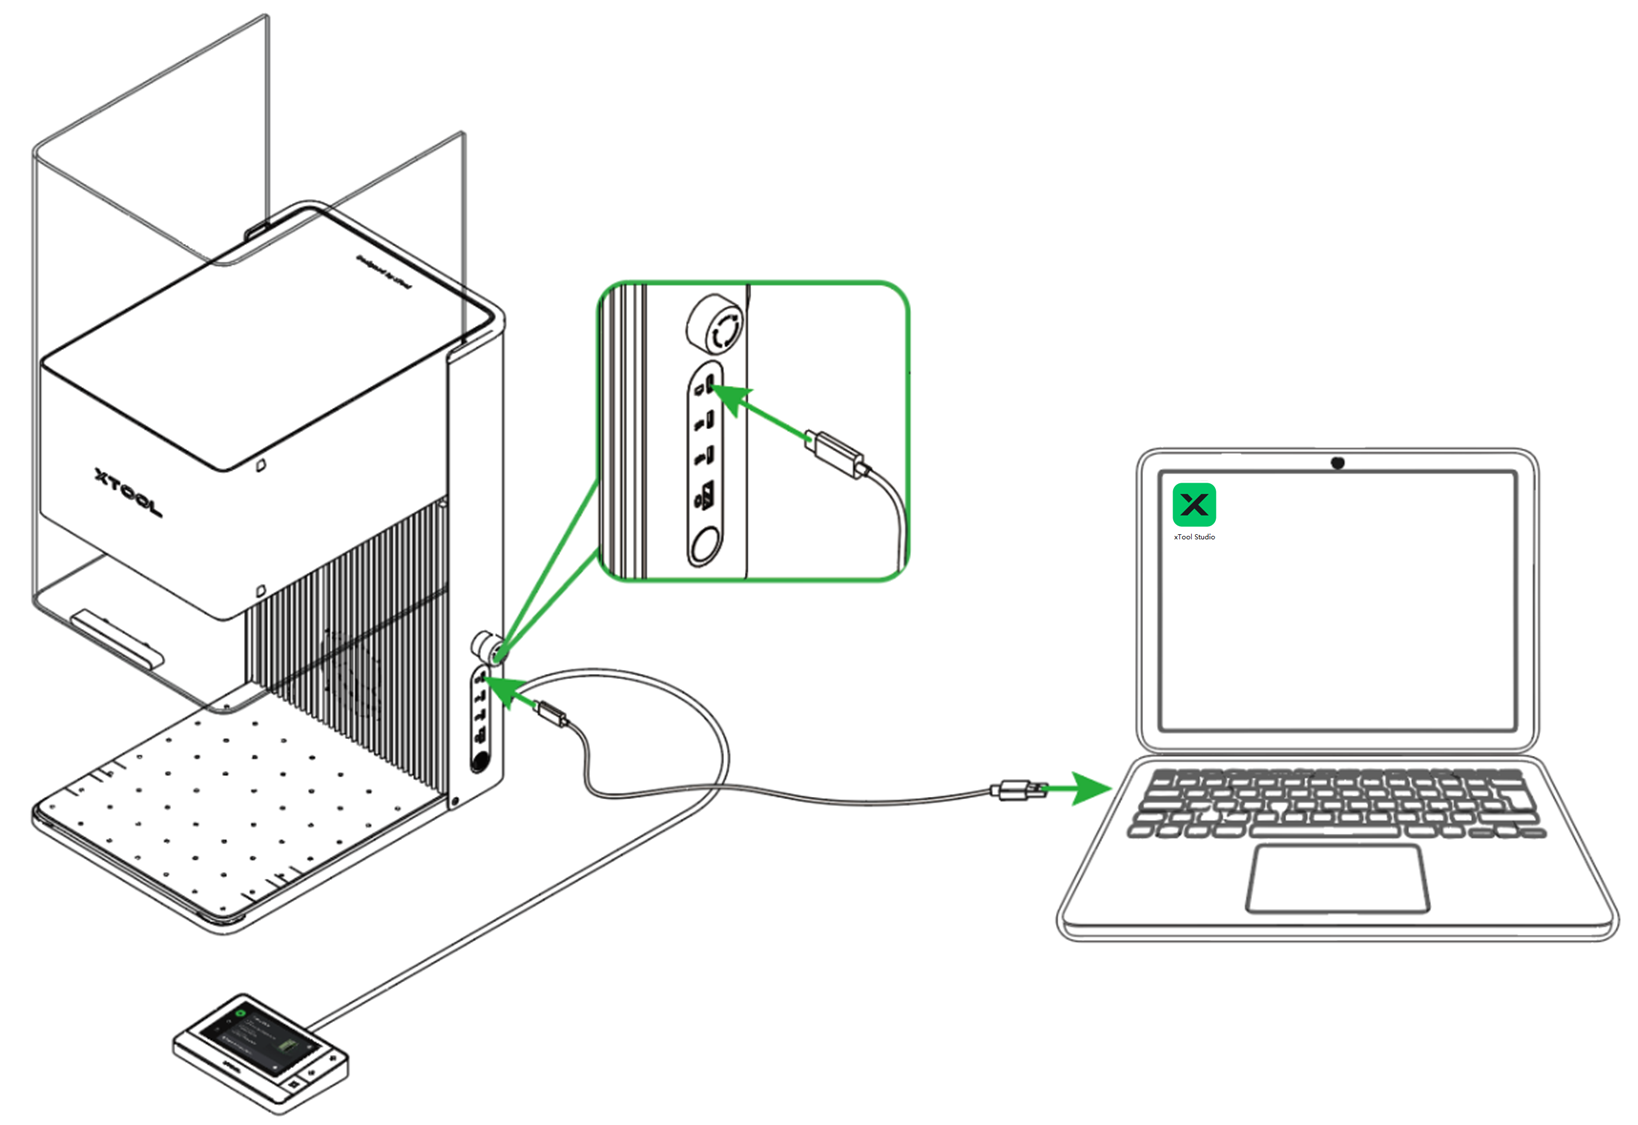
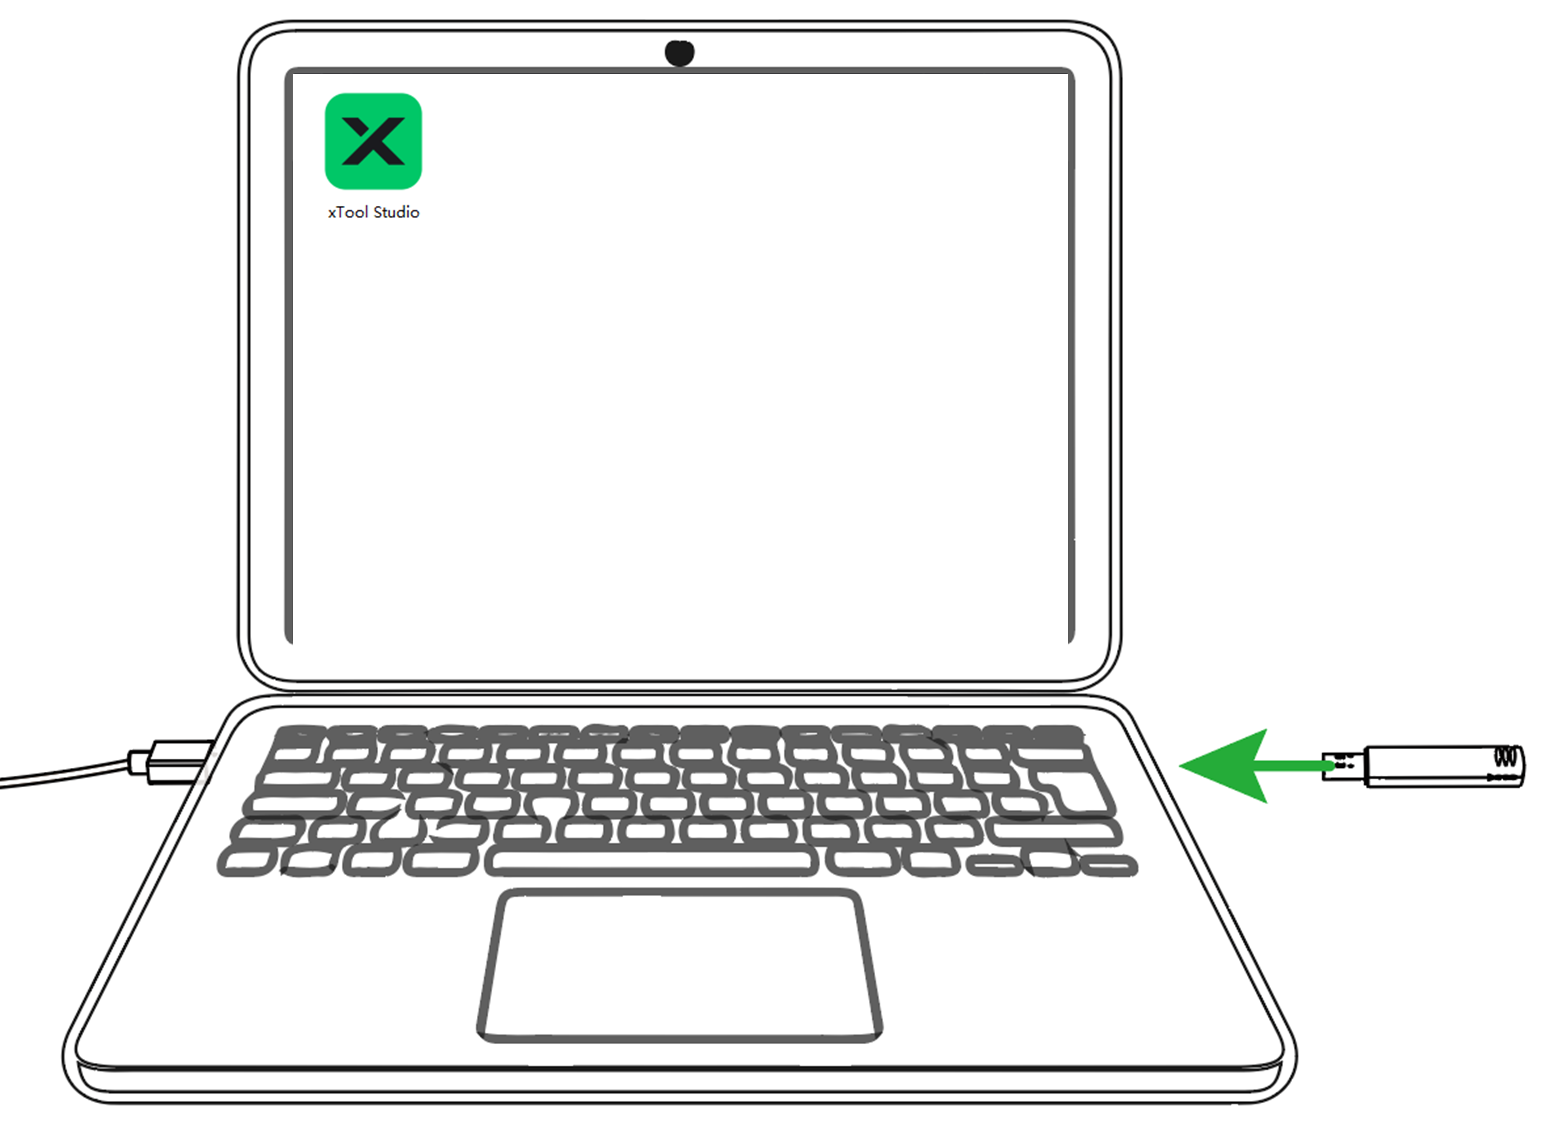
(2) Insert a USB flash drive into your computer.
(3) Open or design a project in xTool Studio.
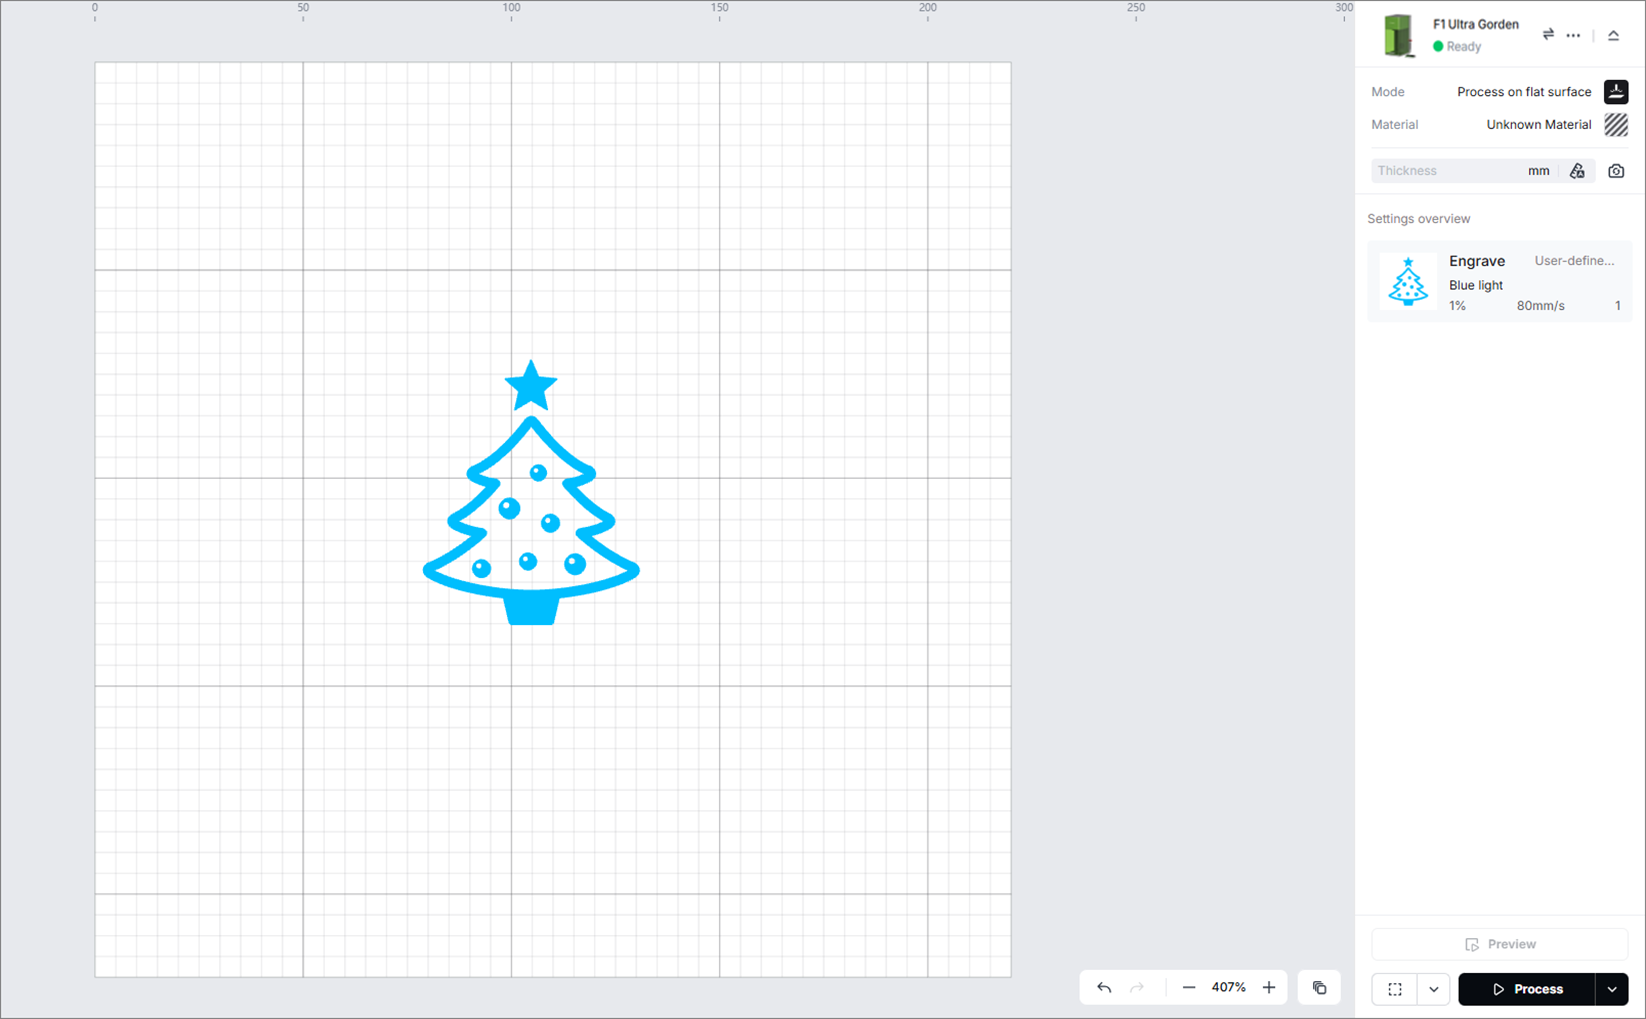
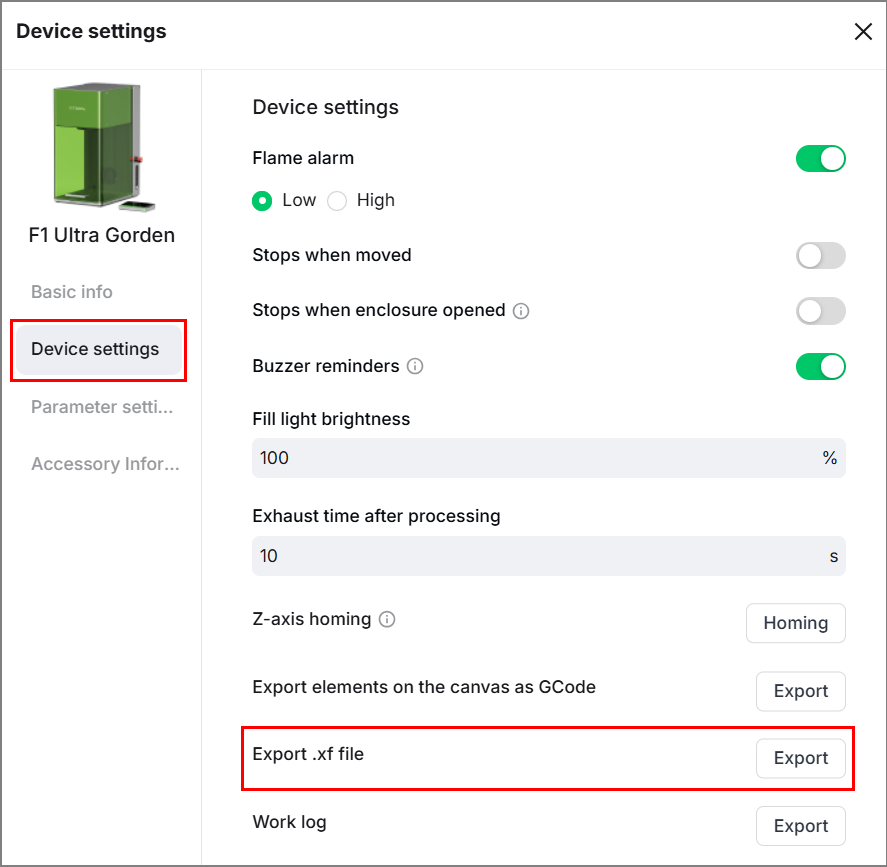
(4) In the top-right corner of the software, click the  icon > Device settings to enter the device settings page.
(5) On the pop-up window, select Device settings > click Export under Export .xf file. Name the file and export it to the USB flash drive.
(6) Insert the USB flash drive into xTool F1 Ultra.
(7) On the touchscreen, tap the USB flash drive icon, and then tap the processing file to open it.
2. Place the material and perform laser focusing
(1) Lift the protective enclosure, and place the material on the baseplate, allowing the blue light spot to fall on the surface of the material.
- To cut a material, it is recommended to place the slatted panel under the material, so as to reduce the burned area on the back of the material and protect the baseplate.
- If the material is too light, you can use tools such as tape to fix the material. Otherwise, the airflow of the exhaust fan may cause the material to move during processing.
(2) Hold down on the Up/Down button to lift or lower the laser module. When the red and blue light spots overlap, the focus is successfully set.
3. Preview the processing area
(1) On the touchscreen, view the details of the processing file, and then tap Process.
(2) Press the Framing button in the touchscreen. The laser dots will move along the boundary of the processing objects on the material, allowing you to preview the processing area.
4. Start processing
Close the protective enclosure. Double press the XTOOL Start/Stop button on the touchscreen controller to start processing.

