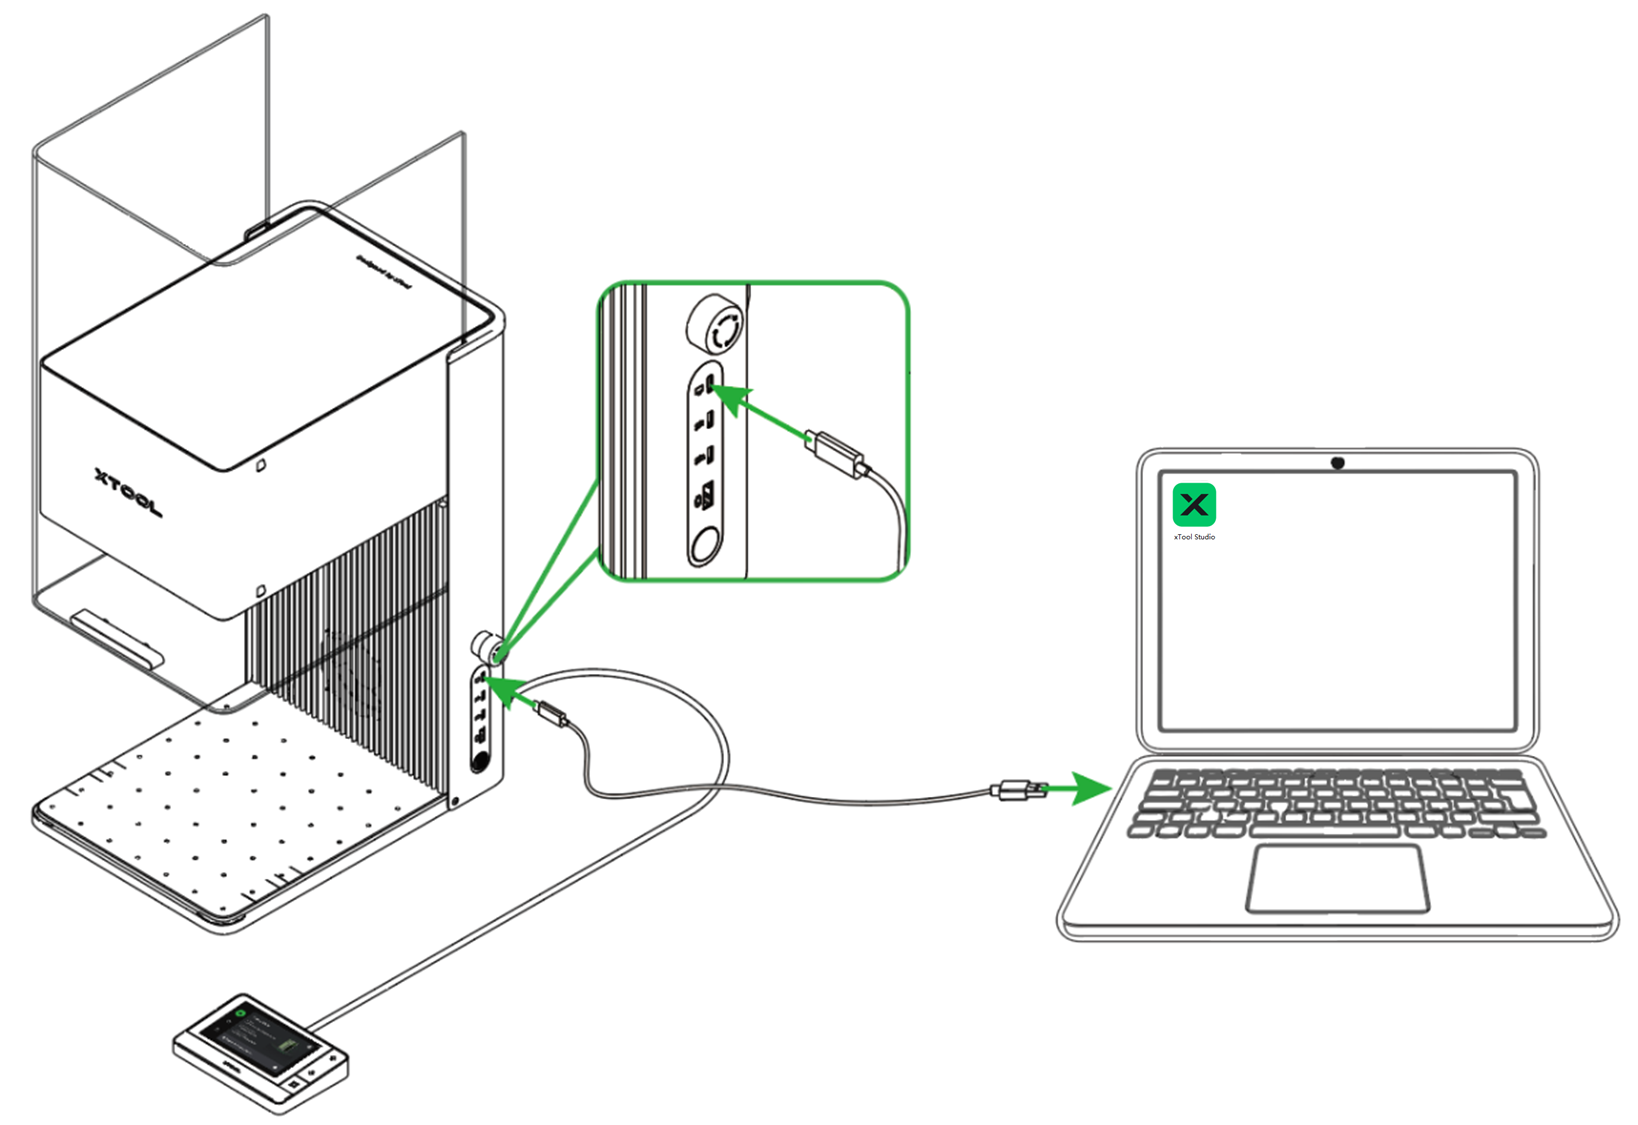
1. Connect xTool F1 Ultra to xTool Studio
(1) Use the USB cable to connect xTool F1 Ultra to your computer.
(2) Open xTool Studio. In the top-right corner, click + New project.
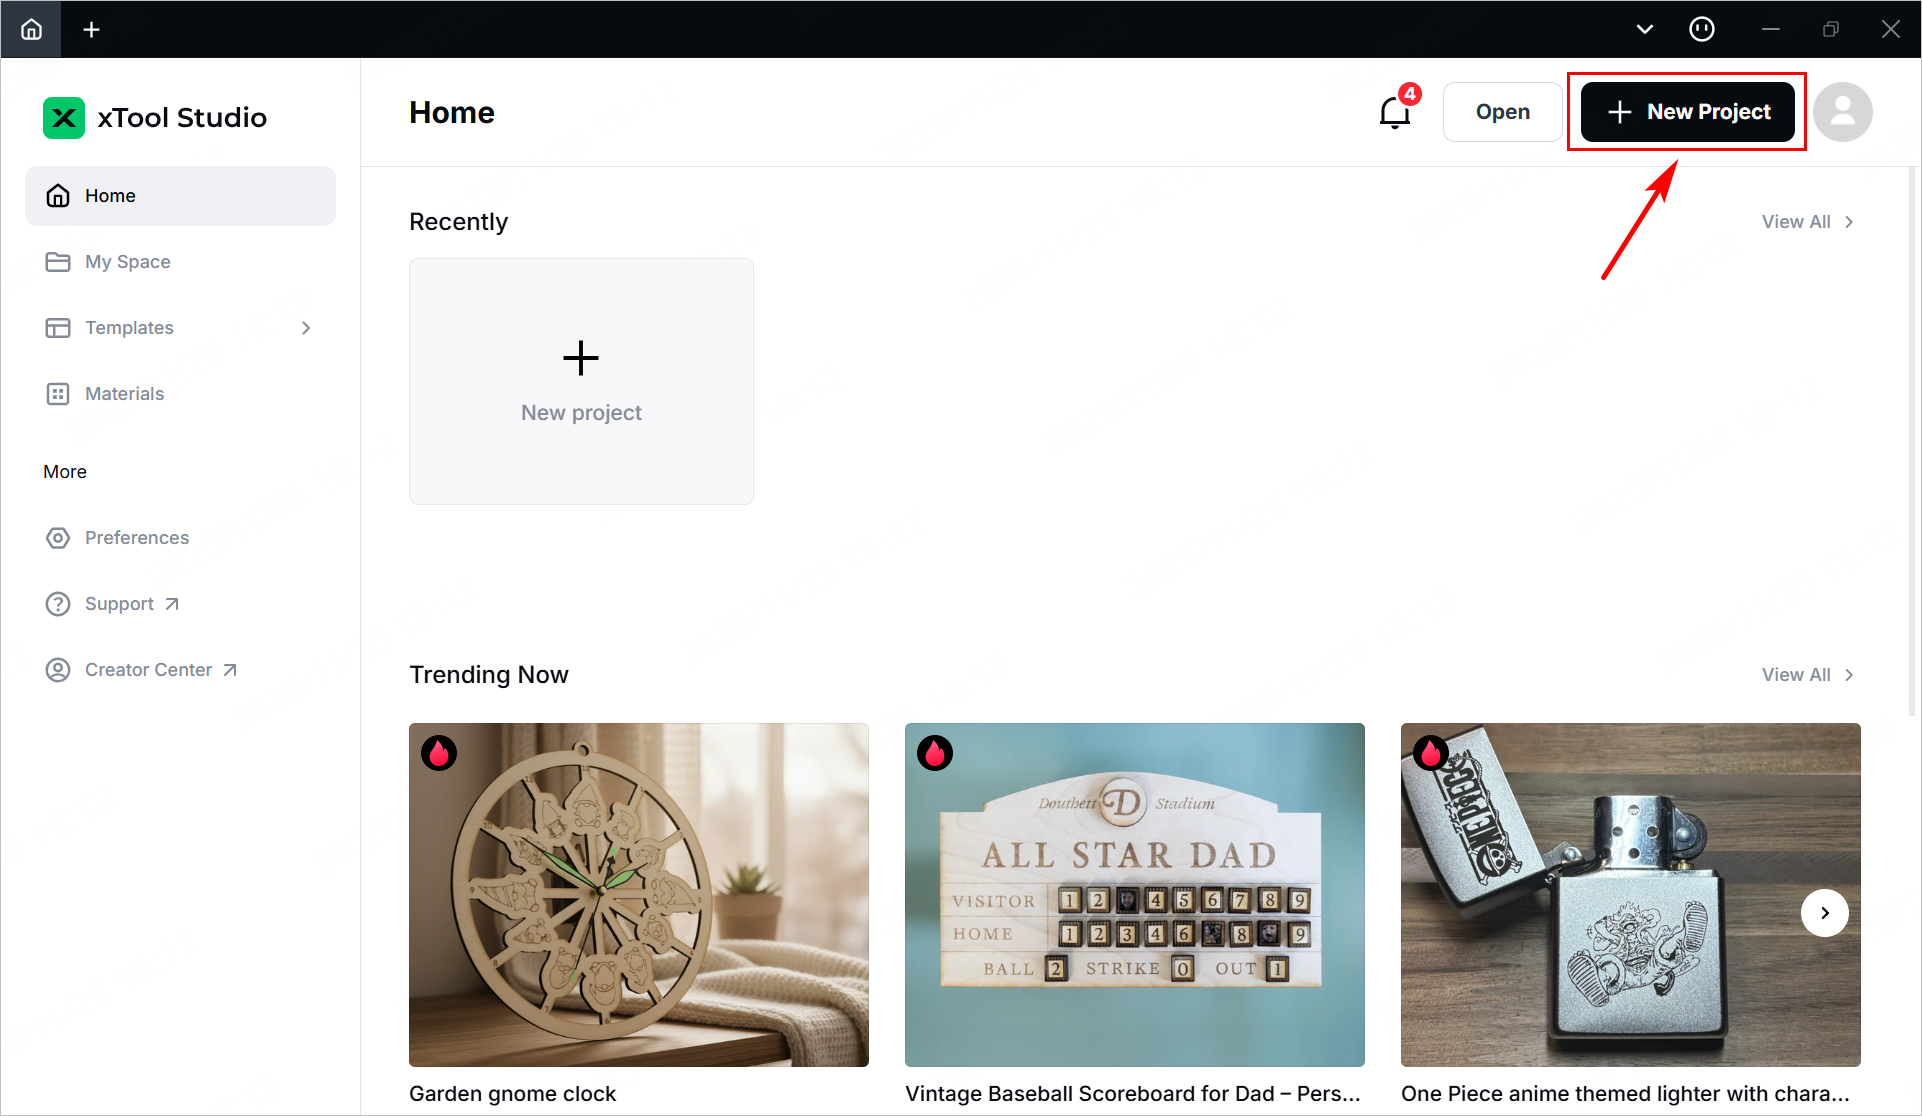
(3) On the right side of the project editing page, click + Select device.
Note: If you have connected an xTool device in xTool Studio before, click the .png) icon next to the device.
icon next to the device.

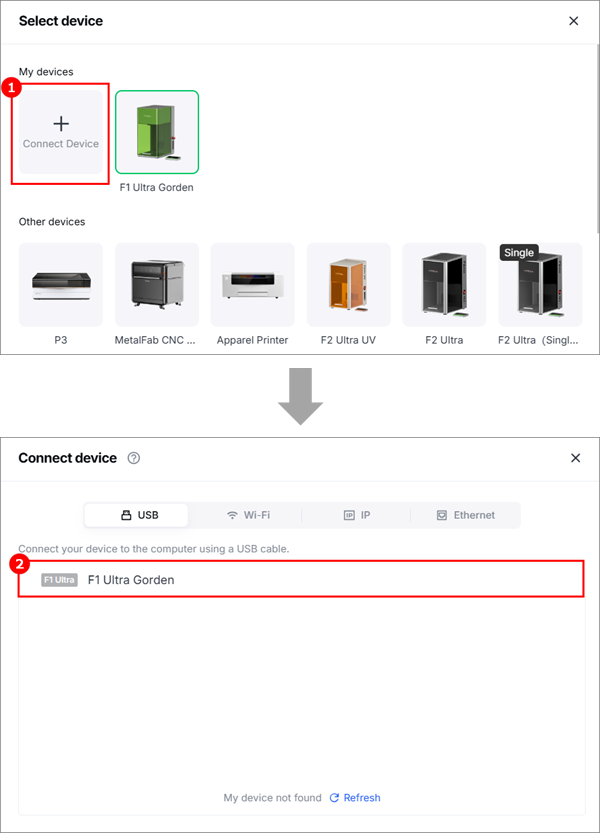
(4) On the pop-up window, click Connect Device. Then, click the name of your device.
2. Select the processing mode and material name
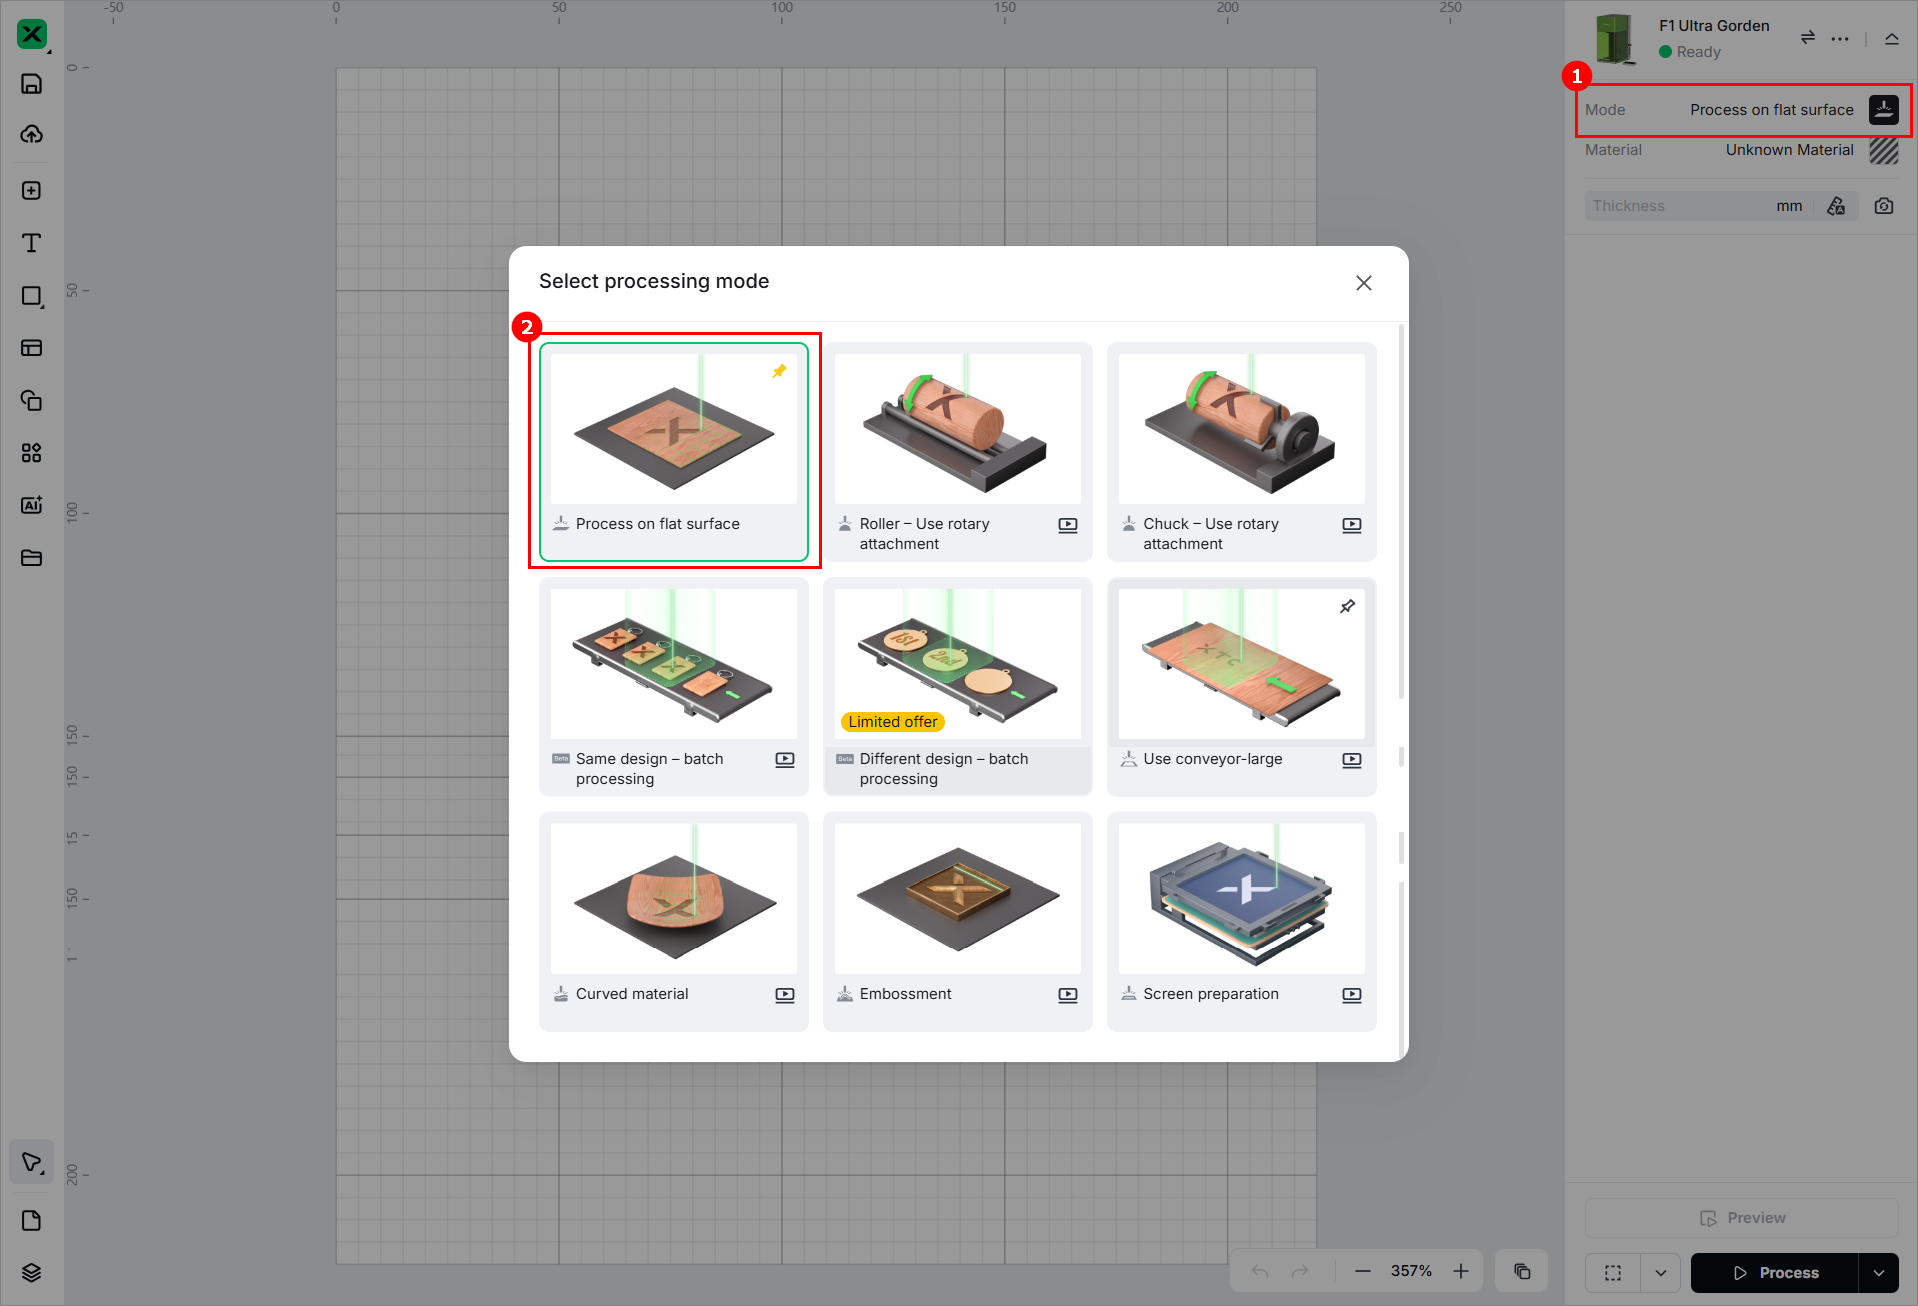
(1) On the right side of the page, click the current processing mode and select Process on flat surface.
(2) Click Unknown Material, select the desired material, and click Apply.
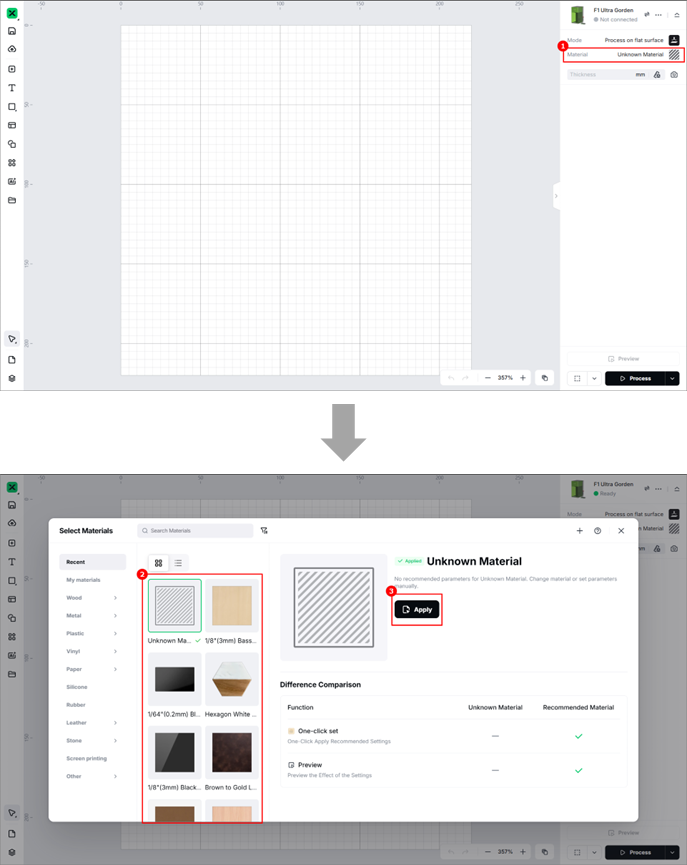
1. After selecting a material from the list, the software will automatically set parameters for laser processing. The default settings is applied to xTool materials. You can adjust the settings based on your needs.
2. The recommended parameter settings can achieve the best results only when using xTool's materials. If you are using materials from third parties, it is recommended that you conduct a material test array on your own first to obtain the desired effects and parameters. Meanwhile, ensure that the materials are free from moisture or contamination, which may greatly affect the results.
3. Place the material and perform laser focusing
(1) Lift the protective enclosure, and place the material on the flat surface, allowing the blue light spot to fall on the surface.
- To cut a material, it is recommended to place the slatted panel under the material, so as to reduce the burned area on the back of the material and protect the flat surface.
- If the material is too light, it is recommended to use tools such as tape to fix the material. Otherwise, the airflow of the exhaust fan may cause the material to move during processing.
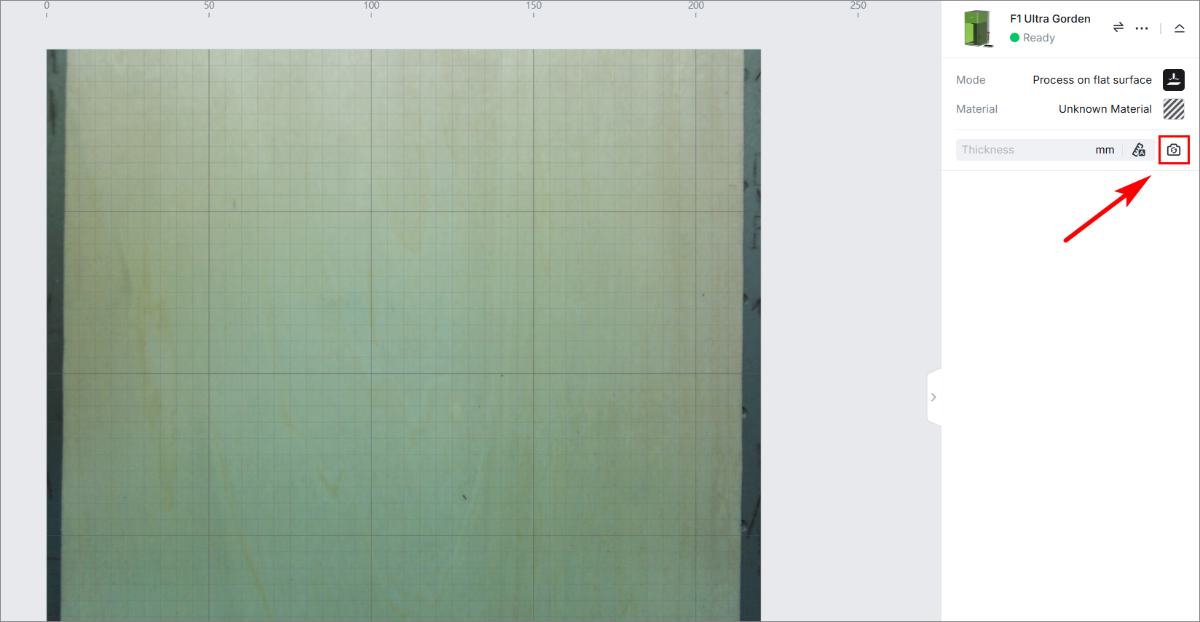
(2) Hold down on the Up/Down button for laser module to lift or lower the laser module. When the red and blue light spots overlap, the focus is successfully set.
After focusing, you can see the measured material thickness.
4. Shoot background and design processing objects
(1) On the right side of xTool Studio, click the Refresh background icon  .
.
(2) Use the left-side tools to create objects on the canvas.
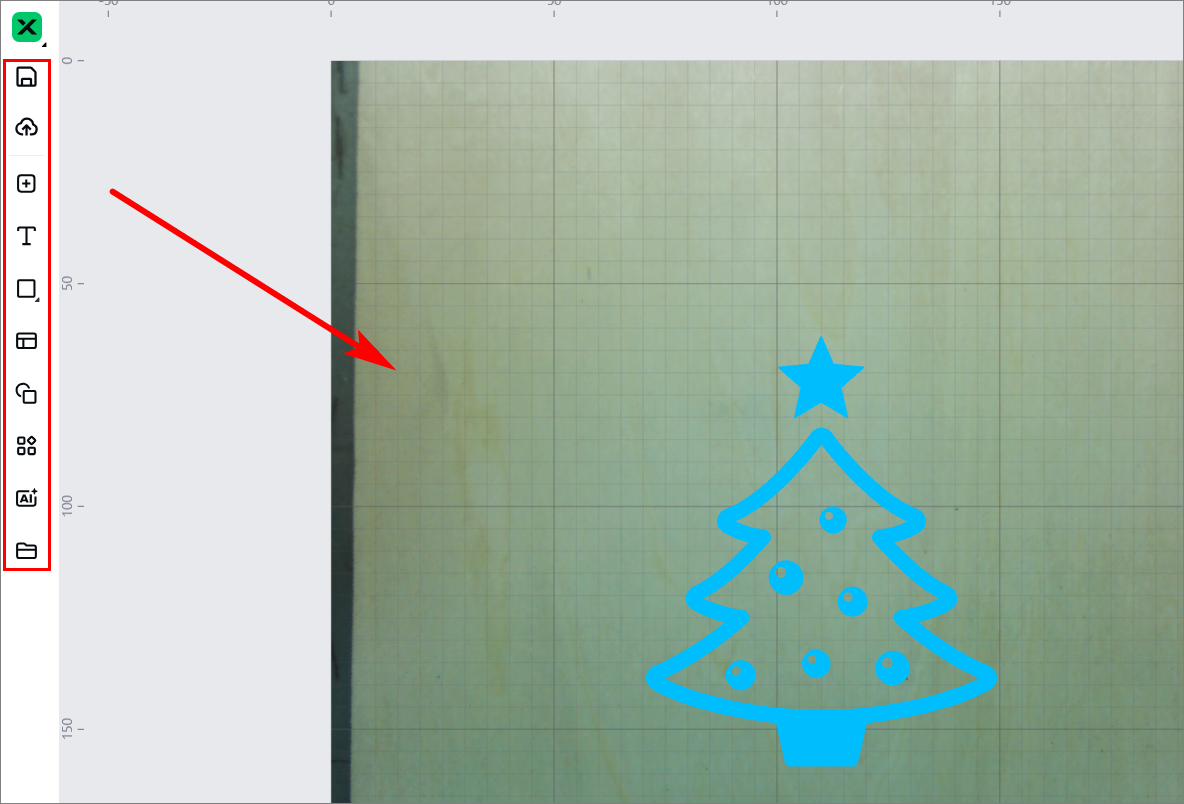
(3) Select objects on the canvas. On the top, you can use the tools for further editing.
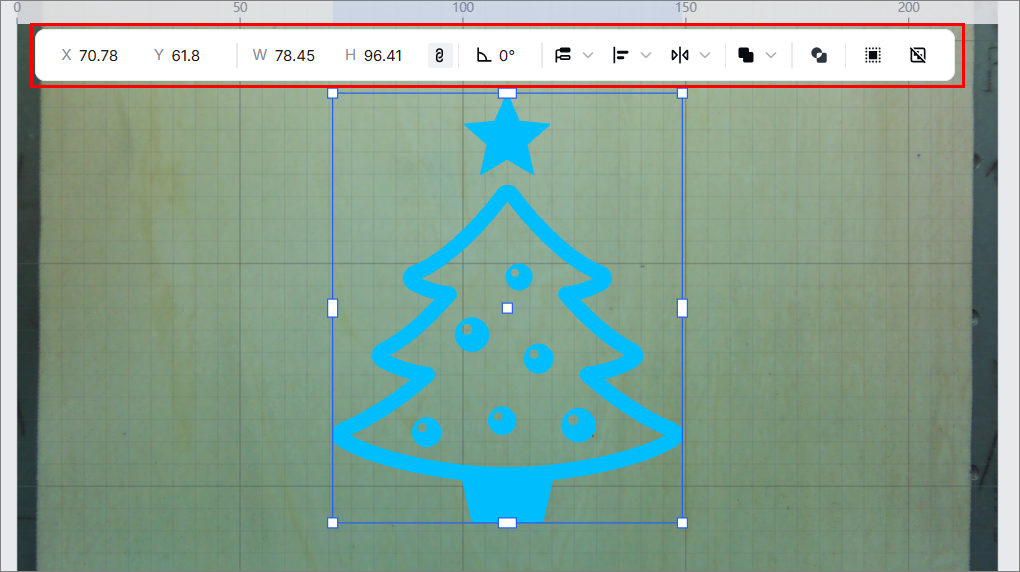
5. Set the processing parameters and processing path
(1) Select objects on the canvas. On the right side of xTool Studio, set parameters for the selected objects.
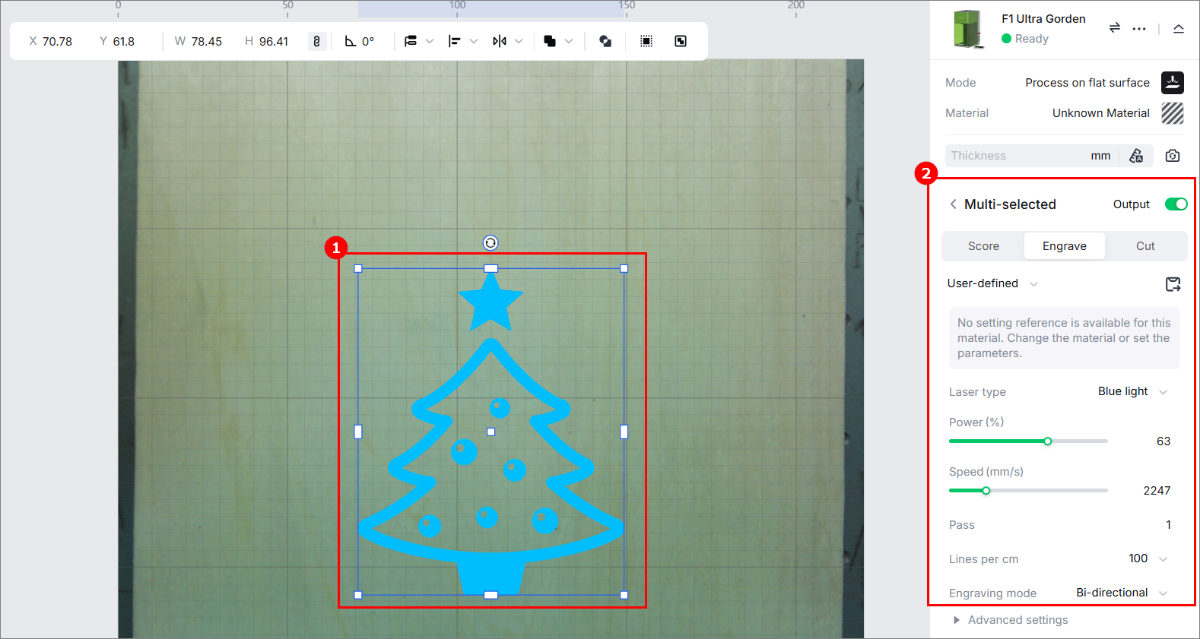
You need to set parameters for every object. A missed object may fail to be processed.
The parameters that can be set for bitmap objects and vector objects are different. You can select multiple objects of the same type and set parameters for them at once.
(2) In the bottom-right corner of xTool Studio, click theicon  to set the processing path.
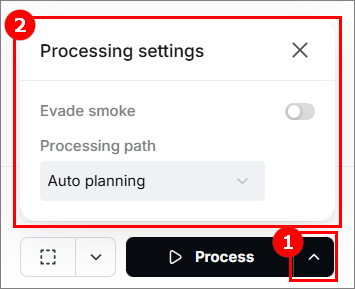
Evade smoke: When this feature is enabled, the device follows a path less affected by the smoke to process the material.
Processing path:
- Auto planning: xTool Studio automatically plans the processing path based on intelligent algorithms.
- User defining: Manually set the processing paths for some objects.
6. Preview the processing area
You can preview the processing area on the material by framing. Framing means laser dots walk along the border of the processing objects on the material. Take the following steps to start framing:
(1) In the bottom-right corner of the software, click the  icon next to the Framing button to set the framing parameters.
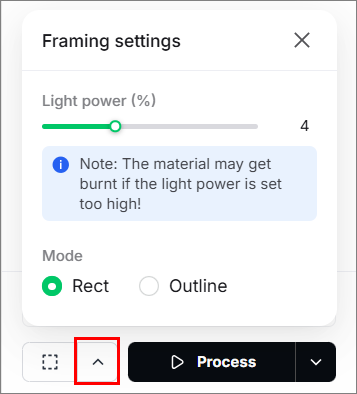
● Light power: Sets the laser power for framing.
● Mode:
In the Rect mode, laser dots walk along the rectangle border of the processing objects.
In the Outline mode, laser dots walk along the outline of the processing objects.
(2) Click Framing in the software. The laser dots moves along the boundary of the processing objects on the material, allowing to preview the processing area.
To stop framing, click the Framing button in the bottom-right corner.
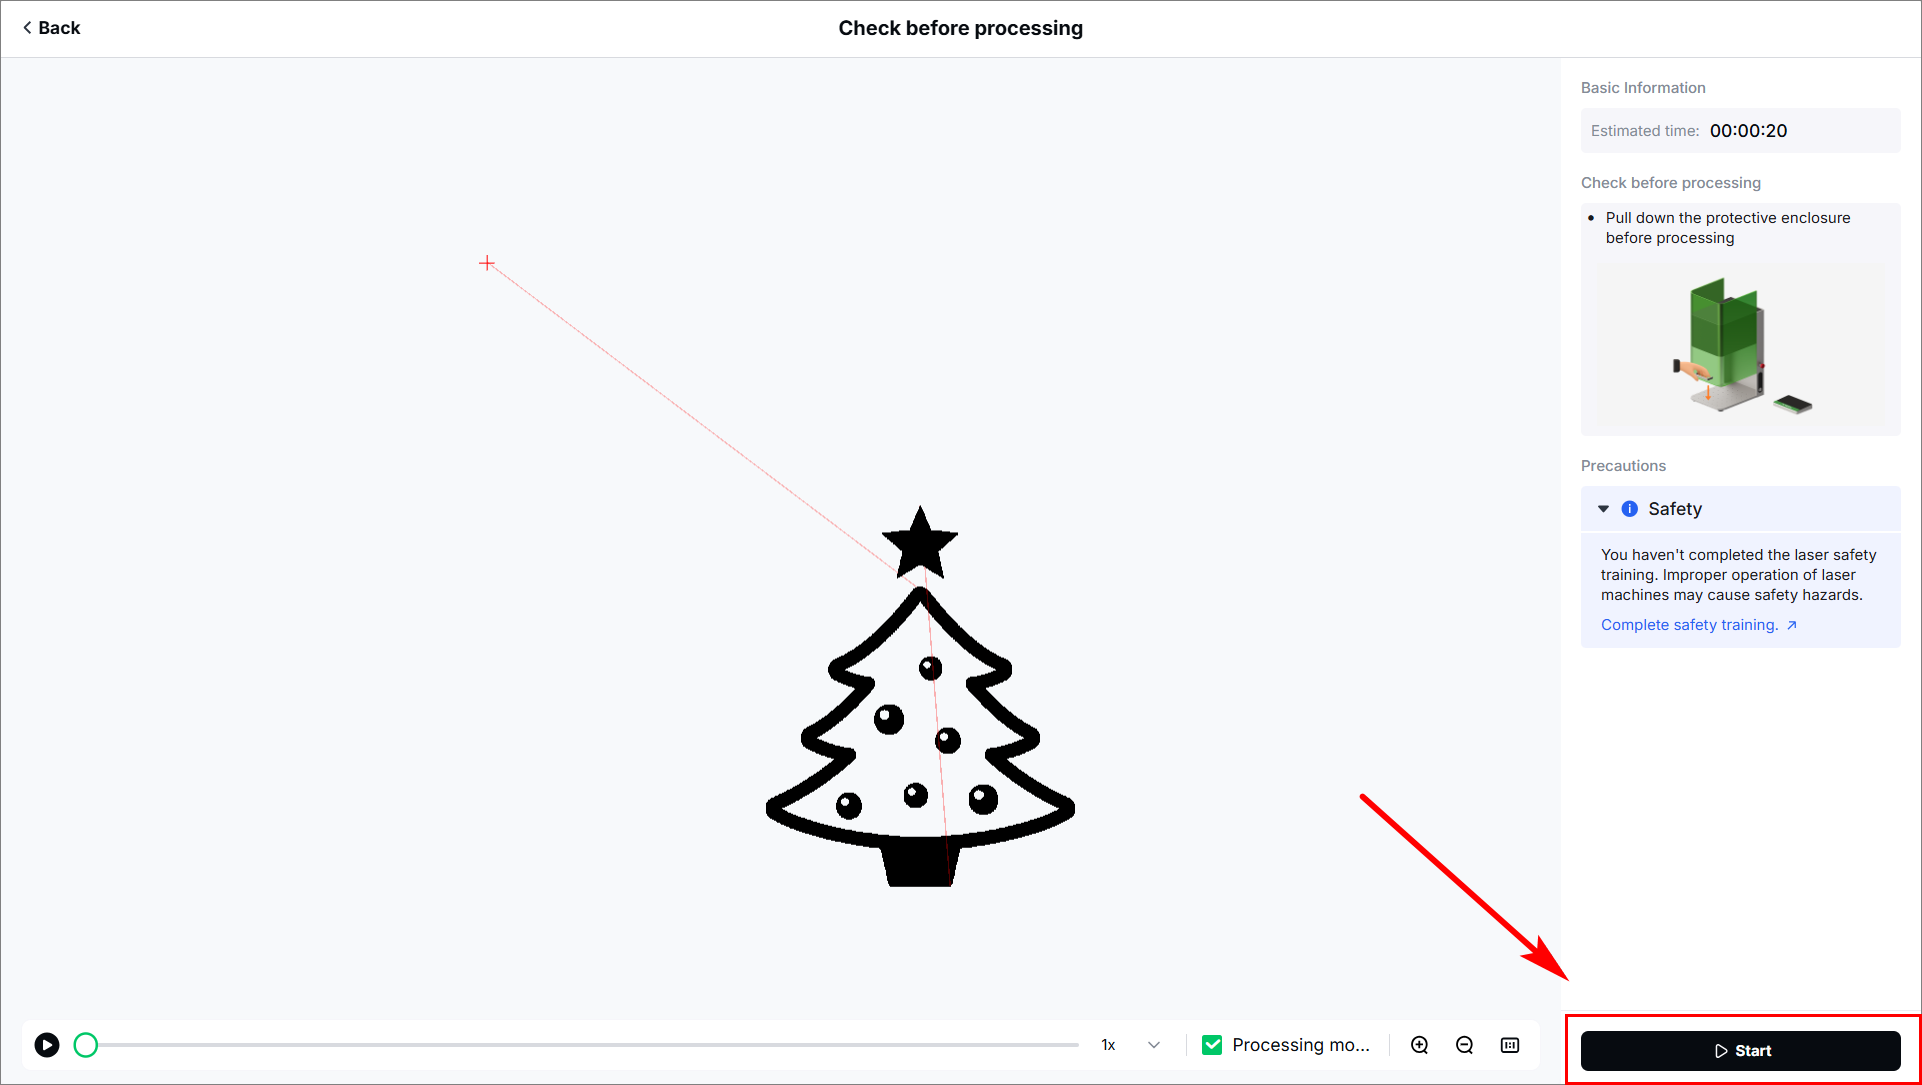
7. Start processing
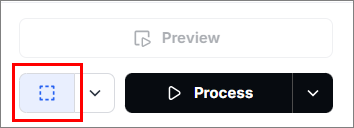
(1) In the bottom-right corner of the software, click Process.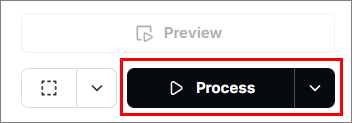
(2) Preview the processing pattern and path.
In the bottom-left corner, click the button, and xTool Studio will show the processing path.
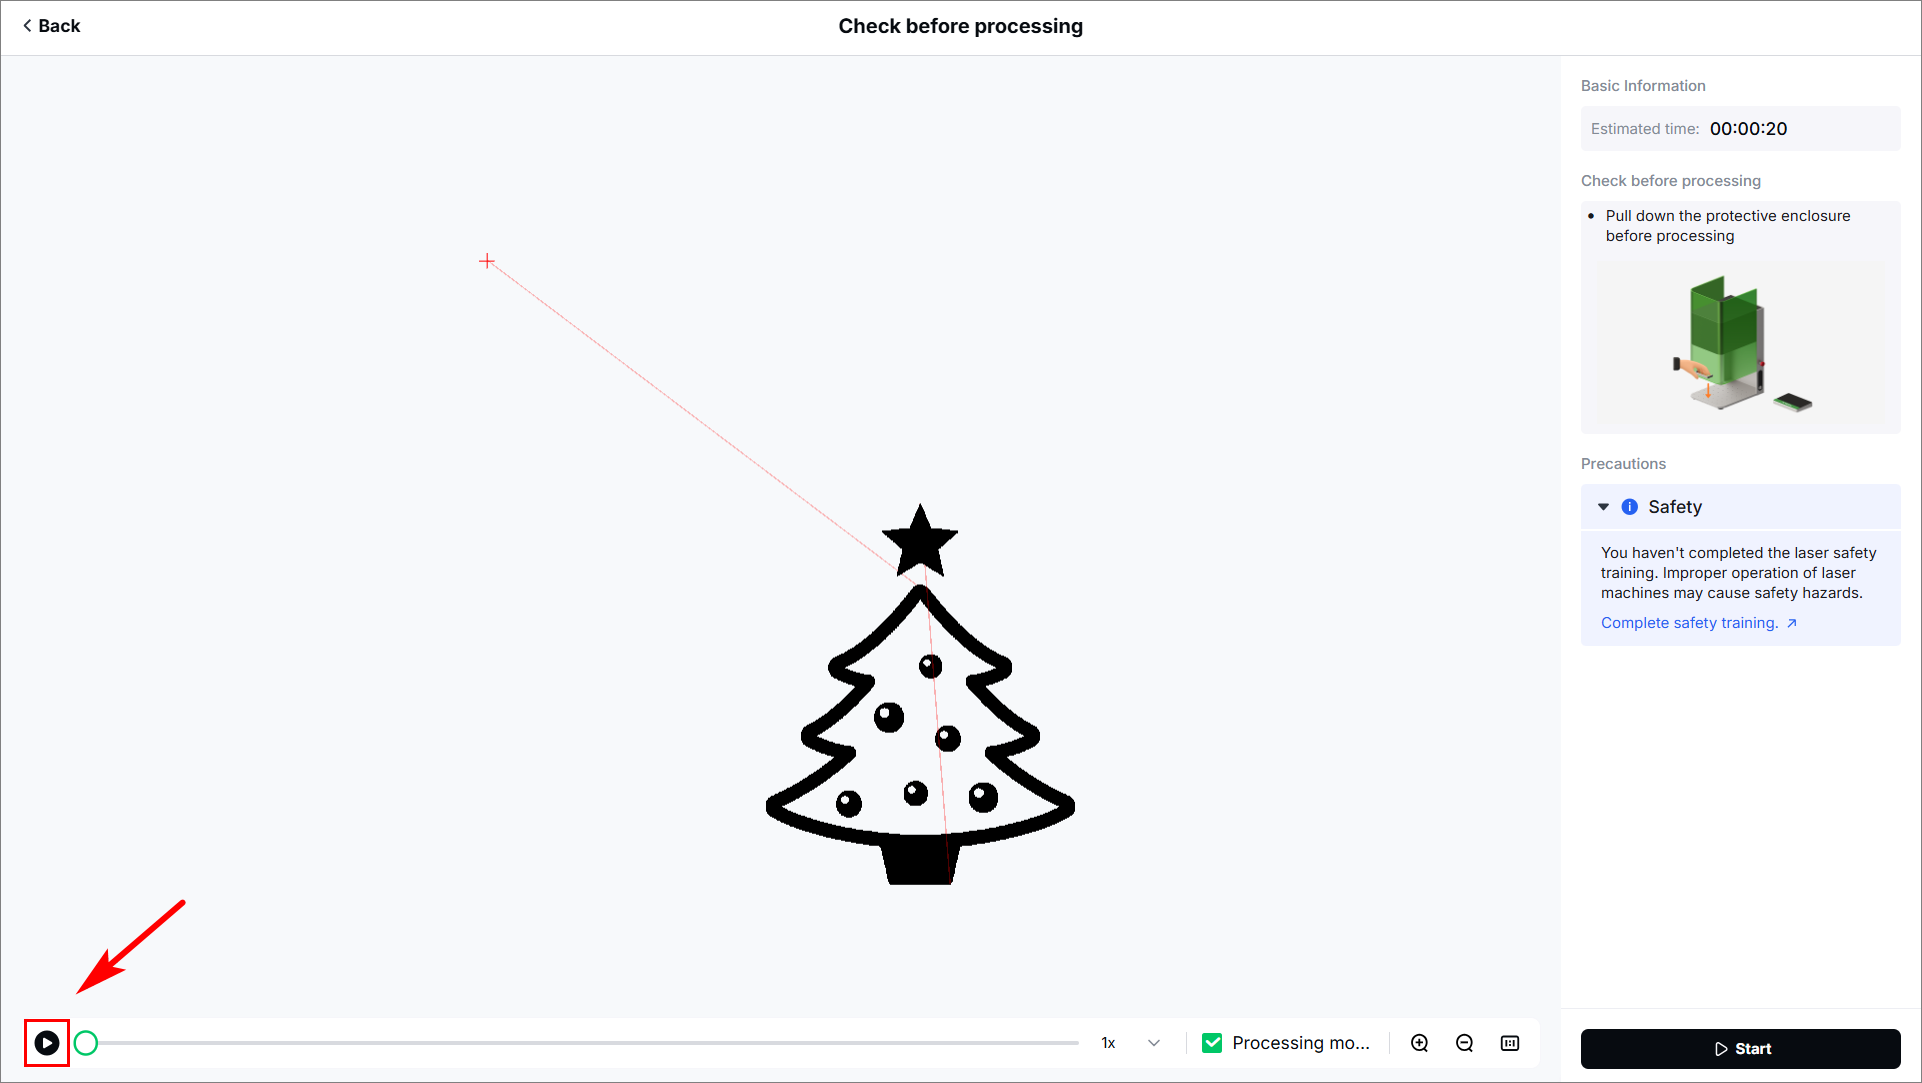
(3) Close the protective enclosure. In the bottom right corner, click Start. When the software shows Ready, press the XTOOL Start/Stop button on the touchscreen controller to start processing.