1. Connect xTool P3 to the software
Go to Operate xTool P3 with xTool Software and follow the steps. Make sure the device is connected successfully.
2. Complete the auto mode
(1) Follow the steps on the right panel. Open the lid.
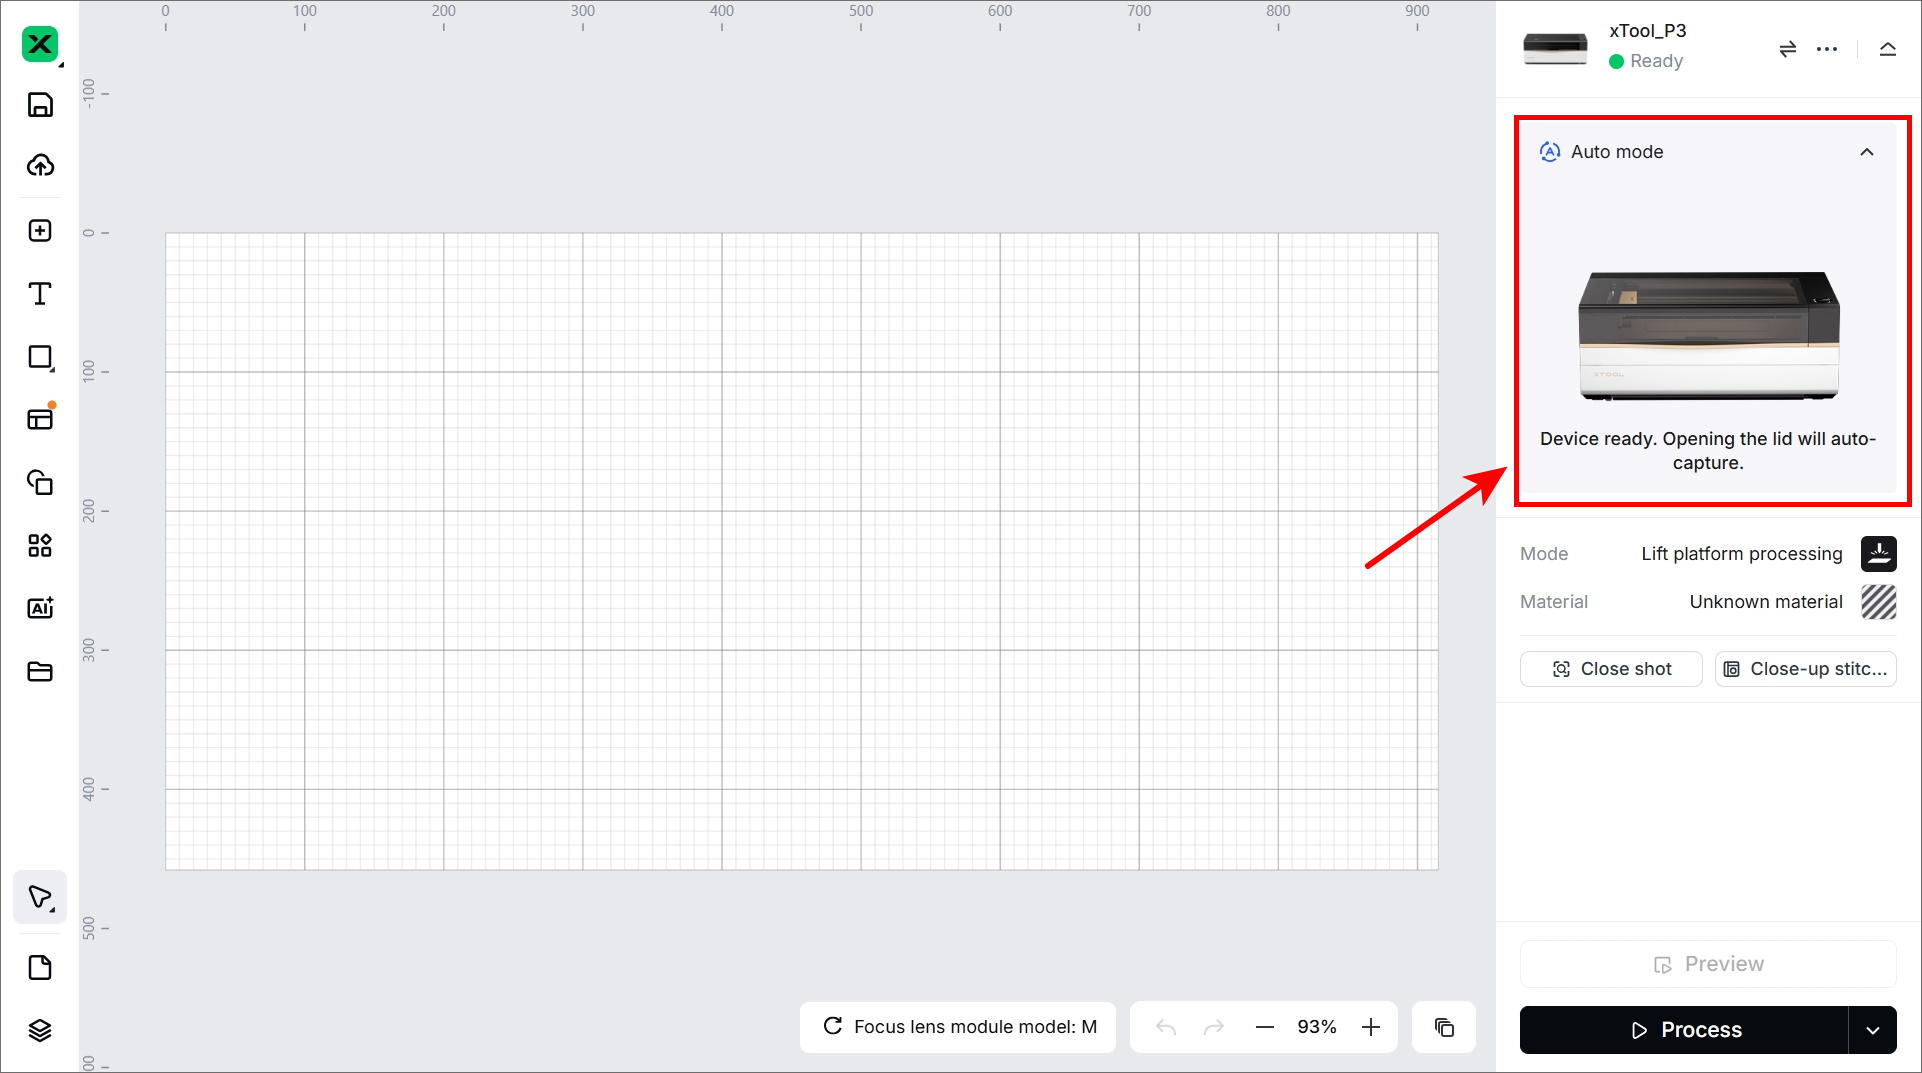
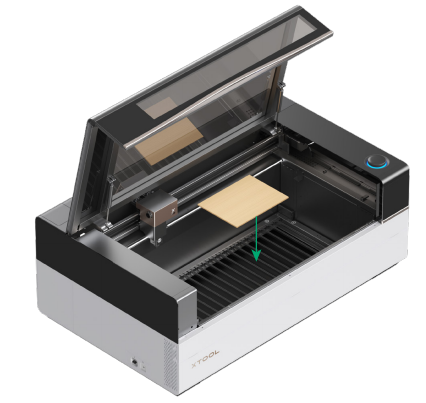
(2) Place the material to be processed on the slats.
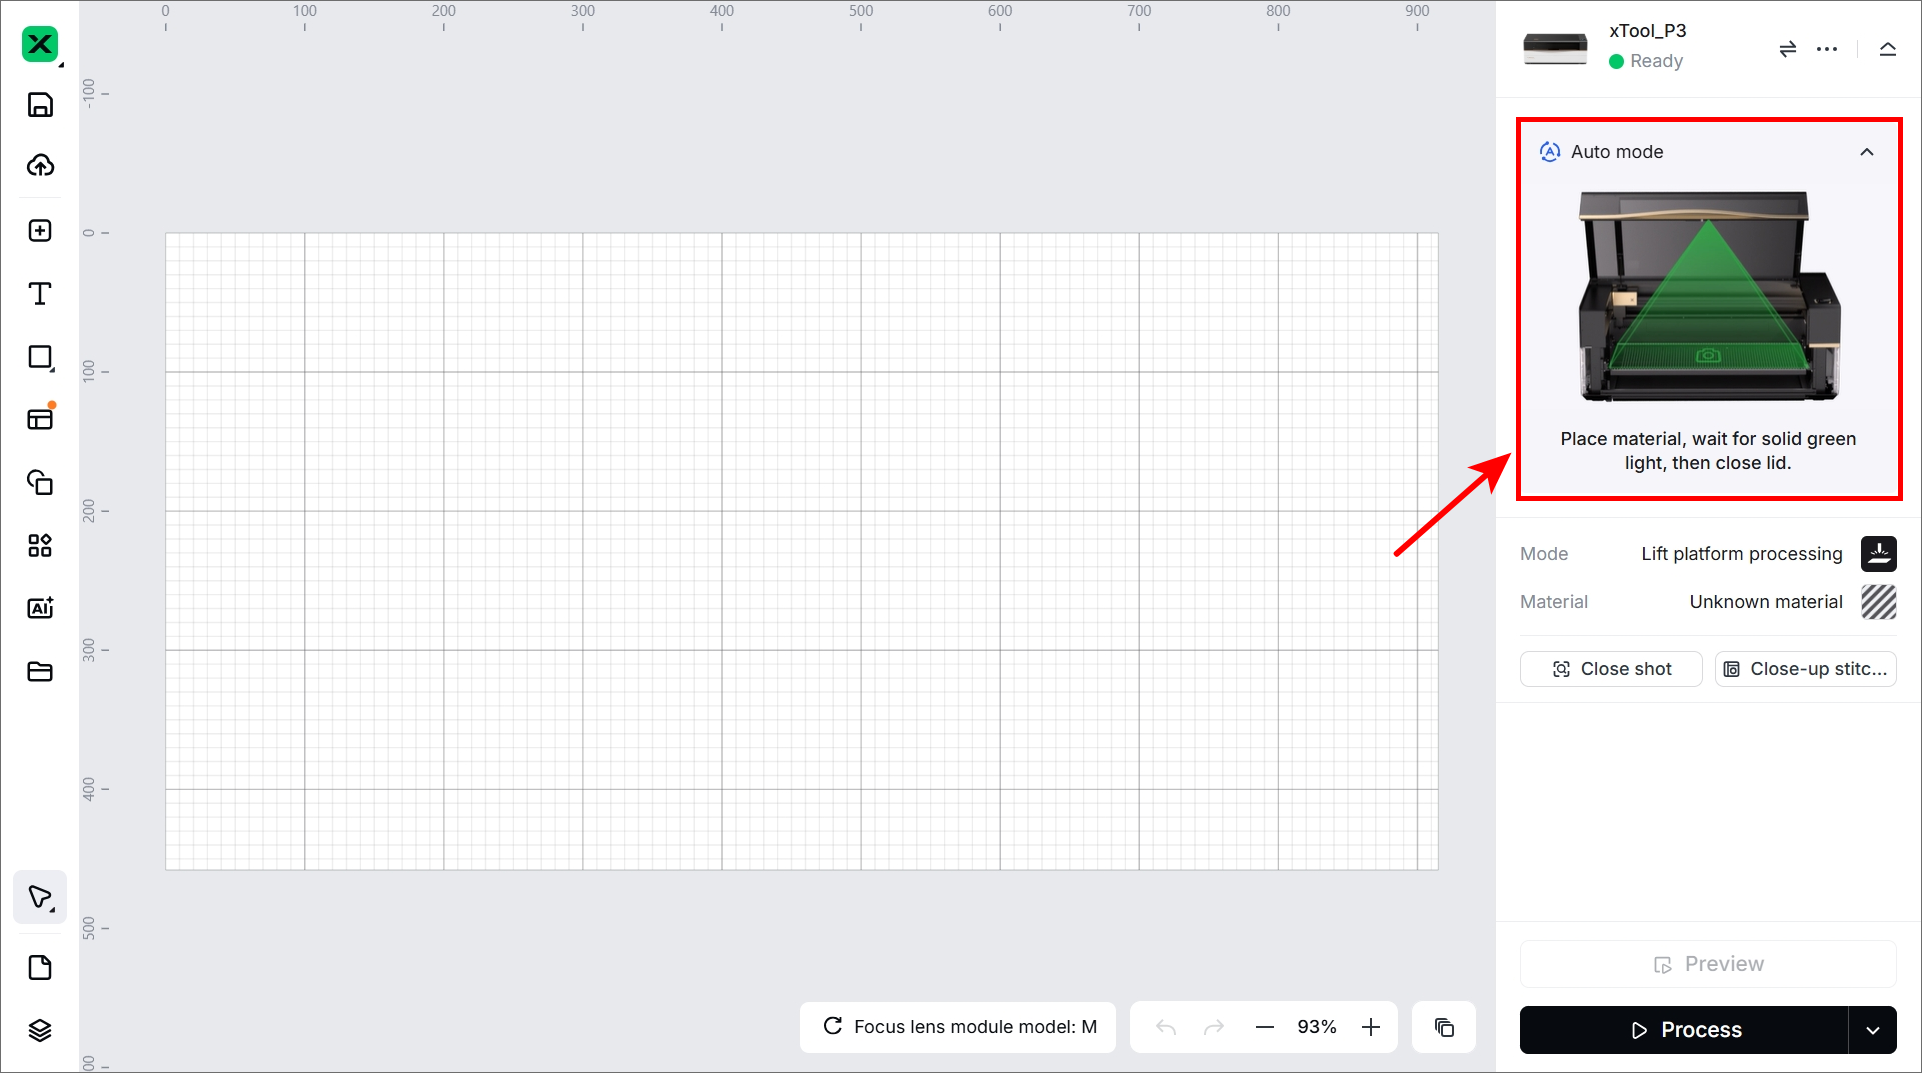
(3) Wait until the light on the lid turns green, and then close the lid.
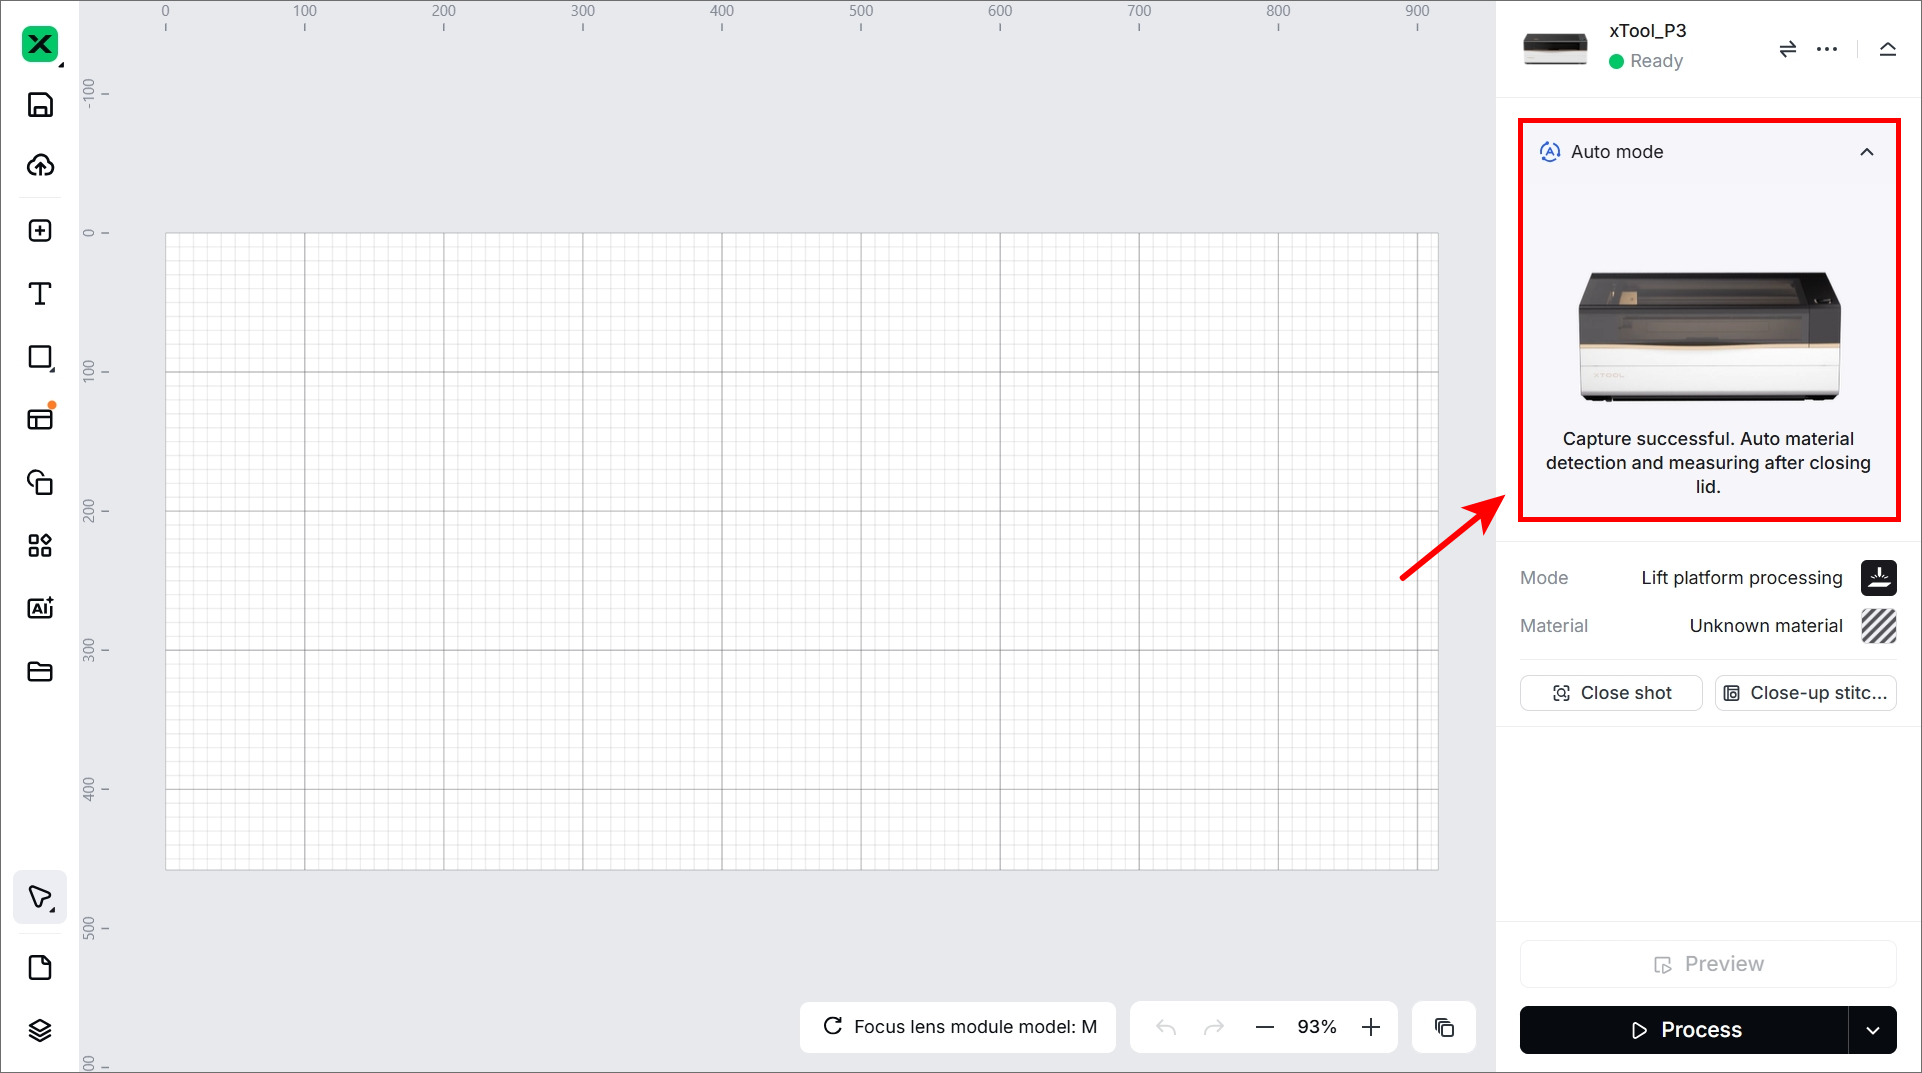
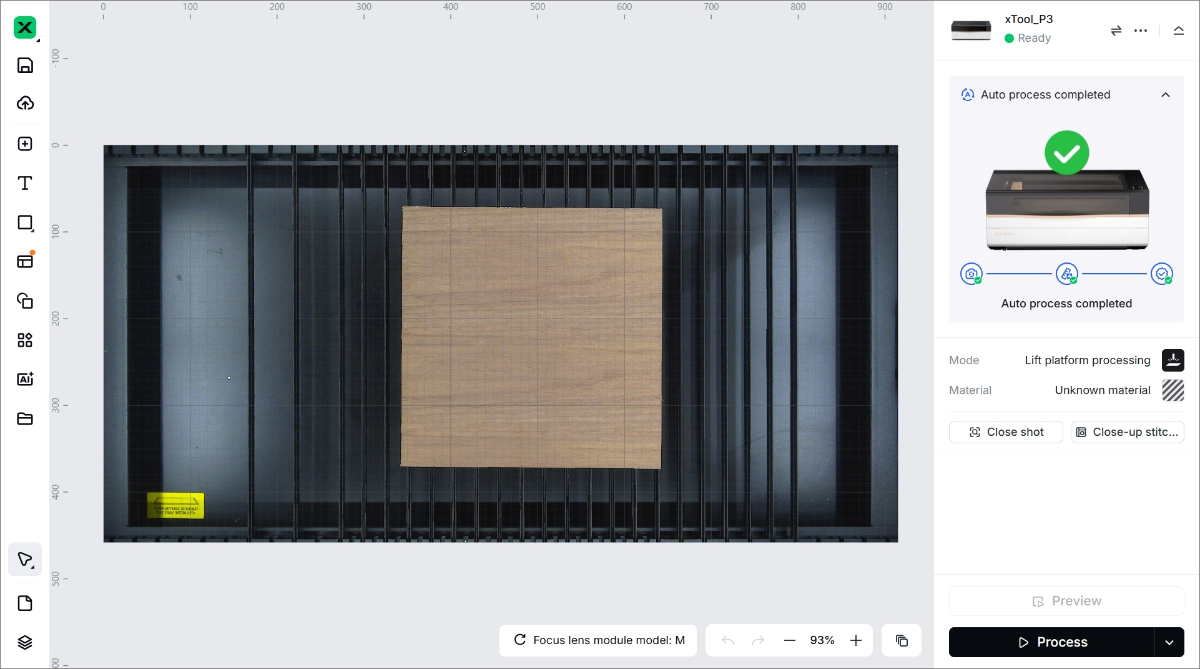
(4) Auto process is completed.
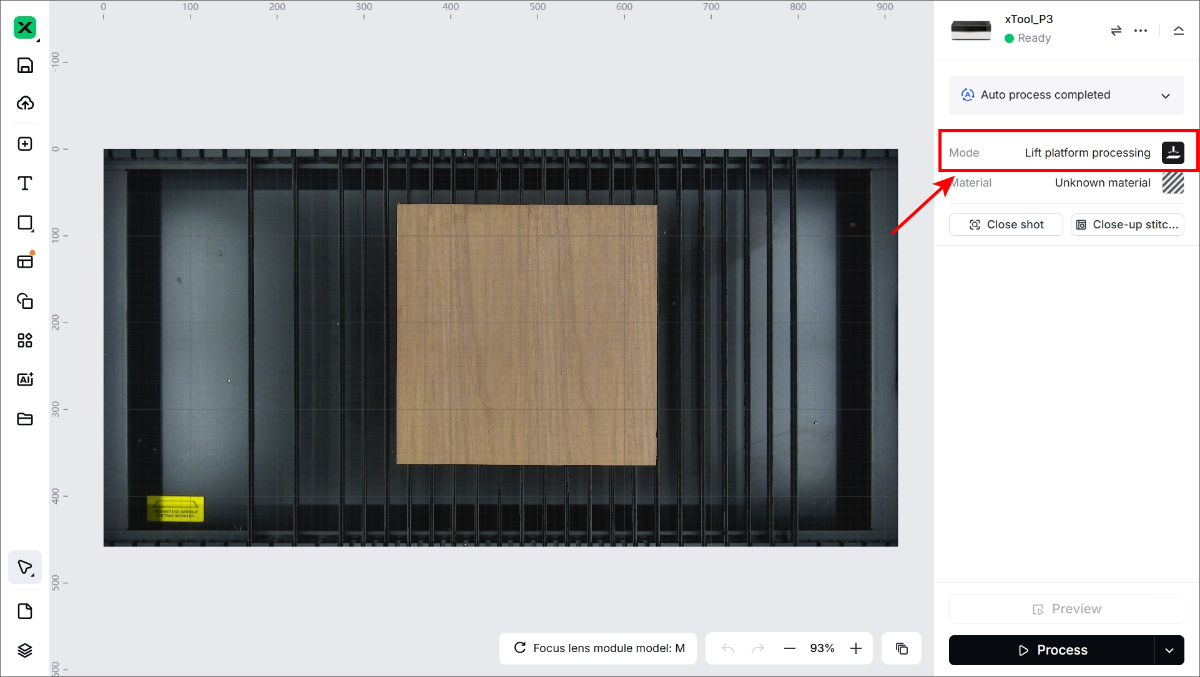
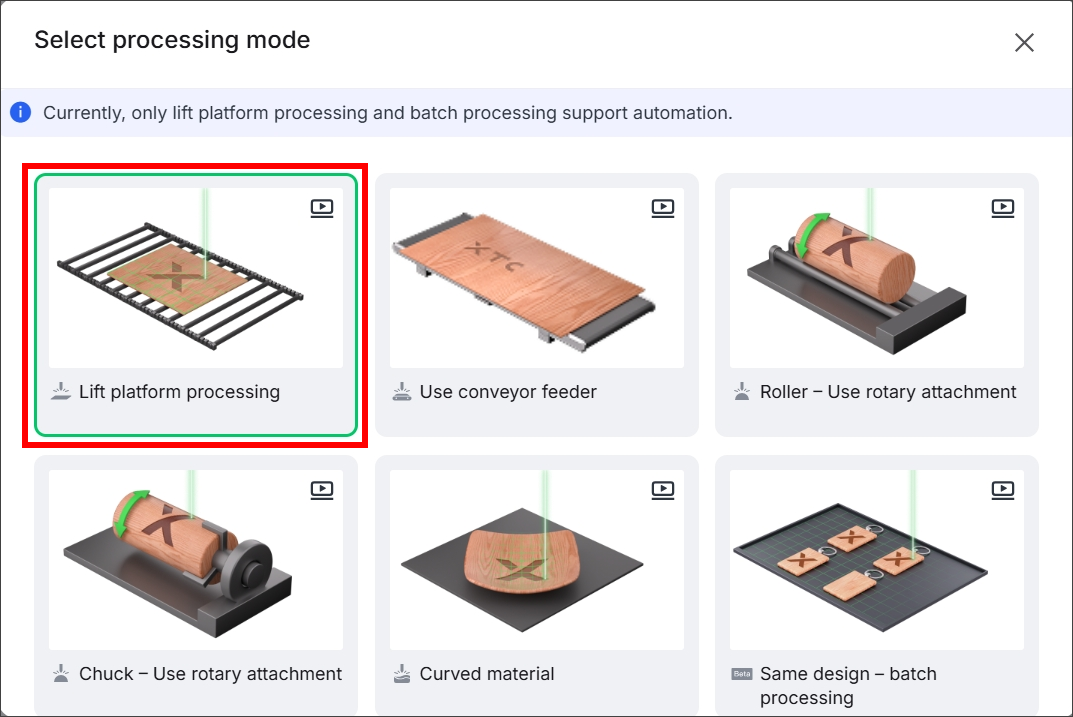
3. Select the processing mode and material
(1) On the right panel, select Lift platform processing as the processing mode.
(2) Under Mode, select the material and click Apply.

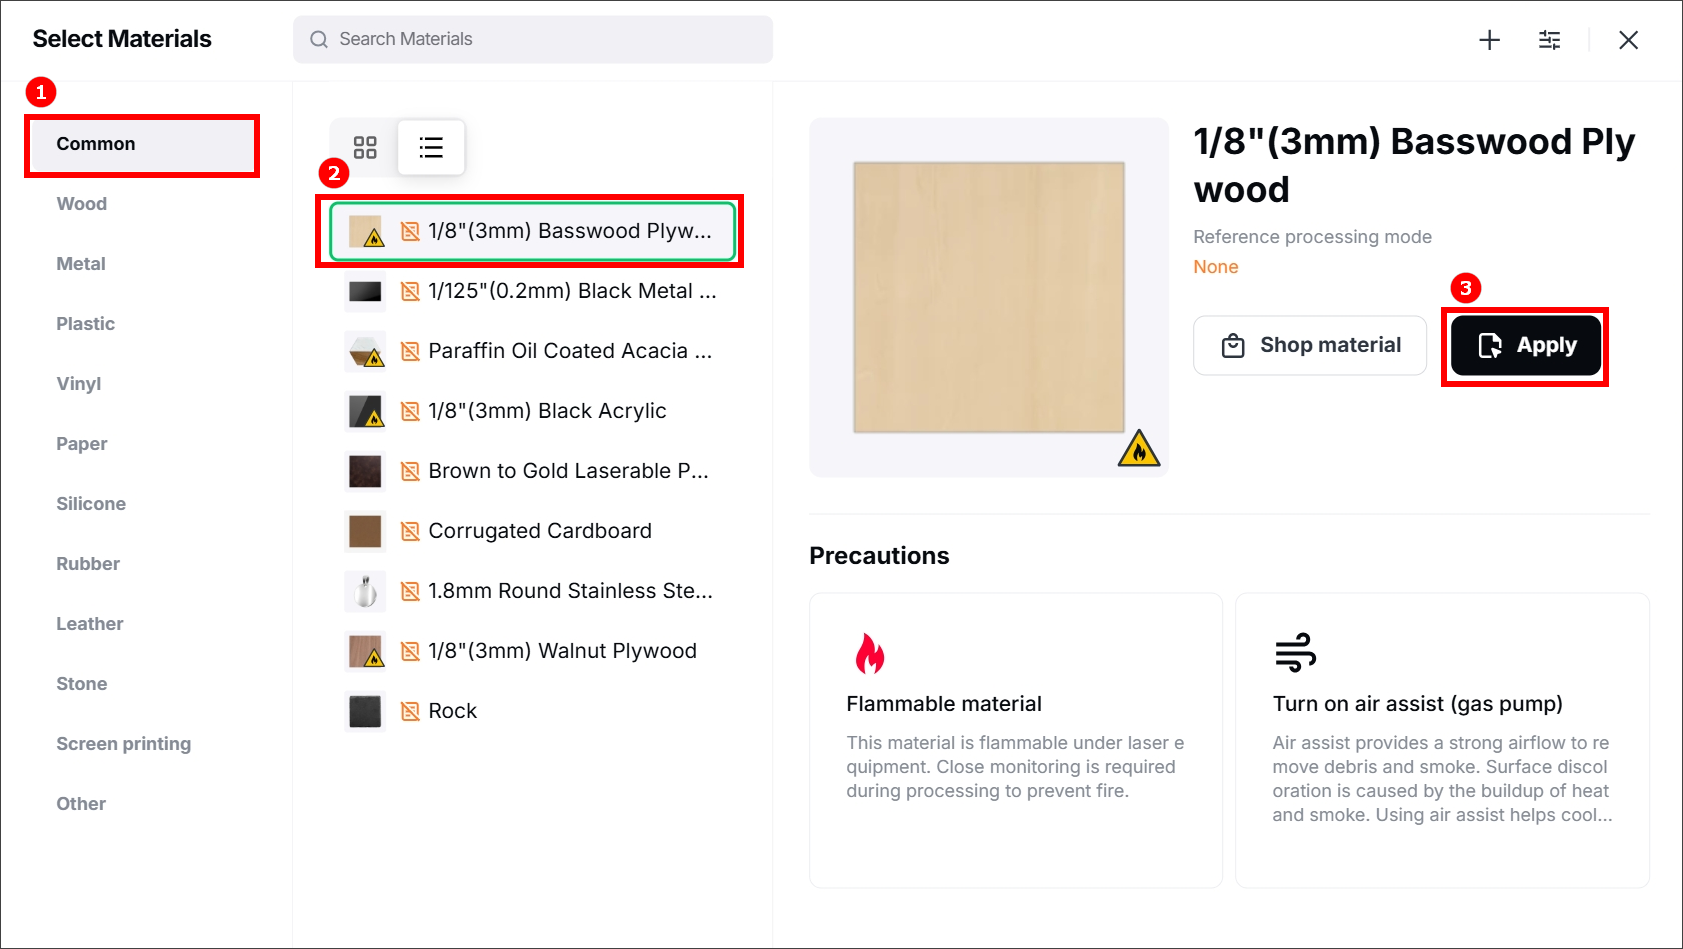
After you select a material on the material list, the software will automatically set parameters for laser processing. The default settings apply to xTool materials. You can adjust the settings based on what you need. If you select user-defined material, you need to set the processing parameters by yourself.
4. Design a processing object
Use the left-side tools to create objects on the canvas.

💡 Note: You can import images, insert shapes, enter text, draw vector graphics, and so on. For more information on how to use the software to design objects, see Software Learning Center.
5. Edit objects and set parameters
(1) Select objects on the canvas.
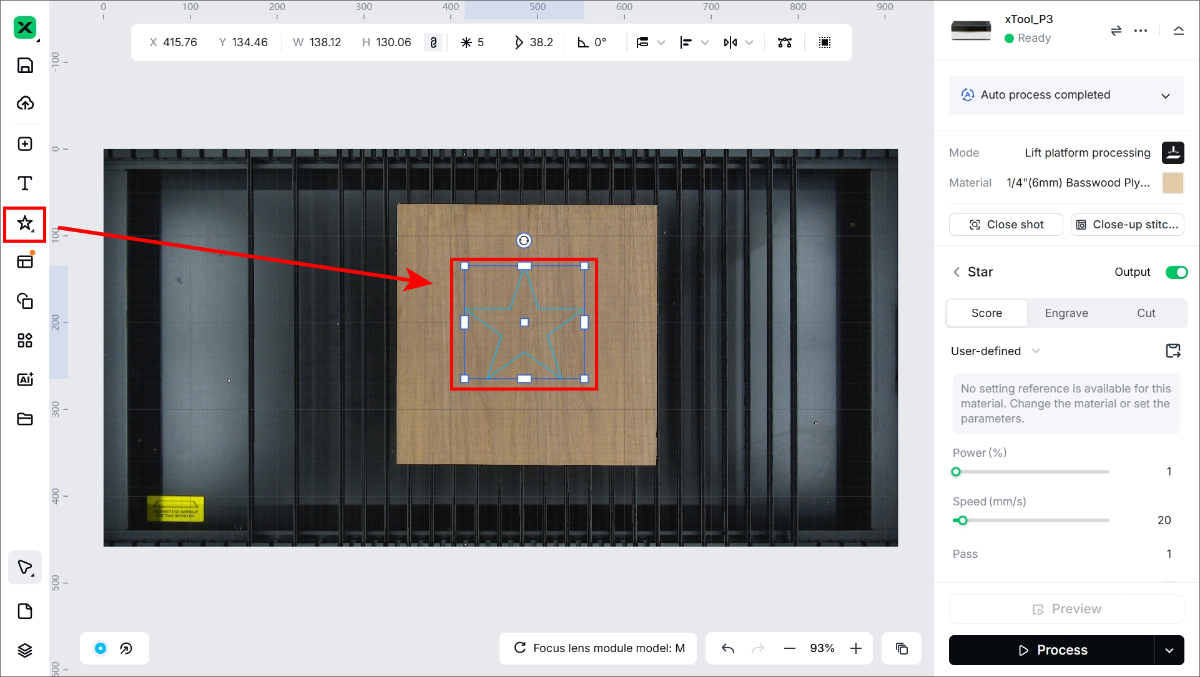
(2) Set parameters for them in the right panel, and further edit the objects by using the other features in the upper panel.
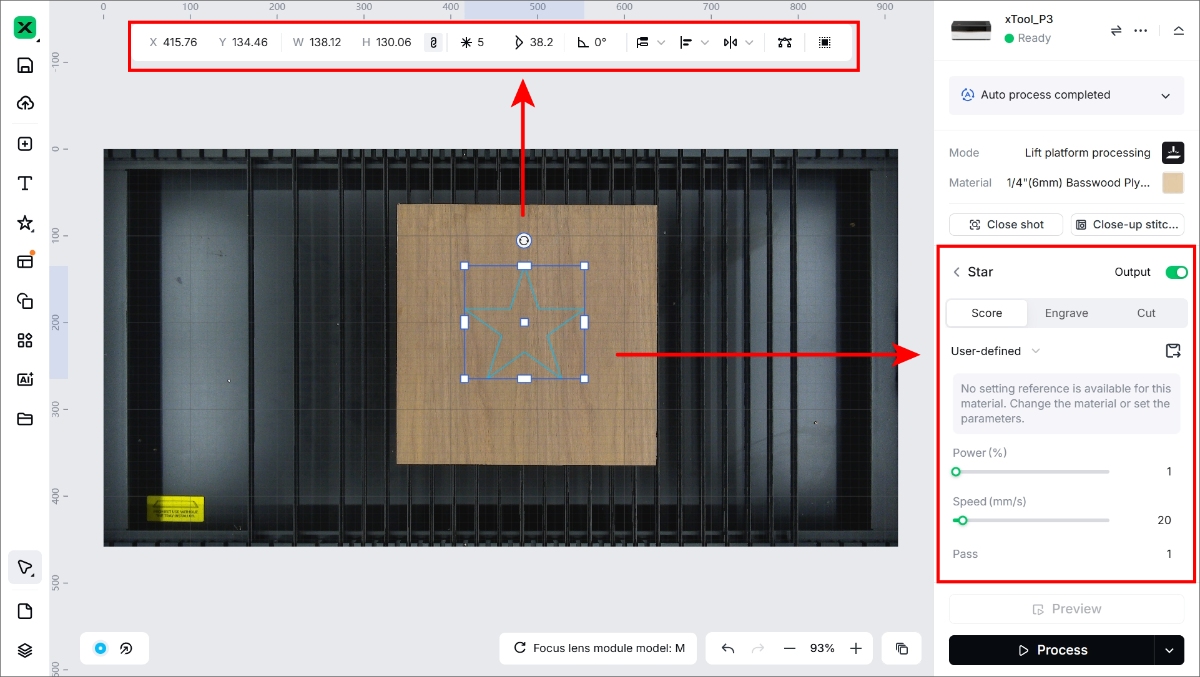
💡 Note: You need to set parameters for every object. A missed object may fail to be processed.
The parameters that can be set for bitmap objects and vector objects are different. You can select multiple objects of the same type and set parameters for them at once.
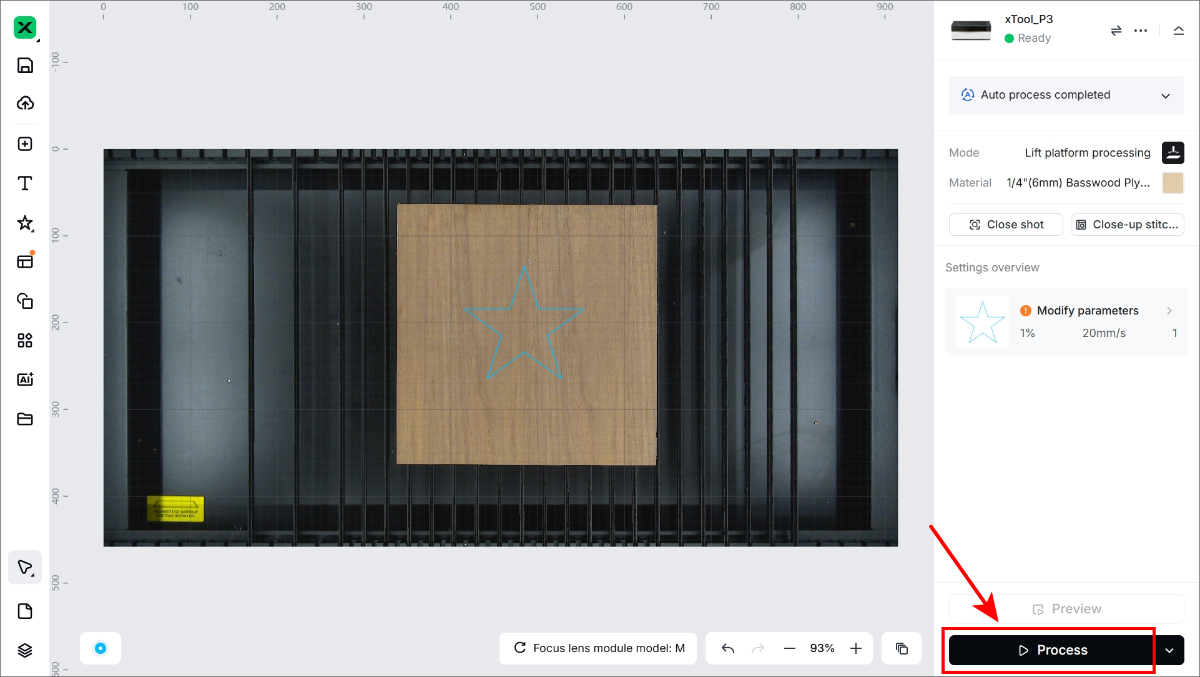
6. Start processing
(1) In the bottom right corner of the software, click Process.
(2) Check whether the accessories are prepared before processing on the right list.
(3) In the bottom right corner, click Start to start processing.
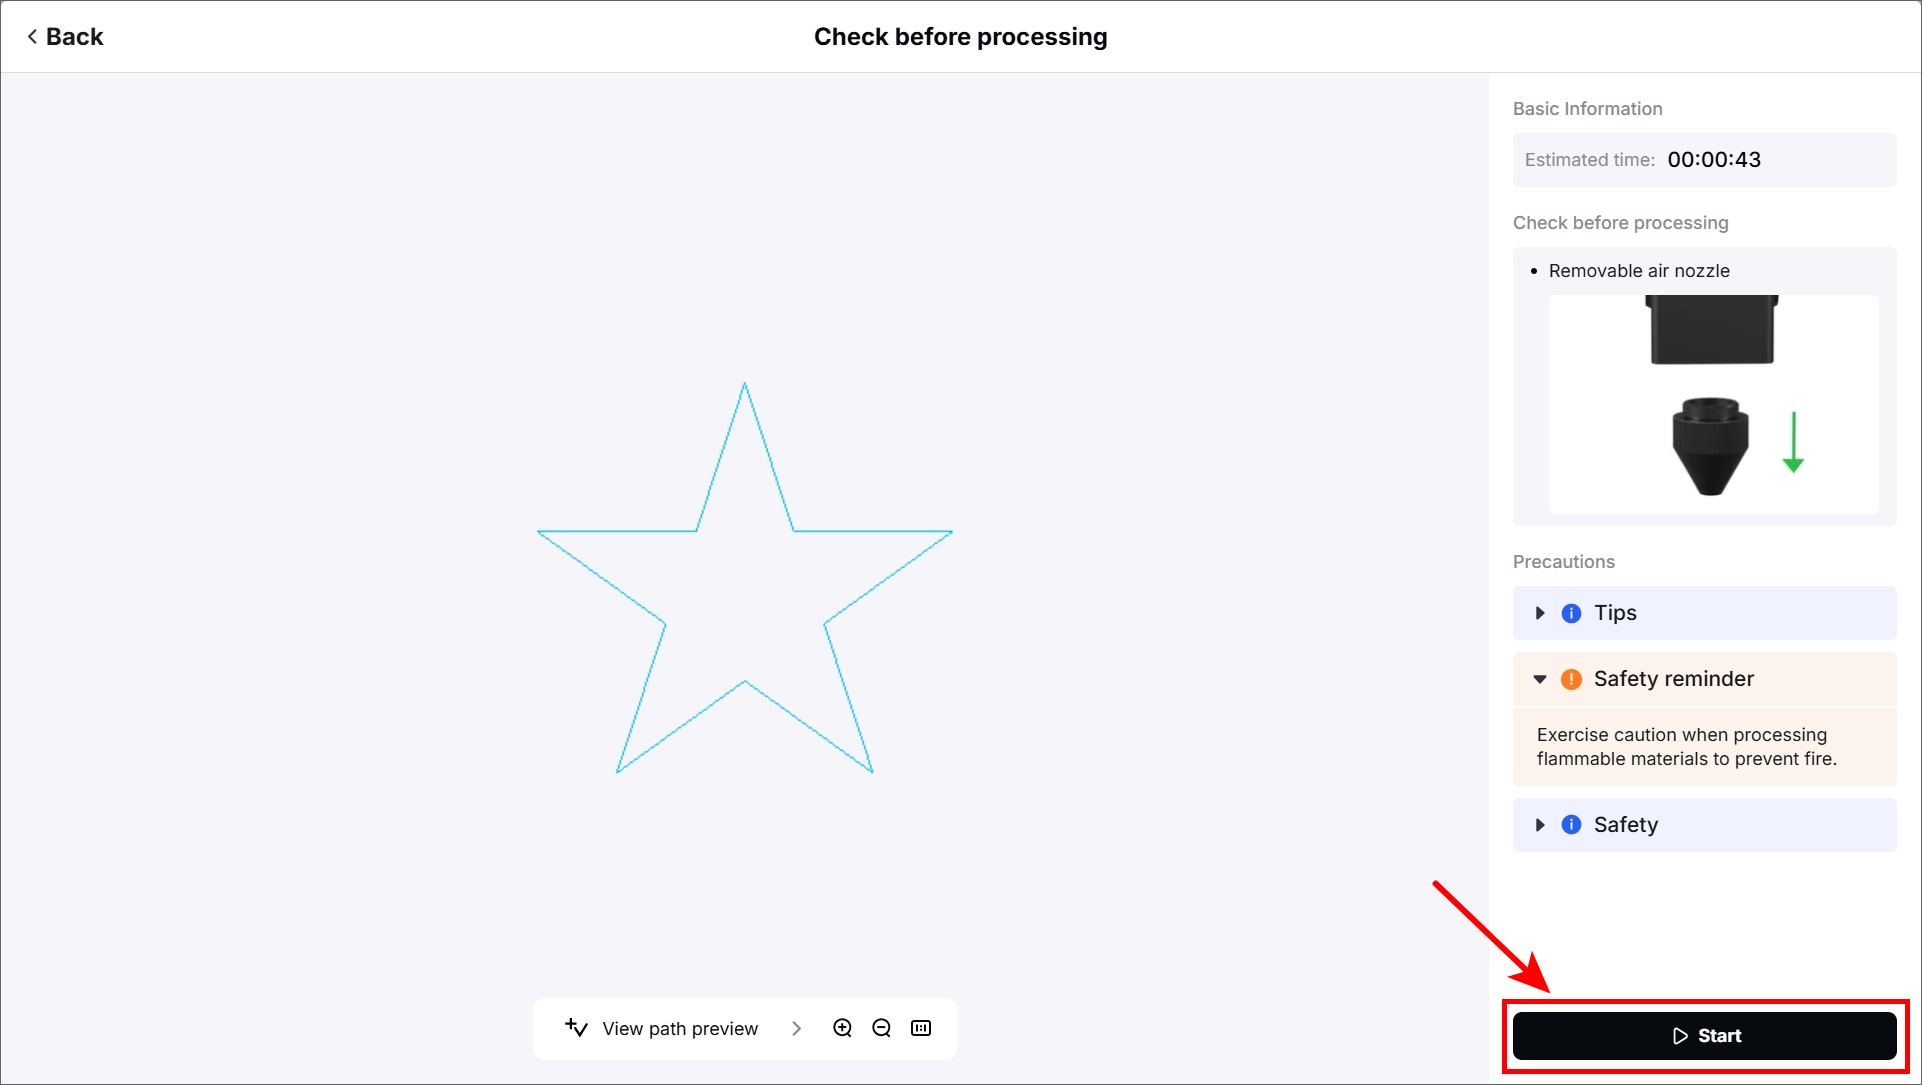
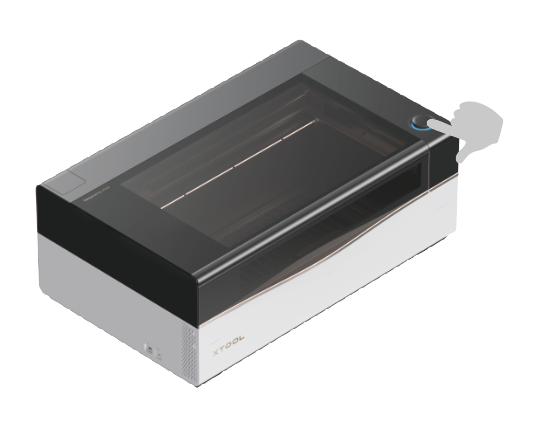
(4) When everything is ready, close the lid. Press the knob on xTool P3 to start processing.
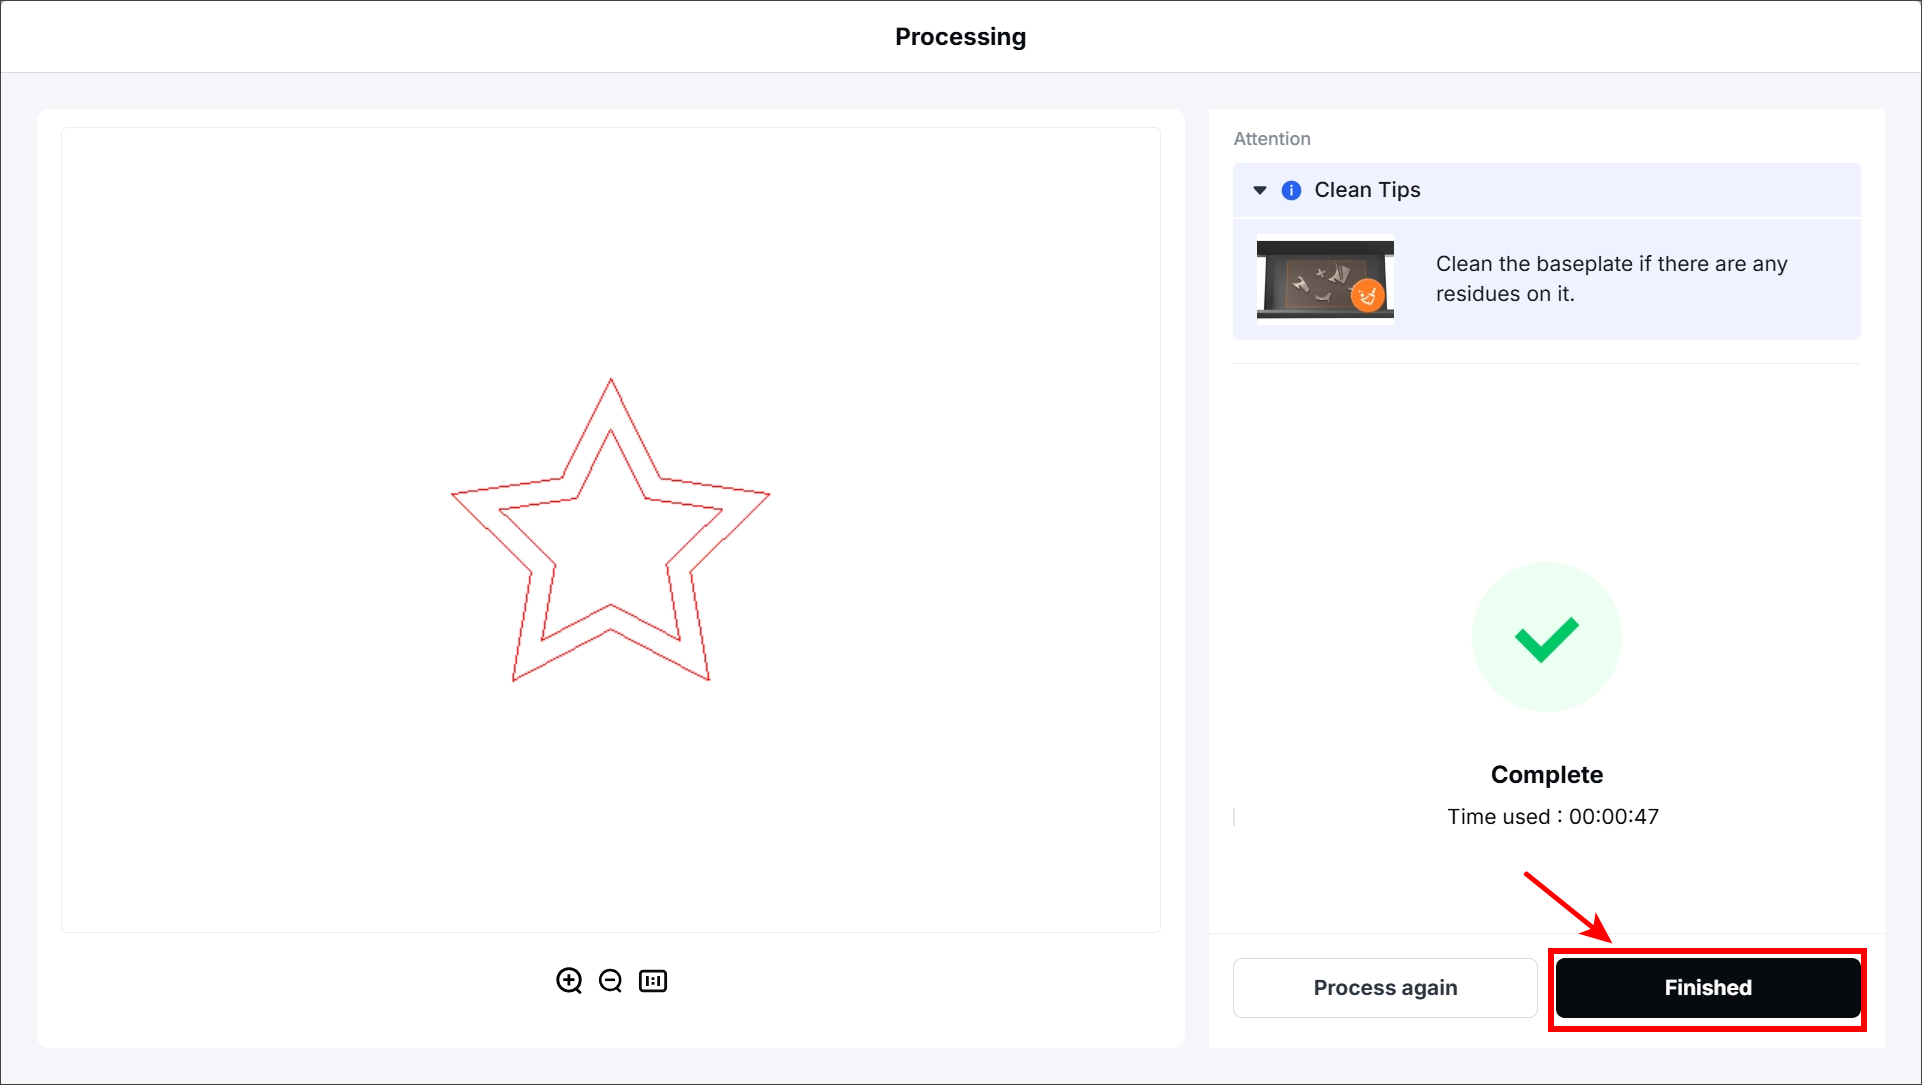
(5) After the processing is complete, click Finished.