
Finally, xTool Creative Space V1.0 is ready for you! We’ve made a lot of improvements in this version. Now let’s get through all of them!
What’s new in xTool Creative Space V1.0
1.Improvements and adjustments on “Text” function
1) The outcome of text engraving is improved.
As you can see in the comparison below. We enlarge the outcomes of letter “O”, which are processed with the XCS beta 8 and XCS V1.0.
You can see the edge of the letter is smoother when it’s processed with XCS V1.0.
The enlargement outcome processed with XCS Beta 8.  | The enlargement outcome processed with XCS V1.0.  |
2) If you engrave the text that is generated by “text” function in XCS, the thickness of it will be thickened. In XCS V1.0, this issue is solved.
3) We added more options for text setting.
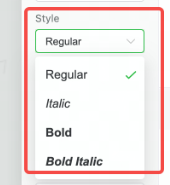
a.In XCS V1.0, you can set different styles of text.
Note: Different typefaces support different styles, depending on the typeface and what styles it supports that you have in your computer.
b.The unit of text size is changed to ‘pt’ (point).
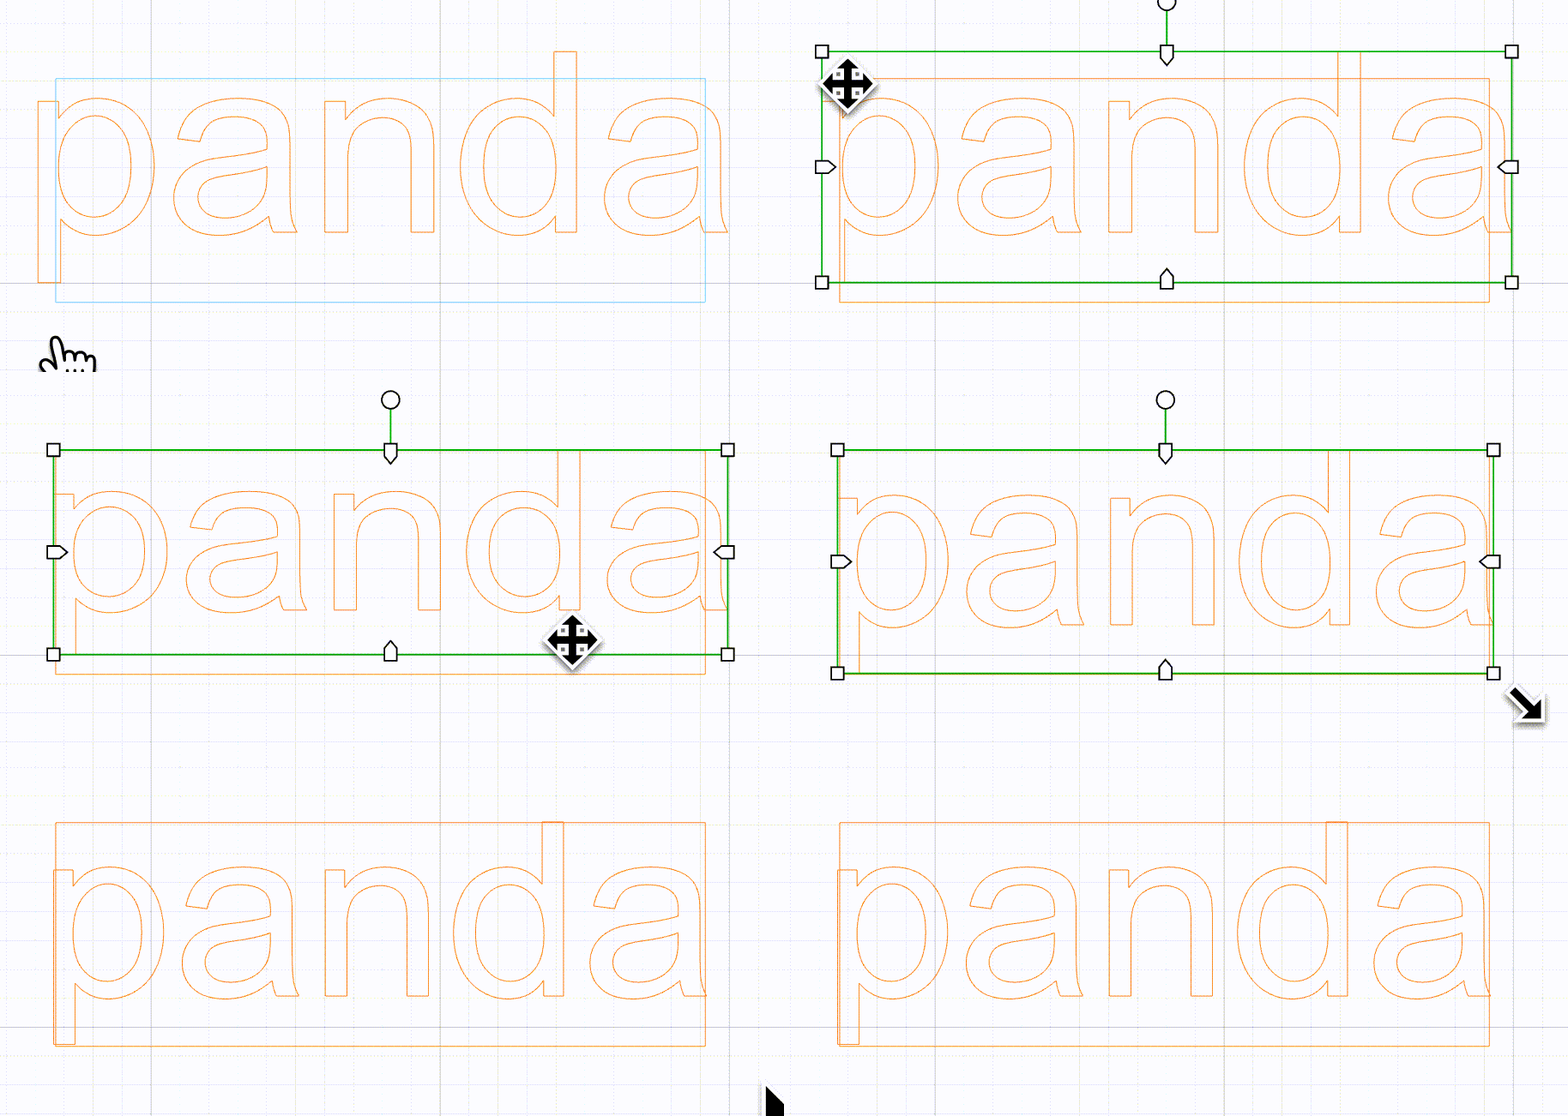
4) We optimized the selection box of text on canvas.
In the previous version of XCS, the framing area is beyond the actual size of the text due to the margin.
In XCS V1.0, the framing is more accurate.

5) Due to the overall upgrade of “text”, if you open previous project files in XCS V1.0, the text settings might change.
The following instructions are for your reference.
- Before you upgrade your XCS to version 1.0, make copies of the previous project files.
- After the upgrade of XCS, open the project files, check if the text settings are changed.
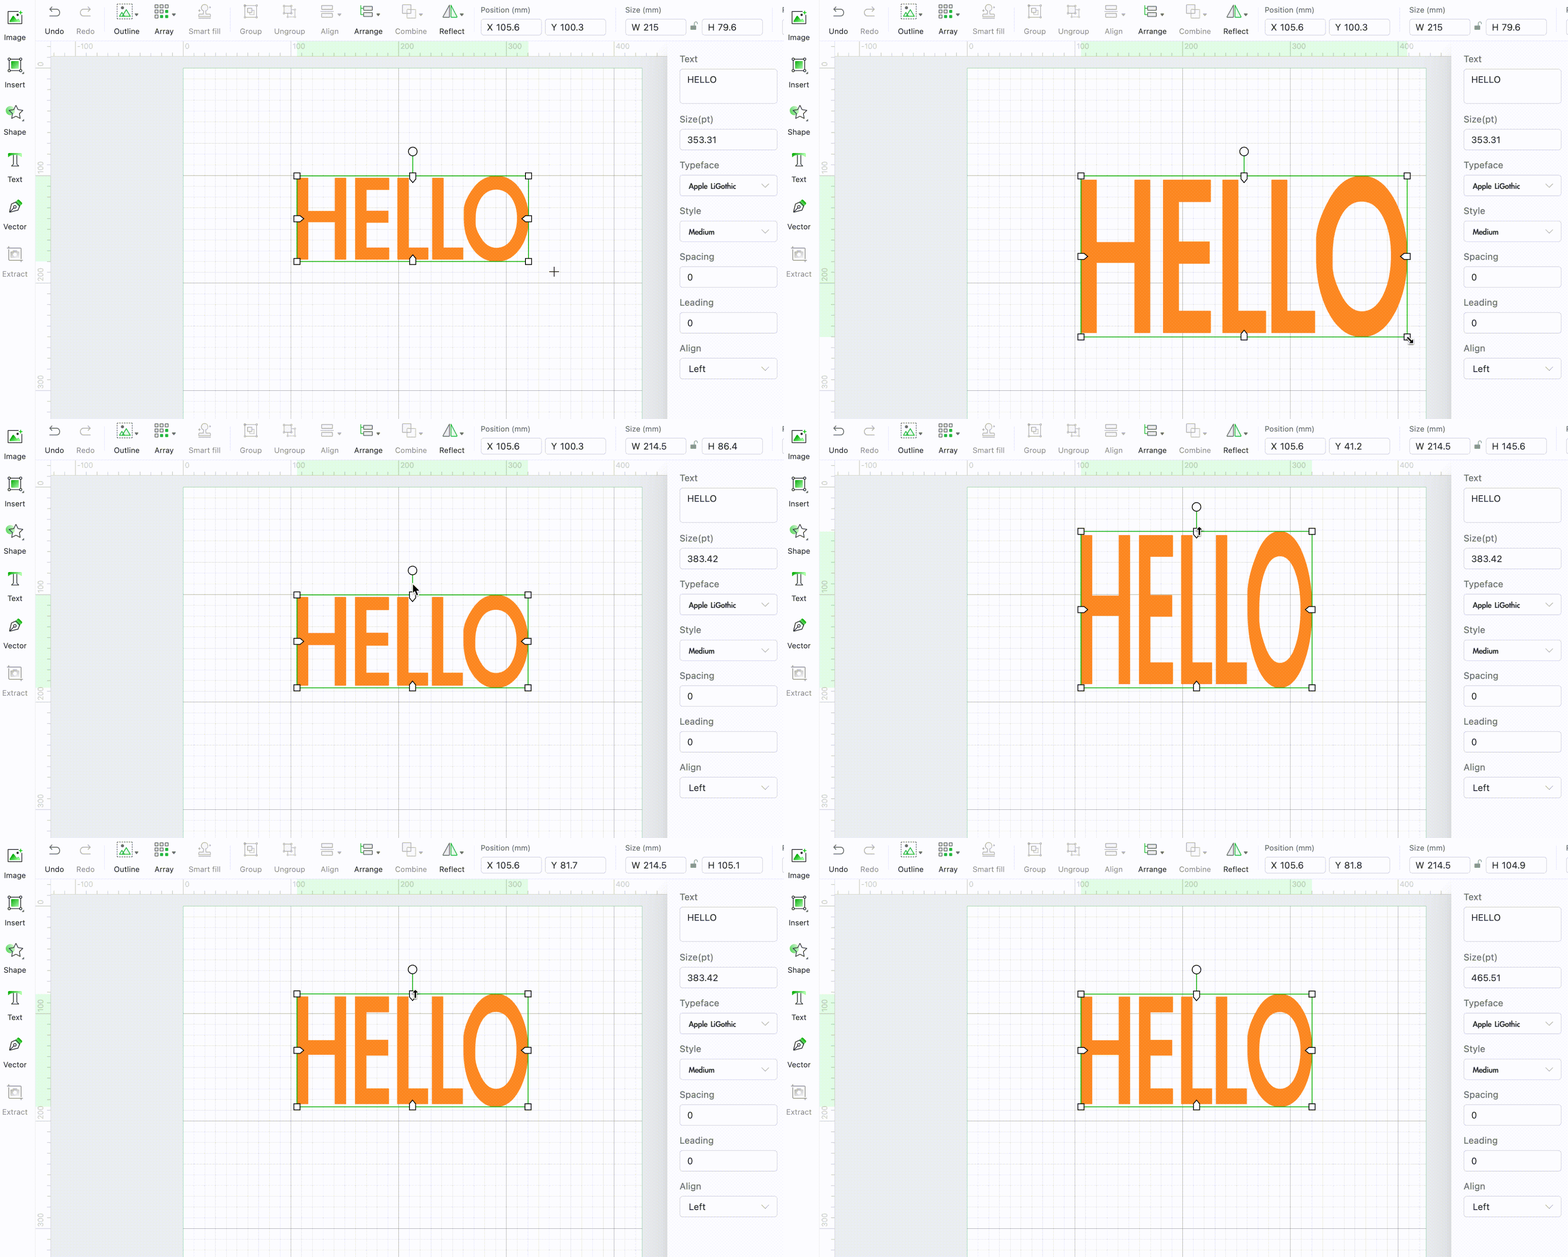
Scenario 1: If the text’s height is changed, drag the anchor point to adjust the height and x-height to the original ratio.
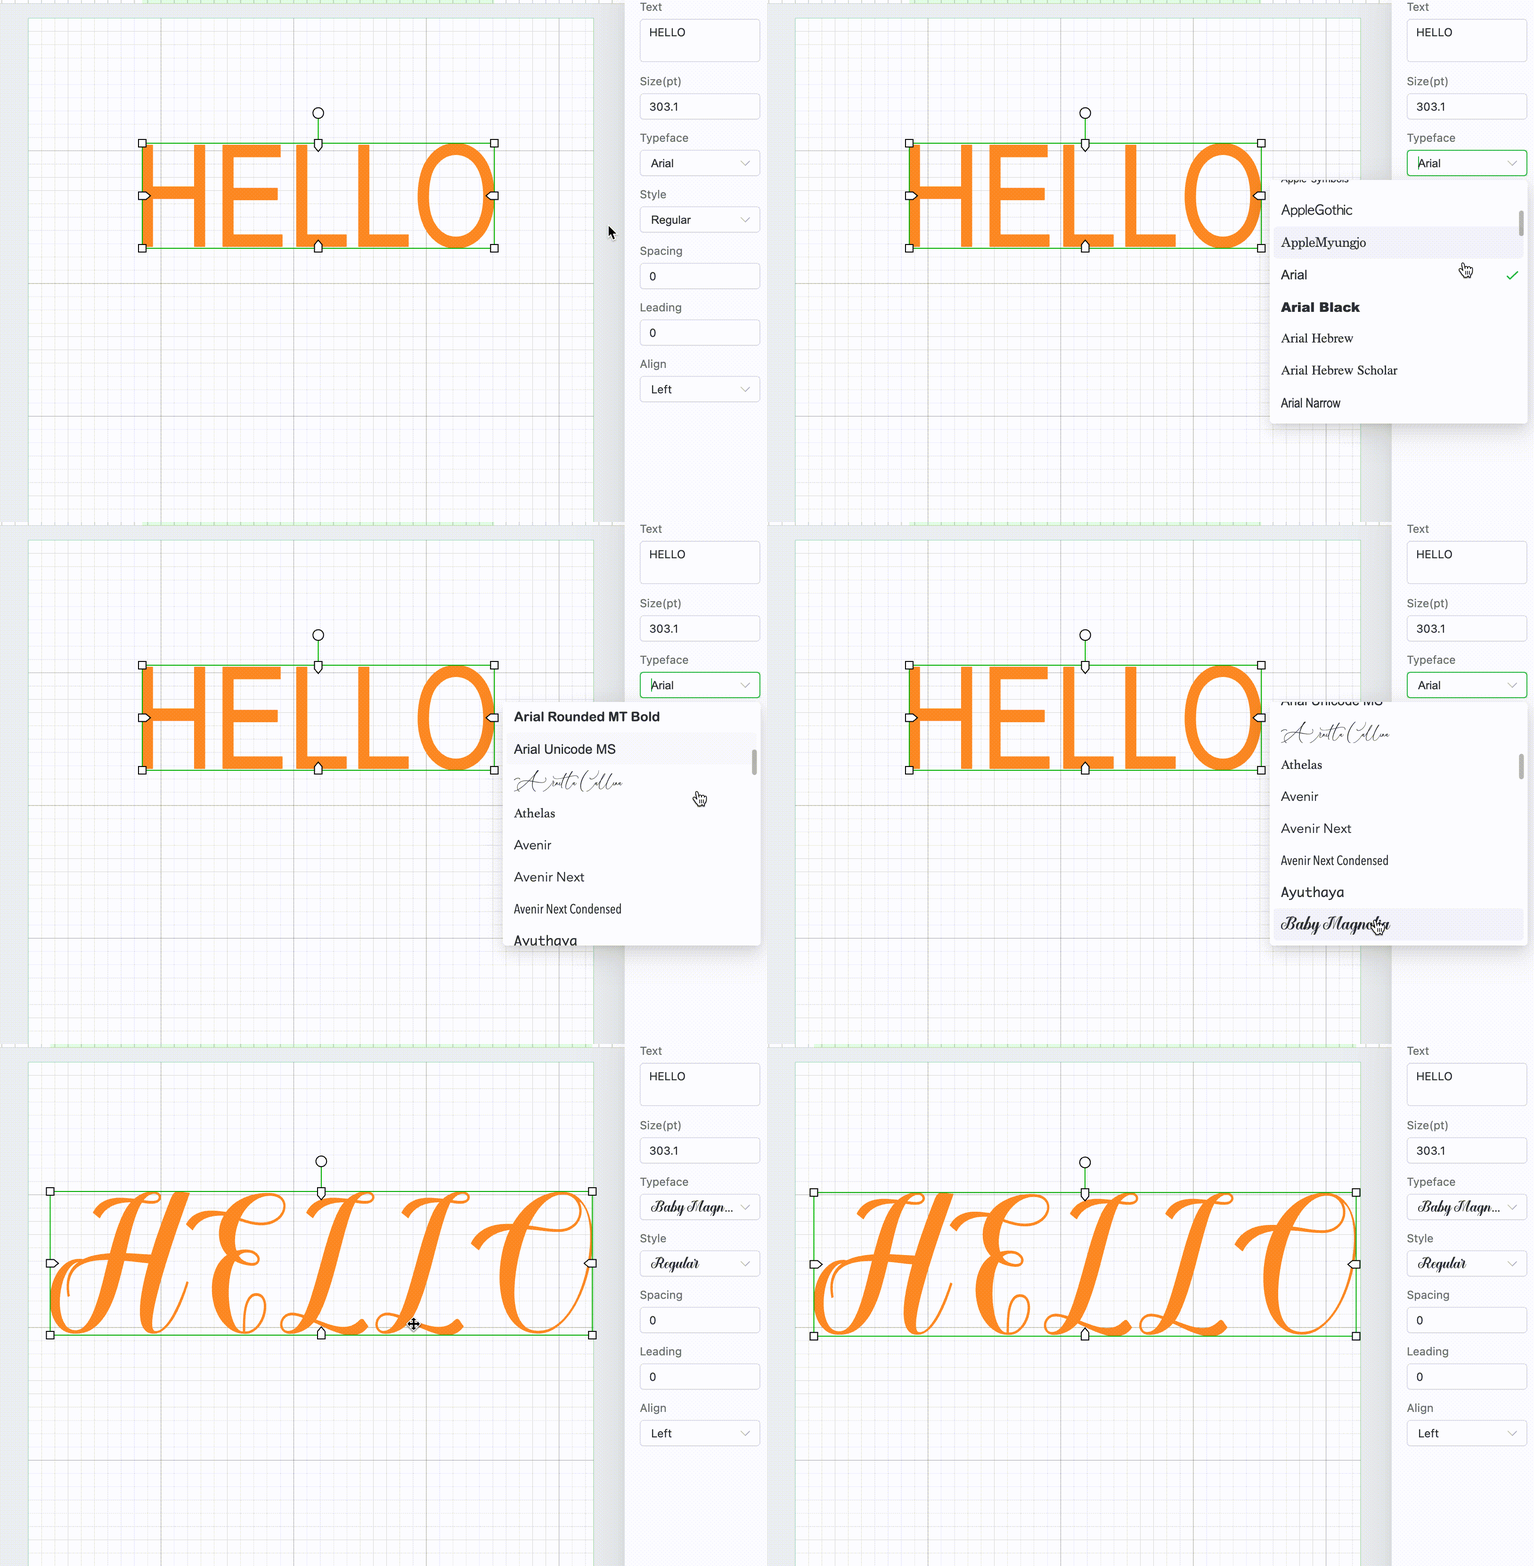
Scenario 2: If the typeface is restored to the default one, you can change to the typeface you want in the type face list on the text setting panel.
Scenario 3: If you want to restore the text size and ratio to its original settings, follow the following steps.
① Before updating the software, open the project file and draw a rectangle that fits tightly over the text.
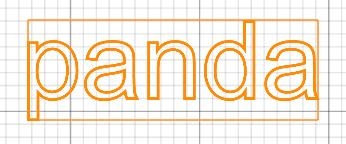
② Upgrade XCS to V1.0.
③ Then, in XCS V1.0, open the previous project file and adjust the position and size of the text to match the position and size of the rectangle.
6) XCS V1.0 does not support inputting emojis.
2.The upgrade of “Outline” function
There are 3 improvements of “Outline” function.
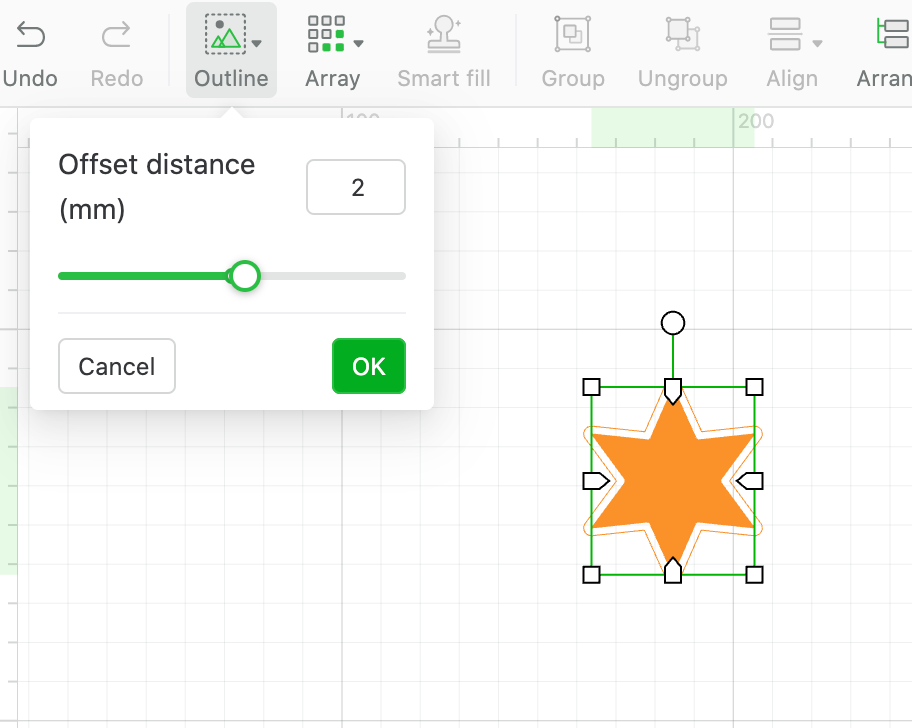
A. Setting outline for vector graphics is available.
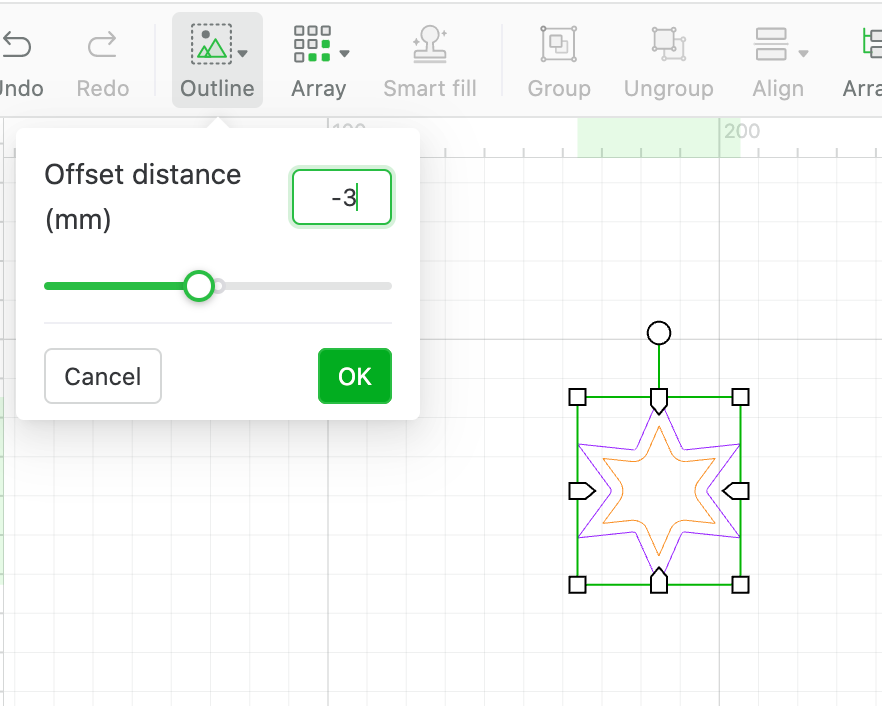
B. You can set a negative value for an outline now. In this case, the outline will show in the inner of an element.
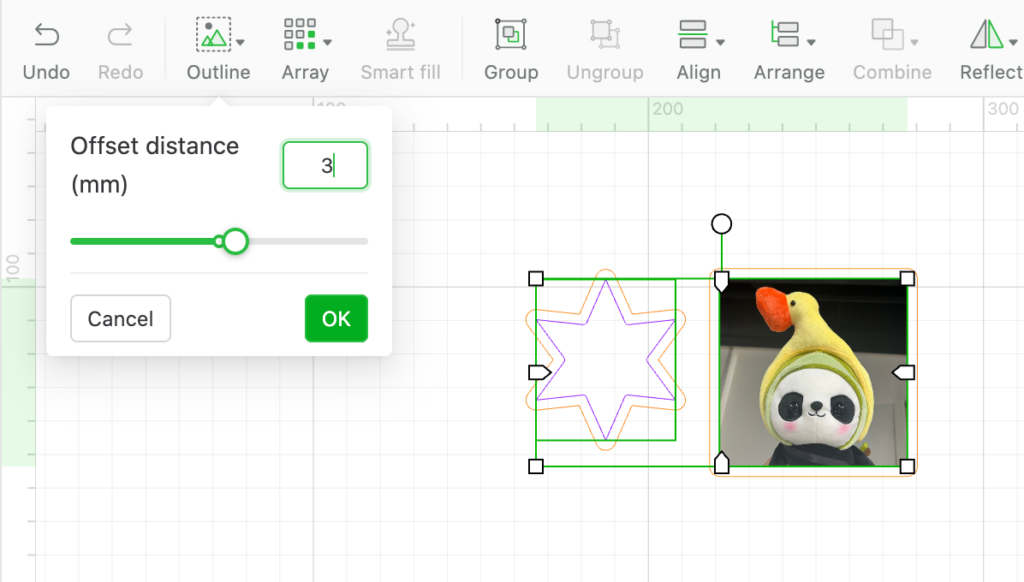
C. You can multiple-select bitmap graphics and vector graphics, and set outlines for them at the same time.
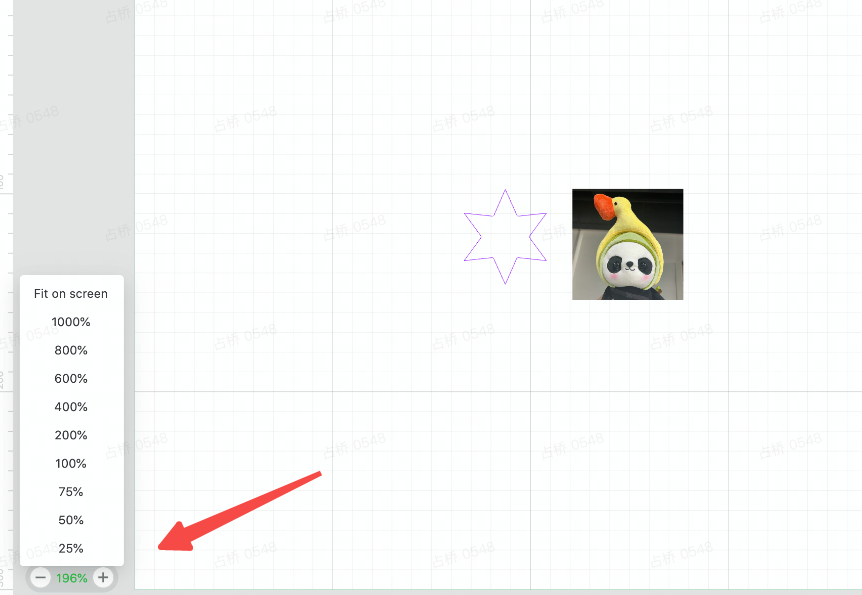
3.The zoom button is moved from the top right corner to the bottom left corner on canvas.
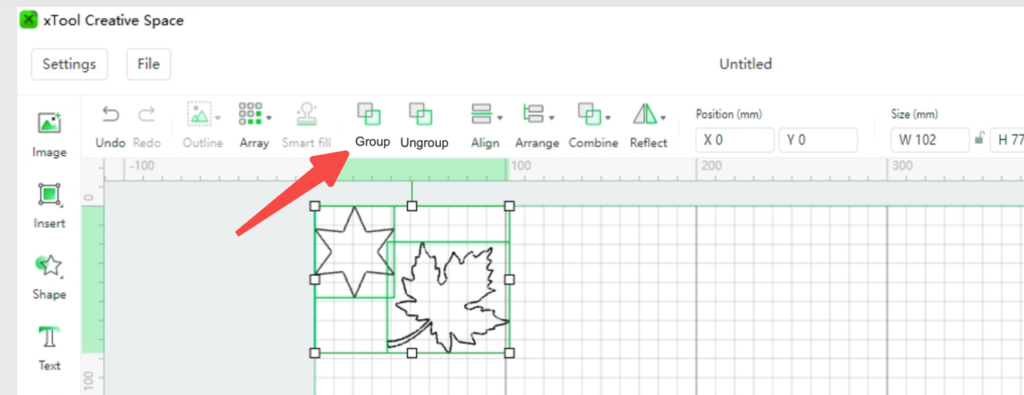
4.The group and ungroup options are added to the top toolbar.
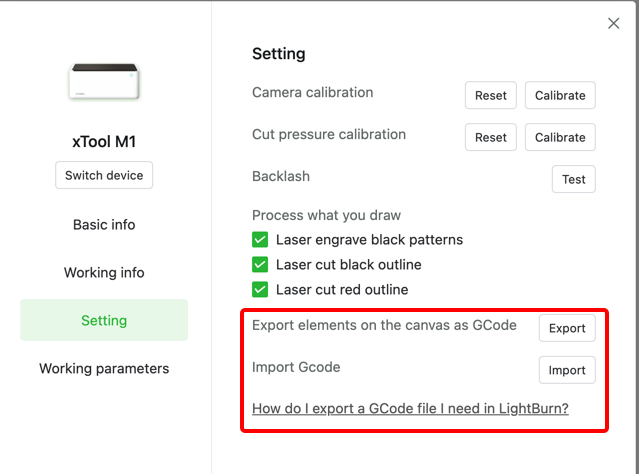
5.GCode export/import option is added to the device setting.
D1 & D1 Pro machine only supports exporting GCode.
M1 machine supports both exporting and importing GCode.
Instruction: How to Use LightBurn on M1? – xTool
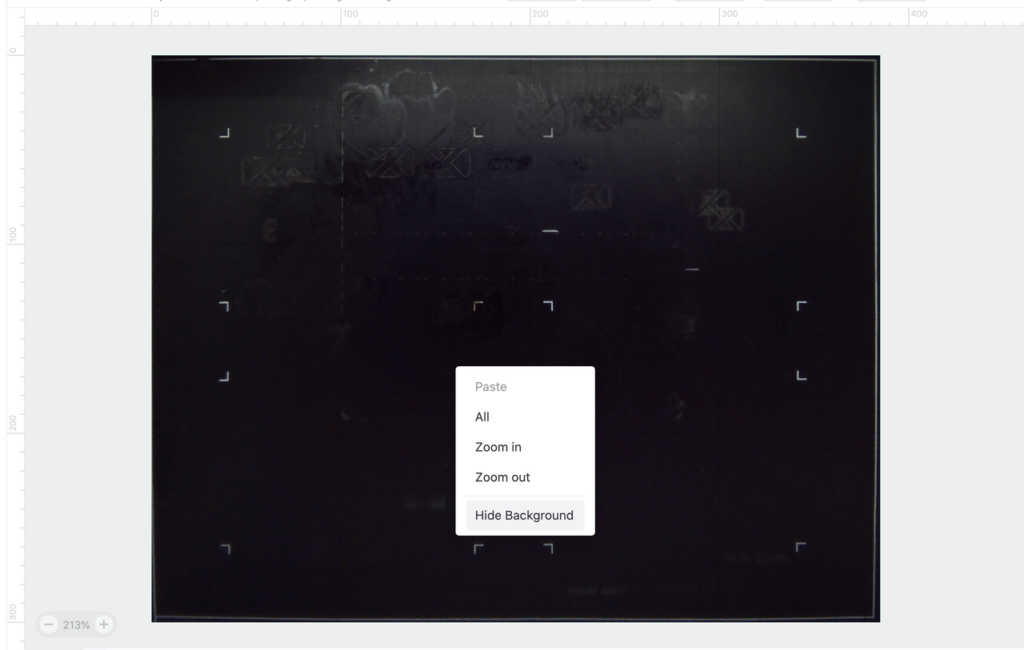
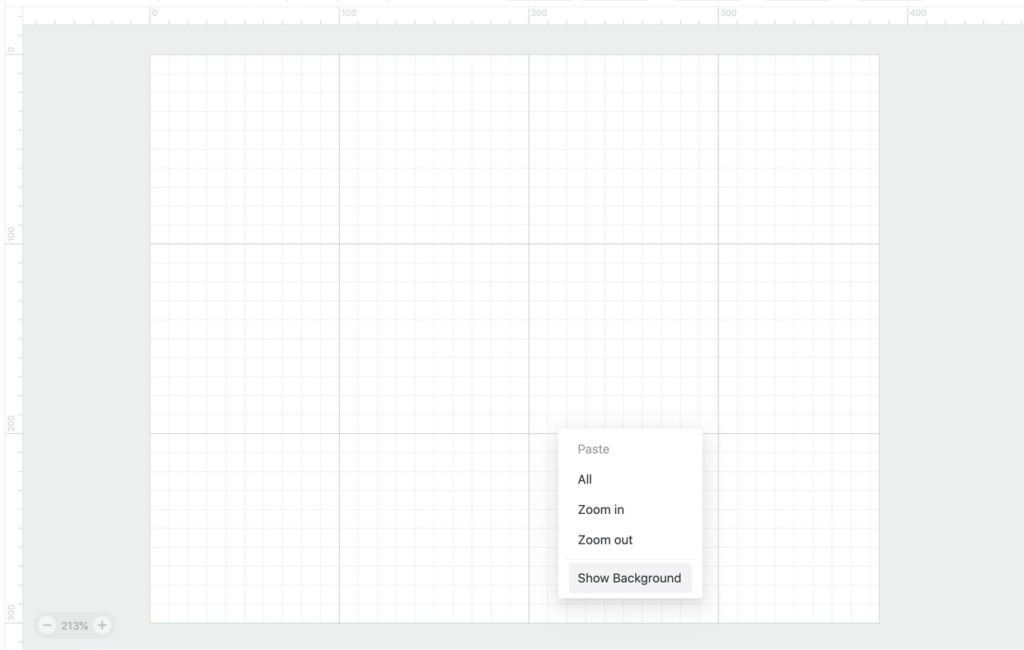
6.If you connect your M1 machine to XCS, you can now switch on/off the snap by the options “show/hide background. You can find the options by right-clicking the mouse on canvas.
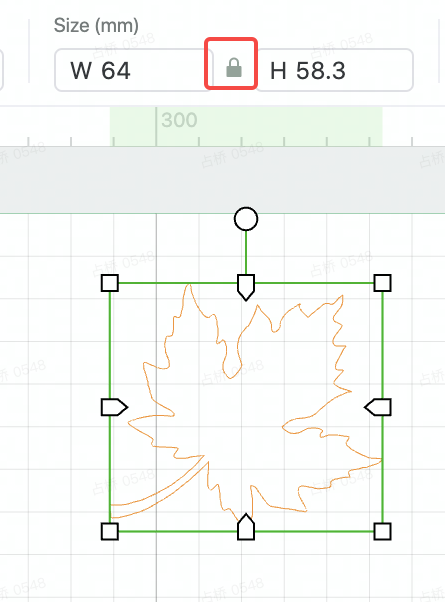
7.When scaling an element, the size ratio is locked by default. You can click the “lock” button to unlock the size ratio so that you can freely scale the element.
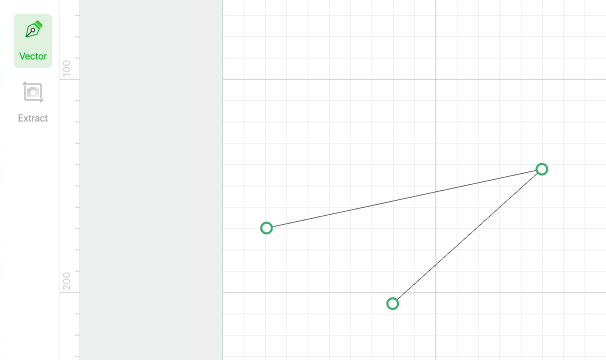
8.You can press the “esc” button on keyboard to stop the drawing with vector function.
9.If there’s a bitmap image in an SVG file, the image can be imported to XCS successfully.
10.In XCS V1.0, you can adjust the light power and speed of framing by clicking the setting button next to the framing button in the preview page.
Please note that, due to different material characteristics, a high power may create burn marks on some materials.
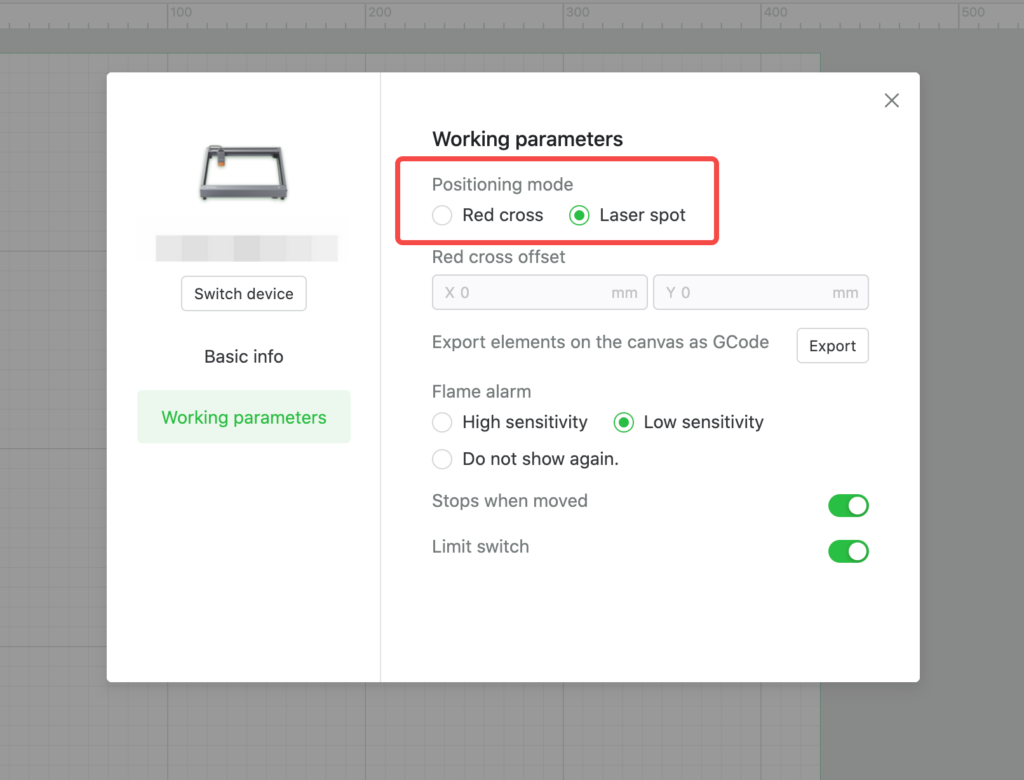
If you use D1/D1 Pro, you need to switch to “laser spot” in device setting so that you can adjust the light power of framing.
If you use an infrared laser head, you can adjust the light power.
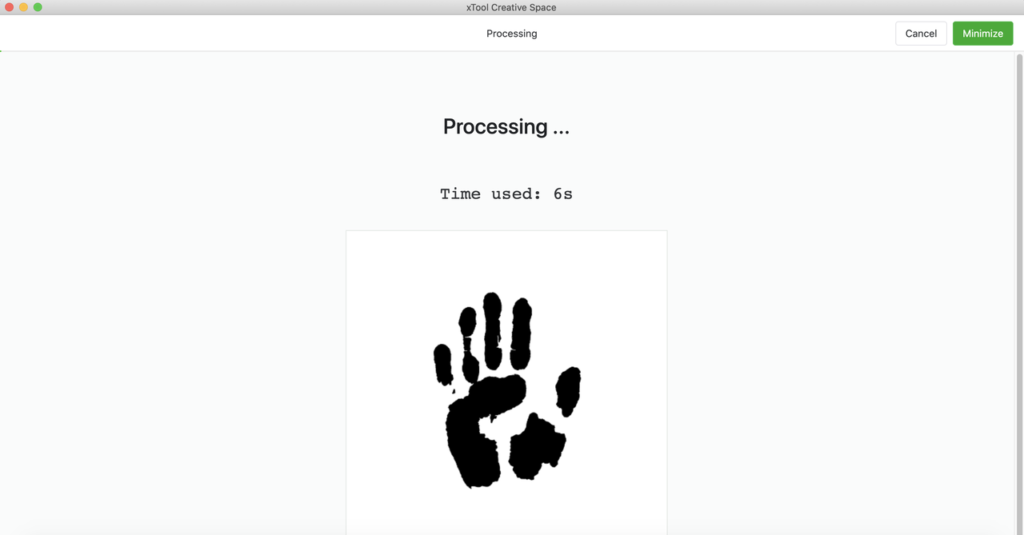
11.Now you can see how much time that has been used for processing on this page.
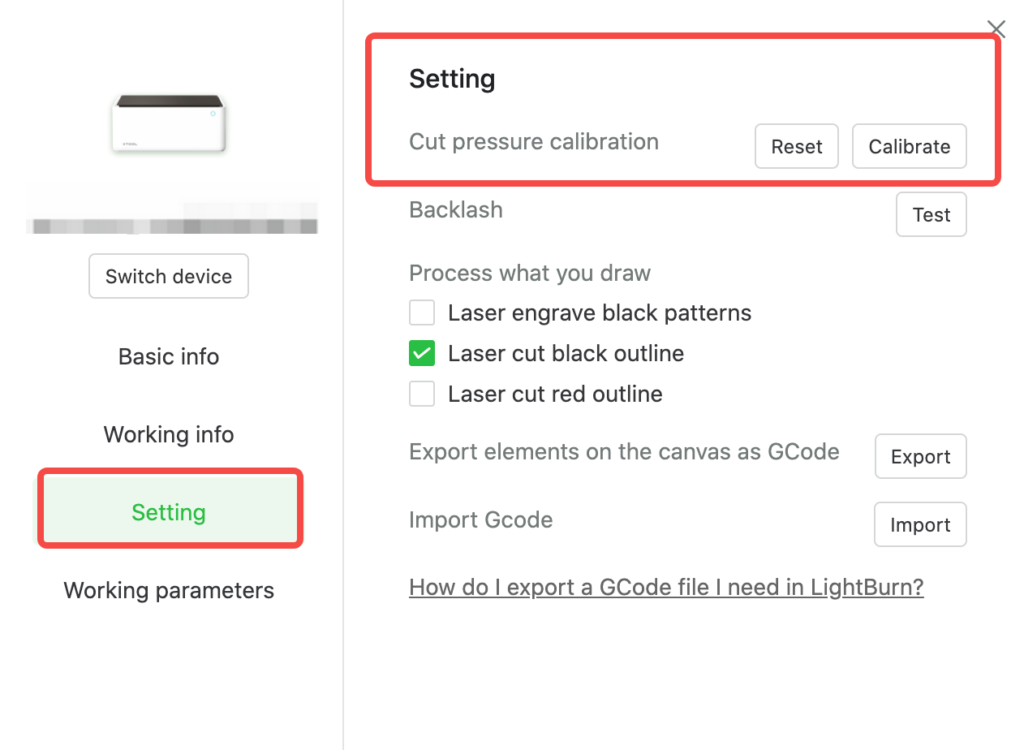
12.Cut pressure calibration
If you have replaced the laser head or the cut pressure changed due to some reasons, this function can be used to restore the cut pressure to M1 factory setting.
13. Smaller Nudge Distance
When you select an element and press the up/down/left/right key, it will move 0.1mm at a time. When you select an element and press shift + up/down/left/right key, it will move 1mm at a time.
14. More parameter settings of different materials are ready. You can use the settings offline.
Bug Fixes
- Fixed that the text can’t be displayed on canvas completely occasionally, so that the outcome of processing is not complete as well.
- Optimized the experience when selecting the outline of a bitmap image. It’s easier to select the outline now.
- In previous versions, if you edit a complex image, then undo the operation, the position of it would shift. In XCS V1.0, this issue is fixed.
- Fixed that SVG files with ’em’ and ‘ex’ units can’t be opened correctly.
- Fixed that in some SVG files, if there’s a rectangle with round corners, the round corners can’t show correctly.
- In previous versions, if you draw a non-closed graphic whose start point and end point are very close, it would be processed as a closed graphic. In XCS V1.0, this issue is fixed.
- Optimized the order of processing. In XCS V1.0, the cutting will start after all the engraving is done in a project in most cases.

Services & Help
Learn & Community
Copyright © 2025 xTool All Rights Reserved.