Hi xToolers!
Many D series users shared that their limit sensors are overly sensitive, causing annoying work stoppages. So today, we’ll provide you with a full-covered guide on the appropriate manner to fix and modify your limit sensors. Let’s jump right in!
🛠 Installation
What you'll need:

X-axis Limit Sensor:
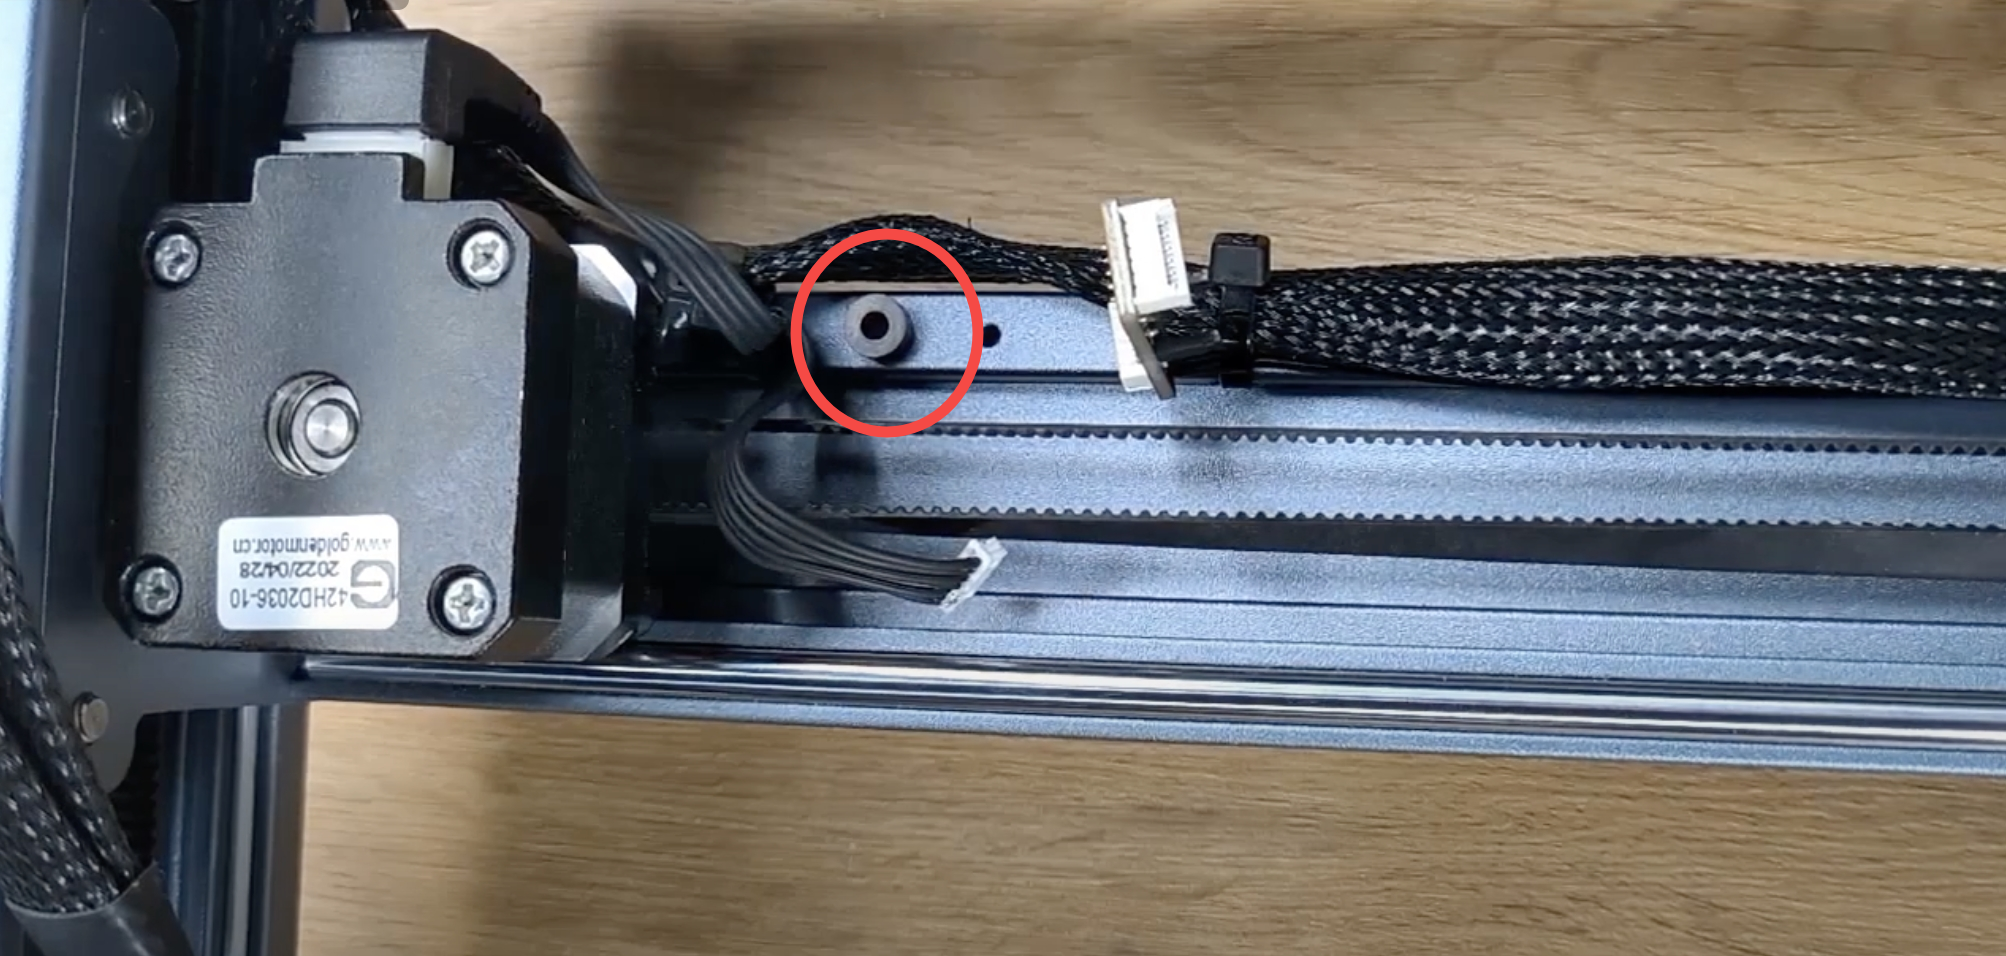
Step 1: Find the X-axis limited sensor located at the left of the motor

Step 2: Connect the wire at the bottom.

Step 3: Align the screw pad with the X-axis hole.
Step 4: Fasten the sensor with screws.
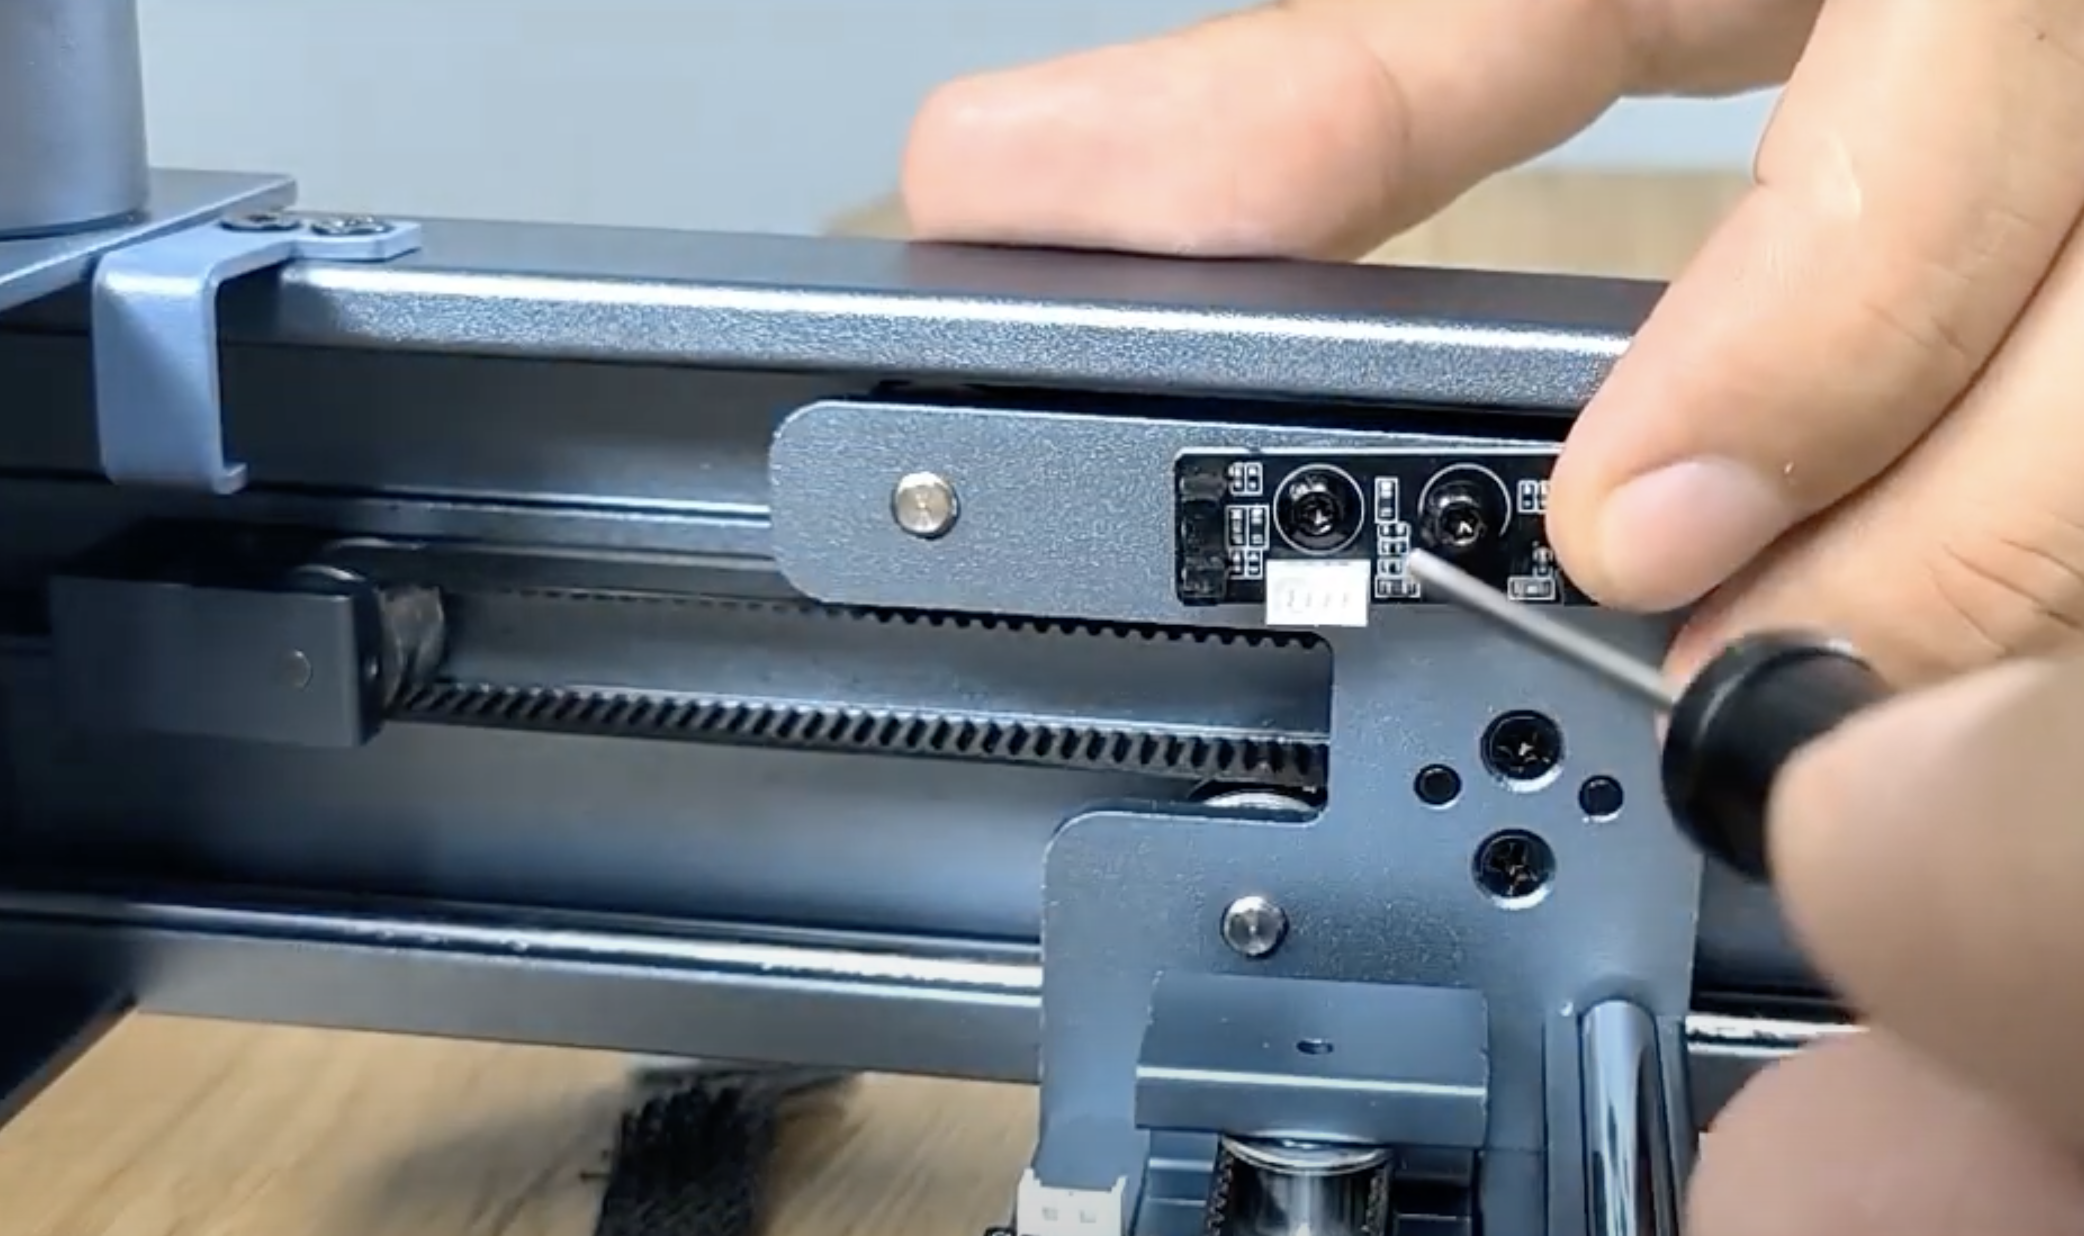
Step 5: Connect the other end of the wire.

Y-axis Limit Sensor:
Step 1: Cover the screw and screw washer.
Step 2: Tighten the screws to secure the sensor.
Step 3: Install the connection wire.

🧐 Troubleshooting:
If the sensor doesn't work properly, double-check that the connecting wire is plugged in correctly, ensure the limit sensor is covered, and inspect the sensor for damage.

🖥 Adjust Settings in XCS
D1 Pro is equipped with position limit switches. When the laser module moves close to the machine frame, the sensor on the switch will be triggered to prevent a collision. This will also trigger the buzzer and an alarm message will show on the XCS software.
Enabling the Limit switch function restricts the laser module's movement range to prevent collisions with the machine's side plates. If needed, you can choose to disable this function for more flexibility in the XCS Working parameters setting.

Additionally, there is also a Flame alarm setting. Sometimes, environmental factors can affect the fire alarm accuracy, causing false alarms or missed detections. You can turn down the sensitivity for more accurate fire detection, or select "Do not show again" to prevent the flame sensor from triggering alarms, buzzers, or light indicators when sensing open flames or sparks. This way, you can avoid job interruptions due to false alarms.
And there you have it! With this guide, you'll be well on your way to a more seamless engraving experience with your Xtool D-Series laser engraver. Happy engraving!
Services & Help
Learn & Community
Contact Us

Copyright © 2025 xTool All Rights Reserved.