xTool Store
Outline Function Tutorial
Updated Nov 22,2024
Updated Nov 22,2024
Understanding the Basics: Bitmaps and the Outline Function
The Outline function is particularly useful when working with bitmap images. You can set the outline value, and the contour will be extracted.
Step 1: Prep Your Bitmap
The Outline function cannot distinguish the major image from the background. If your image doesn't come with a transparent background, here's a quick fix:
Select your image and click
Edit Image to check the background.If you spot a background, use the
Magic Wand tool to remove it. Remember, this step won't convert your image to a vector but preps it for outlining.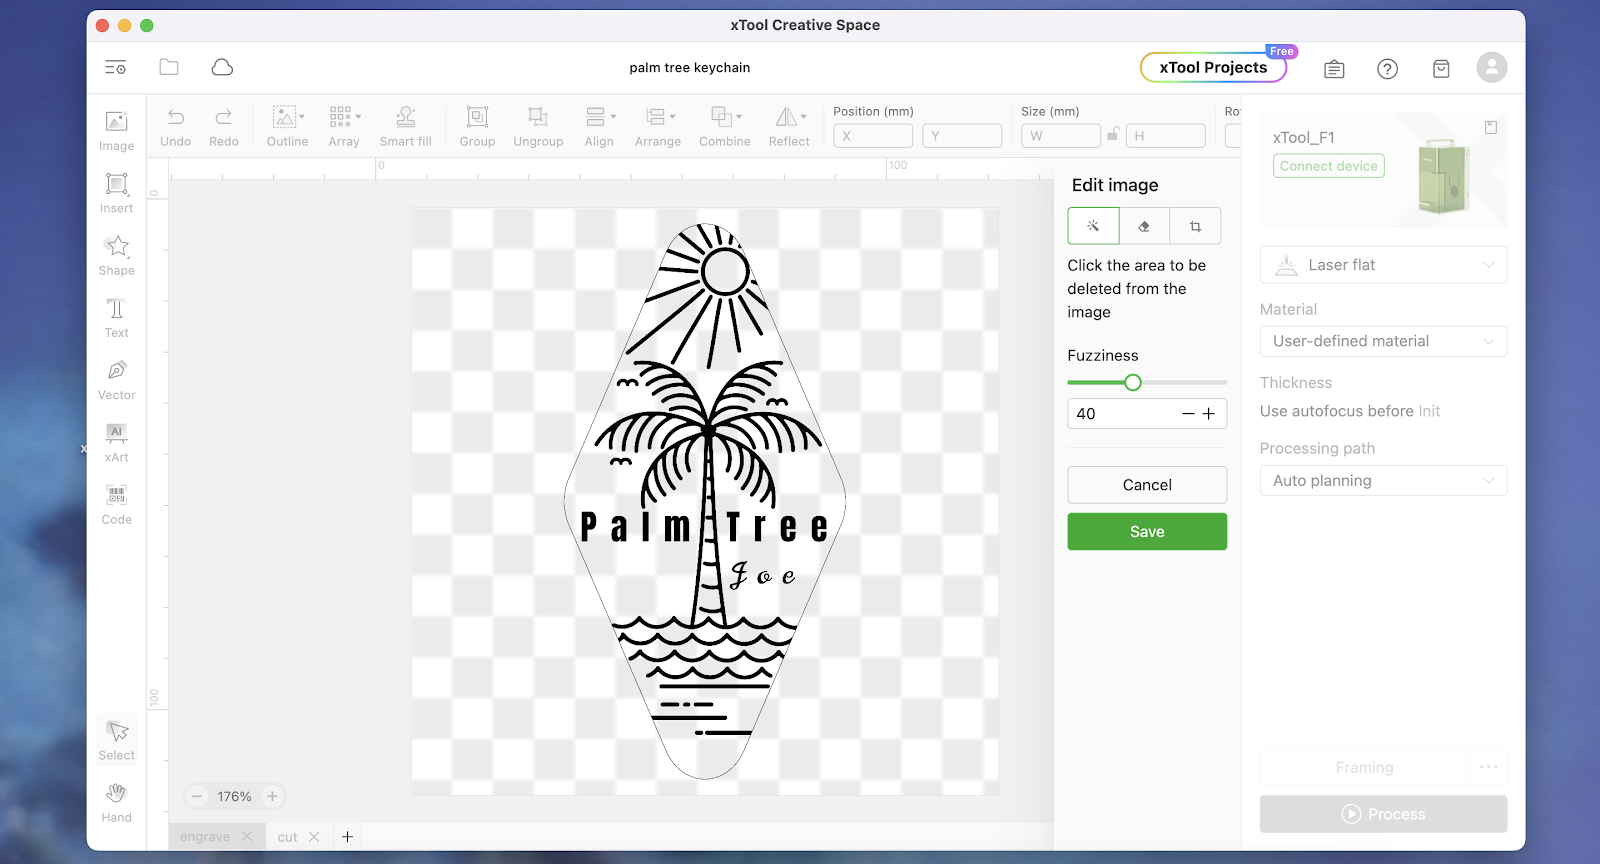

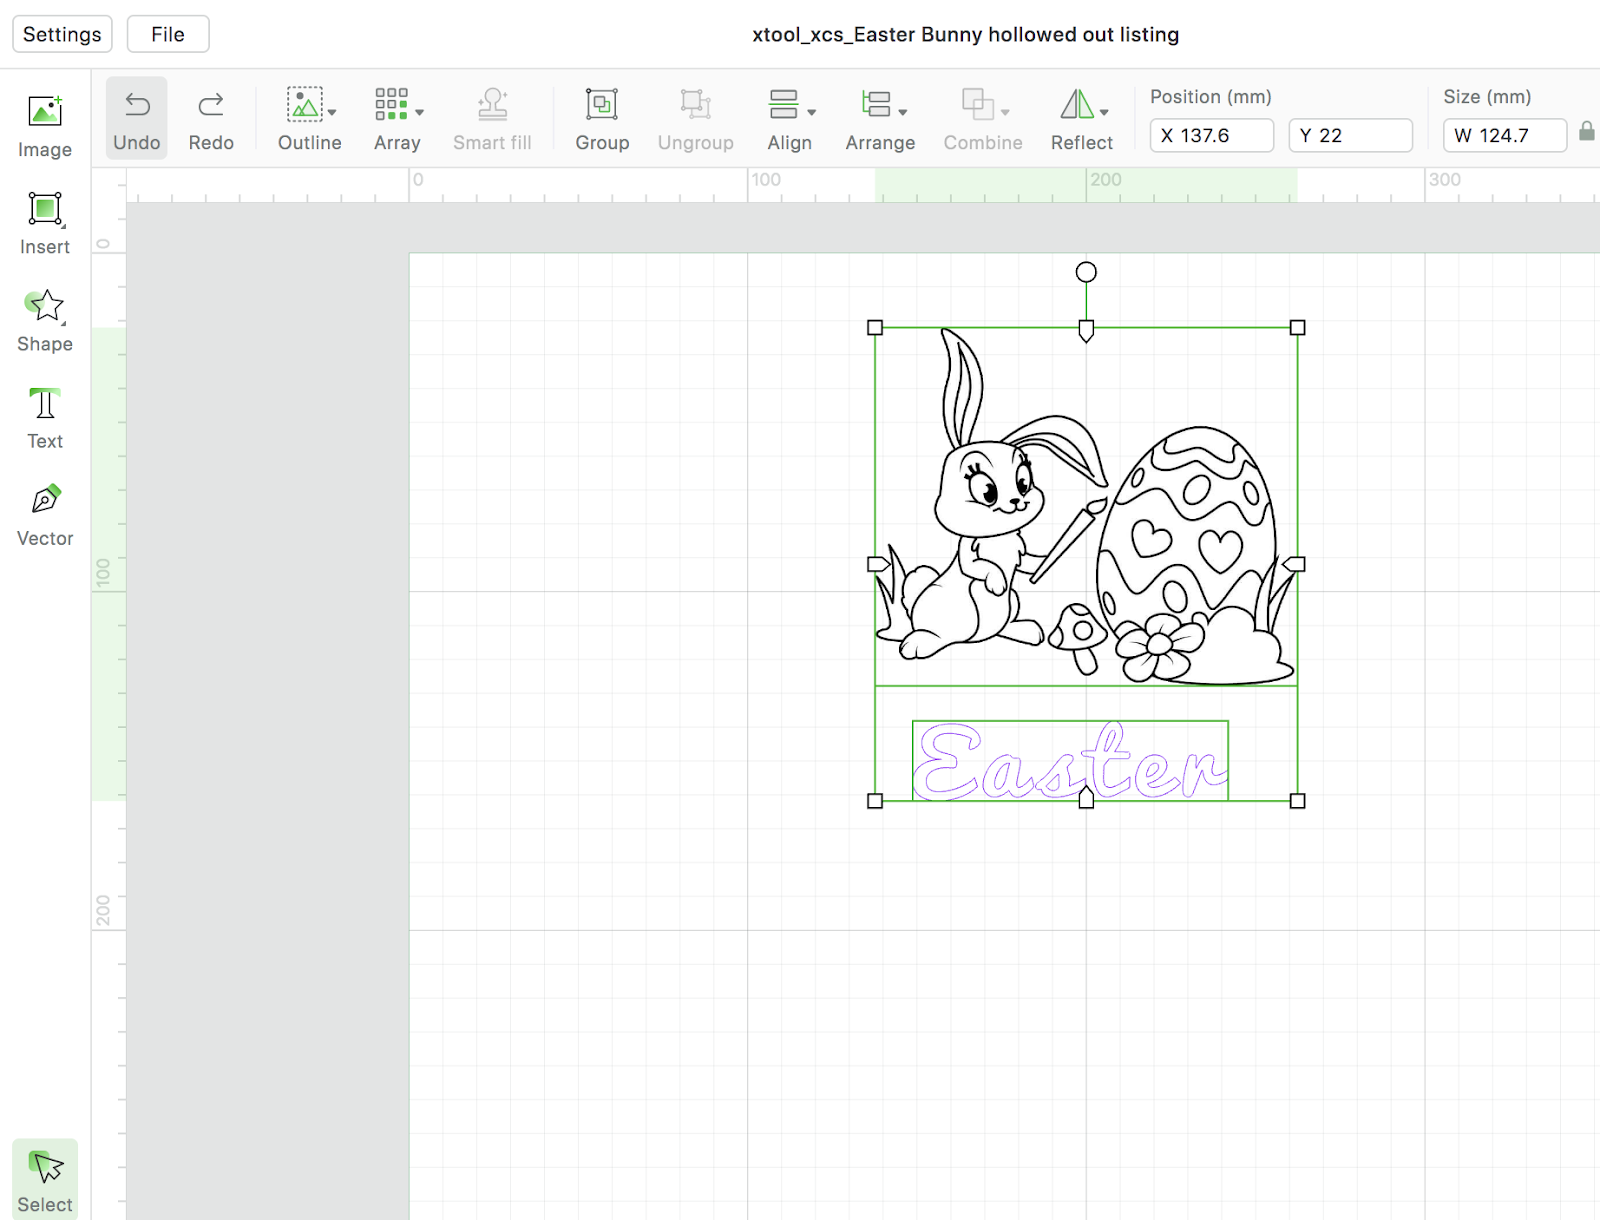
Step 2: Outlining
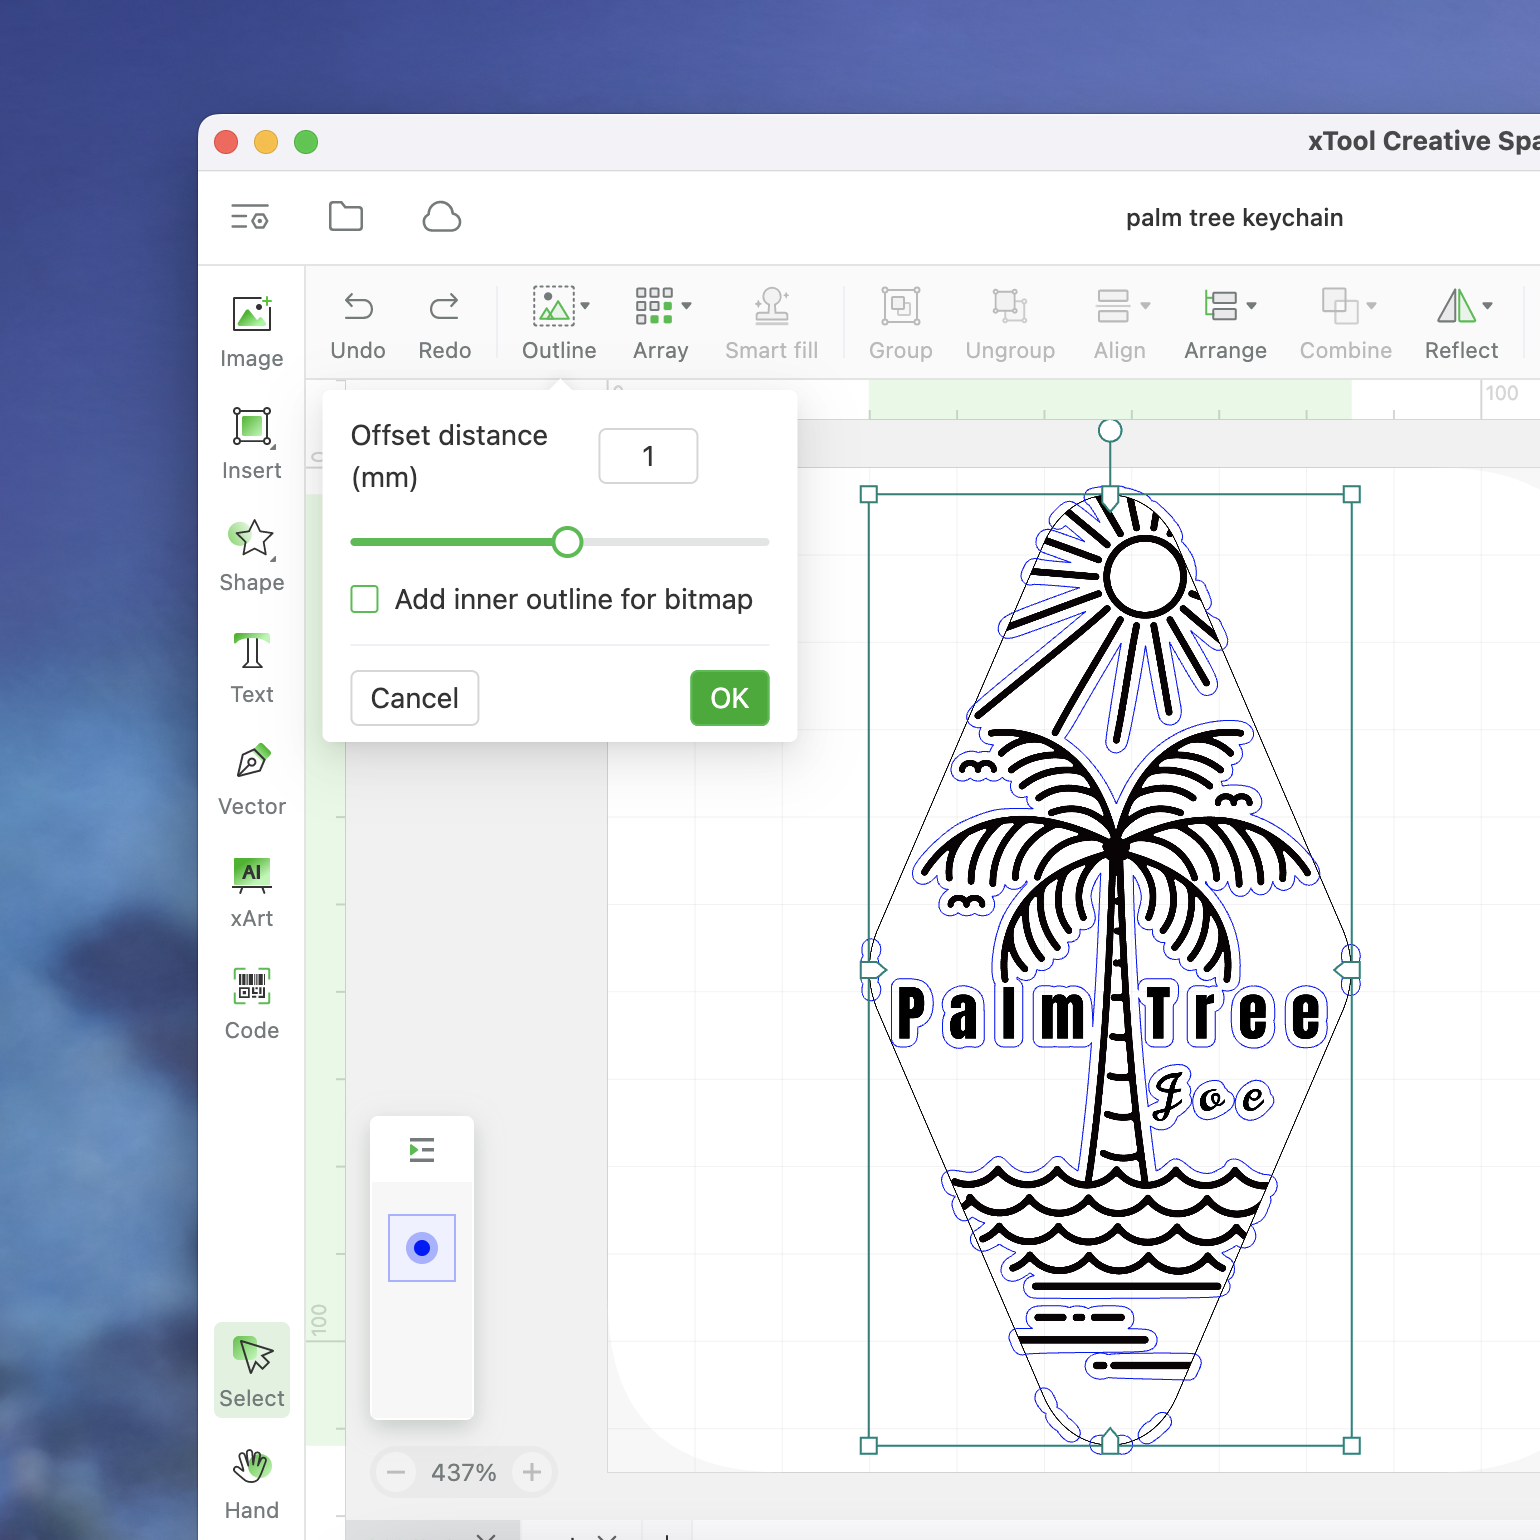
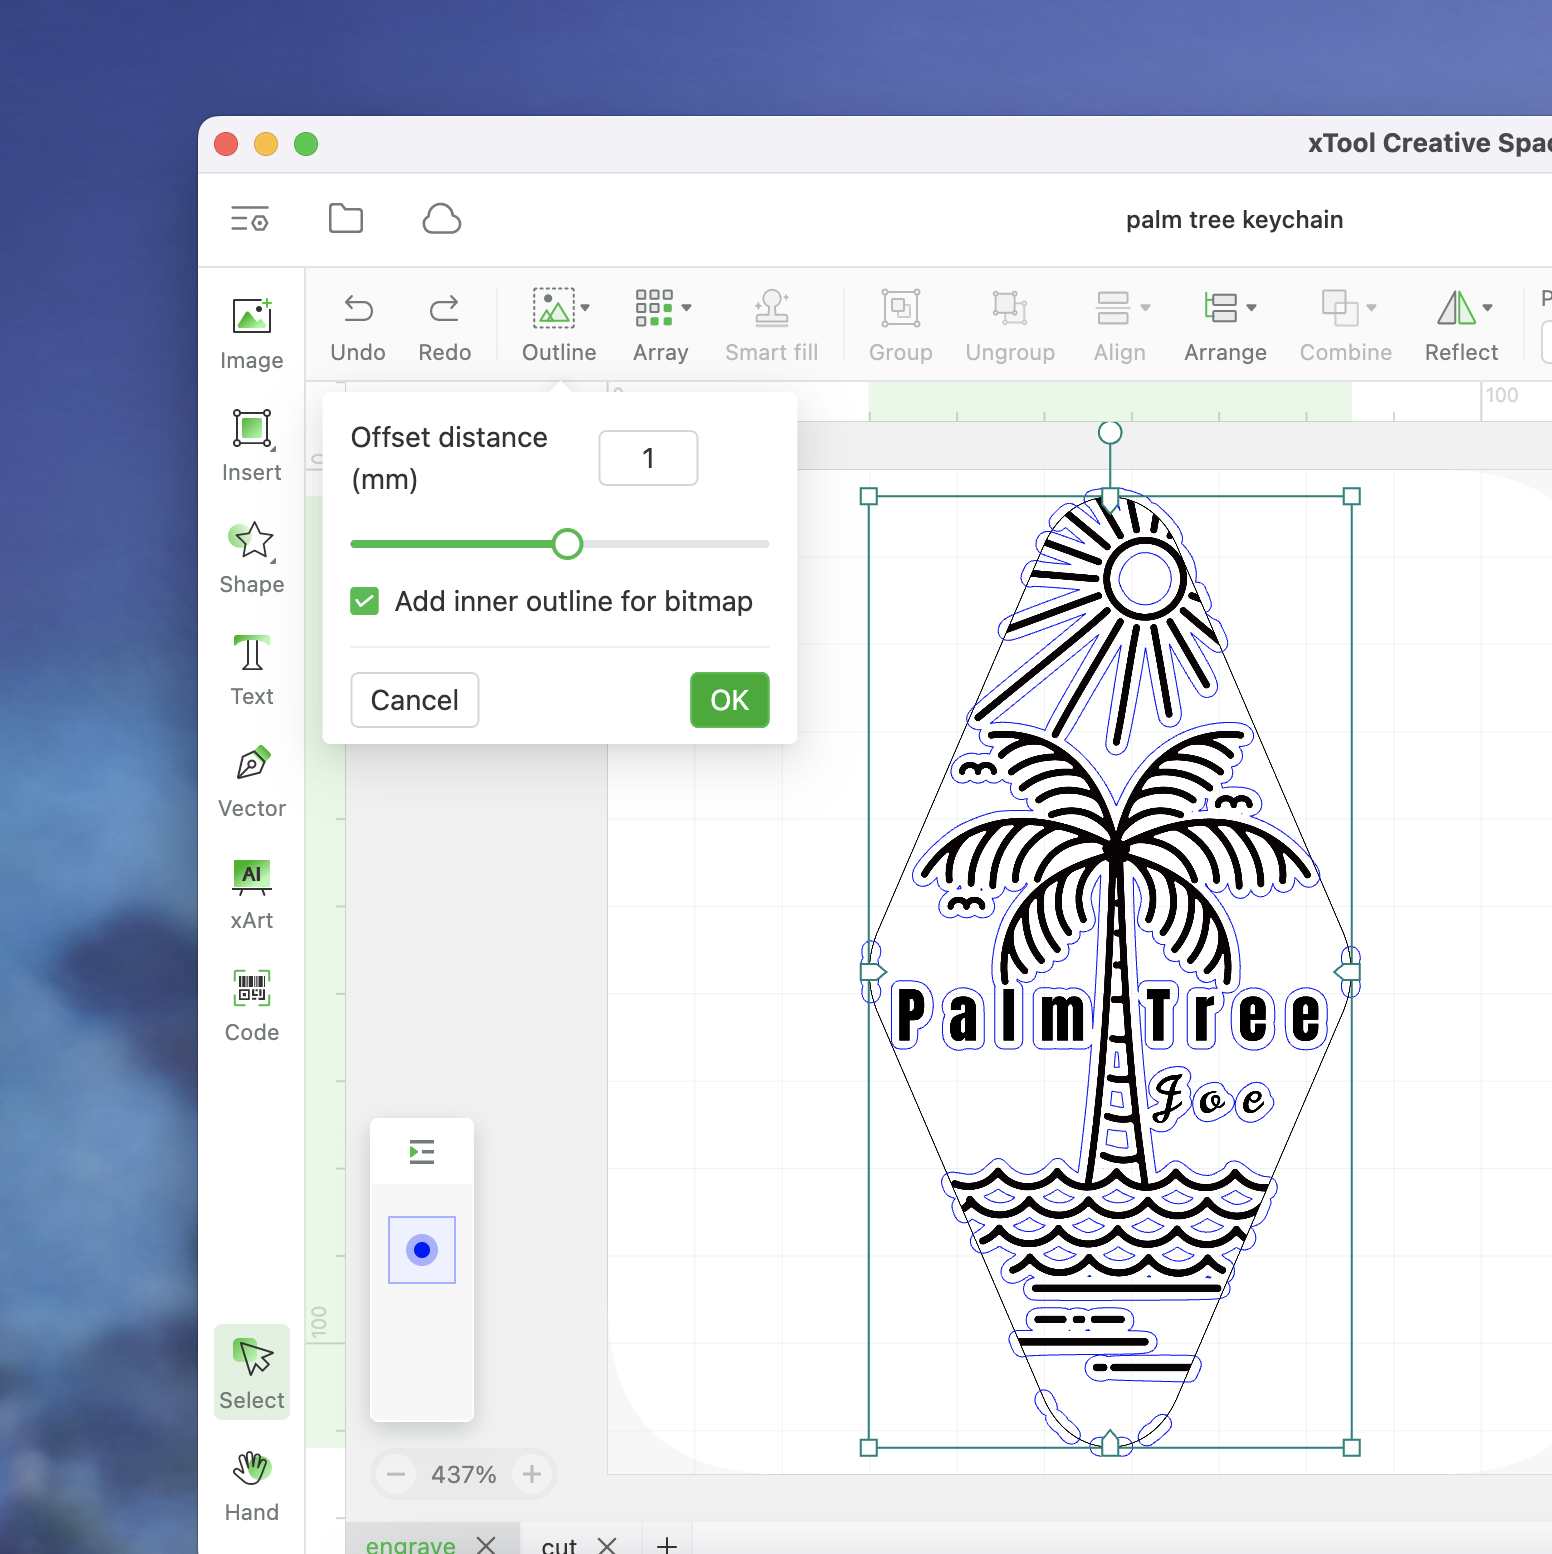
Select your image and hit the
Outline button on the horizontal toolbar.Set the offset distance. Opting for 'Add Inner Outline for Bitmap' adds a neat contour around your lines, creating a hollow effect.
 |  |
 |  |
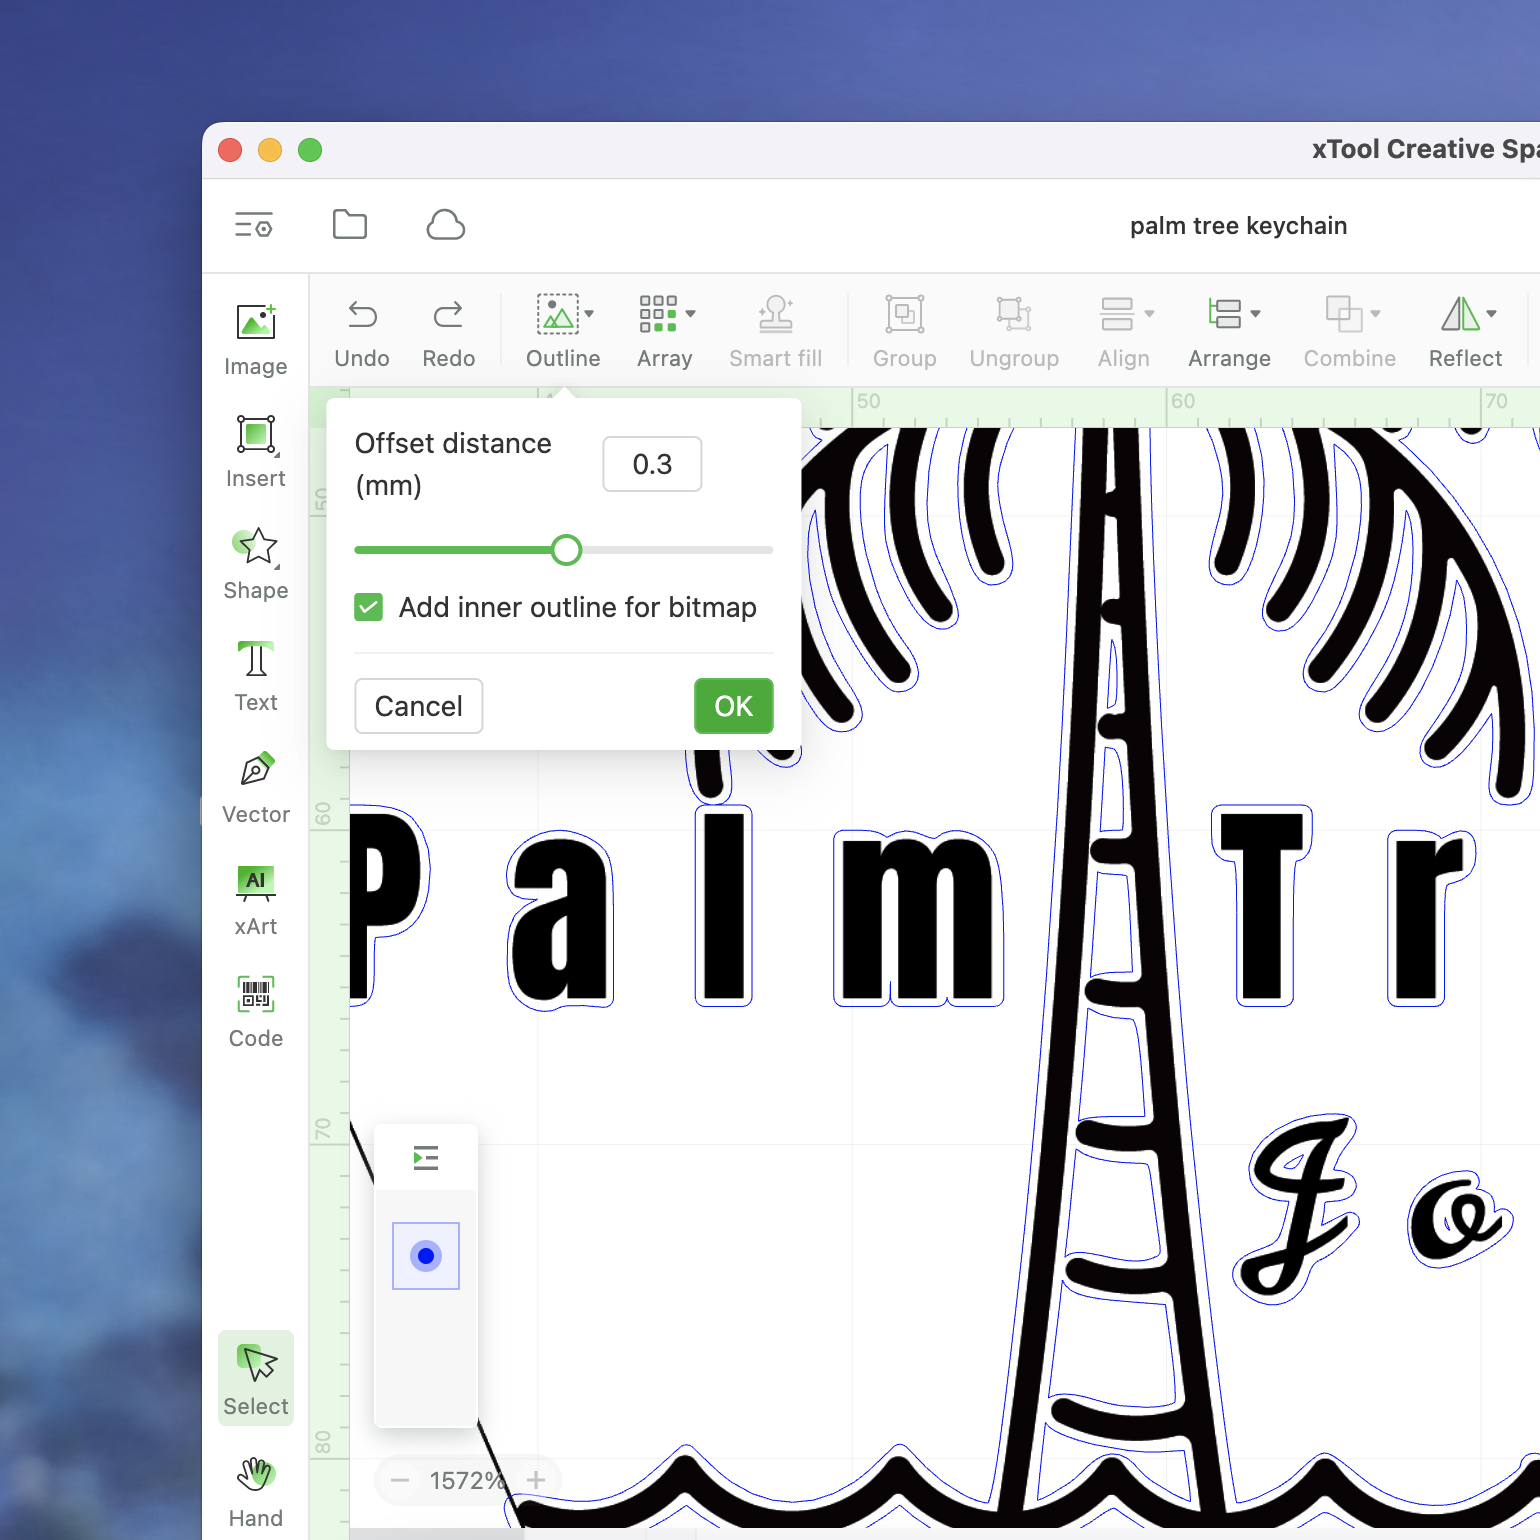
Zoom in, and play around with the offset distance (you can also go negative for inner lines) until satisfied.
 |  |
 |  |
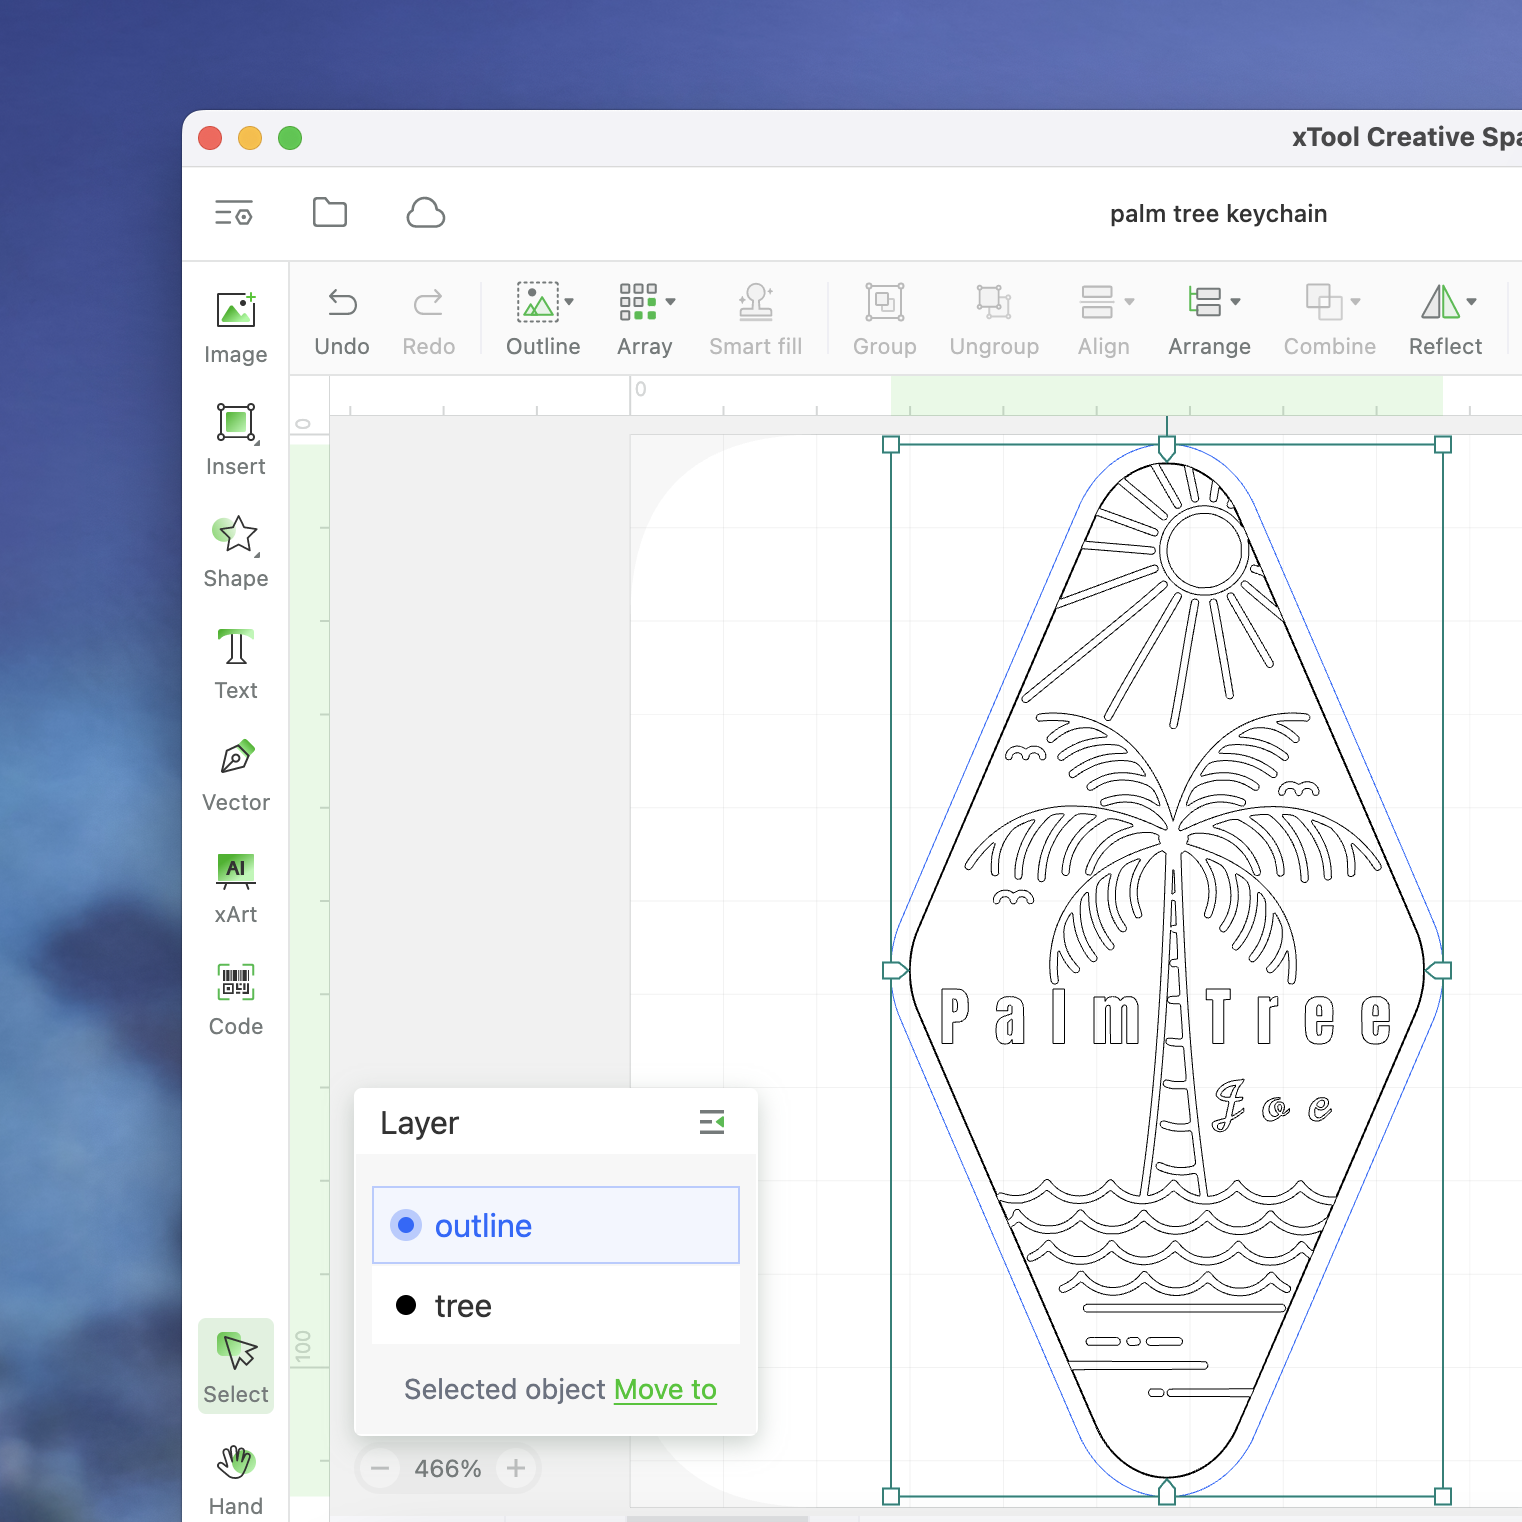
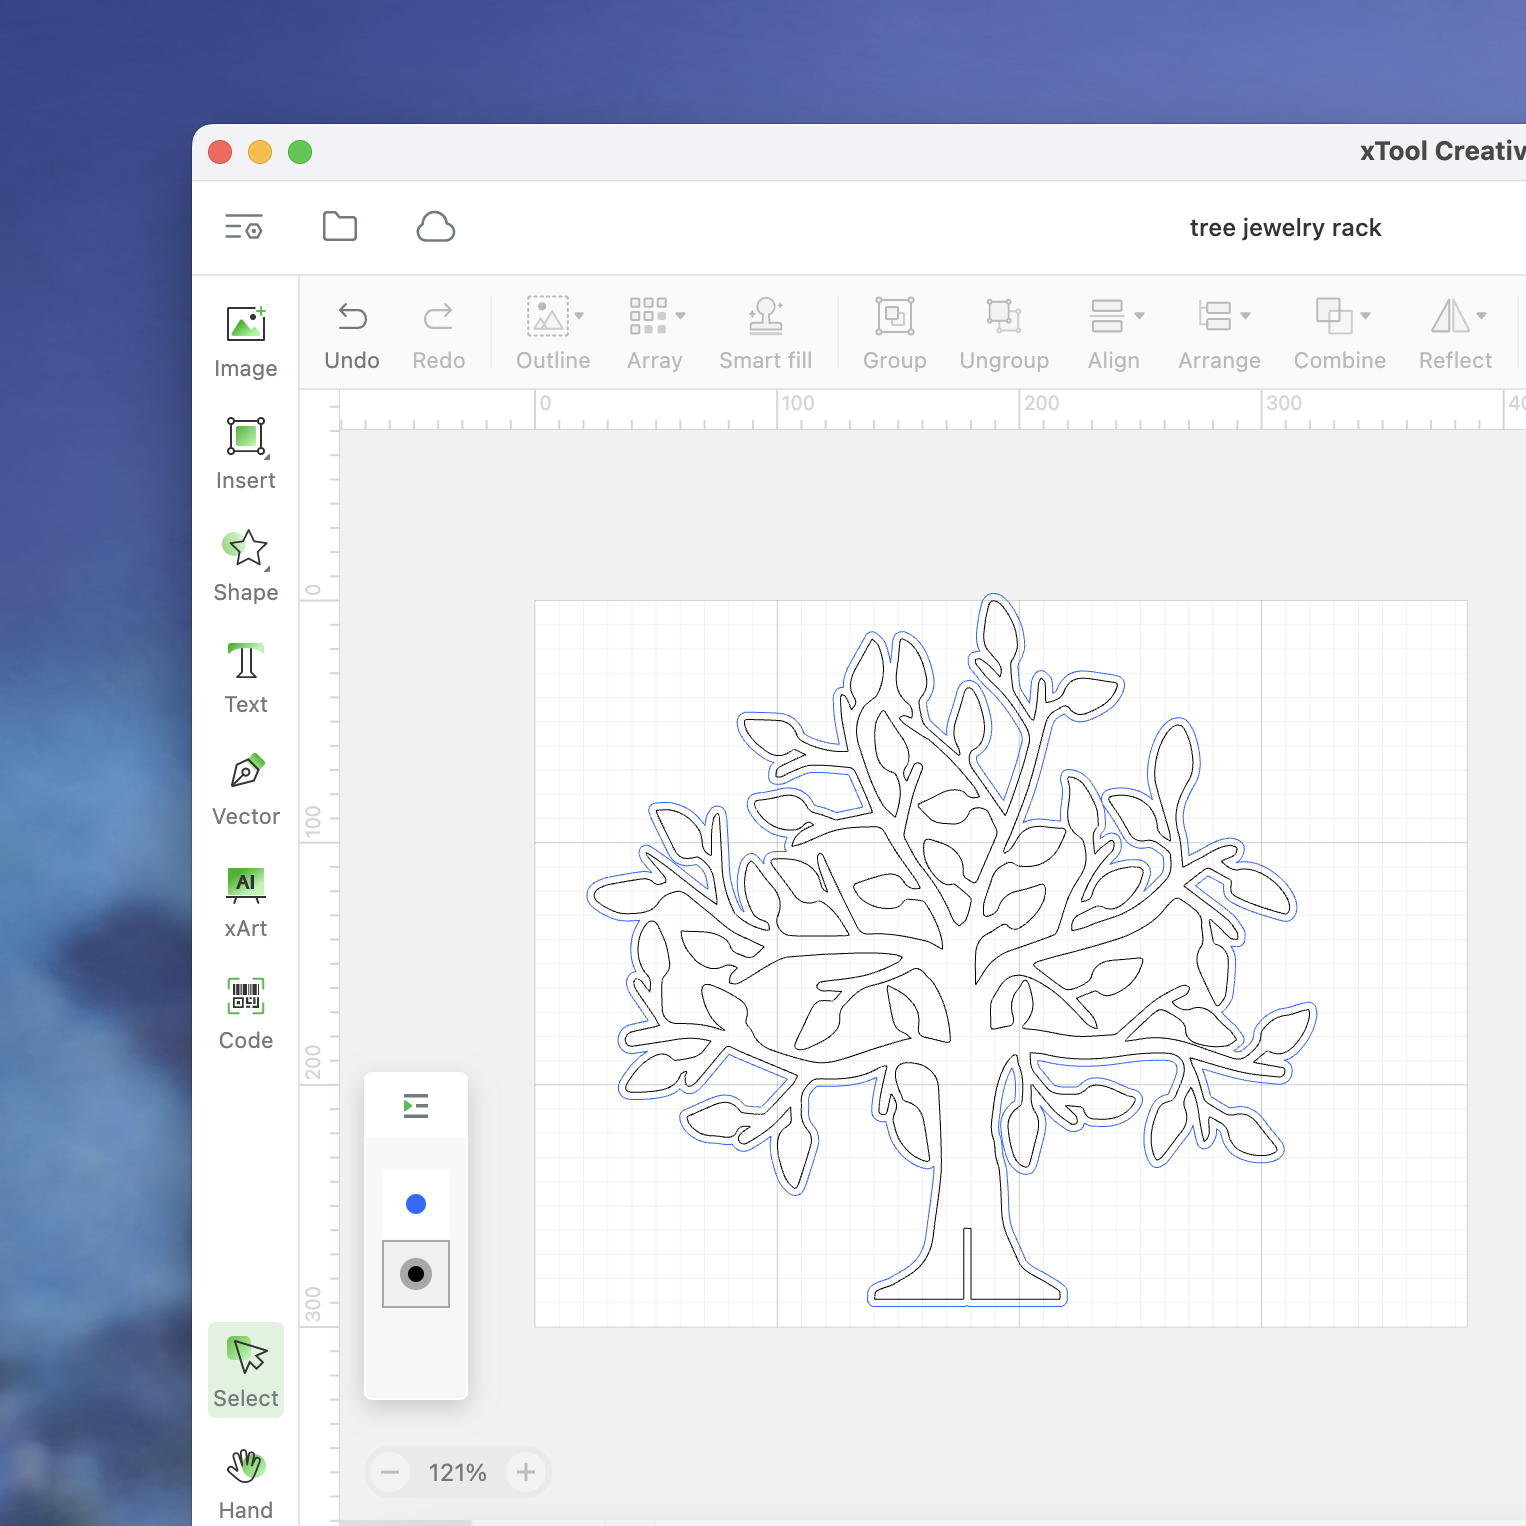
Vector Images and Outlining
Vector graphics or traced bitmaps behave differently with the Outline function. Here, only the outermost edges get outlined.
 |  |
 |  |
Applications of Outline
Laser Engrave and Laser Cut
This feature is a game-changer for cutting bitmaps as it allows the laser to follow the contour lines precisely.
Blade Cut/ Print & Blade Cut
In blade-cutting projects, especially with the M1, outlining is essential. Since blade cutting only works for vectors, outlining helps extract bitmap contours, making them cut-ready.
Practical Example: A Step-by-Step Guide
Let's put theory into practice with a simple project.
Step 1: Import and Edit
Import a bitmap image into XCS by clicking on
File > Import. Once the image is in your workspace, click Edit Image to prepare for the transformation.

Step 2: Erase the Background
Use the
Magic Wand tool to erase the background. This step is crucial for a clean outline.

Step 3: Combine with a Vector
Add a vector image, or a shape, or type something in your workspace. Select both your bitmap and vector.

Step 4: Outline and Adjust
With both selected, click
Outline in the top menu. Tweak the offset distance to get the perfect outline.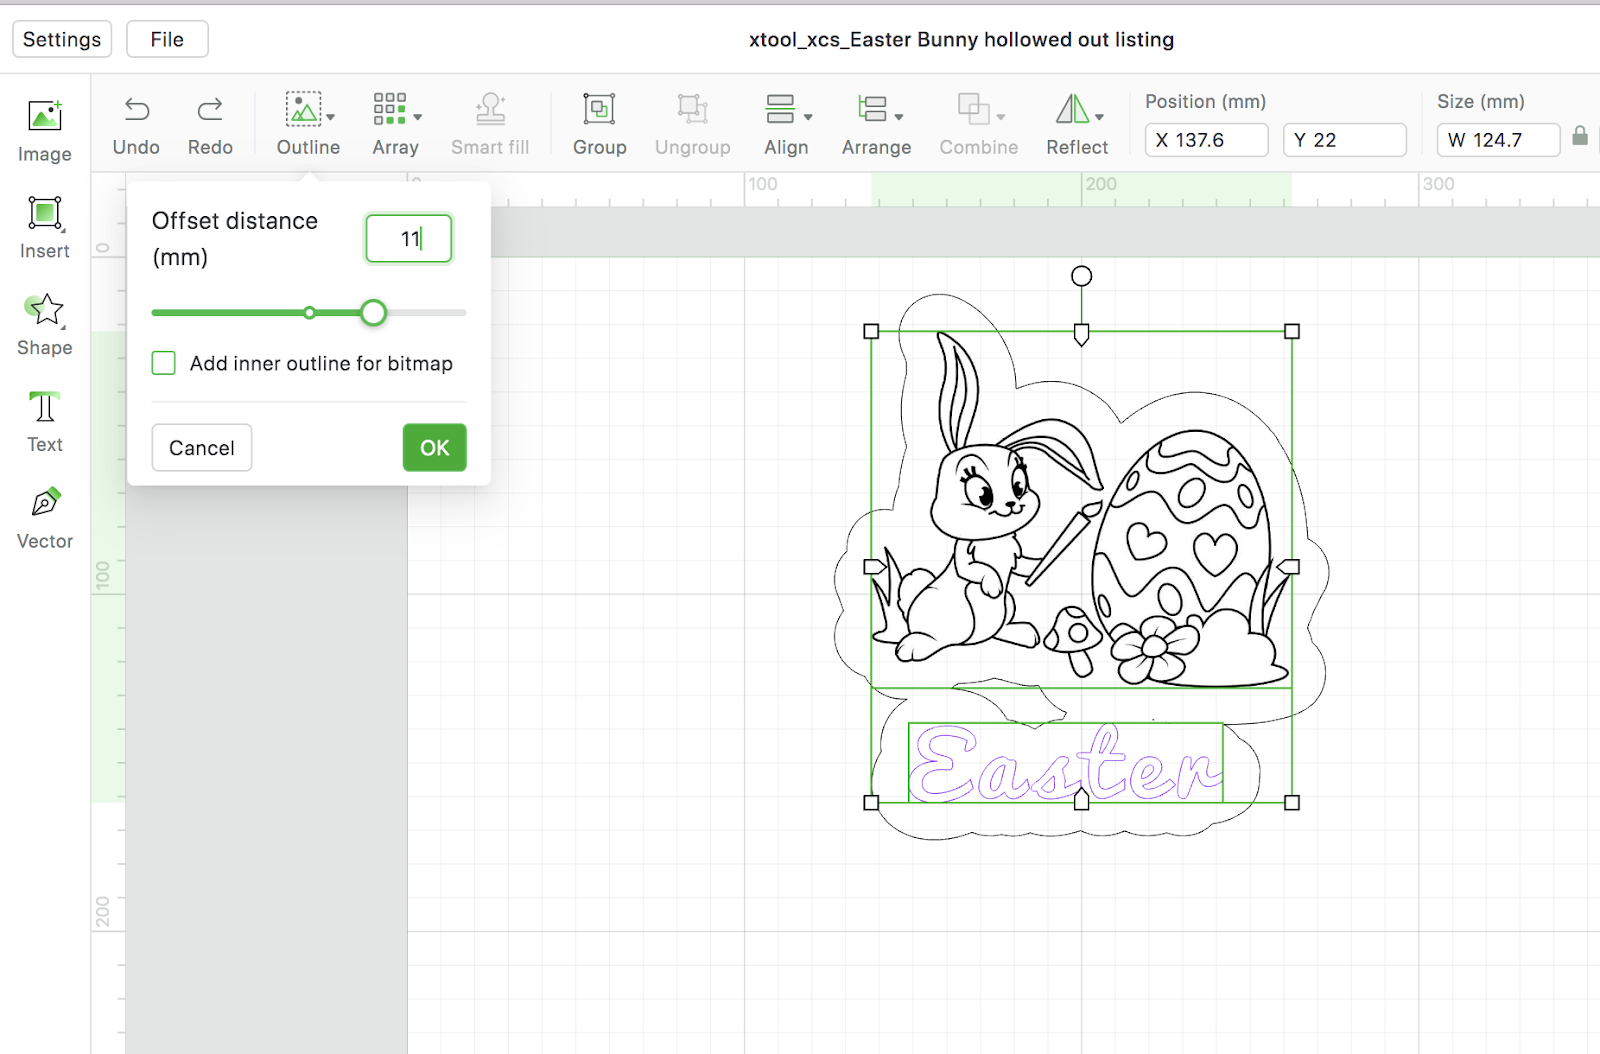

If you're looking to engrave a hollow image, after extracting lines from the background by using the magic wand tool, select "add inner outline for bitmap."
Preview
Was this page helpful?
98 out of 110 found this helpful
Help Ticket
Use this help ticket to submit your issue. We will respond within 1 business day
Submit a Ticket Tags
Help Ticket
Use this help ticket to submit your issue. We will respond within 1 business day
Submit a Ticket Services & Help
Learn & Education

Copyright © 2025 xTool All Rights Reserved.