Introduction
In UV flatbed mode, xTool O1 Omni Printer supports printing patterns on rigid, flat objects in three modes: Flat, Texture, and Relief. This document walks you through the relief printing process using a fridge magnet as an example.

Preparations
- A fridge magnet
- .xs processing file
- xTool O1 Omni Printer (properly assembled and calibrated)
- A computer with xTool Studio installed
Steps
Step 1: Connect O1 to your computer
Follow the instructions in Connect O1 Omni Printer to connect O1 to your computer.
Step 2: Place the fridge magnet
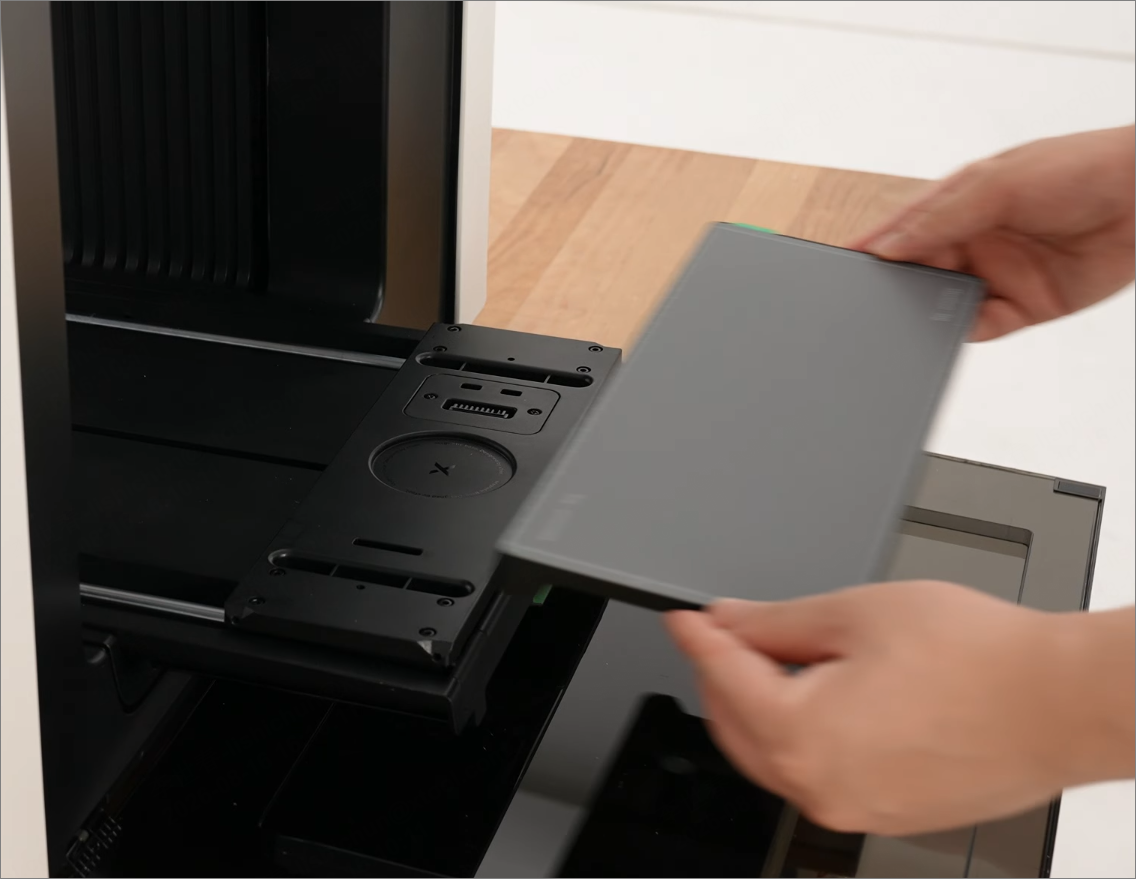
1. Install the mini baseplate with the mini adhesive mat attached. |
|
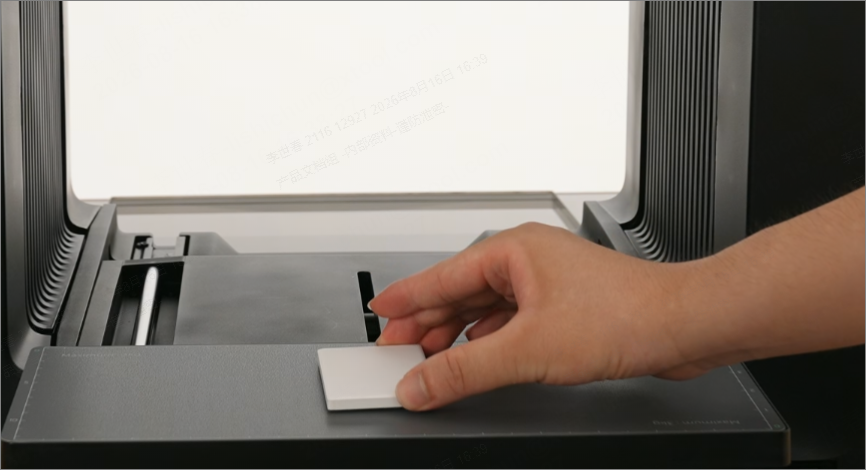
2. Place the fridge magnet onto the mini adhesive mat. |
|
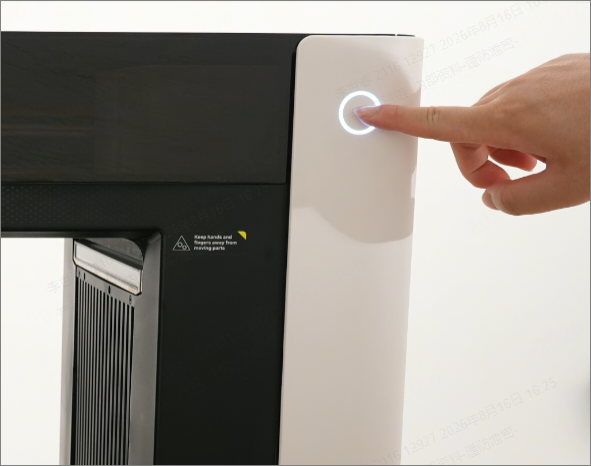
3. Press the device button to move the printing platform into the printer. |
|
Step 3: Set processing parameters
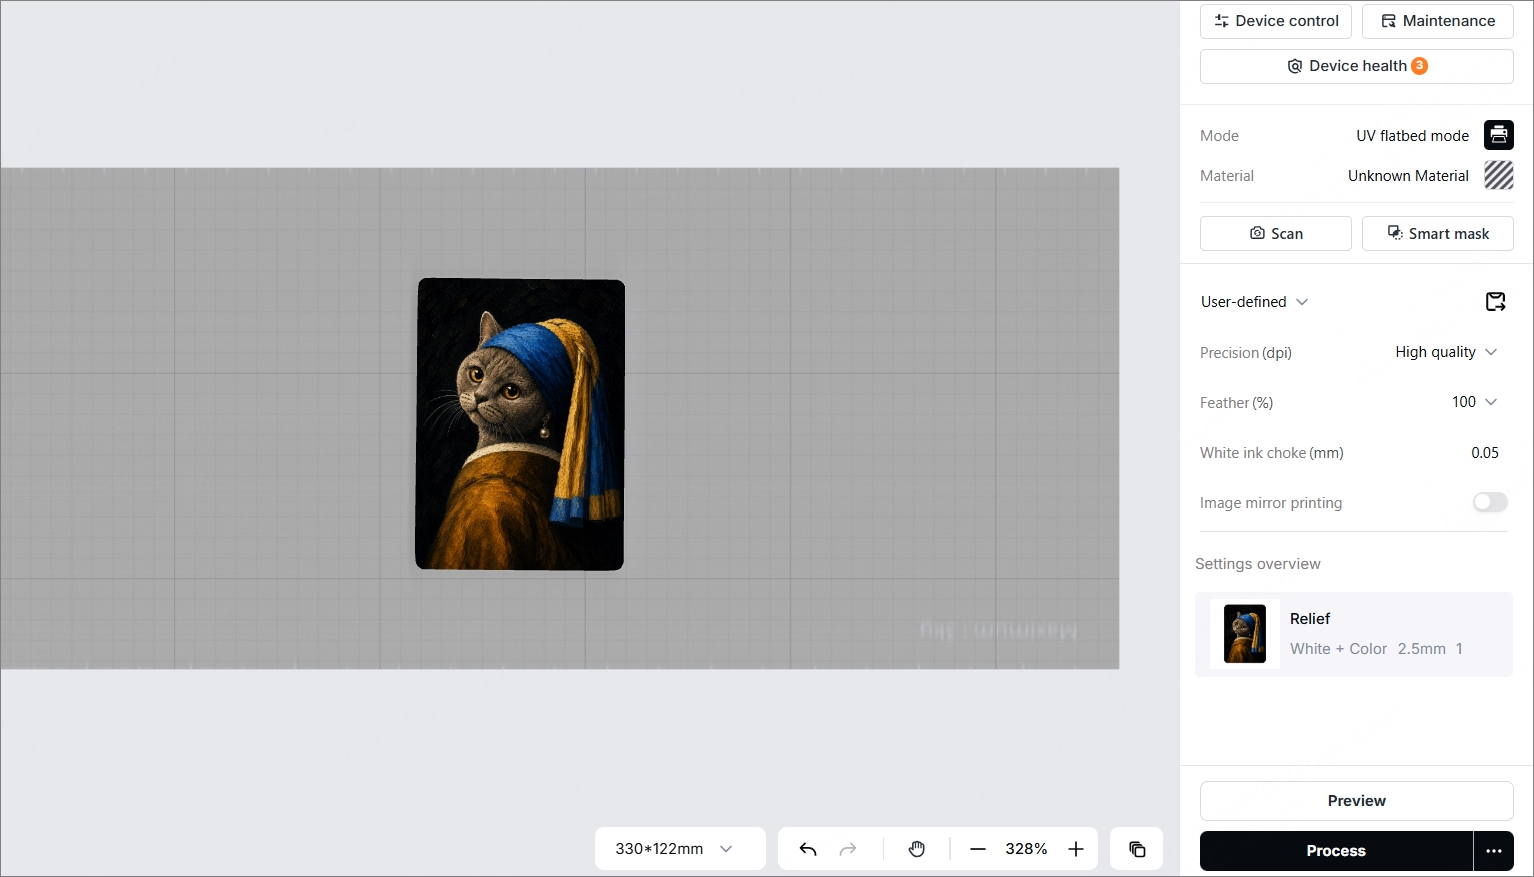
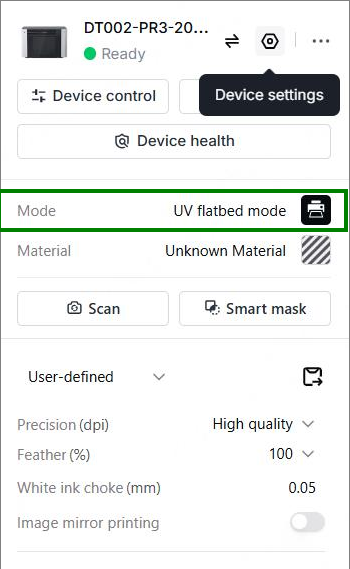
1. Select mode: UV flatbed mode |
|
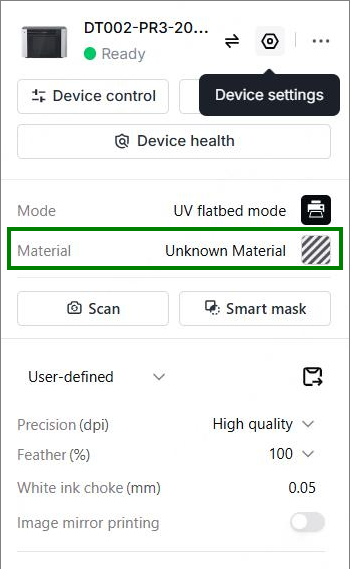
2. Select the material: Fridge magnet |
|
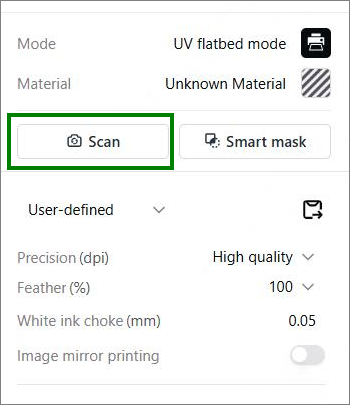
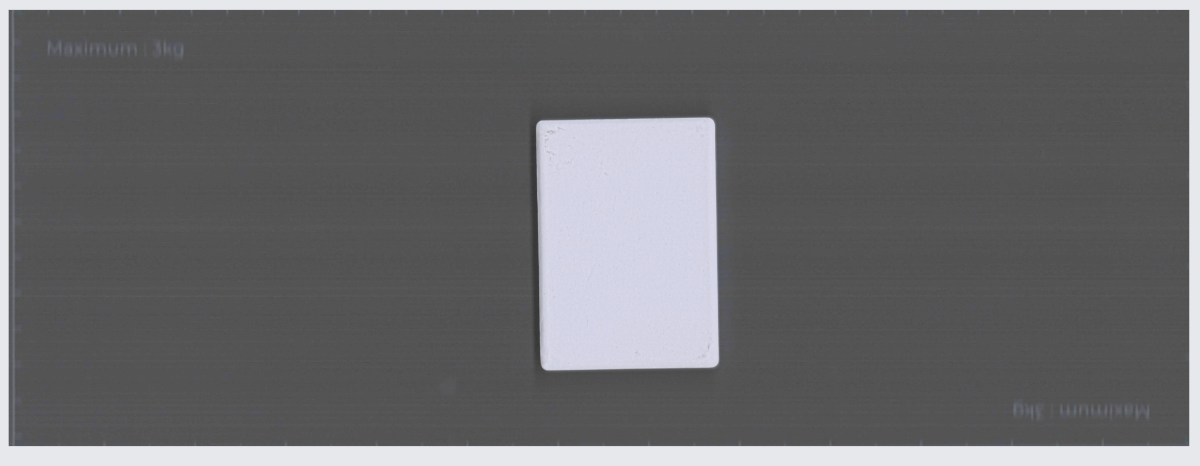
3. Click Scan to capture the workspace background. |
|
| |
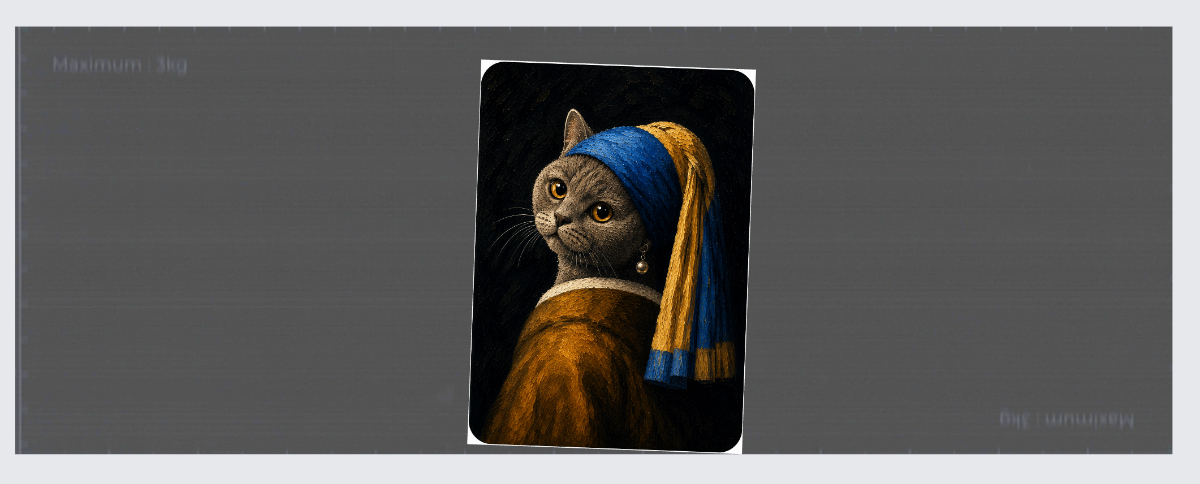
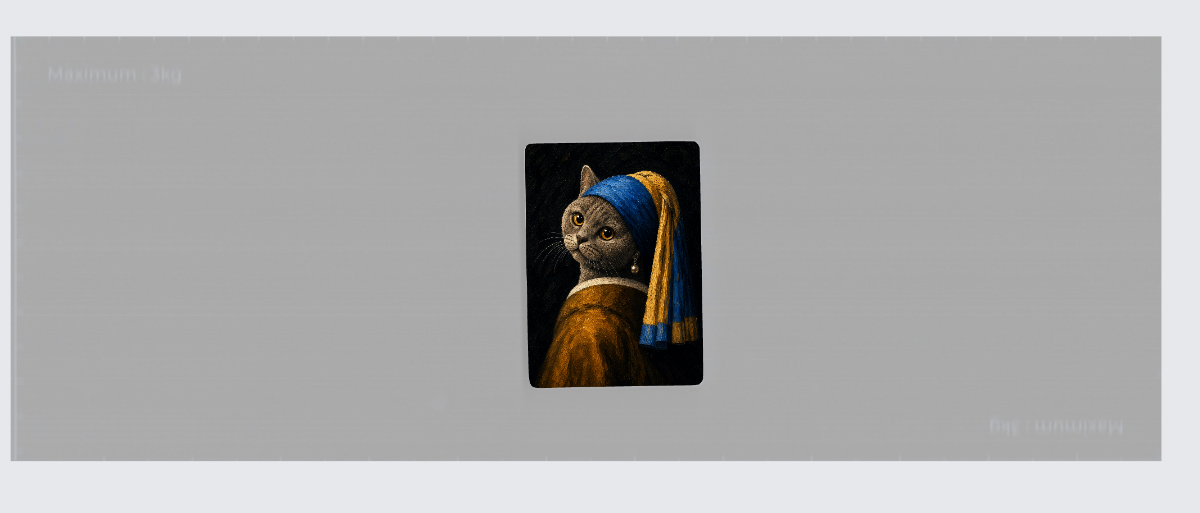
4. Drag the pattern into the canvas, or import it. |
|
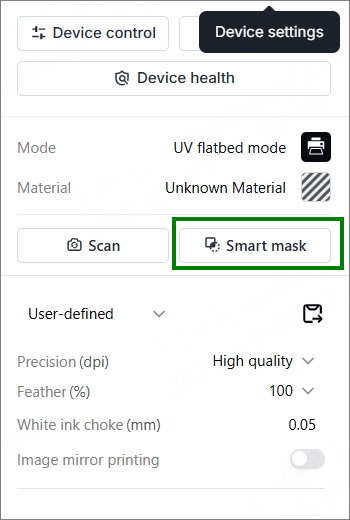
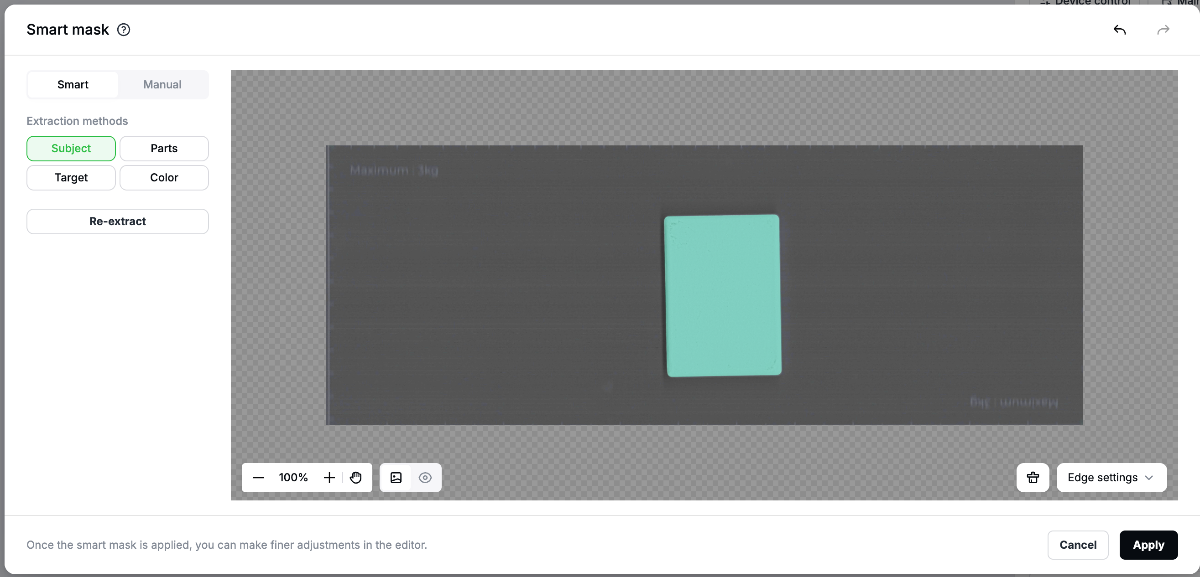
5. Click Smart mask to identify the printable area and resize the pattern to fit the fridge magnet. |
|
| |
| |
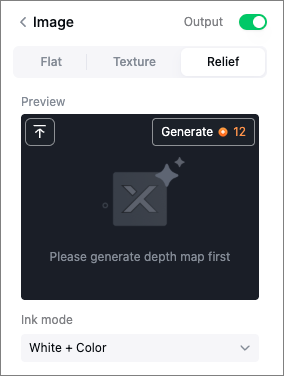
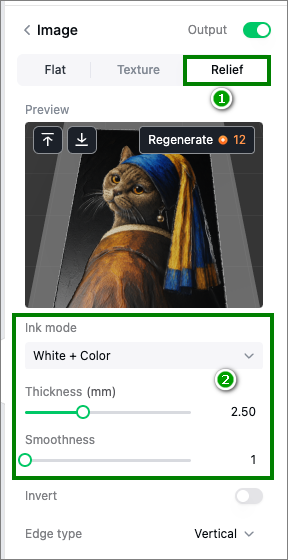
6. Generate the depth map. Note: Generating a depth map consumes credits. |
|
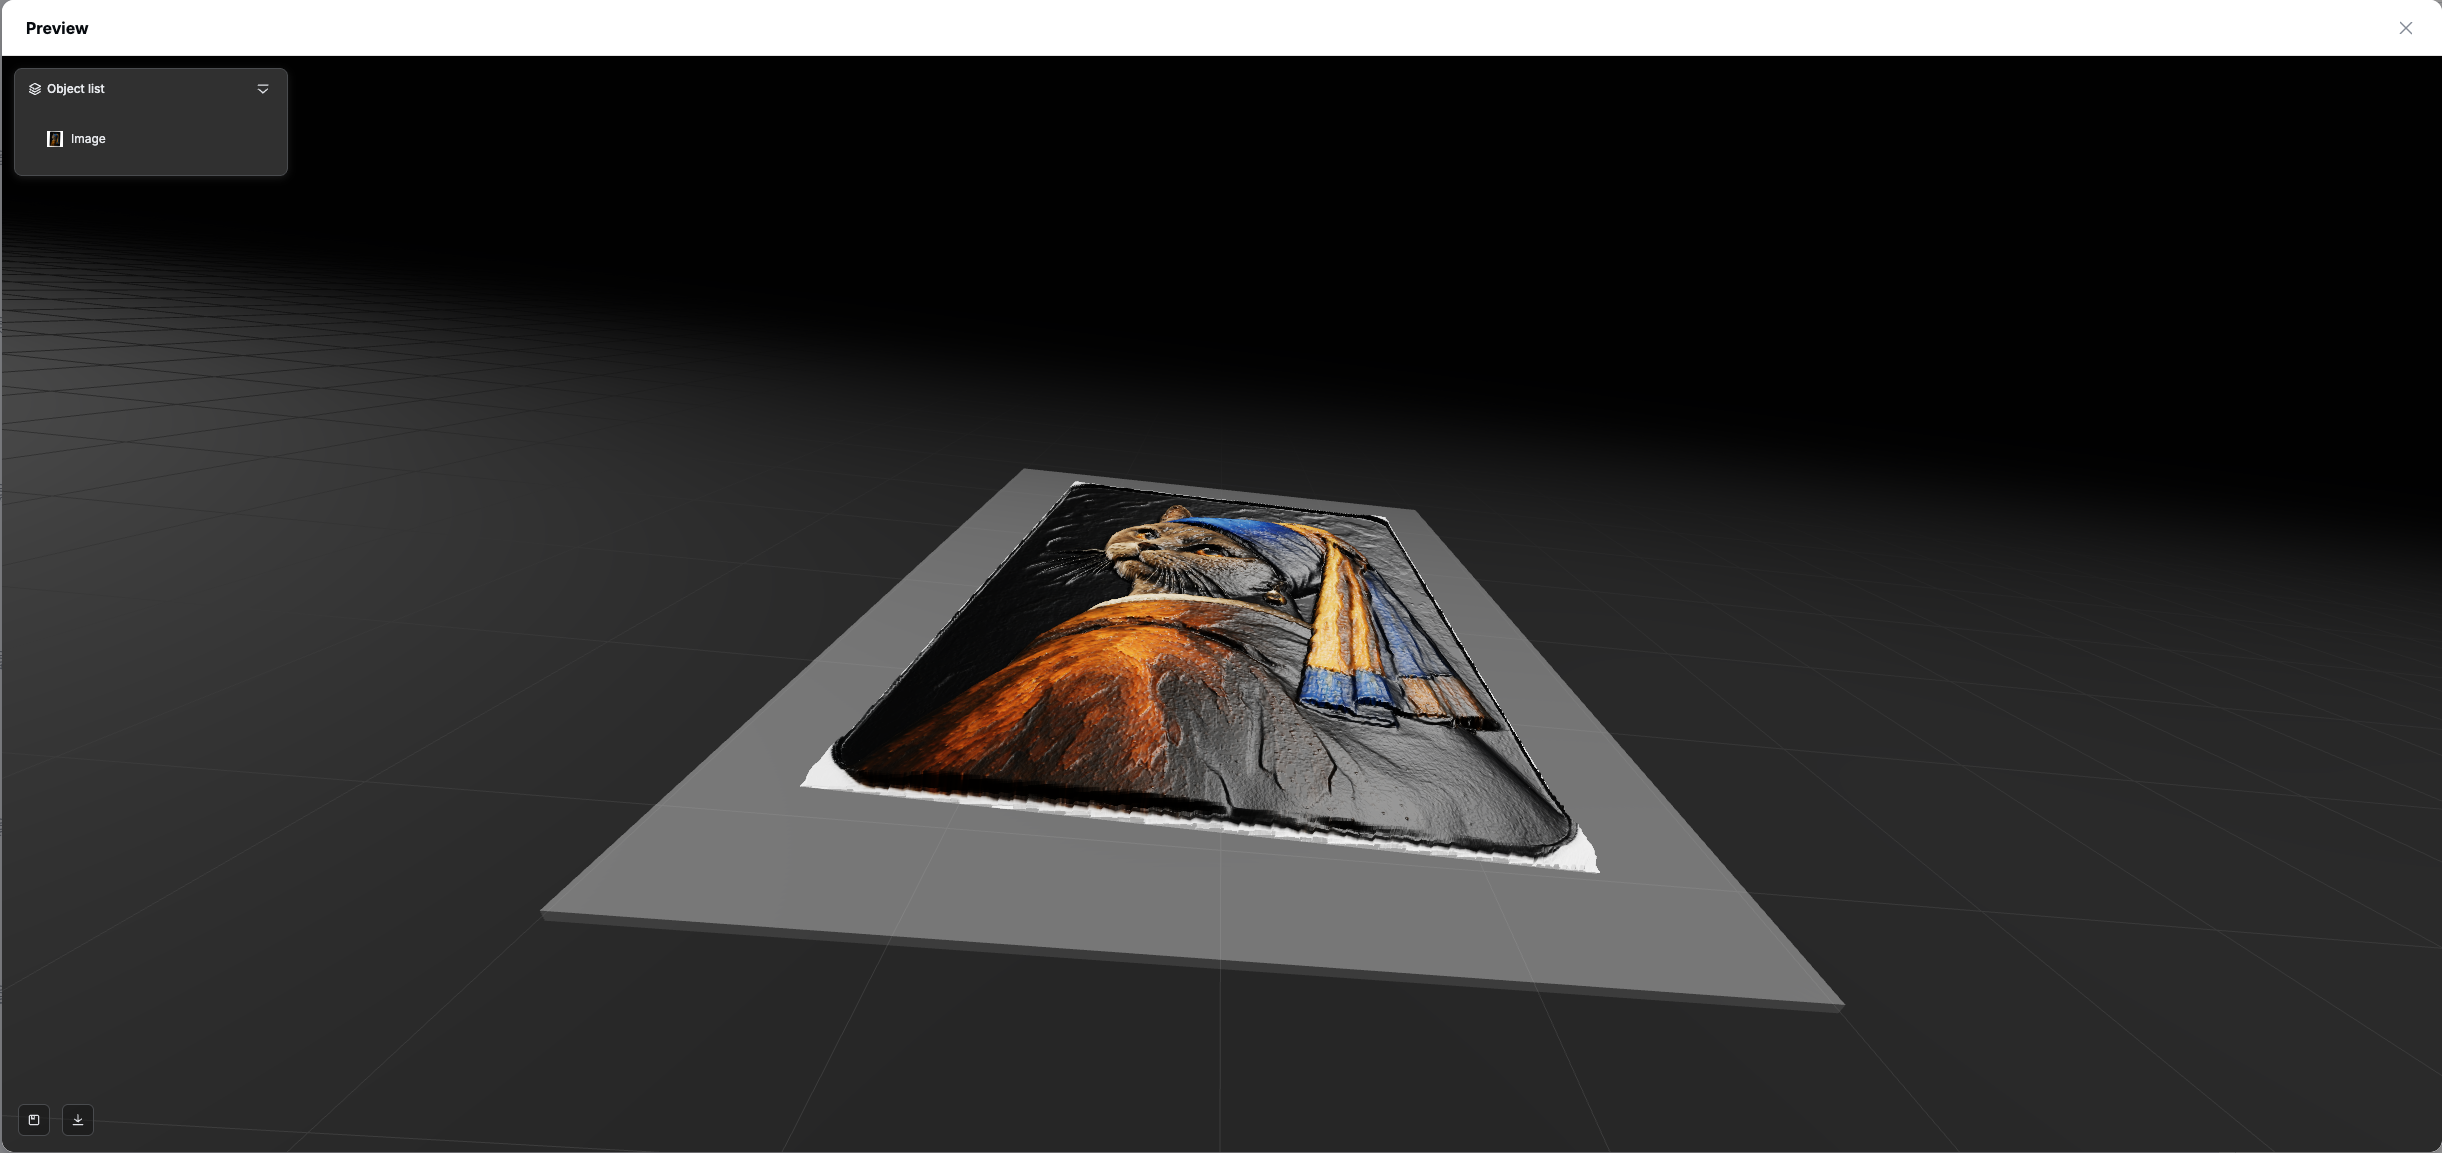
7. In the lower-right corner, set the parameters as follows:
🌟 |
|
|
|
Step 4: Complete printing
1. Click Process in the lower-right corner. |
|
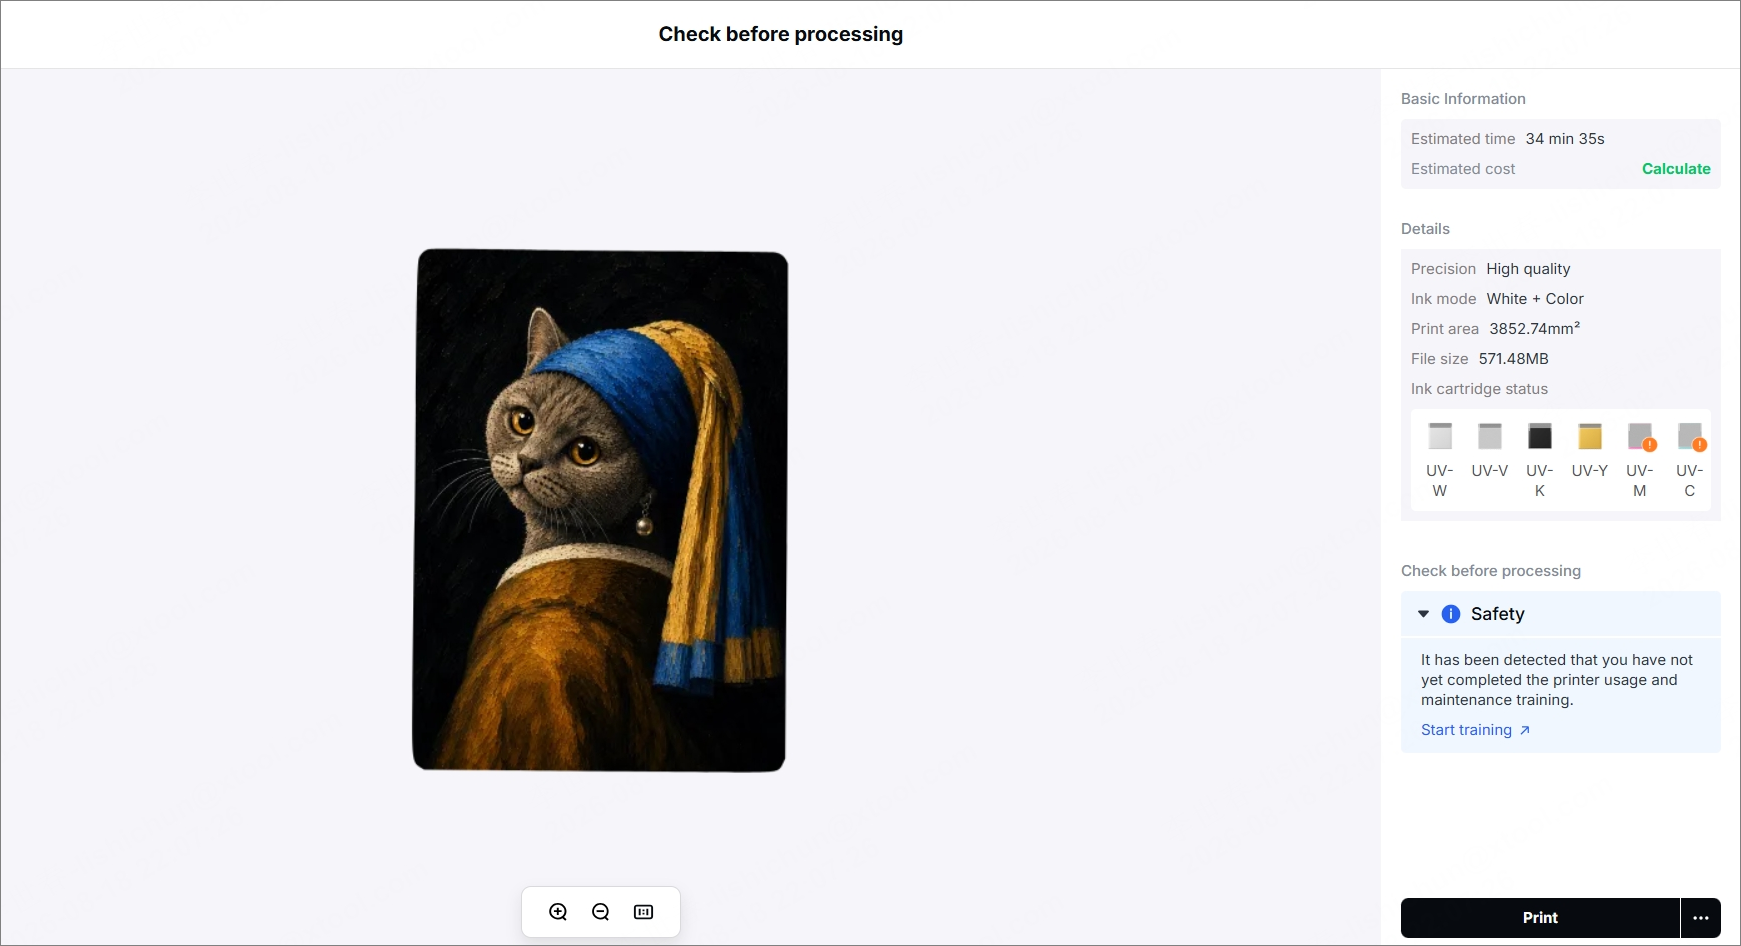
2. A printing confirmation page appears, showing the estimated processing time and ink cost. After confirming the information, click Print in the lower-right corner. Wait for the printing to finish. |
|