
What is primer? What does it do?
Primer is a clear treatment liquid applied to the substrate surface before UV printing. It adds no color; once dry, it forms an extremely thin transition layer between the substrate and the ink. It has one job: to make the ink stick.
UV ink cures instantly under UV light — fast curing, high shrinkage stress. Materials such as glass, metal, and acrylic have dense, non-absorbent surfaces, so printing directly on them relies only on weak physical adhesion: a fingernail scratches the ink off, and tape peels it away in sheets. Primer forms a chemical bond with the substrate, raises surface energy, and adds micro-anchoring, turning "sitting on" into "bonded to".
Which materials require primer
Material | Primer Required? |
|---|---|
Glass, glossy/glazed ceramic, crystal |
|
Metals such as aluminum, anodized aluminum, stainless steel, iron, copper, zinc alloy |
|
Acrylic, glossy ABS |
|
Solid wood, bamboo, paper, leather, canvas/cotton/linen, matte ceramic | Clean and print directly; no primer needed |
Silicone, soft TPU/TPE, silicone non-stick coatings, spray-painted surfaces, and some specially coated objects | Requires a dedicated primer for that material |
Spray-coated, plated, or baked-finish parts, composites, and other uncertain materials | Test on a small batch first |
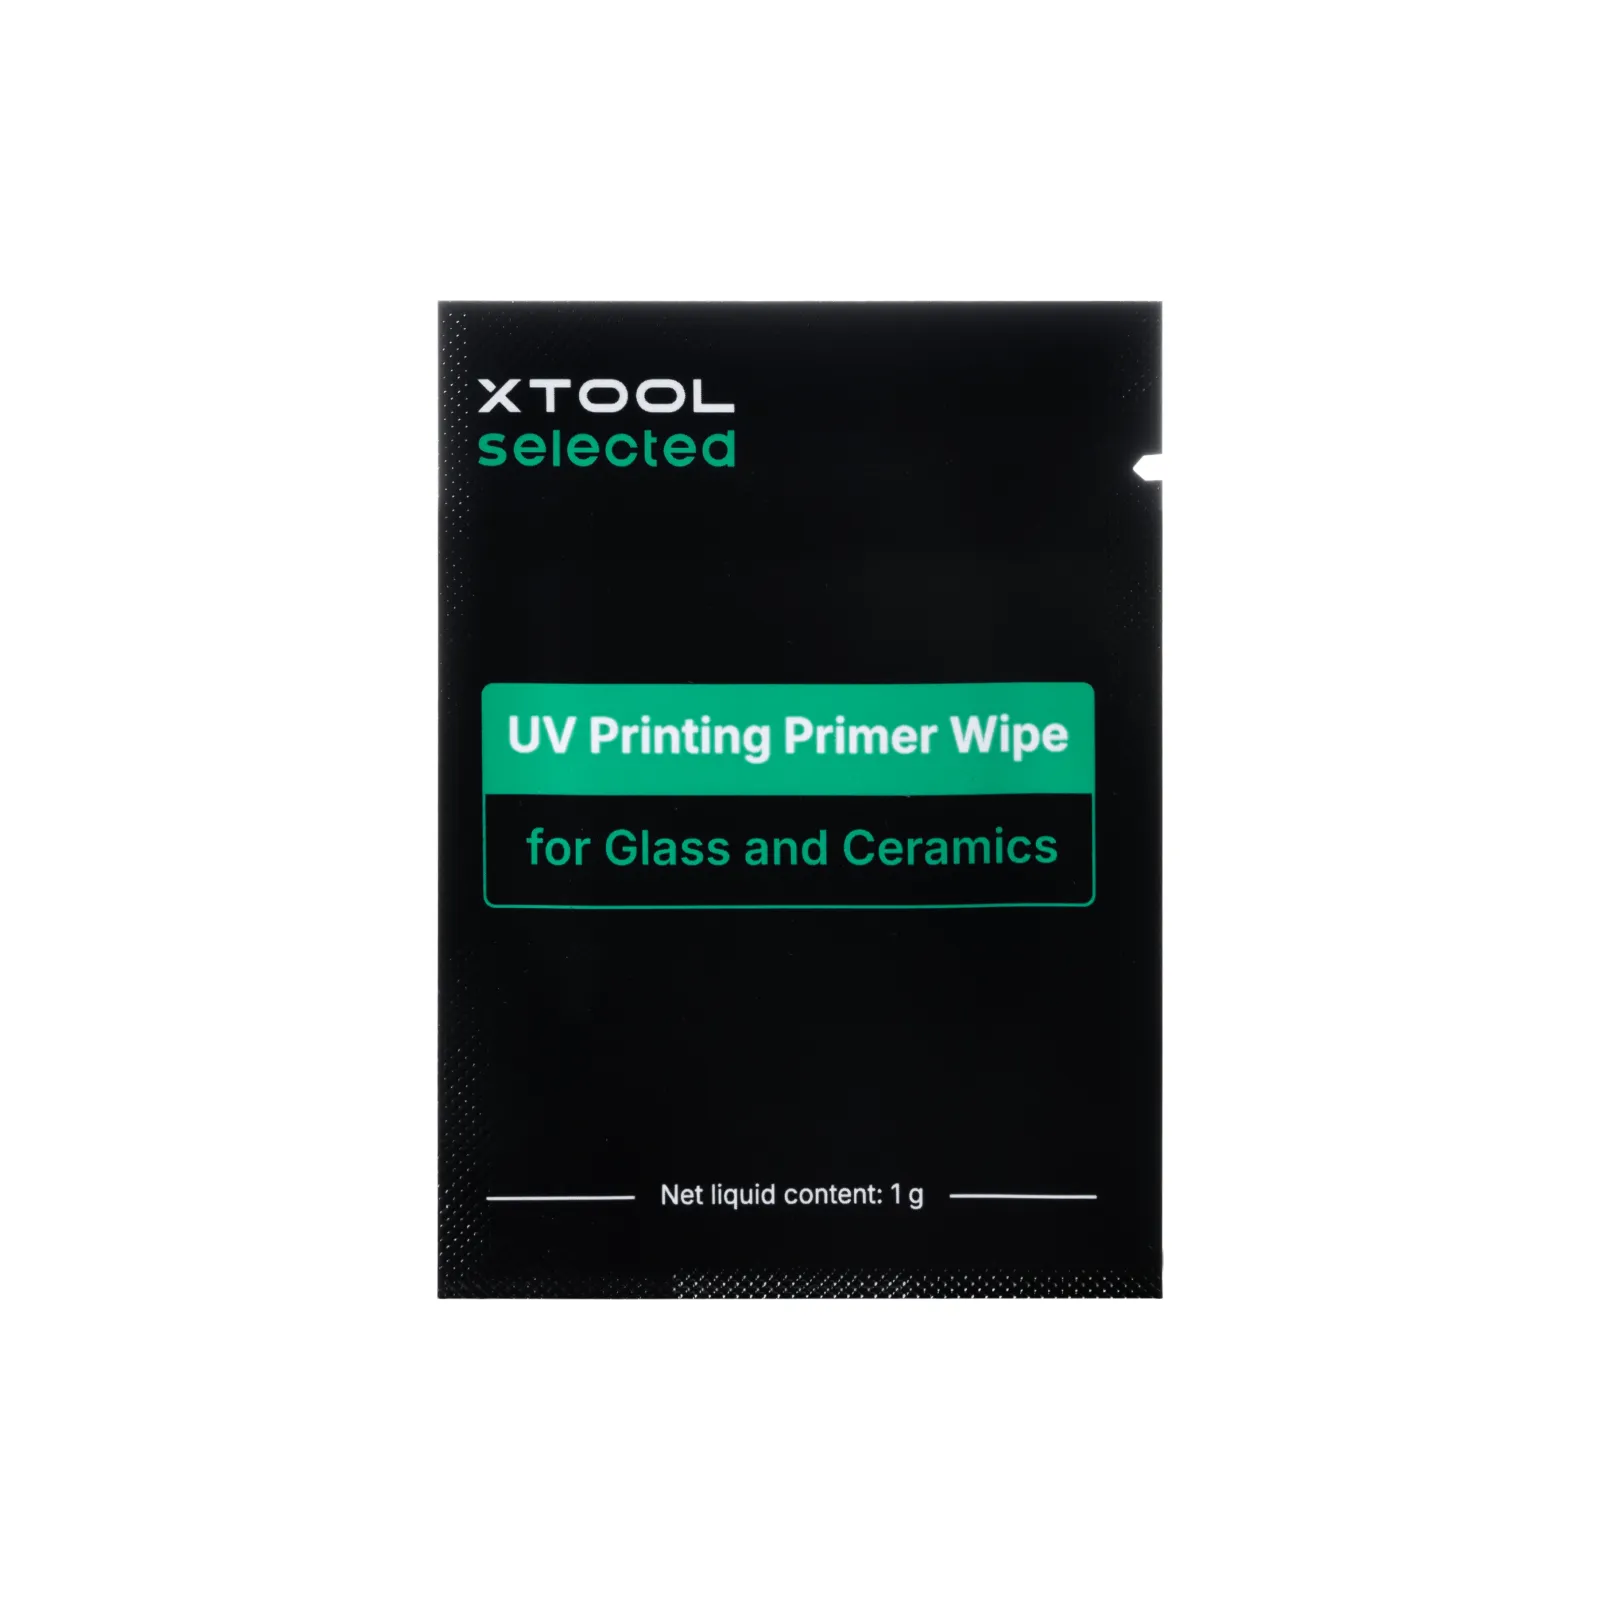
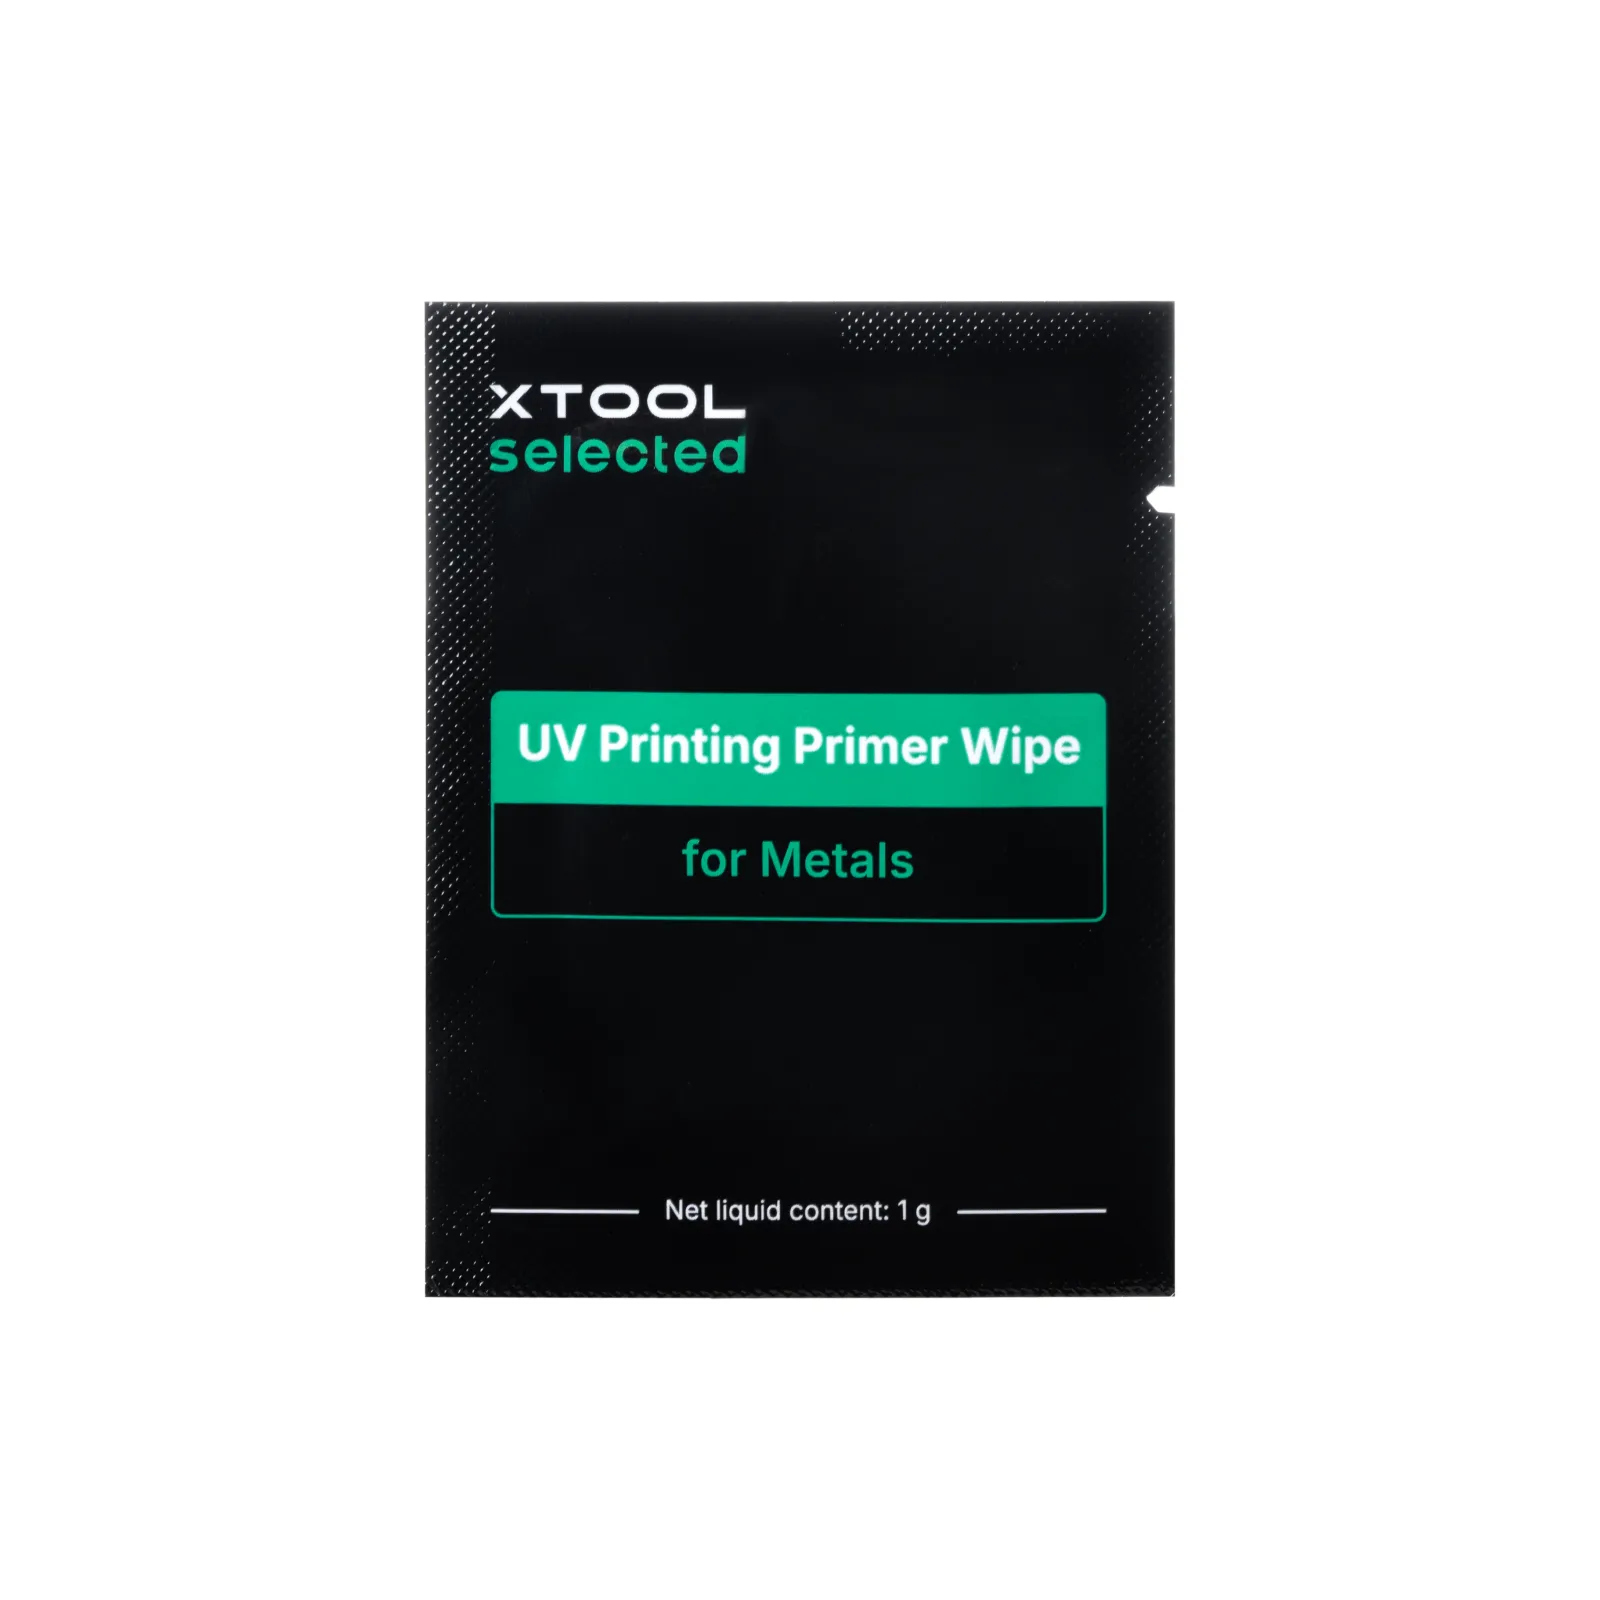
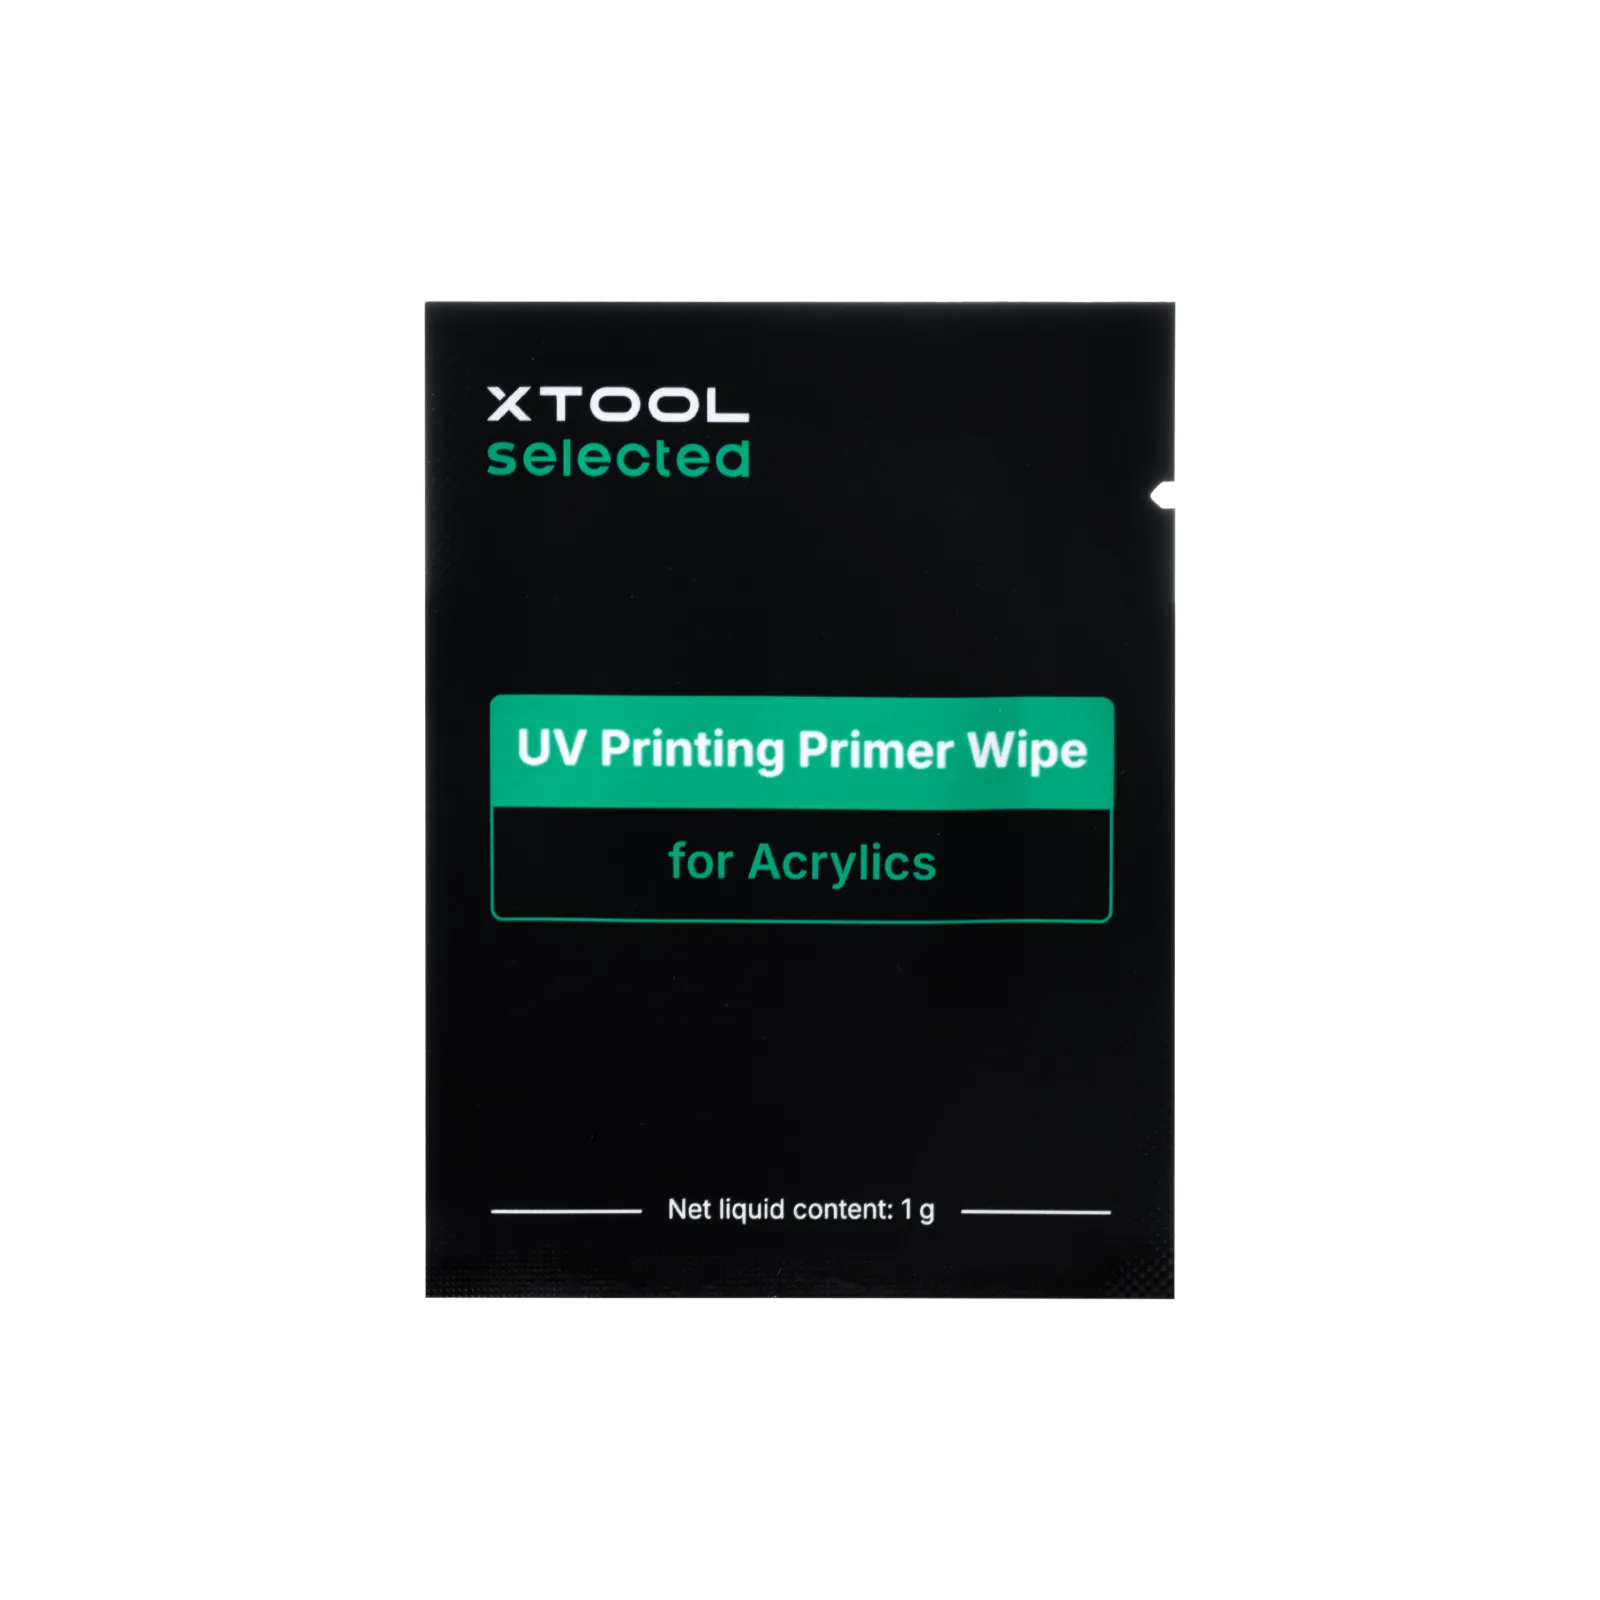
Note: Most products with an absorbent or ink-receptive printing surface do not need primer, except those with special coatings.
Step-by-Step: Printing on a Substrate with Primer
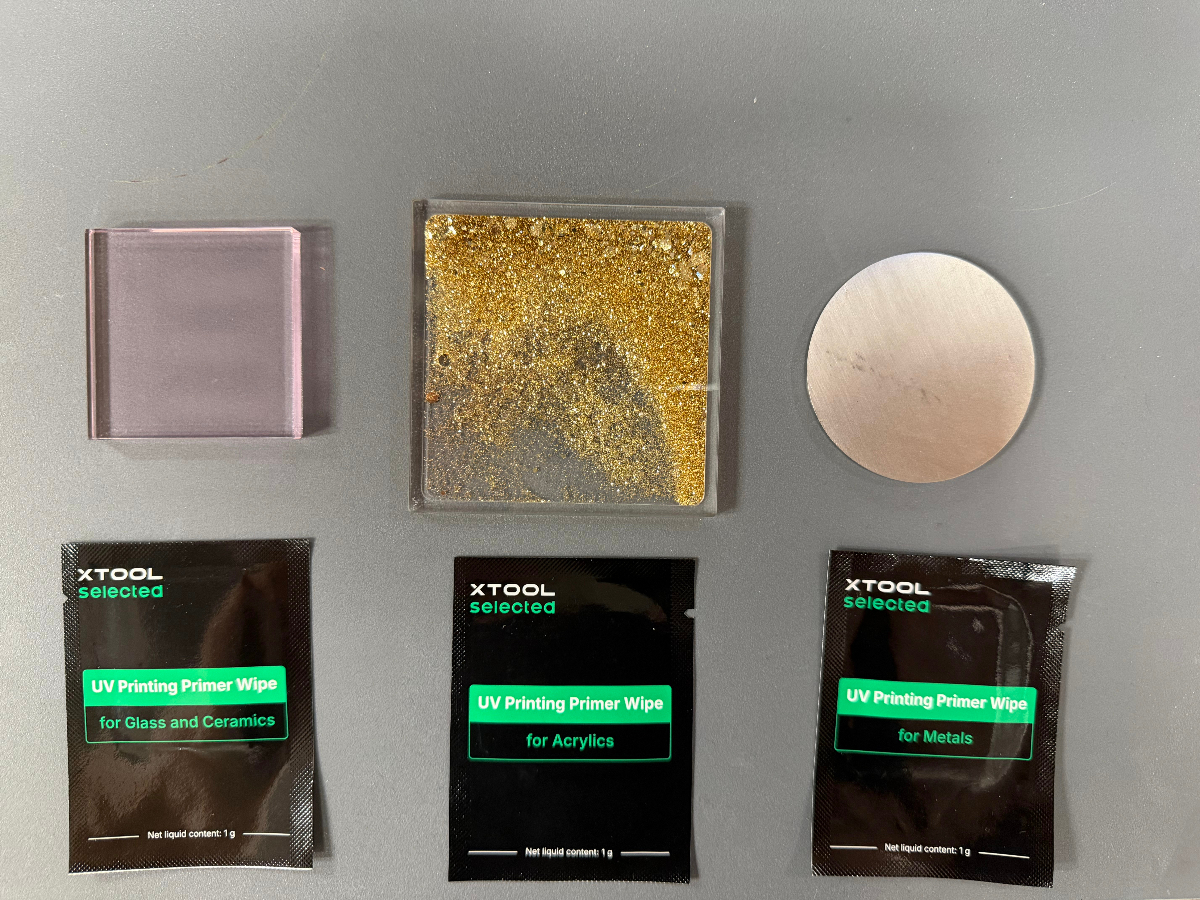
Prepare: the matching primer, lint-free cloth, isopropyl alcohol/wipes, disposable gloves, tweezers, clear tape (for self-testing). Wear gloves throughout to keep finger oils off the surface.
Step | Key Points | |
|---|---|---|
| Wipe the print area in one direction with an alcohol-dampened lint-free cloth to remove grease, fingerprints, and anti-rust oil. Wait until the alcohol fully evaporates before the next step. Incomplete cleaning is the leading cause of poor adhesion. |
|
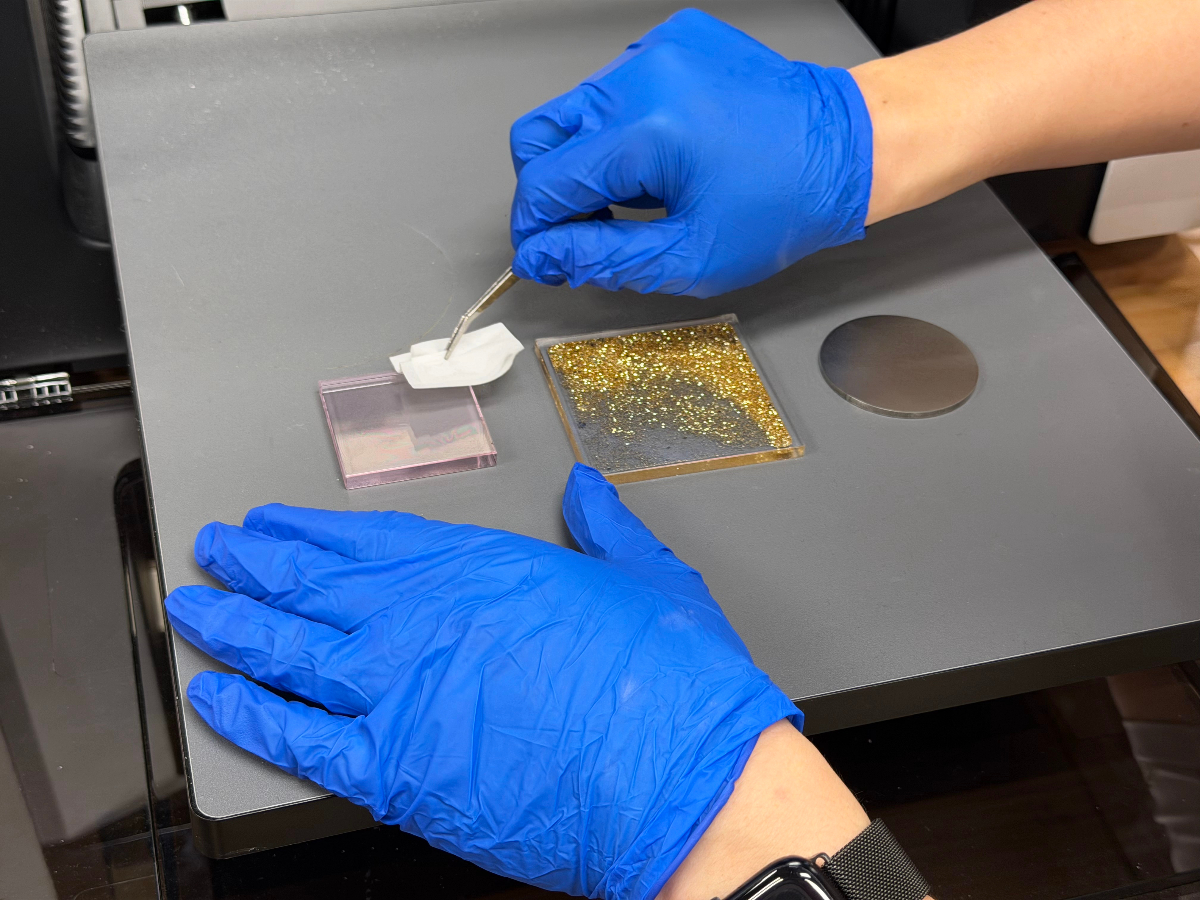
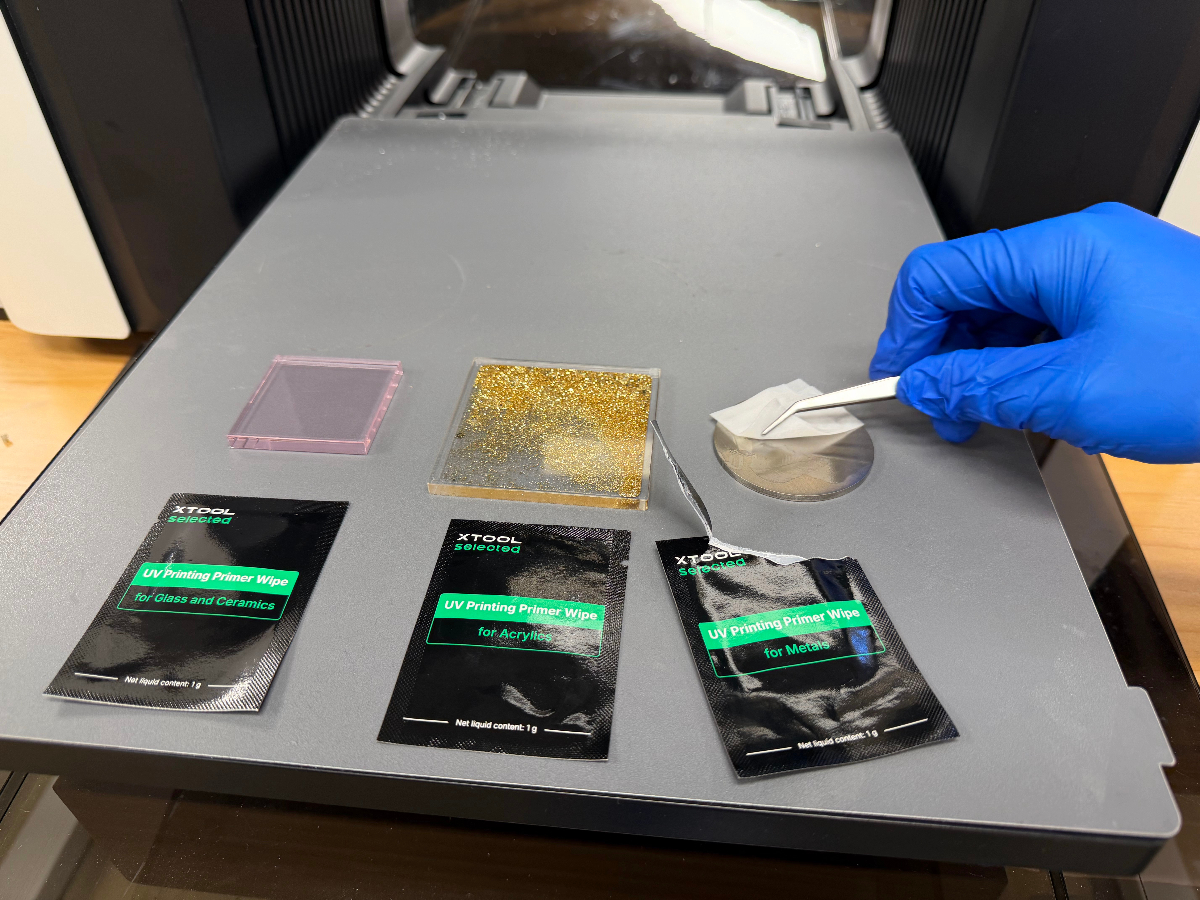
| Use tweezers to remove the primer wipe from the pouch |
|
| Push the wipe across the print surface in one direction until evenly coated; extend the primed area 1-2 mm beyond the design on all sides | |
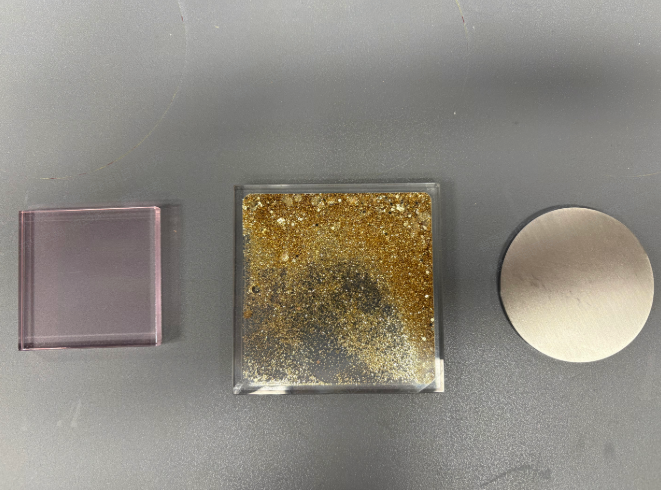
| Air-dry at room temperature until fully surface-dry. Print as soon as possible after applying. |
|
| With gloves on, lightly touch the edge; if it is not tacky, it is surface-dry. | |
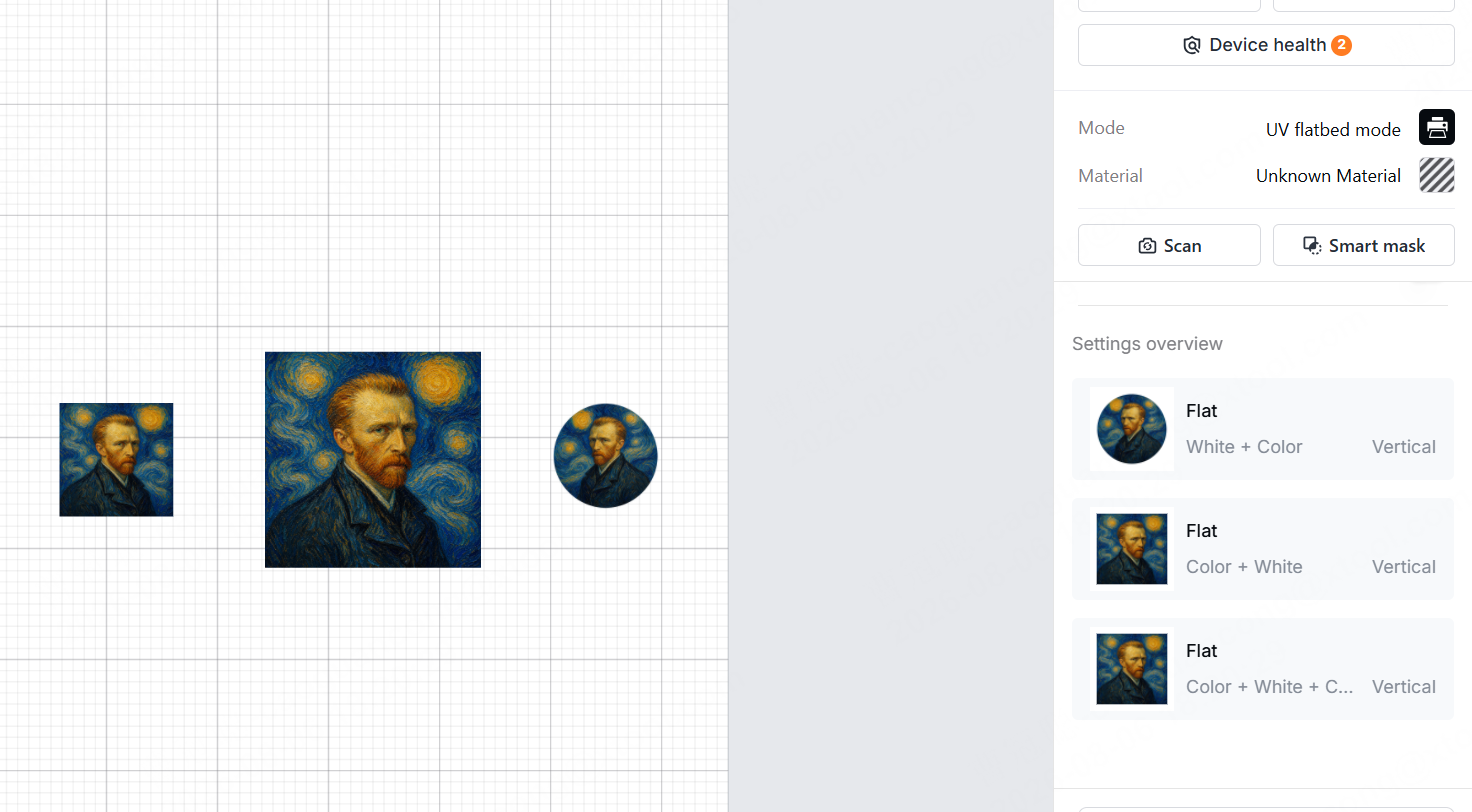
Place the workpiece steadily on the O1 print station, complete height measurement and design alignment, select the print mode by material (transparent substrates need a white ink base), and print. Set print mode and number of layers as you prefer |
| |
| After printing, let the piece rest at room temperature for at least 30 min, so adhesion between substrate and ink layer fully develops. Do not scratch or wash it during this time | / |
Quick Troubleshooting for UV-Printed Pieces
Problem | Possible Cause |
|---|---|
Entire print peels off | No primer applied / wrong primer type / surface not cleaned properly |
Edges lift first | Primed area smaller than the design |
Whitish, hazy coating | Applied too thick / printed before primer dried / high humidity |
Ink beading, patchy design | Grease still on the surface / not cleaned properly |
Are Prints Scratch-Resistant? Other Ways to Improve It
Used correctly, primer gives prints enough scratch resistance for daily use — normal handling, wiping, and carrying in a bag will not remove the ink.
But a UV ink layer is an organic coating, not enamel or anodizing. It cannot withstand hard scraping with keys, blade scratches, sanding, or dishwasher cycles.
For higher scratch resistance, try the following:
- Add a UV varnish coat: after printing the color layers, apply a clear varnish layer to form a hard protective surface. This is the most effective method.
- Ensure the print is fully cured: check that UV lamp power matches print speed, so the surface does not cure while the layer underneath stays uncured.
- Laminate / add protection: apply a clear protective film over the design, or add a case, spacer, or other physical protection to the finished piece.
- Rest fully before shipping: let pieces rest until adhesion is fully developed before packing. Zero cost.
- Control ink thickness: avoid piling on ink for color intensity; an overly thick ink layer has high internal stress and is more prone to edge chipping.
>Shop xTool Selected Primer Wipe for O1 Omni Printer
>Browse the full xTool O1 materials lineup. Blanks, sheets, transfer film, primer — everything the O1 needs, in one place.

