
This guide walks through the full process of making UV DTF decals — every step from artwork to finished product, plus the film and accessories you need along the way.
By the end you'll know what A film and B film each do, what to prepare besides the film itself, how many steps stand between your artwork and a finished decal, and which moves are the easiest to get wrong.
What are UV DTF decals, and how are they different from regular stickers or eco-solvent vinyl decal?
UV DTF decals are built very differently from a printed sticker, and the difference starts with how the layers go together. They're also sold as crystal labels or crystal stickers.
Regular sticker | Eco-Solvent Vinyl Decal | UV DTF decal | |
Structure | Single adhesive-backed layer (paper) | Printed vinyl + laminate (optional — lamination improves durability) + transfer tape | UV ink layers + adhesive cured as one |
Look and feel | Flat | Flat (gloss or matte lamination optional) | Raised, dimensional |
Adhesion | Moderate; edges lift over time | Strong; stretchable and heat-formable to conform to complex curves | Strong |
Durability | Not abrasion- or water-resistant | High | Abrasion-resistant and waterproof |
Best surfaces | Flat paper, packaging | Outdoor vehicle wraps, large-format signage, flat rigid materials |
UV DTF film and accessories: what you need
UV DTF film comes as a two-part set: A film, which you print on, and B film, which carries the design onto the product.
A film (print film): The entire sheet is coated with adhesive, and the design prints directly onto that adhesive side. The A film gets peeled away at the end, but the adhesive travels with the design and becomes the layer that holds the decal onto the product.
B film (transfer film): Pressed down over the design during lamination. Once the A film is peeled away, the design is carried by the B film; you apply it to the product, peel the B film off, and the design stays behind.
A film and B film are used as a set. Neither one produces a finished decal on its own.
Laminator: Bonds the A film and B film together into one complete UV DTF decal.
Roll feed: For long-format UV DTF decals, you'll also need the roll feed accessory.
Step-by-step tutorial: how to make UV DTF decals
Step | Please note | |
|---|---|---|
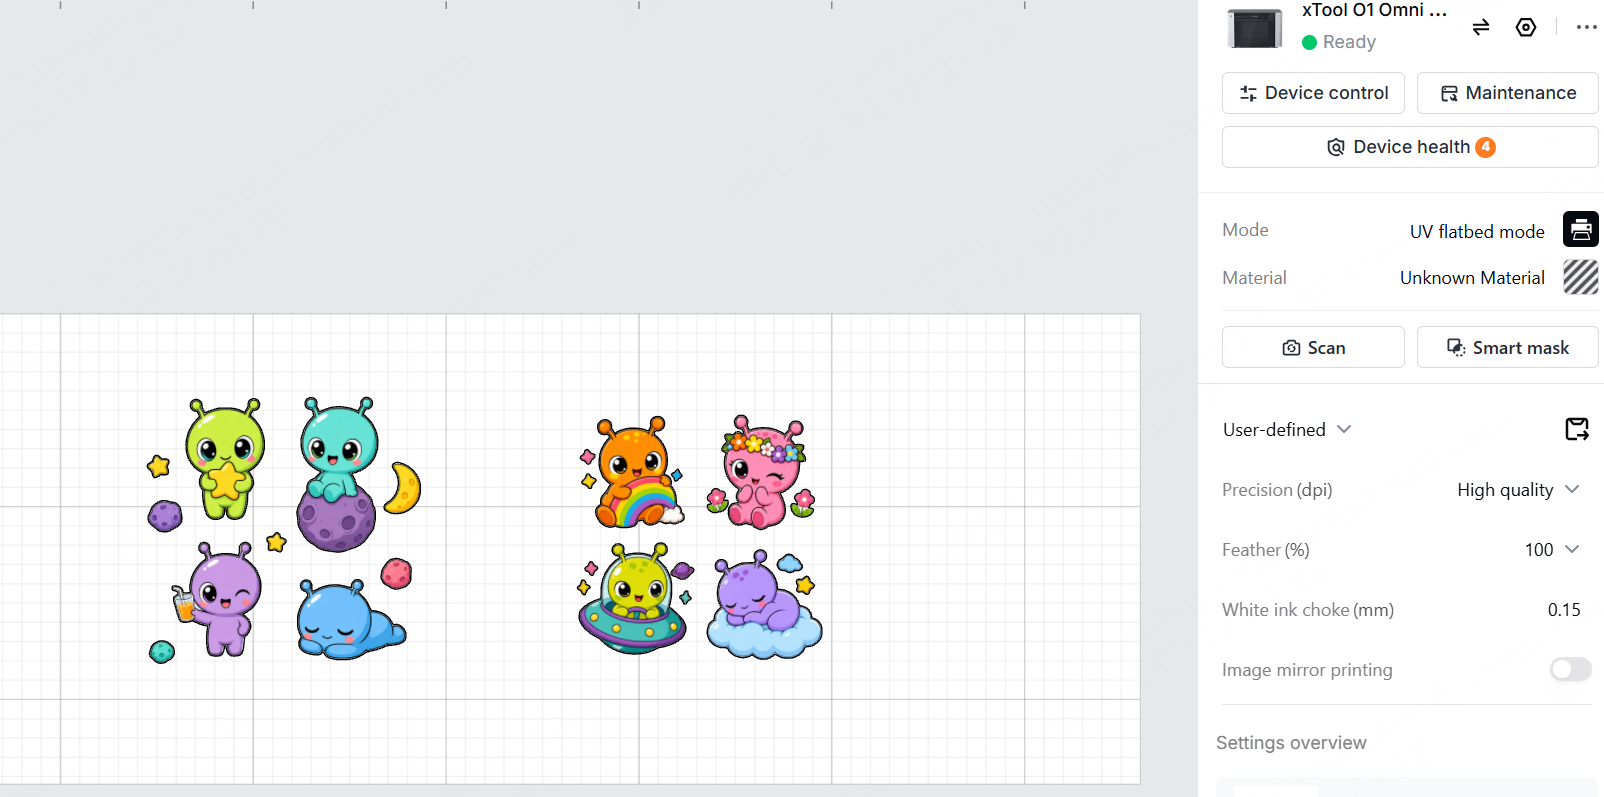
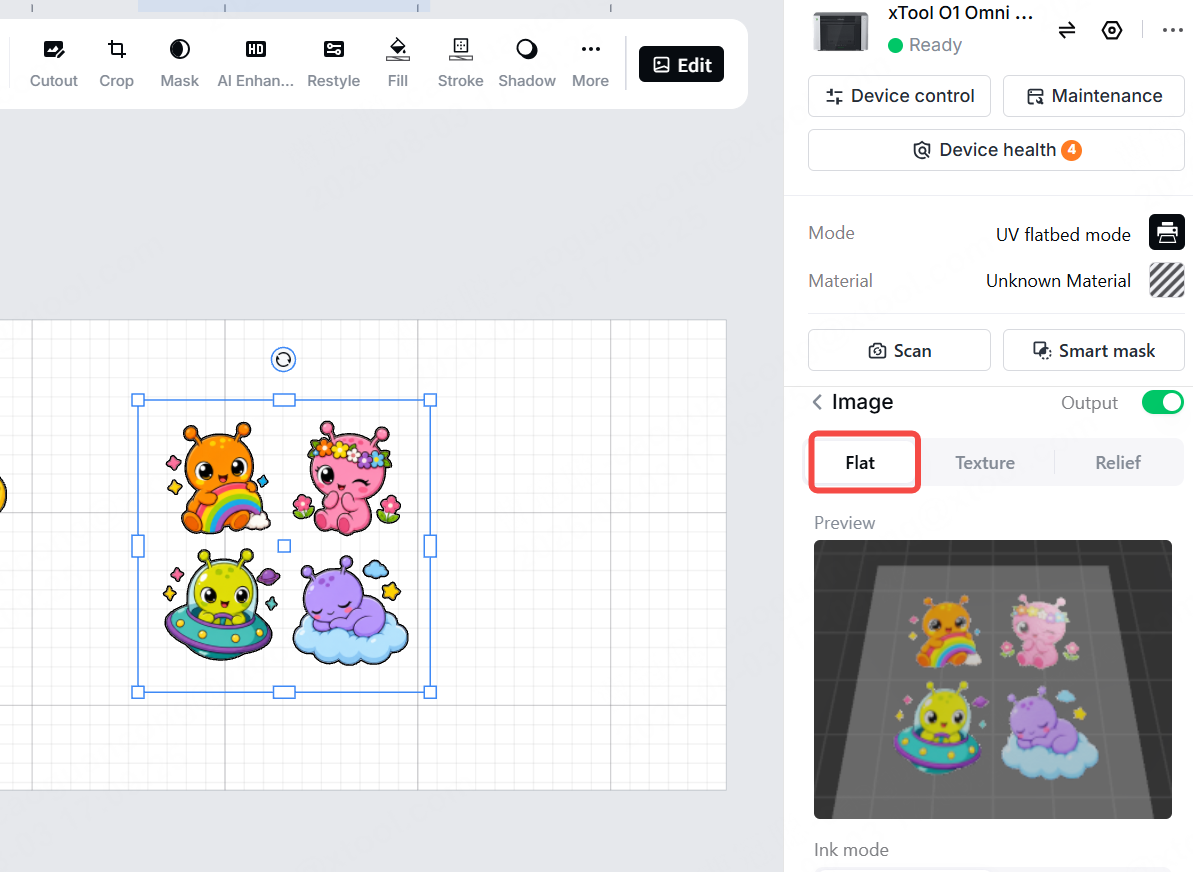
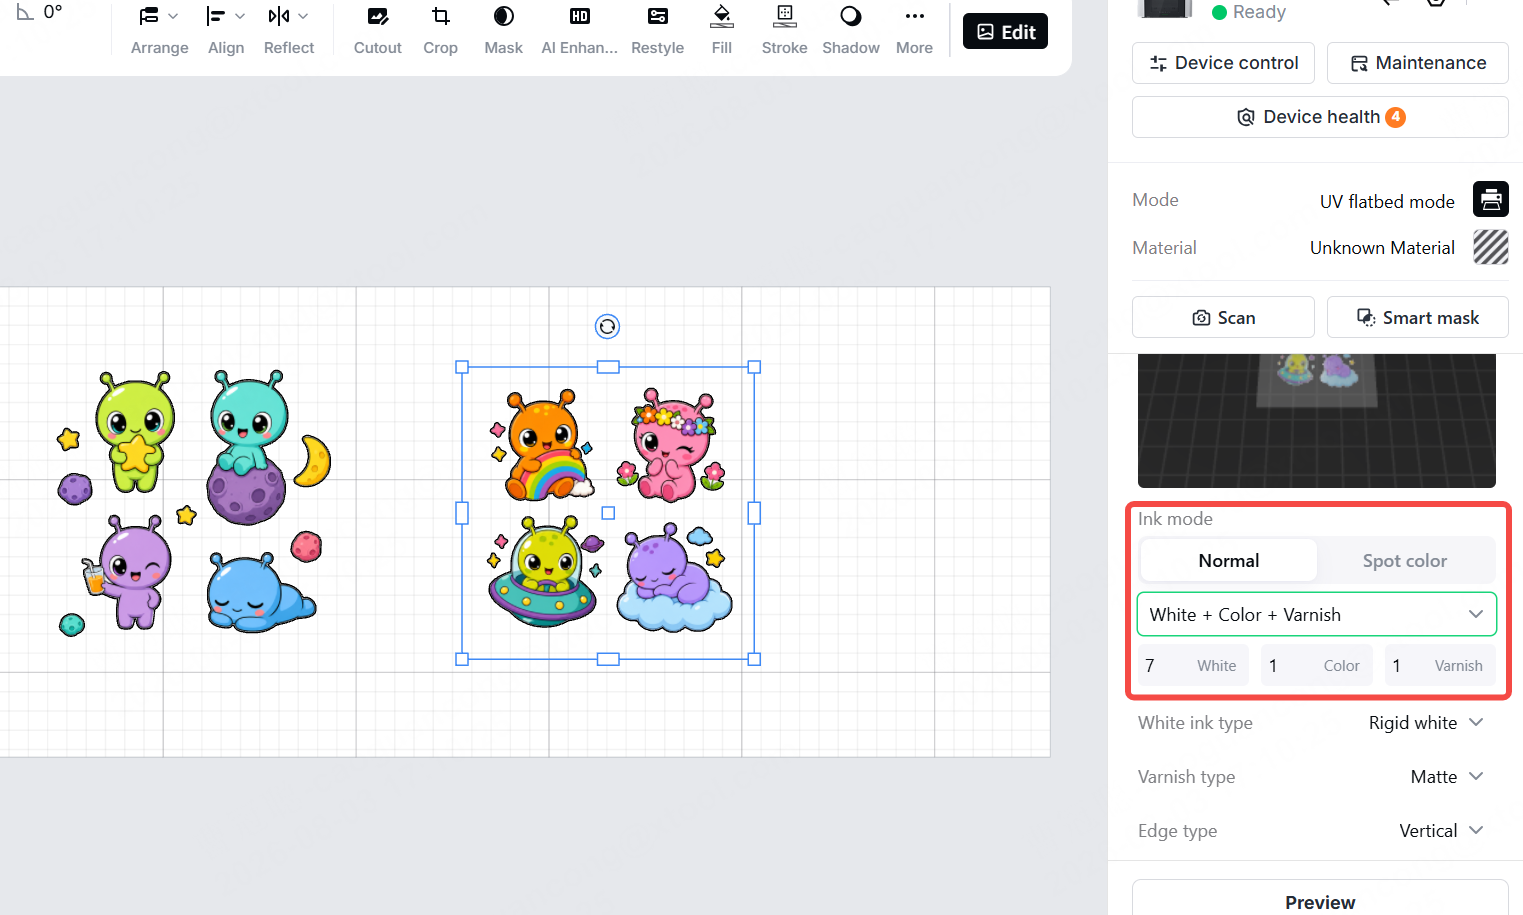
Step 1: Print preparation |
| A transparent background is recommended |
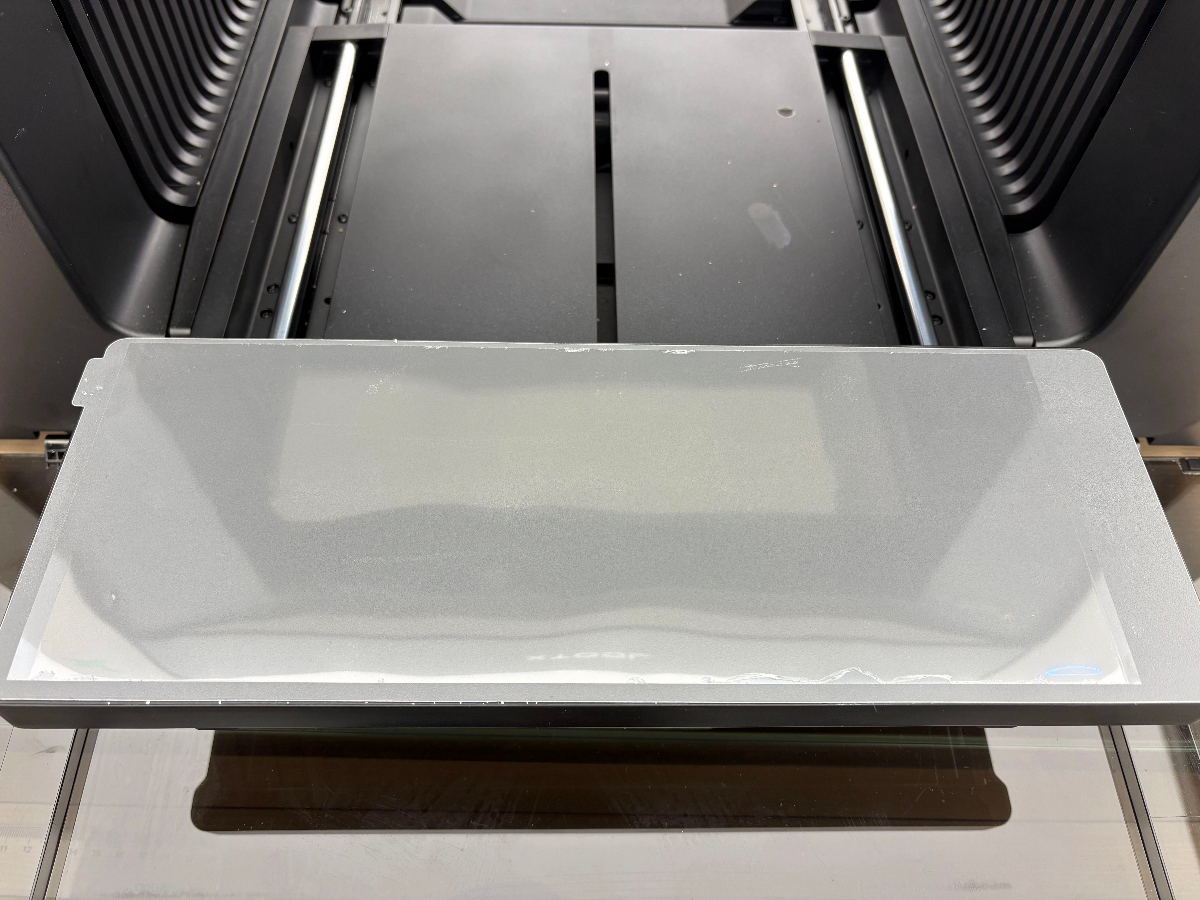
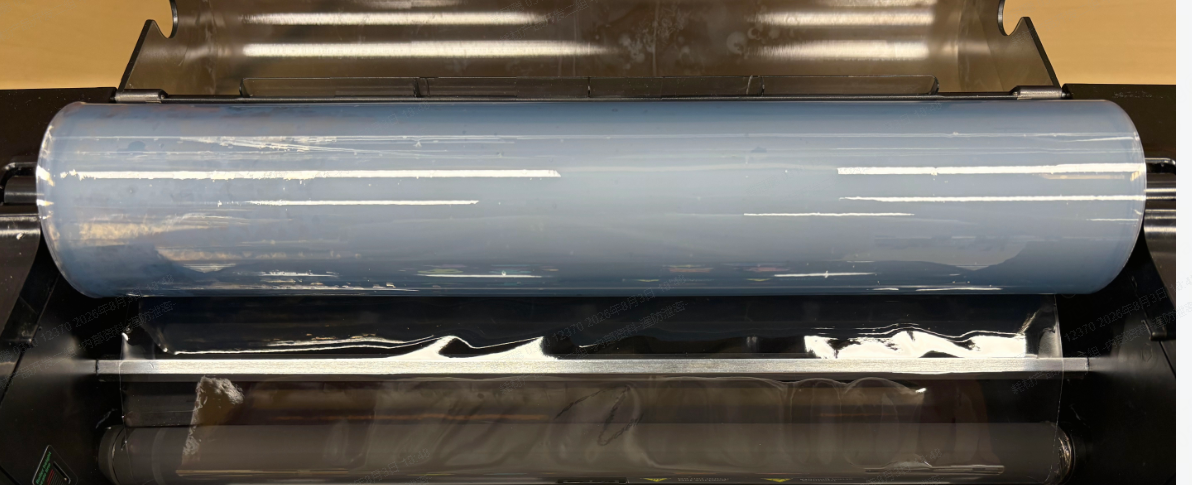
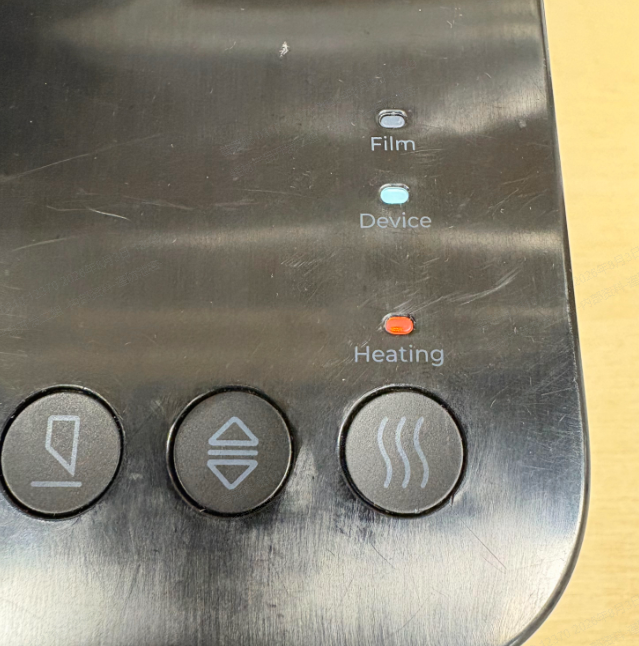
Step 2: Load the B Film on the Laminator | Load the B film onto the laminator and switch on the heating function
| Adhesive side up (the slightly tacky side) |
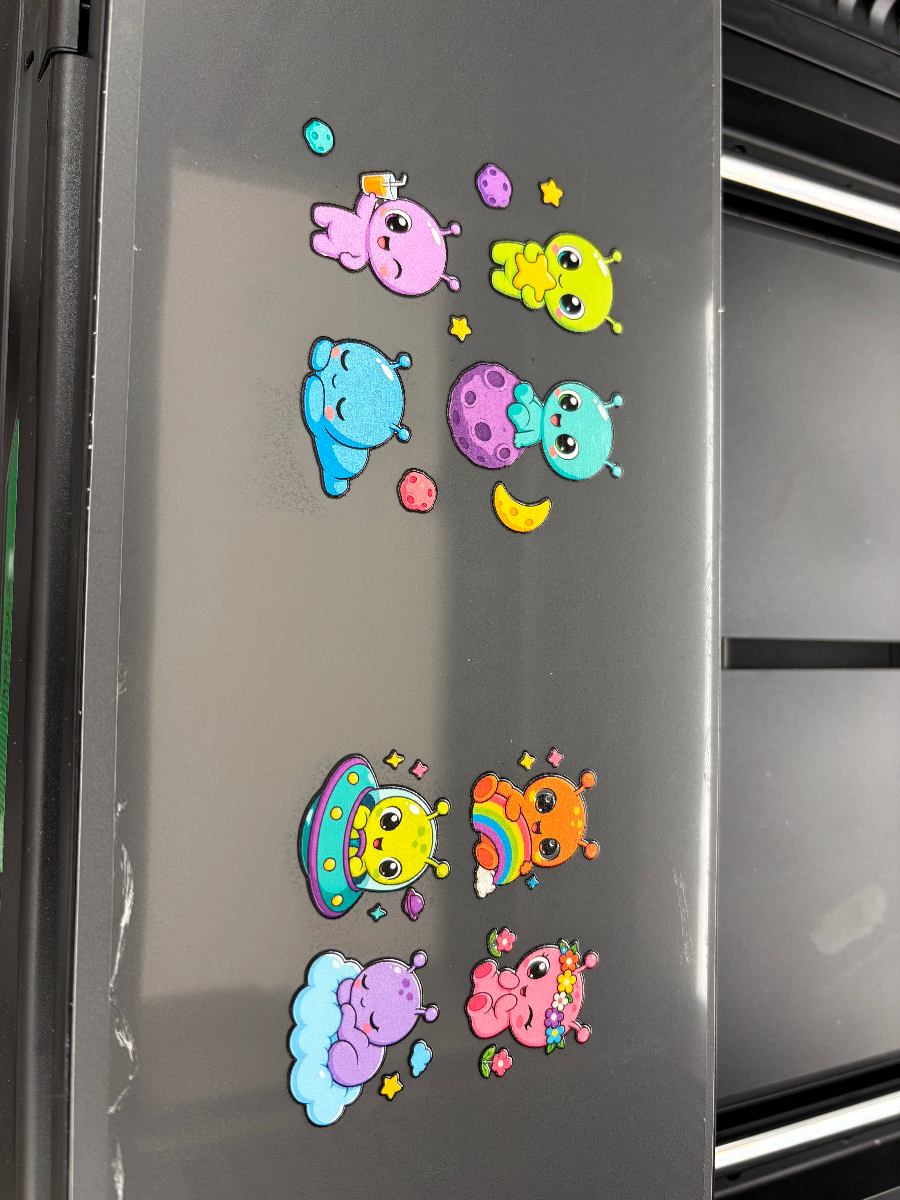
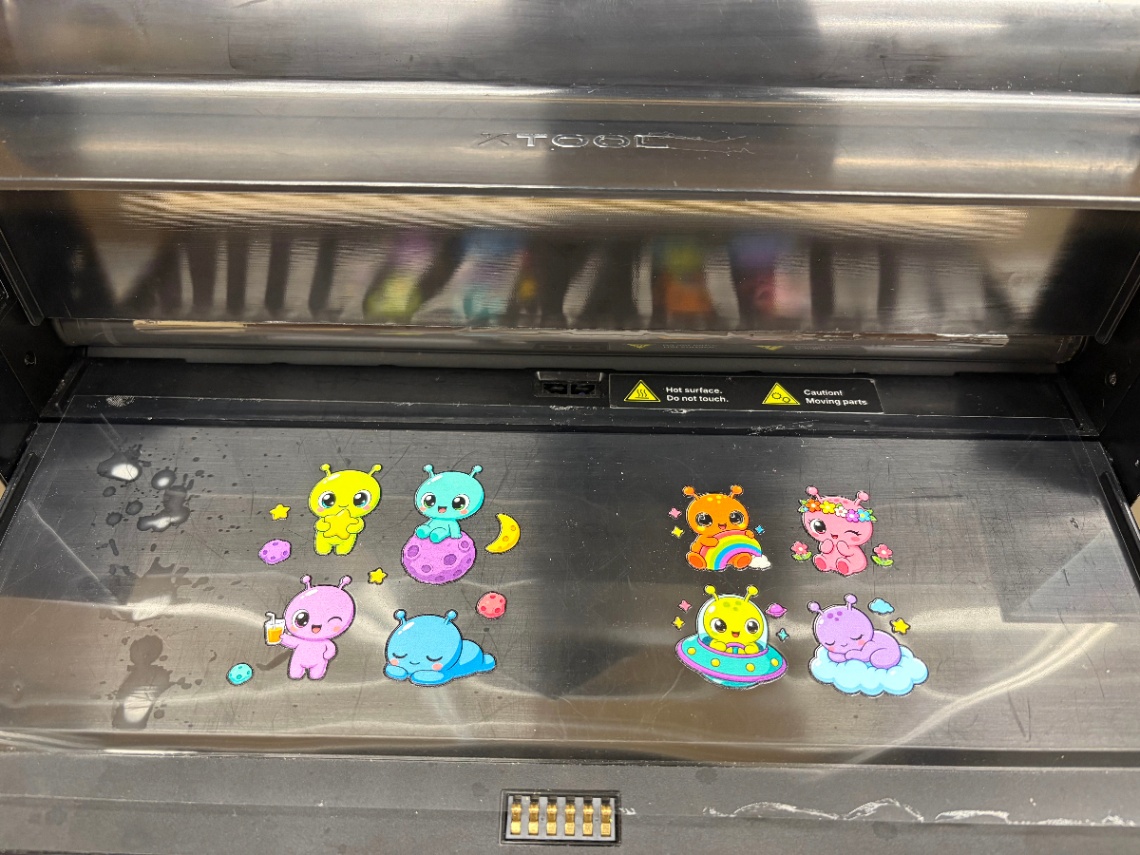
Step 3: Laminate the A Film With the B Film | Feed the A film through the laminator print side up (adhesive side up) to laminate it with the B film
| Load the B film roll on the laminator and let it finish heating; feed the A film in print side up, let the machine pull the material through, and wait until the entire design has passed before cutting |
Step 4: Cut and separate the designs | Separate the designs with scissors or a die cutter; you don't need to cut tight to the artwork — margin around the edges is fine | |
Step 5: Apply the Decal and Peel the B Film | Peel off the A film and apply to the product | Clean the surface of the product first; set the decal down from the center, then squeegee outward to both sides, going over it several times. This keeps the adhesive from failing to bond to the surface |
Peel off the B film | Slowly, at a low angle, keeping it close to the surface | |
Tips for better UV DTF decals
- Always clean the product before applying — nine times out of ten, that's why a decal falls off. Wipe with isopropyl alcohol and a lint-free cloth, and let it dry completely before applying.
- Peel the B film slowly. If the design starts lifting with the film, press it back down and re-peel from a different direction. Don't force it.
- For transparent objects, use a Color + White + Color ink mode. The design then carries color on both faces, so it reads correctly from either side of the glass.
- For gloss or scratch resistance, print 1–3 varnish layers. More layers mean more gloss and better scratch resistance, at the cost of longer print time.
>Browse the full xTool O1 materials lineup. Blanks, sheets, transfer film, primer — everything the O1 needs, in one place.
Have questions about material processing, want to share your creations, or stay up to date on the latest official xTool materials? Join the Laser Materials & Craft Supplies Community on Facebook and connect with fellow makers!

