
Why Make Stickers with the xTool M2?
Compared with cutting by hand, the xTool M2 offers several advantages:
- Precise custom-shape cutting. Whether it's a circle, a star, a cartoon design, or a complex logo, the M2 delivers accurate contour cuts.
- High-volume efficiency. A single layout can cut dozens or even hundreds of stickers at once — ideal for small-scale custom businesses.
- Print Then Cut support. Print your design with an inkjet printer first, then let the M2 automatically detect the registration marks and finish the contour cut.
- Broad material compatibility. Works with many sticker materials, including white matte sticker paper, white glossy sticker paper, vellum (translucent) sticker paper, and holographic sticker paper.
How to Choose the Right Sticker Material
Material | Features | Best For | Rating | Notes | Project |
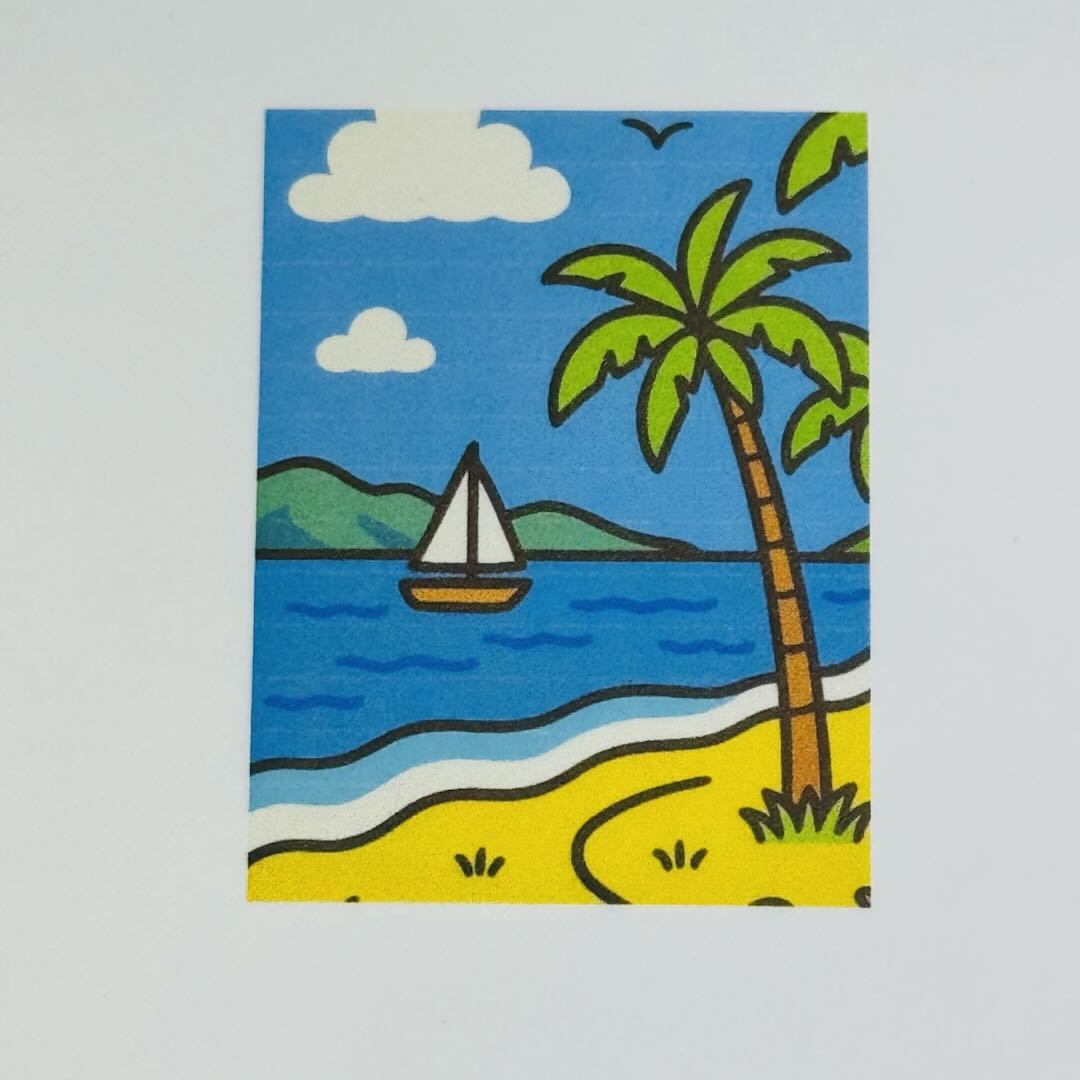
Non-reflective surface; easy to write on; soft, natural colors | Planner stickers, study labels, product category labels, kids' DIY projects | ★★★★★ | Great for beginners |
| |
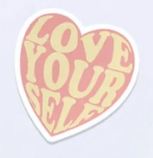
White glossy sticker paper | Vivid colors; strong image impact; some water resistance | Photo stickers, brand logos, e-commerce packaging stickers | ★★★★★ | Ideal for high visual impact |
|
Vellum (translucent) sticker paper | Semi-transparent background; blends in naturally once applied | Water bottle decoration, laptop stickers, glass decoration, packaging seals | ★★★★★ | One of the most popular sticker materials in recent years |
|
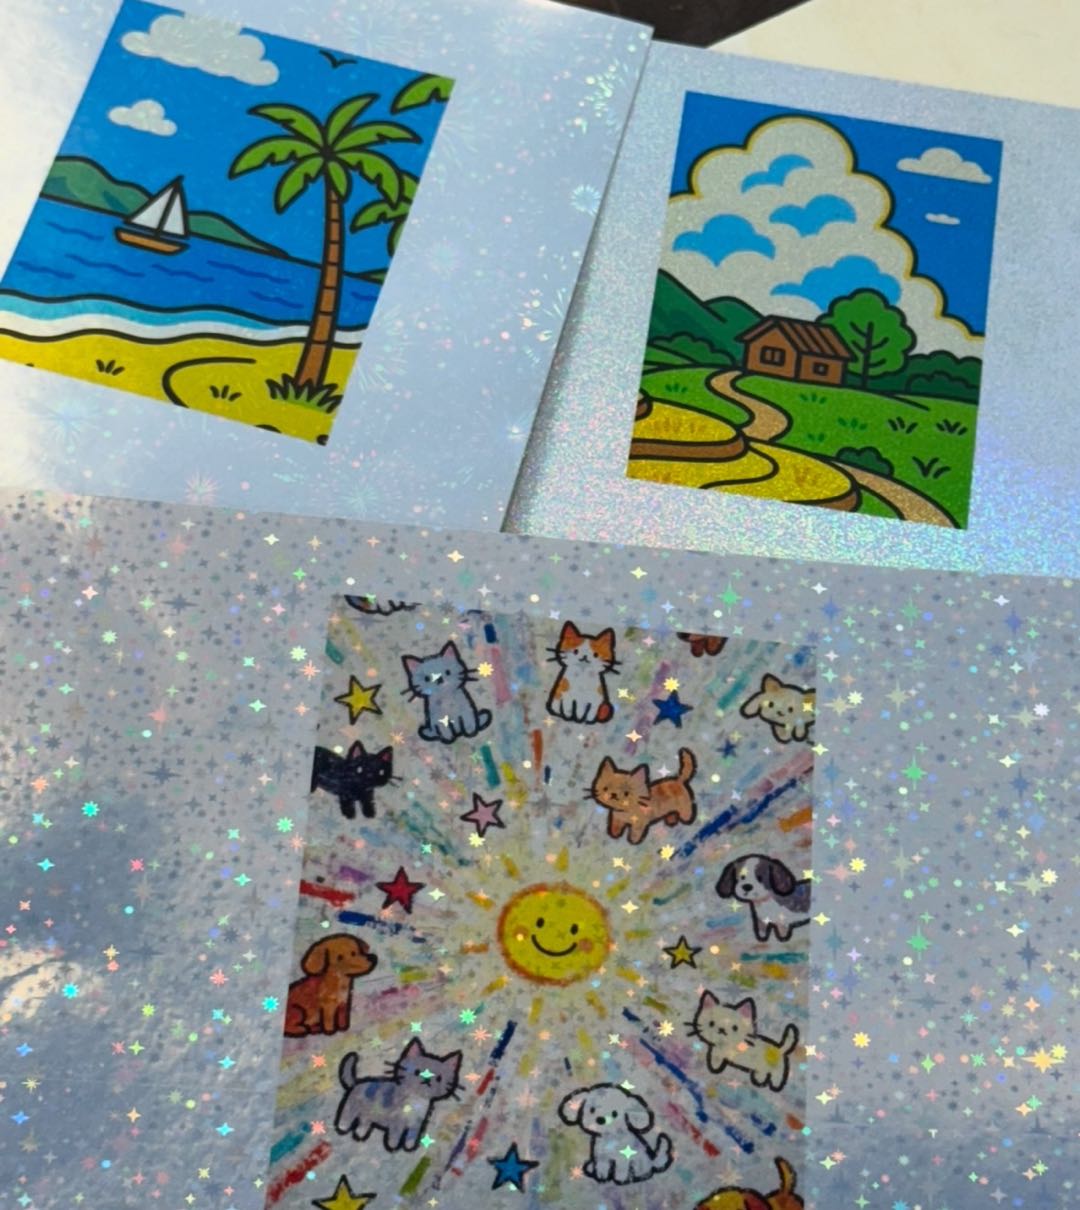
Shifting holographic effect at different angles; strong visual impact | IP merchandise, collectible stickers, art-toy decoration | ★★★★★ | Suitable for commercial products |
| |
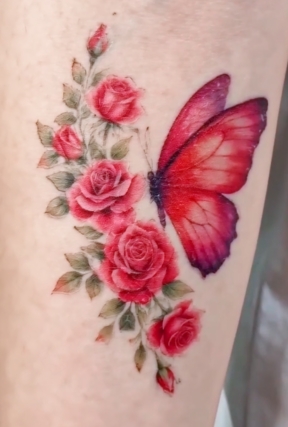
Temporary tattoo paper | Adheres to skin briefly; strong detail; good water and sweat resistance | Kids' parties, festivals, stage makeup, sports events | ★★★★☆ | A popular product in maker and personalization markets |
|
Recommended M2 Settings
Material | Inkjet Side | Ink Density | Cutting Power | Cutting Speed | Passes |
Matte coated side | 80% | 90% | 50 mm/s | 1 | |
White glossy sticker paper | Glossy coated side | 80% | 90% | 50 mm/s | 1 |
Vellum sticker paper | Translucent film side | 80% | 90% | 40 mm/s | 1 |
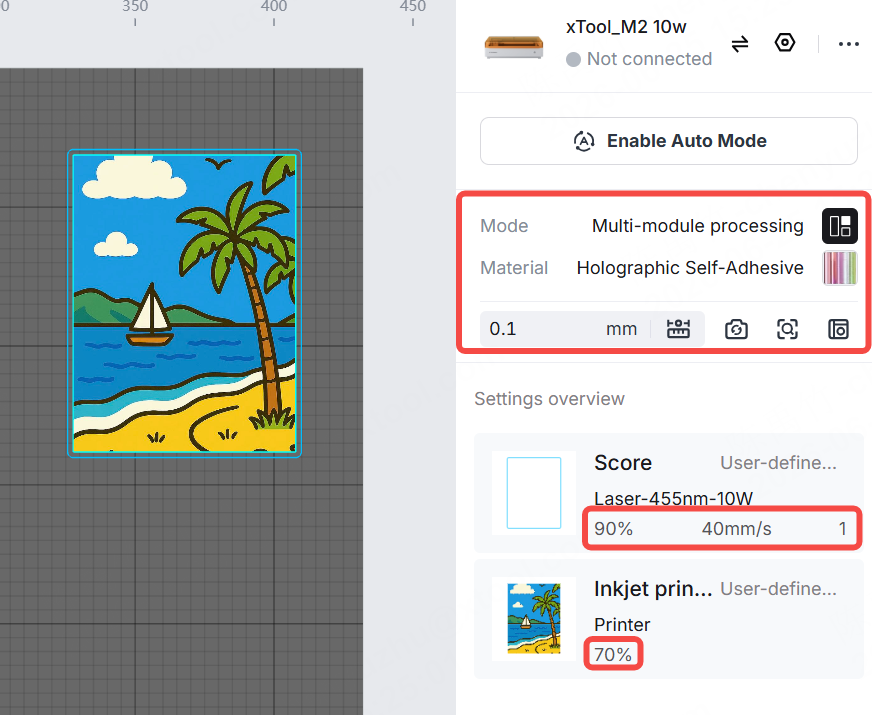
Holographic film side | 70% | 90% | 40 mm/s | 1 | |
Temporary tattoo paper | Printed paper side | 80% | 90% | 40 mm/s | 1 |
Recommended Test Cuts
When working with a new material, cut a test sheet first:
- Circle (20 mm)
- Five-pointed star (30 mm)
- A letter (10 mm tall)
- A complex curved design
If you see:
- Yellowing edges → lower the power by 2%–5%
- Incomplete cuts → raise the power by 3%–5%
- Kerf too wide → increase the speed by 10%–20%
This helps you quickly dial in the best settings for your current material batch.
The Print Then Cut Workflow
1.Design or choose your artwork.

2.Import the cut lines.
Import your image into xTool Studio and create the contour line.
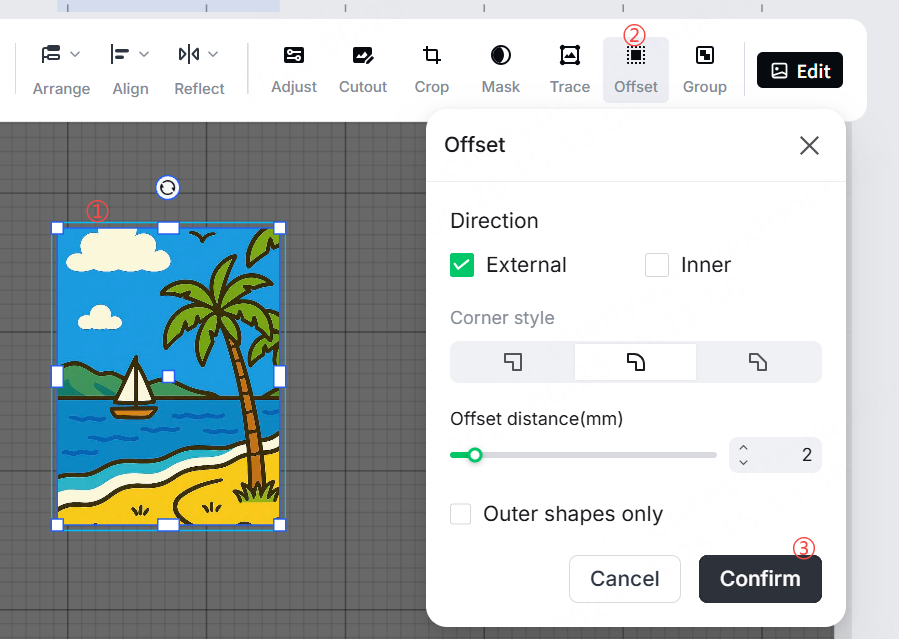
Select the processing mode and material, enter the correct material thickness, and choose suitable settings.
3.Print the sticker (inkjet first, then cut).
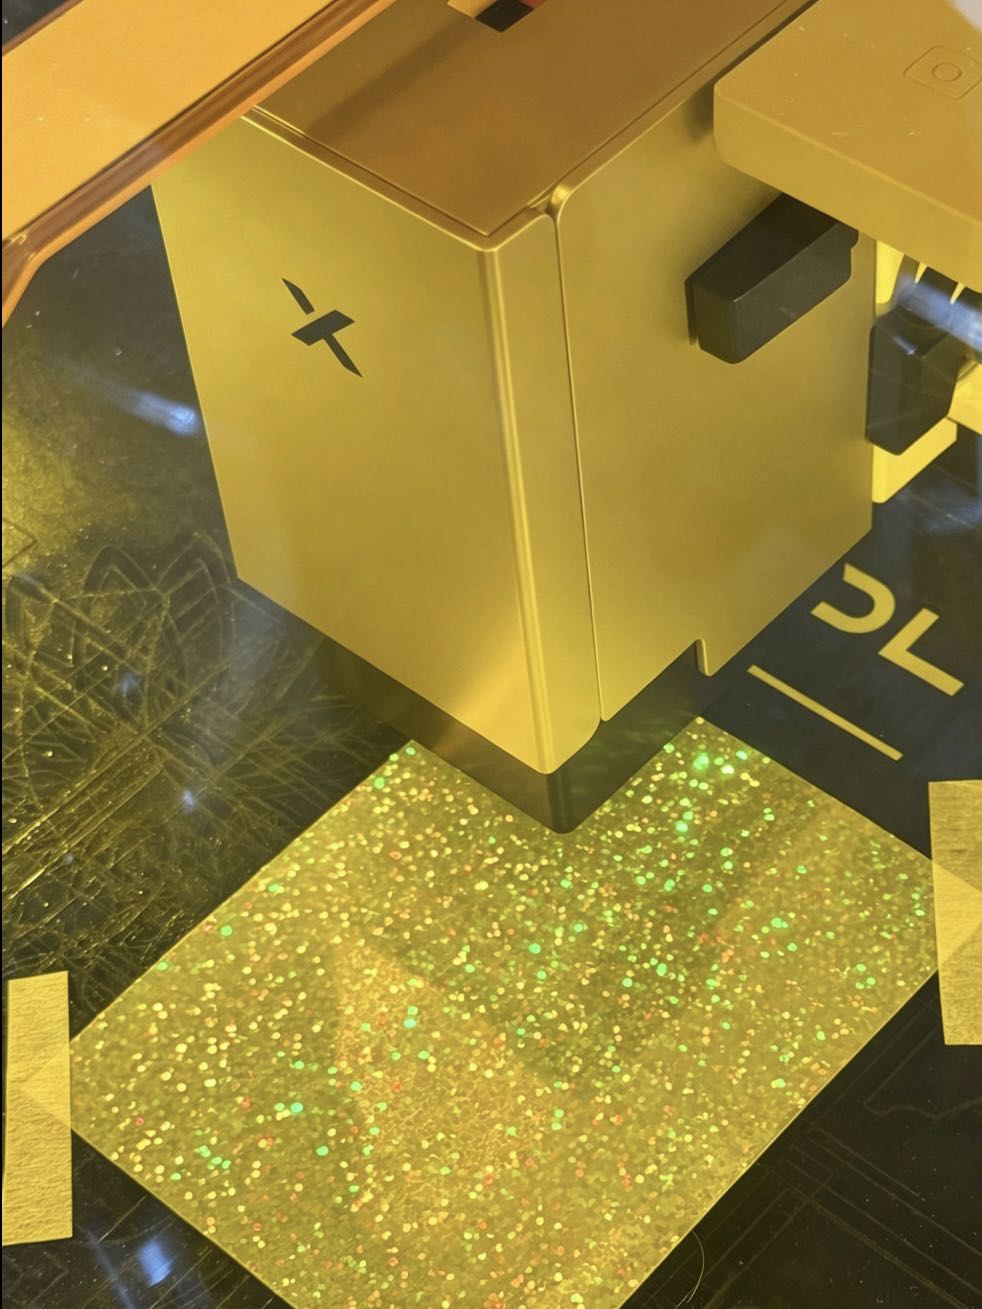
4.Run the cut.
Swap the inkjet head for the laser head and cut. Once it's done, your finished stickers are ready.
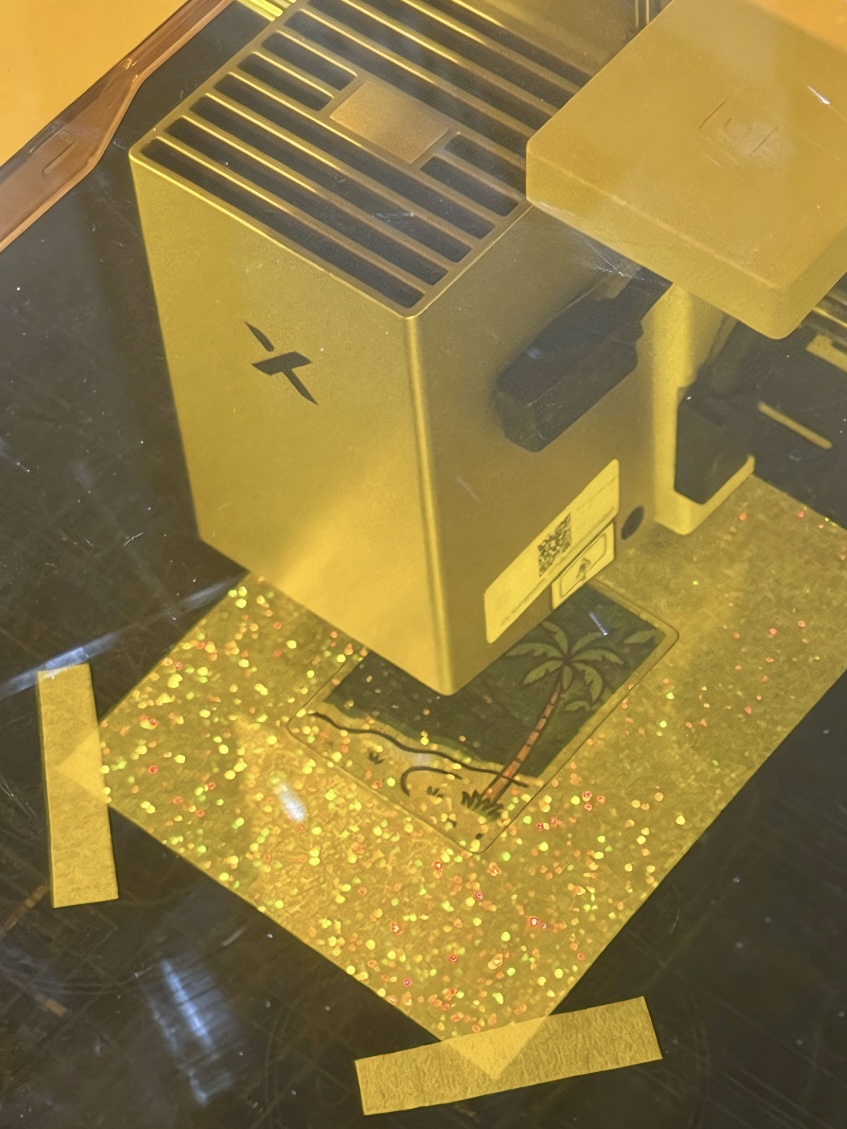
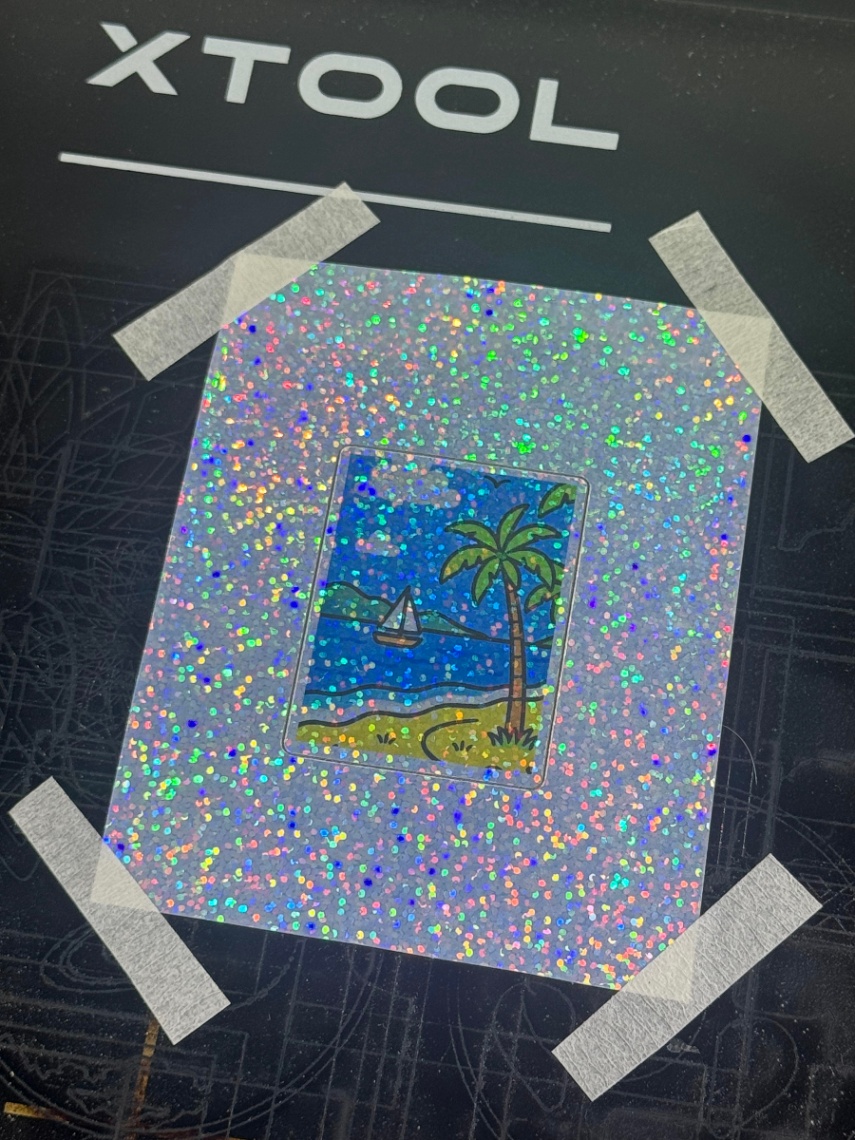
Note: Add your step-by-step screenshots from xTool Studio at each stage above.
Which Sticker Materials Should You Avoid Cutting with a Laser?
The M2 includes a laser module, but not every sticker material is safe to laser-cut. Avoid the following:
- PVC stickers — for example, standard vinyl stickers and PVC label paper. Why: PVC can release corrosive and harmful gases when heated, damaging the machine and posing a health risk.
- Plastic stickers of unknown composition — materials from unknown sources may contain chlorides or halogen compounds, which carry the same safety risks.
Safety Tips for Using the M2
The M2's laser can cut certain paper-based and specialty sticker materials. Because stickers usually include an adhesive layer, a coating, and a backing film, always follow these safety guidelines when laser-cutting.
Clean the Work Area Regularly
The adhesive in stickers gives off fumes during cutting, and over time this buildup can reduce laser energy and weaken your cuts. Check the laser lens regularly, clear debris from the honeycomb panel, and remove paper scraps and adhesive residue from the work area. A clean machine delivers more consistent results.
Avoid Cutting Thick or Stacked Materials
Stacking layers leads to incomplete cuts, heavier scorching, and heat buildup. For the best precision and edge quality, cut a single layer at a time, lay the material flat, and use clamps to keep the edges from curling.
Store Sticker Paper Properly
Prolonged heat and humidity cause the adhesive to age, the edges to curl and lift, and both print and cut quality to drop. Store materials at 15–30°C and 40%–60% humidity, away from direct sunlight. Keeping the surface clean and flat before use will noticeably improve your results.
> Looking for more materials for your xTool M2? Explore our full collection of materials—from paper and plywood to MDF boards and more.

