Issue description
When using Print then cut mode, if there is a noticeable deviation between the actual processing position and the target position in xTool Studio (which may be along the X axis, the Y axis, or both).
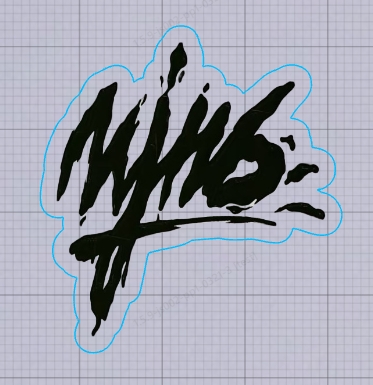
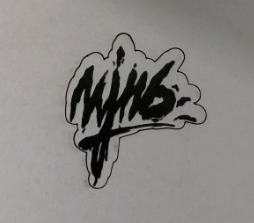
Target position in xTool Studio Actual processing position
After this issue occurs, the Print then cut mode cannot achieve precise integrated printing and cutting. Please refer to this guidance.
Possible causes
- Uneven material
- Low software or firmware version
- Camera positioning deviation
- Uncalibrated inkjet module position
- Hardware failure
Troubleshooting procedures
1. Check the surface flatness of the material
Print then cut mode requires material to be flat, without warping or curved deformation.
(1) Lay the material flat on the baseplate and secure the four corners with tape to ensure the material fits tightly against the platform.
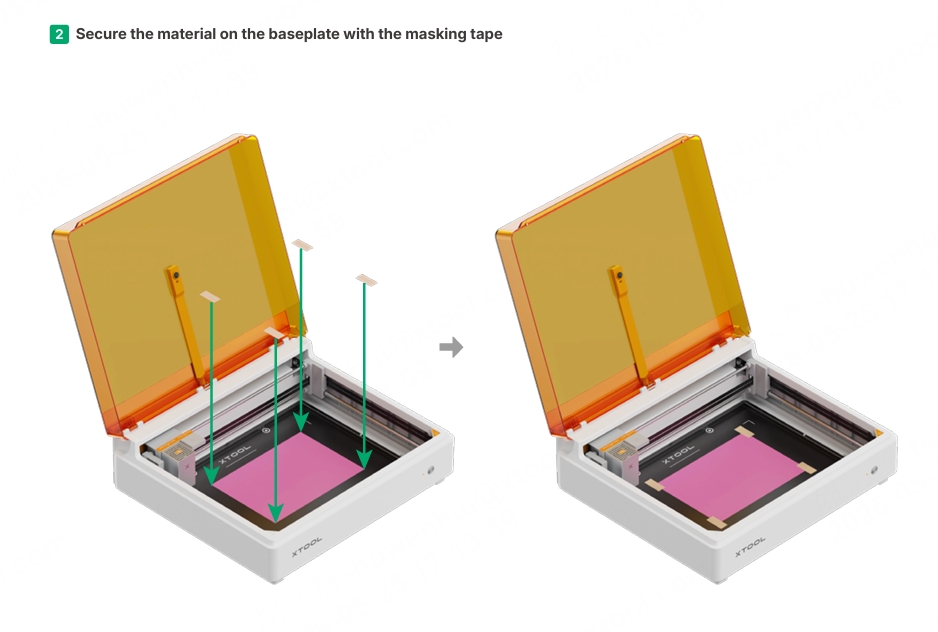
Note: Please avoid using magnets to secure materials, as there is a risk that the inkjet head may collide with the magnet while in motion, resulting in equipment damage or processing misalignment.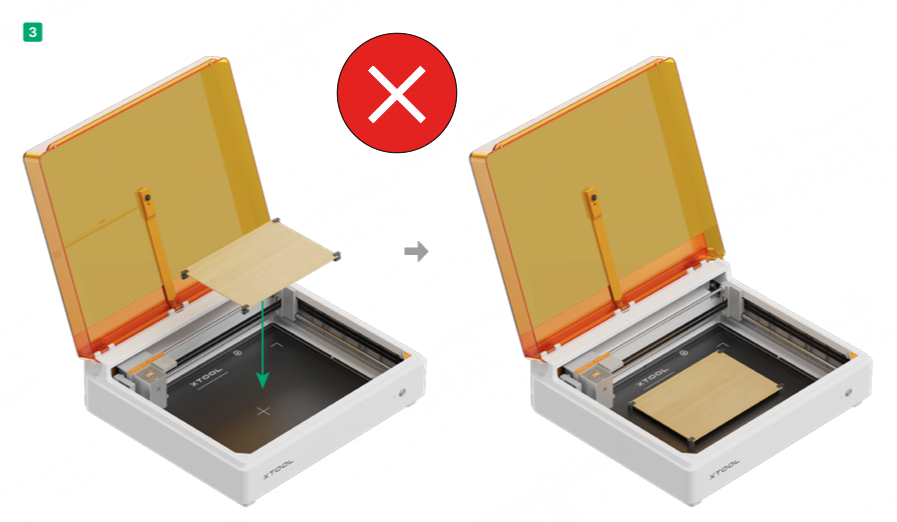
(2) After confirming the material is flat and positioned correctly, perform the Print then cut process again and observe whether the offset improves.
Notes:
If you opened the device cover to replace the laser head after printing finished before cutting began, be sure to check that the material is positioned the same as it was during printing. If it has moved, realign the material or repeat the printing steps.
If you notice signs that the laser head or inkjet module collided with the material during processing (such as material displacement, warping, or being pushed), please refer to the other steps in this document to troubleshoot the cause of the collision.
If the issue persists, proceed to Step 2.
2. Check the software and firmware versions
(1) Check whether the software, firmware, and inkjet module versions are up to date. If not, update them to the latest versions.
- Software version
- Firmware version
- Inkjet module version
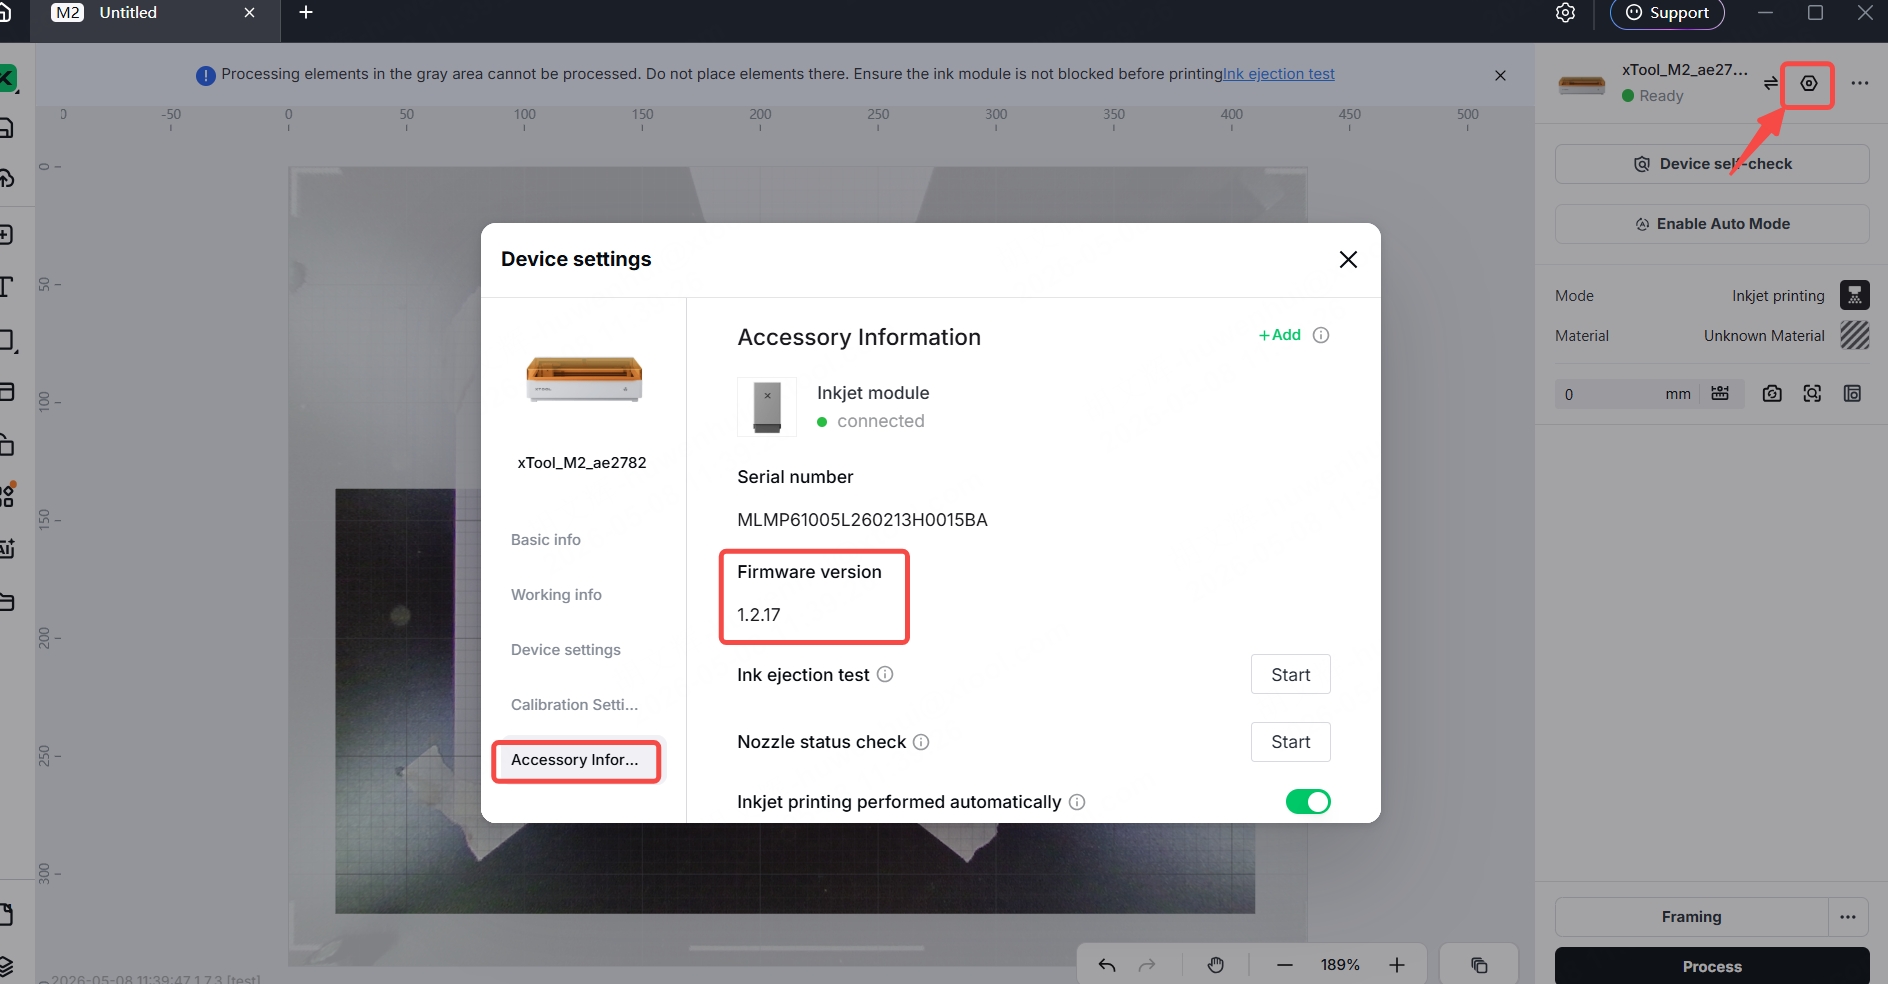
(2) Power off xTool M2. After 10 seconds, power it on again and wait for it to complete the self-test and initialization.
(3) Restart xTool Studio, reconnect xTool M2 to it, and test the inkjet function again.
If the issue persists, proceed to step 3.
3. Perform camera positioning calibration (Blue Laser)
The cutting part of the print then cut mode relies on the camera positioning system of the laser head, so it is necessary to first ensure that the laser head is accurately positioned.
4. Perform inkjet module position calibration
After the laser head is successfully calibrated, remove the laser head, install the inkjet module, and then calibrate the processing position of the inkjet module.
After both calibrations succeed, restart the device and then try the print then cut function again to confirm whether the issue is resolved.
Still experiencing issues?
Should the issue persist after completing the preceding steps, submit a ticket via the "Submit a Ticket" button in the "Help Ticket" section below. The standard response time for xTool Customer Service is one business day.
For a prompt resolution, please include the following details:
- Actual processing position: The picture of the finished product.
- Software version: The software version of xTool Studio that you use.
- Firmware version: The firmware version of xTool M2 that you use.
- Material information: The material you use.
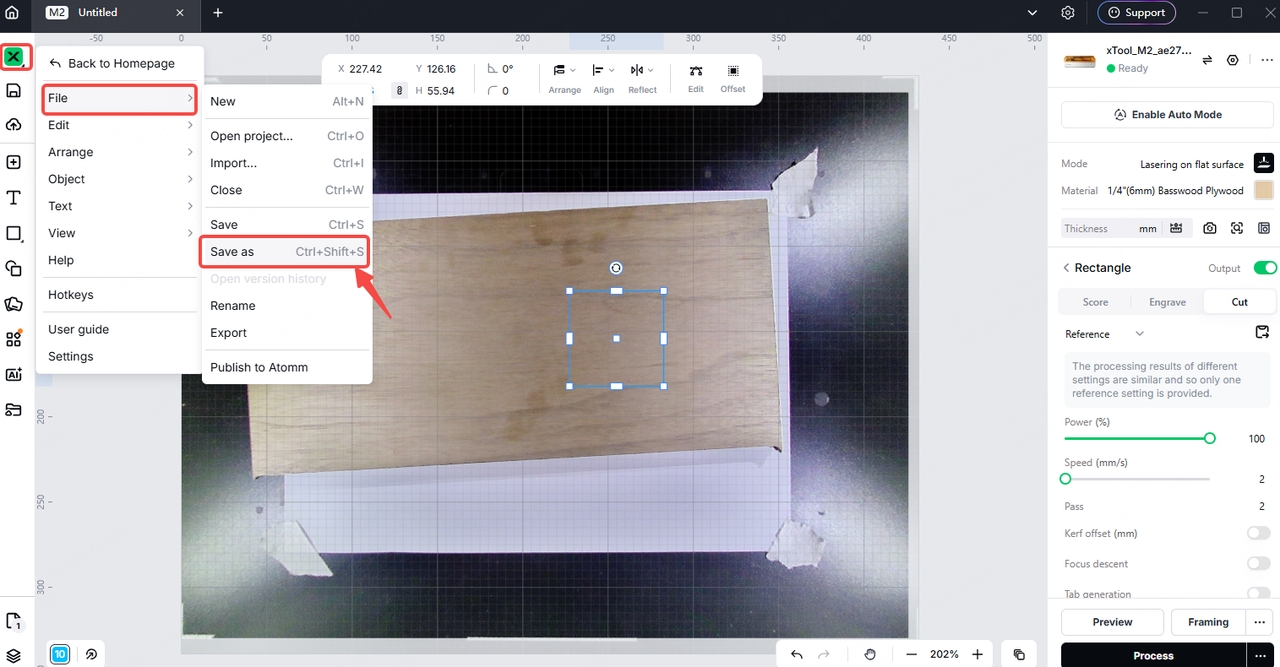
- Device information: Follow the steps to export the work log.
- Project file: Follow the steps to export the project file.