When you add or edit text, the Fonts panel on the left lists typefaces by source. Knowing the difference between local and cloud (online) fonts helps you pick the right one and avoid missing-font or offline issues.
At a glance
Type | What it is | Internet needed? |
Local Fonts | Fonts on your computer (system fonts) plus built-in offline fonts shipped with Studio | No (system fonts need permission first) |
Cloud Fonts | Fonts from the xTool online library, loaded from the cloud when you use them | Yes (to fetch or update) |
My Uploads | Fonts you upload to your account; stored in the cloud for reuse | Yes to upload; often cached after use |
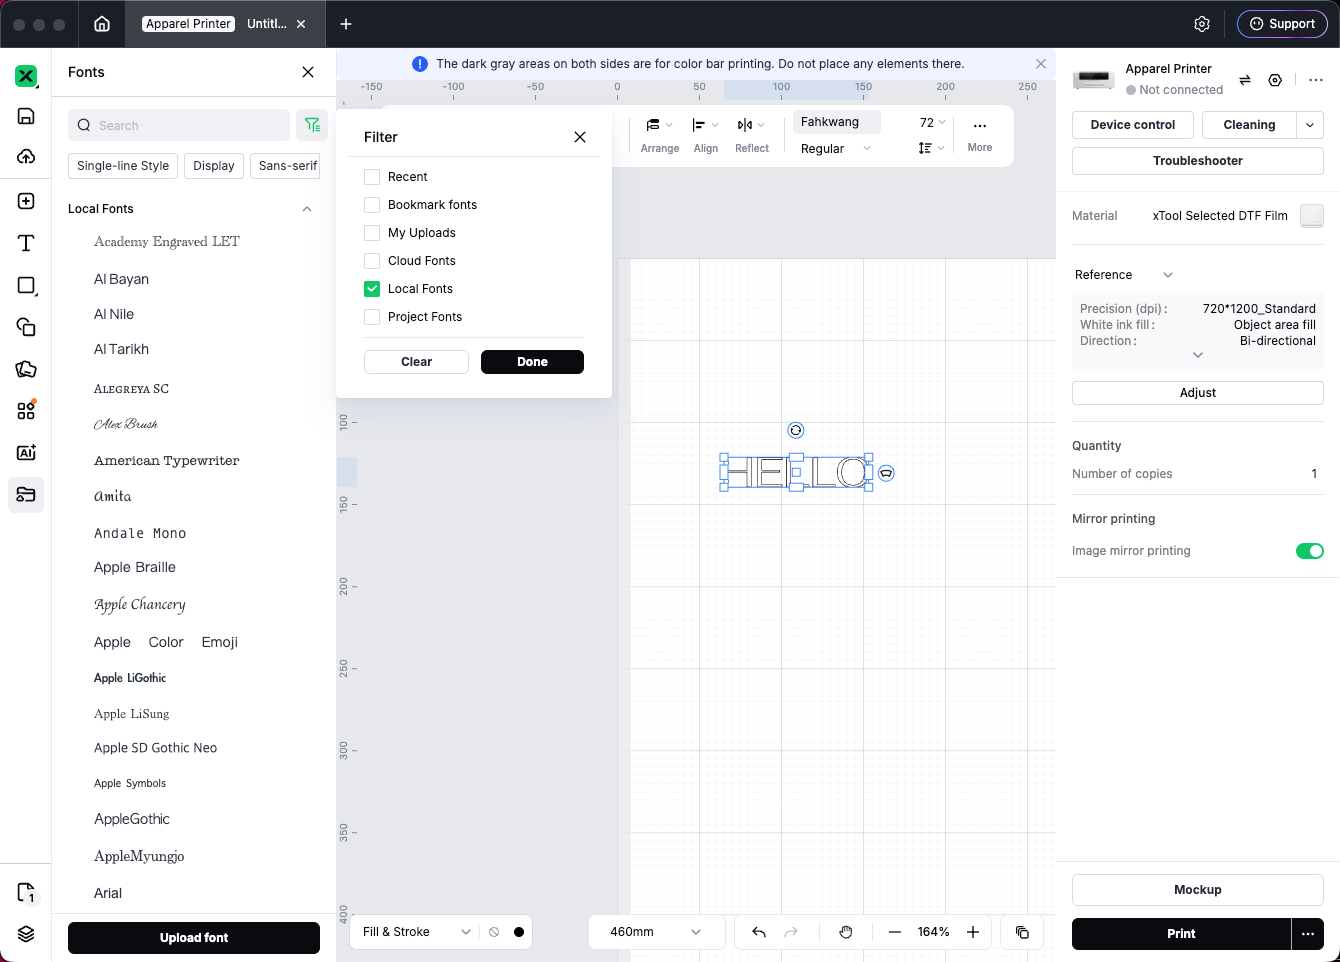
Local Fonts
Includes:
- System fonts — Fonts already installed on your PC or Mac.
- Built-in offline fonts — Fonts bundled with Studio that do not need a separate download. If a built-in font has the same name as a system font, the system font is used.
Before you can use system fonts:
- Your browser or OS may ask whether xTool Studio can access local fonts. Choose Allow.
- If you denied access earlier, use the prompt in the Fonts panel to request permission again.
Notes:
- Works offline (system + built-in offline fonts).
- Font lists differ on other computers, so projects opened elsewhere may show missing font warnings.
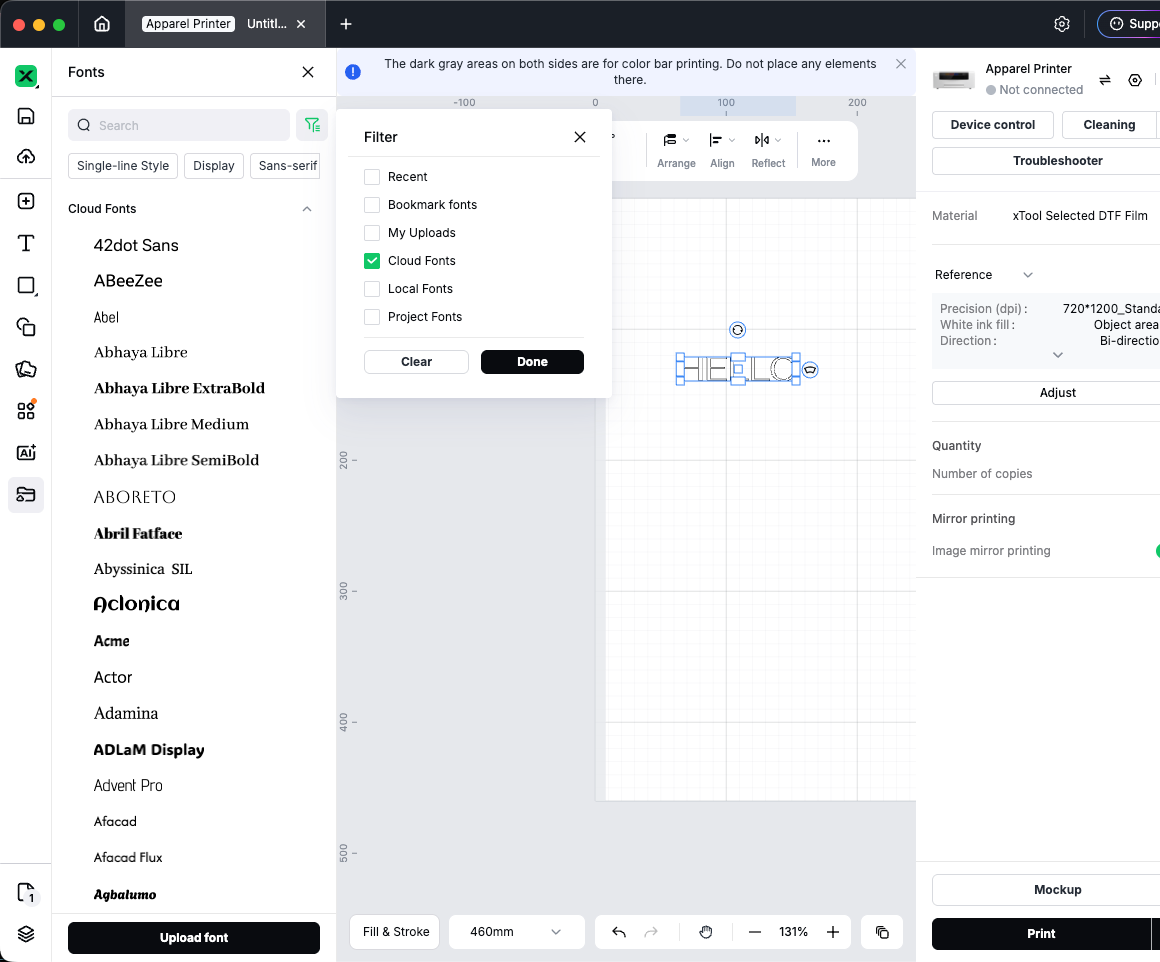
Cloud Fonts
What they are:
- Fonts from xTool’s online library, shown under Cloud Fonts.
- When you apply one, Studio downloads the font data from the server for the canvas and preview.
Notes:
- Requires internet; when offline, this group may be hidden or fail to load.
- Large variety of styles; good if you do not want to install fonts on your machine.
- Style tags (e.g. Display, Sans-serif) usually apply only to cloud fonts.
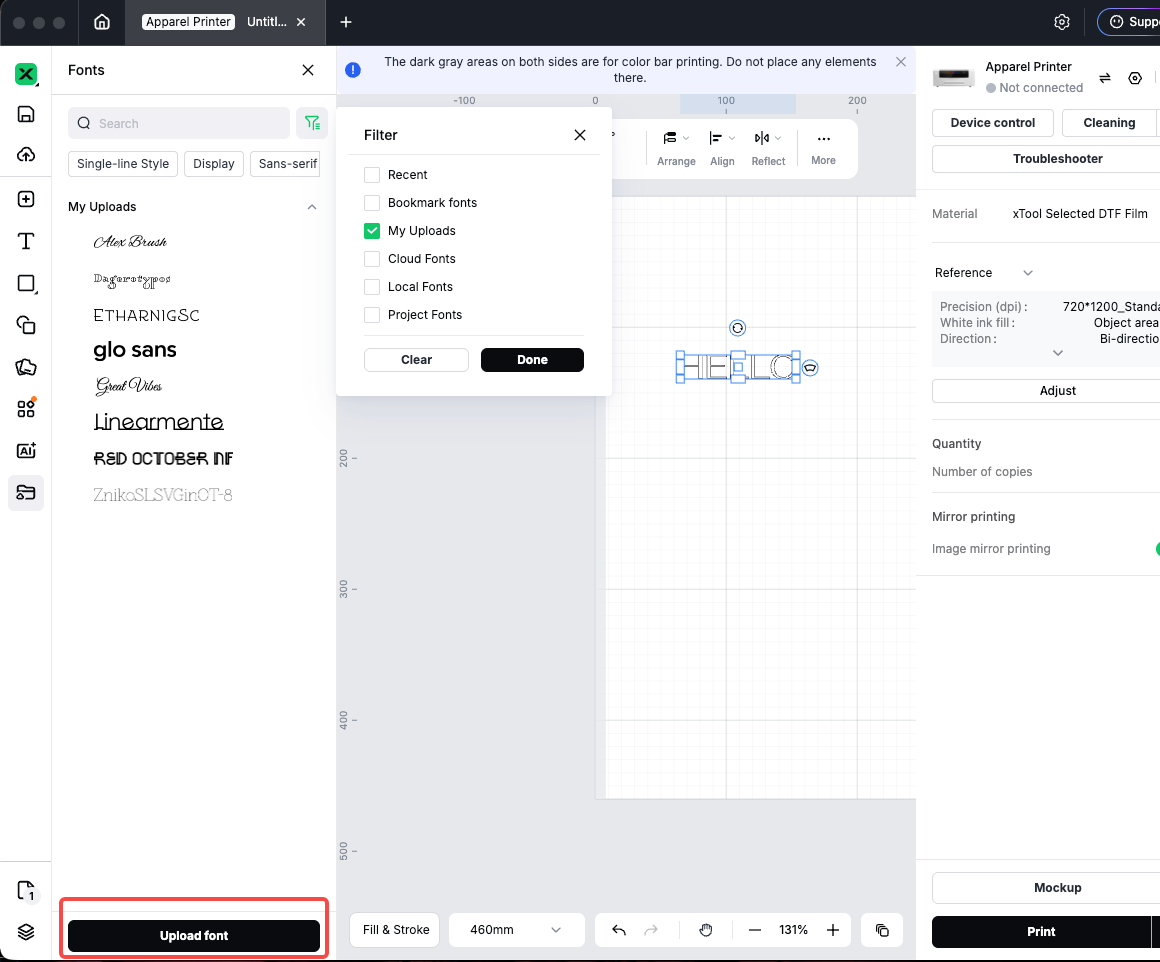
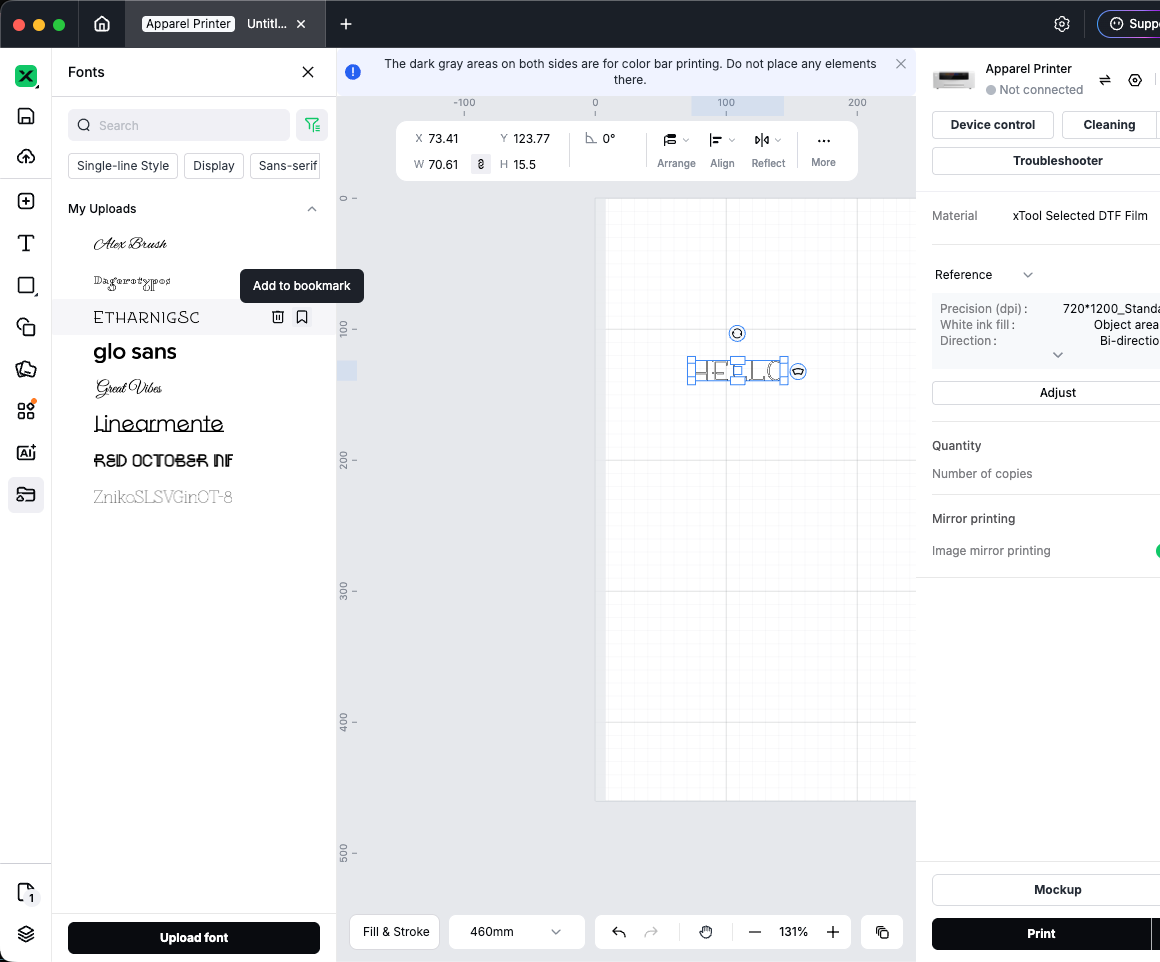
My Uploads (between local and cloud)
To use a font from your computer and keep it in cloud projects or on another device:
- At the bottom of the Fonts panel, click Upload font.
- Select your font file (typically TTF — follow the on-screen note).
- Confirm you have the right to use the font, then finish uploading.
- The font appears under My Uploads on your account.
Uploaded fonts are your cloud fonts, not Local Fonts and not the same as Cloud Fonts (the platform library).
Other groups in the panel
Group | Purpose |
Recent | Fonts you used recently |
Bookmark fonts | Fonts you saved as favorites |
Project Fonts | Fonts already used in the open project |
You can combine these with the filter to narrow the list quickly.
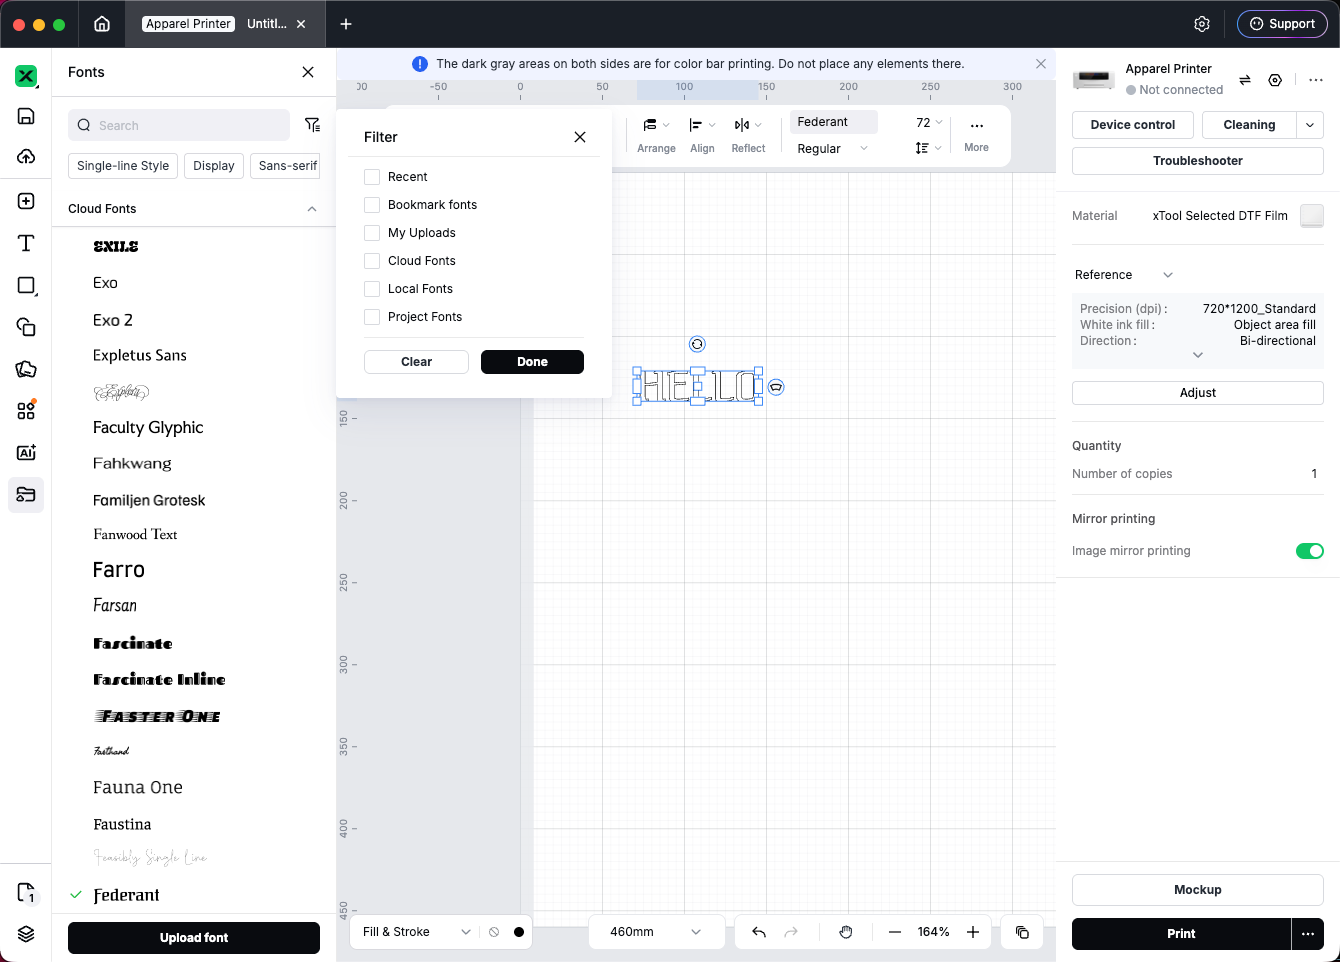
Filter by source
- Next to the search box, click the filter icon.
- Check or uncheck: Recent, Bookmark fonts, My Uploads, Cloud Fonts, Local Fonts, Project Fonts.
- Click Done to apply, or Clear to reset.
Tips
- Work offline often — Prefer Local Fonts, or use needed Cloud Fonts while online so they can cache.
- Share projects across devices — Prefer Cloud Fonts or My Uploads so others are less likely to miss fonts.
- Missing font when opening a file — Install the font on your computer, or switch to a similar Cloud or uploaded font and update the text.
- Licensing — Only upload fonts you are allowed to use; the upload flow asks you to confirm rights.
Quick reference
I want to… | Use… |
Use fonts installed on my computer | Local Fonts (allow local font access) |
Use xTool’s online library | Cloud Fonts (stay online) |
Use my own font in cloud projects | Upload font → My Uploads |
Change only fonts in this file | Project Fonts |
Services & Help
Learn & Education

Copyright © 2025 xTool All Rights Reserved.