
Unboxing and First Use
Download PDF file (multi-language)
From the Quick Start Guide, you can view the item list, product structure, specifications, indicators and buzzer explanation, as well as instructions on device installation, basic operations, and fundamental maintenance.
Français_xTool Laser Positioning Pen_Guide de démarrage rapide | ||
Português_xTool Laser Positioning Pen_Manual de referência rápida | Język Polski_xTool Laser Positioning Pen_Skrócona instrukcja obsługi | |
Introduction
Laser Positioning Pen is designed exclusively for use with the xTool WonderPress to provide high-precision alignment. By presetting laser reference lines, it ensures consistent positioning between the design and the material during batch production, significantly boosting efficiency and reducing defect rates. Two types are available:
- Cross line laser positioning pen:
Projects a cross-shaped alignment mark; ideal for locating the geometric center of a design or specific intersection points on a garment. - Horizontal line laser positioning pen:
Projects a single straight line; ideal for aligning multi-line text, leveling striped shirts, or serving as a horizontal/vertical boundary reference for large designs.
List of Items
|
|
|
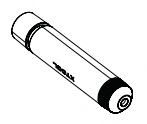
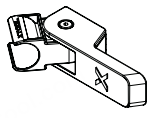
Laser pen | Bracket | Quick Start Guide |
Use xTool Laser Positioning Pen
1. Install the Laser Positioning Pen
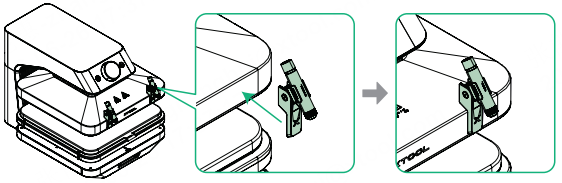
1. Snap the laser pen into the bracket.
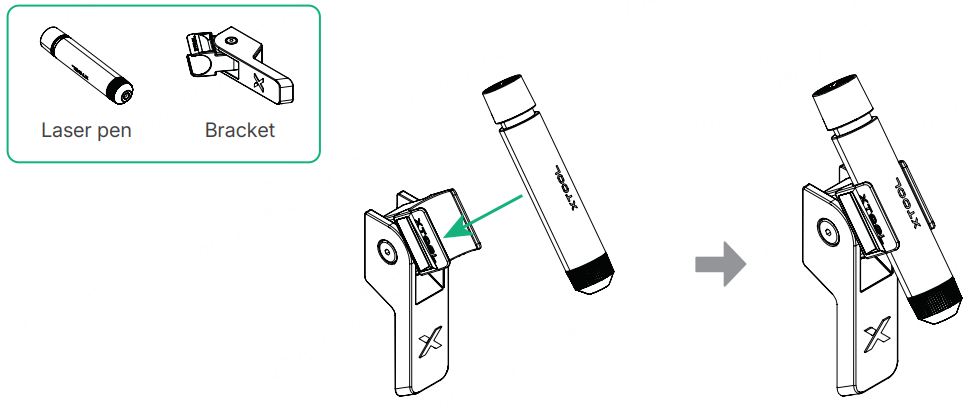
2. Turn off xTool WonderPress and allow the heat plate to cool down. Attach the bracket to the machine using the magnetic mount.
2. Set Alignment Reference
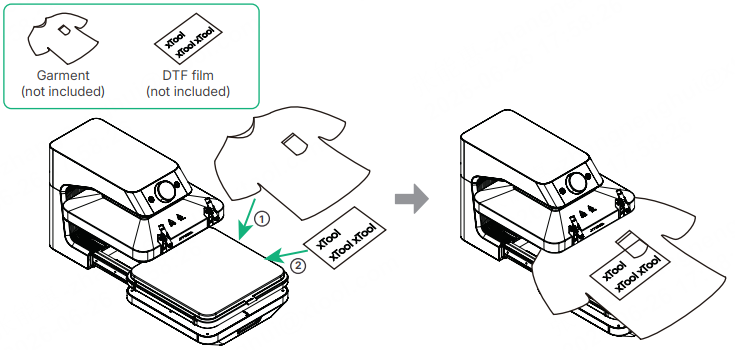
1. Pull out the base, place the garment and DTF film in the desired position.
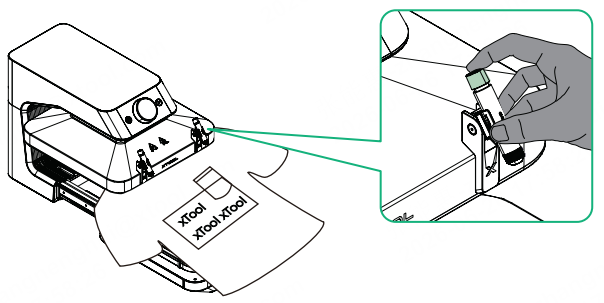
- Press the pen cap to turn on the laser, projecting the red beam onto the garment.
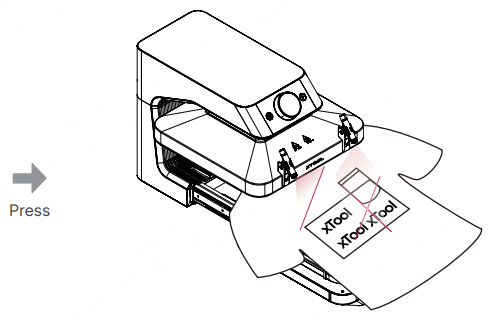
3. Slide the bracket left or right and tilt the laser pen up or down to align the laser beam sequentially with the key positions of the garment and the design.
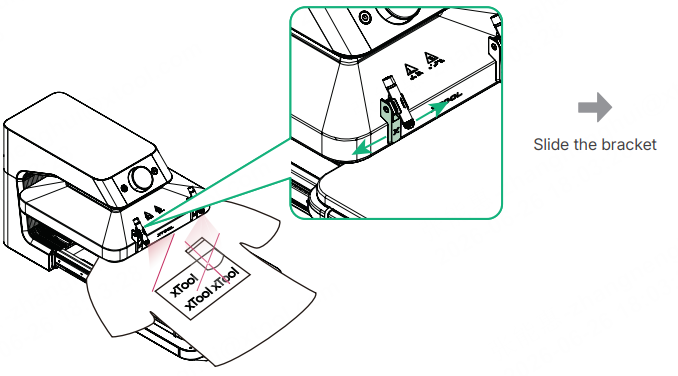
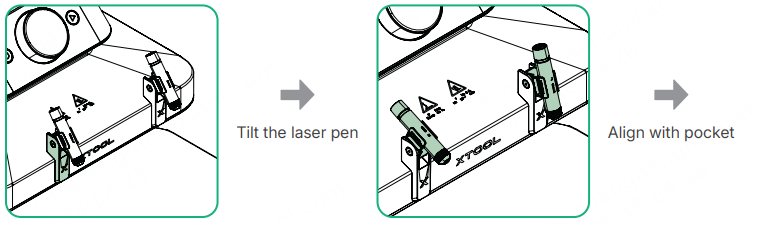
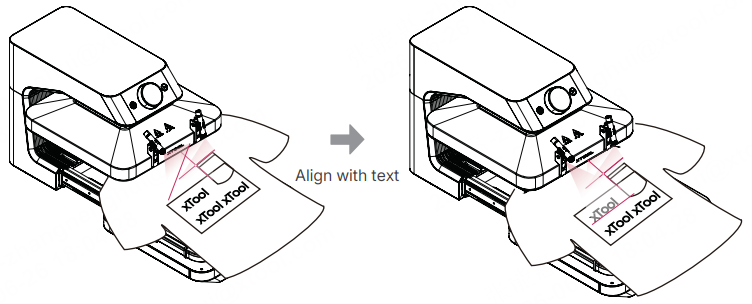
Once the reference lines are set, do not move the bracket or rotate the pen. Any physical displacement may cause alignment deviation during subsequent batch processing.
3. Start Processing
1. Push the base back and start manual or automatic processing according to the preset parameters of xTool WonderPress.
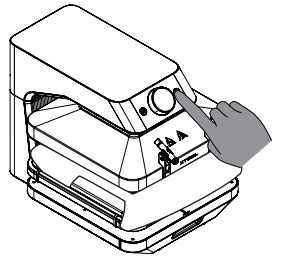
2. After processing is complete, remove the finished item.
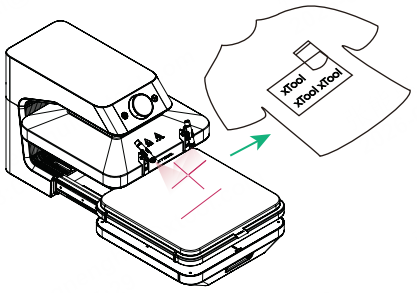
The laser is only used for alignment and does not participate in the processing. There is no need to turn off the laser pen during operation.
4. Batch Alignment
1. Align with the established reference lines and place the new garment and DTF film in sequence.
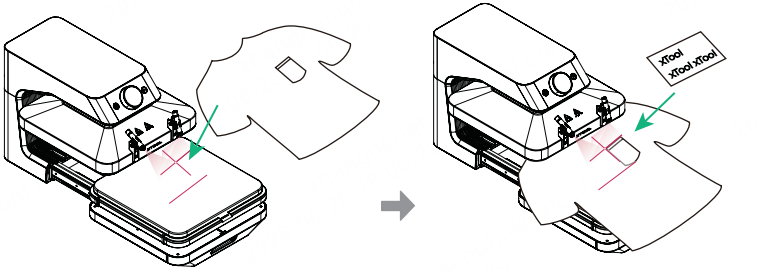
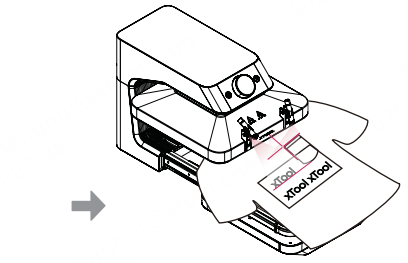
2. After placement, push the base back to complete subsequent processing.

