Unboxing and First Use
Download PDF file (multi-language)
List of items
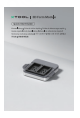
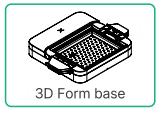
3D Form base |
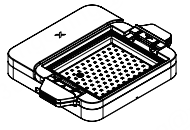
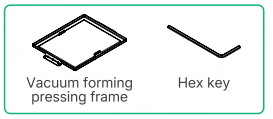
Vacuum forming pressing frame |
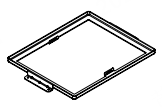
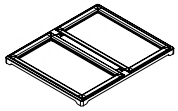
Vacuum sublimation lower frame (with pre-installed silicone plugs) |
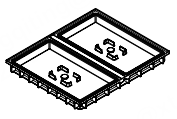
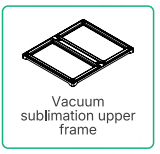
Vacuum sublimation upper frame |
Heat-resistant gloves |
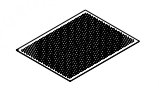
Metal mesh plate |
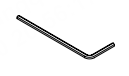
Hex key |
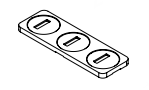
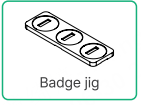
Badge jig |
Quick start guide |
Material pack: | ||
Vacuum forming film (hard, PETG) Size: 255 × 310 mm |
Vacuum forming film (soft, TPU) Size: 255 × 310 mm |
Vacuum sublimation film Size: 148 × 254 mm |
Badge |
Heart-shaped mold | |



Preparations
1. Remove the Heat Press Module
■ Before use, read and follow Safety Instructions and Quick Start Guide of xTool WonderPress.
■ When using the device, ensure xTool WonderPress remains connected to the power supply.
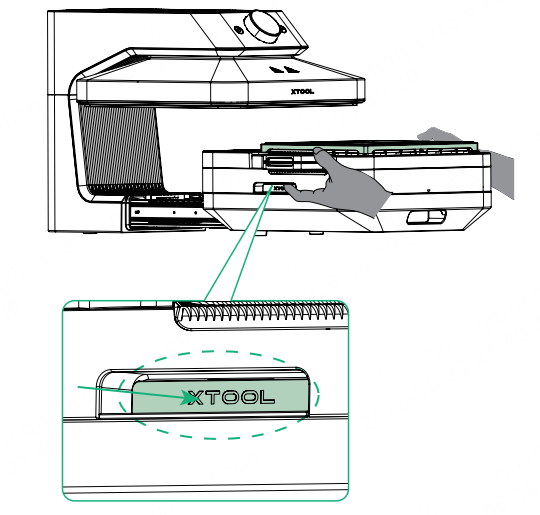
Pull out the base and remove the Heat Press Module.
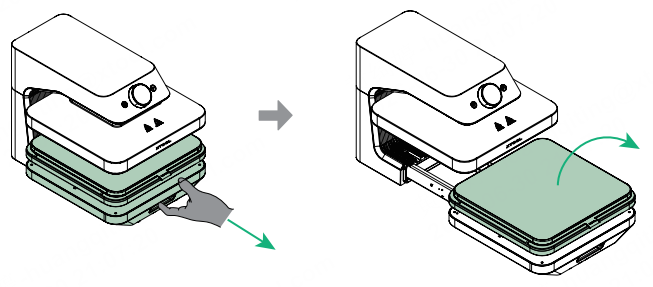
All modules of xTool WonderPress are hot-swappable. Hence, there's no need to power off the machine when replacing modules.
2. Install the 3D Form base
(1) Pull the base backward.
(2) Align the alignment marks of the 3D Form base to the alignment lines on the WonderPress's base.
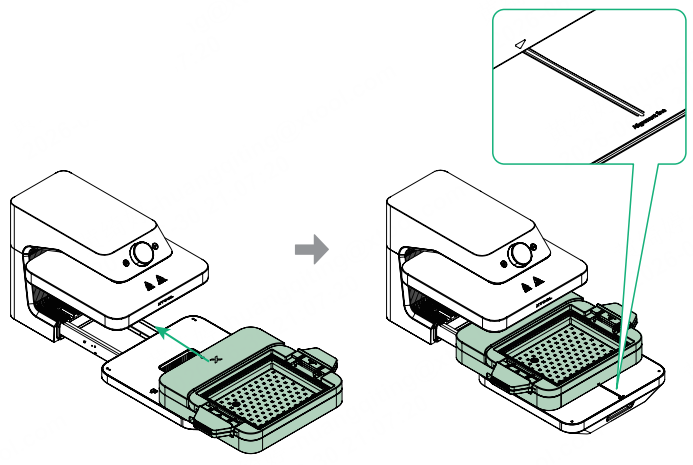
(3) Once aligned, pull the 3D Form base forward until it is flush with the WonderPress's base.
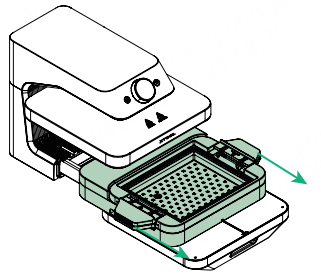
(4) Place both hands in the positions for hands, press inward to install the module in place.
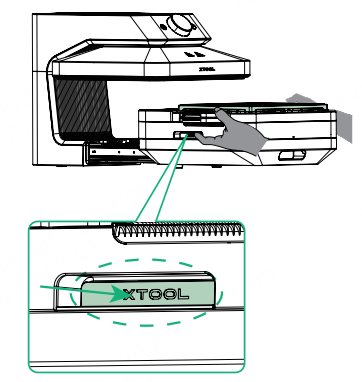
(5) Once installation is complete, the screen displays 3D Form Module.
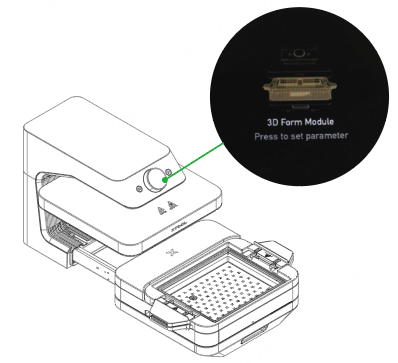
Use the Vacuum Forming Mode
■ This feature is suitable for processing objects with a maximum size of 258 mm in length, 203 mm in width, and 90 mm in height.
■ For optimal demolding, the object must meet two conditions: 1) Narrow at the top and wide at the bottom; 2) No concave features on the vertical surfaces.
■ It is recommended to use xTool official vacuum forming film (soft, TPU). Since the film is soft and flexible, it offers a higher demolding success rate, and the two conditions above can be relaxed to some extent.
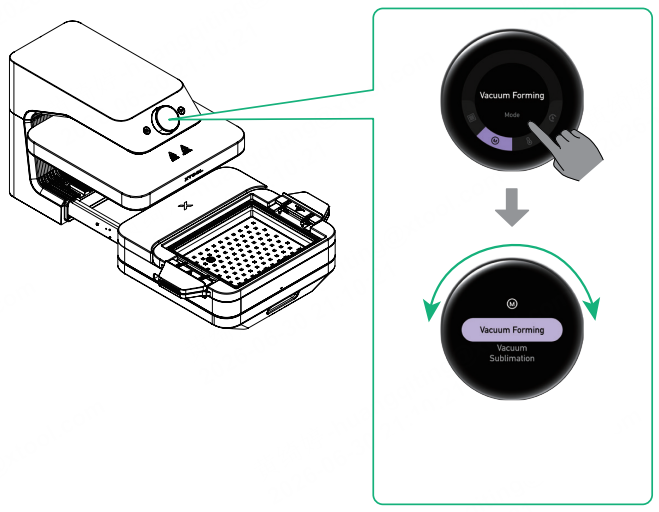
1. Select the Vacuum Forming Mode
Turn the knob to select processing mode, then press the screen to confirm.
2. Place the object and the vacuum forming film
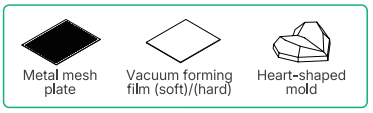
(1) Place the metal mesh plate. Flip up the handles on both sides.
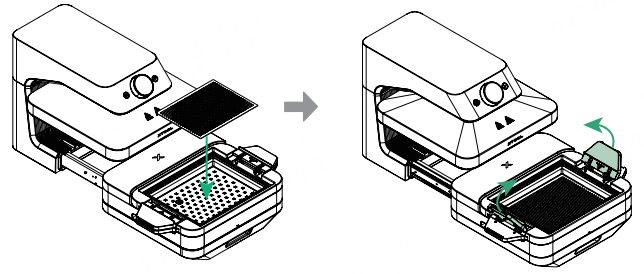
(2) Hold the handles with both hands and pull the module frame upward until you hear a click.
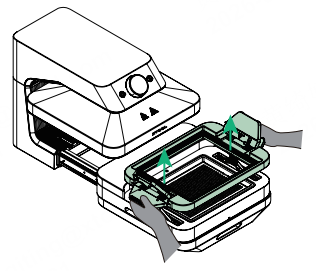
(3) Peel off the protective film from both sides of the vacuum forming film.
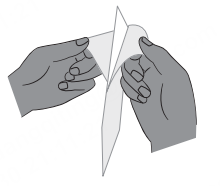
(4) Place the heart-shaped mold and the vacuum forming film. It is recommended to place them in the center.
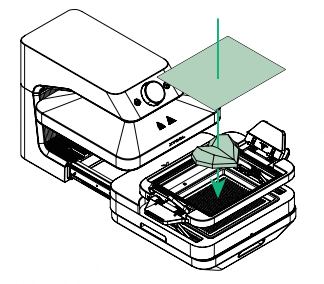
(5) Make sure the film completely covers all four sides of the silicone frame.
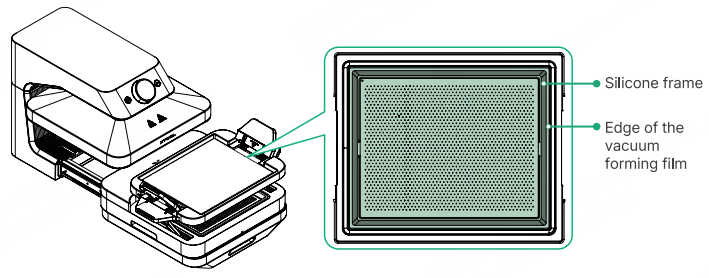
3. Install the vacuum forming pressing frame
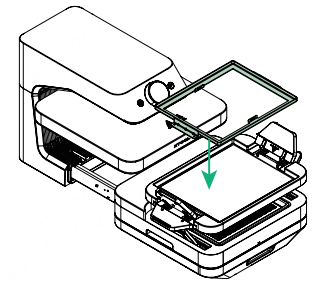
(1) Place the vacuum forming pressing frame.
(2) (Optional) Use a hex key to adjust the screws
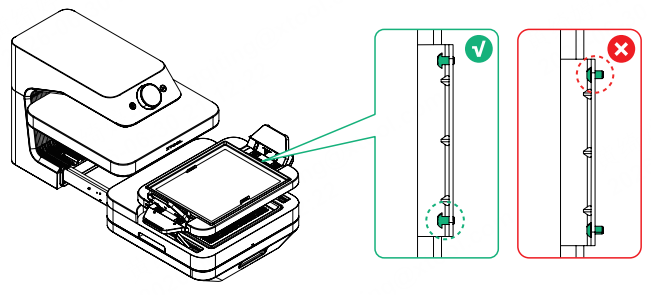
The vacuum forming pressing frame is factory-calibrated for screw positions and typically requires no additional adjustment to accommodate vacuum forming films with thicknesses ranging from 0.5 mm to 1 mm. For thin films, loosen the screws slightly; for thick films, tighten the screws slightly.
(3) Press both handles at the same time to secure the film.
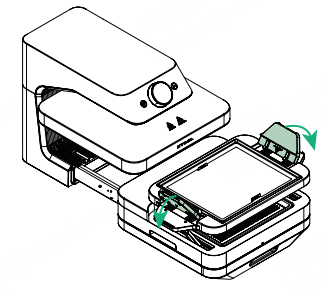
4. Start processing
(1) Push back into the base.
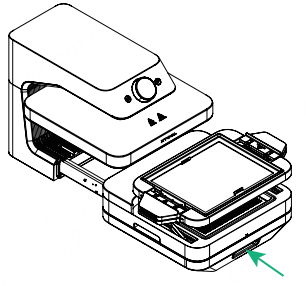
(2) Turn the knob to set the temperature and suction level, or select preset material parameters.
Recommended settings (1mm TPU):
■ Temperature: 260 °F / 127 °C
■ Suction: High
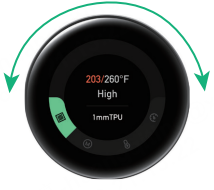
(3) Once the set temperature is reached, the temperature indicator changes from orange to green, and the device emits a beep sound as a prompt.
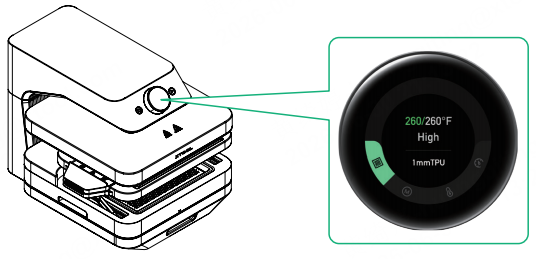
(4) Press the handles firmly with both hands and maintain pressure for 10 seconds until the film is tightly sealed around the object.
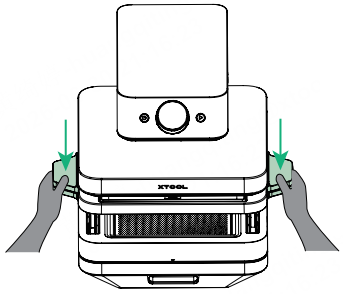
The vacuum pump will produce a noticeable sound during operation due to its powerful suction capabilities.
(5) The device automatically starts processing.
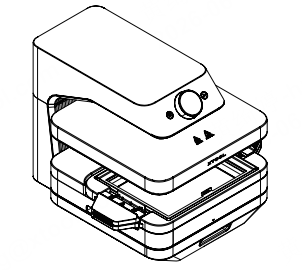
(6) Processing complete. Pull out the base.
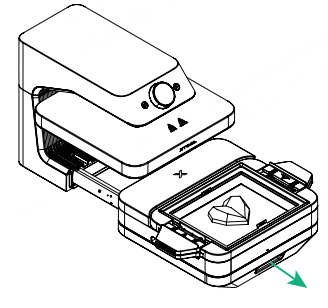
5. Take out the object
When you remove the pressing frame, wear heat-resistant gloves and avoid contact with hot surfaces.
(1) Flip up the handles on both sides.
Remove the vacuum forming pressing frame.
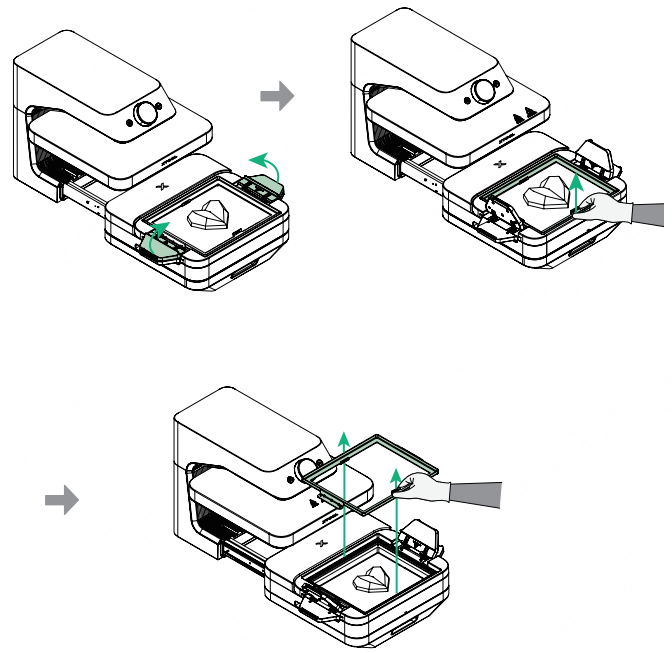
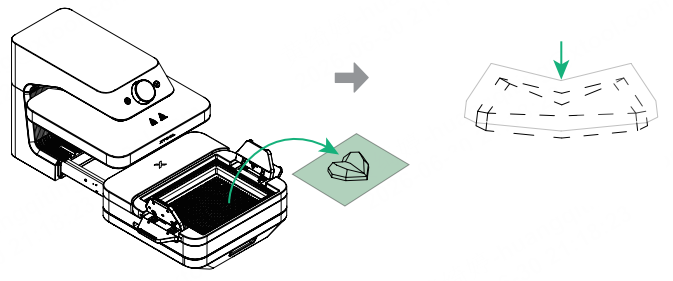
(2) Take out the object.
Press down on the top of the film to release the object.
Use the Vacuum Sublimation Mode
This feature is suitable for processing objects with a maximum size of 230 mm in length, 124 mm in width, and 14 mm in height.
1. Dry the vacuum sublimation film
(1) Use a prepared vacuum sublimation film, or go to s.xtool.com/doc/wp/transfer-design to design and print your pattern (requires your own sublimation printer).
(2) Dry the vacuum sublimation film using any of the following methods, and store it in a sealed bag containing a desiccant. A damp film may affect the processing results.
Push back into the base (Adjust the temperature to 212 °F and time to 300 s)
Use Heat Press Module (No need to press the Start/Stop button)
Recommended settings:
■ Temperature: 212 °F / 100 °C
■ Time: 300 s
Push back into the base (Adjust the temperature to 176 °F, press the button, and set the time to 300 s)
Use Craft Oven Module (Need to press the Start/Stop button)
Recommended settings:
■ Temperature: 176 °F / 80 °C
■ Time: 300 s
2. Install the vacuum sublimation lower frame
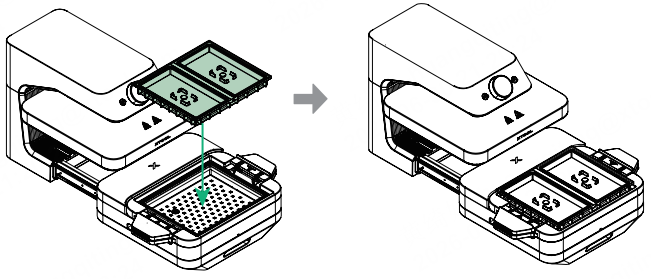
(1) Place the vacuum sublimation lower frame.
Make sure the metal mesh plate is removed before installing the vacuum sublimation lower frame.
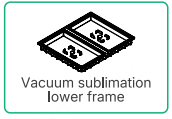
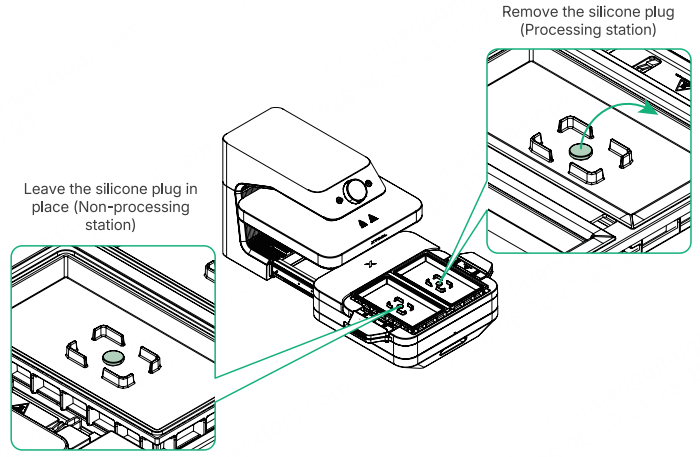
(2) The vacuum sublimation mode features dual processing stations (left and right). Ensure the silicone plugs are removed before processing. The silicone plugs must remain in place on the station that is not being processed.
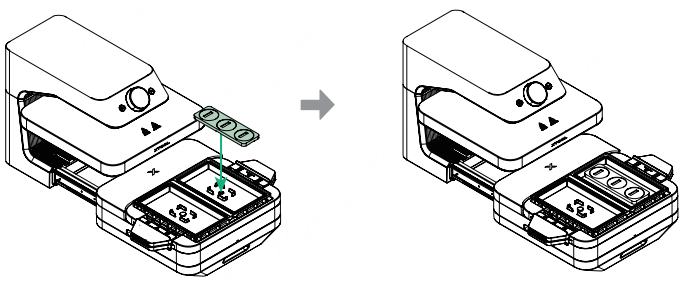
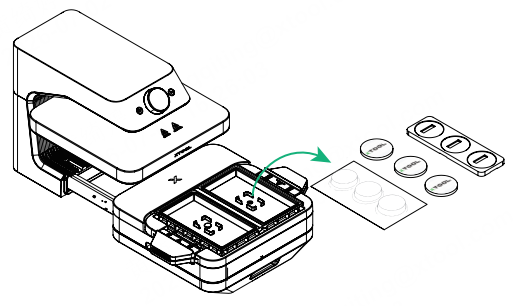
3. Place the badge jig
Make sure the slot on the back of the jig aligns with the positioning tabs underneath.
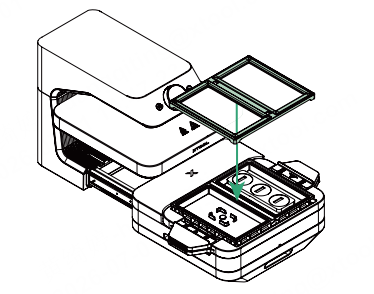
4. Install the vacuum sublimation upper frame
The vacuum sublimation upper frame must completely cover the lower frame.
5. Set parameters and start preheating
(1) Push back into the base.
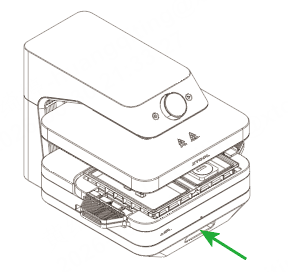
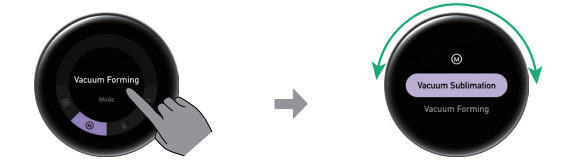
(2) Select the Vacuum Sublimation Mode, set the parameters (you can use the preset or self-defined parameter), and start preheating.
Select the mode: Press the screen, rotate to select the mode, and press to confirm
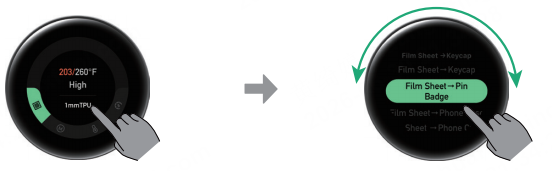
Select the material: Press the screen, rotate to select the material, and press to confirm
Start preheating: Wait until the temperature reaches the set temperature. Rotate to select Preheat, press to confirm.
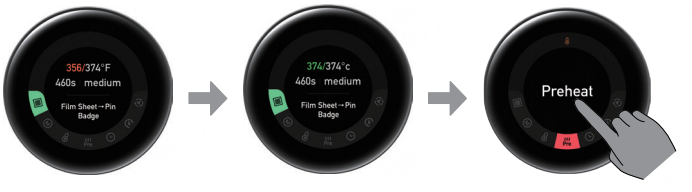
(3) Follow the on-screen prompts and press the Start/Stop button to start preheating.
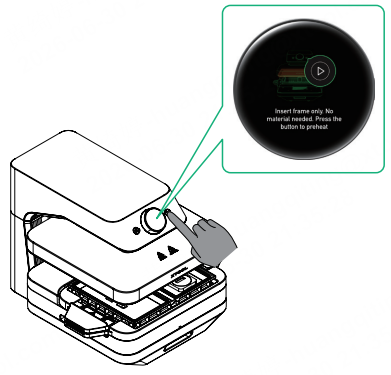
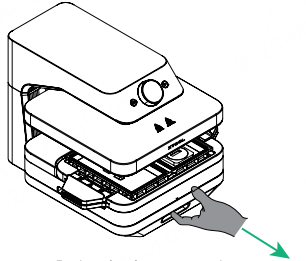
(4) Preheating is completed. Pull out the base.
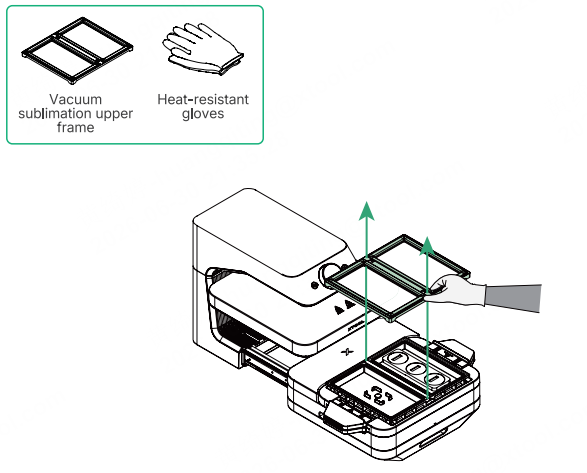
6. Remove the vacuum sublimation upper frame
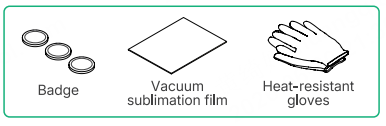
7. Place the badge and vacuum sublimation film
■ Please wear gloves and be careful not to get burned by the high temperature.
■ Use a sublimation printer to print the design onto the matte side of the vacuum sublimation film.
■ To ensure optimal sublimation results, allow the vacuum sublimation film to air dry completely after printing. Otherwise, residual moisture may affect the result.
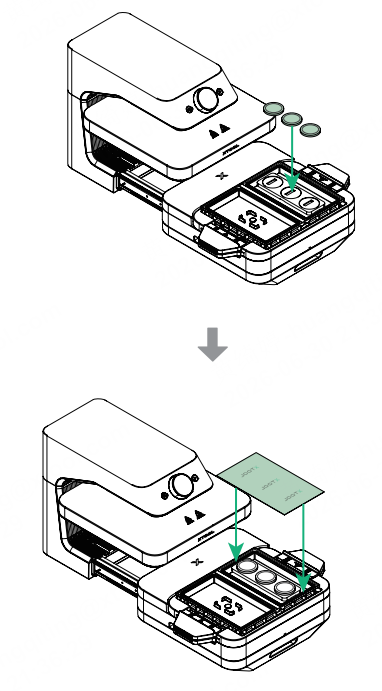
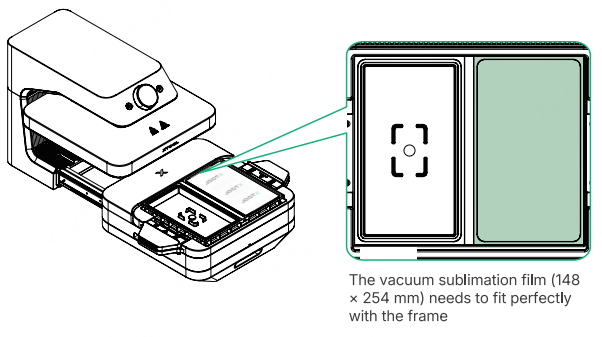
■ When placing the vacuum sublimation film, make sure the side with the design is facing down.
■ Once the vacuum sublimation film is in place, it will curl due to heat. Please immediately install the vacuum sublimation upper frame and start processing. Otherwise, the curling of the film may cause air leaks, leading to processing failure.
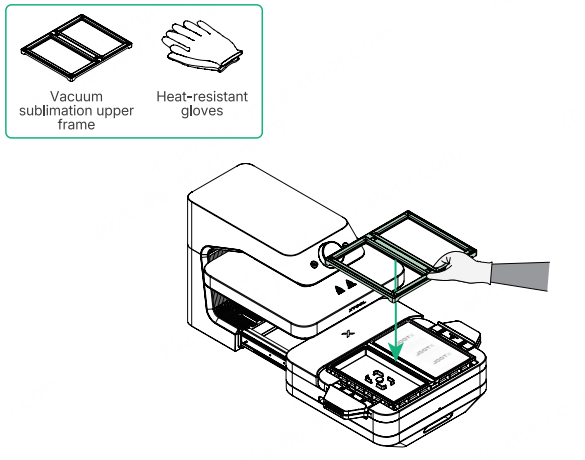
8. Install the vacuum sublimation upper frame
The vacuum sublimation upper frame must completely cover the lower frame.
9. Start processing
(1) Once the set temperature is reached, start processing according to the manual/automatic mode selected during parameter setup.
Manual mode:
Push in the base, then press the Start/Stop button to begin processing.
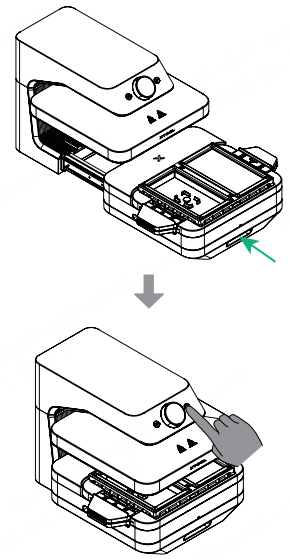
Auto mode:
Push in the base, and the device will start processing automatically.
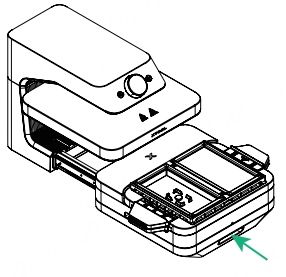
(2) Start processing: the heating plate automatically presses down, heating the vacuum sublimation film for 20 seconds. After that, the vacuum pump starts, and you will hear the sound of the vacuum process.
(3) Processing complete. Pull out the base.
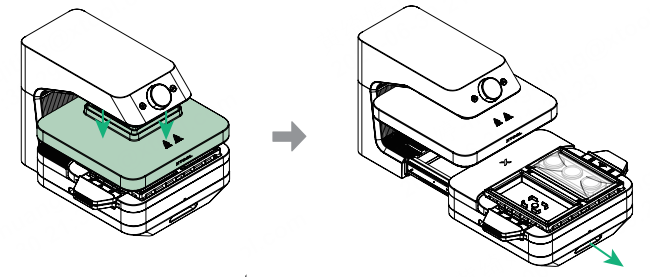
10. Take out the object
(1) Remove the vacuum sublimation upper frame with heat-resistant gloves.
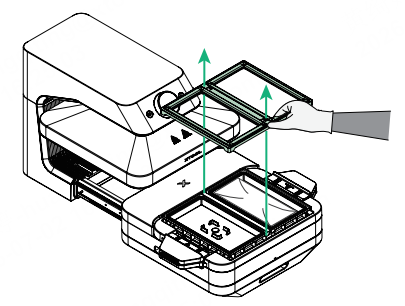
(2) Remove the vacuum sublimation film, badge, and badge jig.
Remove the 3D form module
Place both hands in the positions for hands, press inward, and lift the module.