Video tutorials
DTG printing guide
DTF printing and heat transfer guide
Step-by-Step Guides
DTG printing
Overview
Direct-to-Garment (DTG) printing is a digital printing technology that prints designs straight onto garments via specialized inkjet printheads. Equipped with a dedicated DT printhead and compatible DT fabric inks, xTool O1 Omni Printer delivers soft, high-resolution prints with intricate detail on cotton fabrics and apparel.
Read before you start
- Use garments with at least 50% cotton content for optimal print results. Other materials or thin fabrics may affect print quality. Ink may seep through thin fabrics and contaminate the garment tray.
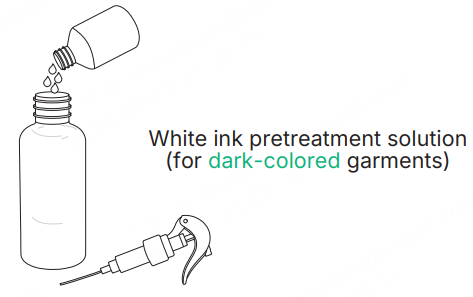
- Pretreatment solution helps improve ink adhesion to fabric. The color ink pretreatment solution is for light-colored garments, and the white ink pretreatment solution is for dark-colored garments.
- The recommended parameters are based on a 250 g T-shirt processed with xTool WonderPress. Parameters may vary depending on garment weight and the heat press or drying device used. Adjust the parameters as required.
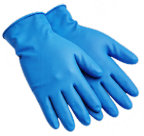
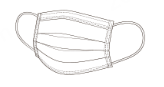
- Before you start: 1) Wear nitrile gloves to avoid getting solution on your hands; 2) Wear a mask to avoid inhaling fumes or mist.
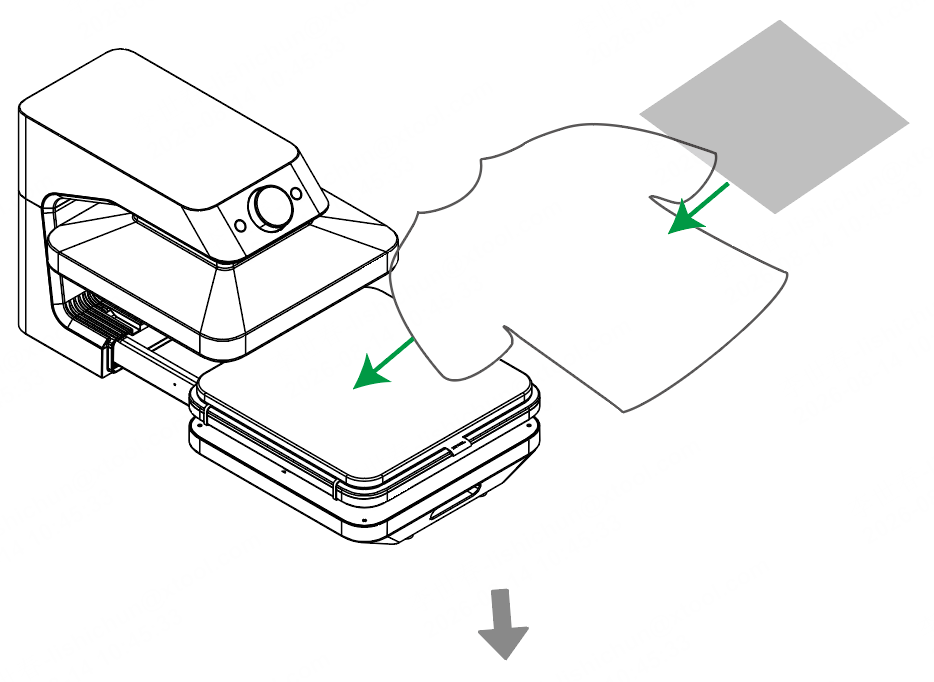
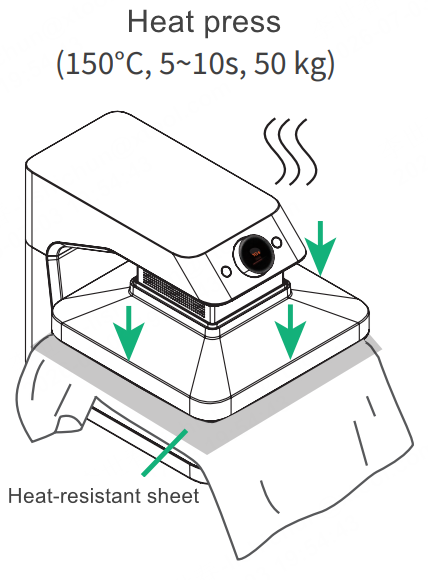
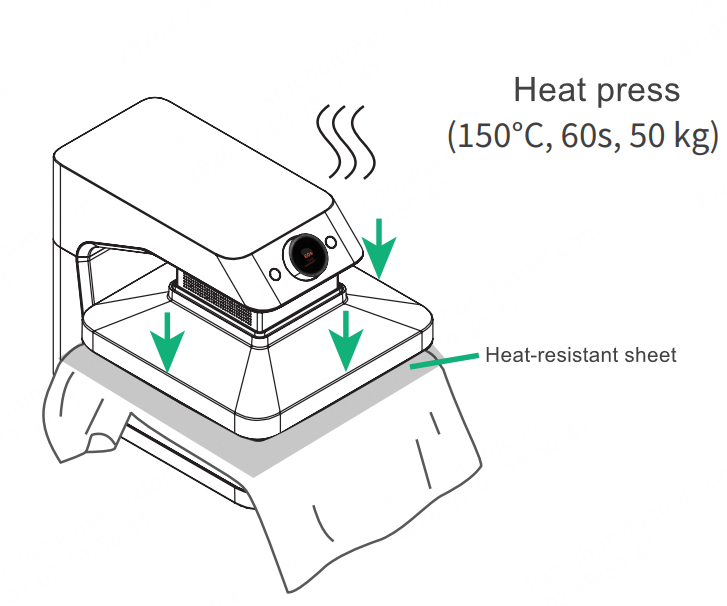
- Before heat pressing, place a heat-resistant sheet (sheet 1) on the garment to prevent stains. When heat pressing garments after applying pretreatment solution, place another heat-resistant sheet (sheet 2) on the heat insulation pad to prevent the solution from contaminating the pad.
Preparations
Items marked with * are not included in the package.
Devices
|
|
|
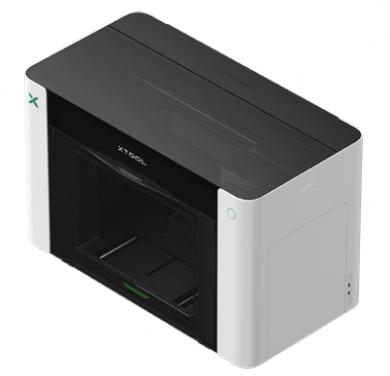
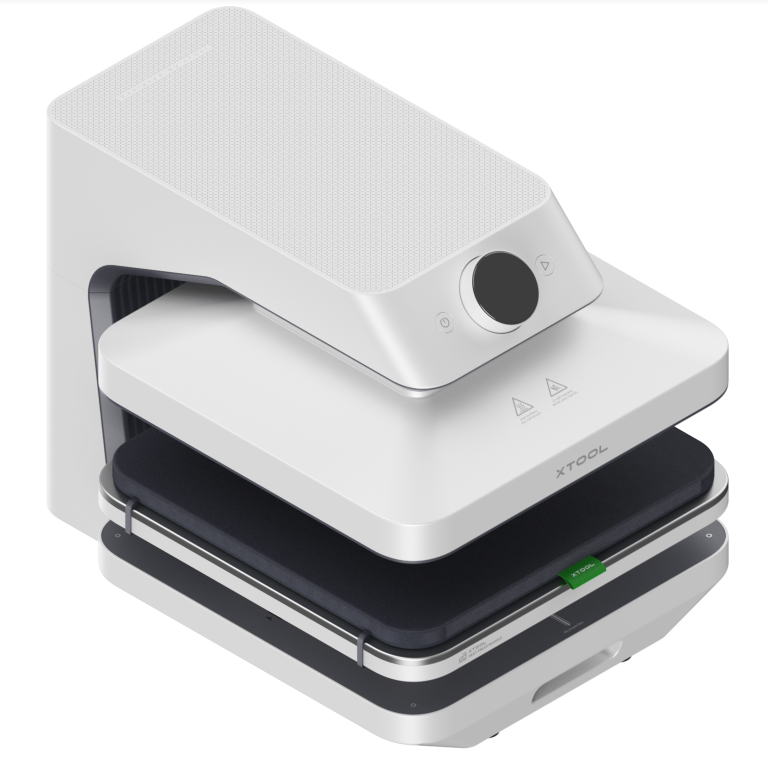
xTool O1 Omni Printer | xTool WonderPress* | Computer* |

Materials
|
|
Garment* | Design pattern |
Tools
|
|
|
|
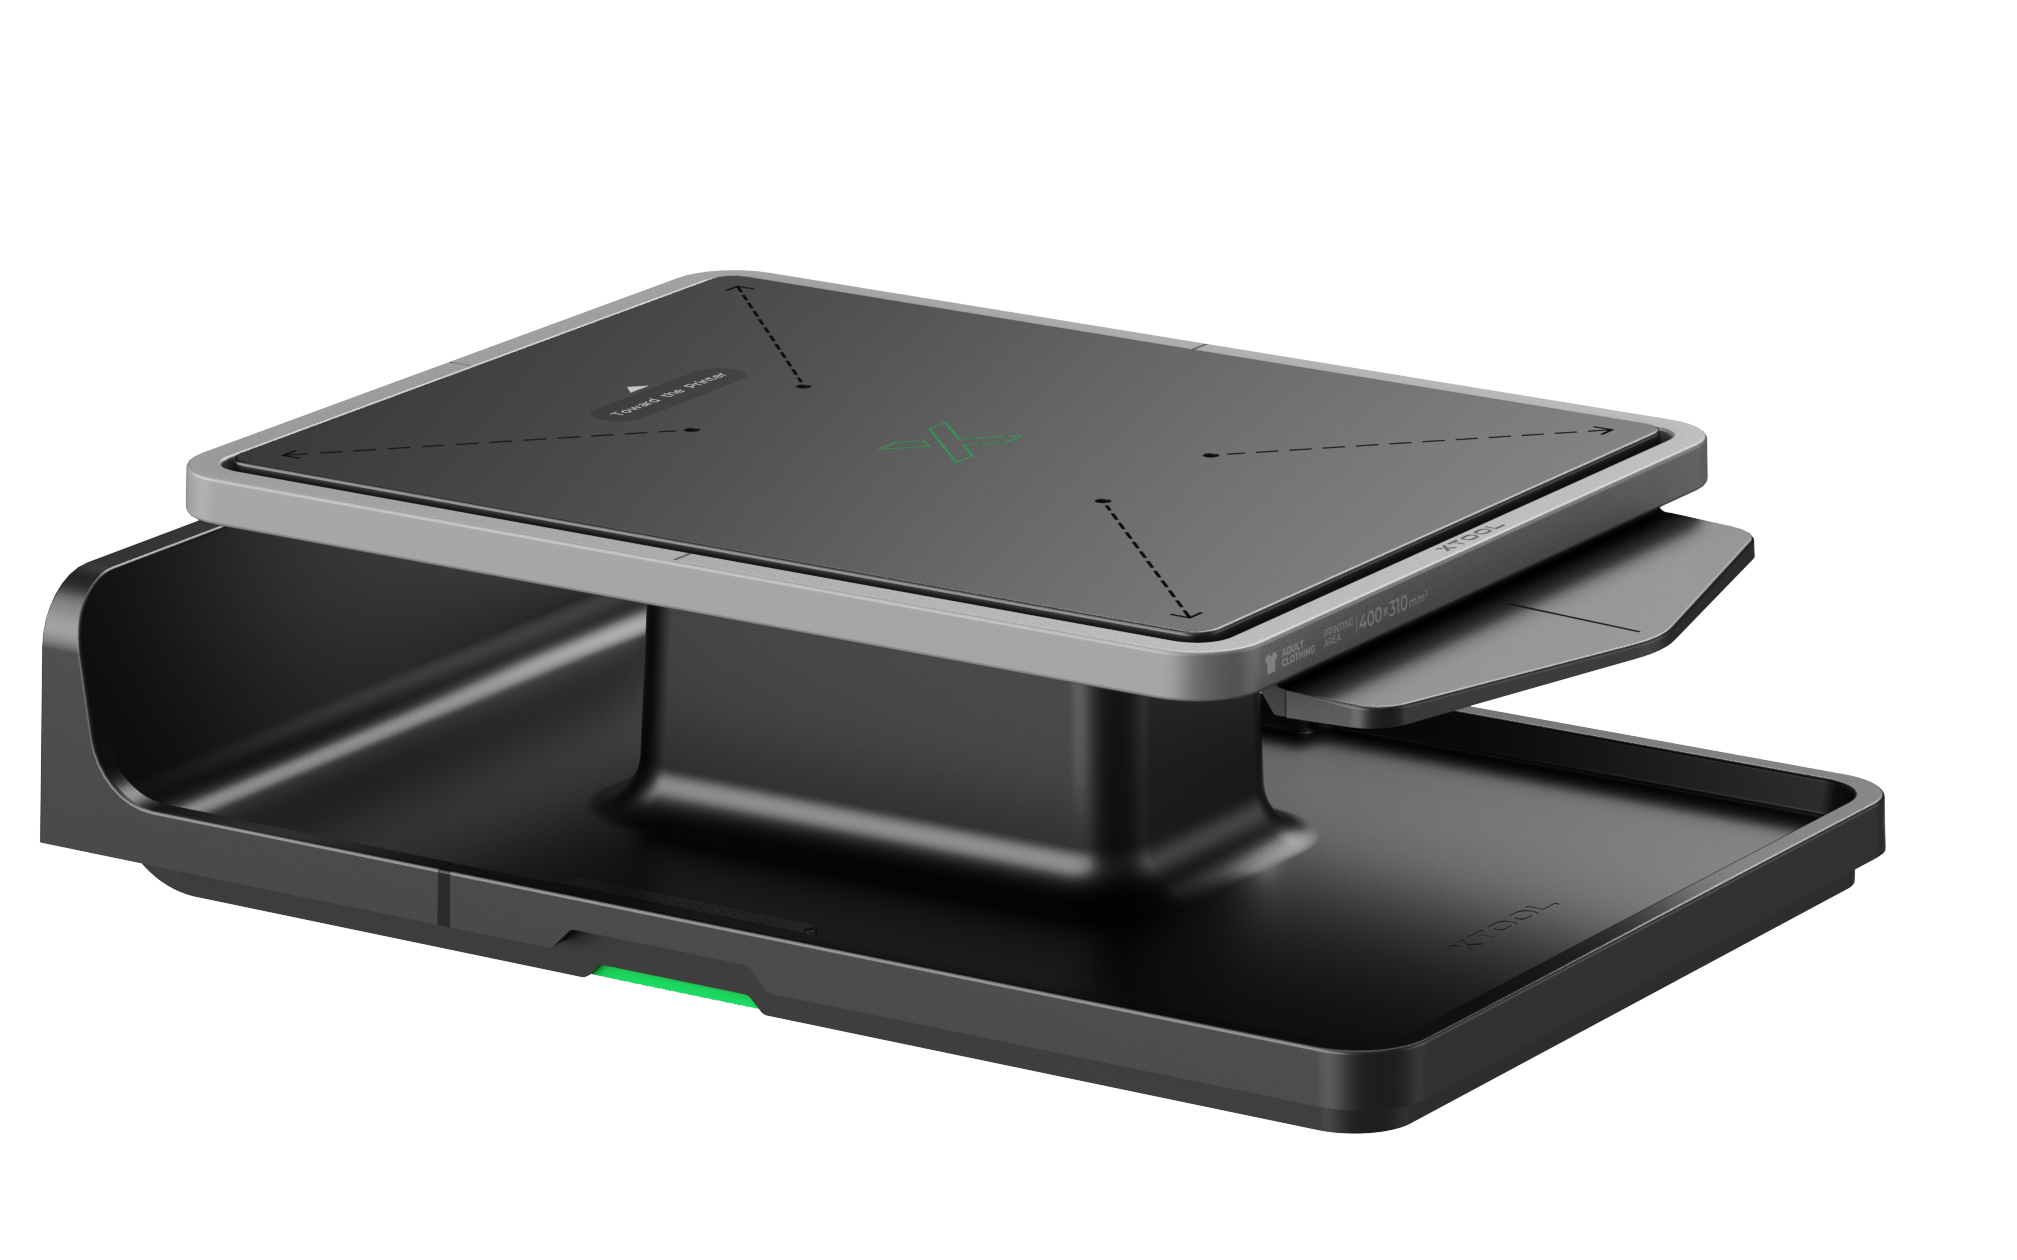
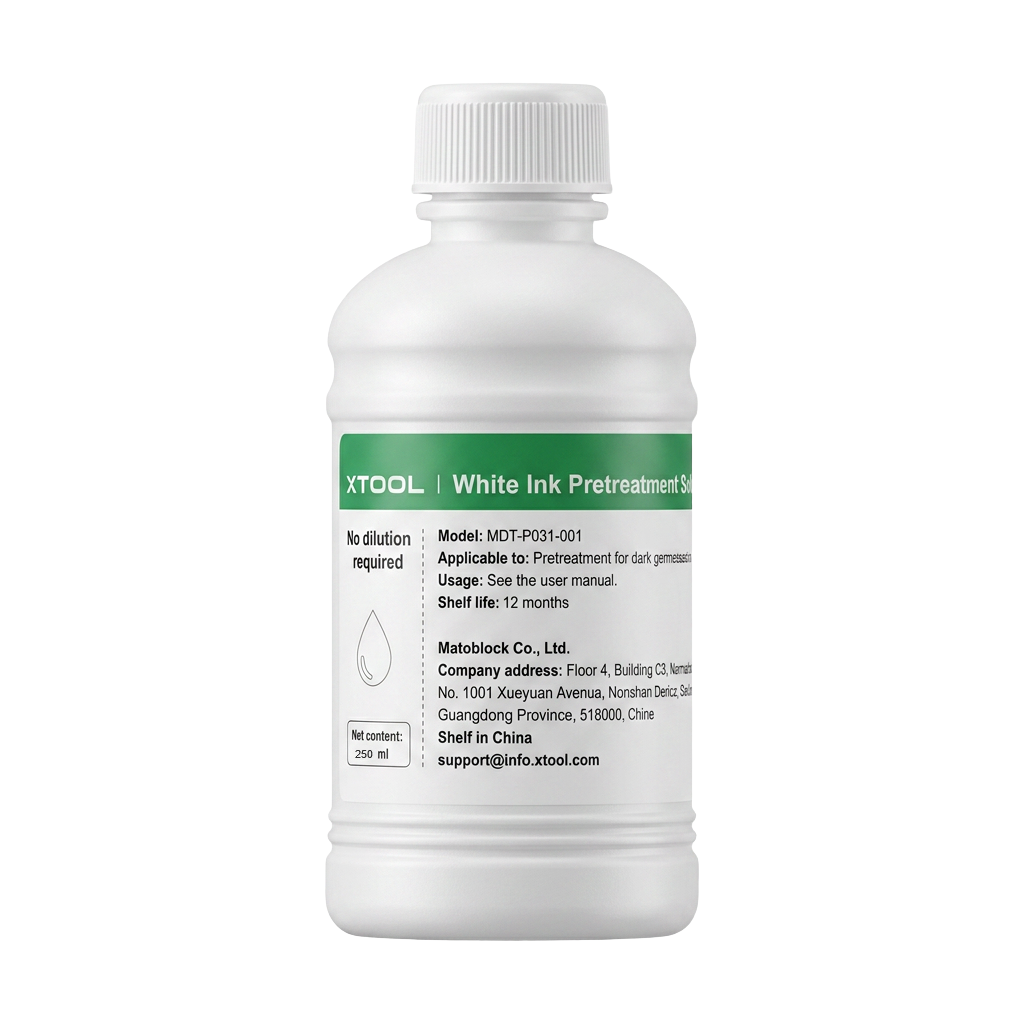
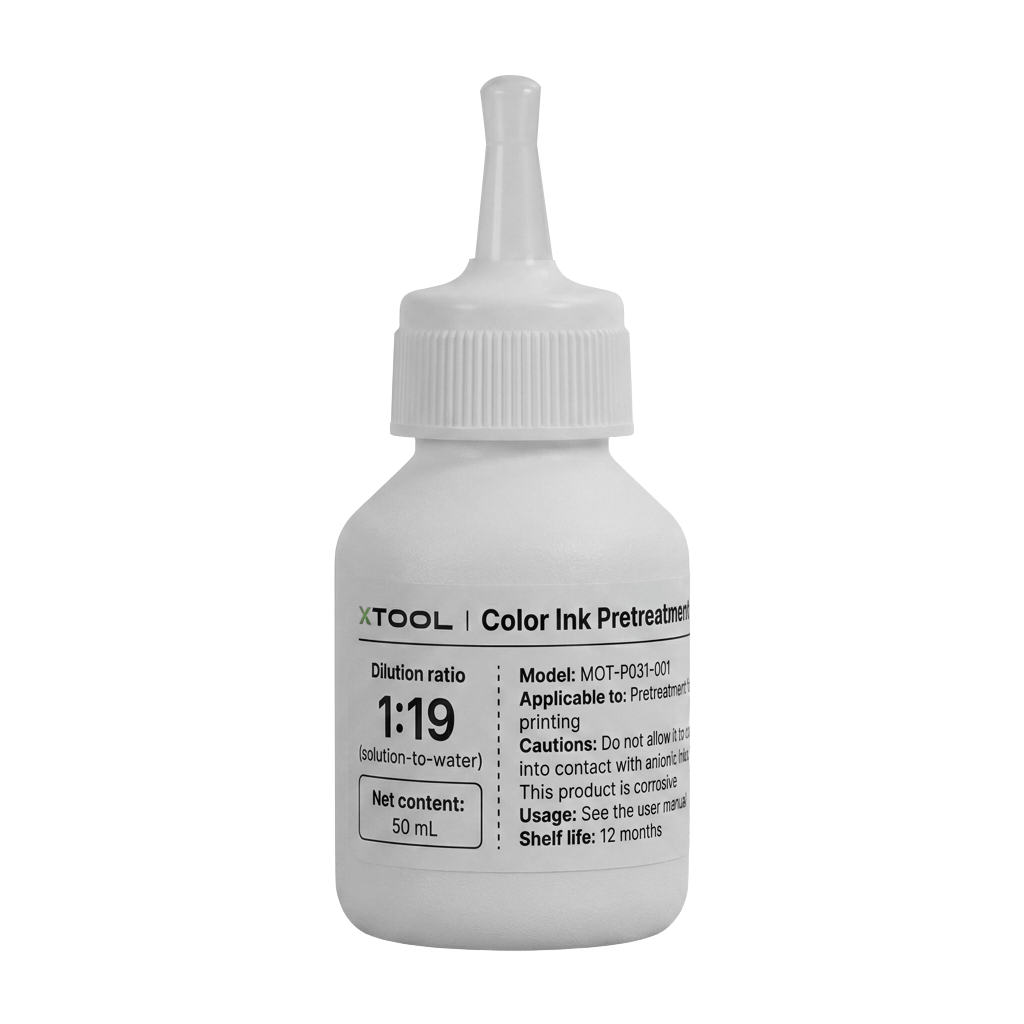
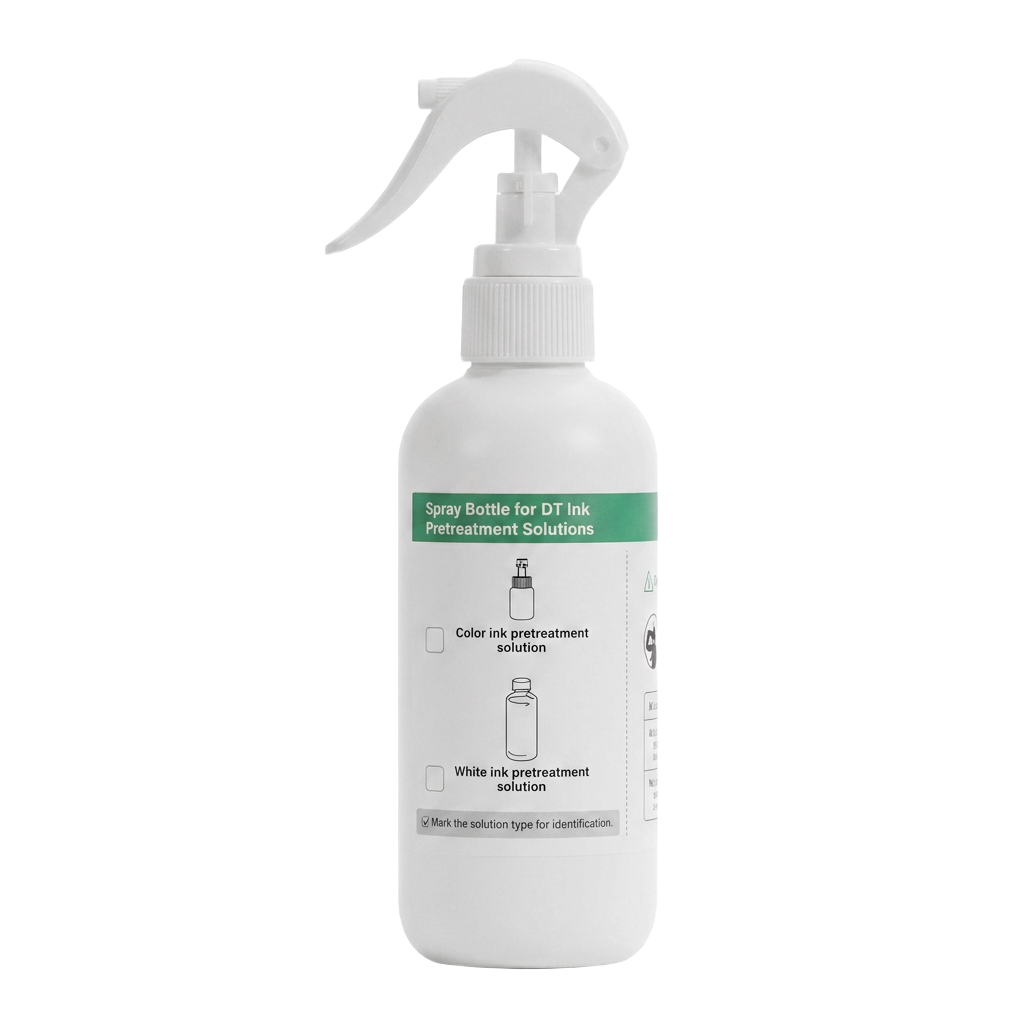
xTool Garment Tray for O1 Omni Printer | White ink pretreatment solution (for dark colored gatments) | Color ink pretreatment solution (for light-colored gatments) | Spray bottle |
|
|
|
|
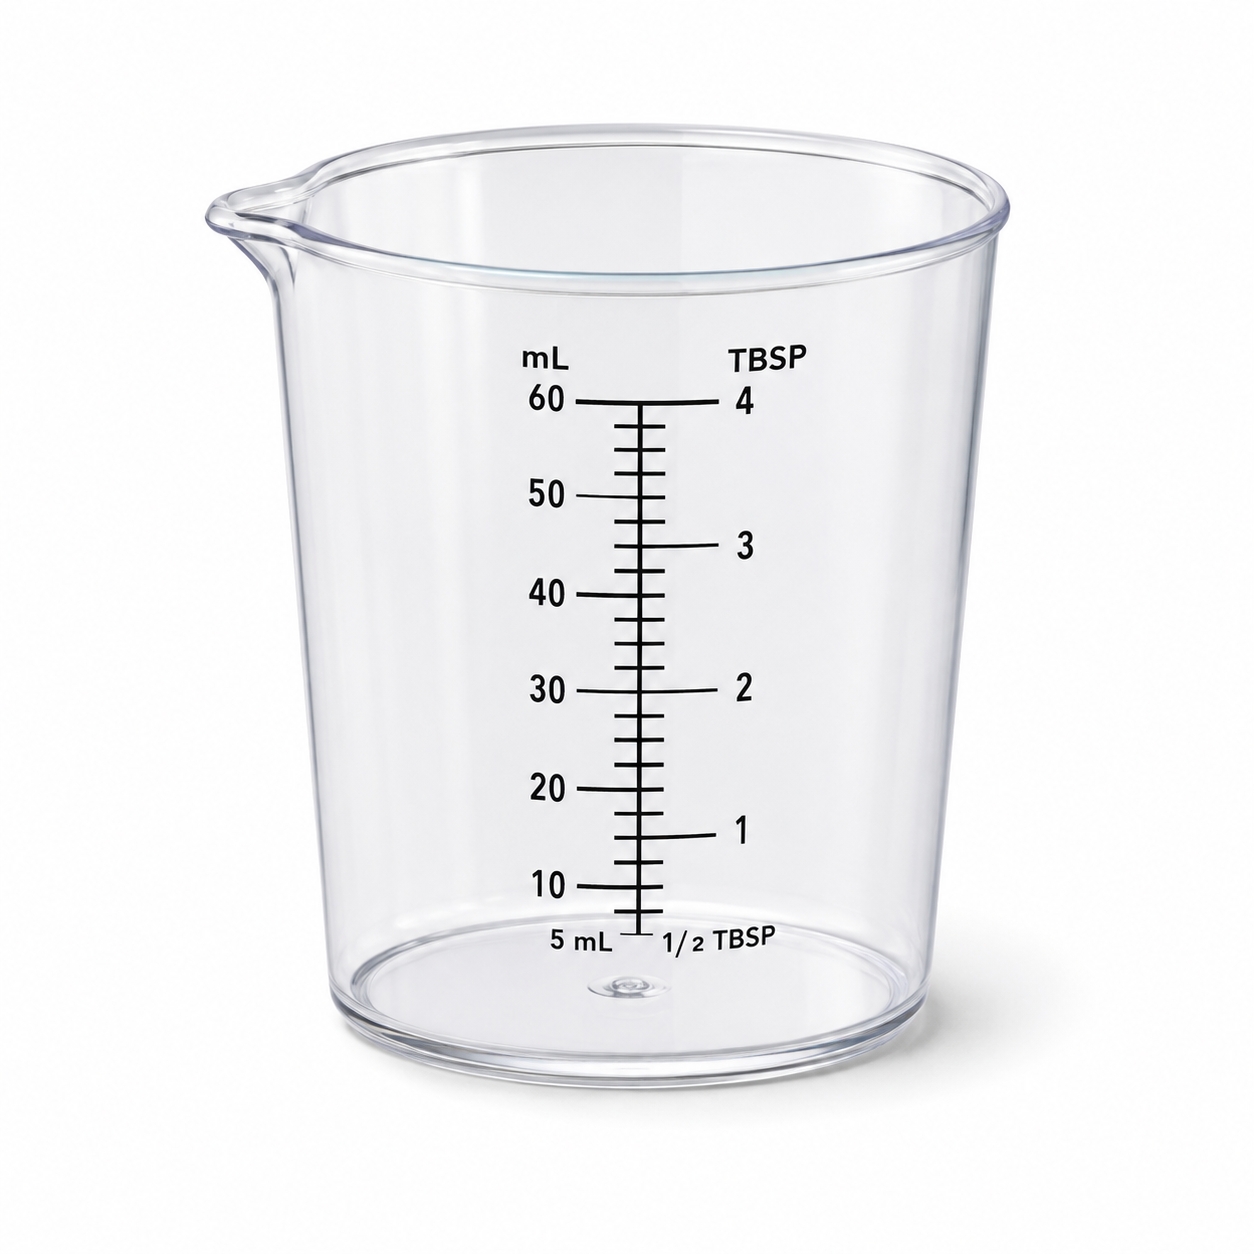
Measuring cup* | Heat-resistant sheet | Heat-resistant gloves* | Nitrile gloves |
| |||
Mask* |

Prerequisites
- You have installed all components and accessories for xTool O1 Omni Printer and have completed initialization and calibration.
- You have installed and set up xTool WonderPress properly, and it is in standby mode.
- You have downloaded and installed xTool Studio on your computer.
- A high-resolution design pattern is ready.
Steps
1. Heat press the garment to remove wrinkles
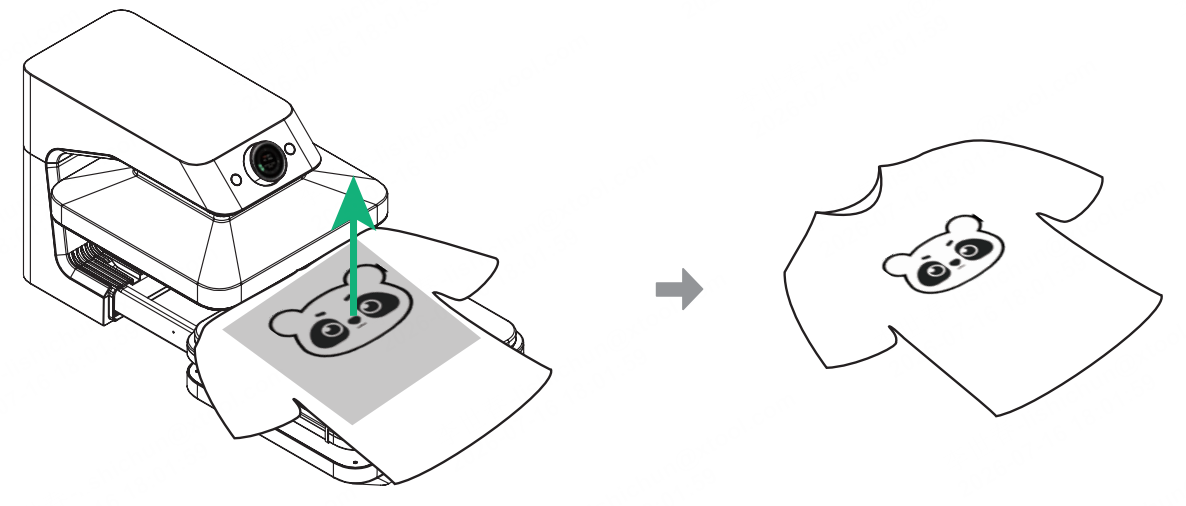
Heat press the garment to using xTool WonderPress (recommended settings: 150°C, 5–10s, 50 kg pressure). Before heat pressing, place a heat-resistant sheet on the garment to prevent stains.
2. Prepare and apply pretreatment solution
(1) Pour the pretreatment solution into the spray bottle. Dilute the color ink pretreatment solution with water at an approximate ratio of 1:19. The white ink pretreatment solution does not need dilution.
(2) Shake the pretreatment solution well and spray it evenly onto the target area on the garment (keep close, distance no greater than 5 cm).
- Recommended amount of diluted color ink pretreatment solution: 15-20 ml (full width)
- Recommended amount of white ink pretreatment solution: 20-25 ml (full width)

Check whether enough pretreatment solution has been applied Place a corner of a tissue or DTF film on the pretreated area. If the tissue corner is fully saturated, or the DTF film corner is evenly wetted, enough pretreatment solution has been applied.

Enough pretreatment solution

Pretreatment solution not enough
(3) Heat press the target area (recommended settings: 150°C, 60s, 50 kg pressure).
3. Load the garment and install the garment tray
(1) Put the garment on the garment tray (either on the surface of the tray or fitted over it). Ensure that the side sprayed with the pretreatment solution faces upward, and the collar of the garment is aligned with the raised part of the tray.
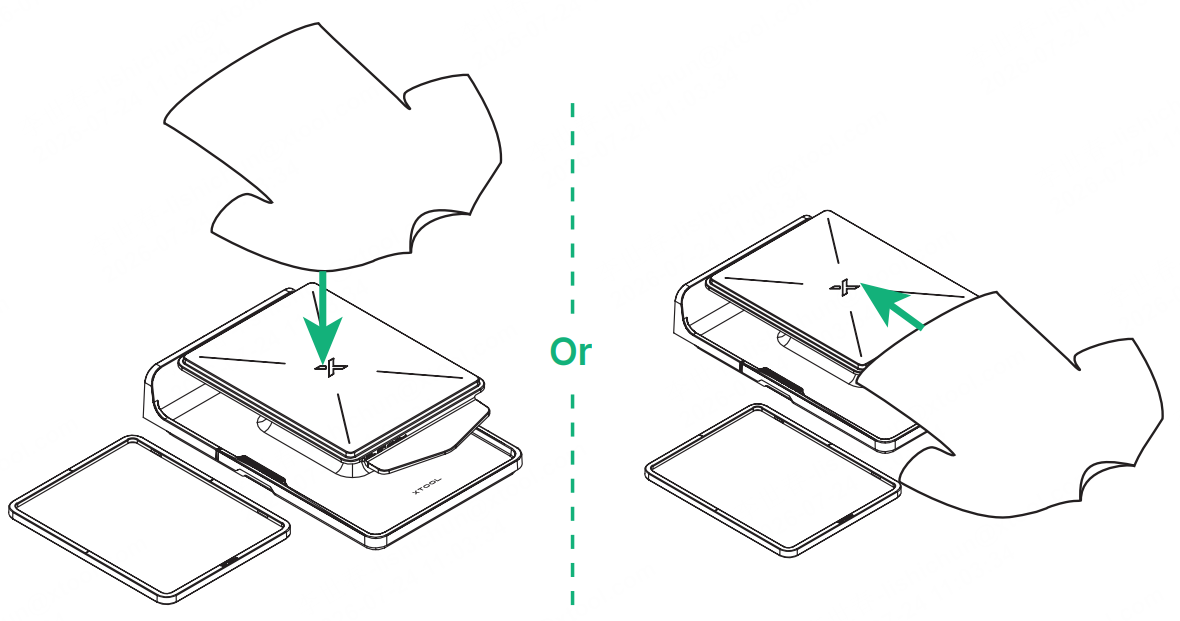
(2) Install the magnetic frame, ensuring the garment is smooth and wrinkle-free. Do not place the magnetic frame over seams or other raised areas of the garment, such as stitching.
(3) Keep any loose parts of the garment inside the baseplate to prevent them from getting caught in the printer.
(4) Place the garment tray onto the extension base. Specifically, hold the handholds on both sides, and place the tray steadily onto the extension base.
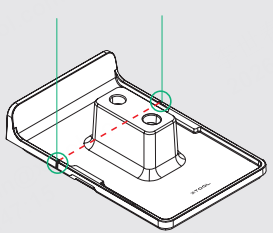
(5) Align the installation marks on both sides of the tray baseplate with the printer's side walls.
Then press down on the baseplate and release to secure the baseplate into the extension base.
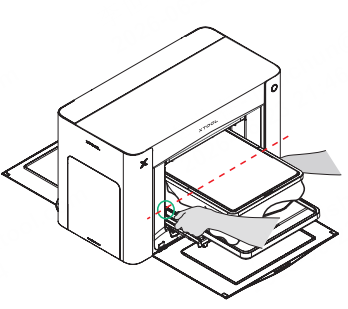
(6) Press the Start/Stop button to feed the tray and extension base into the printer.
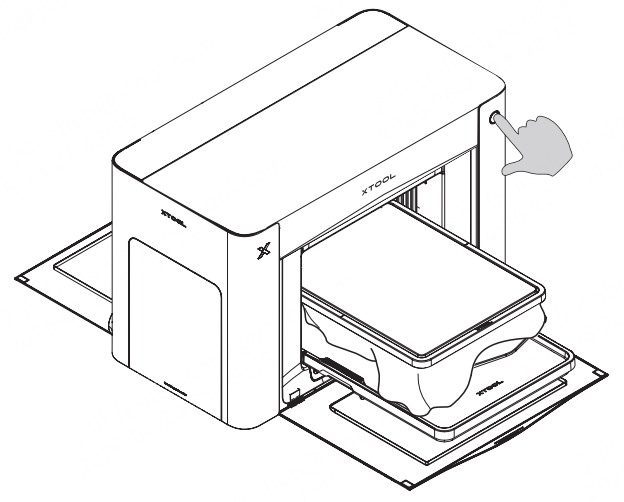
4. Complete printing
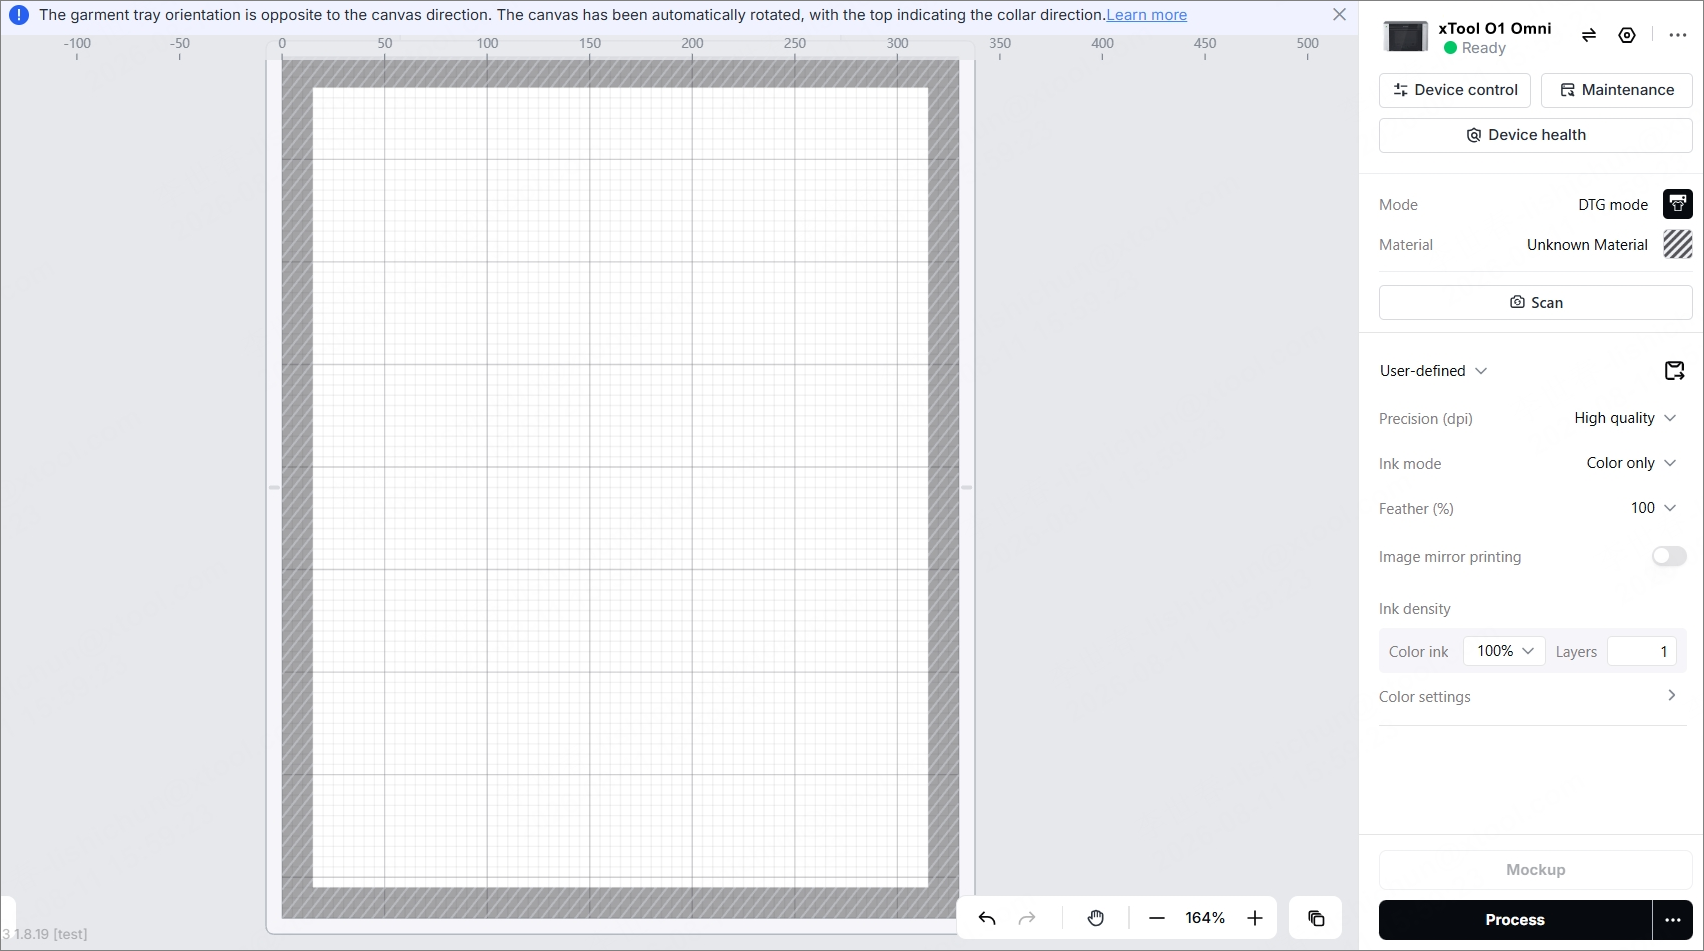
(1) The software prompts "Garment tray detected. Switch automatically?". Click Switch. The printer switches to DTG mode automatically.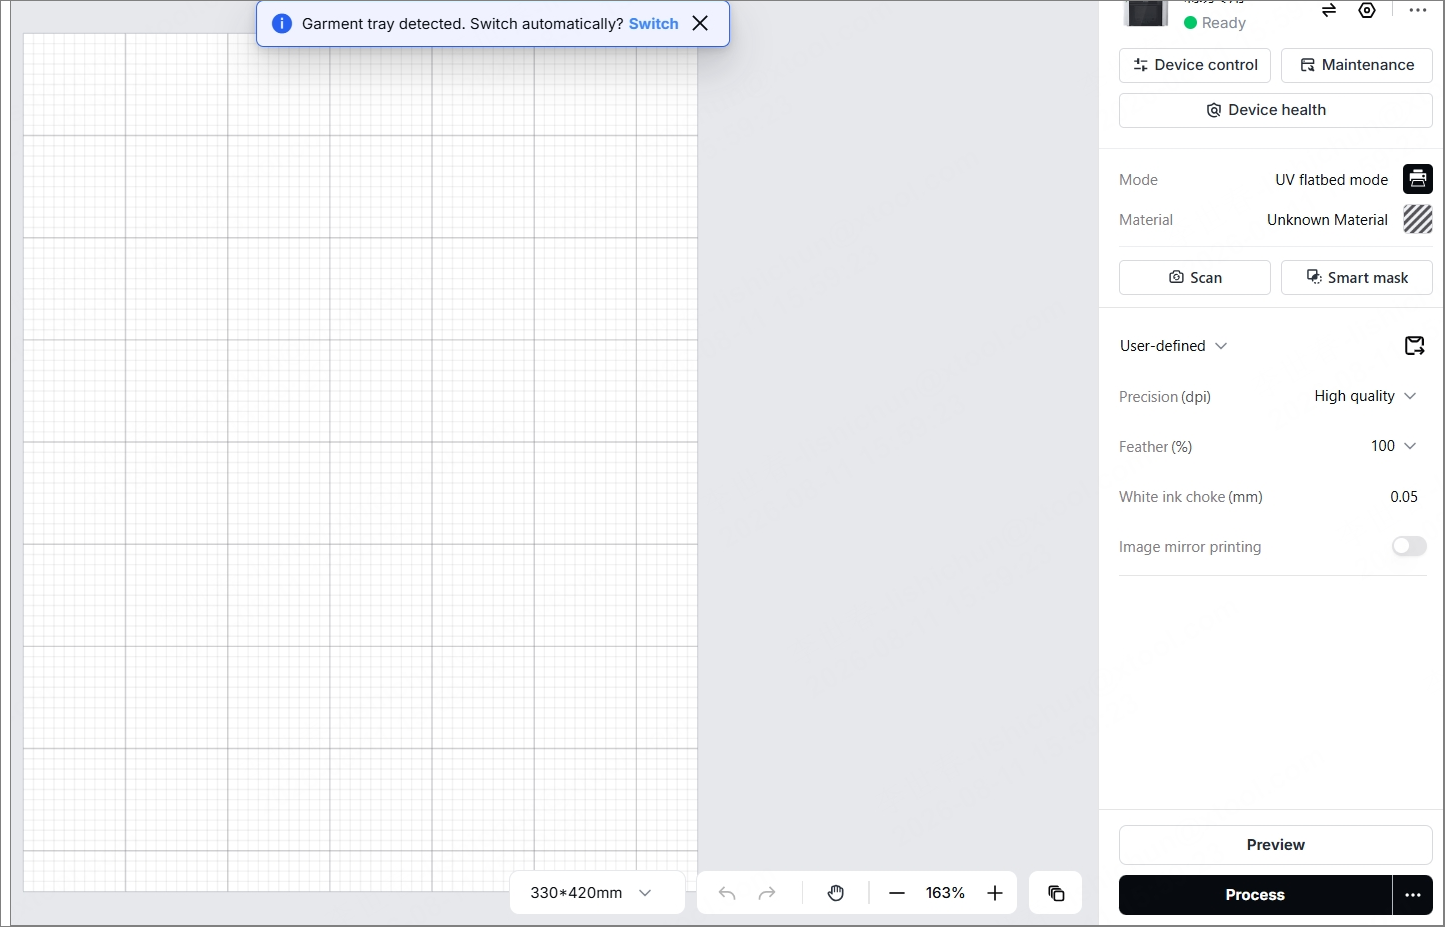
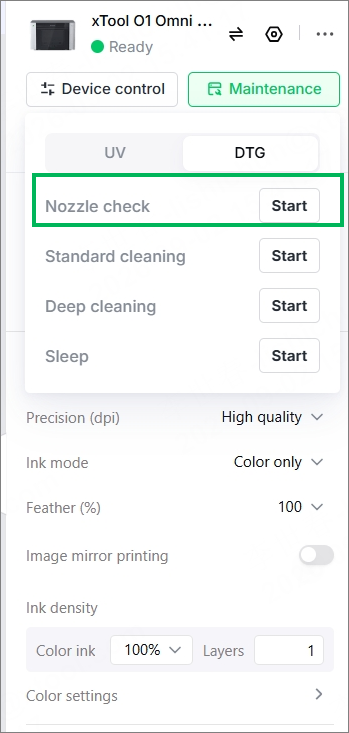
(2) In the upper-right corner, choose Maintenance > DTG. Find Nozzle check and select Start to perform a nozzle check. This step is to confirm that all ink paths are dispensing ink normally.
(3) Drag in the pattern to the canvas, or import it.
(4) Click Scan to capture the workspace background. Then drag the pattern to adjust its size.
(5) Set printing parameters.
- Precision: High quality
- Ink mode: Color only
- Feather (%): 100
- Ink density:
- Color ink: 100%
- Layers: 1
(6) Click Process in the lower-right corner.
The Check before processing page is displayed, showing the printing details, including the estimated printing time and ink cost. Click Print after confirmation.
(7) Wait for the printing to finish.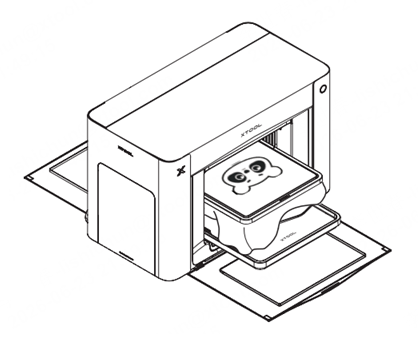
5. Heat press again to set the print
(1) Remove the tray from the printer and take out the finished garment. Wait for about 1 minute for the ink to dry completely.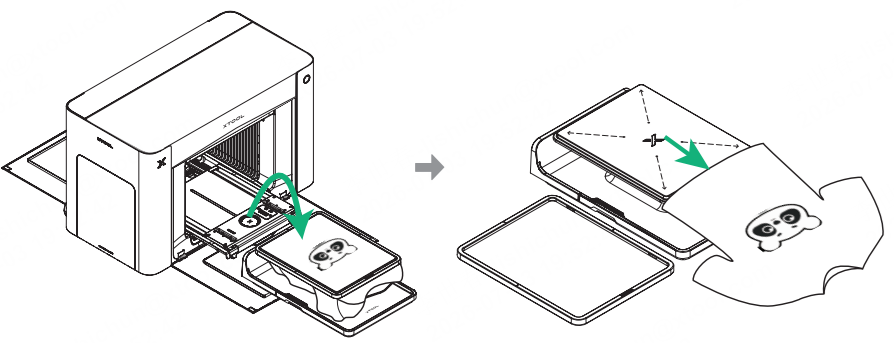
(2) Heat press the print area. Recommended settings: 302°F (150°C), 60s, 50 kg pressure
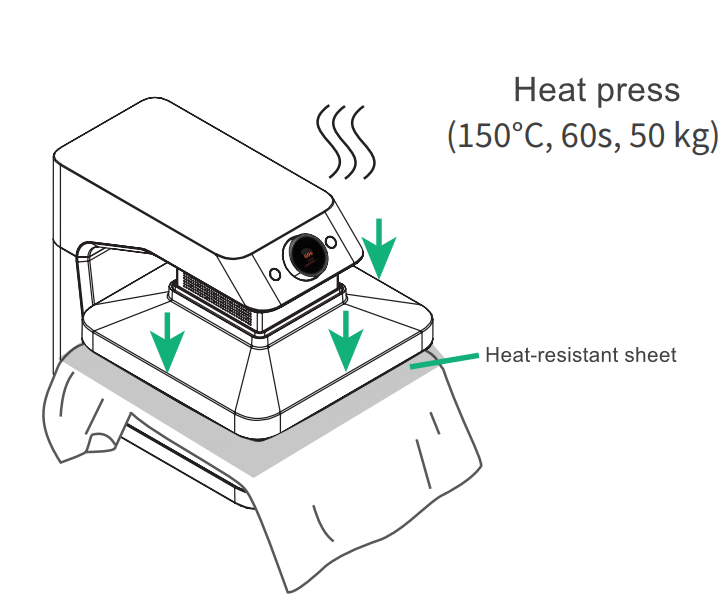
(3) After heat pressing is finished, pull out the base and remove the garment.