
Unboxing and First Use
Download PDF file (multi-language)
From the Quick Start Guide, you can view the item list, product structure, specifications, indicators and buzzer explanation, as well as instructions on device installation, basic operations, and fundamental maintenance.
List of Items
|
|
|
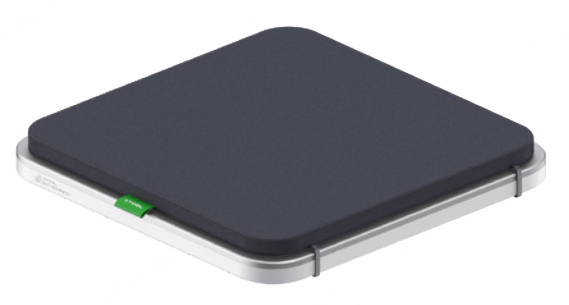
Main unit | Heat Press Module (with a periodically replaceable heat insulation pad) | Heat-resistant sheet |
|
| |
Quick Start Guide | Safety Instructions |
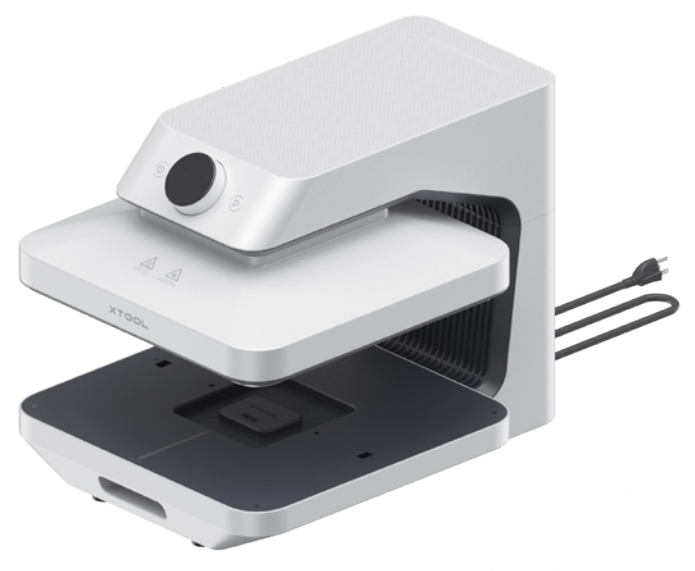

Meet xTool WonderPress
Product Structure
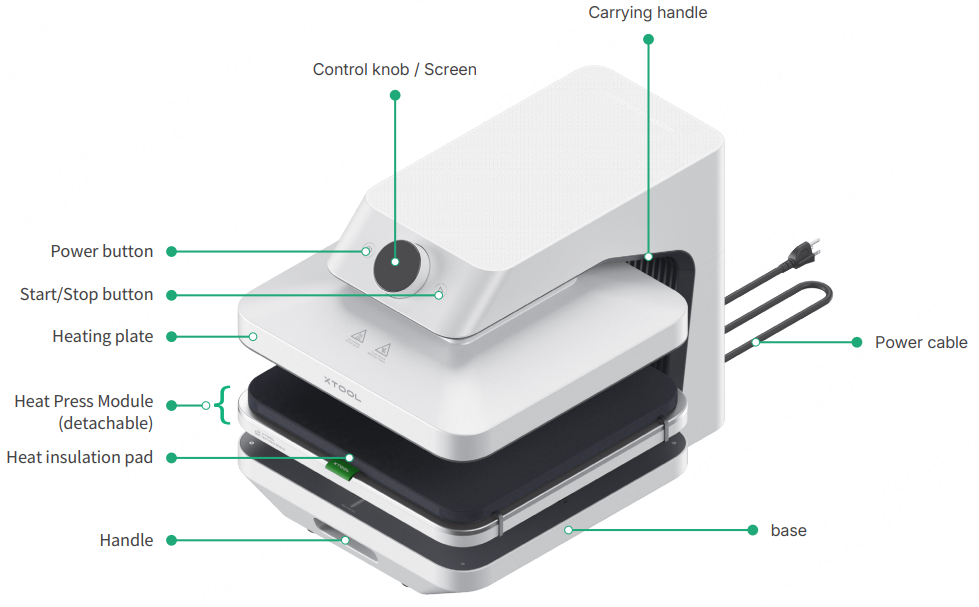
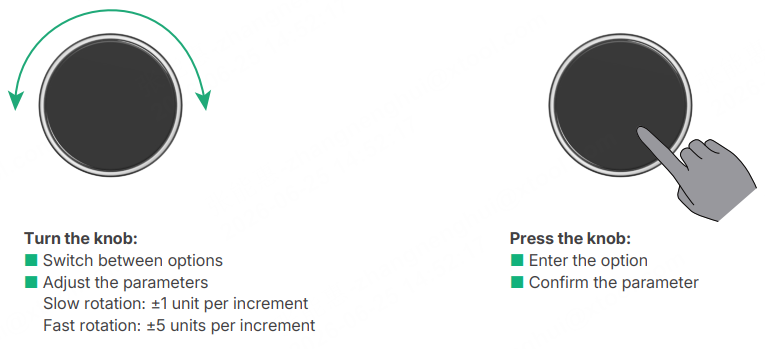
Understand the Control Knob
Understand the Screen
Icon | Explanation |
|---|---|
| Solid: Wi-Fi connected. Flashing: Disconnected or searching for network. |
| Solid: Bluetooth connected. Flashing: Disconnected or waiting for pairing. |
| Solid: Auto Mode enabled. Off: Auto Mode disabled. |
| Press to enter the Material menu. Rotate to select the material, then press again to confirm. |
| Press to enter the Temperature menu. Rotate to set the temperature, then press again to confirm. |
| Press to enter the Time menu. Rotate to set the processing time, then press again to confirm. |
| Press to enter the Pressure menu. Rotate to set the pressure value, then press again to confirm. |
| Press to enter the Auto menu. Select ON to enable or OFF to disable. |


Tips: Screen icons adapt automatically to the installed module; please refer to the actual display.
Use xTool WonderPress
1. Preparations
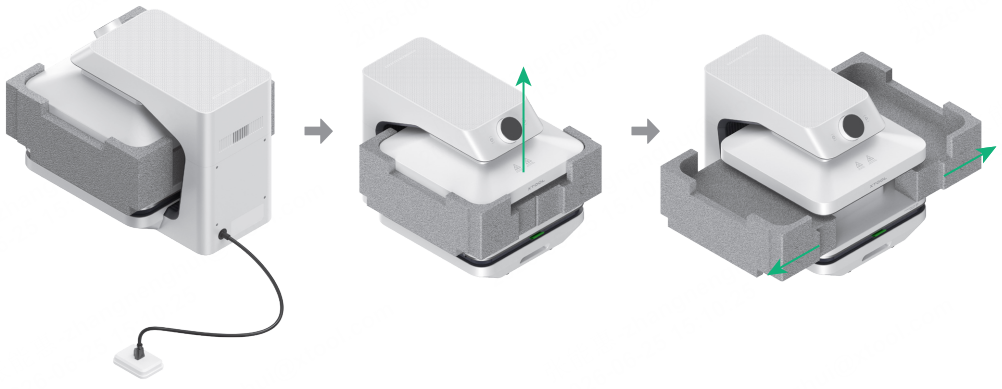
1. Connect to the power supply. The device will beep, and the heating plate will reset to its highest position. Remove the protective foam padding.
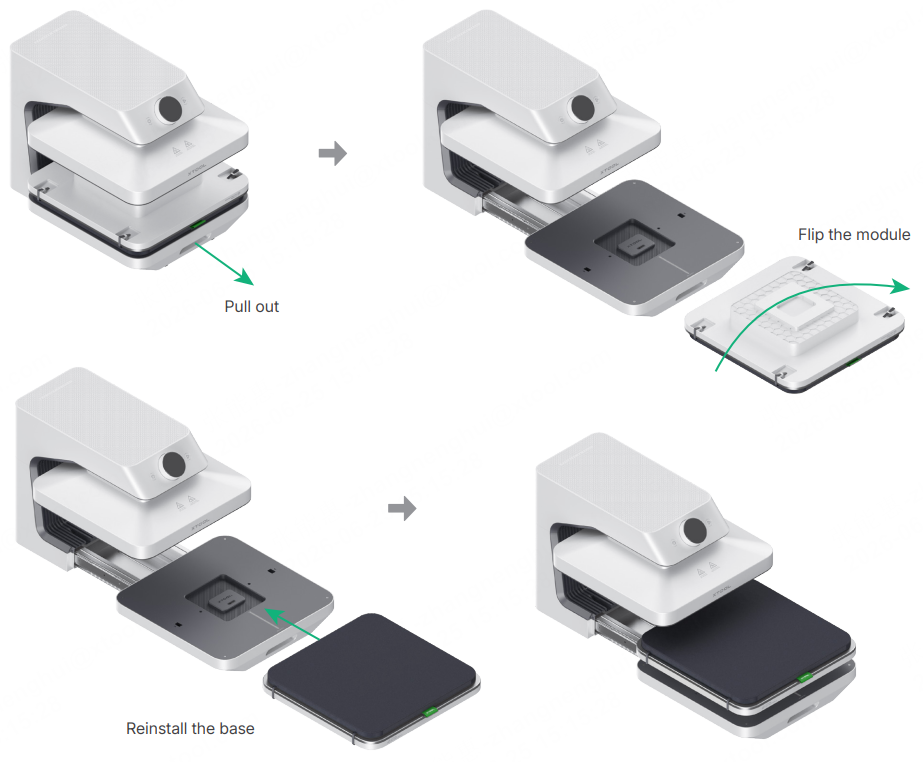
(2) Pull out the base, remove the Heat Press Module, flip it over, and reinstall it into the base.
2. Power On
Press the power button. The heating plate will begin heating and the screen will light up. After completing the initial language and temperature unit settings, a QR code for tutorial videos will appear. Press the knob to dismiss the QR code and view the current module information. The system will then automatically enter the parameter setting interface after 3 seconds of inactivity or any operation.
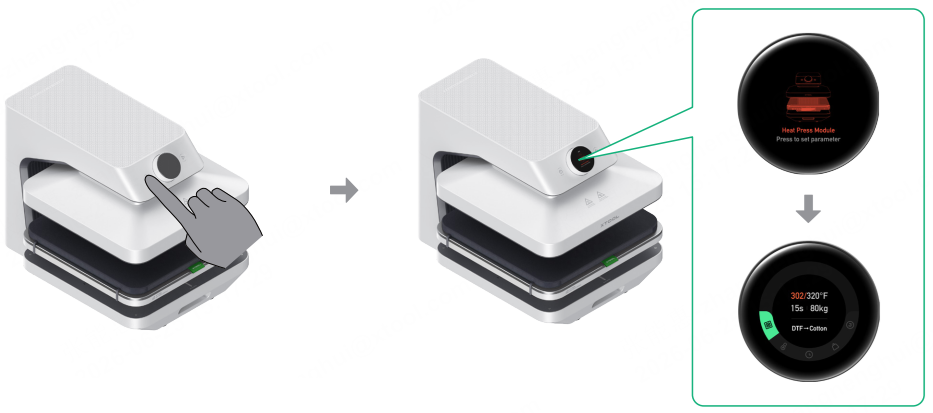
Warning: Do not touch the heating plate after power-on to avoid burns.
3. Set the Parameters
Option A: Using Material Presets
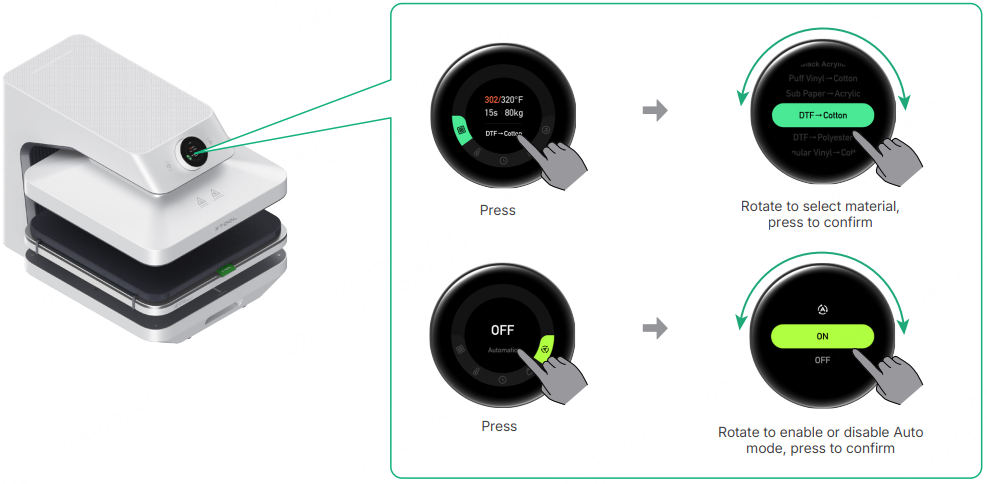
Option B: Custom Parameter Settings
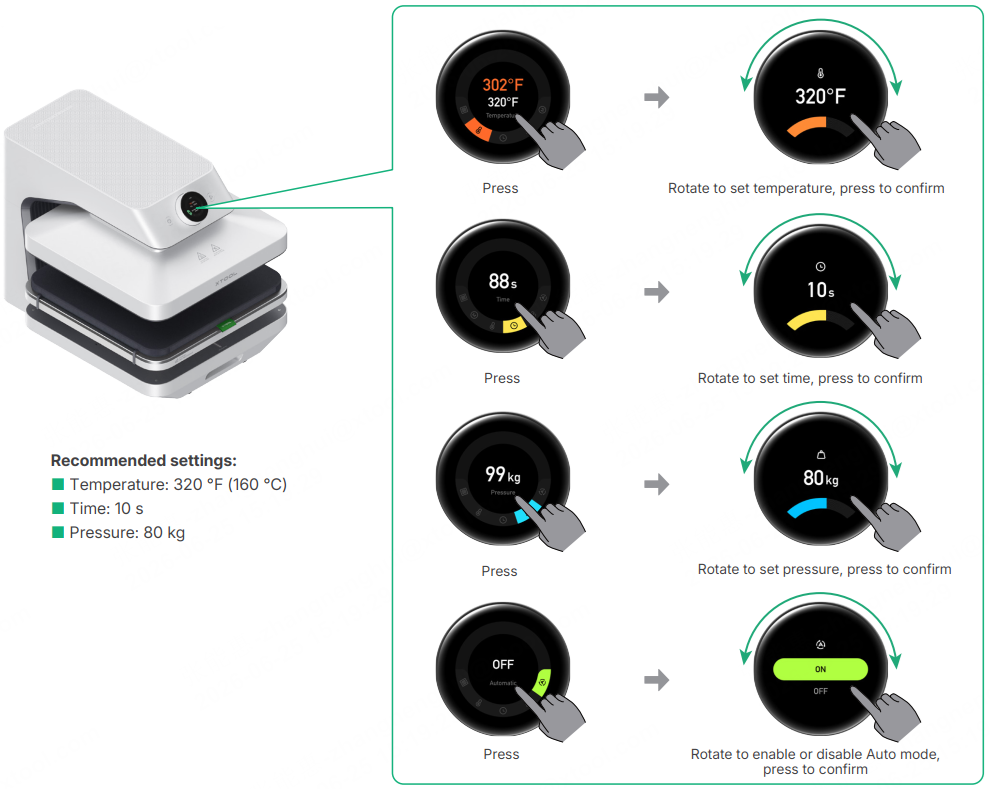
Tips: The parameters shown are for reference only. Adjust the settings according to the actual processing conditions.
4. Prepare the Garment
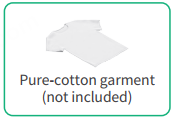
Pull out the base and place the garment. Set the parameters, then press the Start/Stop button to perform a pre-press cycle to flatten and dry the garment.
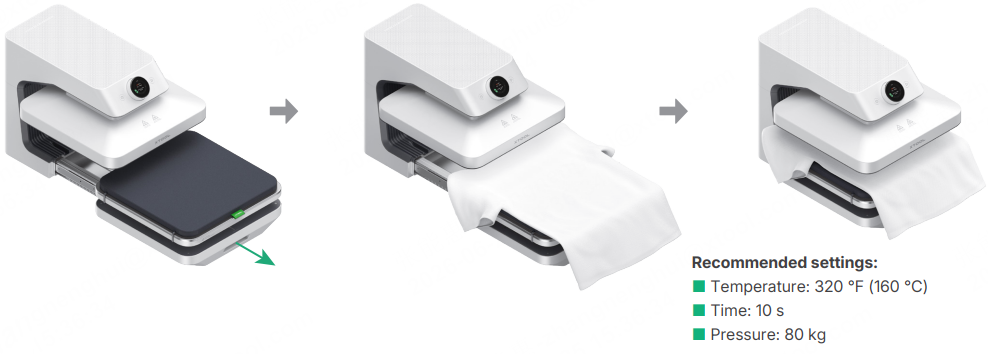
5. Place Processing Materials
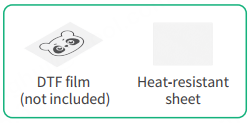
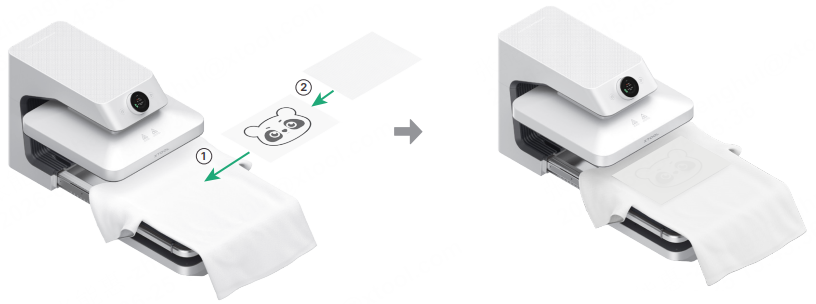
Place the DTF film and the heat-resistant sheet in order, smooth the garment, and align the pattern.
Tips:
■ Make sure the design side of the DTF film faces up.
■ Heat-resistant tape may be used to secure the DTF film onto the garment.
6. Start Processing
Once the set temperature is reached, start processing according to the mode selected in the "3. Set the parameters" section:
Manual mode:
Push in the base and press the Start/Stop button to begin.
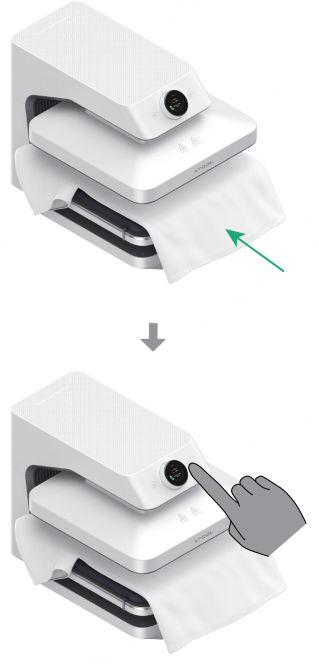
Auto mode:
Push in the base, and the device will start processing automatically.
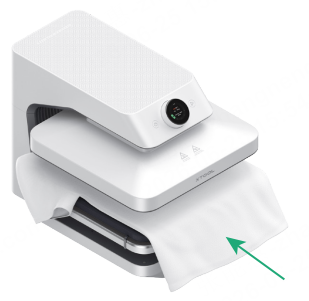
Warning: During the processing, please do not touch the device to avoid pinching or burns.
7. Remove the Material
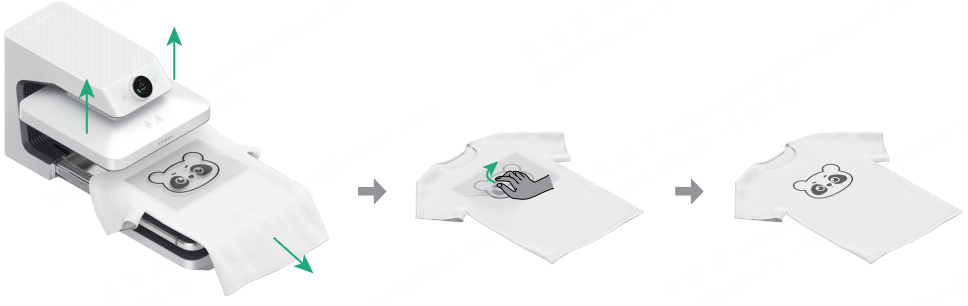
After processing is complete, the heating plate rises automatically. Remove the garment and peel off the DTF film according to the peeling instructions for the film being used, such as hot peel, warm peel, or cold peel.
8. Shutdown
If you have completed processing, press the power button to turn off the device. After shutdown, the set parameters will be automatically saved.
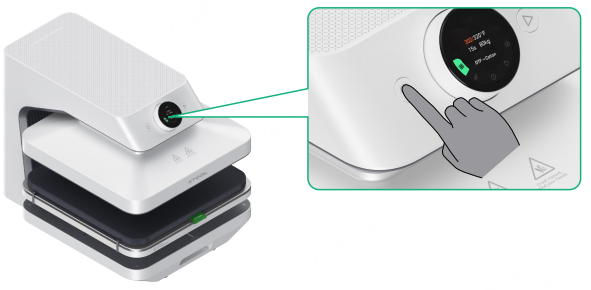
Tips: The device will automatically shut down after 15 minutes of inactivity.

