1. Connect xTool M1 to xTool Studio
Refer to Connect and Set Up xTool M1 with xTool Studio for instructions on connecting xTool M1 to xTool Studio.
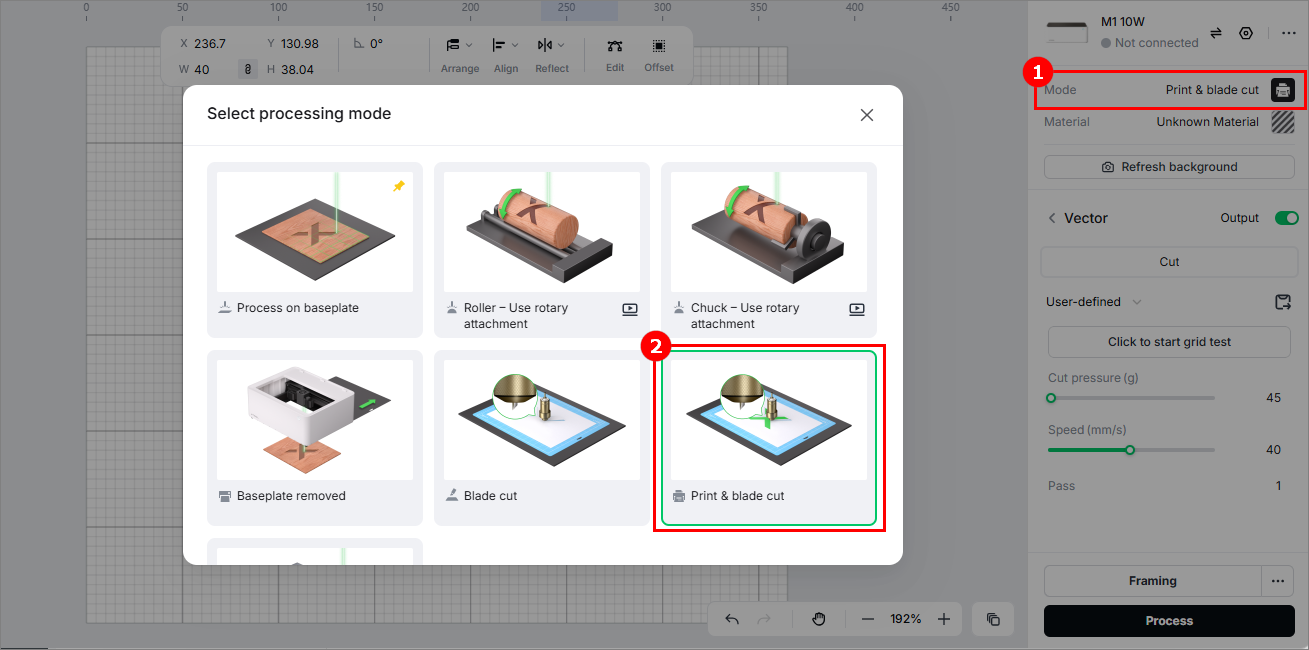
2. Select the processing mode and material
(1) In the right panel of the page, click the current processing mode, and then select Print & blade cut as the processing mode.
(2) Open the lid of xTool M1, and place the LightGrip cutting mat and the kraft paper on it.
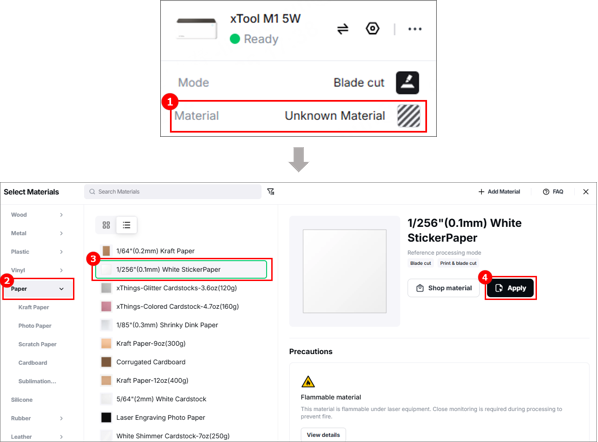
(3) Click Unknown Material, select White StickerPaper, and click Apply.
3. Design a processing object and set parameters
(1) Click icon to import an image to process.
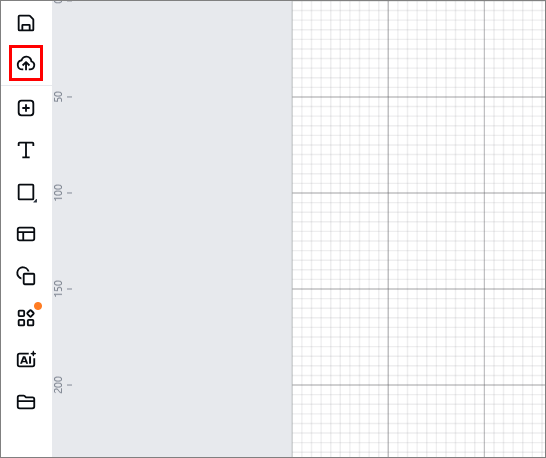
Note: You can import images, insert shapes, enter text, draw vector graphics, and so on. For more information on how to use xTool Studio to design objects, see Software Learning Center.
(2) Select the objects, and use the tools above the canvas for further editing.
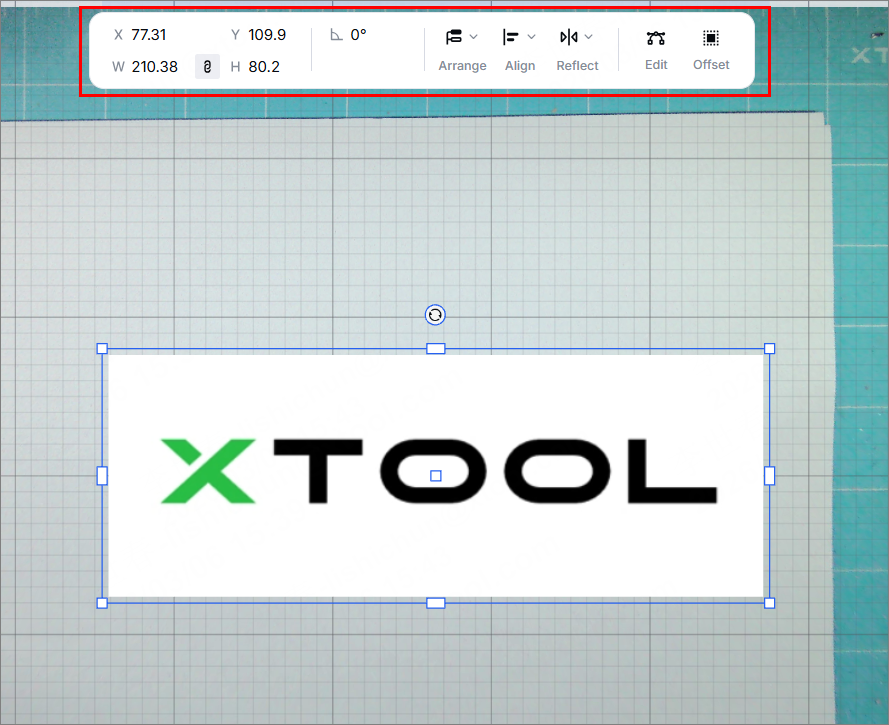
Note: The maximum processing area is 269 mm × 182 mm. Ensure that the pattern to be printed doesn't exceed the maximum processing area. You can set the size of a pattern by dragging it or entering the width and height.
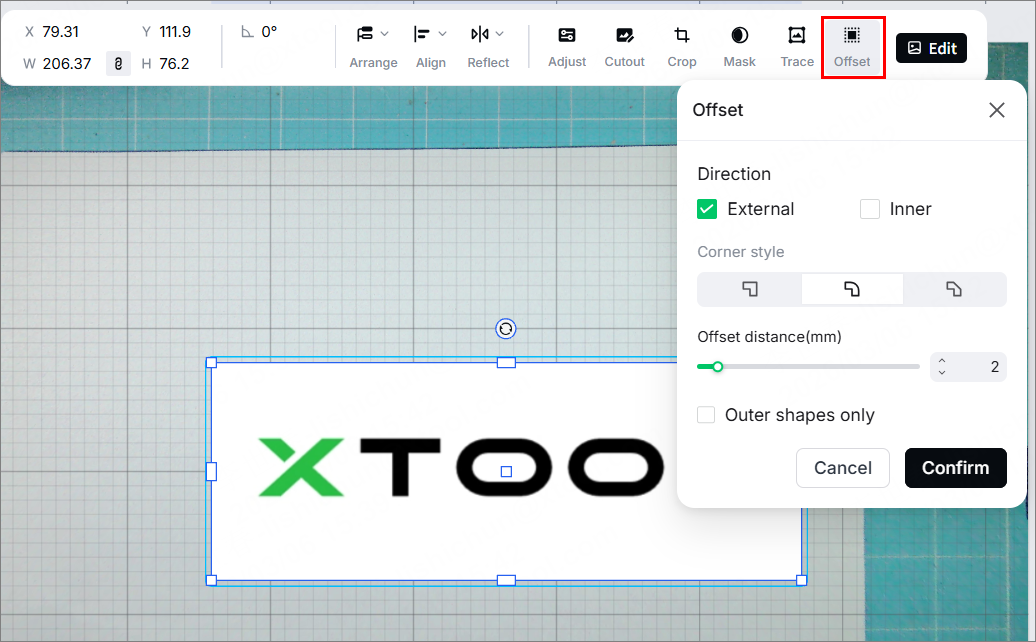
(3) Select the object and click Offset, and set the size.
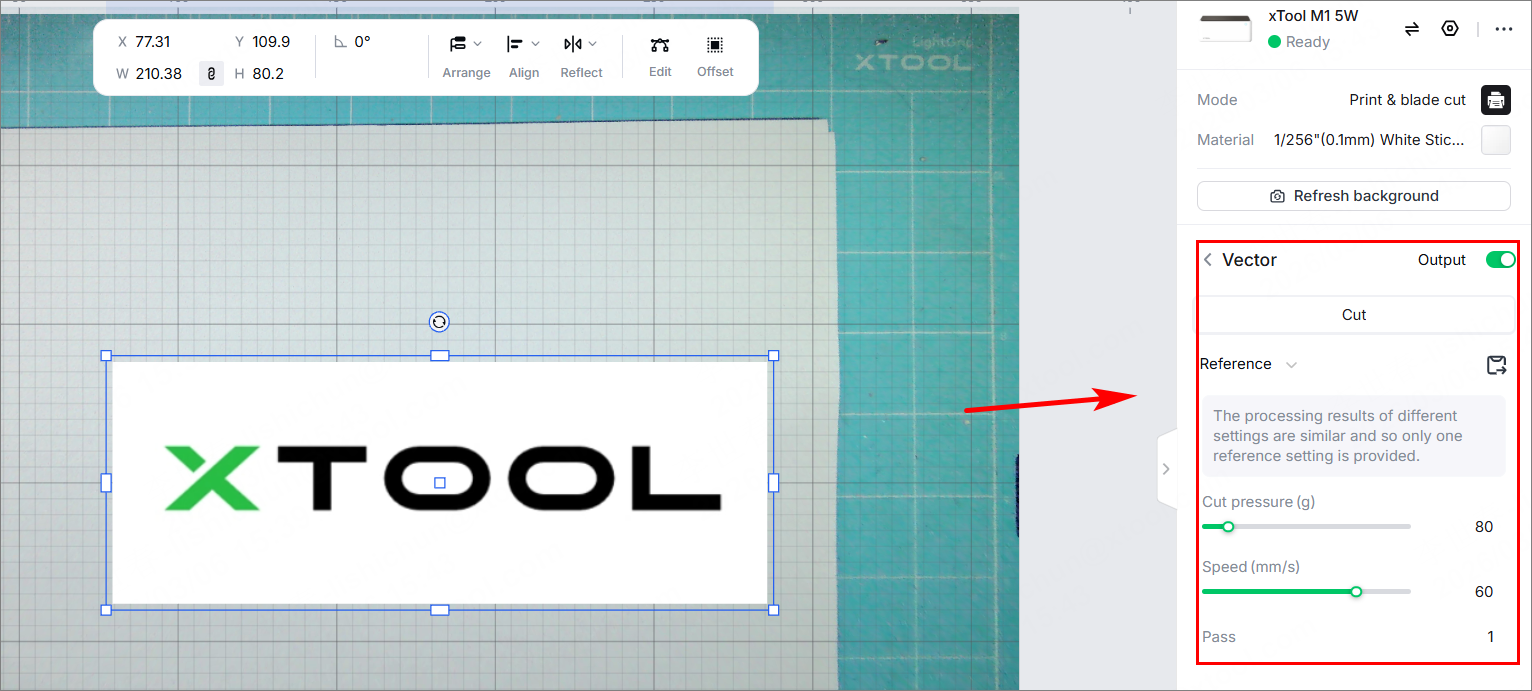
(4) Select objects on the canvas and set their parameters in the right panel.
4. Start printing
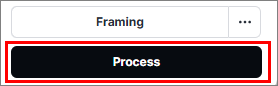
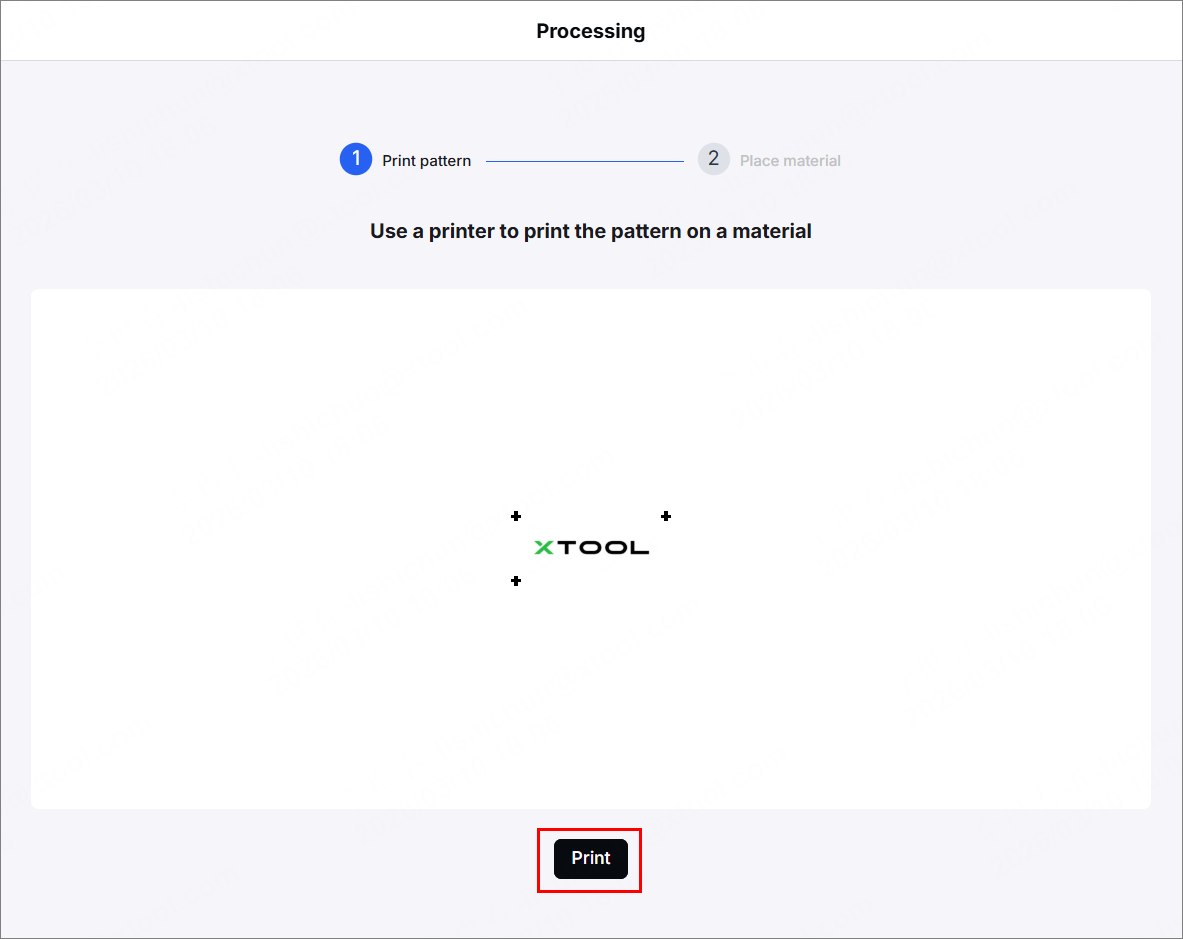
(1) Place the white sticker paper into the paper cassette of the printer, and click Process.
(2) Click Print. Ensure that all the design elements are within the printing area.
(3) Select printer and click Print in the Print dialog box that appears.
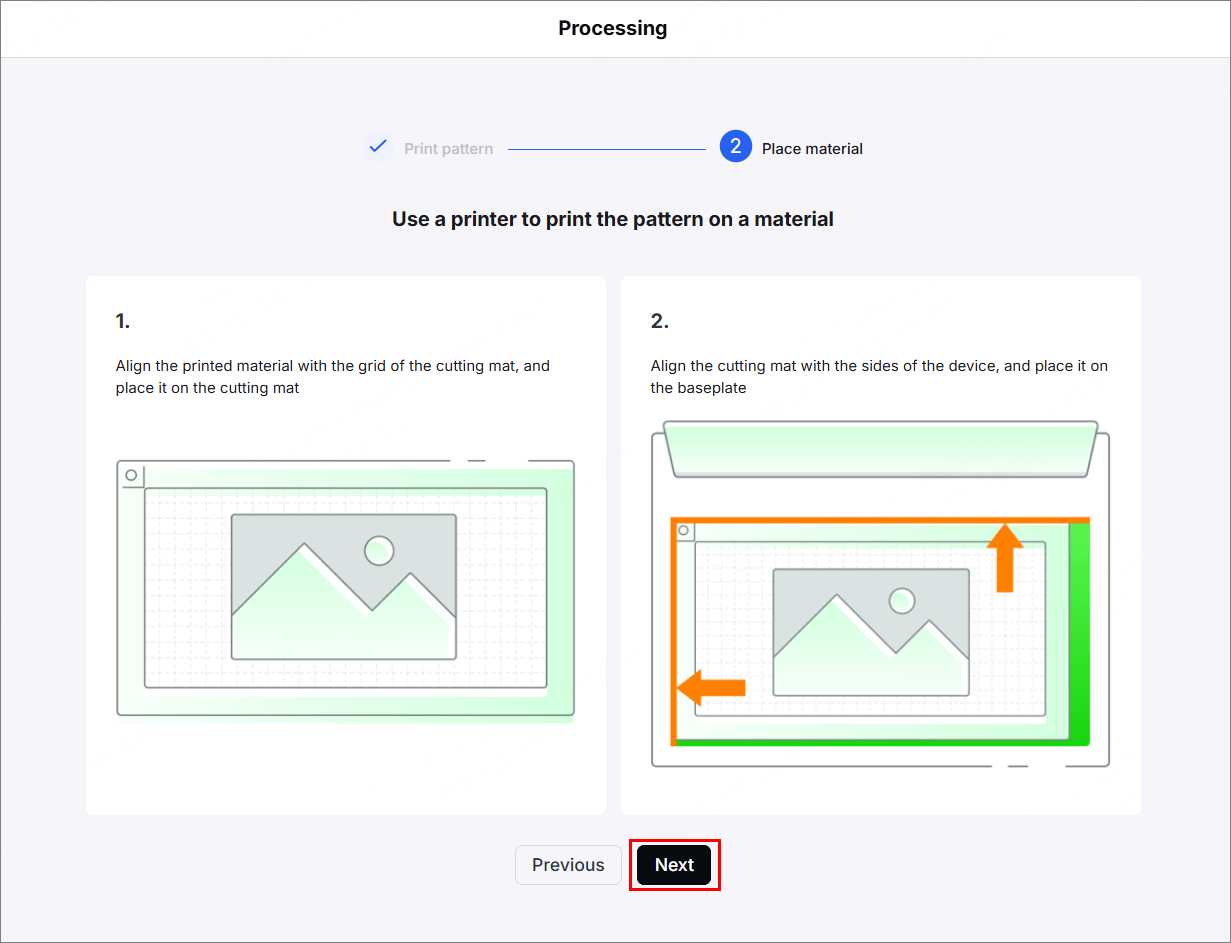
5. Place and cut the material
(1) As prompted by xTool Studio, align your material with the grids of the cutting mat and place it on the cutting mat.
(2) Open and close the lid, and click  icon to refresh the image captured by the camera.
(3) Click Next.
(4) Click Framing, and then press the button on xTool M1 to start framing. You can observe the processing area through the lid.
To observe the processing area once more, press the button again.
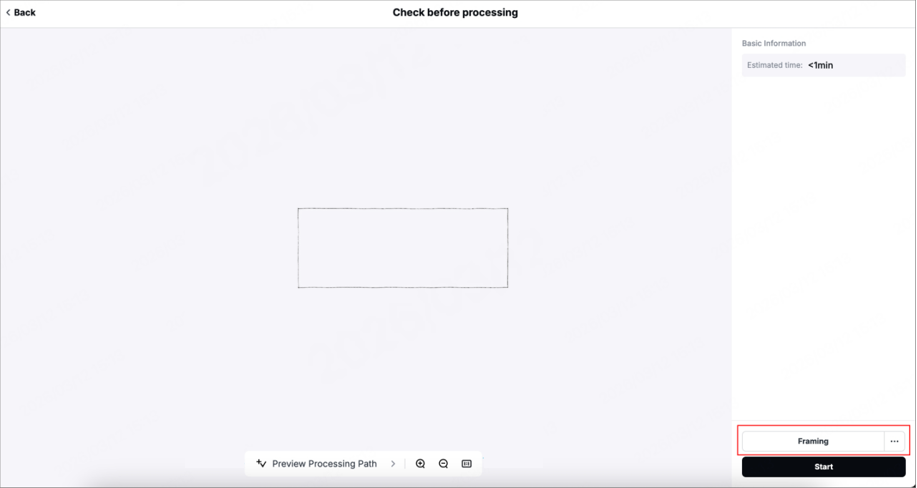
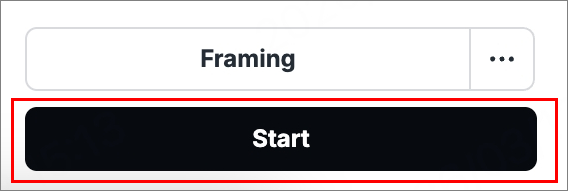
(5) Click Start in the bottom-right corner.
(6) Wait for the processing to be complete.
Services & Help
Learn & Education

Copyright © 2025 xTool All Rights Reserved.