xTool Studio provides recommended processing settings for most xTool devices to engrave the fast-engrave screens.
Unlike other materials, you need to set the processing parameters for the screens with caution to ensure that the coating (photosensitive emulsion) in the processed area is removed while the screen wires are not burnt out.
The recommended settings, however, are tested in labs and may not perform optimally due to laser power attenuation or other device differences. Therefore, you are advised to test processing settings in the test screen to find out the best settings for your device before creating your works.
The testing steps are as follows:
For xTool P2 and P2S
Method
(1) Download the following file and open it on xTool Studio. You can refer to Test array for xTool P2 and P2S.
Note: This file is made in xTool Studio V2.3. If your xTool Studio is an earlier or later version, the file may not work properly.
(2) Start processing.
Method 2
(1) Download the following file and open it on xTool Studio, refer to Test array image for xTool P2 and P2S
(2) Select the object and click Ungroup on the top bar.
(3) Set Power and Lines per cm according to the values indicated in the object.
(4) Start processing.
For other xTool devices
1. Download the test file and open it in xTool Studio
The test file is as follows: Screen test
2. Configure processing settings
(1) Click the object and set the processing type to Engrave.
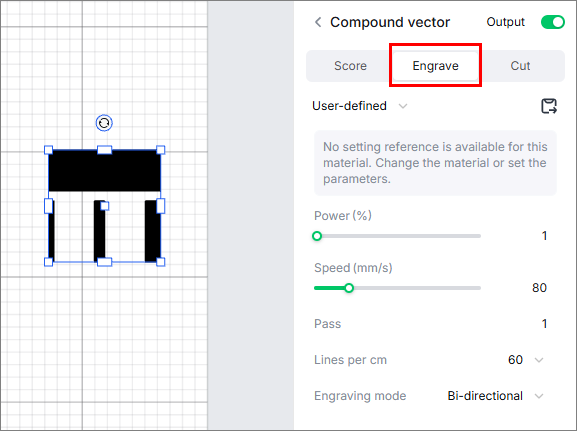
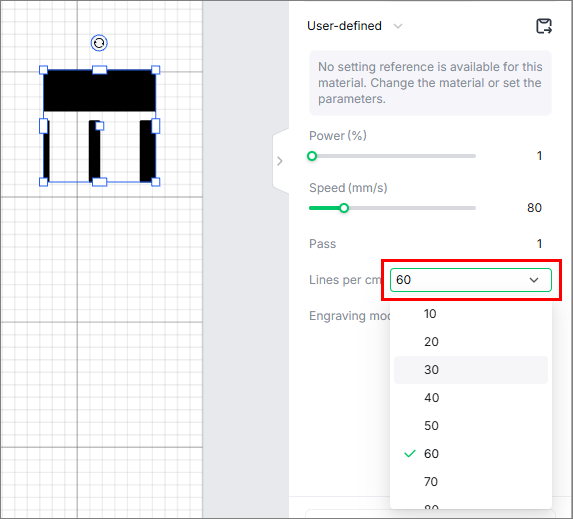
(2) Set the Lines per cm by referring to the following table.
- For fast-engrave screens with 100 and 200 meshes
Model | Lines per cm | Lines per cm | |
Series | Laser power | ||
D1 Pro | 5 | 200 | 200 |
10 | 180 | 180 | |
20 | 160 | 180 | |
40 | 100 | 140 | |
F1 | 10 | 300 | 300 |
F1 Ultra | 20 | 220 | 300 |
M1 | 5 | 200 | 120 |
10 | 120 | 140 | |
M1 Ultra | 10 | 180 | 160 |
20 | 140 | 160 | |
S1 | 10 | 180 | 180 |
20 | 160 | 200 | |
40 | 120 | 180 | |
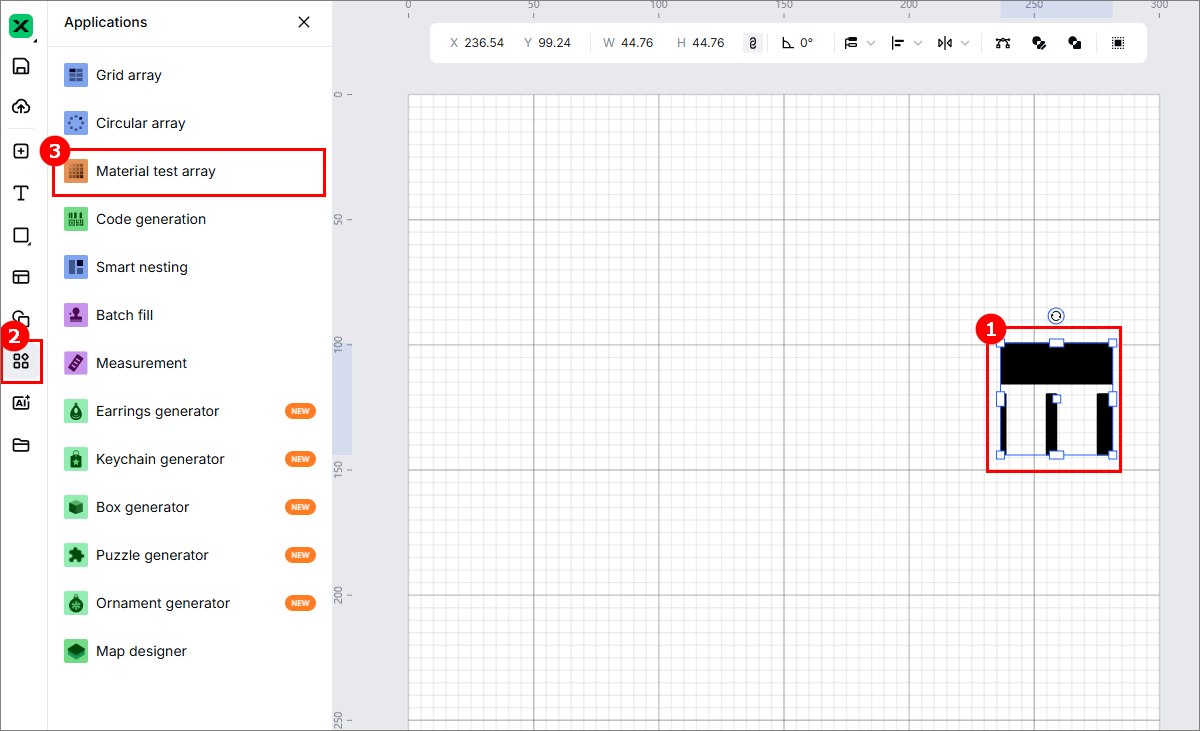
(3) Select the object and choose Applications > Material test array.
(4) Set the array parameters for your device by referring to the following table.
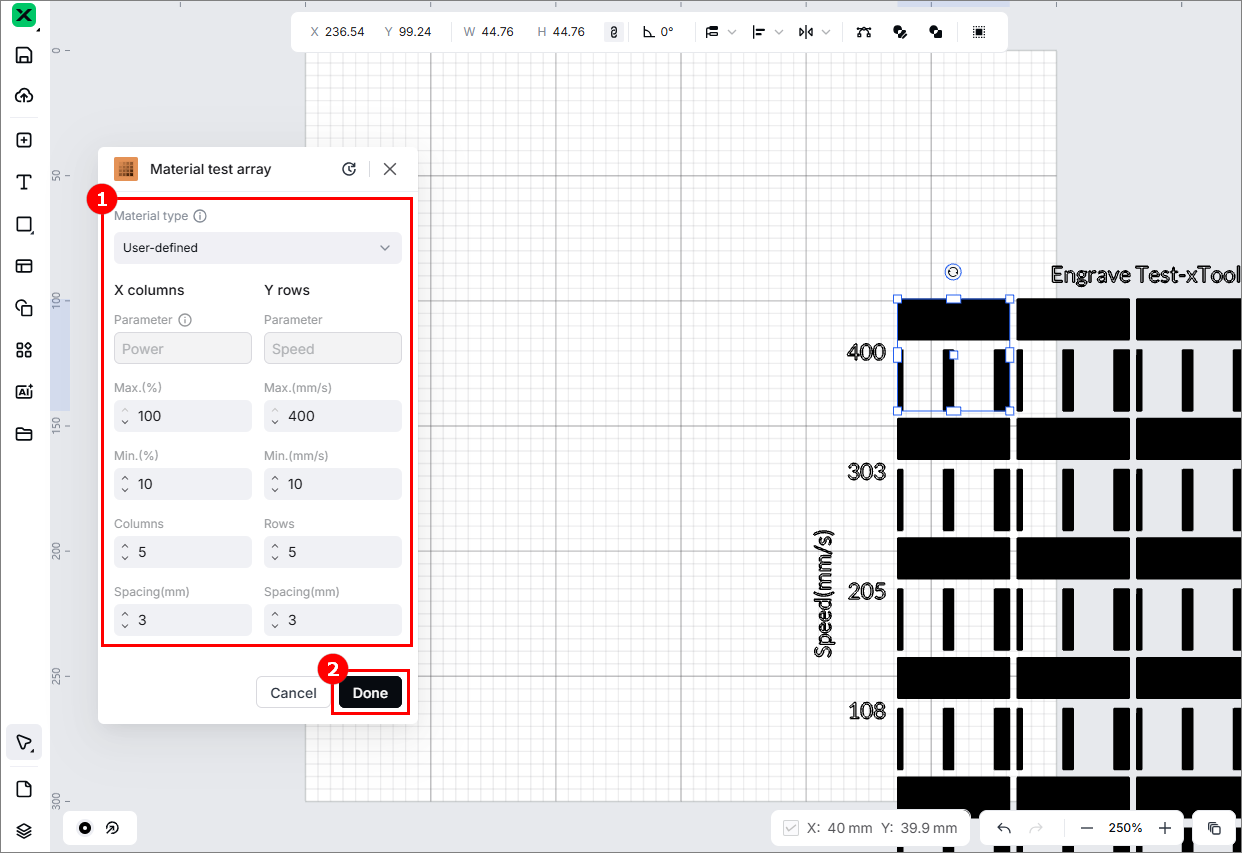
- For fast-engrave screens with 100 meshes
Model | Power setting for the array | Speed setting for the array | |||
Series | Laser power | Max. (%) | Min. (%) | Max. (mm/s) | Min. (mm/s) |
D1 Pro | 5 | 40 | 20 | 210 | 190 |
10 | 25 | 5 | 260 | 240 | |
20 | 25 | 5 | 290 | 210 | |
40 | 30 | 10 | 410 | 390 | |
F1 | 10 | 40 | 20 | 910 | 890 |
F1 Ultra | 20 | 35 | 15 | 1510 | 1490 |
M1 | 5 | 40 | 20 | 210 | 190 |
10 | 27 | 7 | 260 | 240 | |
M1 Ultra | 10 | 25 | 5 | 260 | 240 |
20 | 22 | 2 | 410 | 390 | |
S1 | 10 | 30 | 10 | 260 | 240 |
20 | 30 | 10 | 510 | 490 | |
40 | 35 | 15 | 510 | 490 | |
- For fast-engrave screens with 200 meshes
Model | Power setting for the array | Speed setting for the array | |||
Series | Laser power | Max. (%) | Min. (%) | Max. (mm/s) | Min. (mm/s) |
D1 Pro | 5 | 40 | 20 | 210 | 190 |
10 | 25 | 5 | 260 | 240 | |
20 | 30 | 10 | 310 | 290 | |
40 | 25 | 5 | 310 | 290 | |
F1 | 10 | 50 | 30 | 2100 | 1990 |
F1 Ultra | 20 | 30 | 10 | 1110 | 990 |
M1 | 5 | 50 | 30 | 210 | 190 |
10 | 30 | 10 | 260 | 240 | |
M1 Ultra | 10 | 25 | 5 | 410 | 390 |
20 | 30 | 10 | 410 | 390 | |
S1 | 10 | 35 | 15 | 410 | 390 |
20 | 40 | 20 | 410 | 390 | |
40 | 30 | 10 | 510 | 490 | |
After testing
After processing the test screen with the recommended test array, check whether any screen wires are burnt. If the parameter settings helps to remove the coating properly while no wire is burnt out, you can use it as the optimal setting for your screen processing.
|
| |
❌Wires burnt out | ❌Coating not properly removed | ✅ Coating properly removed while no polyester wire burnt out |
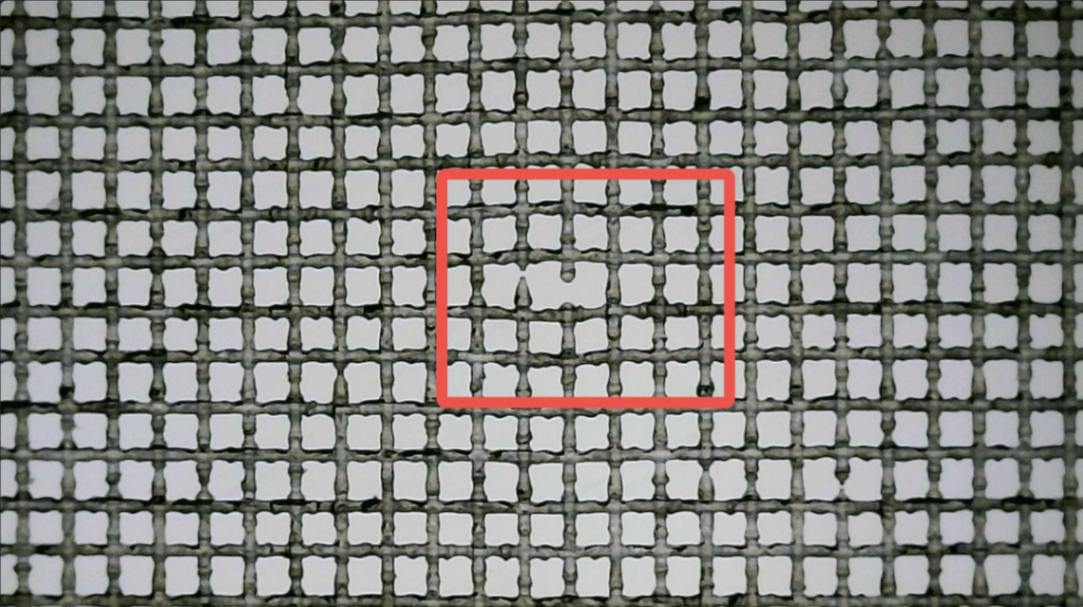
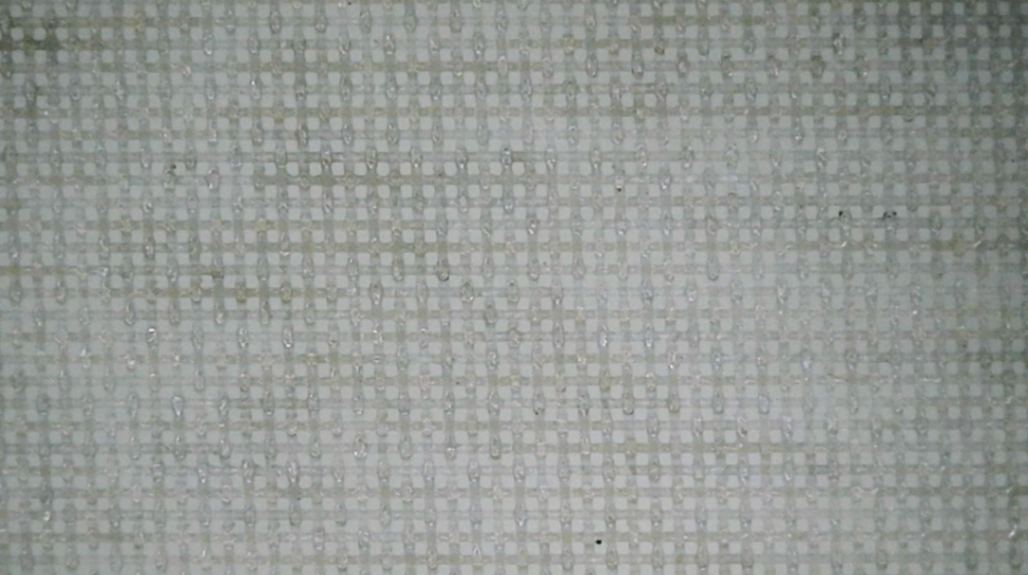
The test results are for reference only. You can observe your processed screen area as follows:
- Observe the processed screen area under light.
- Use a mobile phone or camera to take a photo of the processed area at 5×–10× zoom for inspection.
If multiple settings are suitable for your device, a higher lines-per-cm value produces clearer results. Because the higher the lines per cm, the clearer the processing result and the better coating removing result.
Note: After deciding the best settings, center the object as much as possible in xTool Studio. If the object is close to the edges, he processing quality may decrease and the screen may be worn out due to tension issues.
