
Important:
1. It is recommended to start processing after the device has been running for 5 minutes, allowing the laser module to warm up.
2. When the ambient temperature is between 10°C and 15°C, it is recommended to warm up the device for approximately 20 minutes to allow the laser module to reach thermal equilibrium before starting processing.
3. If the glass to be engraved has a curved surface, the height difference between the highest and lowest points in the processing area on the glass must not exceed 0.75 mm.
Follow the steps below to start engraving on glass surfaces!
1. Apply masking tape to the processing area on the glass surface to make it non-transparent.
Note: If the glass to be engraved is too thin (with a thickness of 5 mm or less), the supporting material beneath the glass could be engraved by the laser, potentially causing damage to the back of the glass. In this case, it is recommended to suspend the glass by supporting its edges.
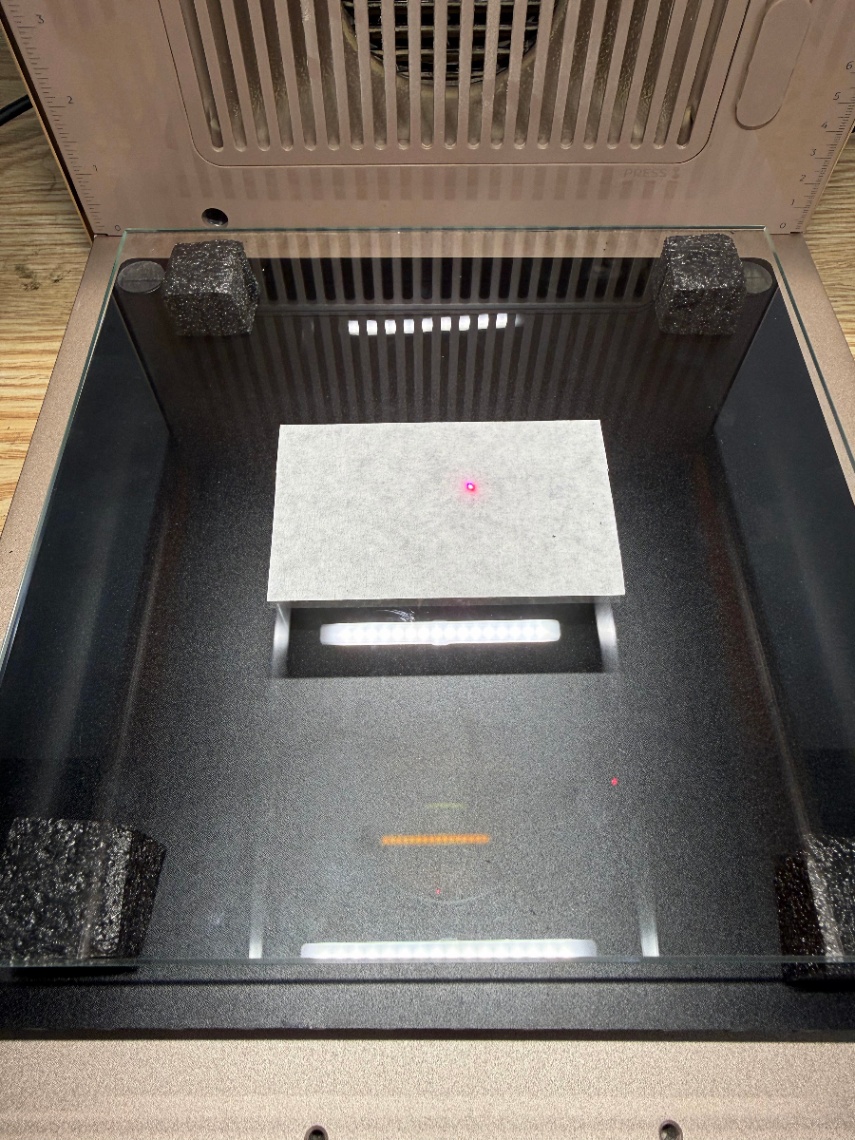
2. Click the Auto-measure icon. The device performs auto-focusing. Once complete, the red and blue light spots overlap.
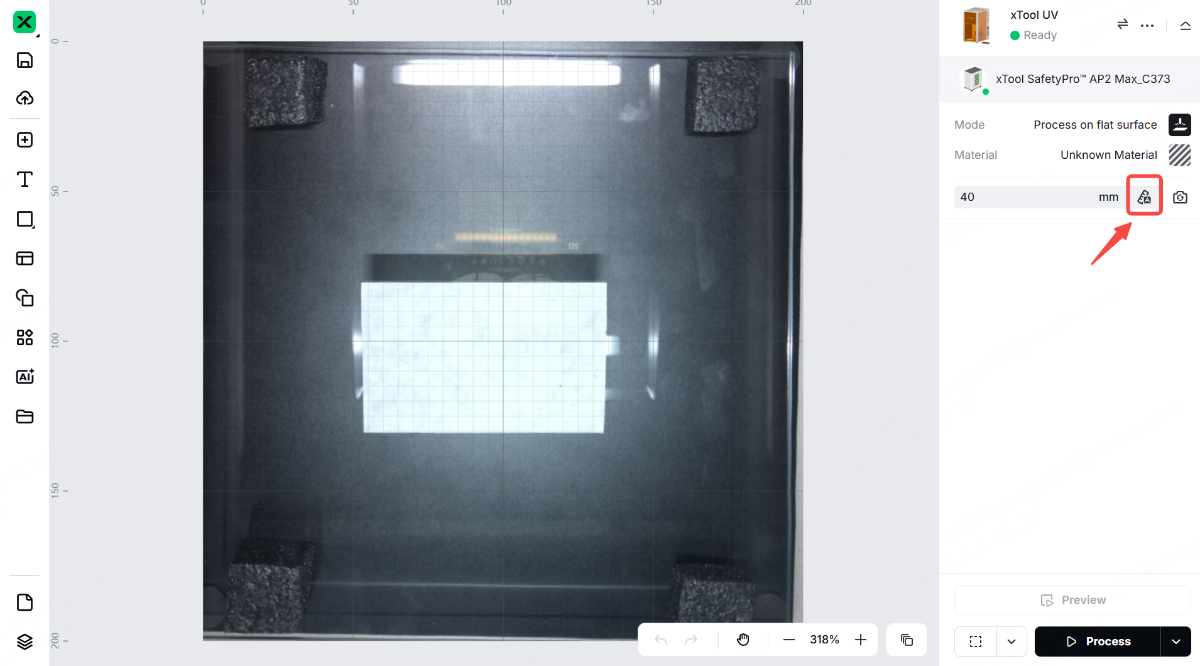
3. Remove the masking tape and adjust the auto-measured thickness by subtracting the masking tape's thickness.
Note: The thickness of masking tape is typically 0.5 mm. For example, if the auto-measured thickness is 40 mm, adjust it to 39.5 mm.
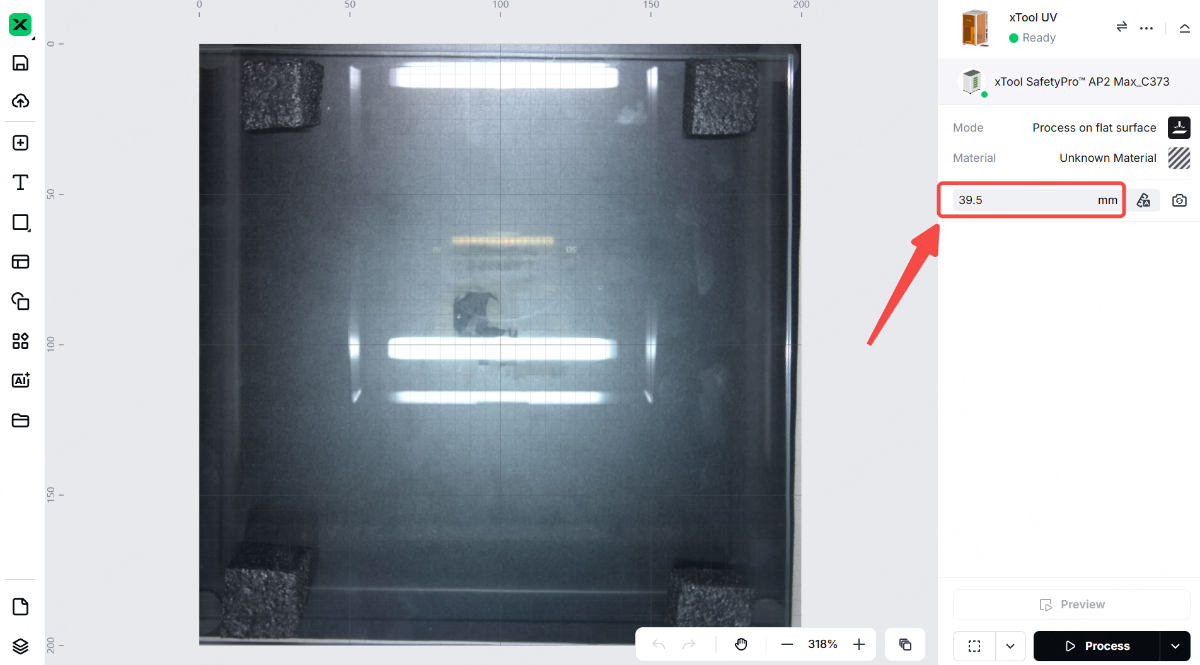
4. Select the corresponding material in xTool Studio based on the material you are using.
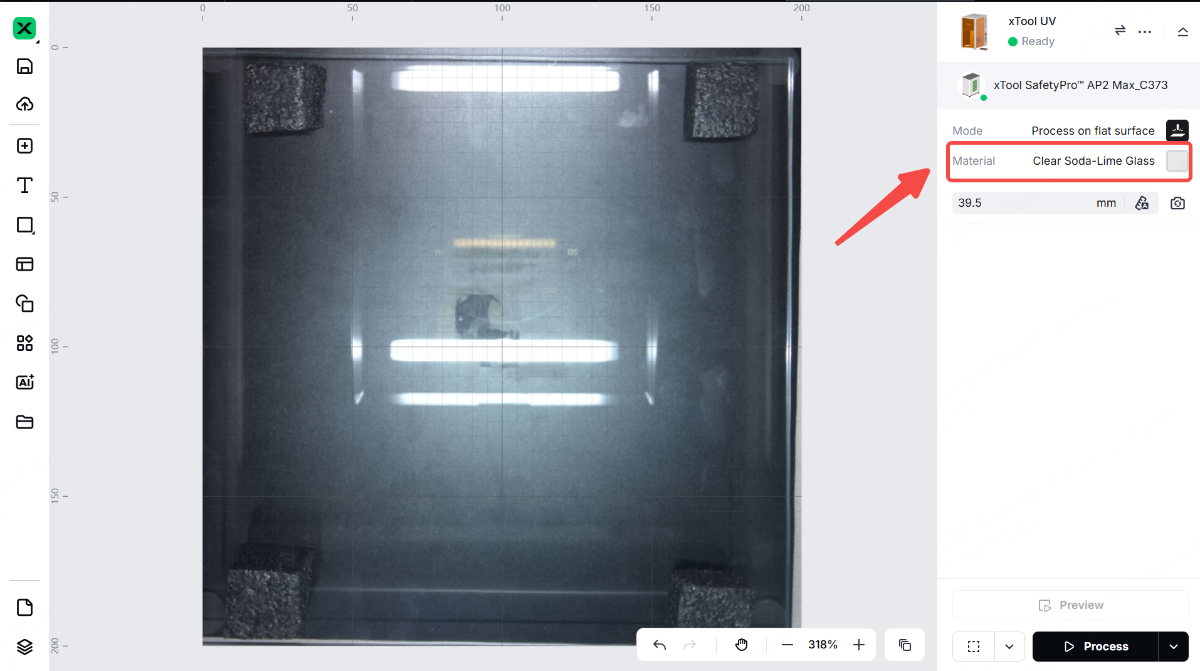
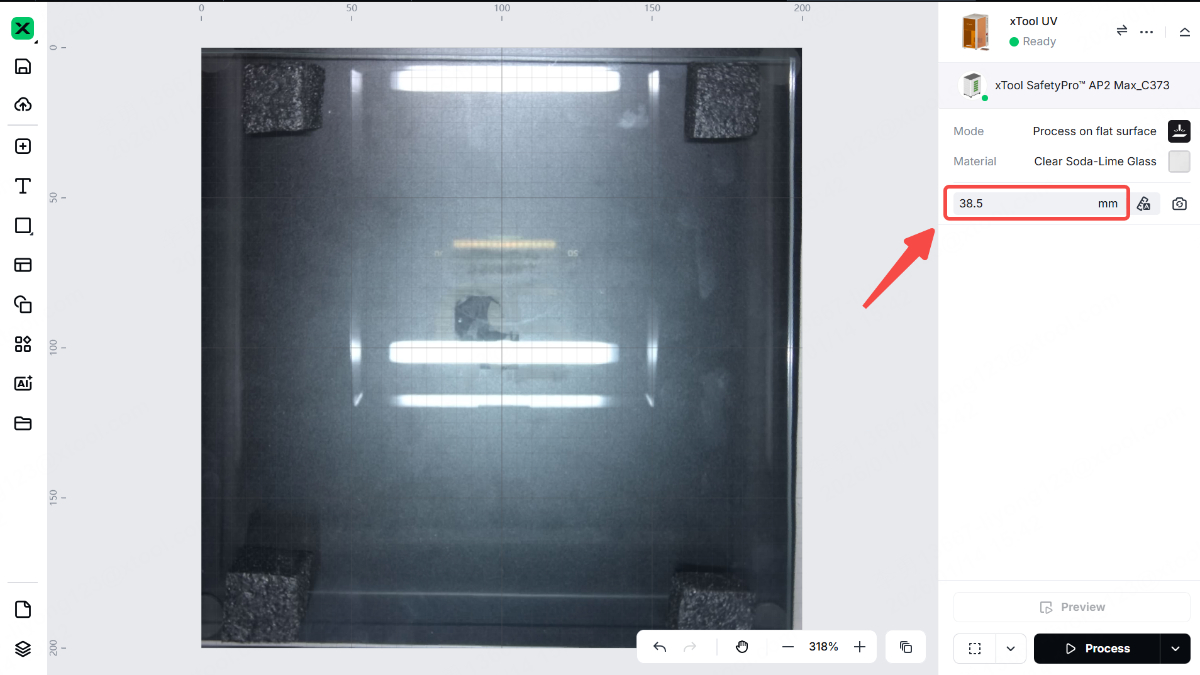
5. If surface engraving fails, lower the focal point by 1–2 mm to improve focusing accuracy. For example, if the thickness is set to 39.5 mm, adjust it to 38.5 mm or 37.5 mm.
More information
xTool F2 Ultra UV Unboxing and First Use
A Guide to Glass for Inner Engraving
Glass Surface Engraving Techniques
Tips for Surface Engraving Glass Cups Using Rotary Attachments

