Overview
The 3D Photo (2.5D Effect) feature allows you to turn a regular 2D image into a 3D-style relief model that can be used for inner engraving.
From the front, it looks like the original photo; from the side, it reveals realistic depth and layering.
How to Convert a Bitmap into a 3D Photo (2.5D Effect)?
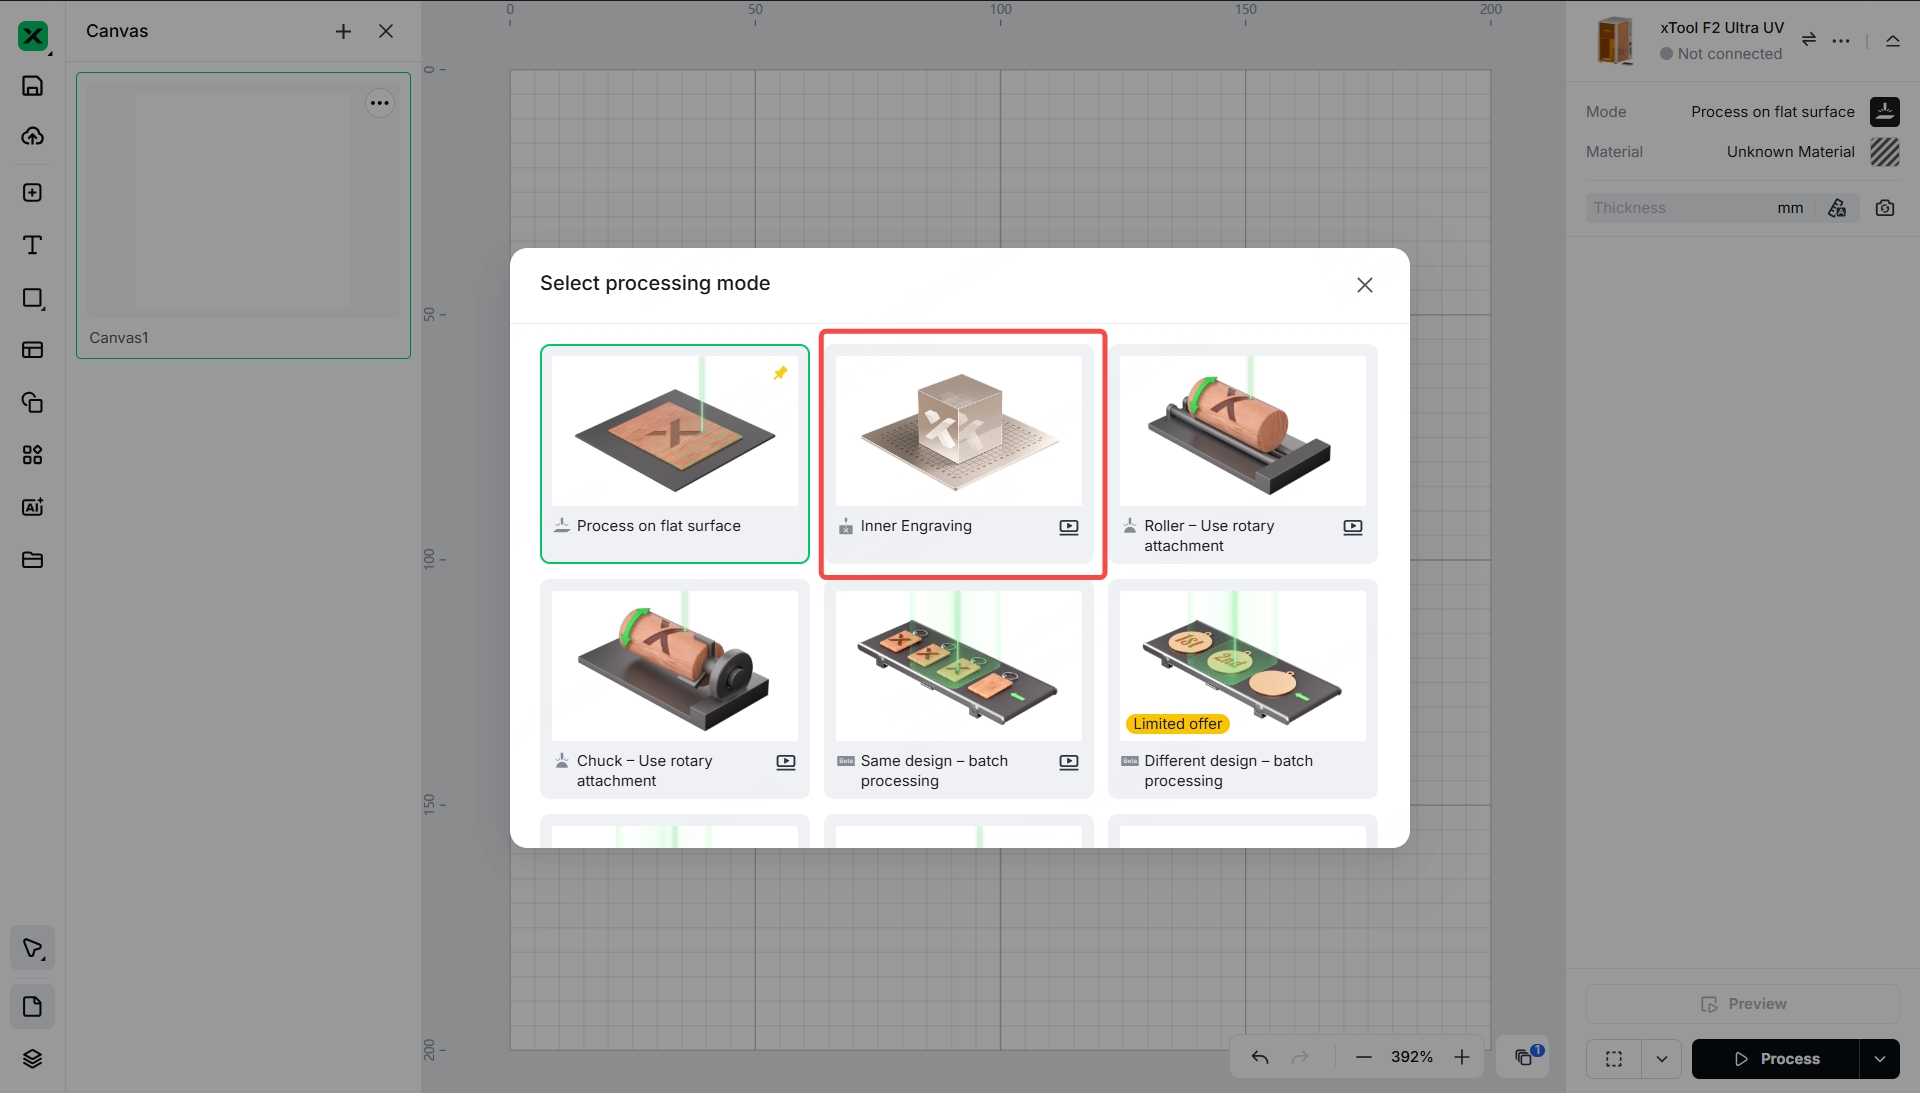
Switch to Inner Engraving Mode
- Connect your device and switch to F2 Ultra UV.
- Select the Inner Engraving mode.
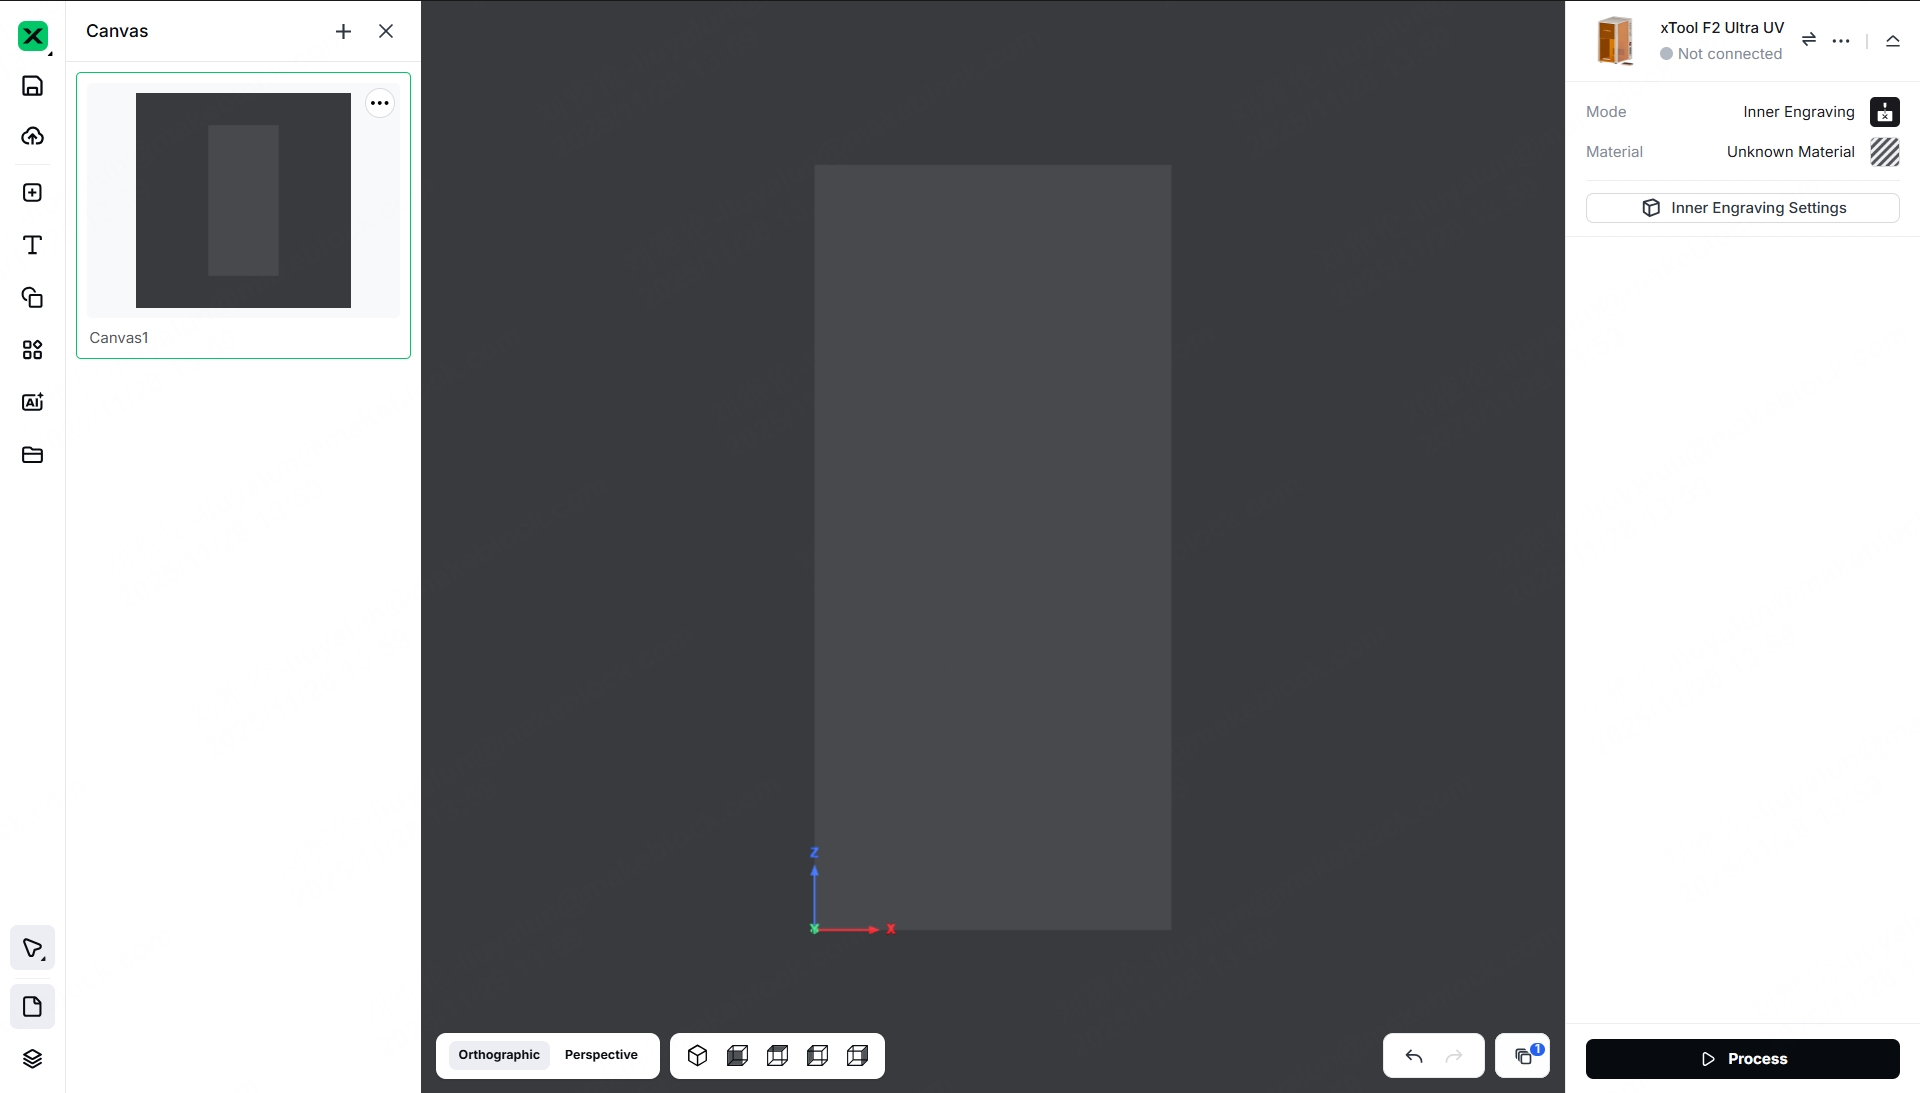
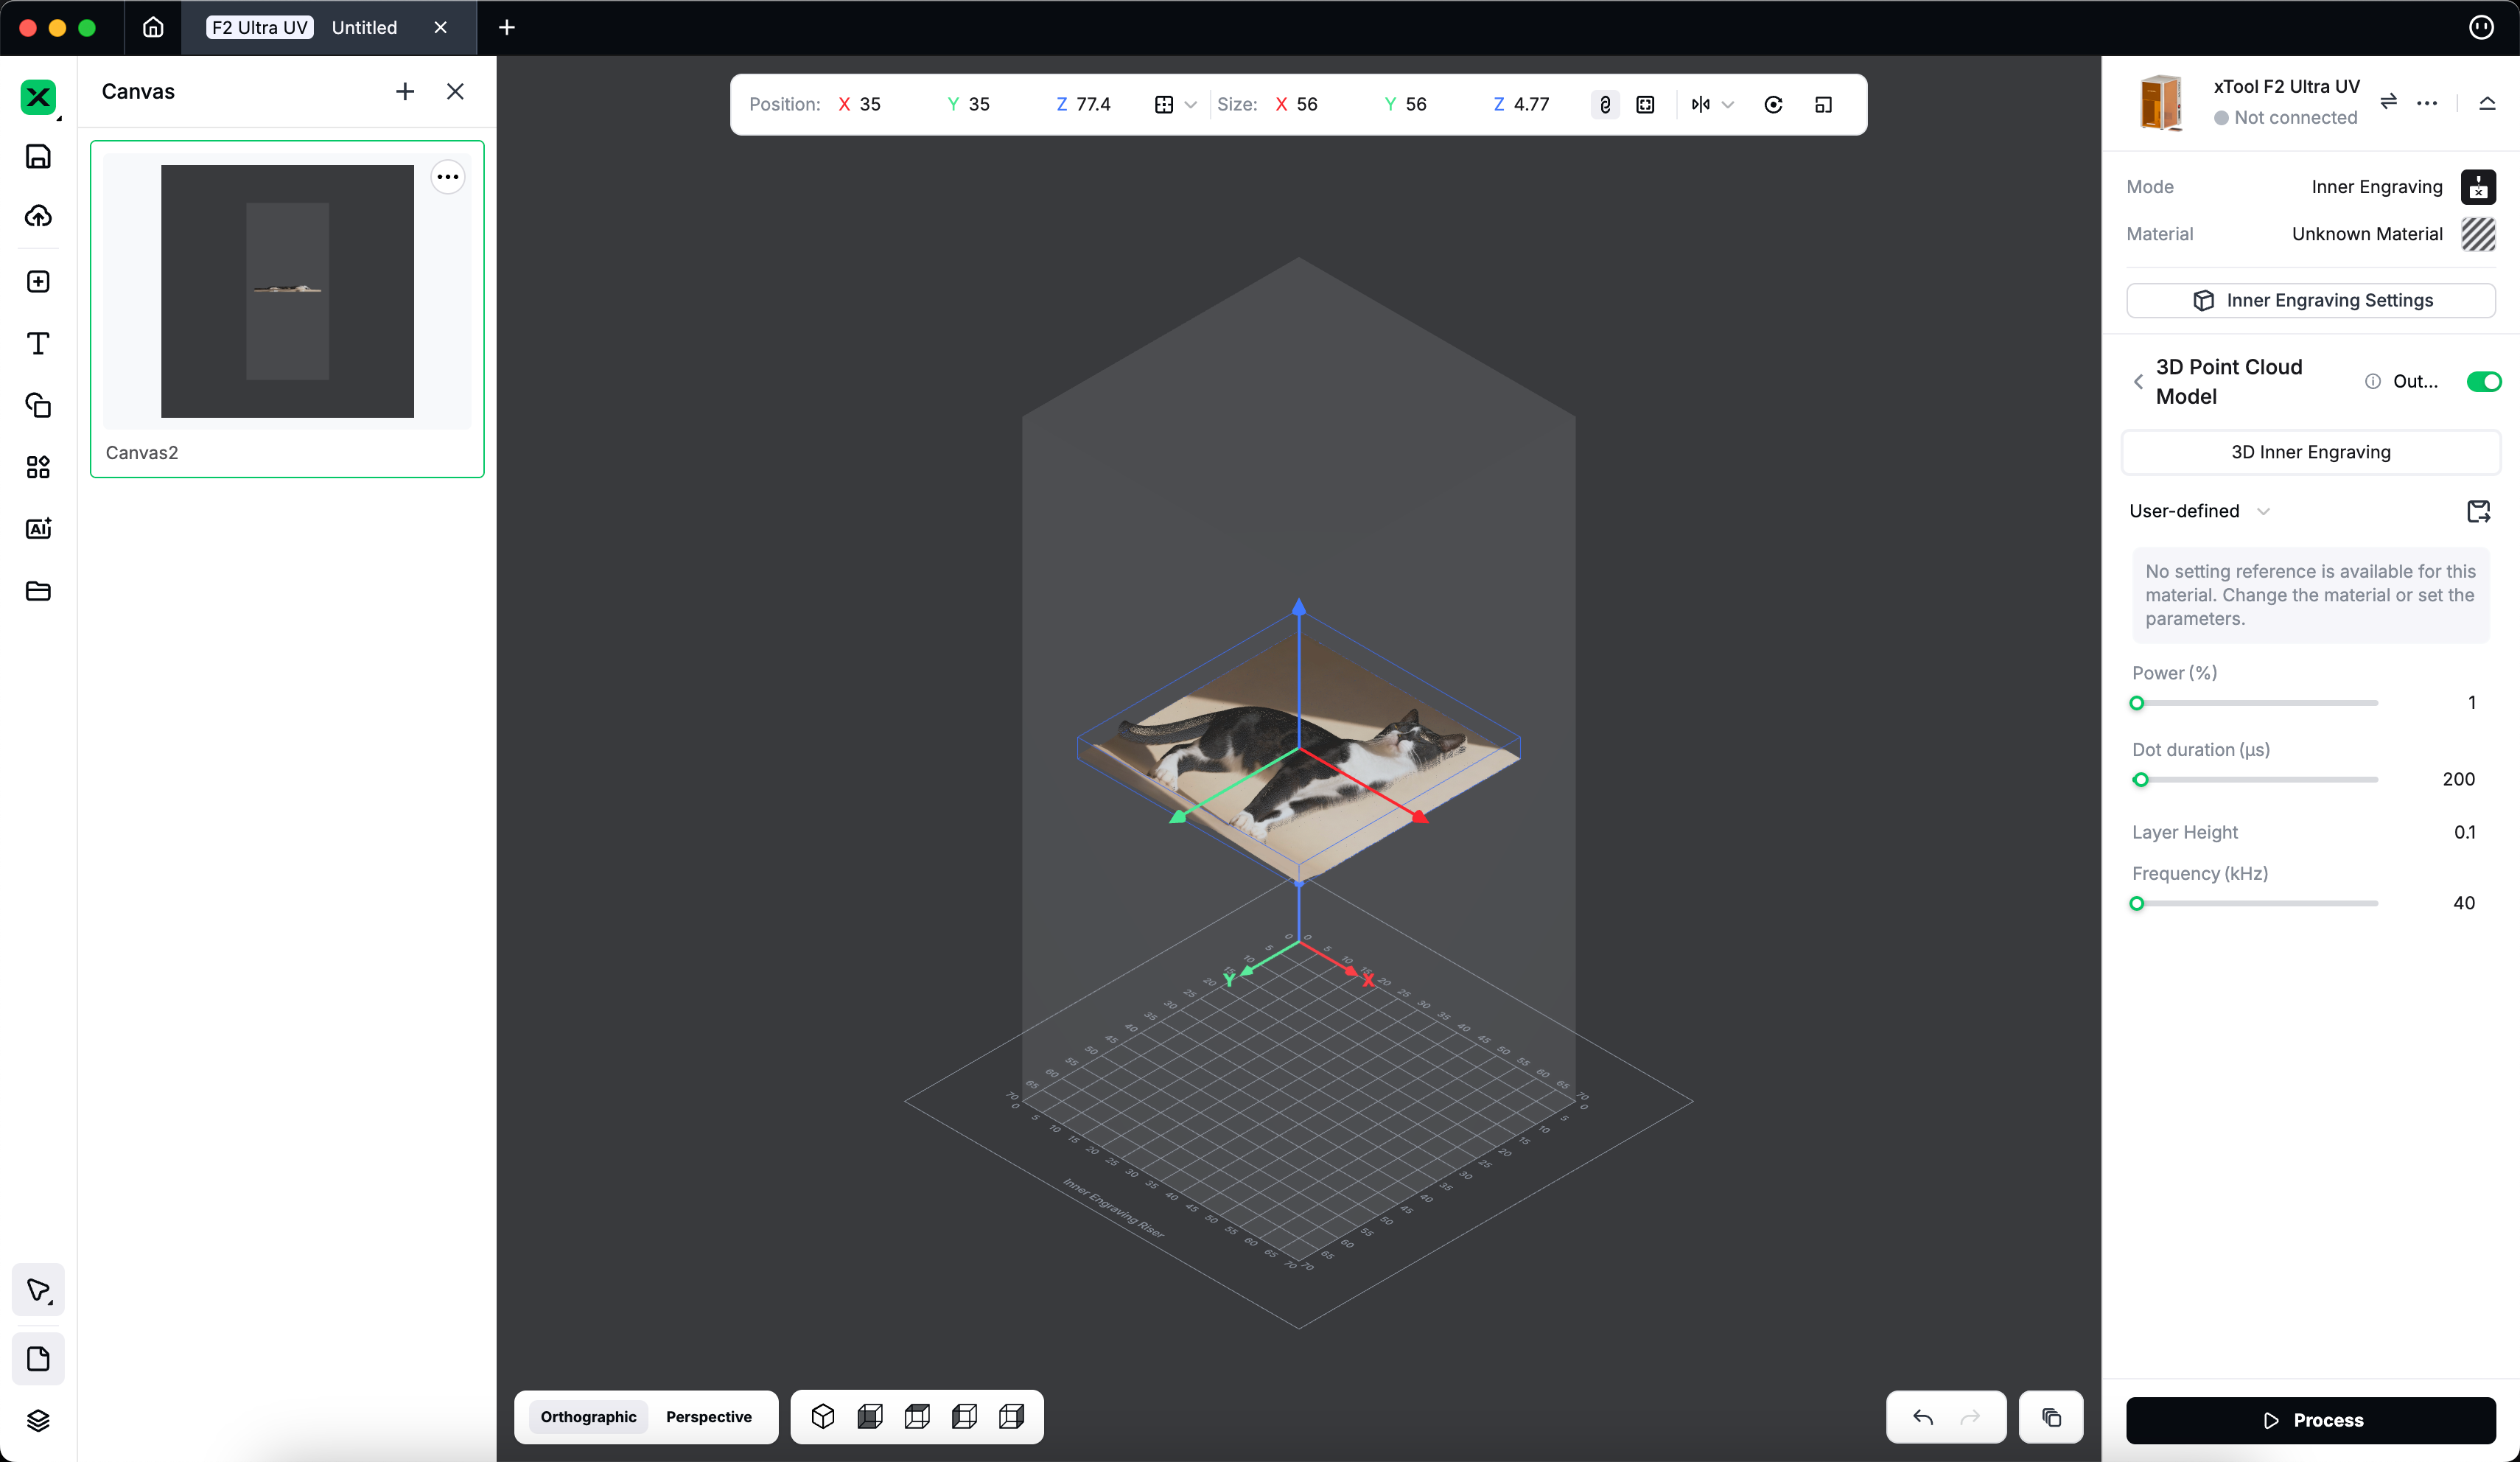
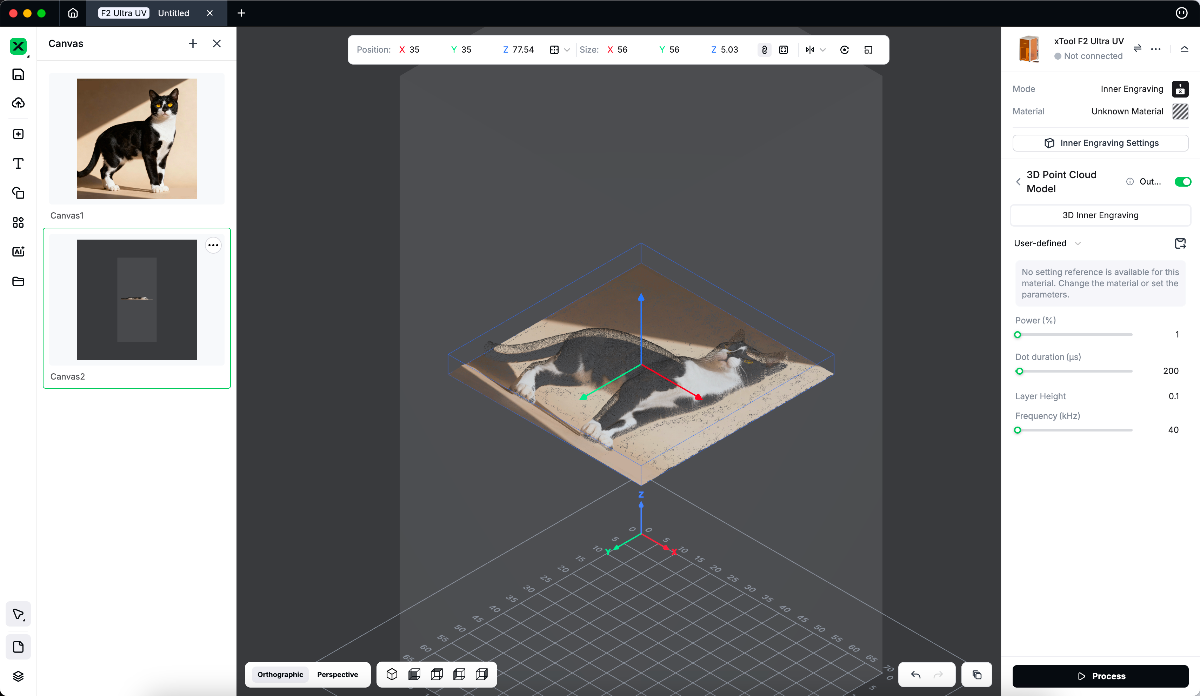
You will enter the 3D spatial-coordinate canvas with a dark background.
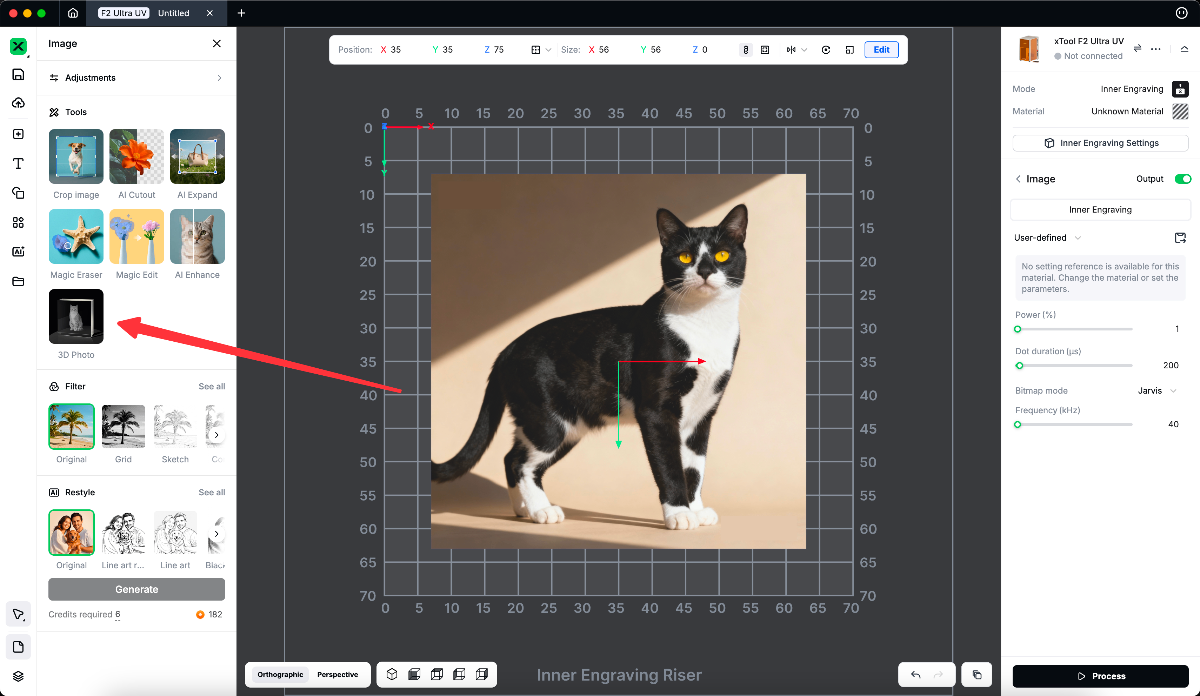
Import and Edit the Image
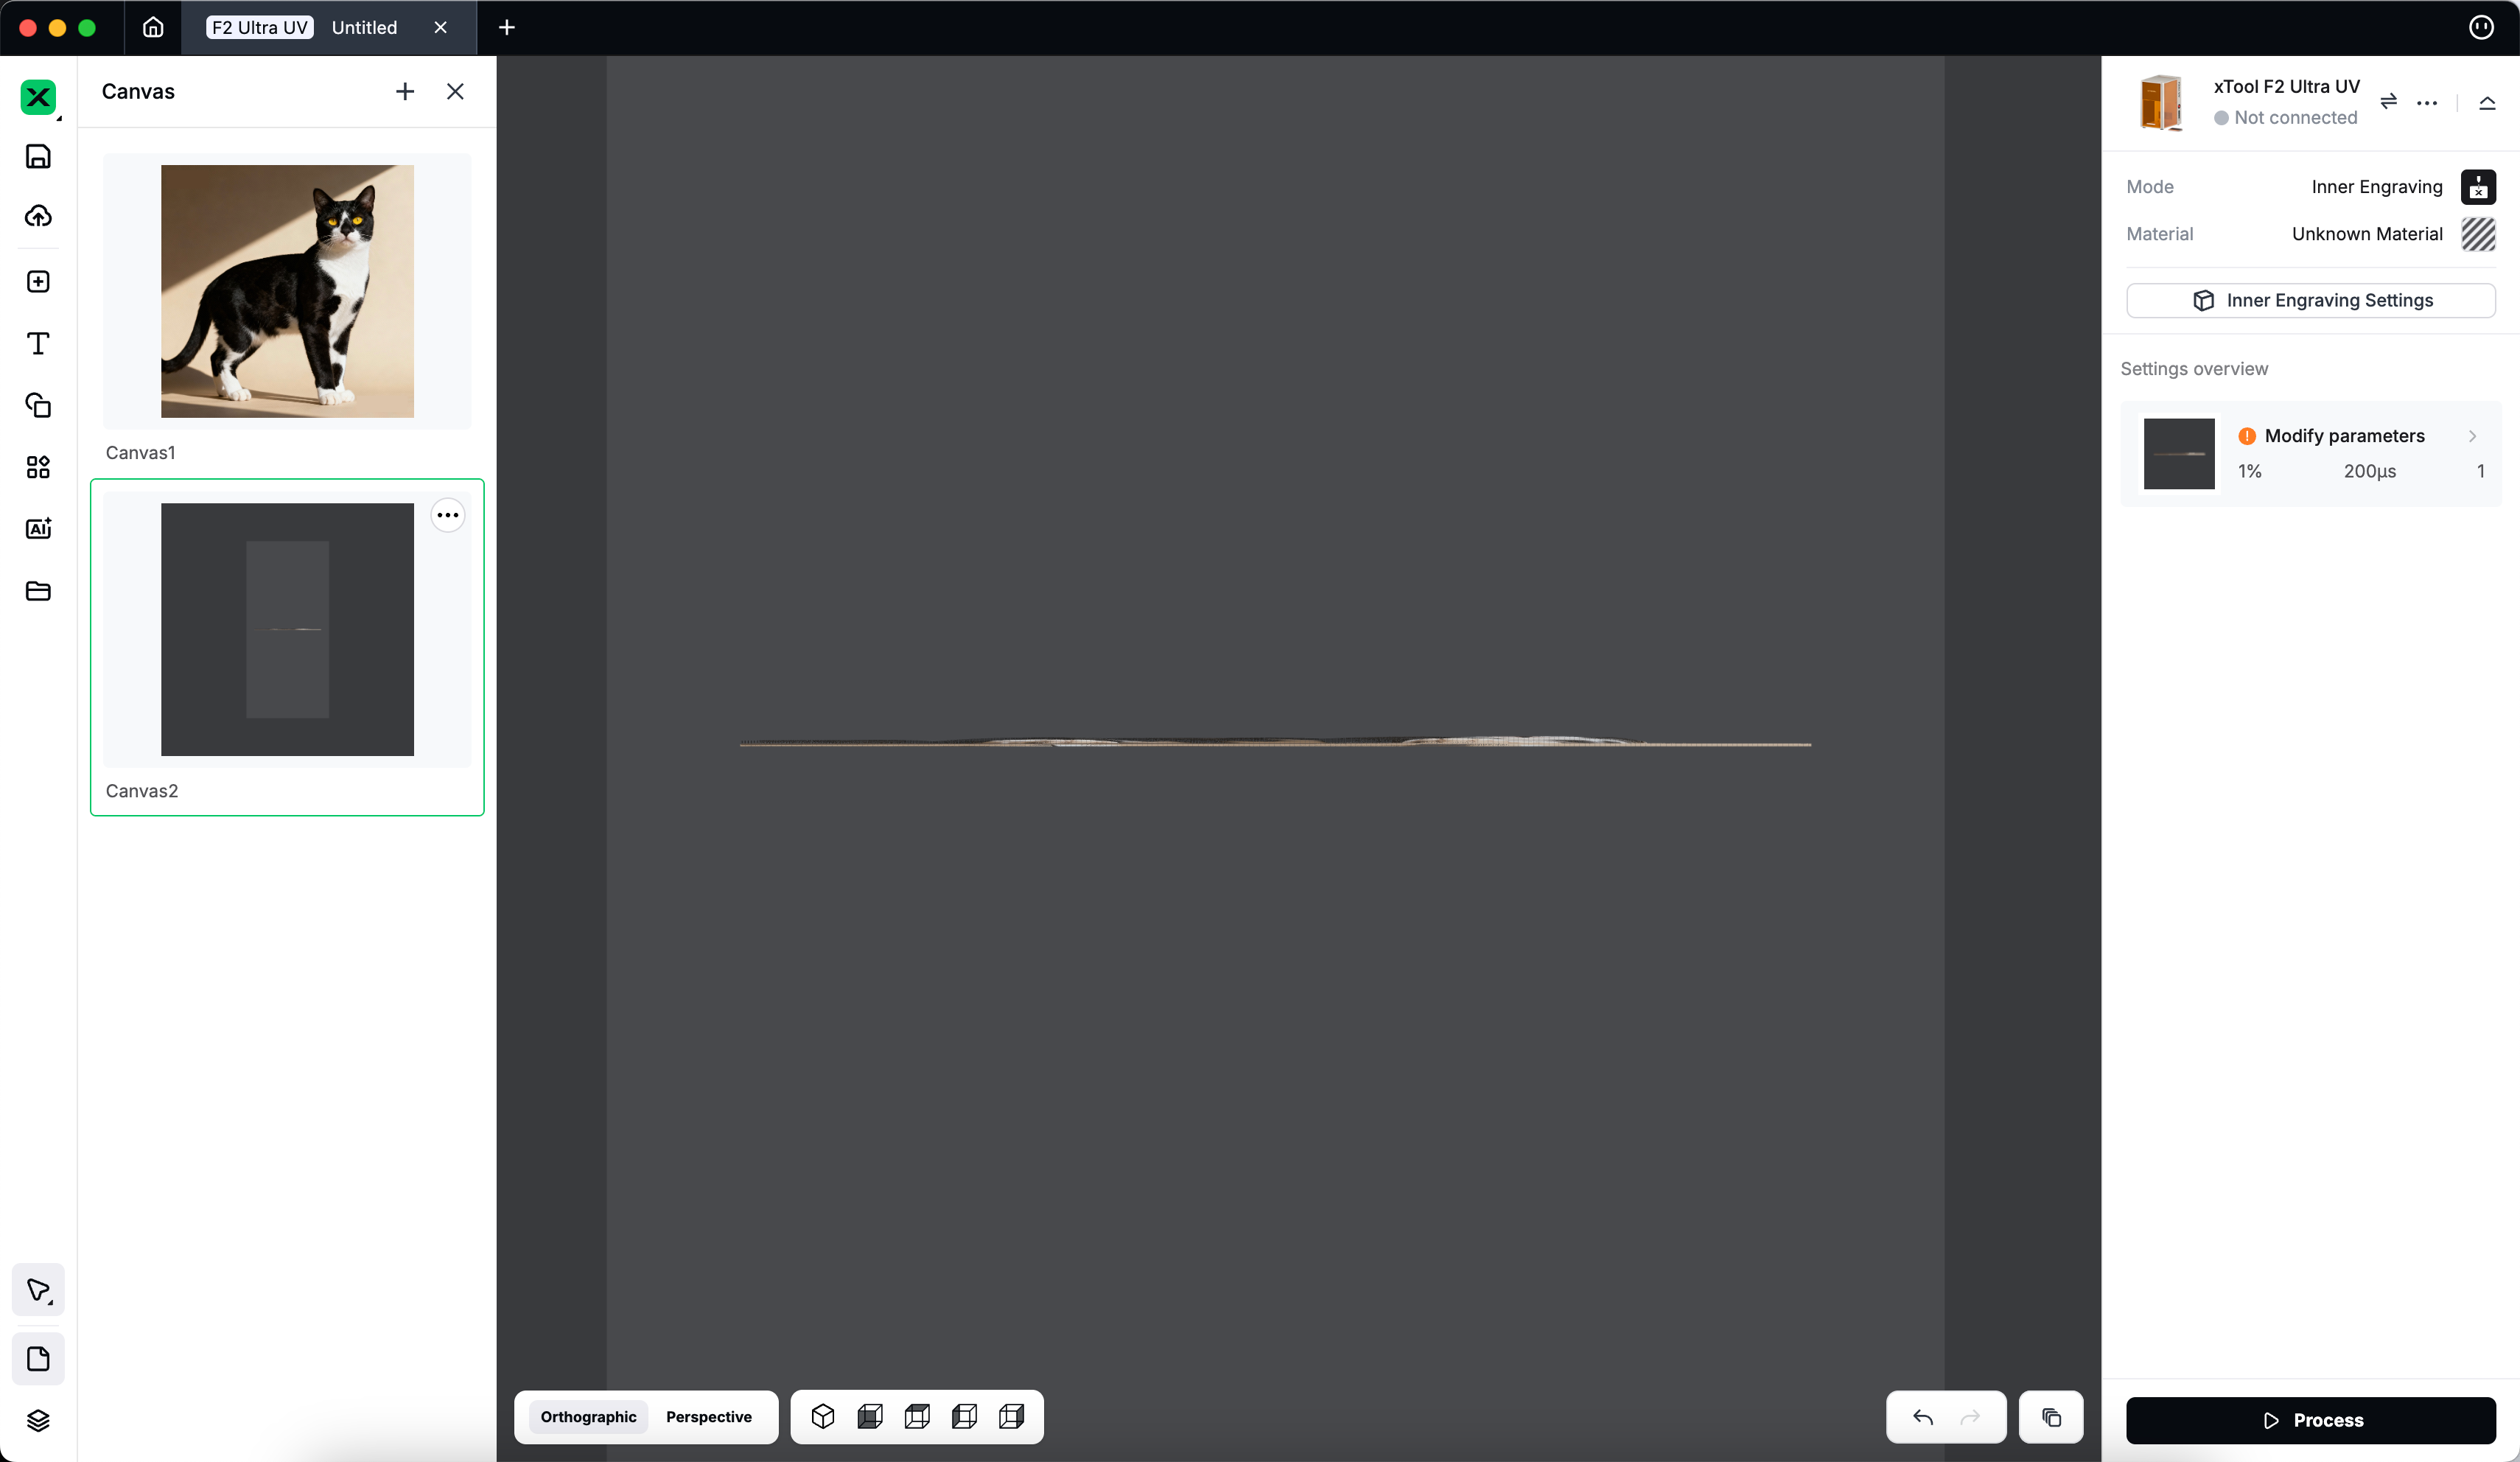
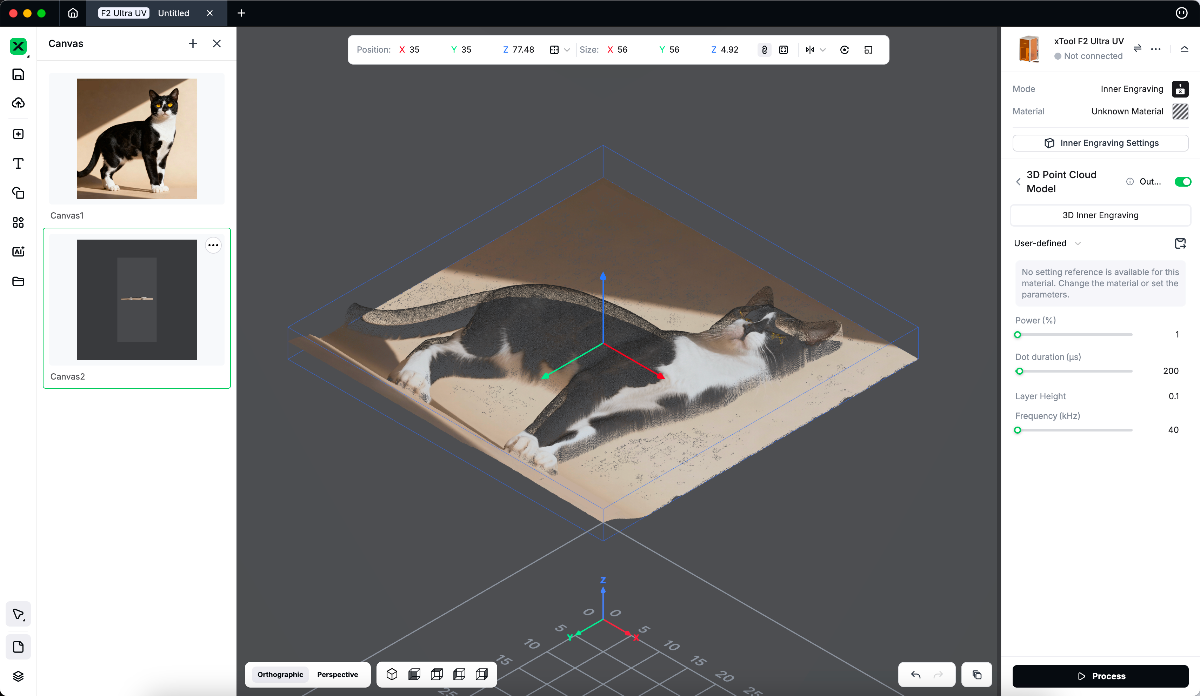
- Import a bitmap image to the canvas.
- Click Edit, open the Image Editing Panel on the left, and choose 3D Photo under Tools.
- Default parameter values are pre-set, but you can adjust them as needed.
- Click Generate and wait for the system to create your 3D photo.

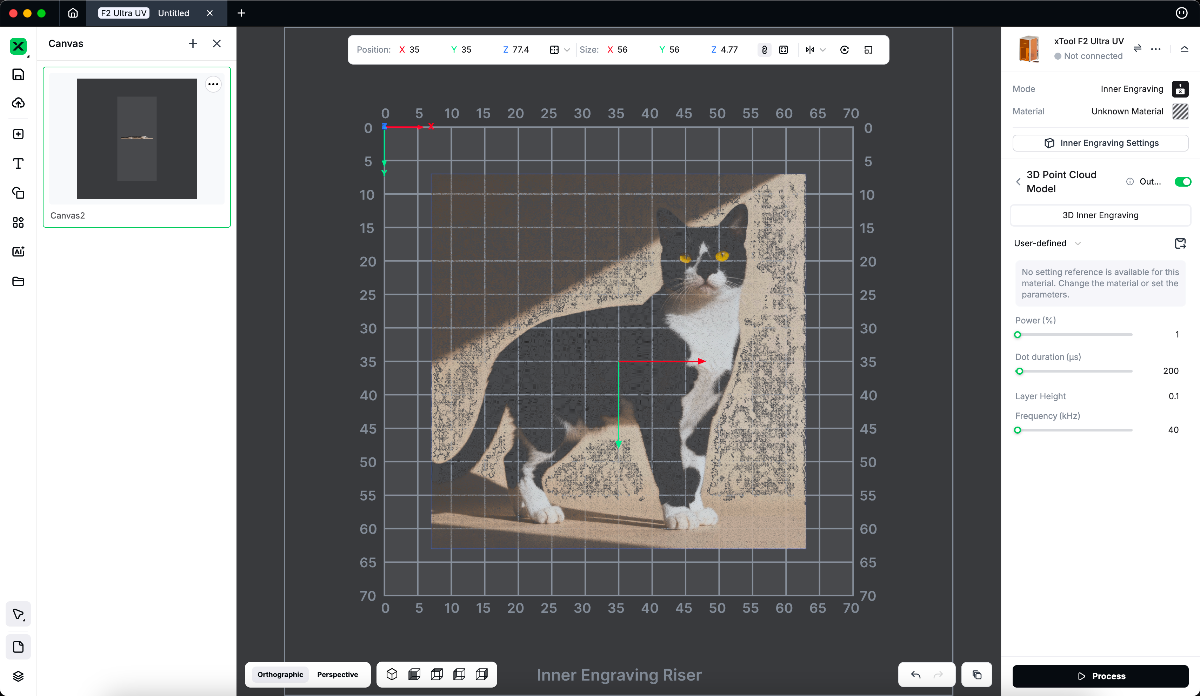
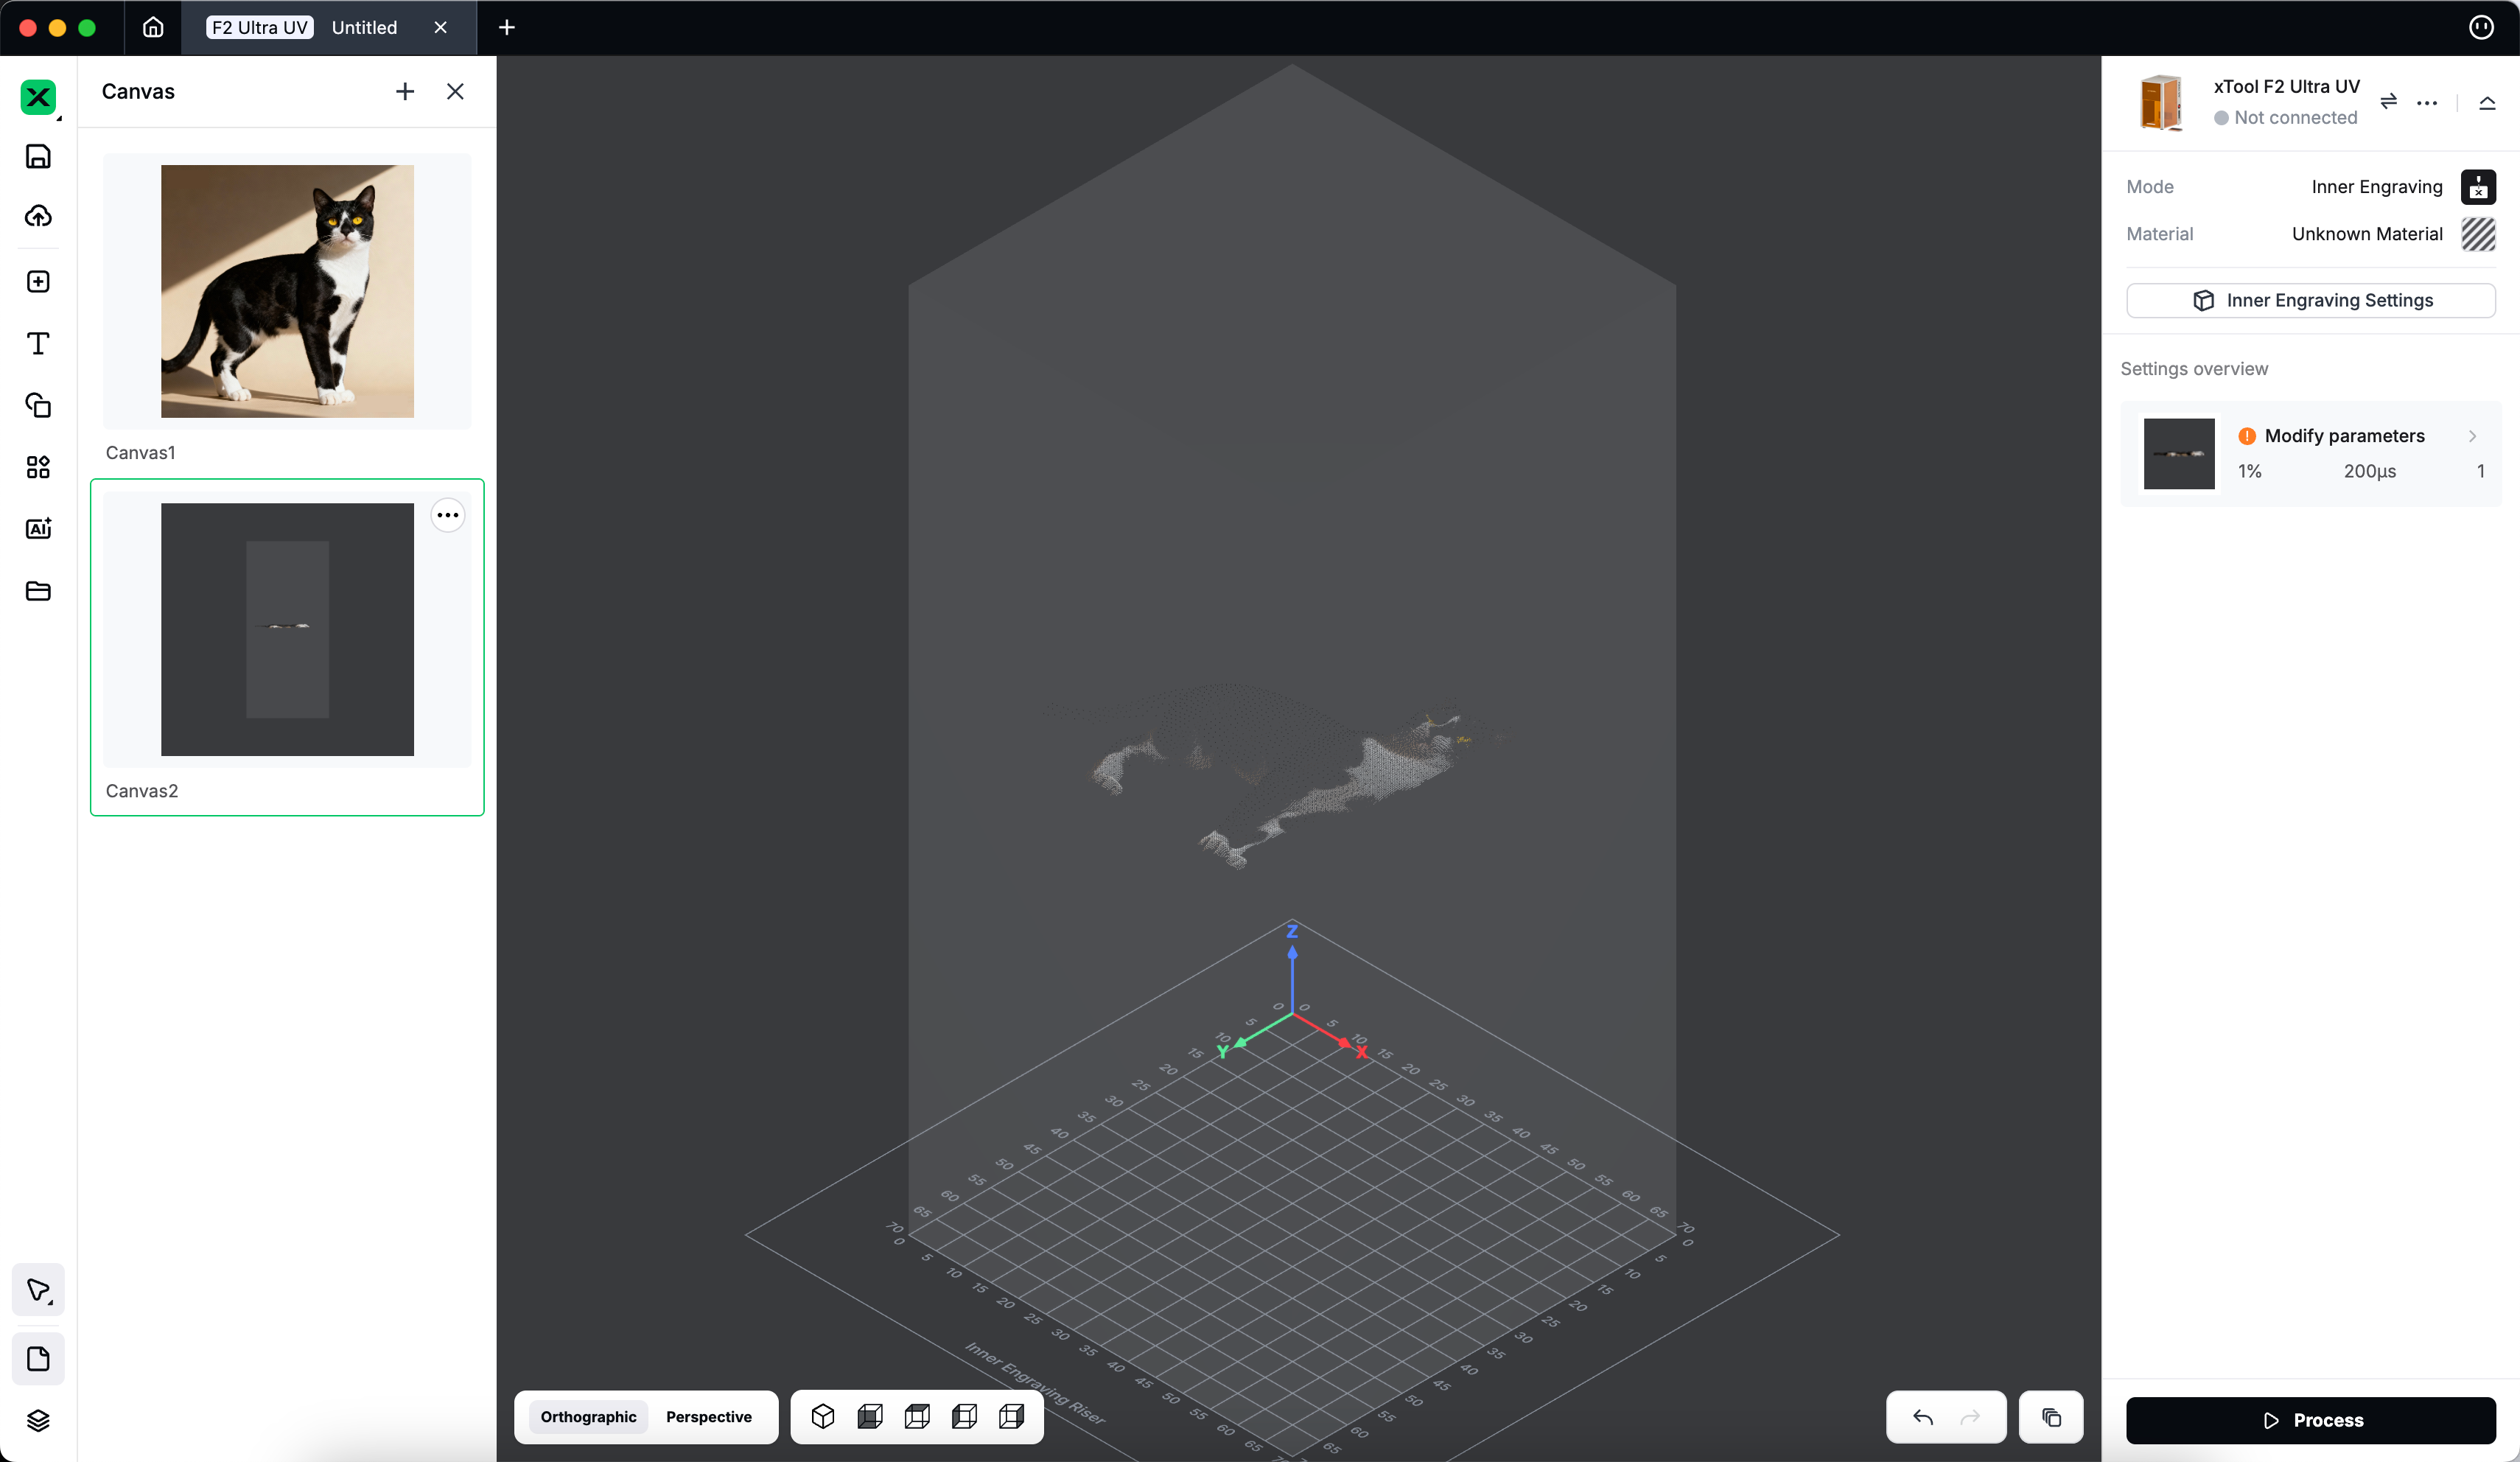
Preview and Apply Your 3D Photo
Once the 3D photo is generated, you can drag on the canvas to rotate the view and check the 2.5D depth effect from different angles.
- Not satisfied with the result?
Go back to the previous step, adjust the parameters (such as Depth or Dot Spacing), and click Re-Generate to try again. - Happy with the result?
Click Apply to import the generated 3D photo into the canvas, then you can position/scale it as needed and start inner engraving.
How Do the Parameters and Options Affect the Result?
Depth
Controls the thickness (Z-axis depth) of the generated model.
- Range: 1 – 70 mm (default 10 mm)
- Larger values → greater relief thickness and stronger depth.
Depth = 1
Depth = 70
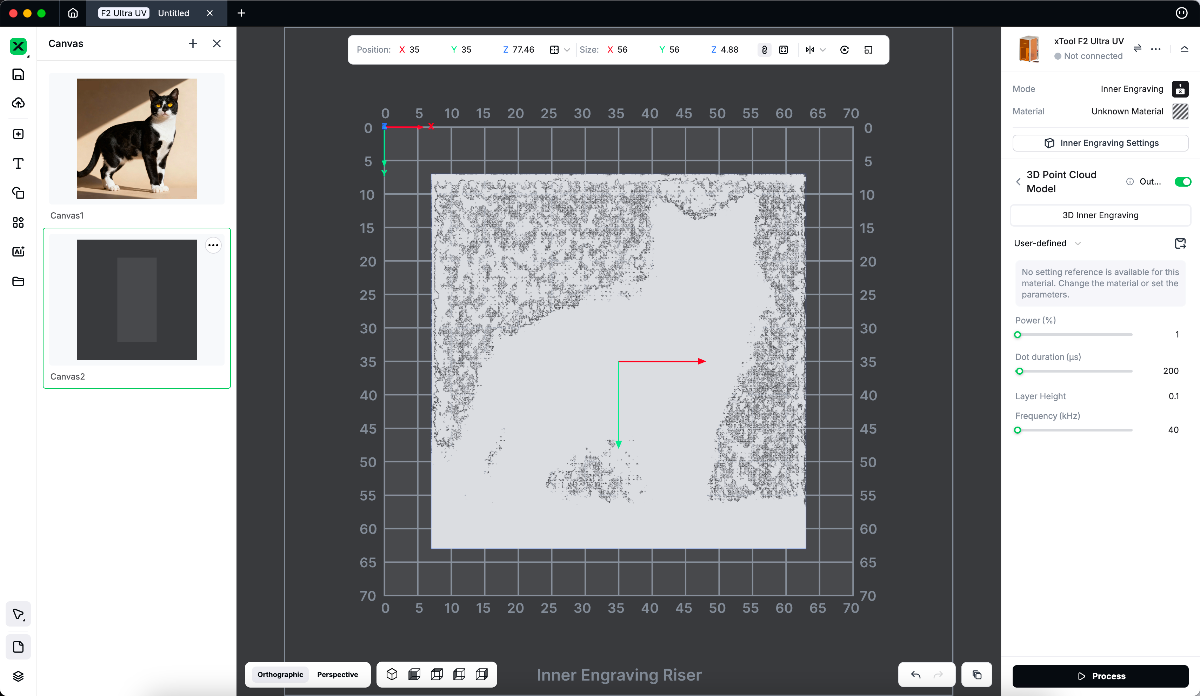
Dot Spacing
Controls the distance between points in the point-cloud model.
- Range: 0.02 – 2 (default 0.03)
- Smaller value → higher density → smoother, more detailed model.
- Larger value → lower density → coarser appearance.
Dot Spacing = 0.02
Dot Spacing = 2
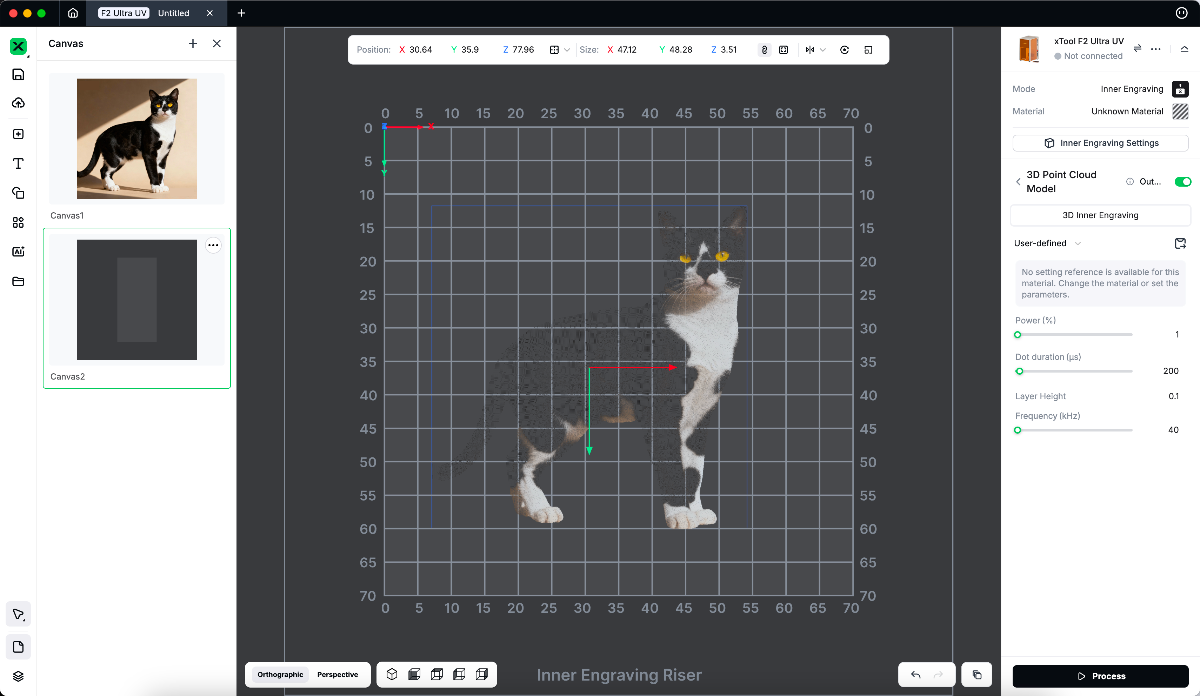
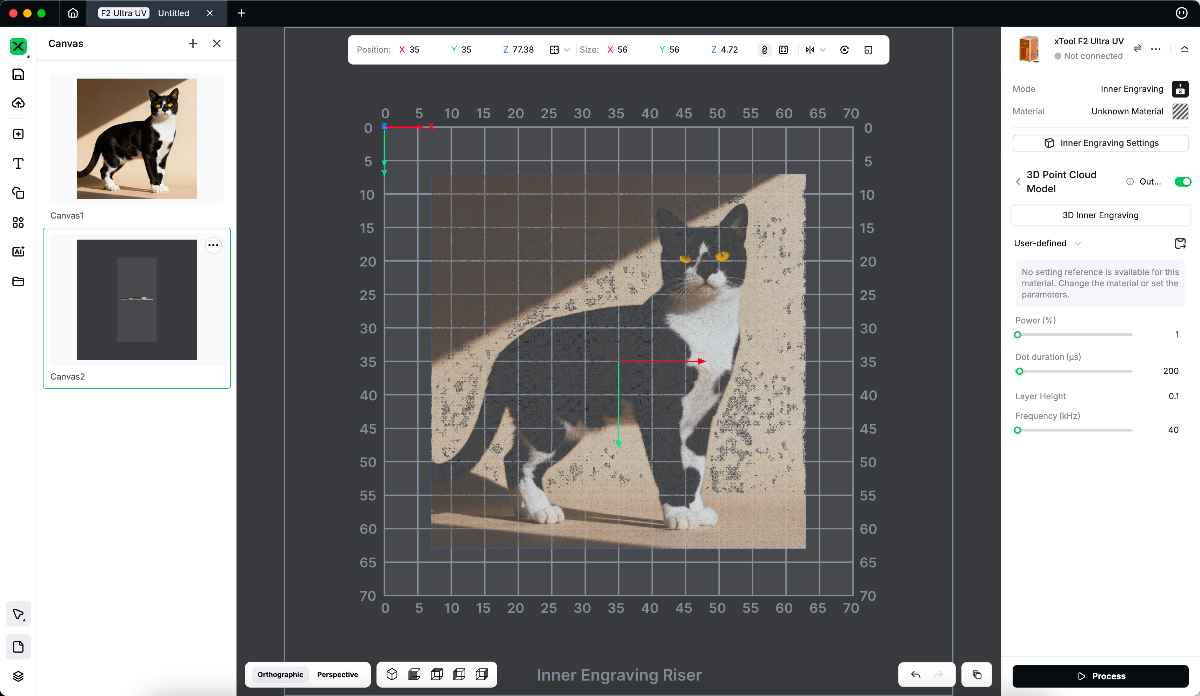
Texture
When enabled, the system retains the original photo’s grayscale or color texture, producing a textured 3D photo.
Texture enabled
Texture disabled
Remove Background
When enabled, the system automatically detects the main subject, removes the background, and then generates the 3D photo.
If disabled, the original entire image is used for generation.
Remove background enabled
Remove background disabled
FAQs
Which images are suitable for conversion to a 3D photo?
- Clear subject, simple background
- Ideal types: portraits, pets, single objects, or logos.
- Distinct light–dark contrast and clear lighting direction
- Height mapping relies on grayscale variation — the clearer the transition, the better the layering.
- Side or soft lighting works best to create gentle shadows and natural contours.
- Inherent depth structure
- Photos with visible perspective or layered composition (e.g., faces, architecture) yield more realistic results.
- High resolution and clean details
- Use sharp, noise-free images with well-defined edges for smoother results.
Why does my 3D photo look too flat or lack depth?
Try the following:
- Increase the Depth value.
- Increase the density by lowering the Dot Spacing value.
- Make sure Texture is enabled.
- Use a source photo with stronger contrast or better lighting.
Can I modify the settings after generation?
Yes.
Once a 3D photo is generated, the Generate button changes to Re-Generate.
You can adjust any parameters—Depth, Dot Spacing, Texture, or Remove Background—and click Re-Generate to update the result.
Tips for Best Results
- Choose high-contrast, well-lit, and front-facing photos.
- Keep the background simple or enable Remove Background for cleaner reliefs.
- For people or pets, use side-lighted portraits to highlight facial depth.
- Avoid blurry, overexposed, or heavily compressed images.
Services & Help
Learn & Education

Copyright © 2025 xTool All Rights Reserved.