Overview
When the laser-module cooling fan stops spinning or shows other abnormal conditions, you can follow this tutorial to replace the cooling fan. This guide provides step-by-step instructions on how to replace the laser-module cooling fan using basic tools.
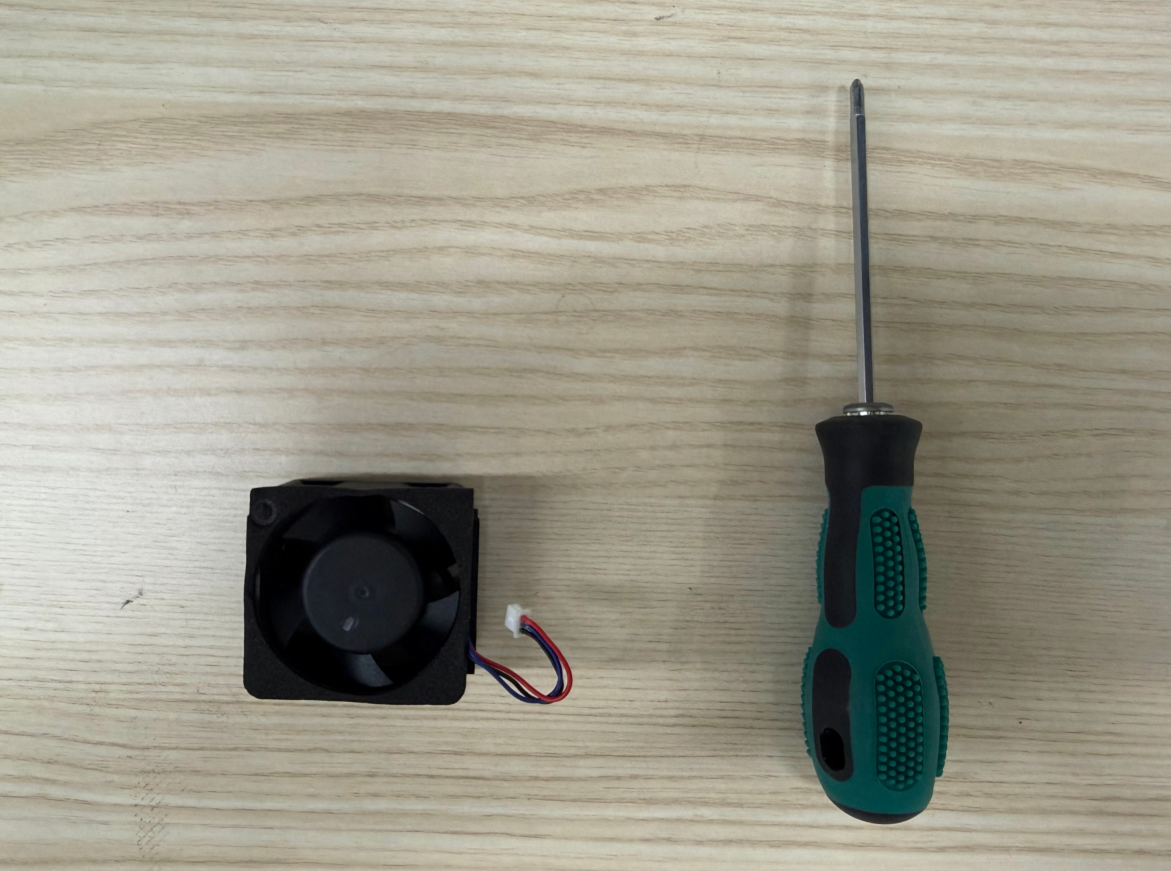
Tools Required
- 2 mm Phillips screwdriver
- New laser-module cooling fan
Replacement procedure
1. Power off and prepare
Raise the laser module to its highest position, power off the machine, and remove the access-control key.

2. Remove the protective cover
1) Use the screwdriver to remove the six screws securing the protective cover for laser module.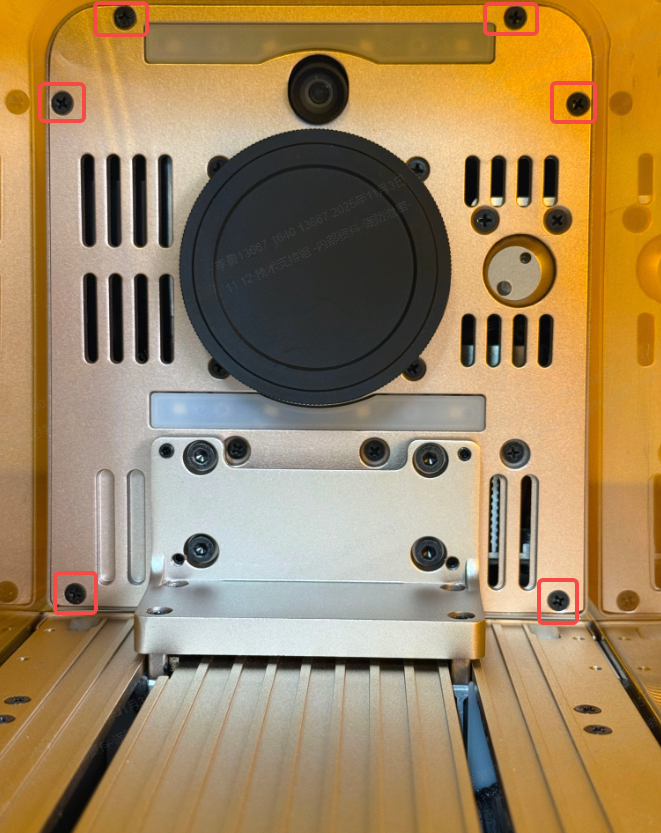
2) Remove the protective cover.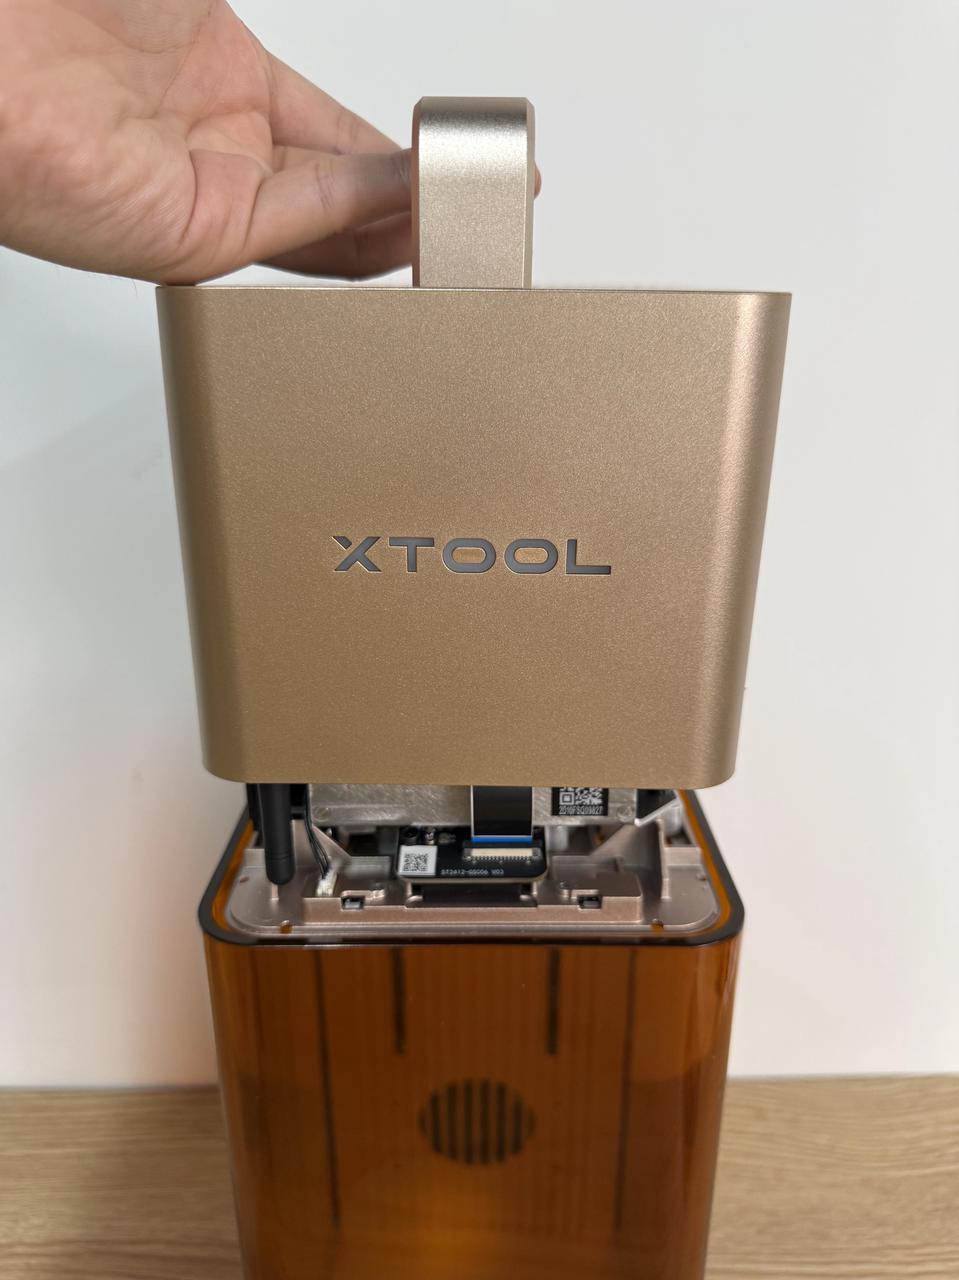
3. Remove the old cooling fan
1) Use the screwdriver to remove the two screws securing the fan guard and remove it.

2) Disconnect the fan cable and remove the old cooling fan.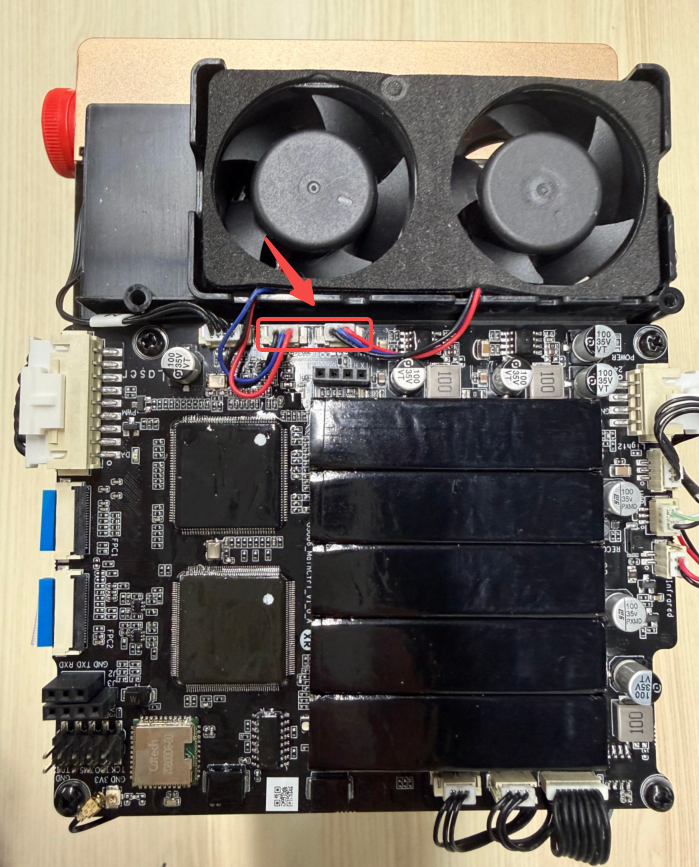
4. Install the new cooling fan
1) Install the new laser module cooling fan and reconnect the cable.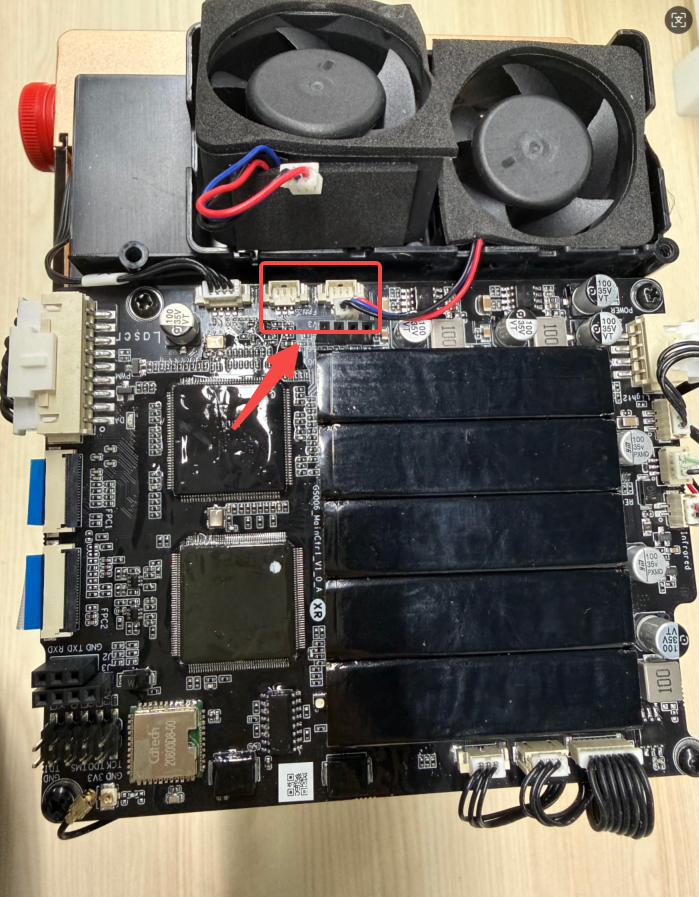
2) Reinstall the fan guard.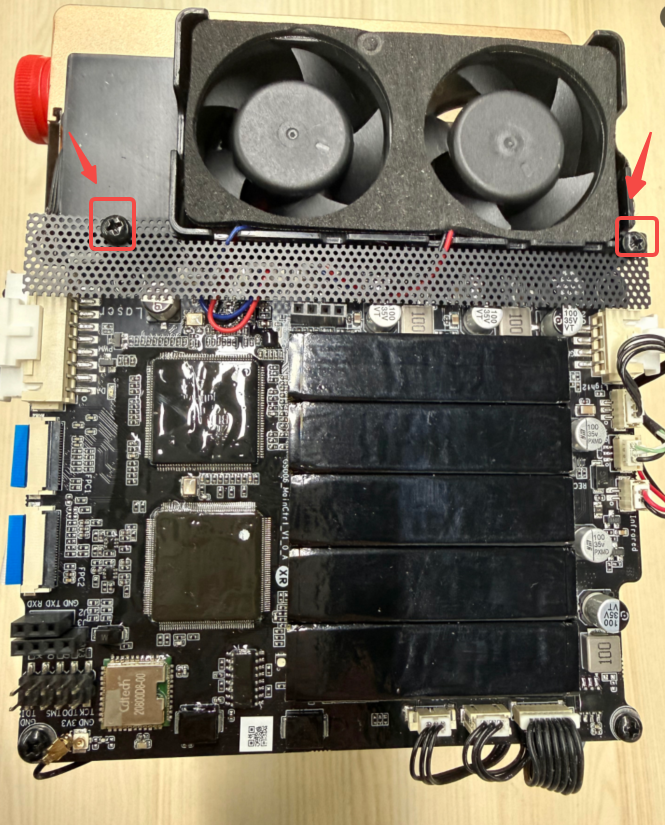
5. Reinstall the protective cover
Reattach the protective cover and tighten the six screws.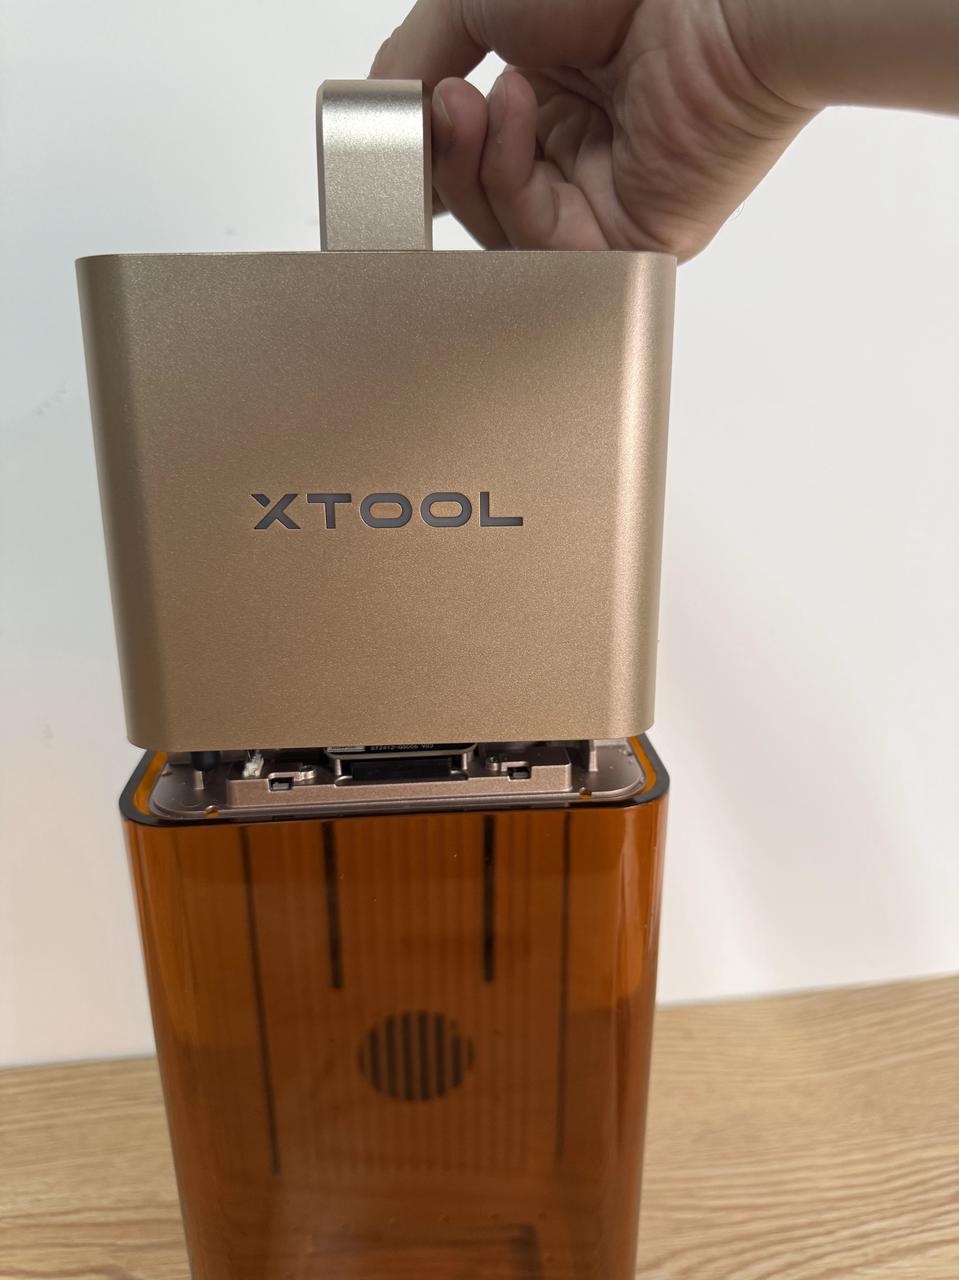

Services & Help
Learn & Education

Copyright © 2025 xTool All Rights Reserved.