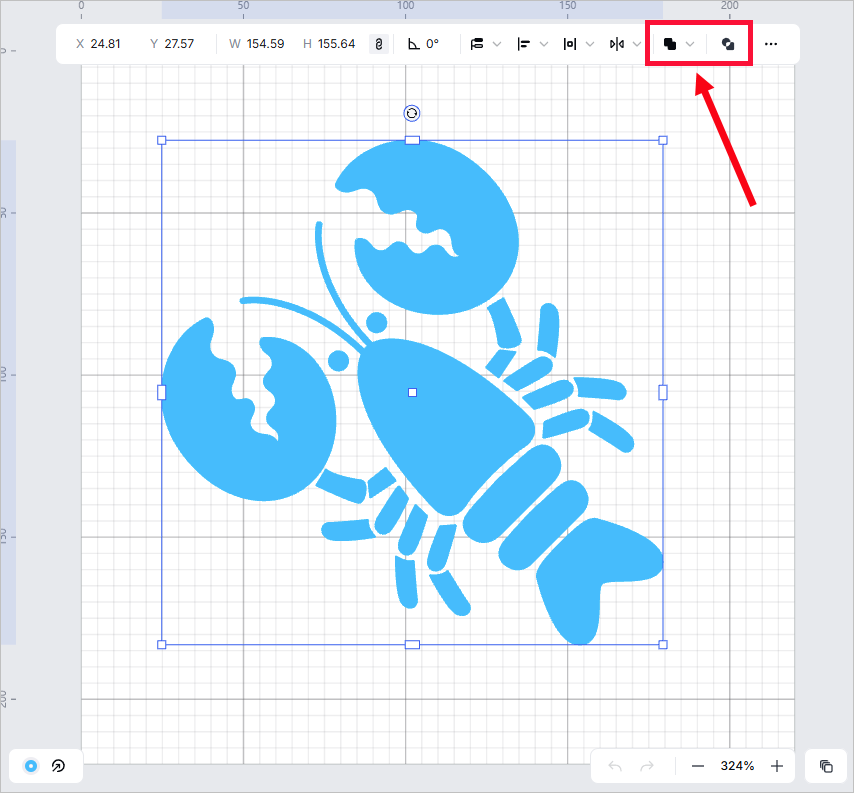
1. Unite or combine objects
If you need to set multiple objects as one variable, please unite or combine them into one. (A variable can only be set for one object.)
Example of compounding:
|
|
Example of uniting:
|
|
2. Set variable
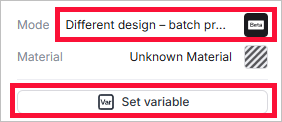
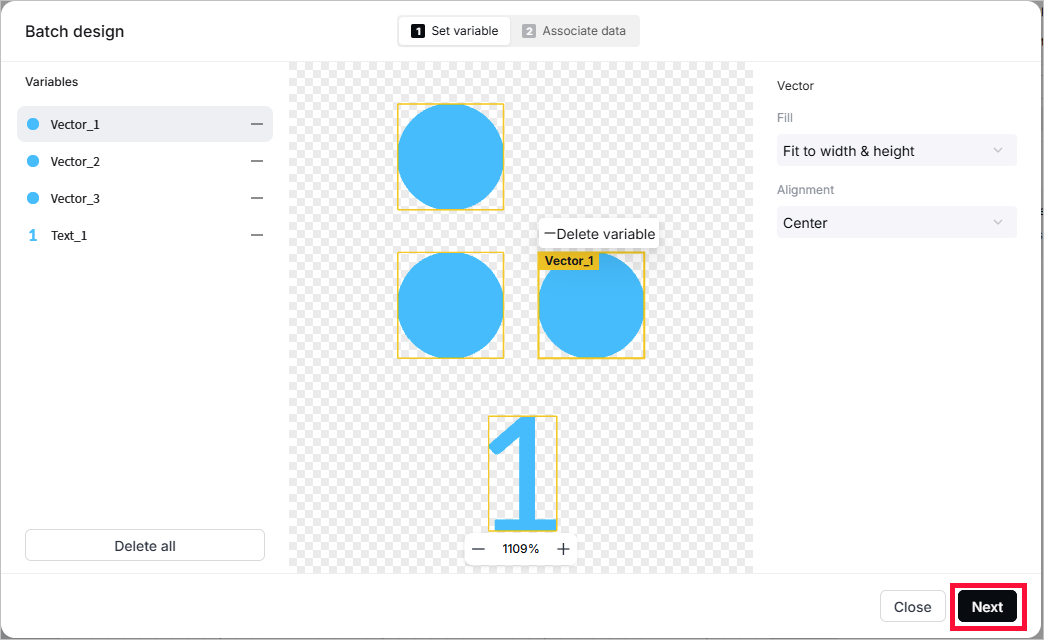
(1) On the right of xTool Studio, select Different design - batch processing as the processing mode. Then, click Set variable.
(2) Select the object you want to set as a variable, and click + Add variable.
(3) For an added variable, set fill and alignment relative to the original object.
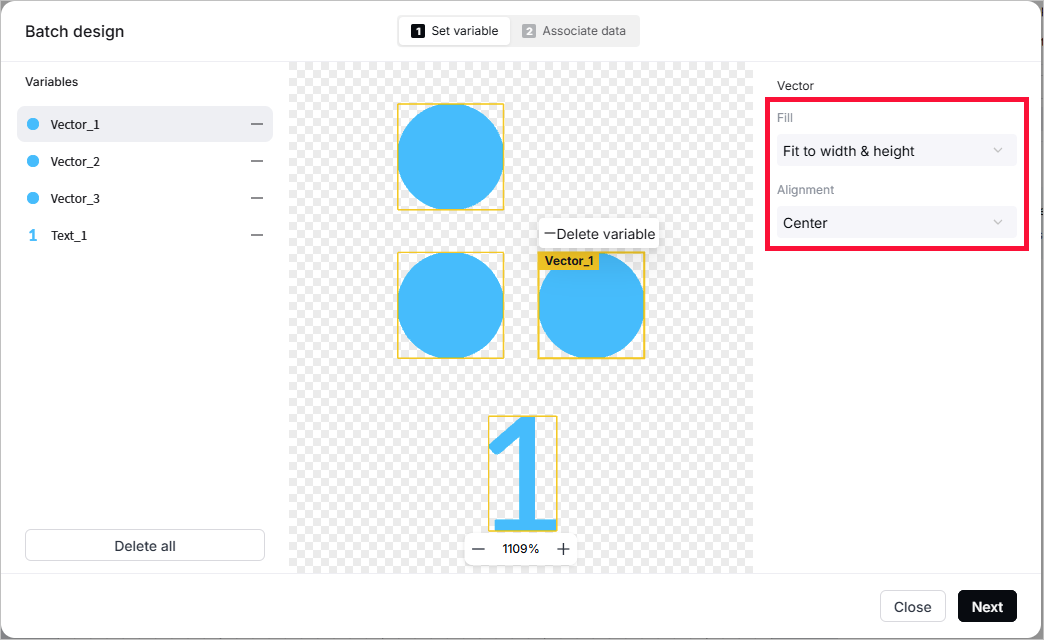
(4) After setting all the variables, click Next.
3. Associate data
Manually input data
(1) Click + Add, and then a new row will be added, which indicates another design to be printed.
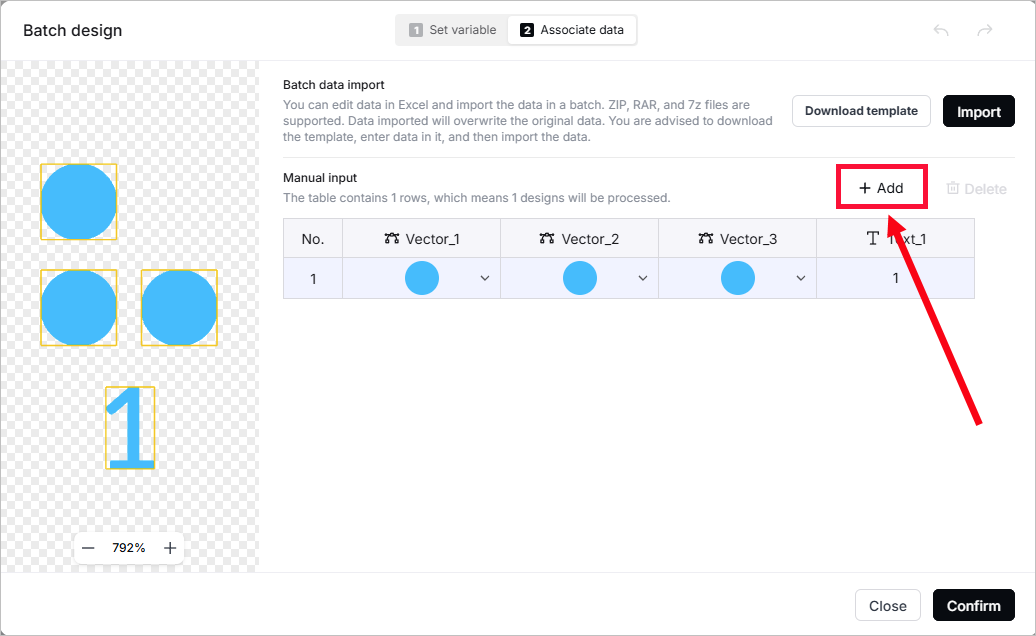
The first row indicates the original design.
(2) Change objects for each variable.
- For a vector, click Replace vector and choose a vector from the local to upload.
Supported vector formats: SVG, DXF
- For a bitmap image, click Replace image and choose an image from the local to upload.
Supported image formats: PNG, JPG, JPEG, BMP, WEBP
- For text, double-click the text to edit it.
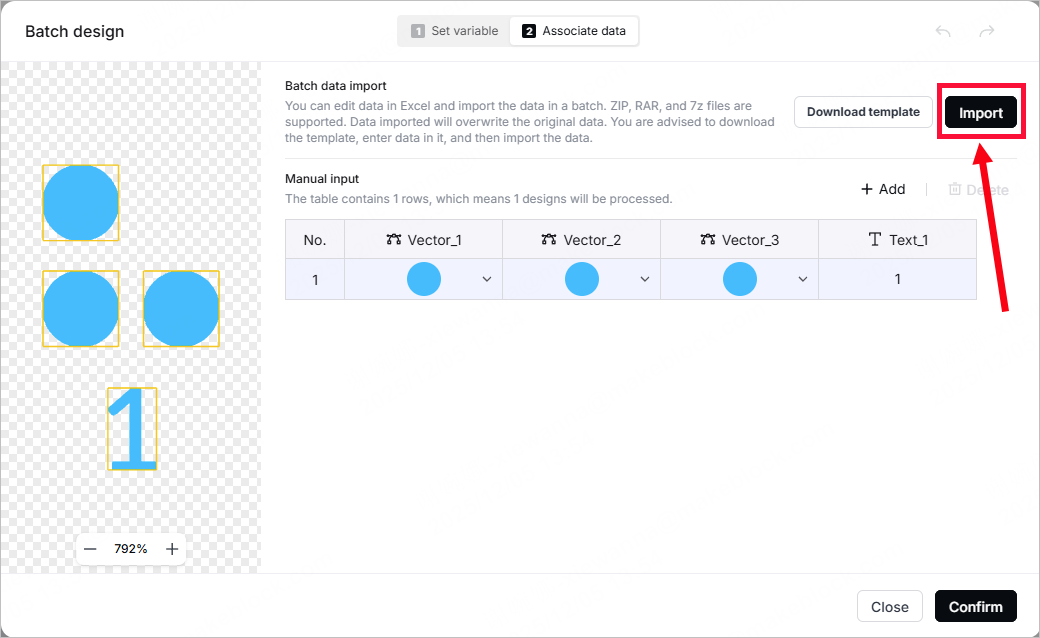
Import data in batches
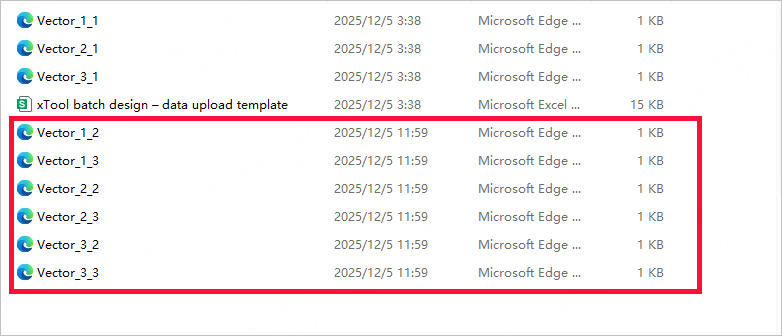
(1) Click Download template to download a ZIP file. Unzip the file, and you can see an XLSX file and all of your original vector or bitmap objects in the folder.
(2) Add the new objects you want to print into the folder xTool batch design – data upload template.
Supported vector formats: SVG, DXF
Supported image formats: PNG, JPG, JPEG, BMP, WEBP
(3) Open the file xTool batch design – data upload template.
In the table, the third row indicates the original design you created in xTool Studio. Under this row, input the name of the vector or image files you added to the xTool batch design – data upload template folder. And edit the text for the text variables.
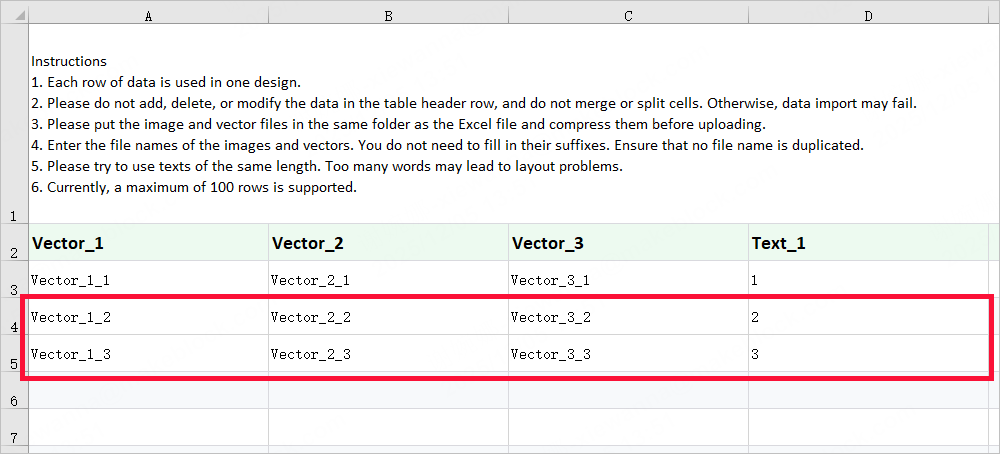
For each row you added, do not leave any variable blank. Otherwise, the whole row will not be printed.
(4) Save the file and zip the folder. In xTool Studio, click Import to import the new folder.