1. Mirror Acrylic
1.1 Non-Mirrored Engraving Application Effect
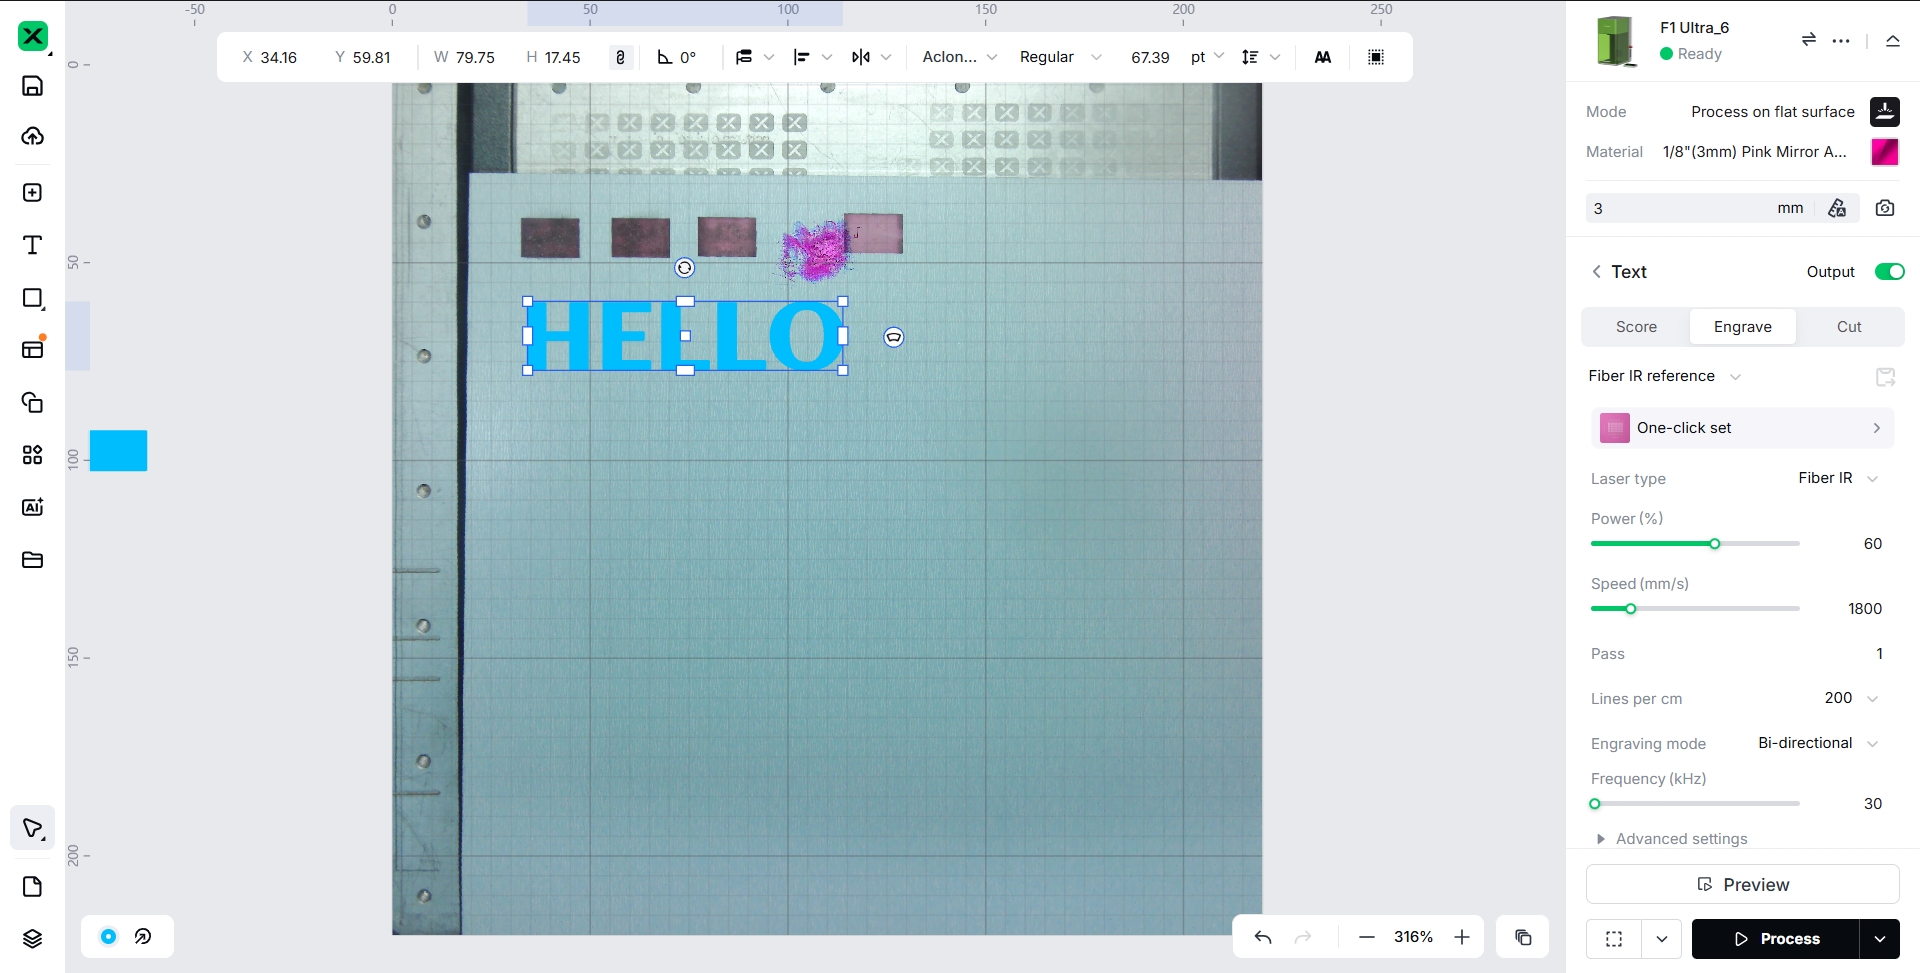
The Image to Be Engraved Has Not Been Mirrored.
When engraving mirror acrylic, place the acrylic with the back side facing up, ensuring the rough side faces upward for engraving. Use tools to suspend the acrylic so that it has minimal direct contact with the metal base plate. This setup helps reduce heat accumulation in the acrylic during laser processing, which in turn minimizes the occurrence of internal cracking points in the material.
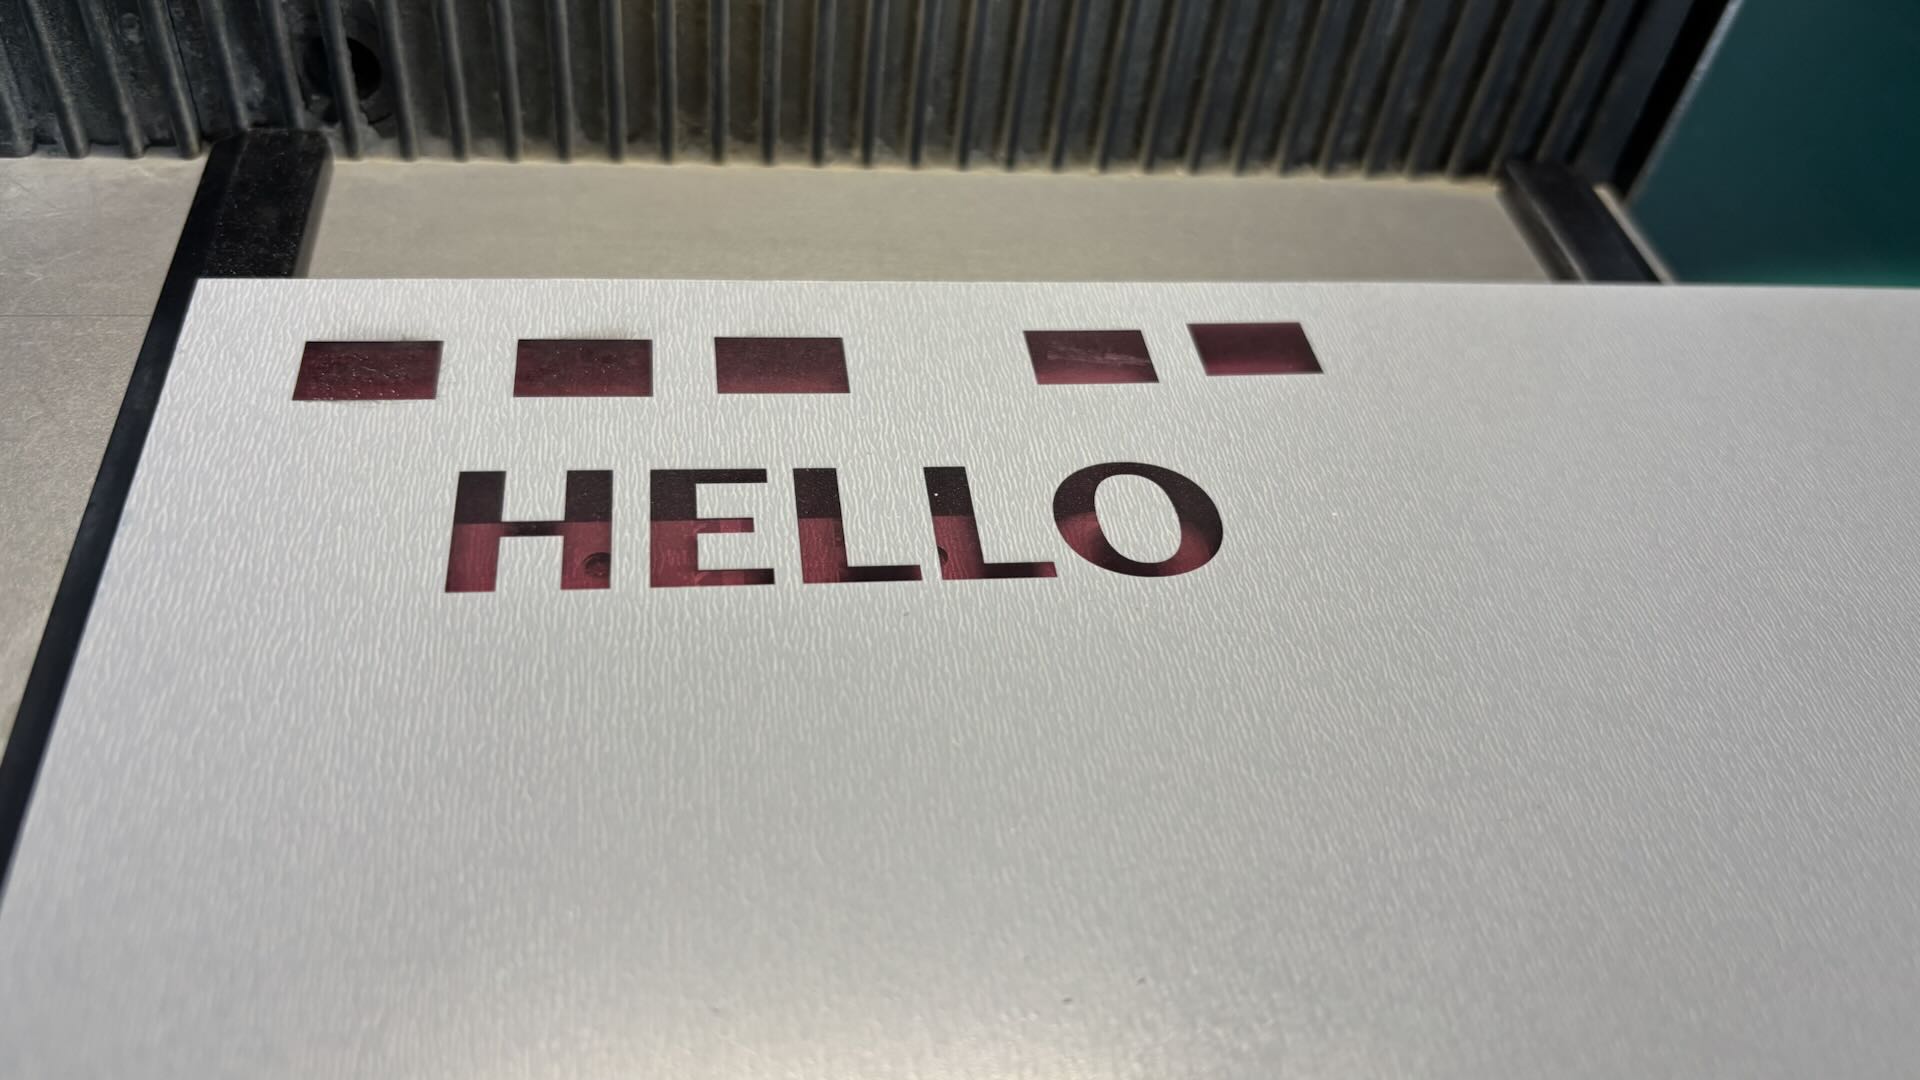
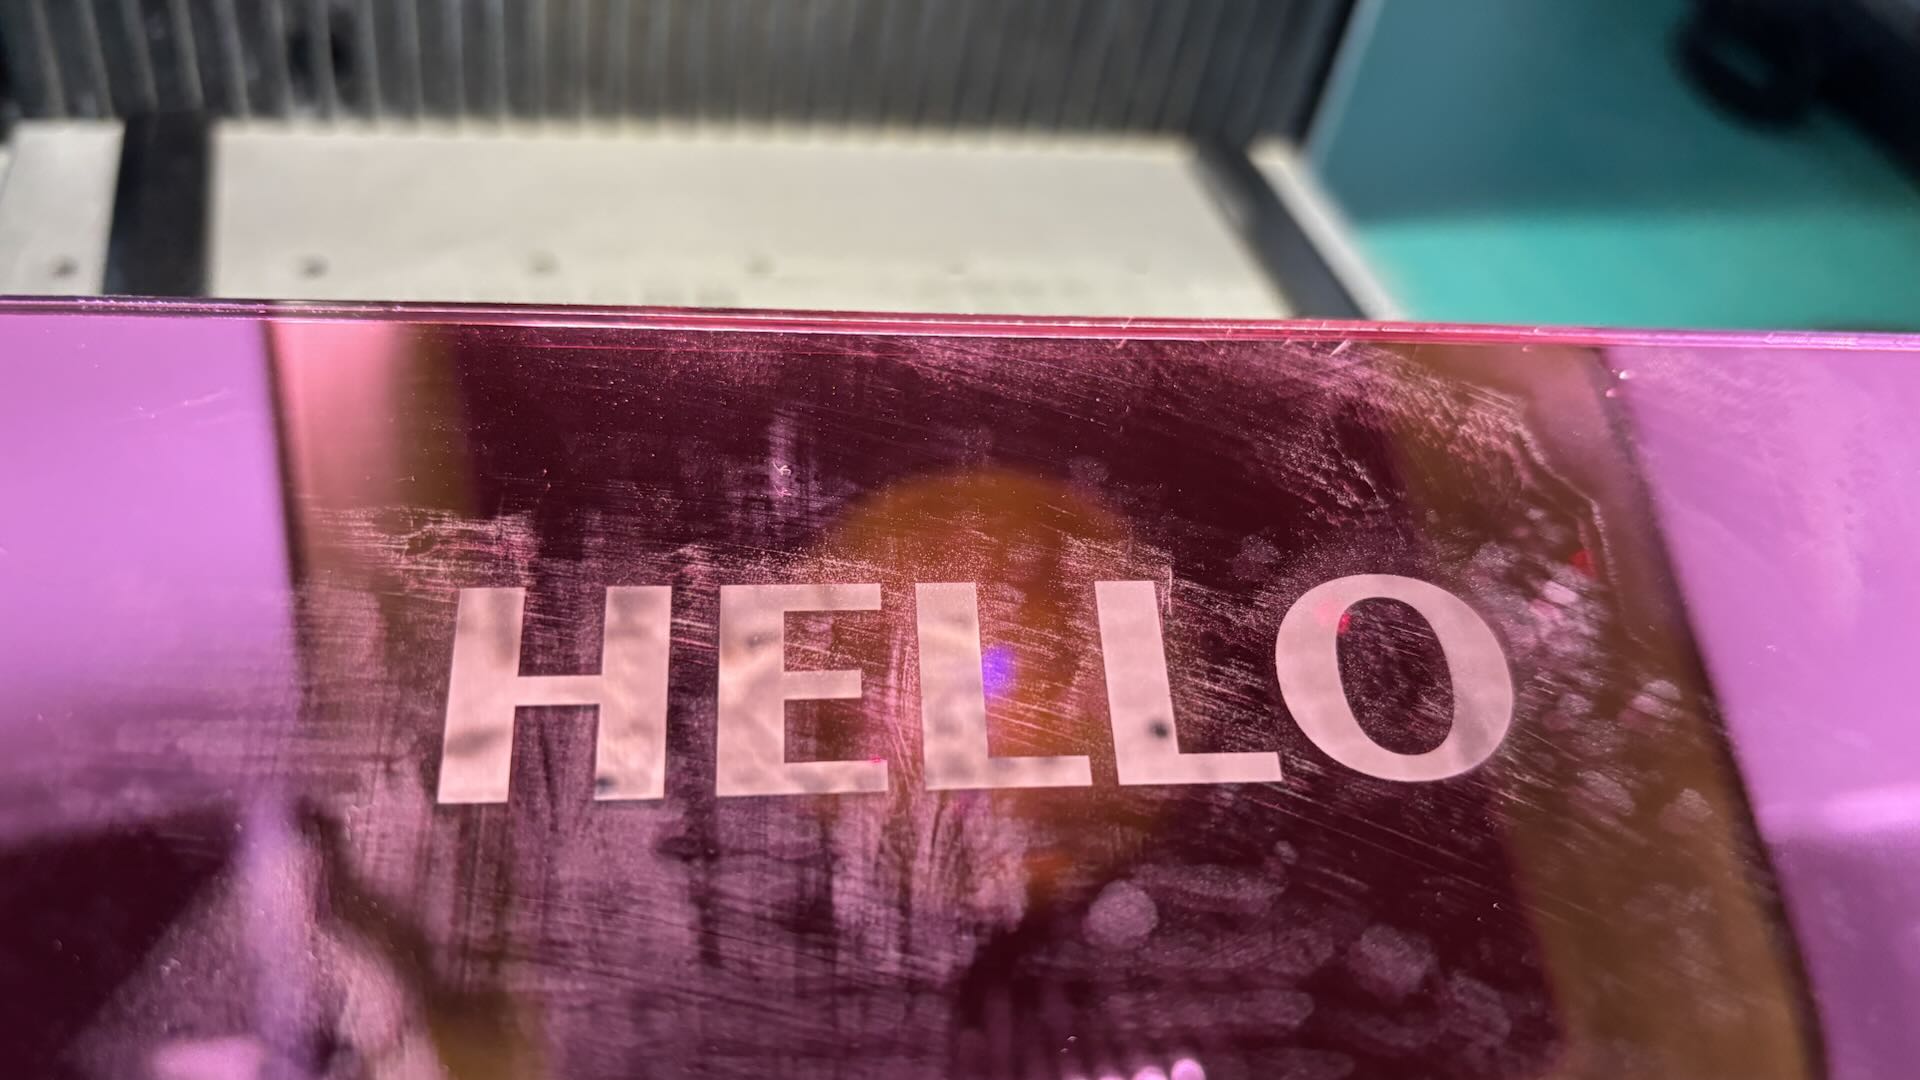
After Engraving, Flip the Acrylic So That the Smooth Colored Side Faces Outward; the Displayed Pattern on the Acrylic Does Not Match the Intended Design, Resulting in a Mirrored Effect.
1.2 Mirrored Engraving Application Effect

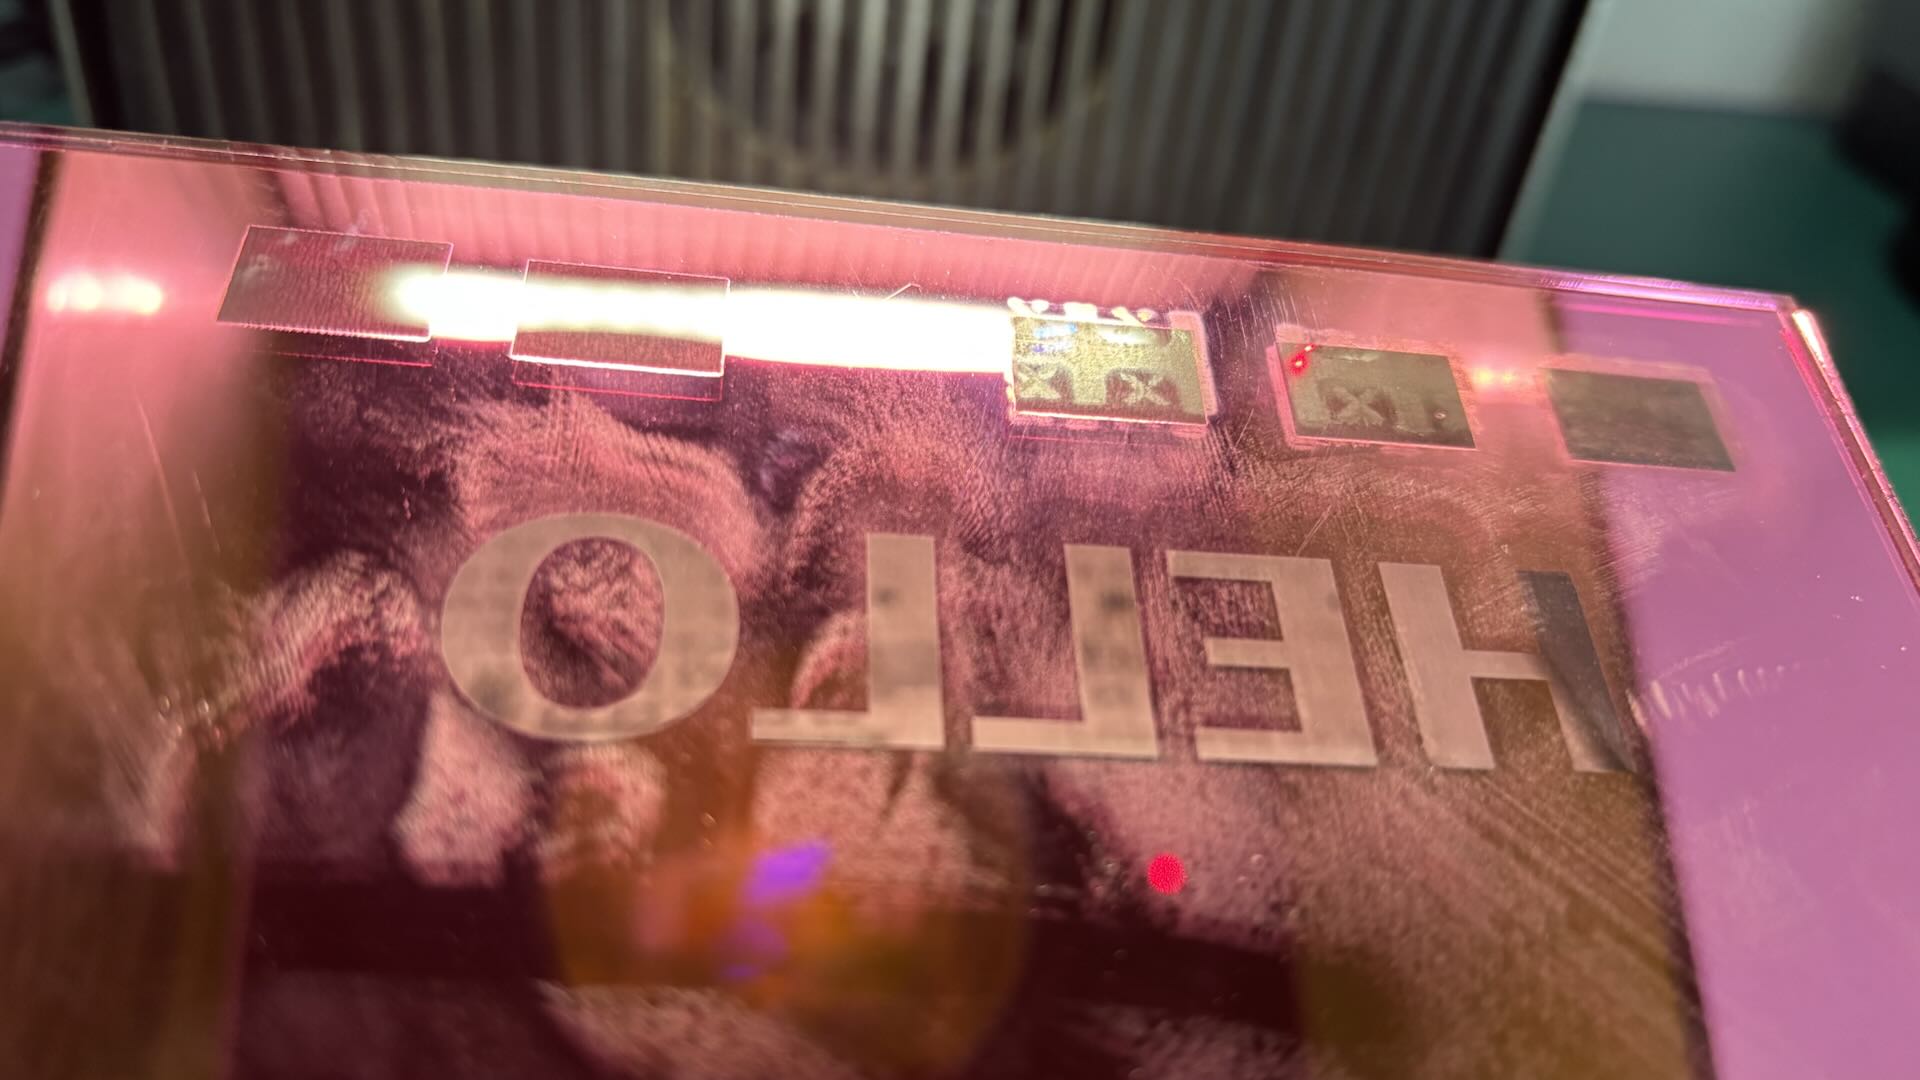
The Image to Be Engraved Is Mirrored.
Suspend the Mirror Acrylic, Engraving the Rough Side on the Back of the Mirror Acrylic.
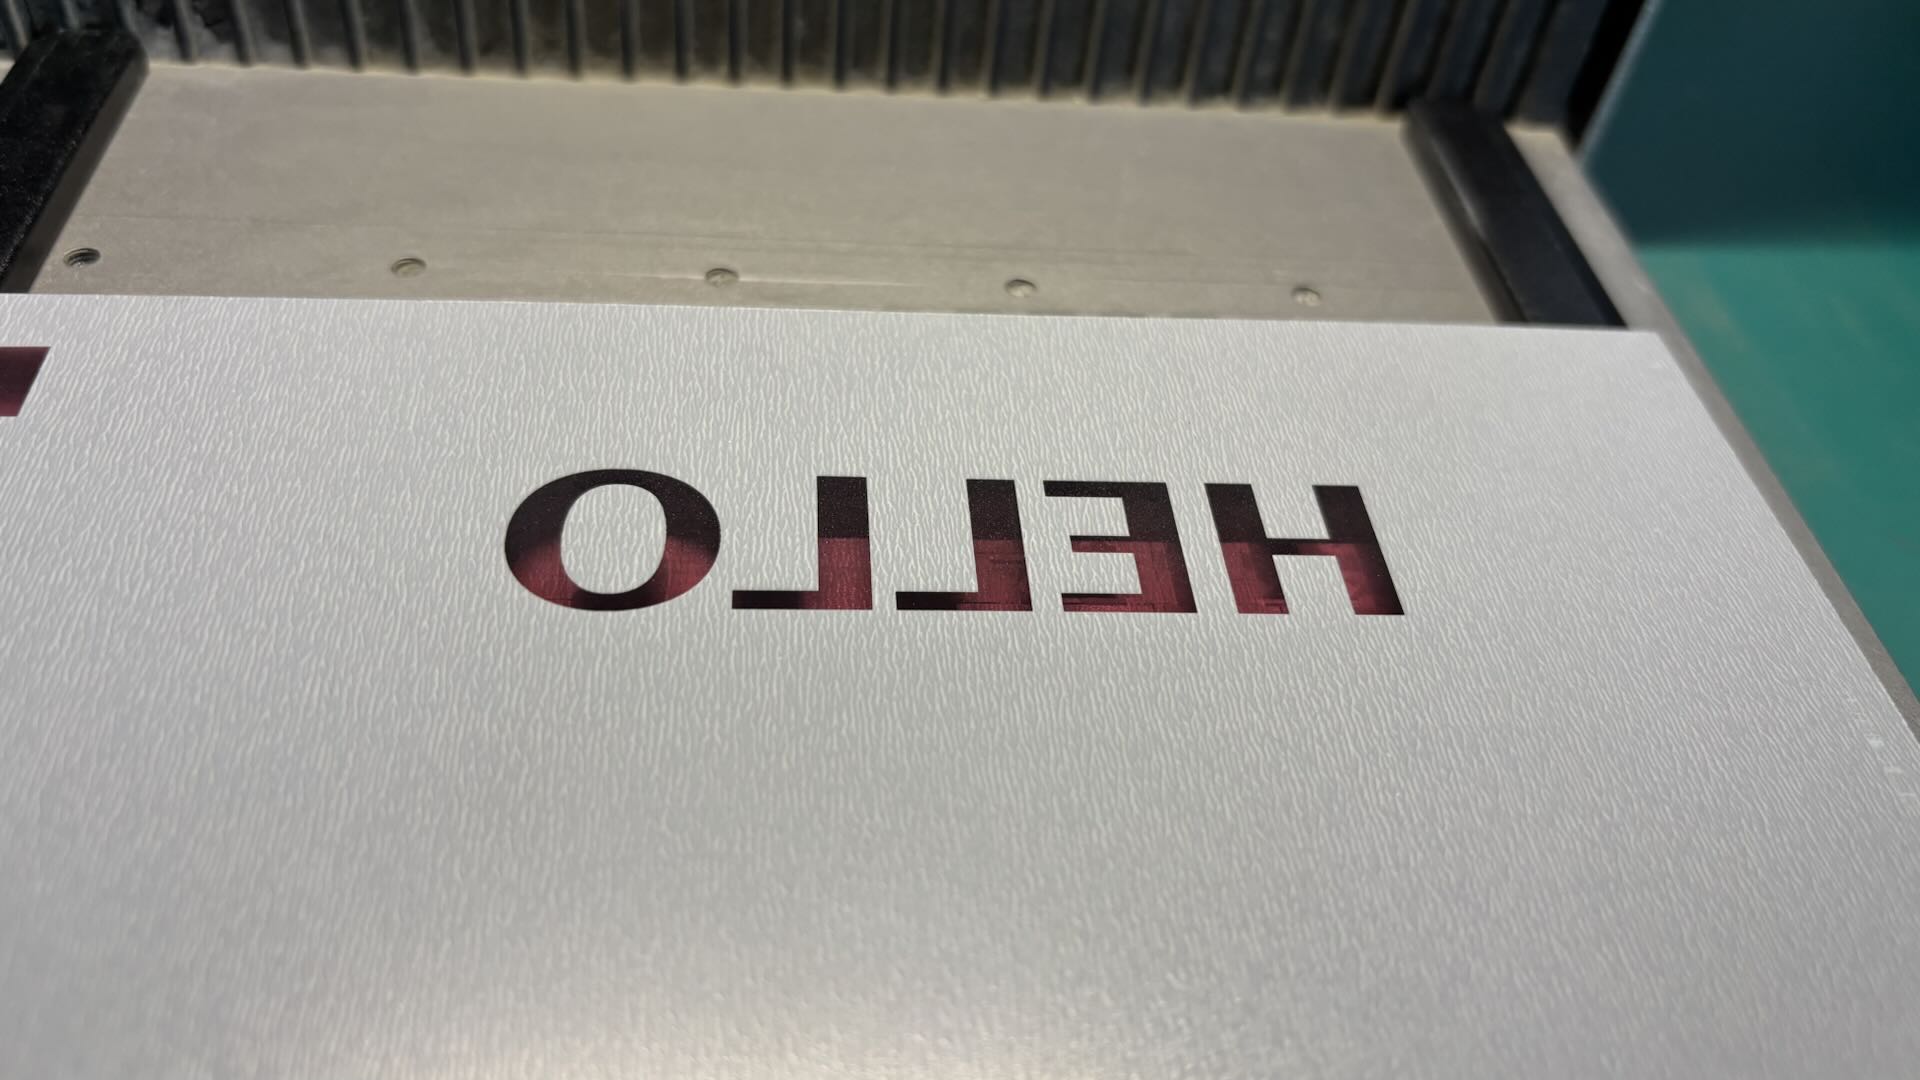
After Engraving, Flip the Acrylic and Place the Smooth Colored Side Outward. The Pattern Displayed on the Acrylic Matches the Requirement, Without Any Mirrored Effect.
1.3 Why Mirror Processing Is Required
Smooth Side as Display Surface:
The Smooth Side of Mirror Acrylic Shows the Color of the Acrylic. The Side That Displays Color Serves as the Presentation Surface for the Engraving Effect.
Rough Side for Laser Engraving:
The Rough Side of Mirror Acrylic Is Engraved by the Laser. The Laser Removes Material from the Rough Side, Producing the Engraved Pattern on the Mirror Acrylic.
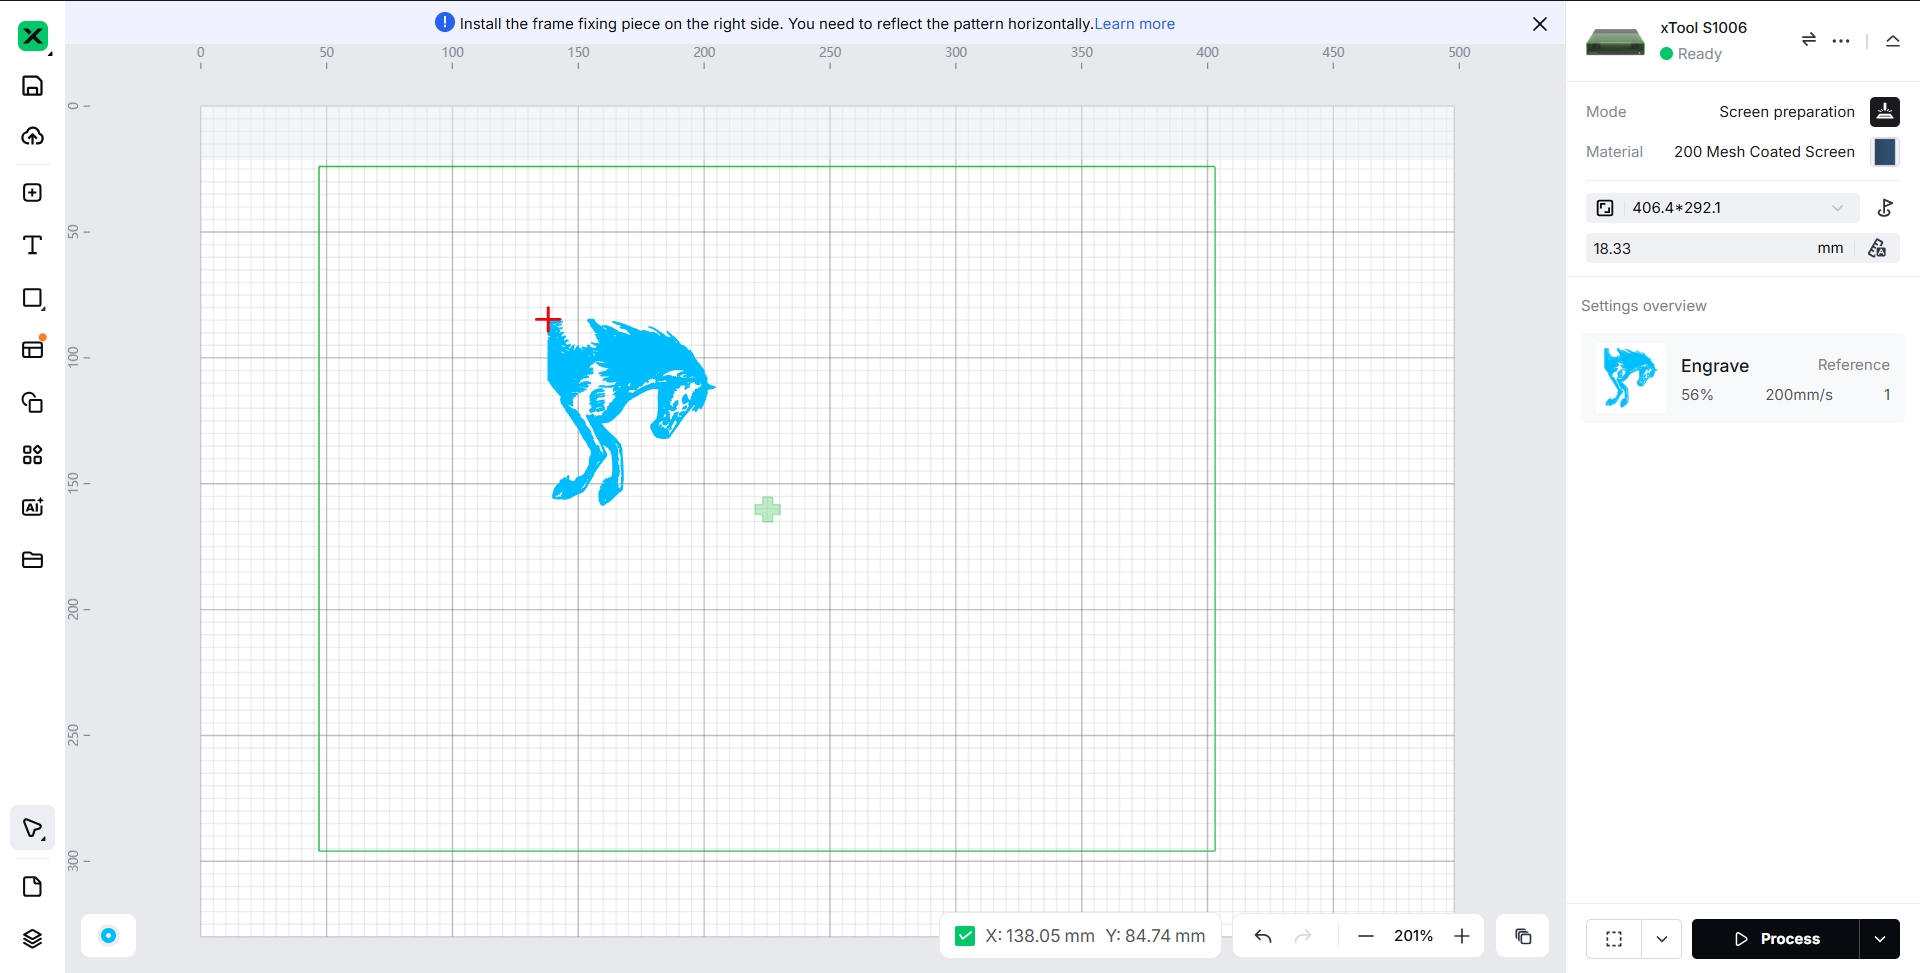
2. Screen Printing
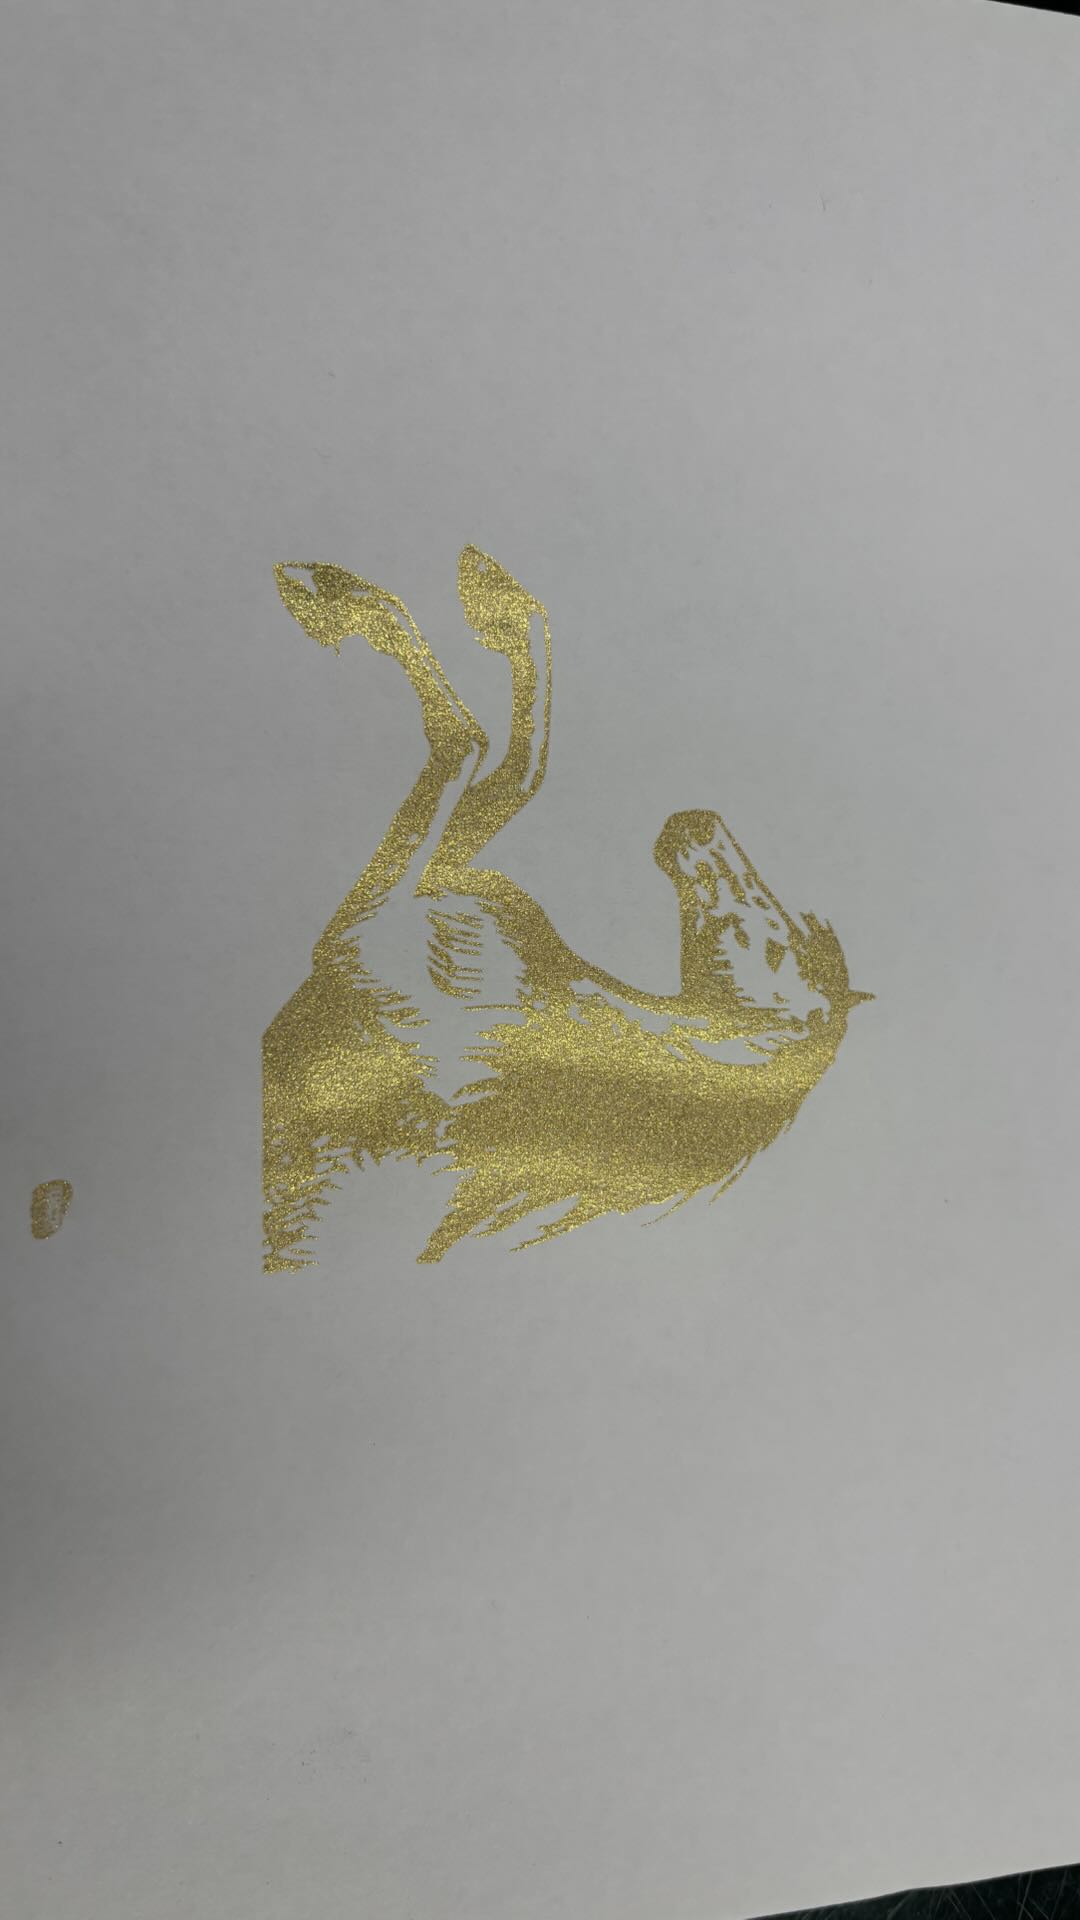
Engrave an image with the horse hoof facing the right direction.
After Installing The Screen On The Frame, The Screen Is Placed With The Back Side Facing Up. The Back Side Of The Screen Is The Side To Be Laser-Engraved. The Frame’s Clip Opening Should Be Positioned On The Right Side Inside The Machine.

After The Laser Engraving Is Completed, Place The Screen With The Front Side Facing Up. Fit The Frame Into The Frame Connector With The Bottom Side Facing Up And Tighten The Locks.
2.1 Non-Mirrored Engraving Application Effect
Adjust the Engraving Image to Align with the Orientation of the Screen Frame Without Applying Mirror Processing.
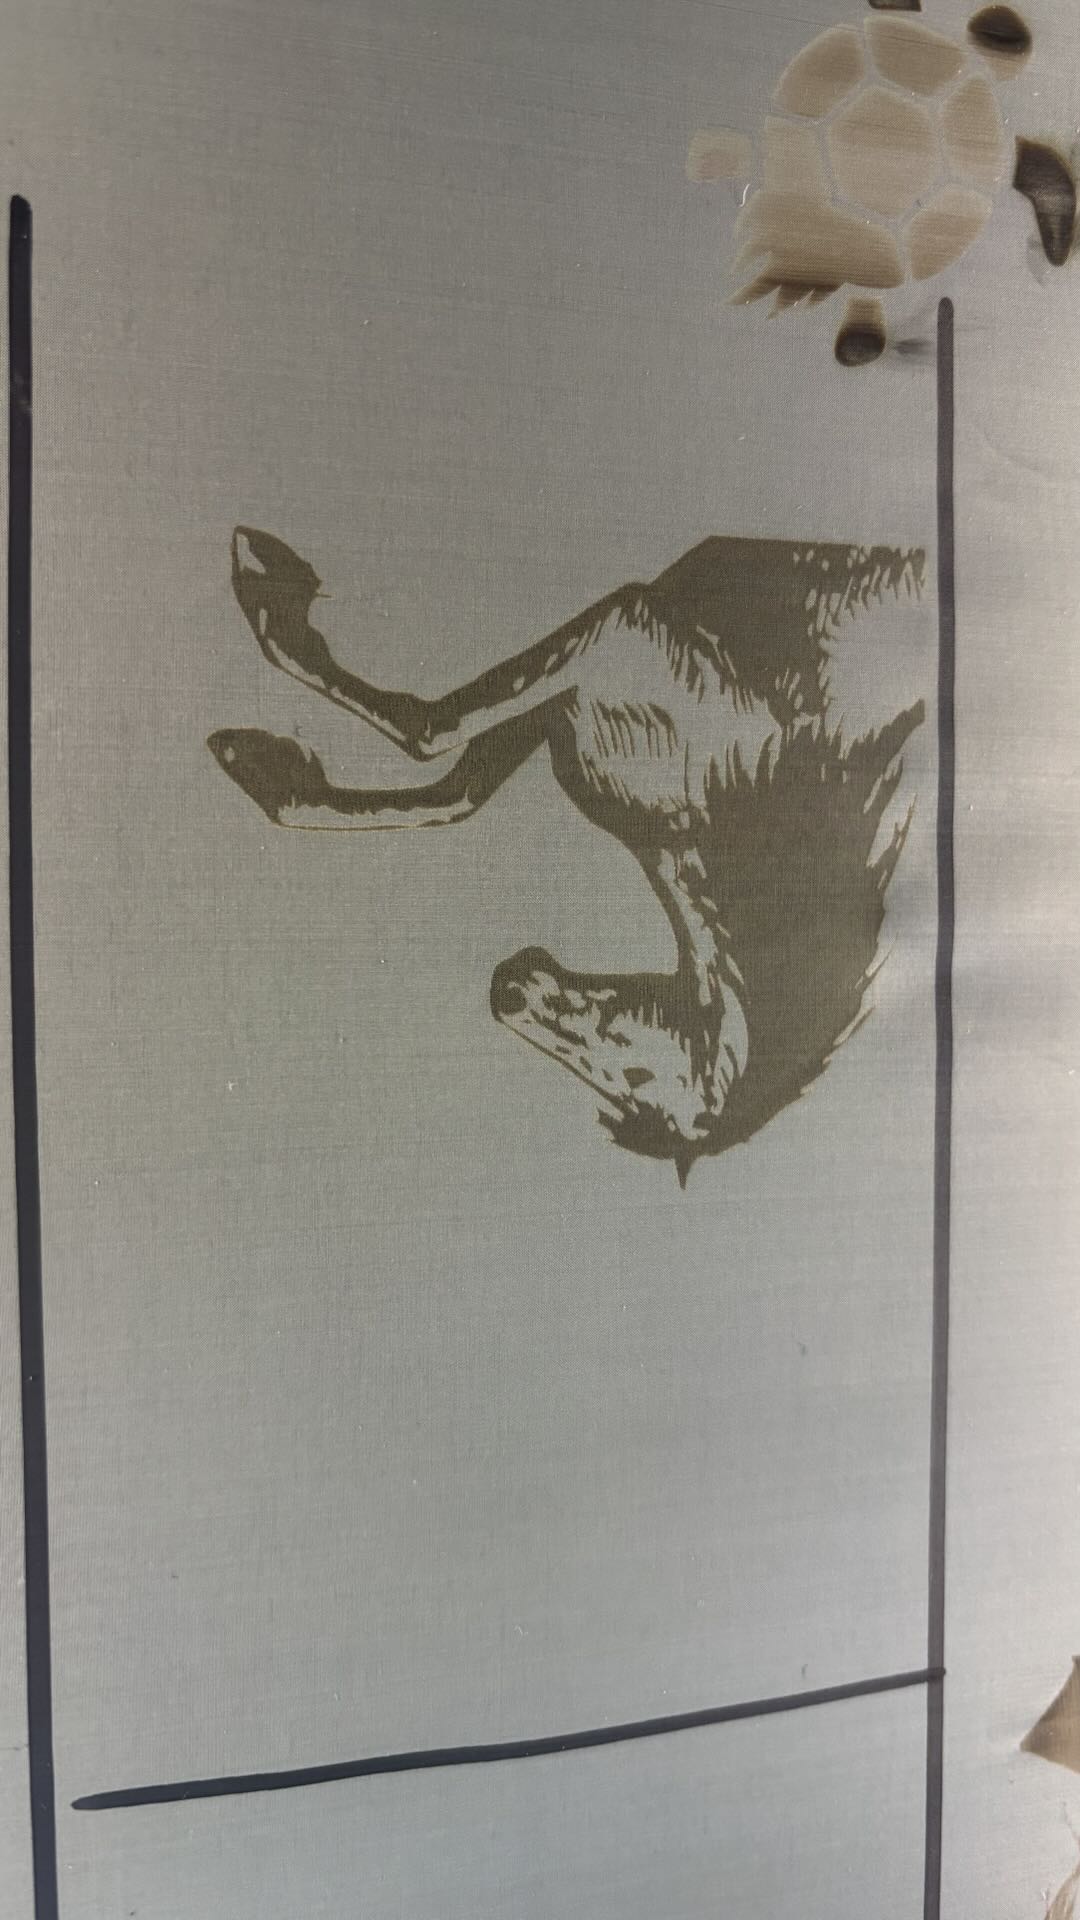
Effect After Laser Engraving.
The Ink-Printed Result Does Not Match the Intended Design.
2.2 Mirrored Engraving Application Effect
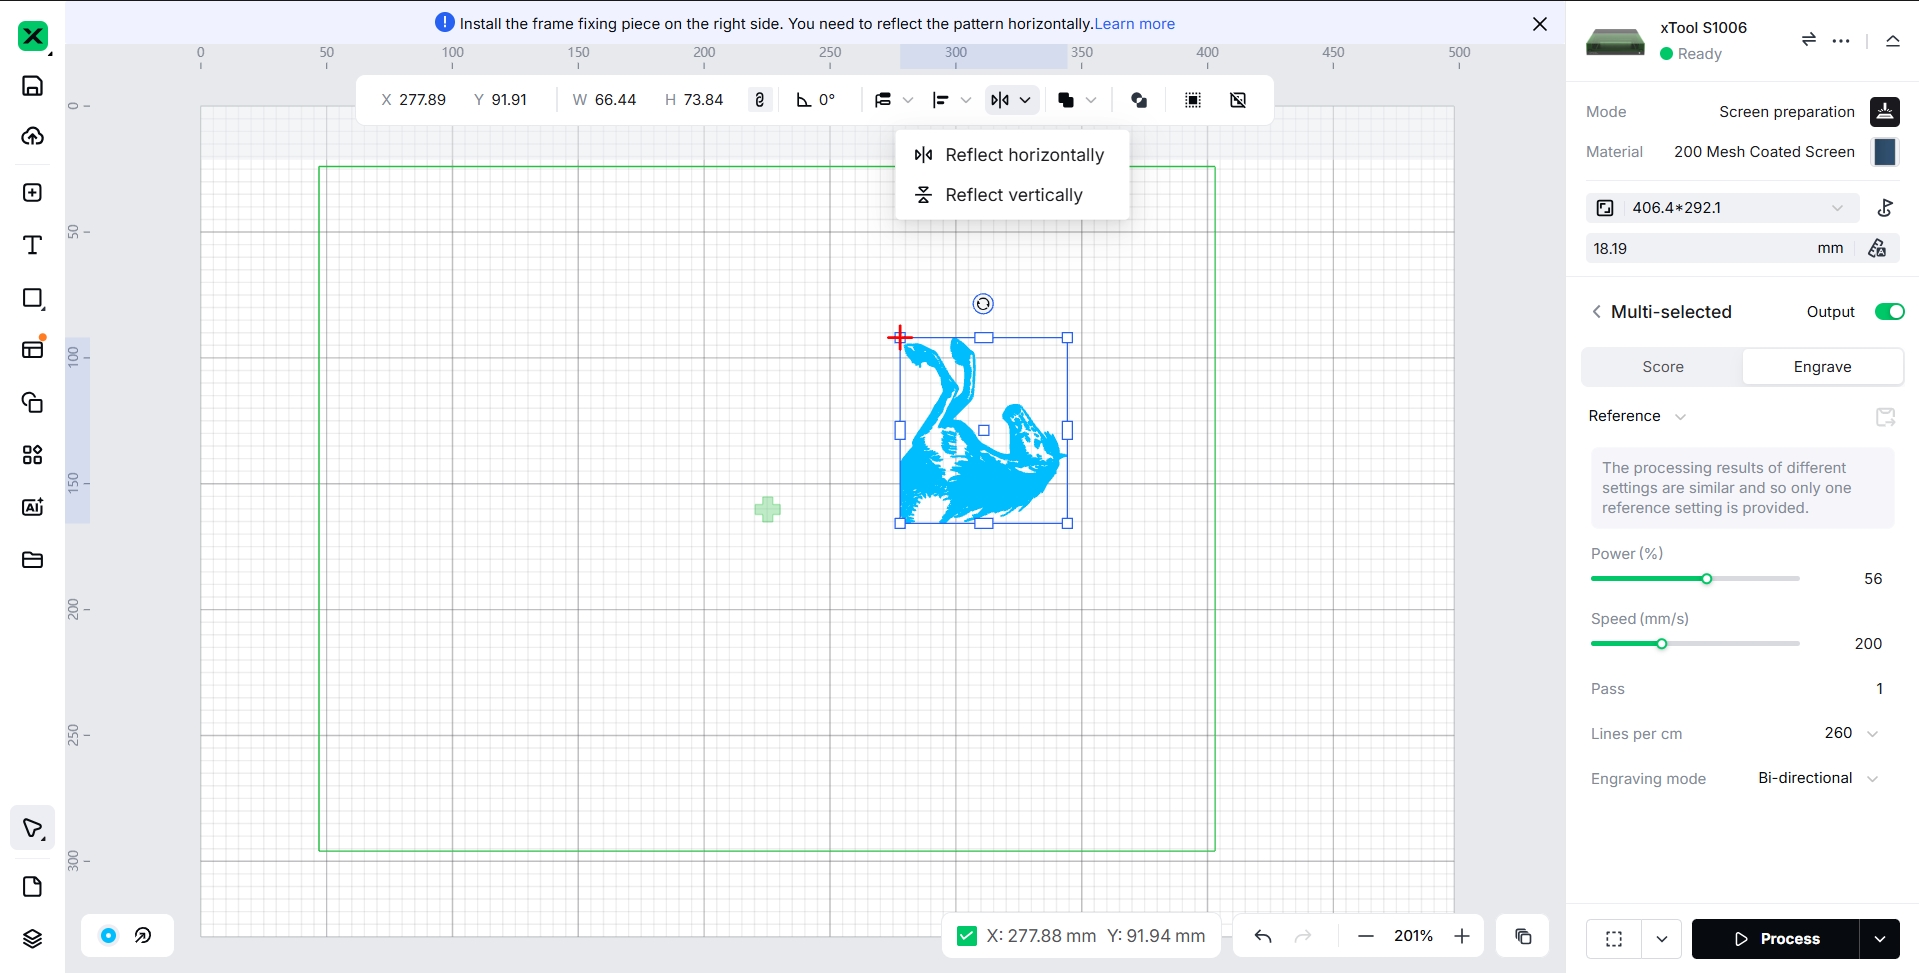
Adjust the Engraving Image to Align with the Orientation of the Screen Frame, Then Apply Mirror Processing.
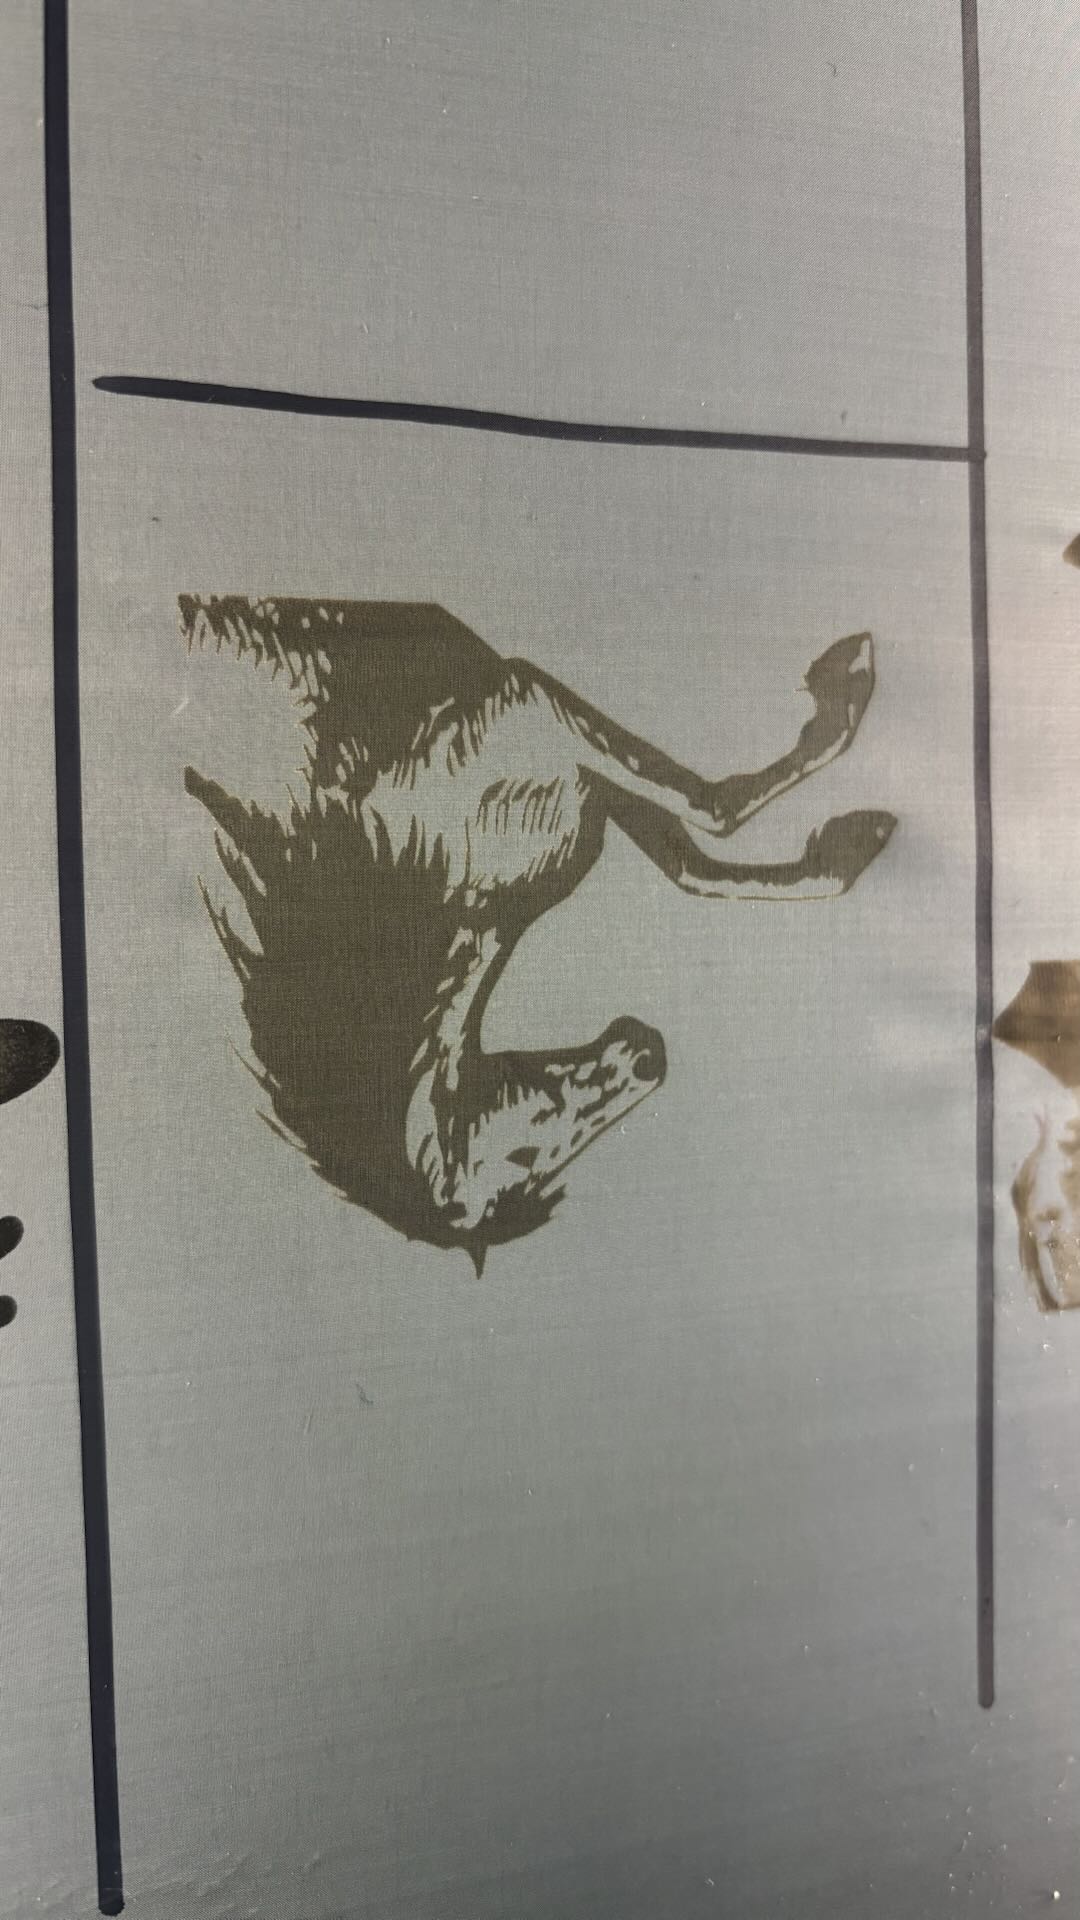
Effect After Laser Engraving.
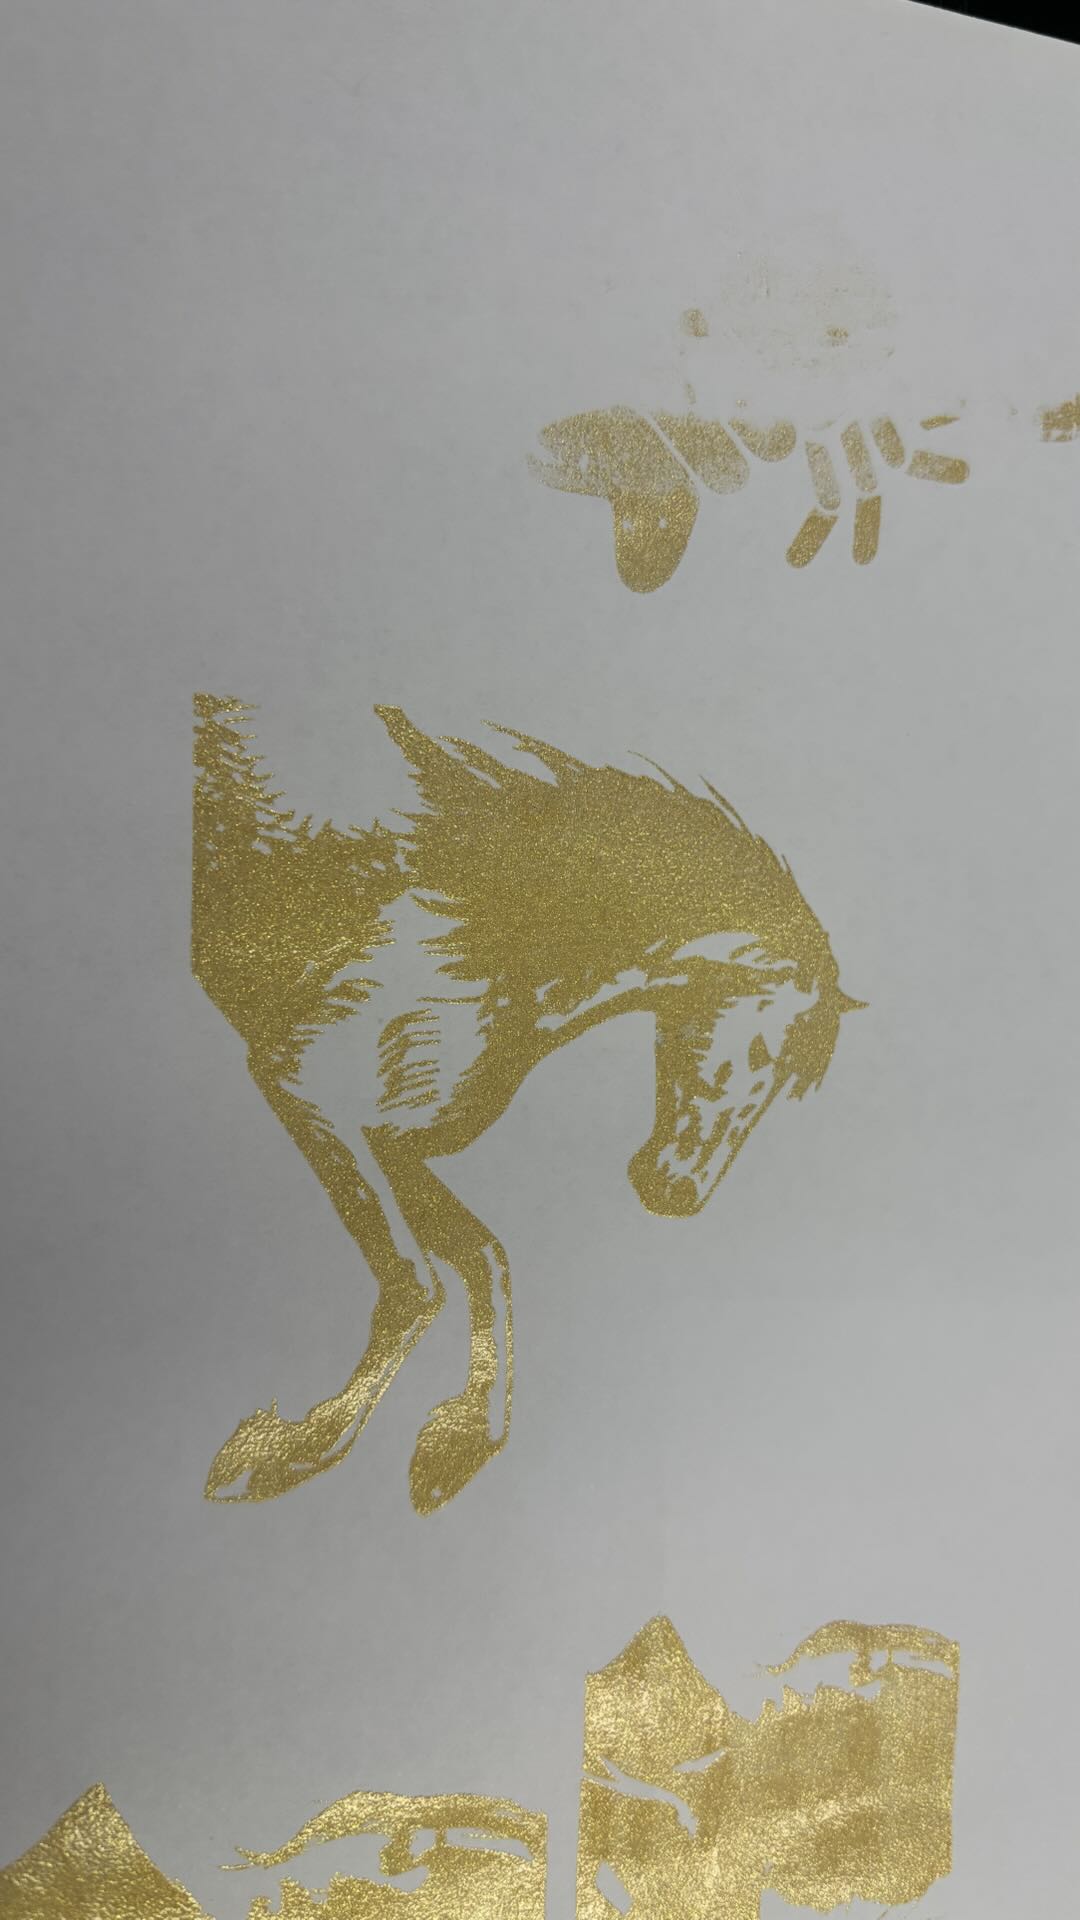
The Ink-Printed Result Matches the Intended Design.
2.3 Why Mirror Processing Is Required
Frame Needs to Be Flipped:
After Installing the Screen on the Frame, the Coated Side of the Screen Should Face Up in the Device’s Processing Area. At This Stage, the Screen Is Suspended and Does Not Contact the Device’s Metal Base, Effectively Preventing Heat Accumulation That Could Affect Engraving Quality.
After Laser Engraving, Flip the Frame. The Screen Must Be in Direct Contact with the Substrate on the Screen Printer. Close Contact Between the Screen and the Substrate Ensures That No Ink Skipping or Other Printing Issues Occur.
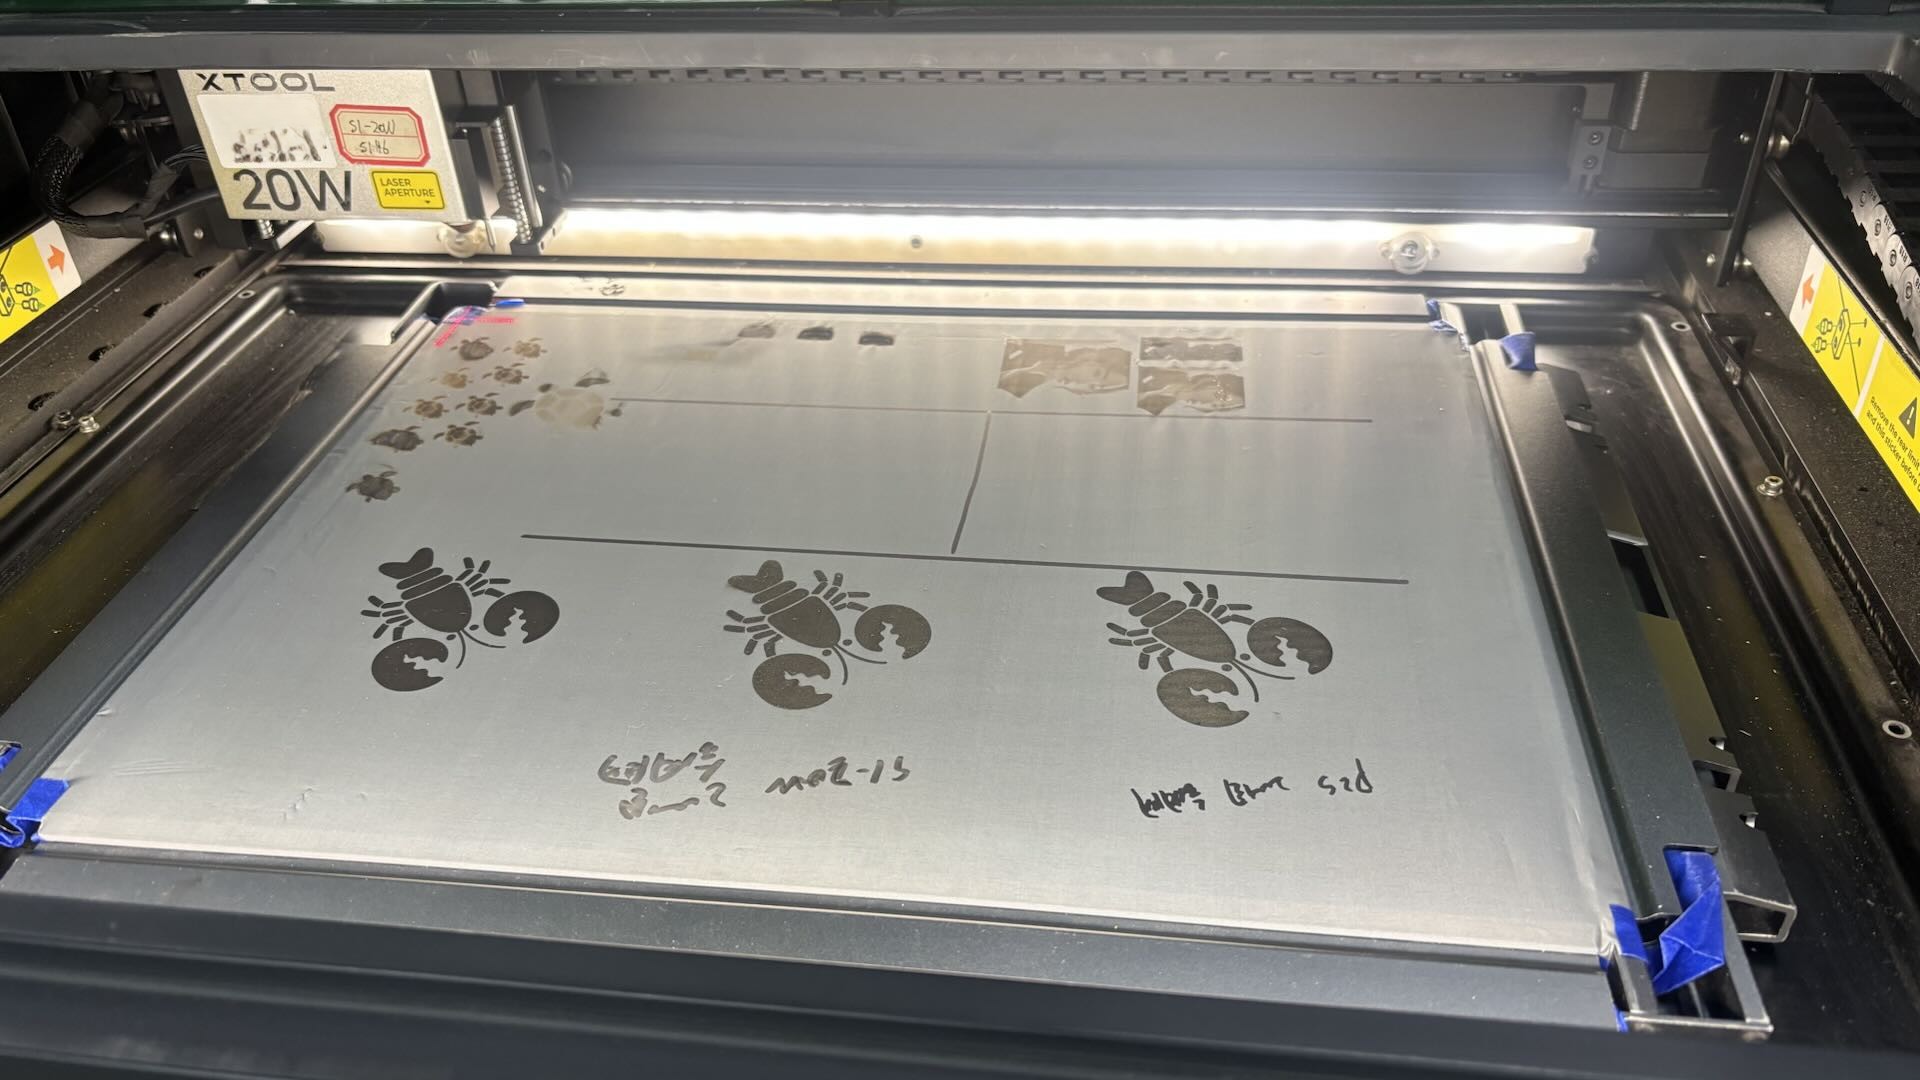
3. Stamp Material
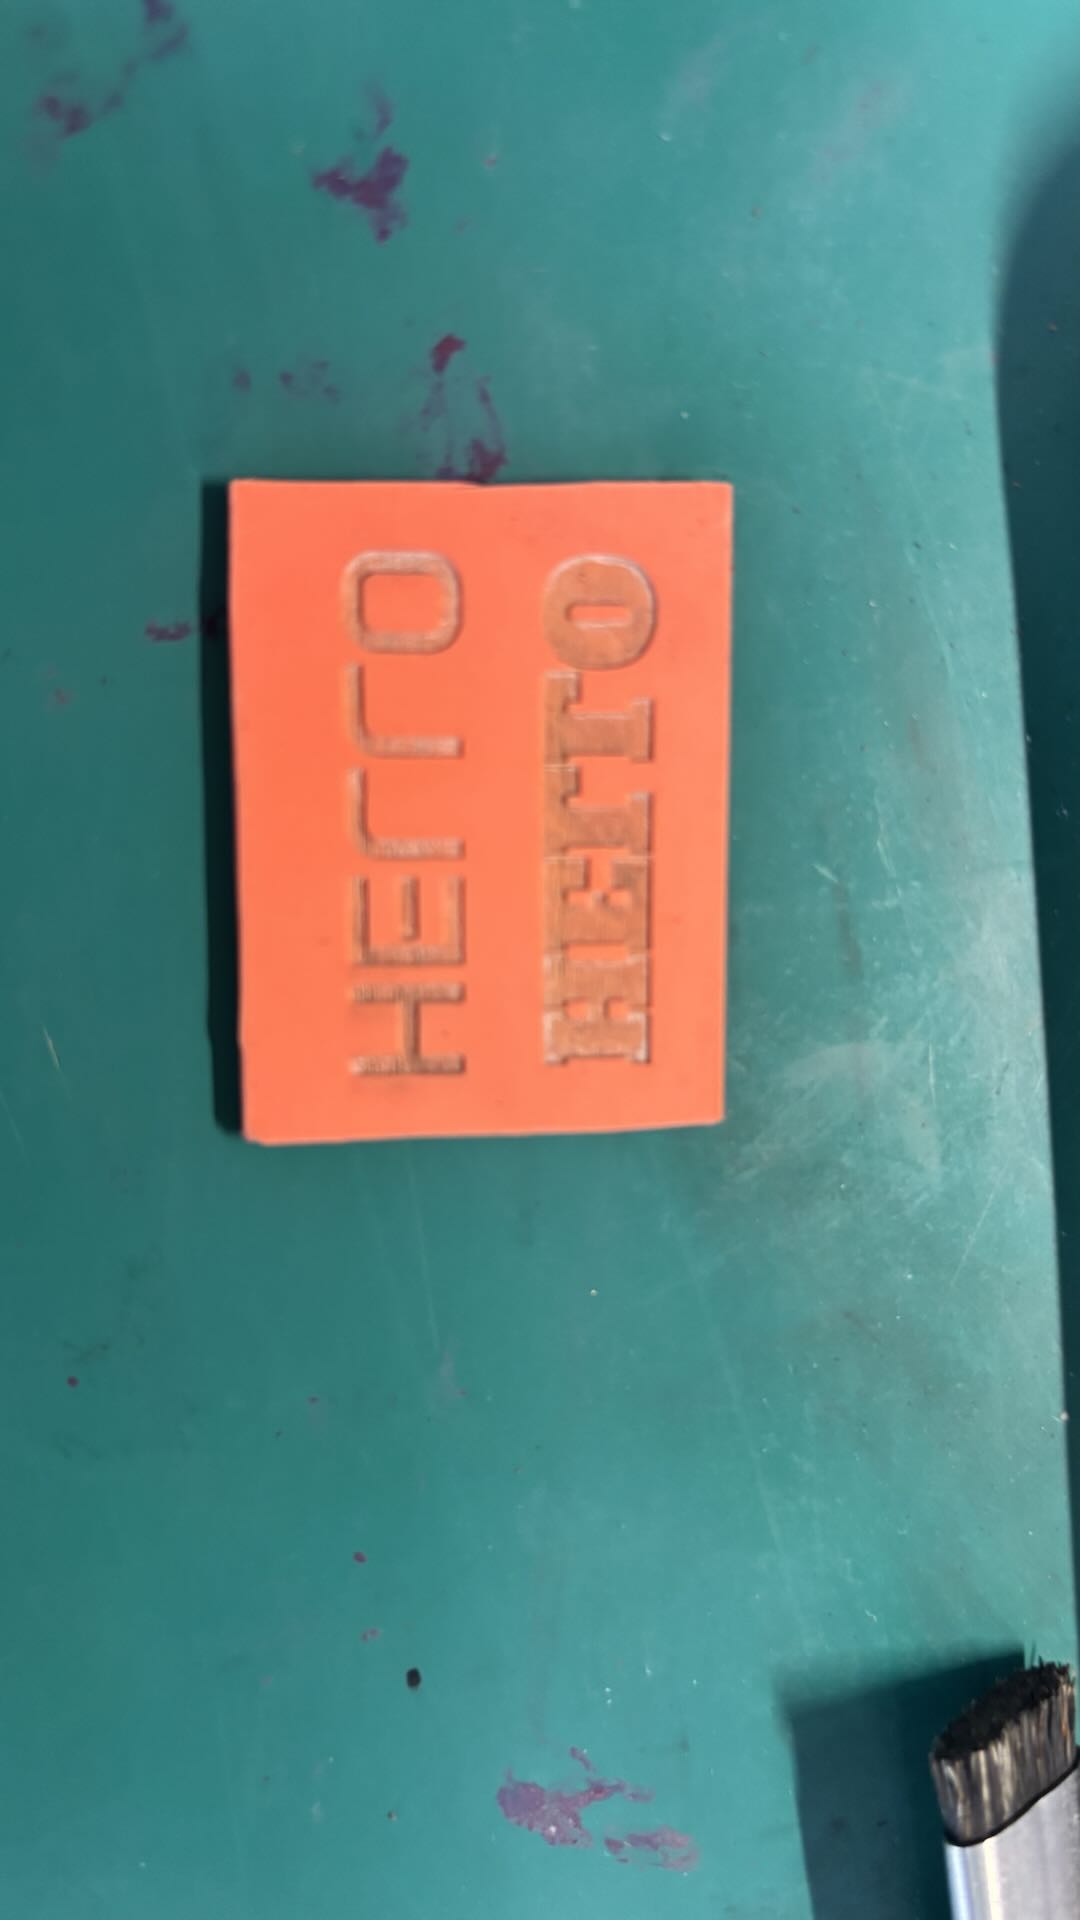
3.1 Non-Mirrored Engraving Application Effect
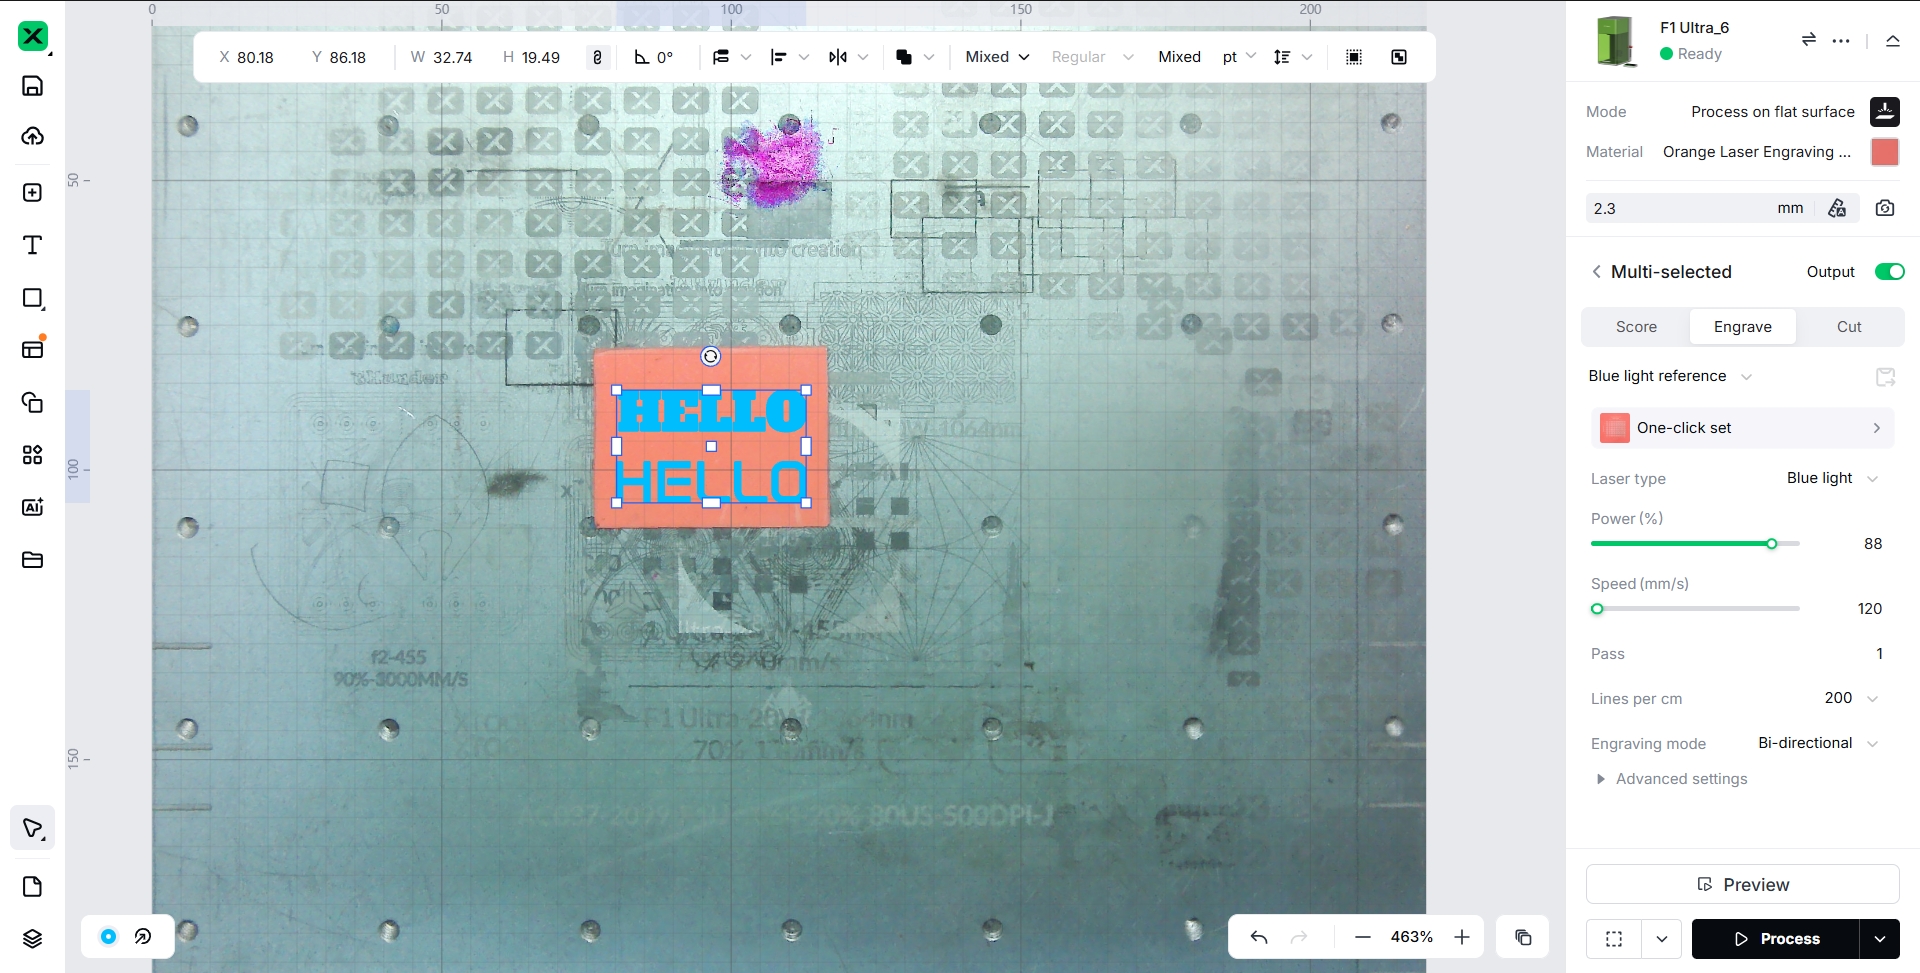
Set the Pattern to Be Engraved Without Performing Mirror Processing.
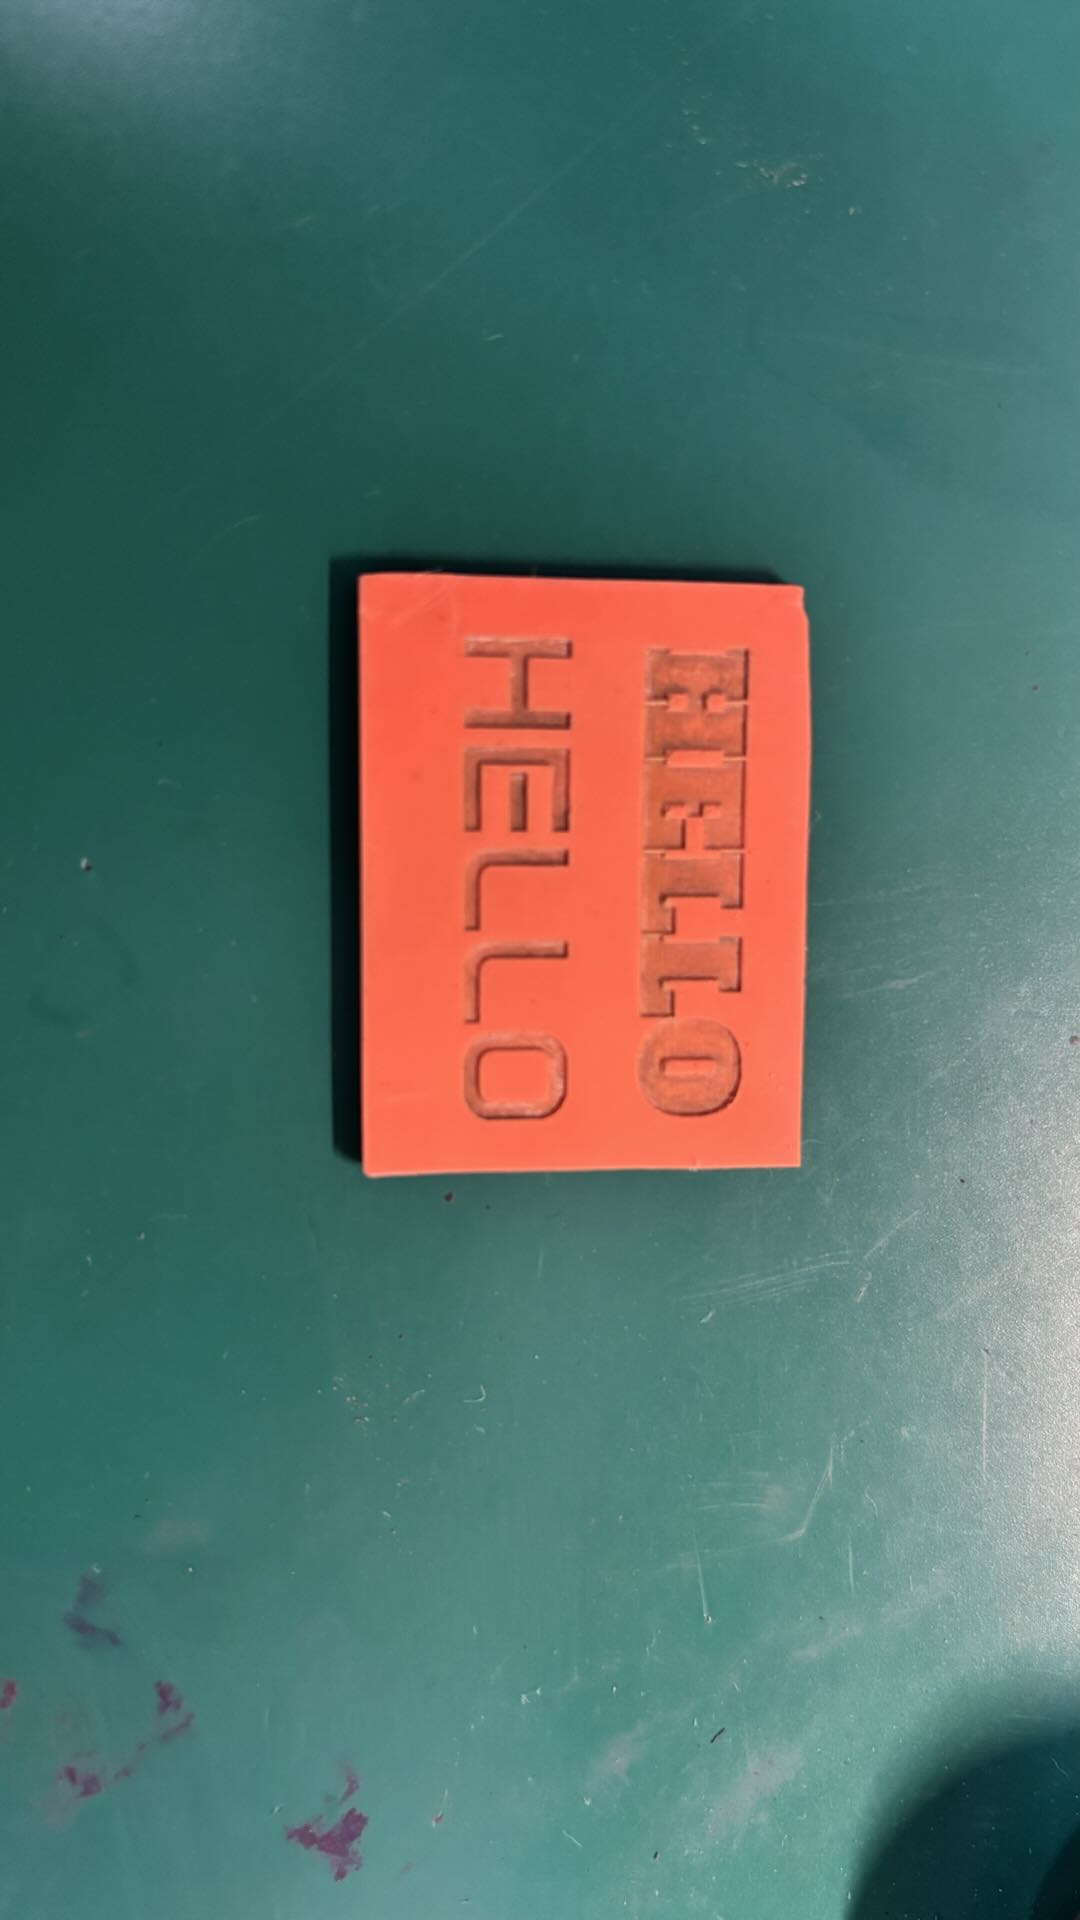
After Engraving, Clean the Dust from the Material Surface and Install the Material onto the Stamp Handle.
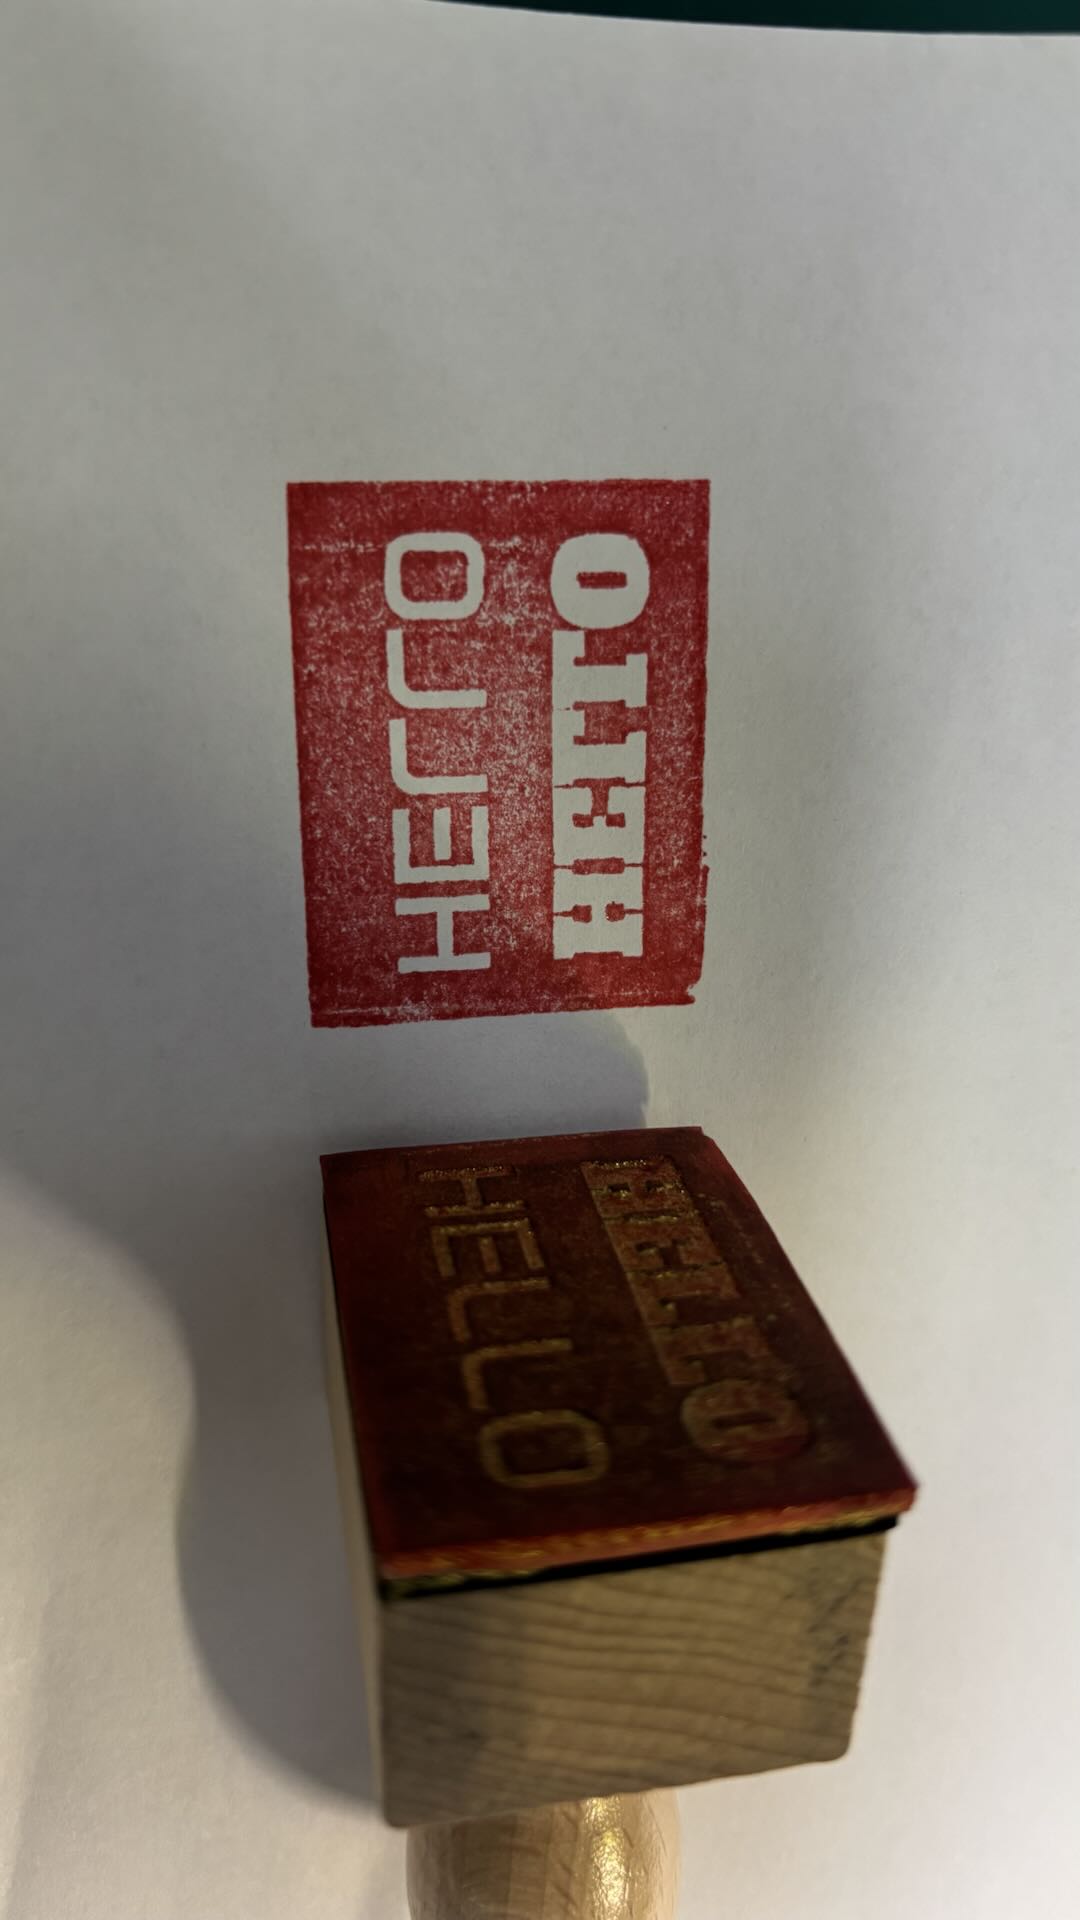
The Stamped Ink Result Does Not Match the Intended Design.
3.2 Mirrored Engraving Application Effect
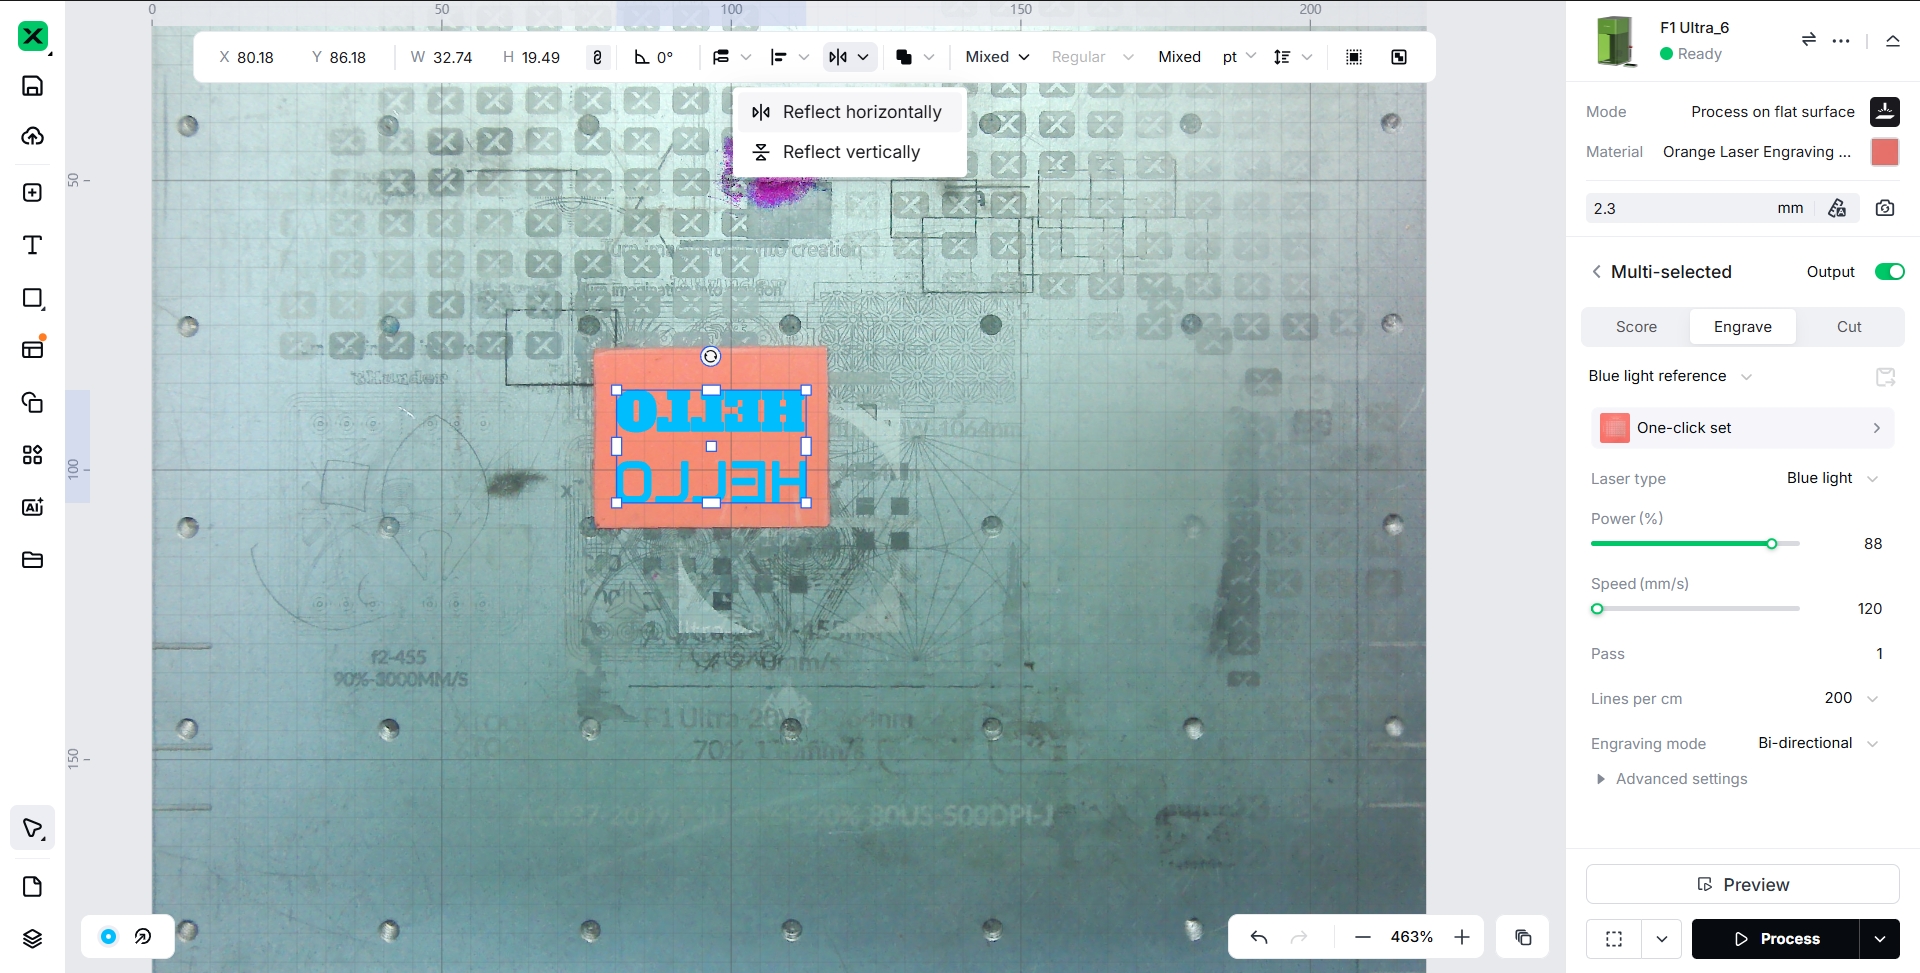
Set the Pattern to Be Engraved and Perform Mirror Processing.
After Engraving, Clean the Dust from the Material Surface and Install the Material onto the Stamp Handle.
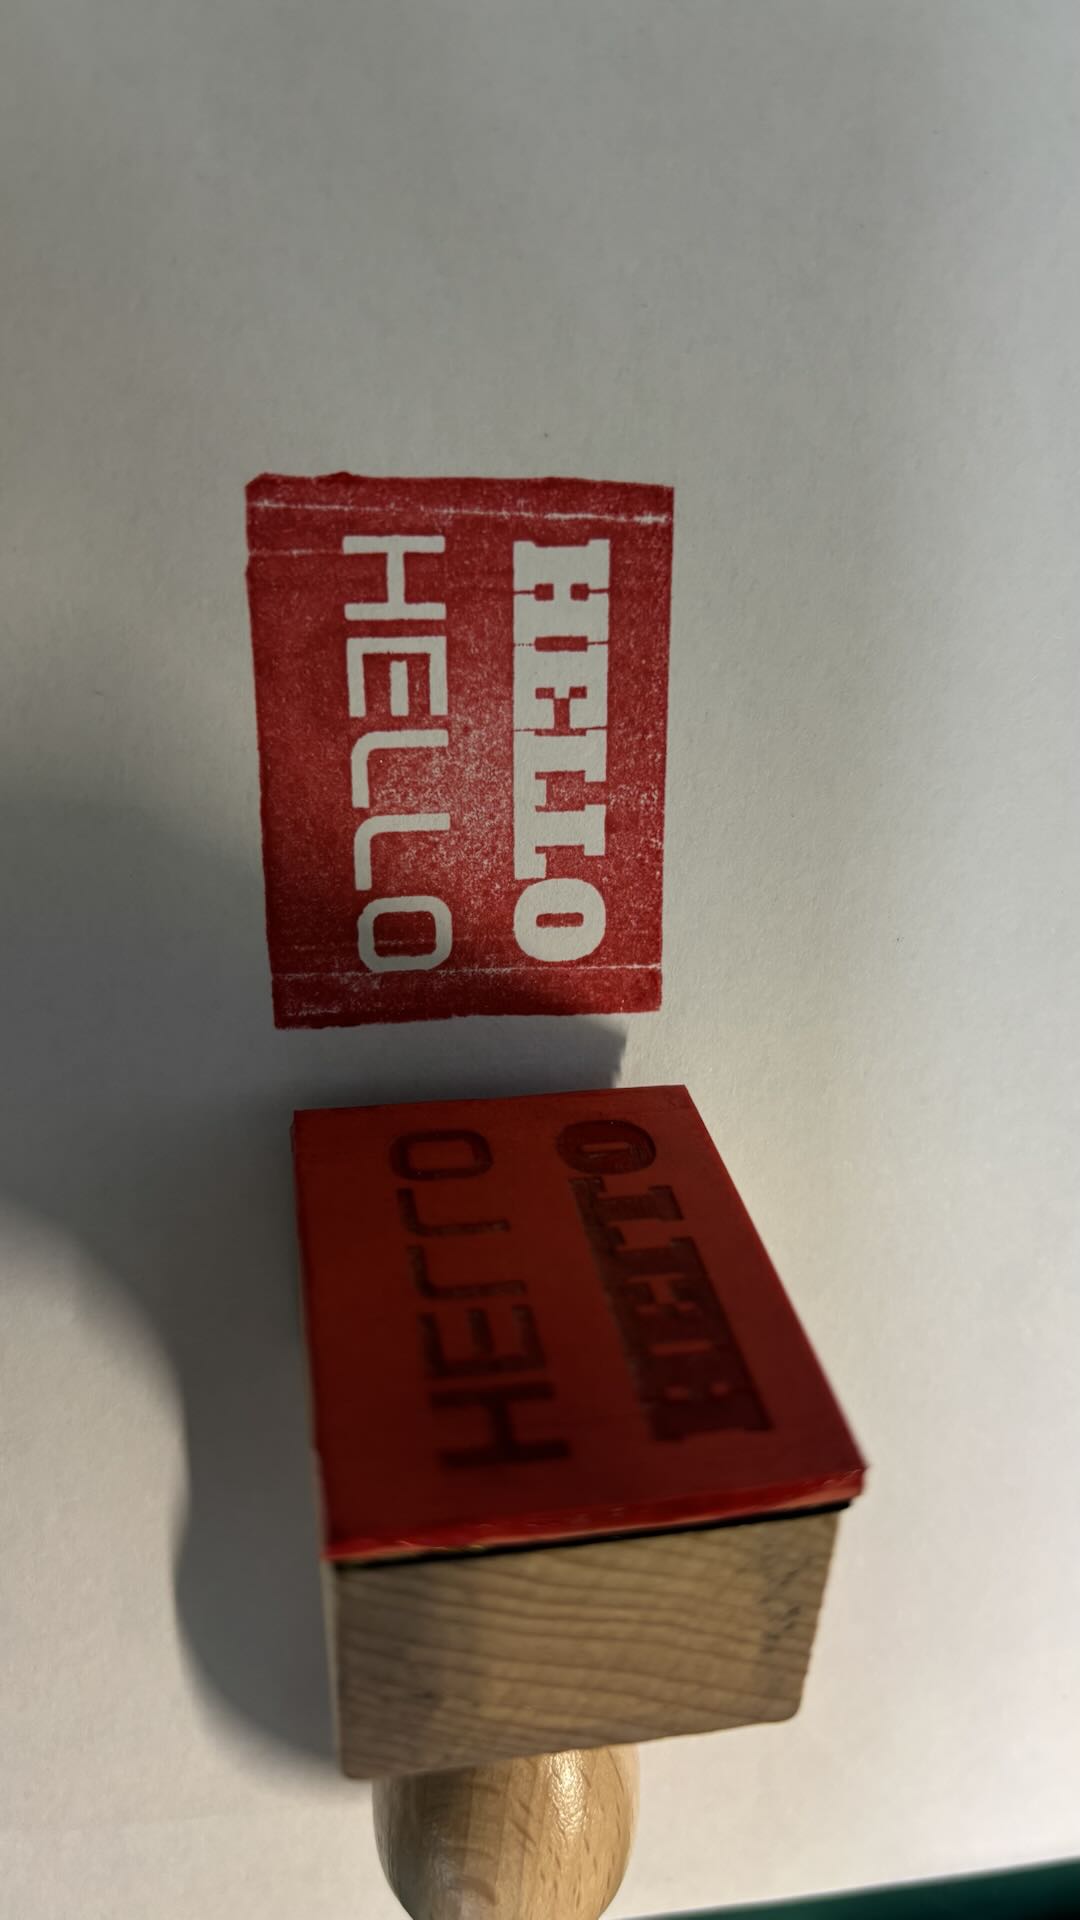 The Stamped Ink Result Matches the Intended Design.
3.3 Why Mirror Processing Is Required
Engraved Surface Must Contact Ink:
The Surface of the Material That Is Engraved by the Laser Is the Side That Will Contact the Ink. After Engraving, Apply Ink to This Surface and Print onto Paper or Other Substrates. The Printed Result on the Substrate Reflects the Intended Design of the Engraving. If the Printed Information Does Not Match the Intended Design, the Image Must Be Mirrored During Laser Engraving.
4. Heat Transfer Film
4.1 Effect
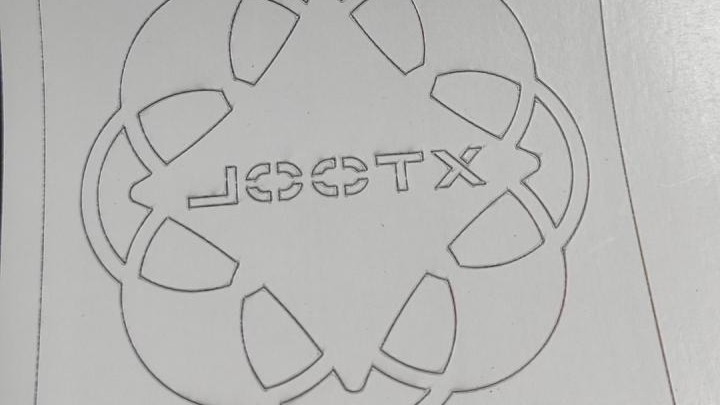
When using the Blade to engrave heat transfer film, the engraved area is typically a white or black vinyl coating. The image in the software needs to be mirrored before processing.
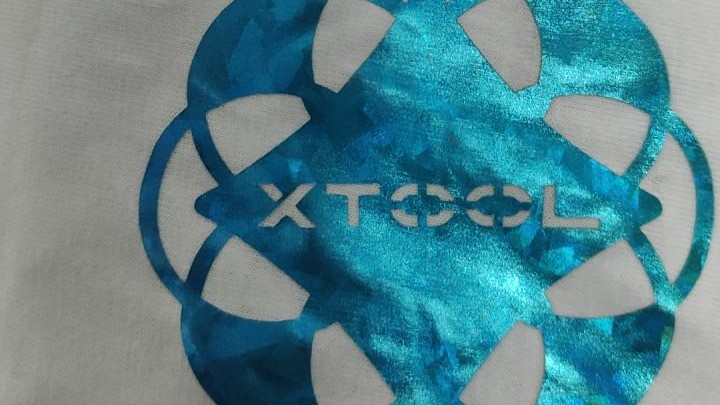
After the Blade engraves the heat transfer film, place the vinyl side face down flat on the surface of the material to be transferred. Ensure that the transparent PET film layer faces upward. Use a heat press to apply pressure and heat to the engraved transfer film to achieve the desired image effect.
4.2 Mirror Image Instructions
Both Heat Transfer Vinyl (HTV) and Printer Film Rolls used for DTF printing require mirroring the image before printing:
For materials that require heat transfer using a heat press, there is a protective film layer on the side that comes into contact with the press. This film prevents the transferred material (such as that applied to fabric) from directly touching the heated metal surface of the press, which could otherwise cause softening and sticking due to high temperature.
Therefore, both HTV and DTF Printer Film Rolls must have their designs mirrored before printing. After heat pressing and transfer, the final result will correctly display the intended image and text orientation.
Services & Help
Learn & Education

Copyright © 2025 xTool All Rights Reserved.