1. Material Processing Operation Steps
1.1 Check the Test Environment
Ensure the device’s bottom plate processing area is clean. If using Air-Compress Assist, verify whether it needs to be enabled. If paired with an Air Purifier, ensure it is turned on. For scenarios with exposed laser emission, wear laser safety goggles and a protective mask.
1.2 Set Up the Processing Environment
If the material requires cutting, install tools such as a Honeycomb Panel on the device’s bottom plate to elevate the material. This prevents direct contact with the metal bottom plate, avoiding heat accumulation that could affect processing quality.
1.3 Remove Protective Film
Remove any protective film on the material surface. Engraving on the protective film may cause abnormal processing effects; for Blue-light Engrave, the protective film may even produce flames. For high-reflective metal materials, cover or sand the surface as necessary.
1.4 Secure the Material
For flexible materials like cardstock or felt, use magnetic clamps or masking tape to flatten and secure the material on the device’s bottom plate to prevent wrinkles that could cause abnormal processing effects. For rigid materials like wood, securing the material also prevents deformation caused by high temperatures during processing.
1.5 Use Recommended Parameters
Before processing, set the device parameters according to the material’s recommended parameters or select an effect from the recommended parameter matrix. It is recommended to perform a preview operation to ensure correct positioning and pattern size.
1.6 Material Cleaning
After processing, remove the material and use a brush to clean the processing area, removing dust generated during processing. Use a cotton cloth or lint-free cloth to wipe the edges and remove tar or volatile residues. For materials like metal, which may form an oxidized layer that is difficult to remove, auxiliary cleaning equipment such as a magnetic cleaning machine can be used.
1.7 Material Maintenance
For materials sensitive to air humidity, such as wood, spray a protective coating or wood wax oil on the surface. For metal materials, apply a metal protective paste or clear coat to the surface.
2. How to Handle Material Flame Effects
2.1 Before Material Processing
Remove Protective Film:
If the material has a protective film, it is recommended to remove it before laser processing. Removing the film can reduce the risk of abnormal processing such as flame generation.
Clean the Device Base:
Before placing the material in the device, clean the processing area to remove any dust, debris, or leftover materials from previous operations. This helps reduce the risk of flames caused by accumulated residues.
Install Fire Safety Set:
Equip the device with a Fire Safety Set: Auto Fire Detection, Fire Extinguishing.
2.2 During Material Processing
Pause Device Operation:
If the device detects flames, it will automatically stop processing and trigger a fire alarm. When processing flammable materials, operators should continuously monitor the material.
Power Off the Device:
If flames persist after the device stops due to a fire alarm, immediately cut off the device power. Remove the flaming material while wearing high-temperature heat-resistant gloves.
2.3 After Material Produces Flames
Place Material in an Open Area:
If the material continues to burn, remove it from the device after cutting off power. If fire-fighting equipment is not nearby, place the flaming material in an open space to prevent the fire from affecting other objects.
Use Fire-Fighting Equipment:
Cover the flames with isolation materials (e.g., high-temperature fire blankets) to cut off oxygen. Alternatively, use a carbon dioxide or dry powder fire extinguisher to spray the base of the flame. Using water is not recommended.
Dispose of Burned Material:
For carbonized materials such as burnt wooden boards, place them in an open area to prevent mixing with other materials. After removal, you can soak or spray the carbonized area with water to ensure no remaining fire source remains.
3. Flame Effect of the Material
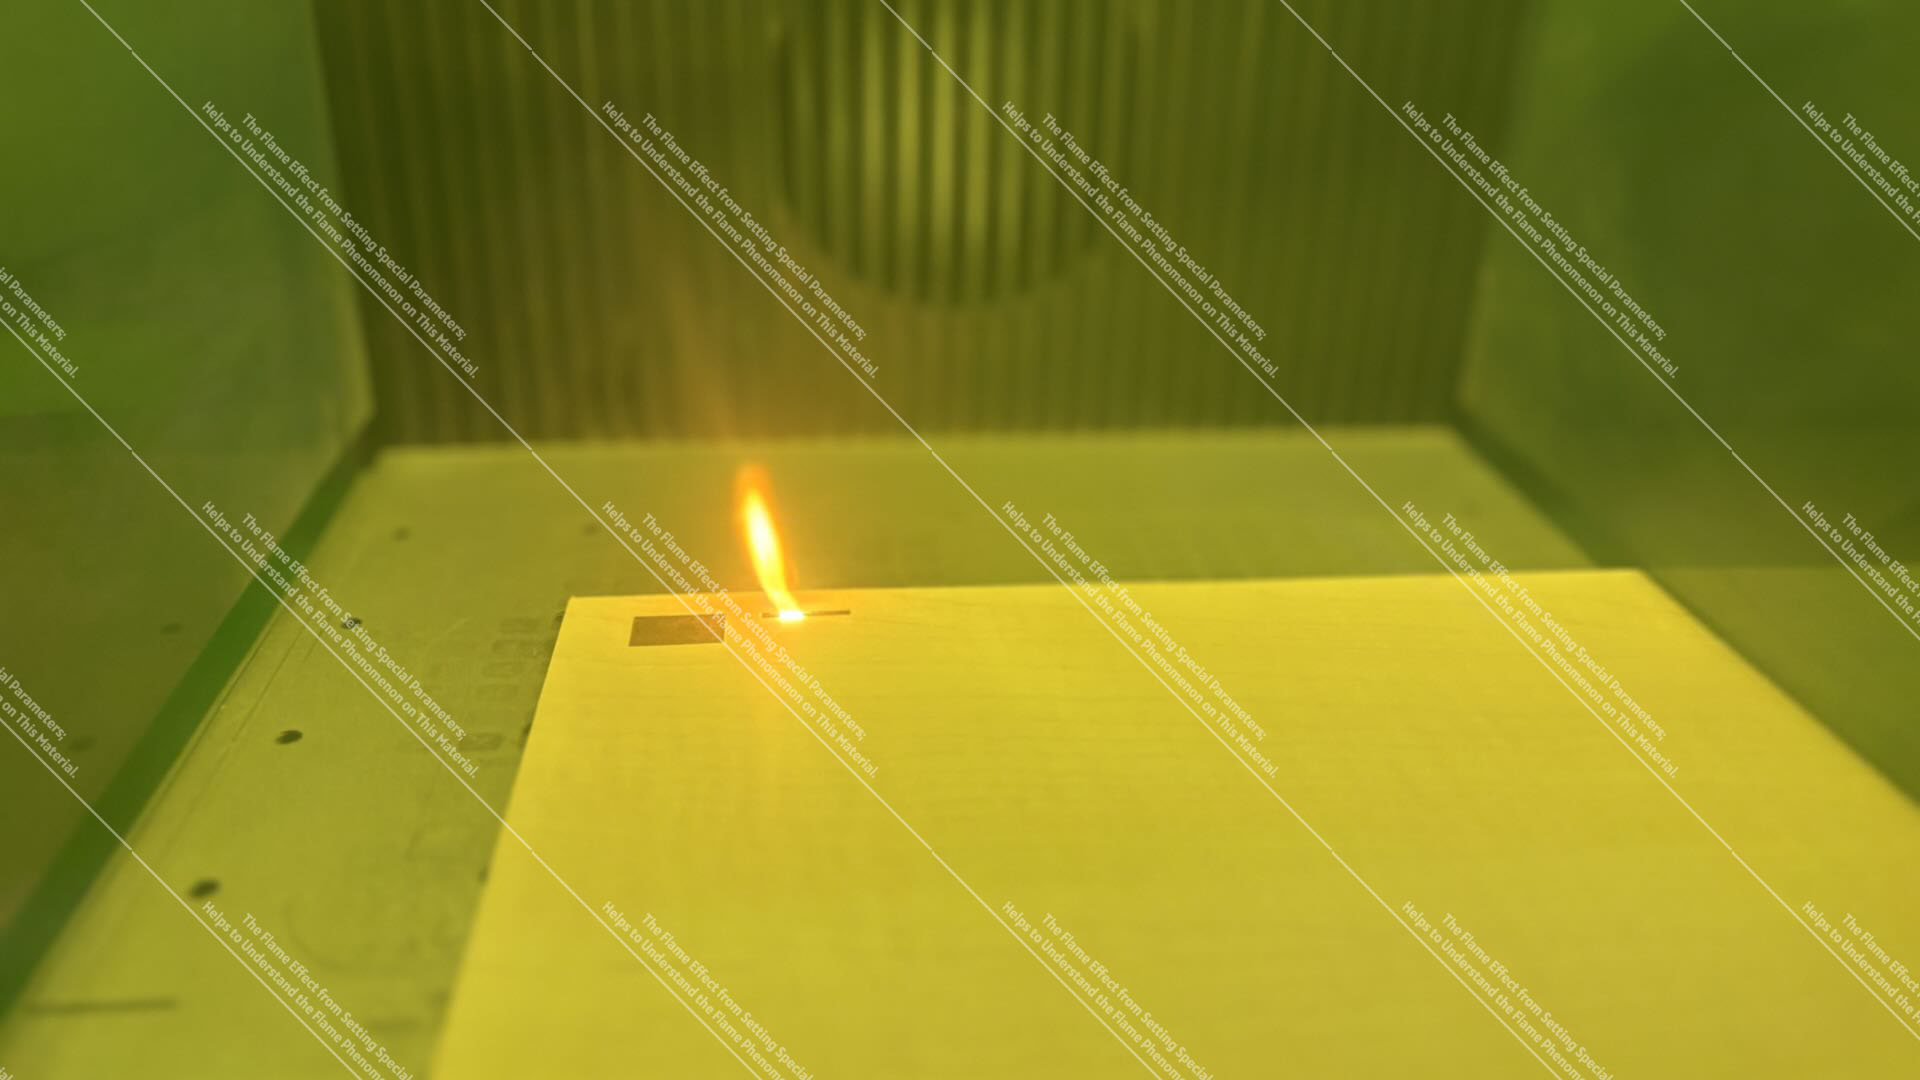
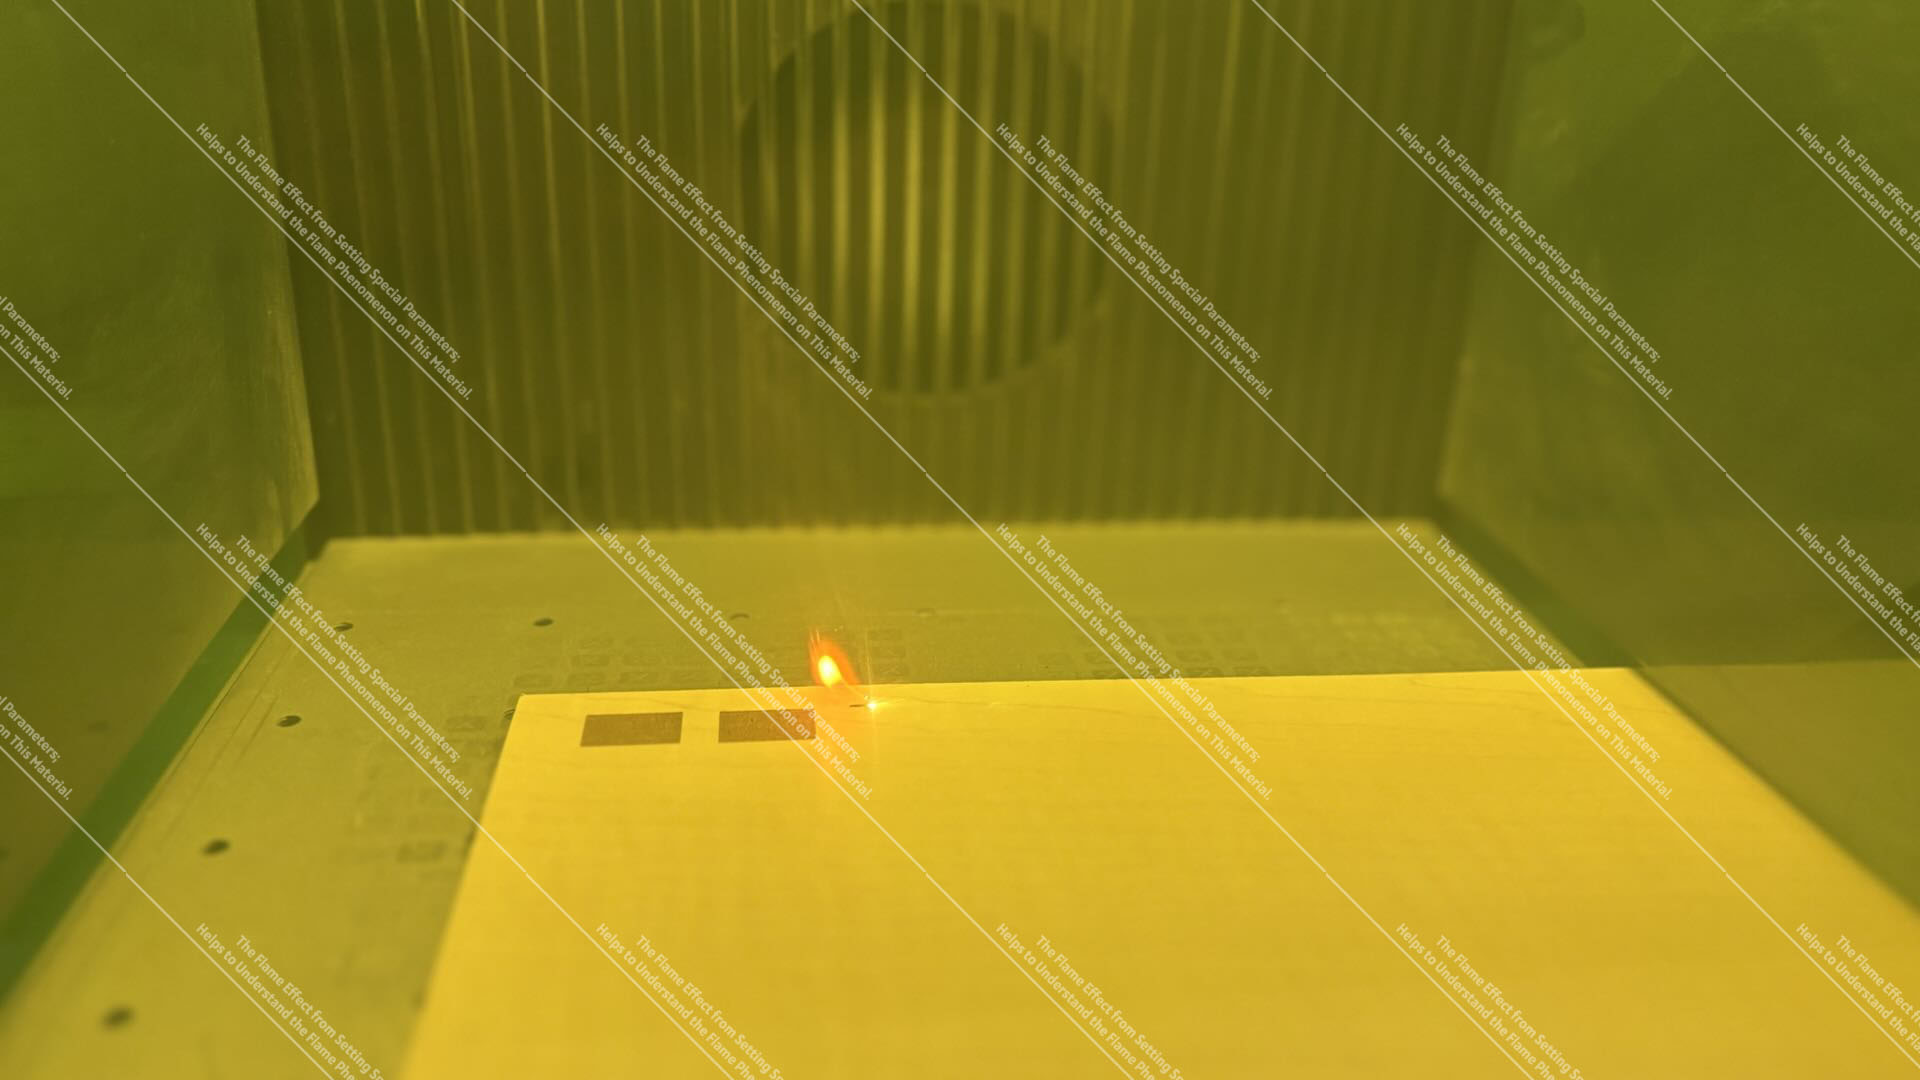
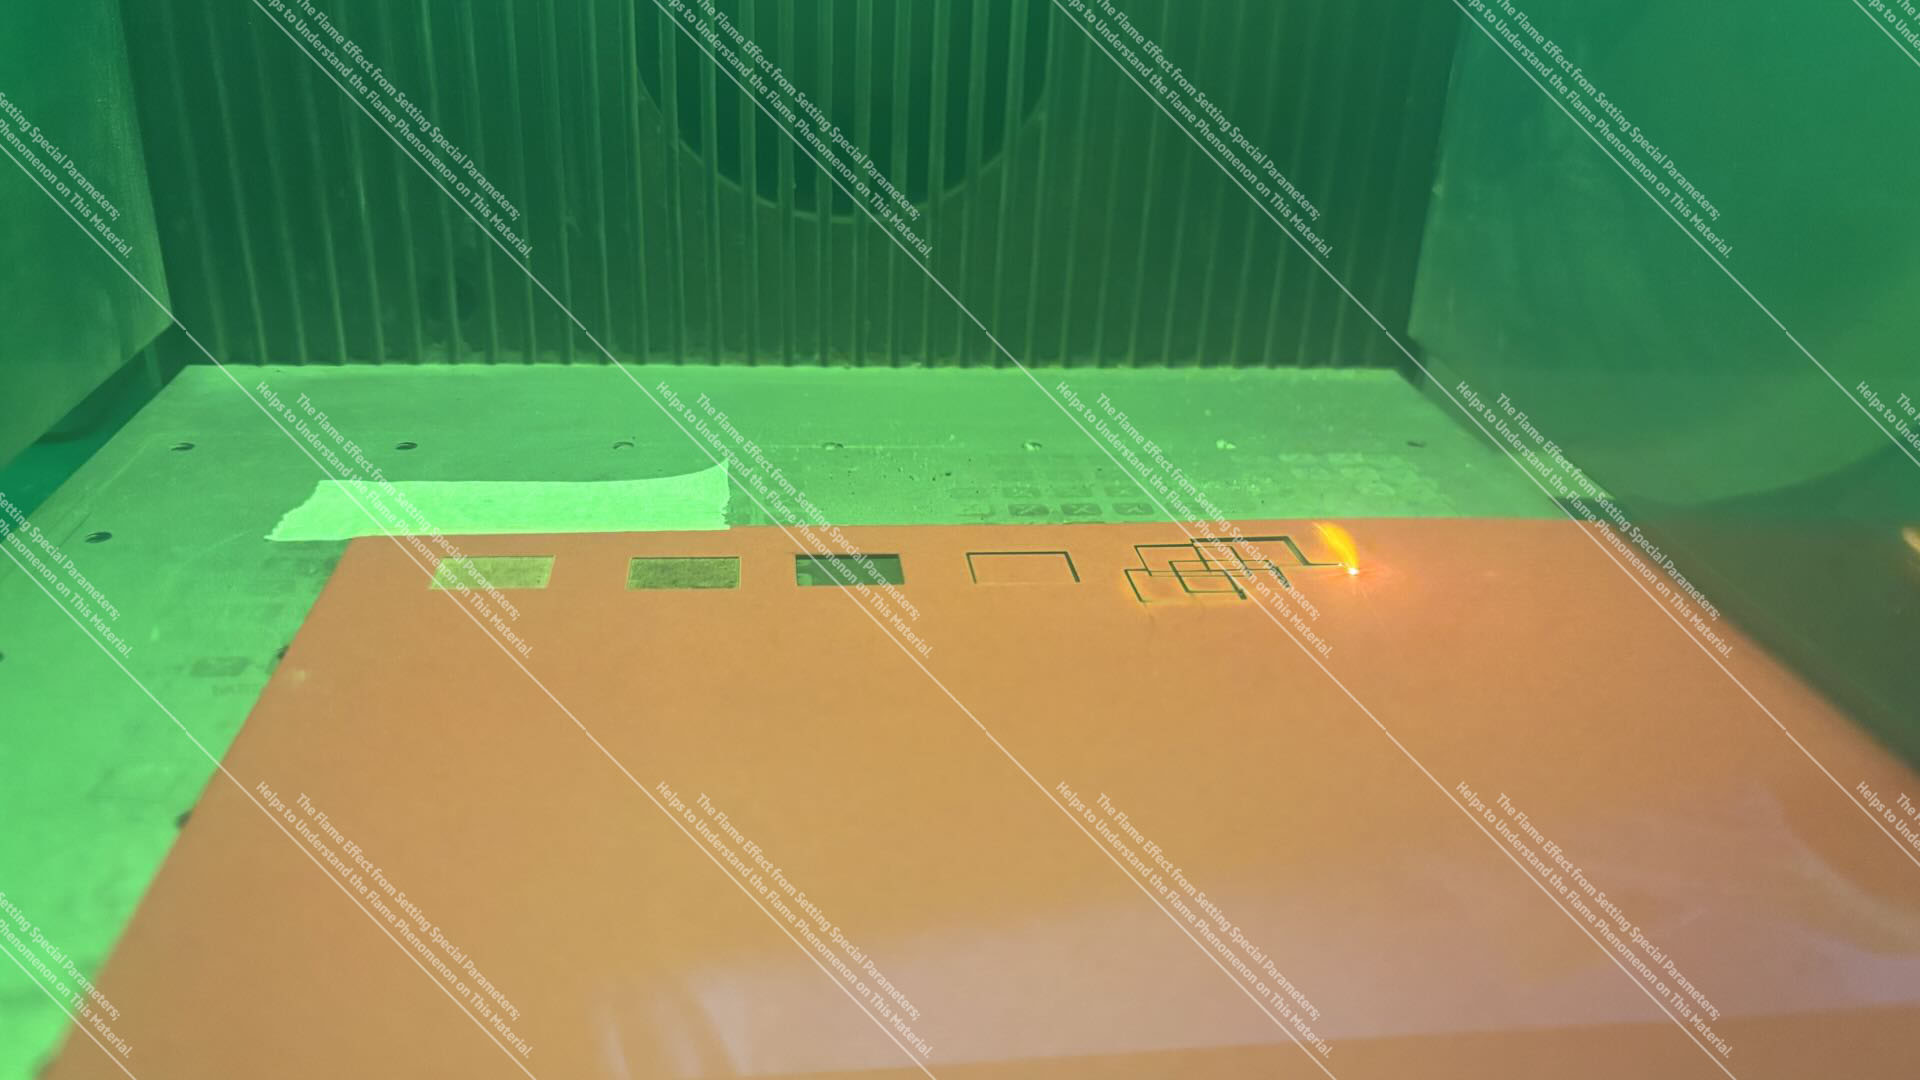
3.1 Flame Effects During Acrylic Processing
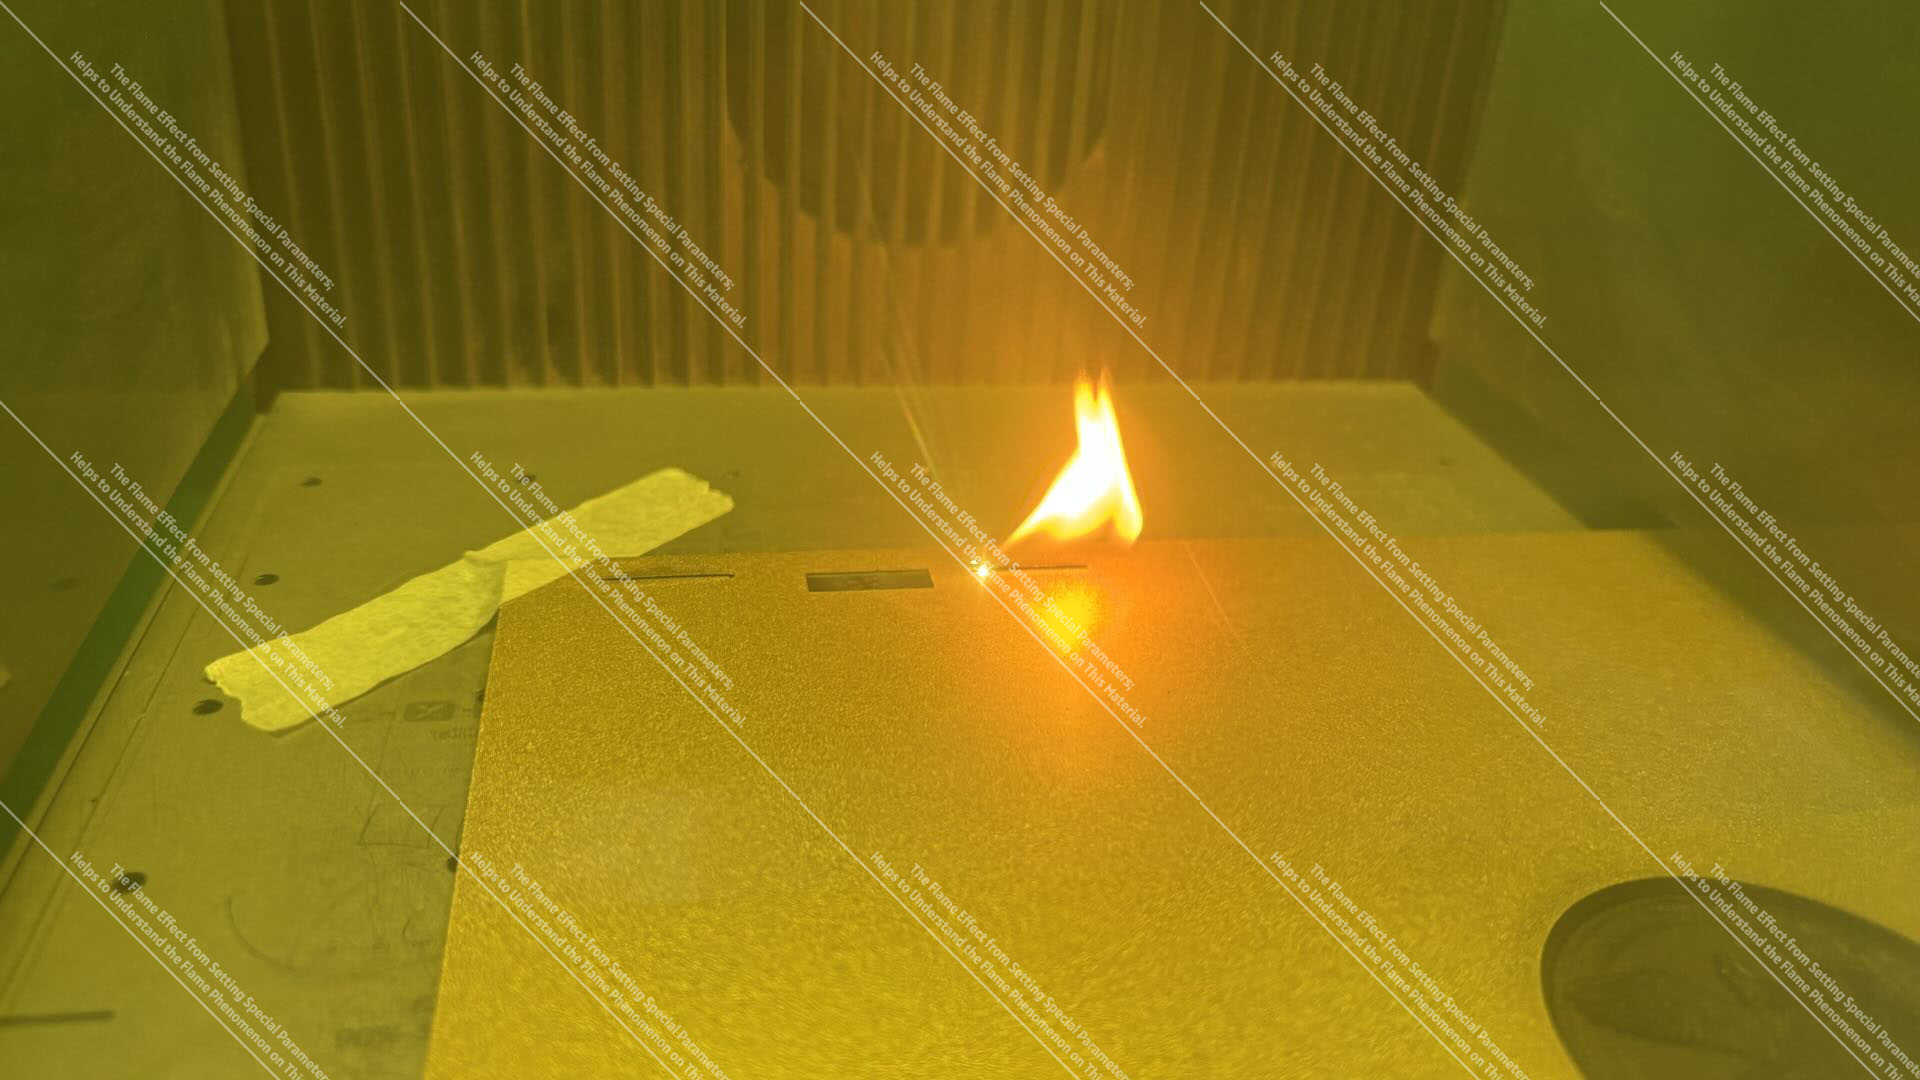
Acrylic Fill Engraving Flame Effect
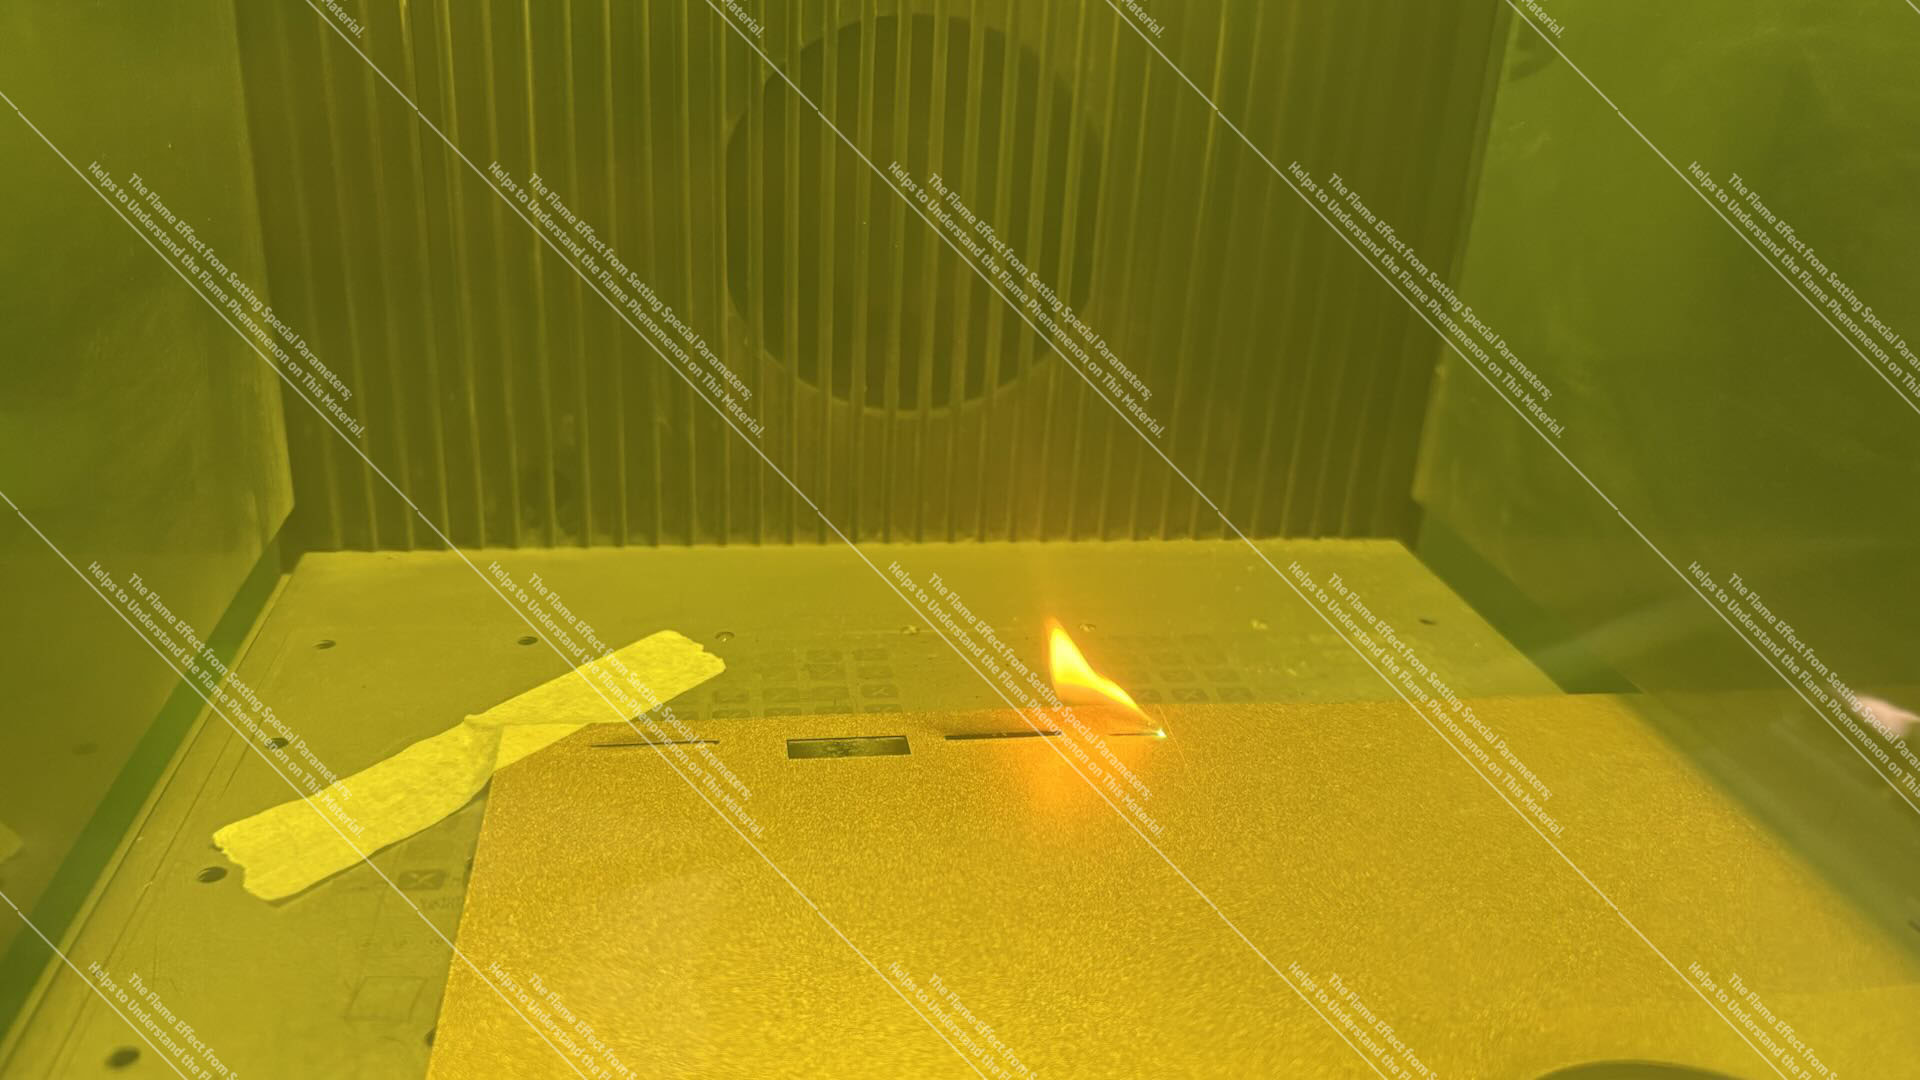
Acrylic Cutting Flame Effect
Note: The flame effect shown in the image is generated by adjusting special parameters; it is intended to assist in understanding the flame effect phenomenon of this material.
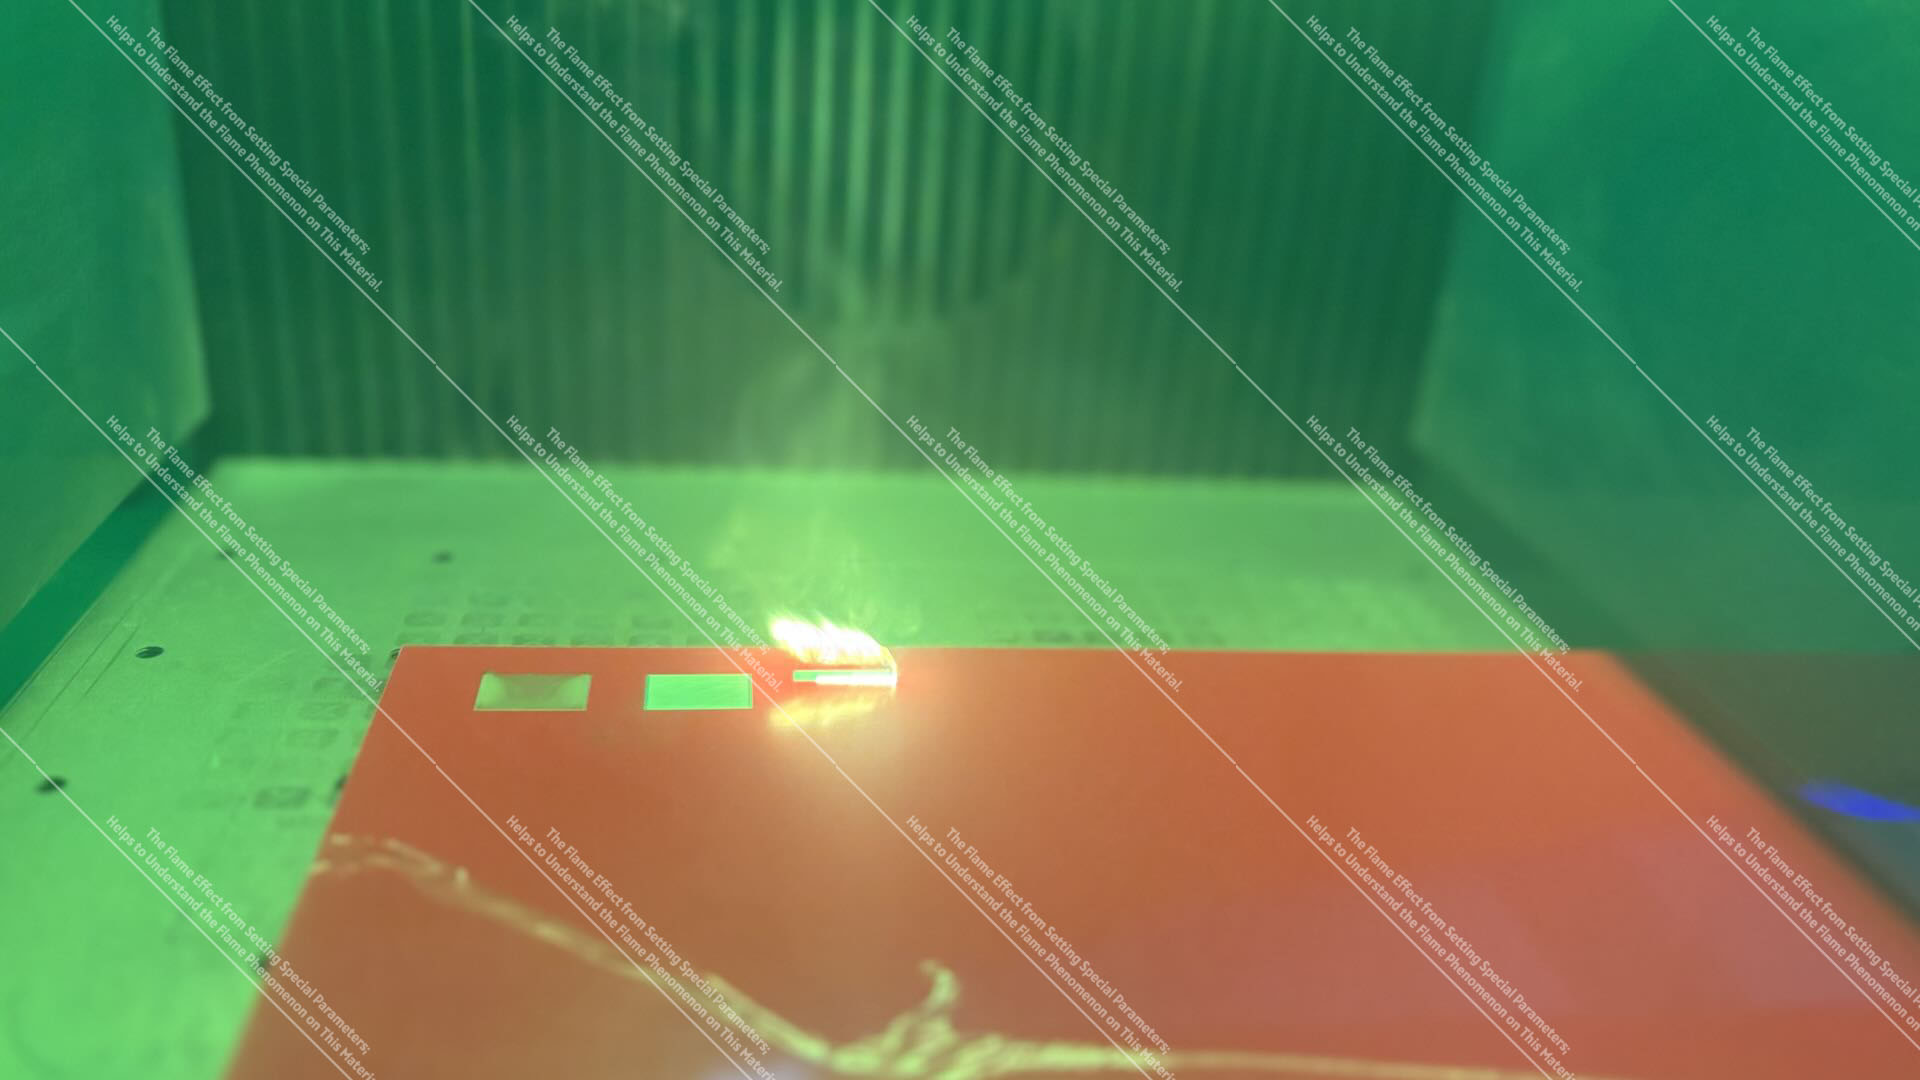
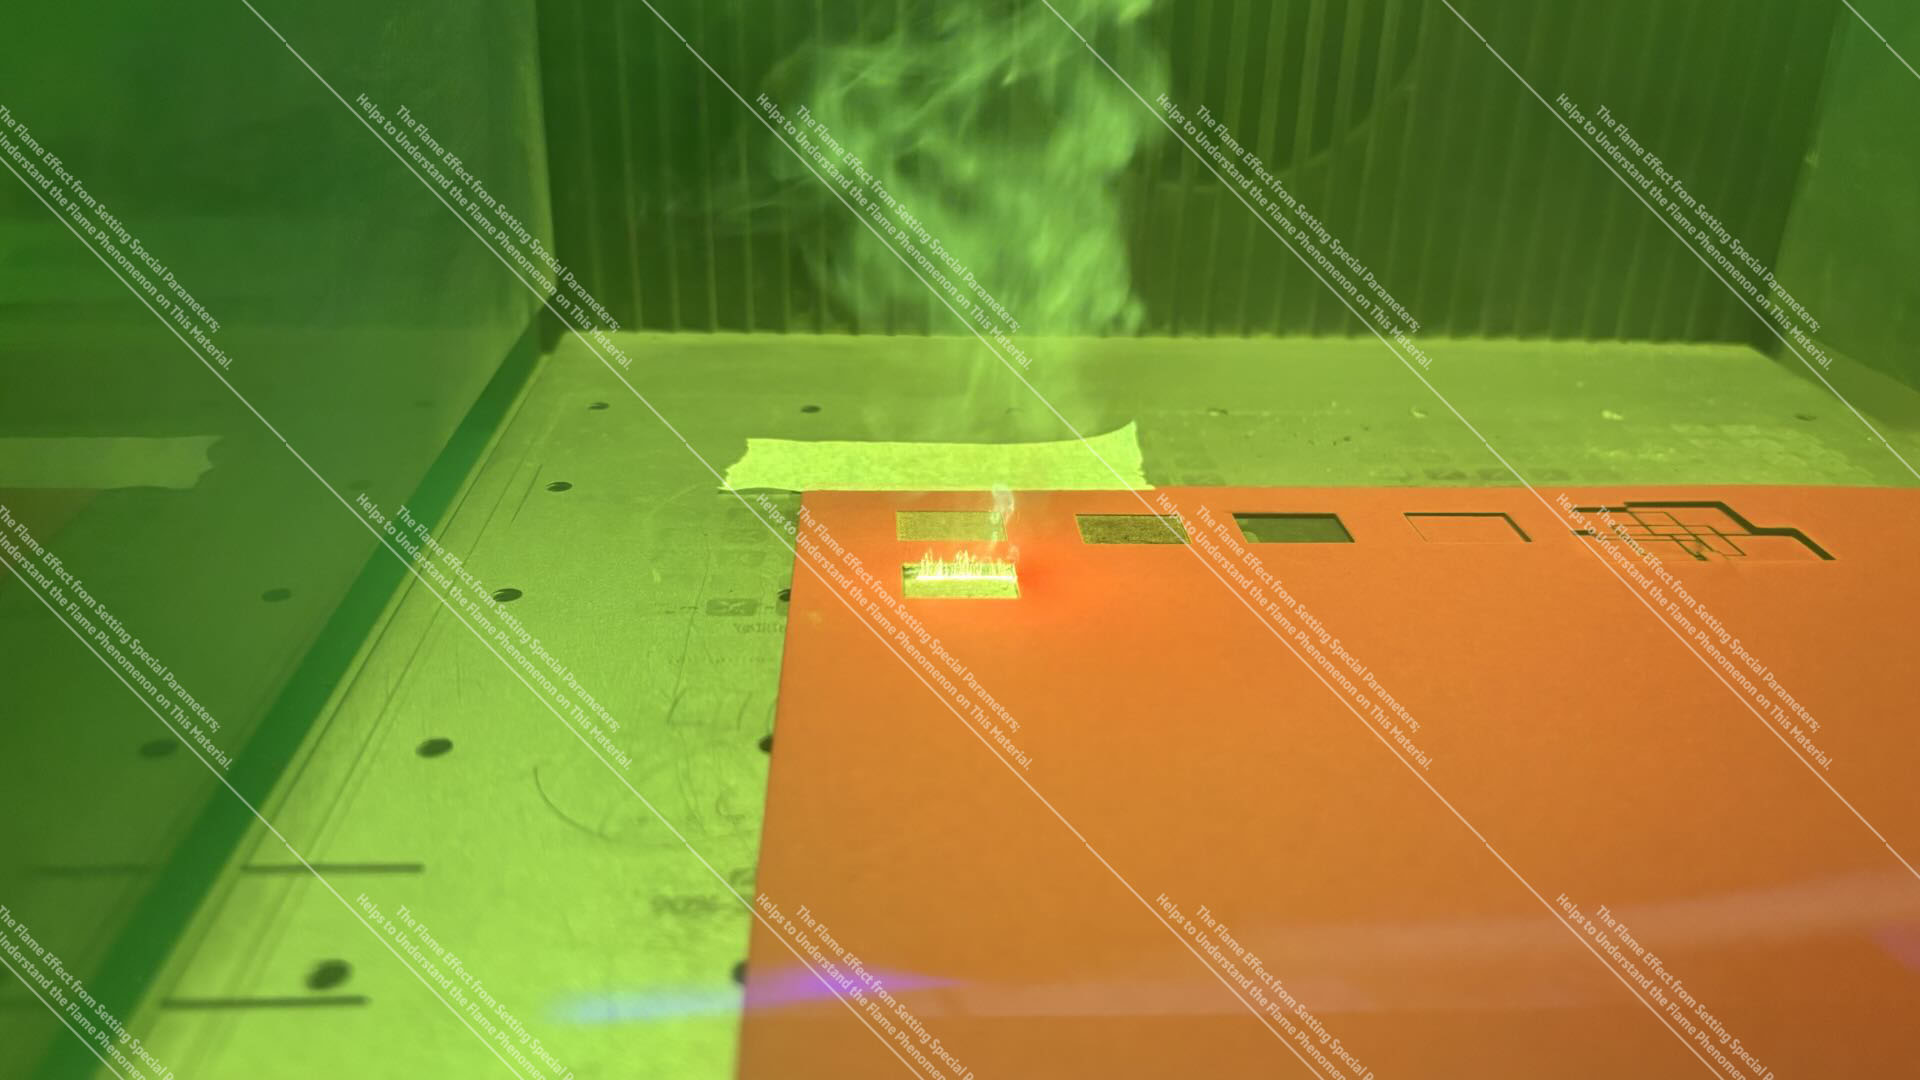
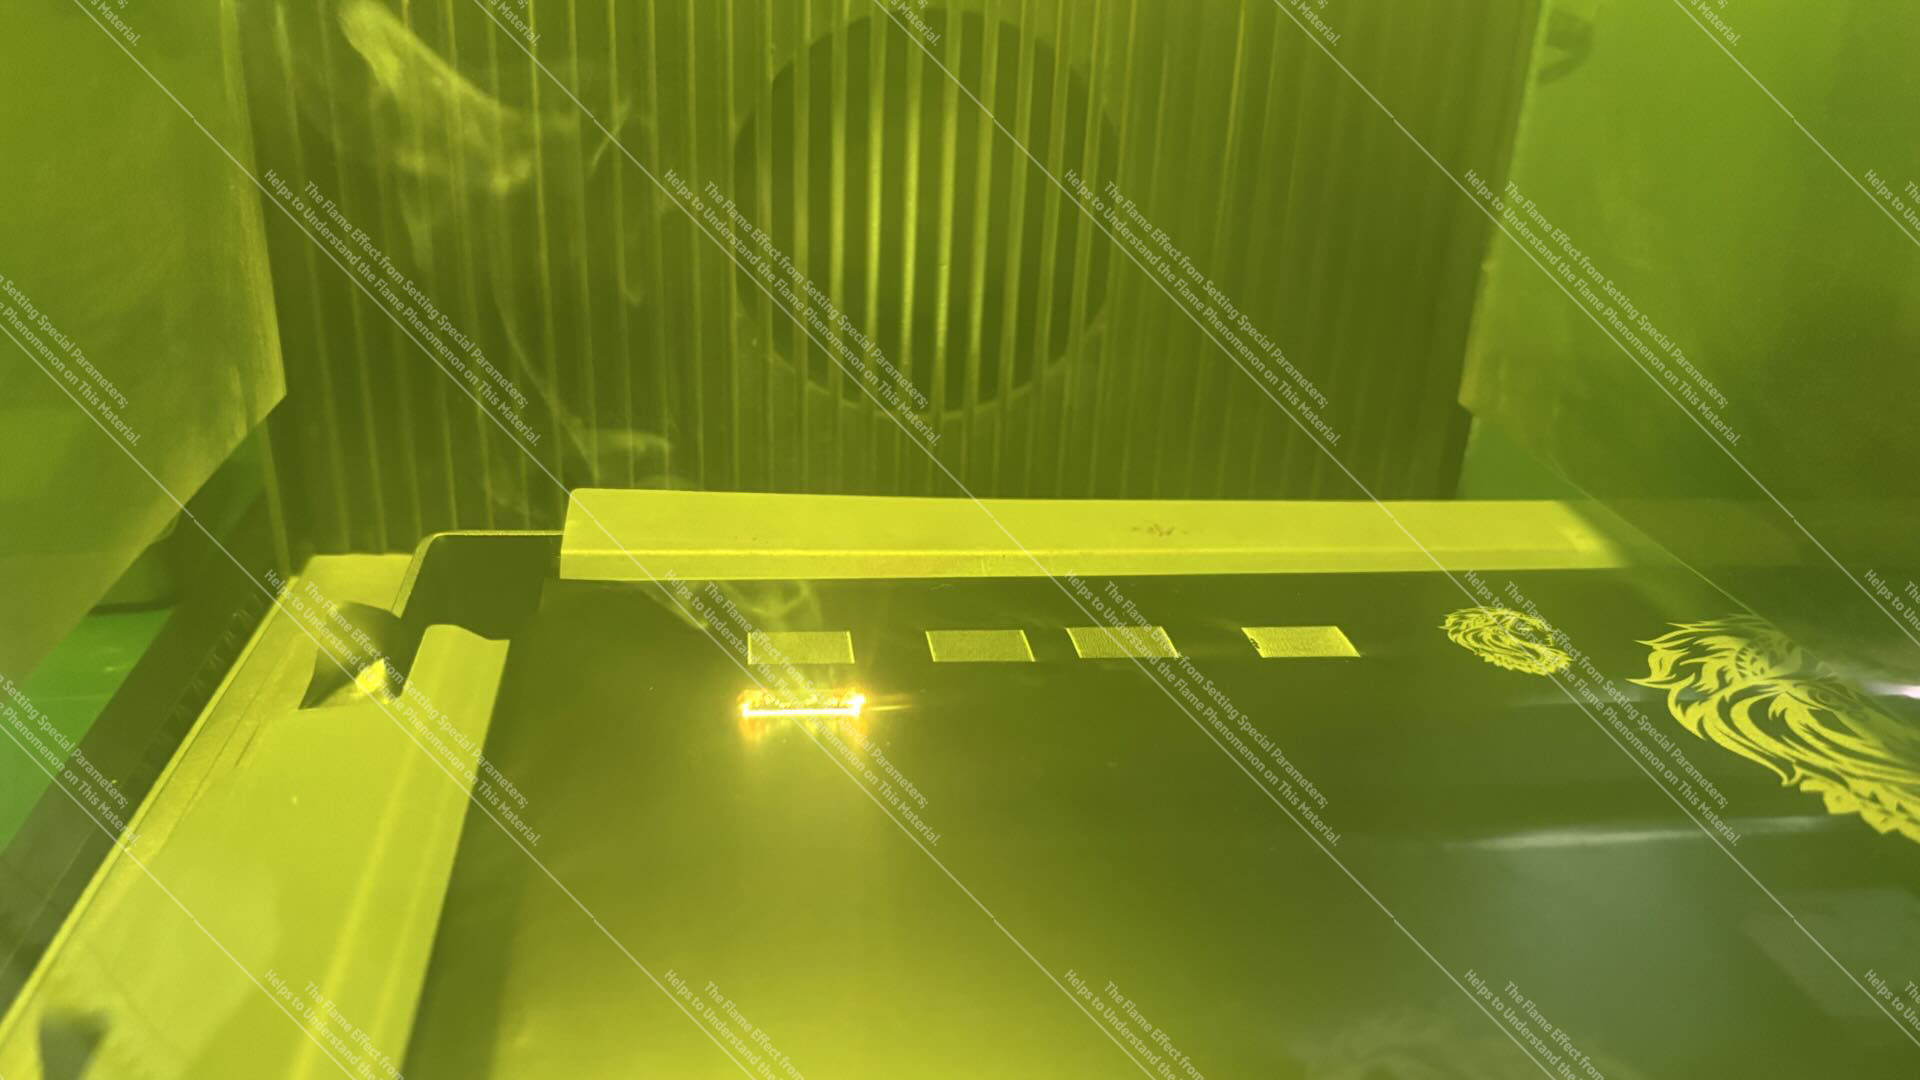
3.2 Flame Effects During Wood Processing
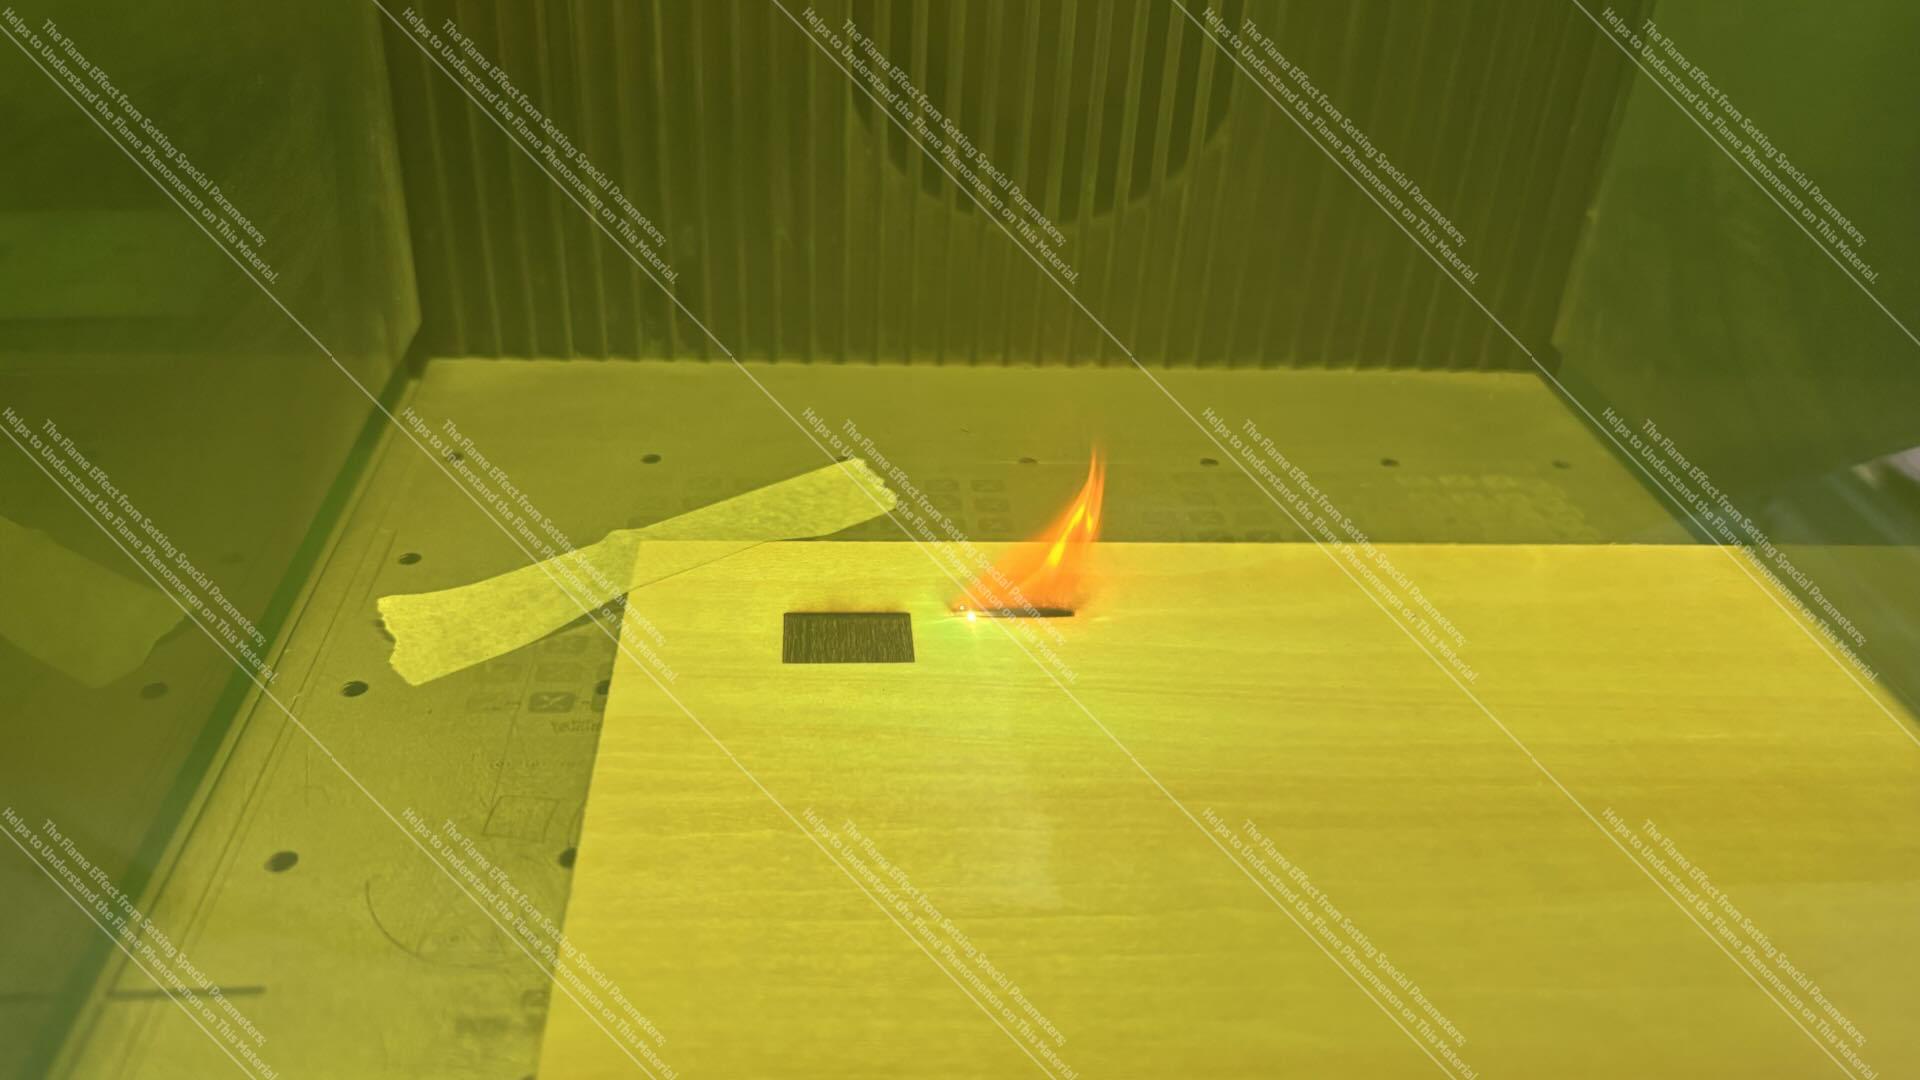
Plywood Fill Engraving Flame Effect
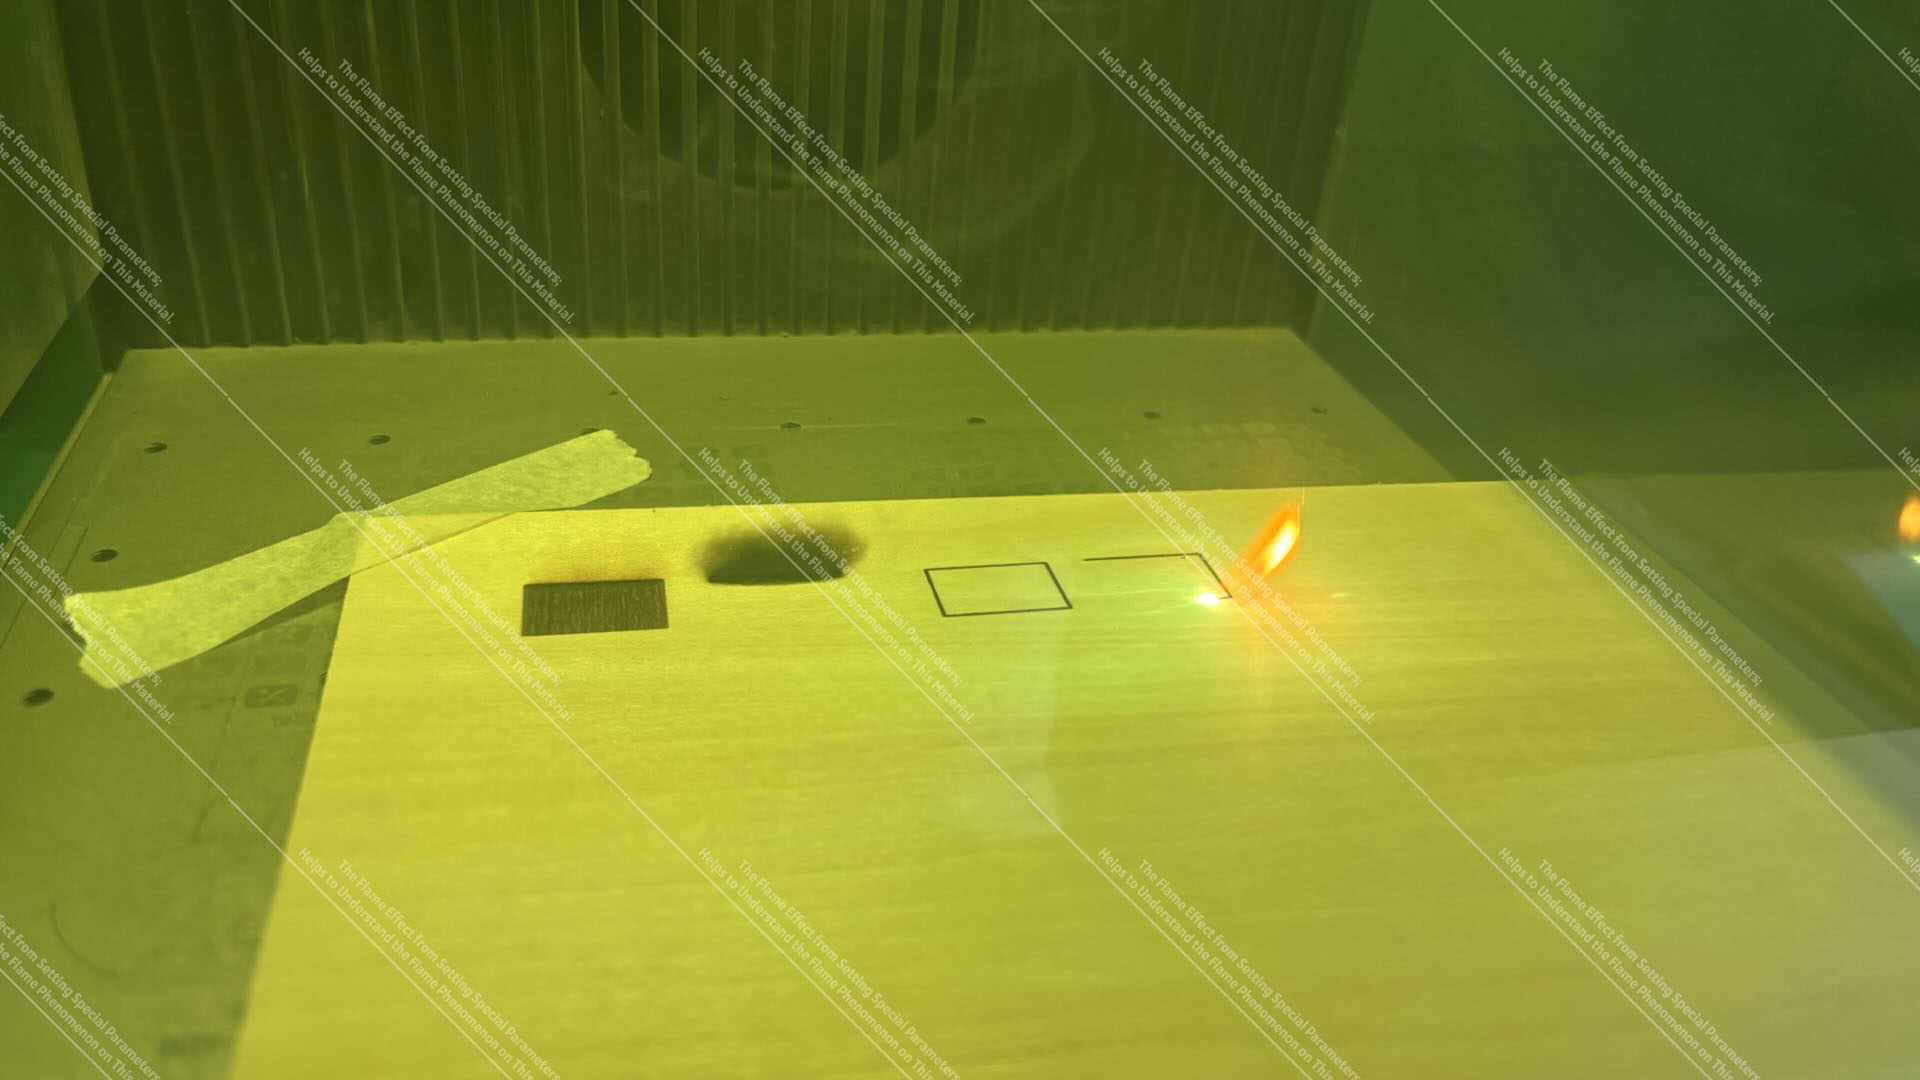
Plywood Cutting Flame Effect
Note: The flame effect shown in the image is generated by adjusting special parameters; it is intended to assist in understanding the flame effect phenomenon of this material.
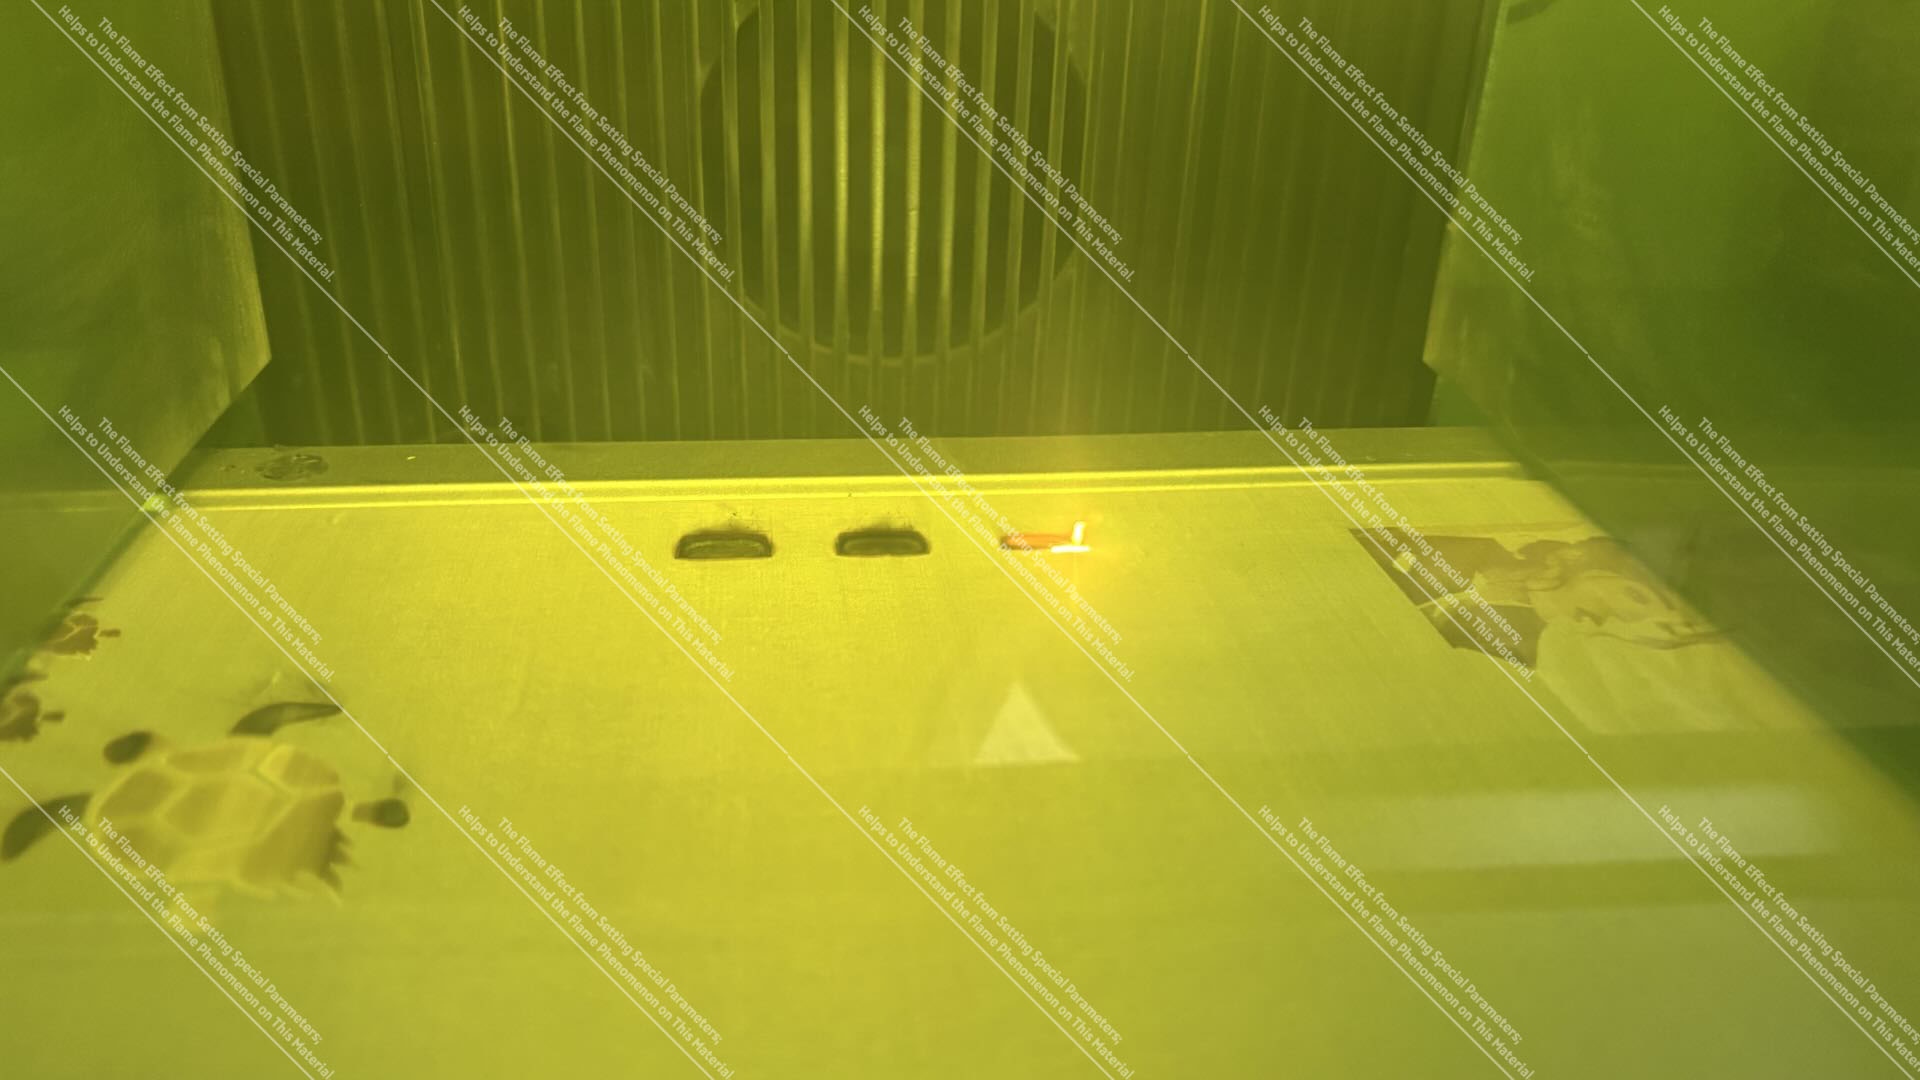
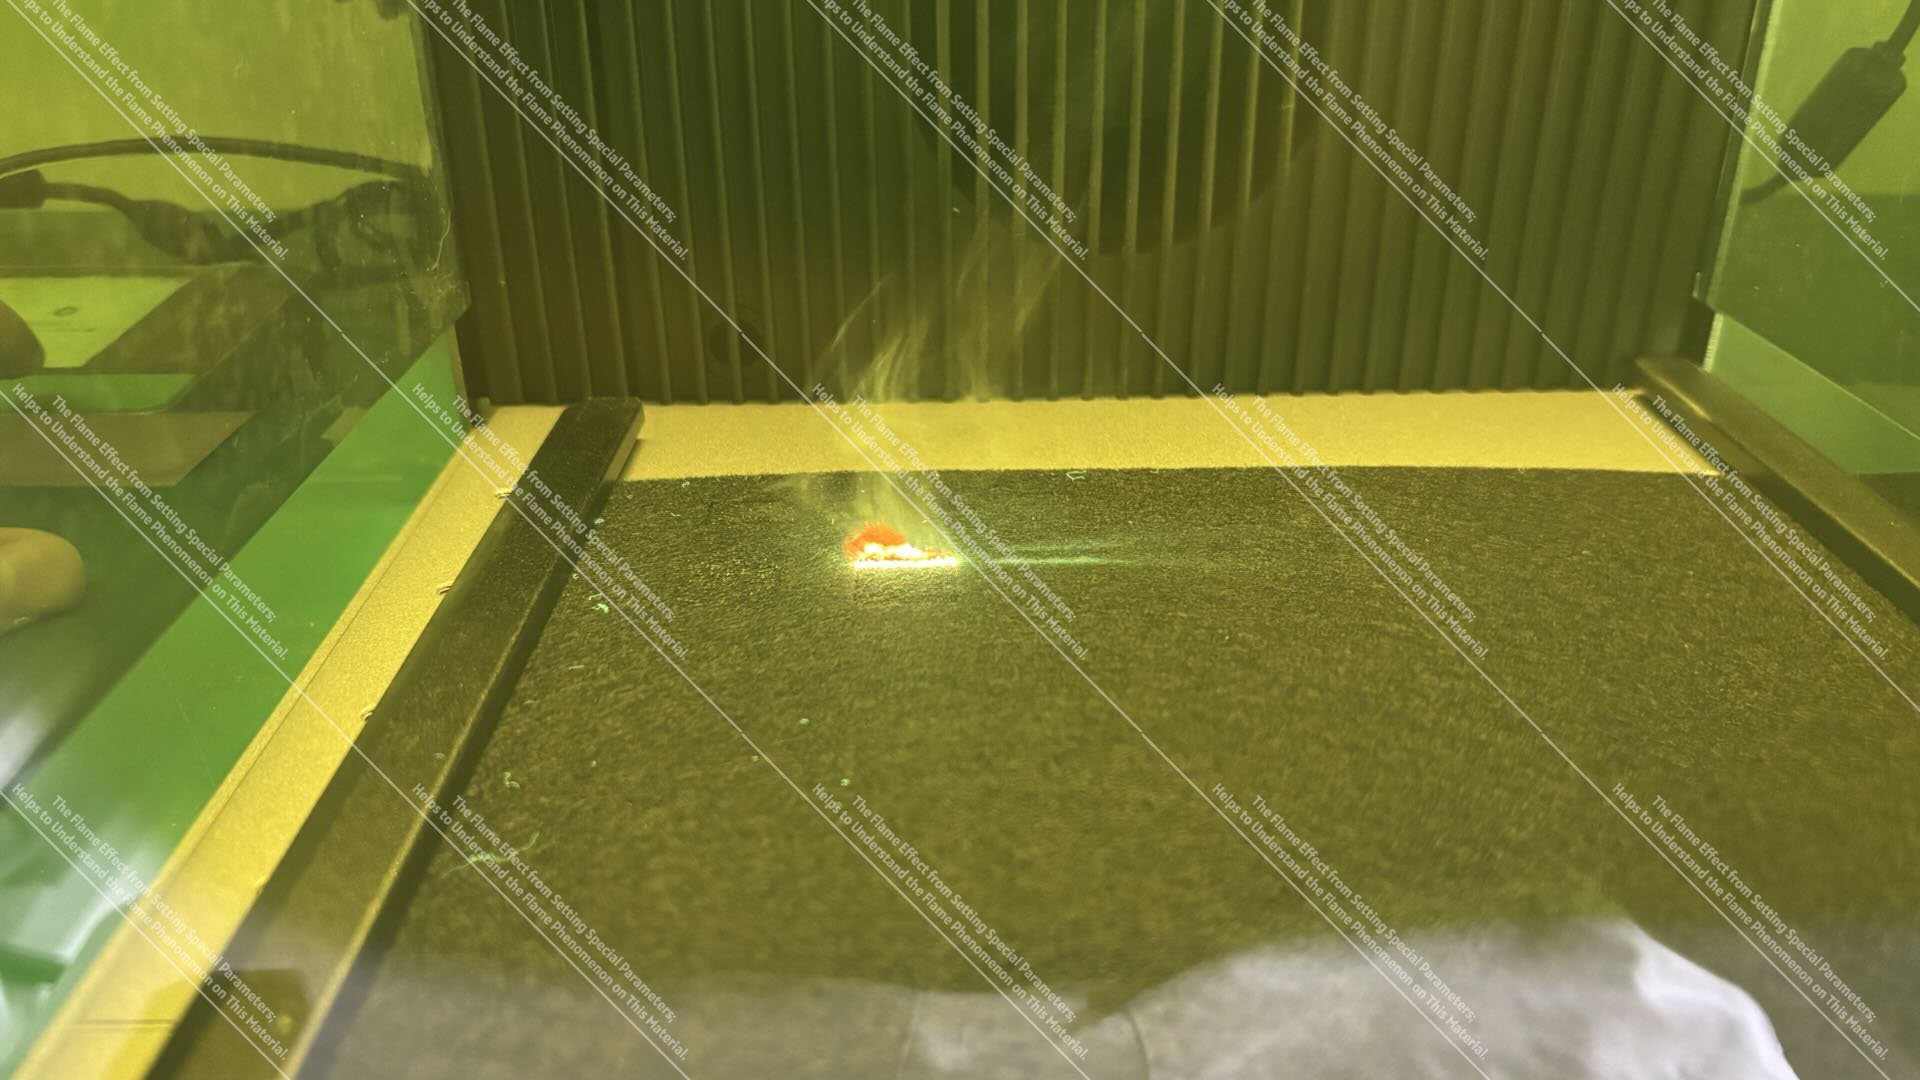
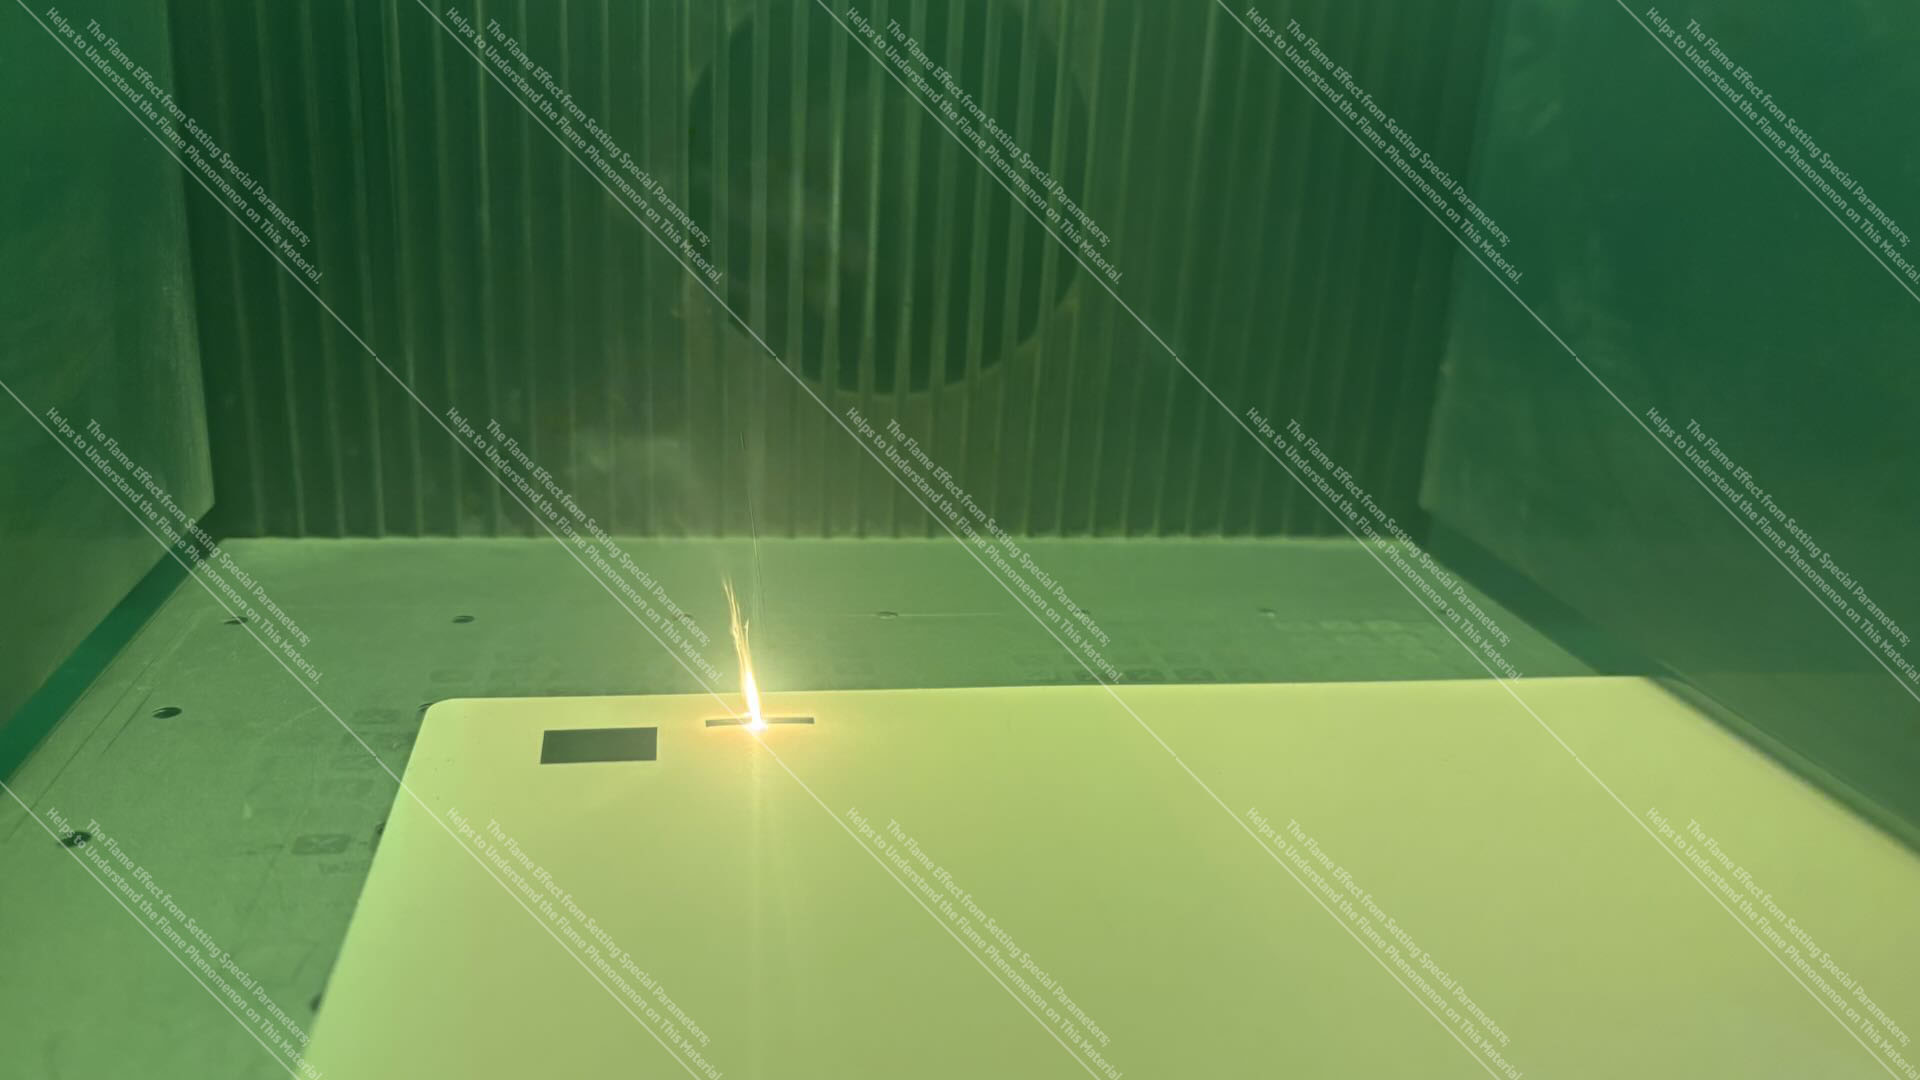
3.3 Flame Effects During MDF Processing
MDF Fill Engraving Flame Effect
MDF Cutting Flame Effect
Note: The flame effect shown in the image is generated by adjusting special parameters; it is intended to assist in understanding the flame effect phenomenon of this material.
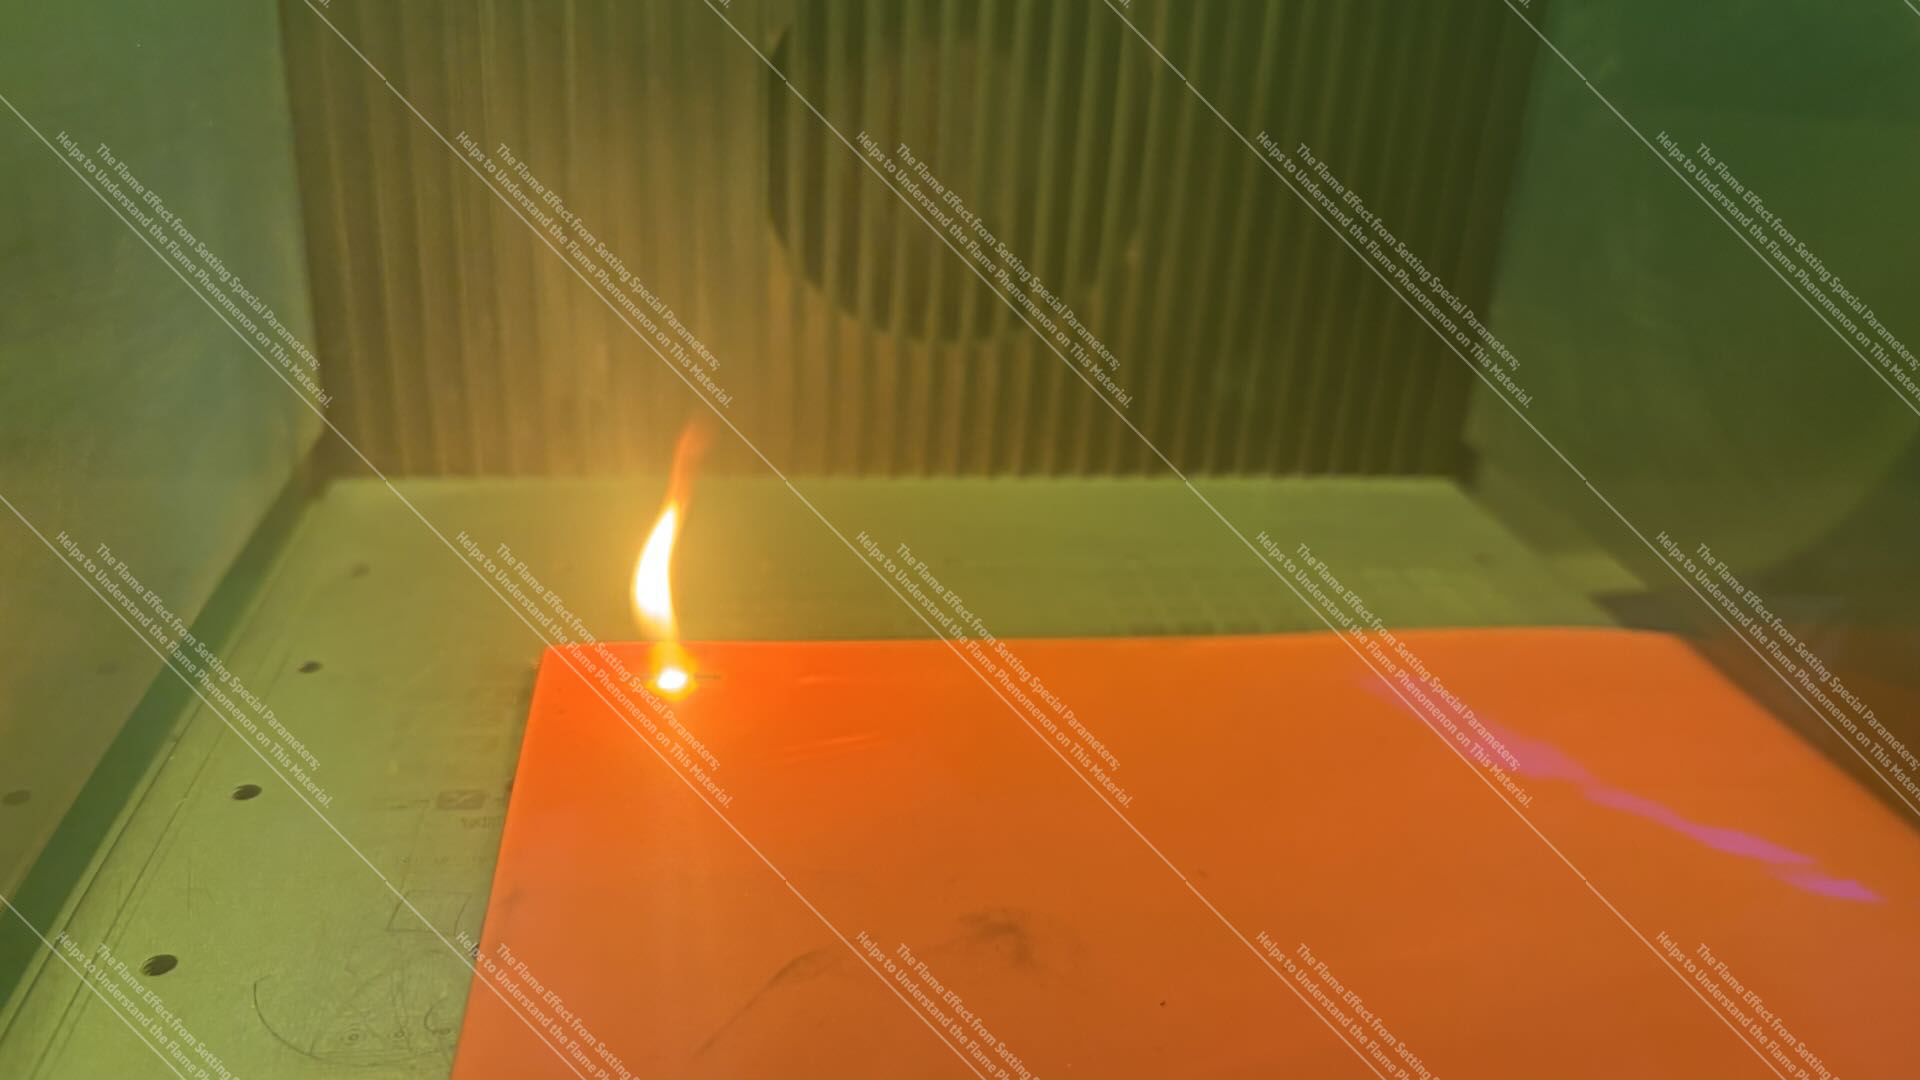
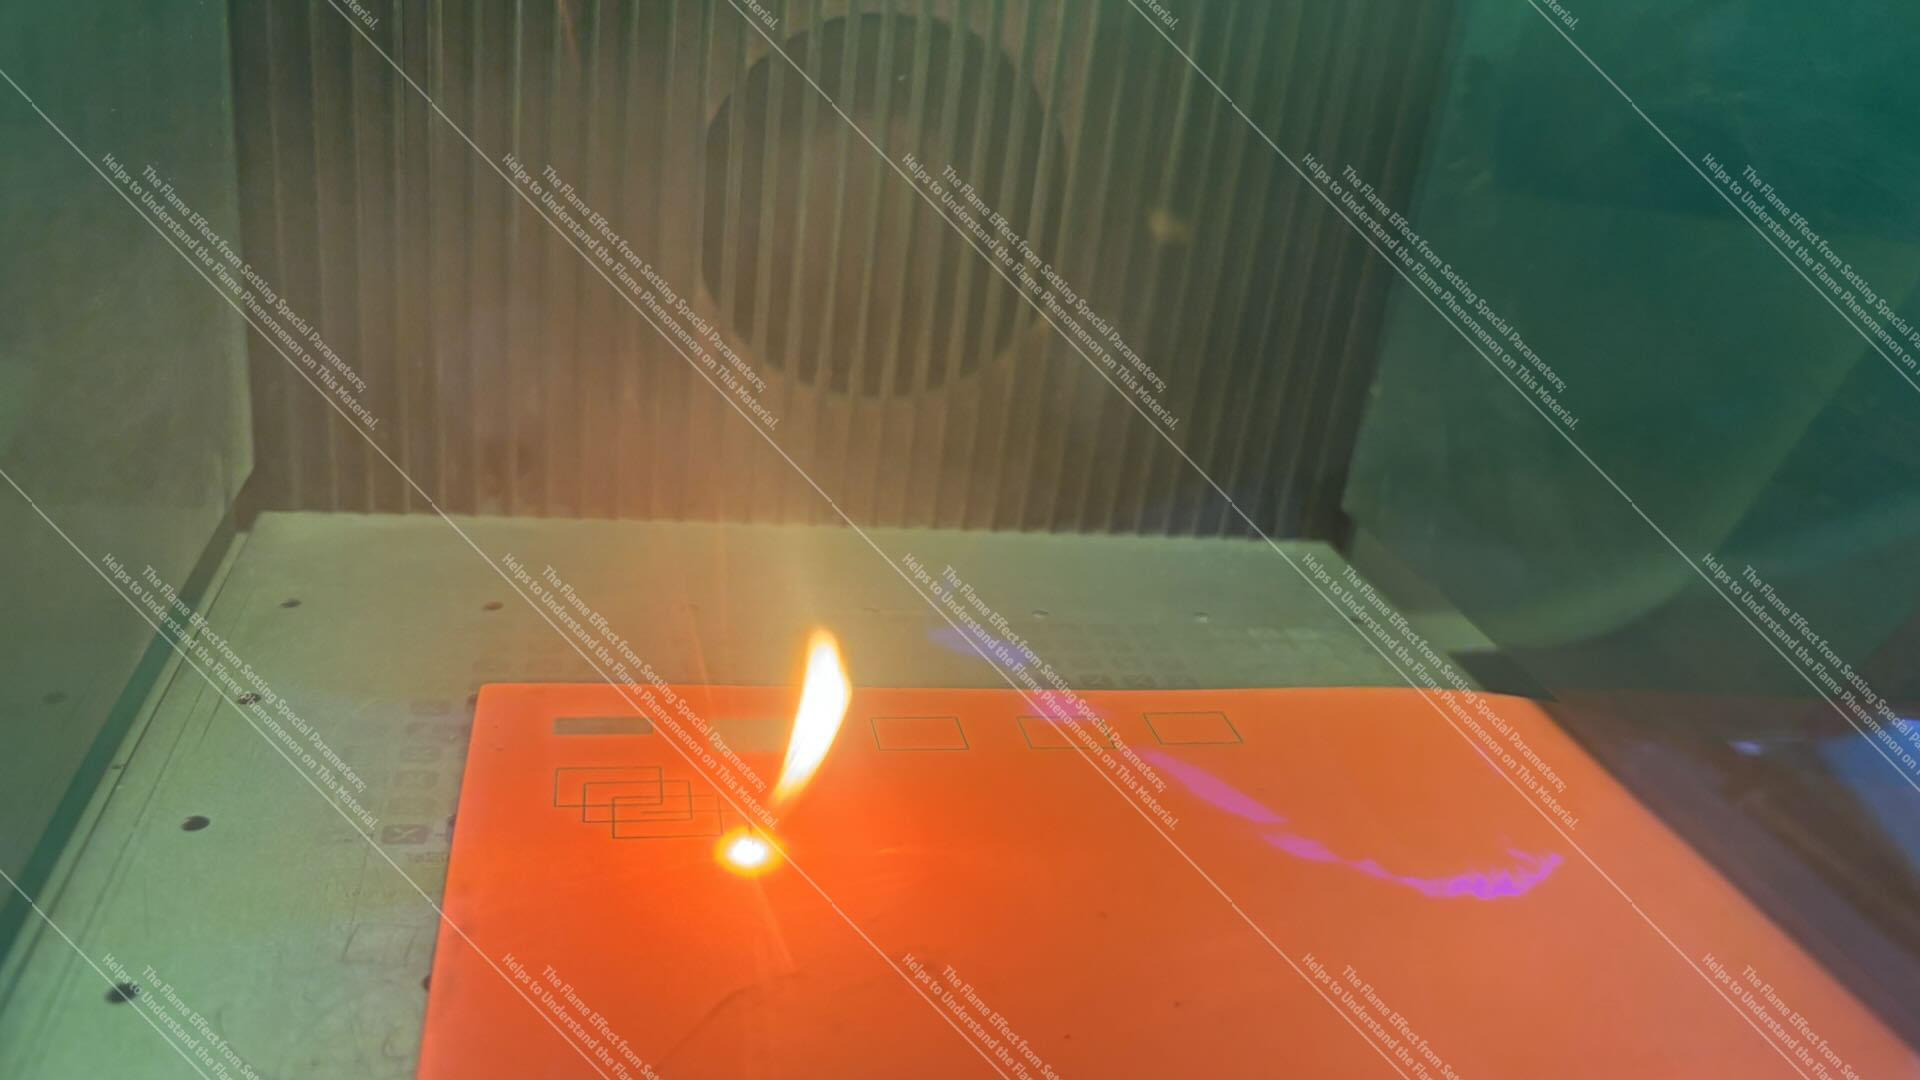
3.4 Flame Effects During ABS Processing
Note: The flame effect shown in the image is generated by adjusting special parameters; it is intended to assist in understanding the flame effect phenomenon of this material.
3.5 Flame Effects During Paper Processing
Cardboard Fill Engraving Flame Effect
Cardboard Cutting Flame Effect
Note: The flame effect shown in the image is generated by adjusting special parameters; it is intended to assist in understanding the flame effect phenomenon of this material.
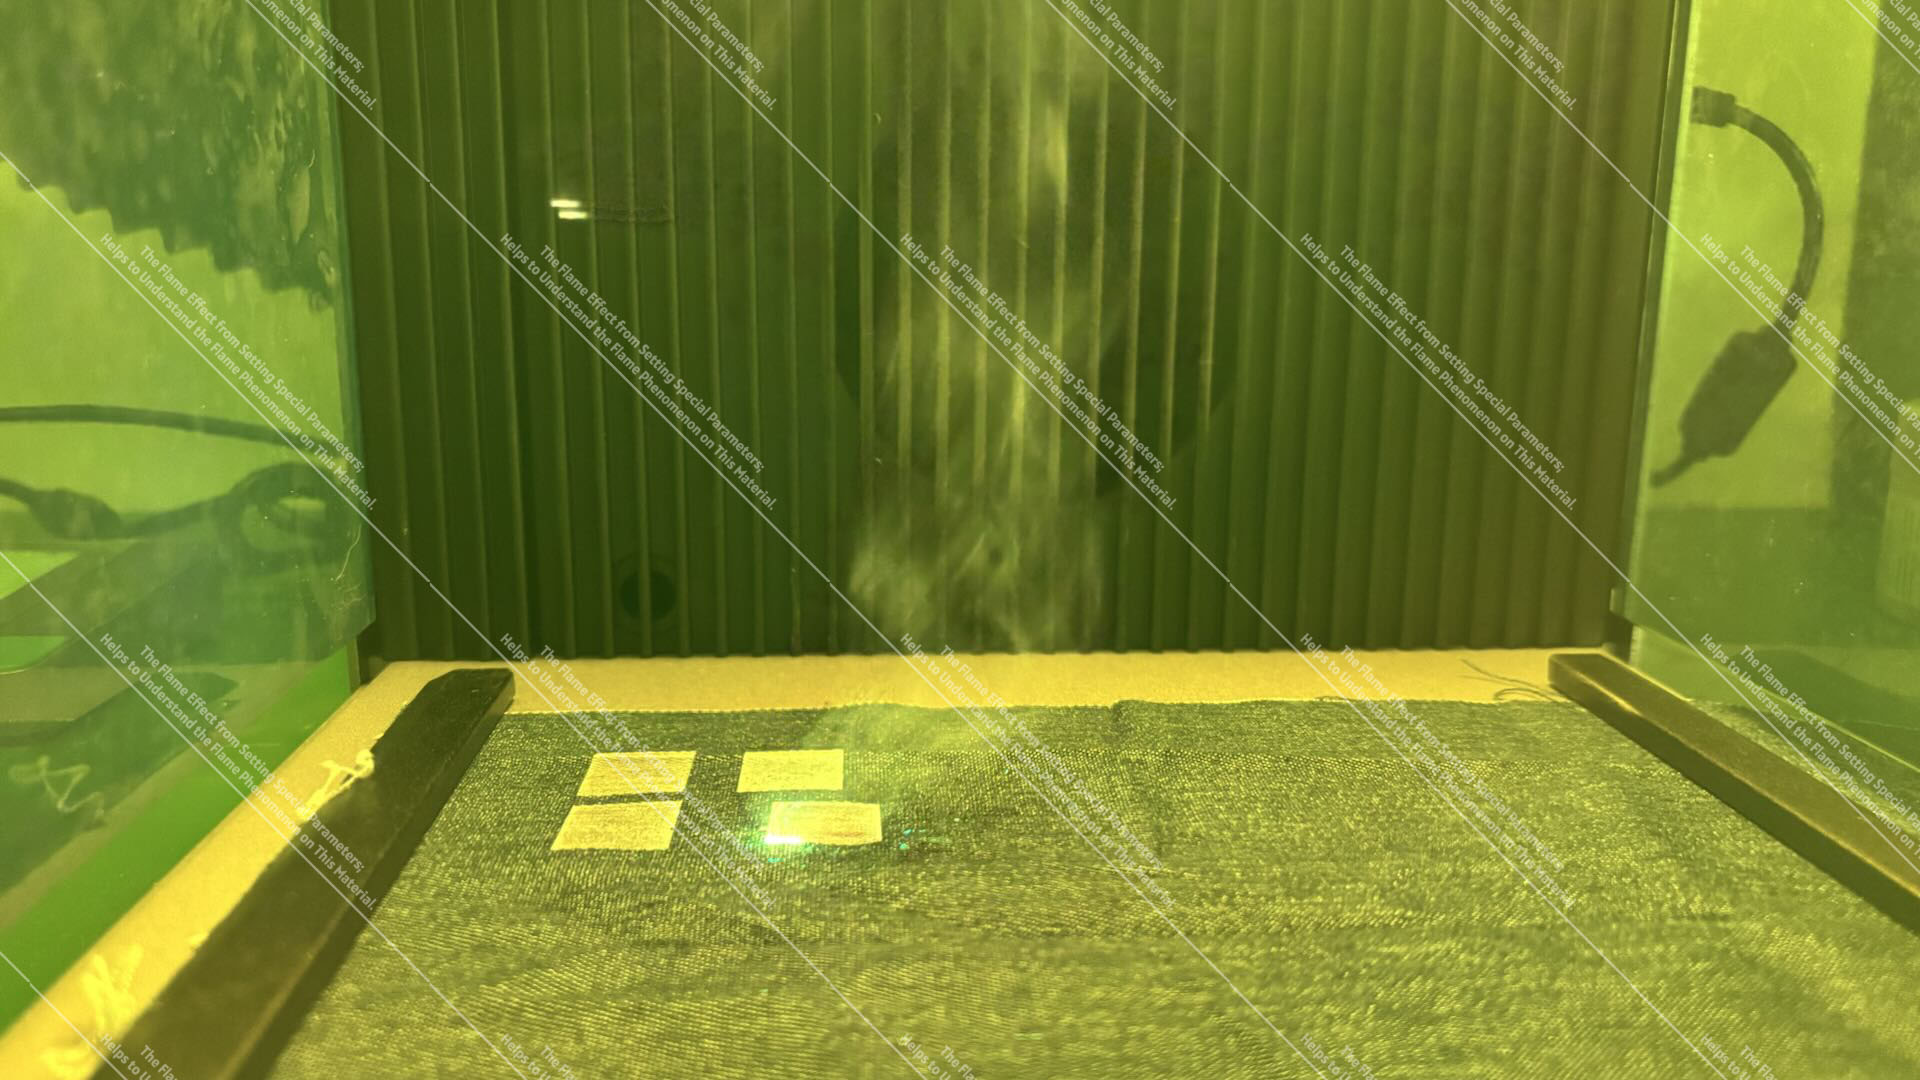
3.6 Flame Effects During Screen Processing
Blue Light Engraving Polyester Screen Flame Effect
Blue Light Engraving Coated Screen Flame Effect
Note: The flame effect shown in the image is generated by adjusting special parameters; it is intended to assist in understanding the flame effect phenomenon of this material.
3.7 Flame Effects During Fabric Processing
Denim Flame Effect
Felt Flame Effect
3.8 Flame Effects During Silicone Processing
Note: The flame effect shown in the image is generated by adjusting special parameters; it is intended to assist in understanding the flame effect phenomenon of this material.
3.9 Flame Effects During Stamp Material Processing
Rubber Fill Flame Effect
 Rubber Cut Flame Effect
Note: The flame effect shown in the image is generated by adjusting special parameters; it is intended to assist in understanding the flame effect phenomenon of this material.
