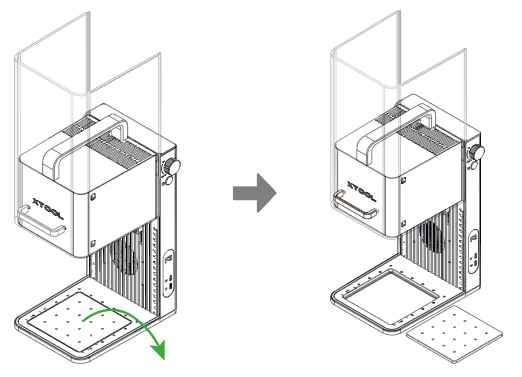
1. Remove the removable baseplate
Take out the removable baseplate from the base of xTool F2.
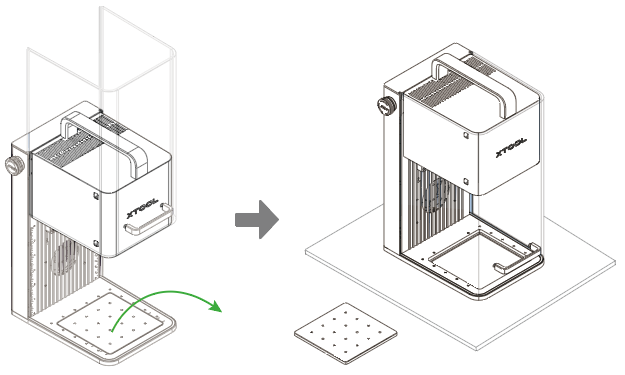
2. Place the material
Place xTool F2 on the material to be processed.
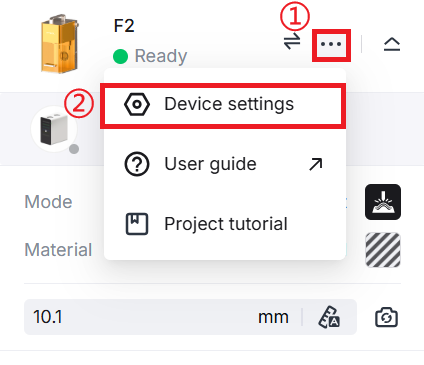
To process on sloping surface, you need to turn off the "Stops when moved" feature:on the top right corner of xTool studio, click the Device settings icon next to the xTool F2 image. Click Device settings from the navigation pane and turn off Stops when moved.
If the material surface to be processed is sloping, you can hold xTool F2 by its handle on the top and place it on the area to be processed.
Note: To process on sloping surface, you need to turn off the "Stops when moved" feature.
on the top right corner of xTool studio, click the icon and select Device settings. Click Device settings from the navigation pane and turn off Stops when moved.

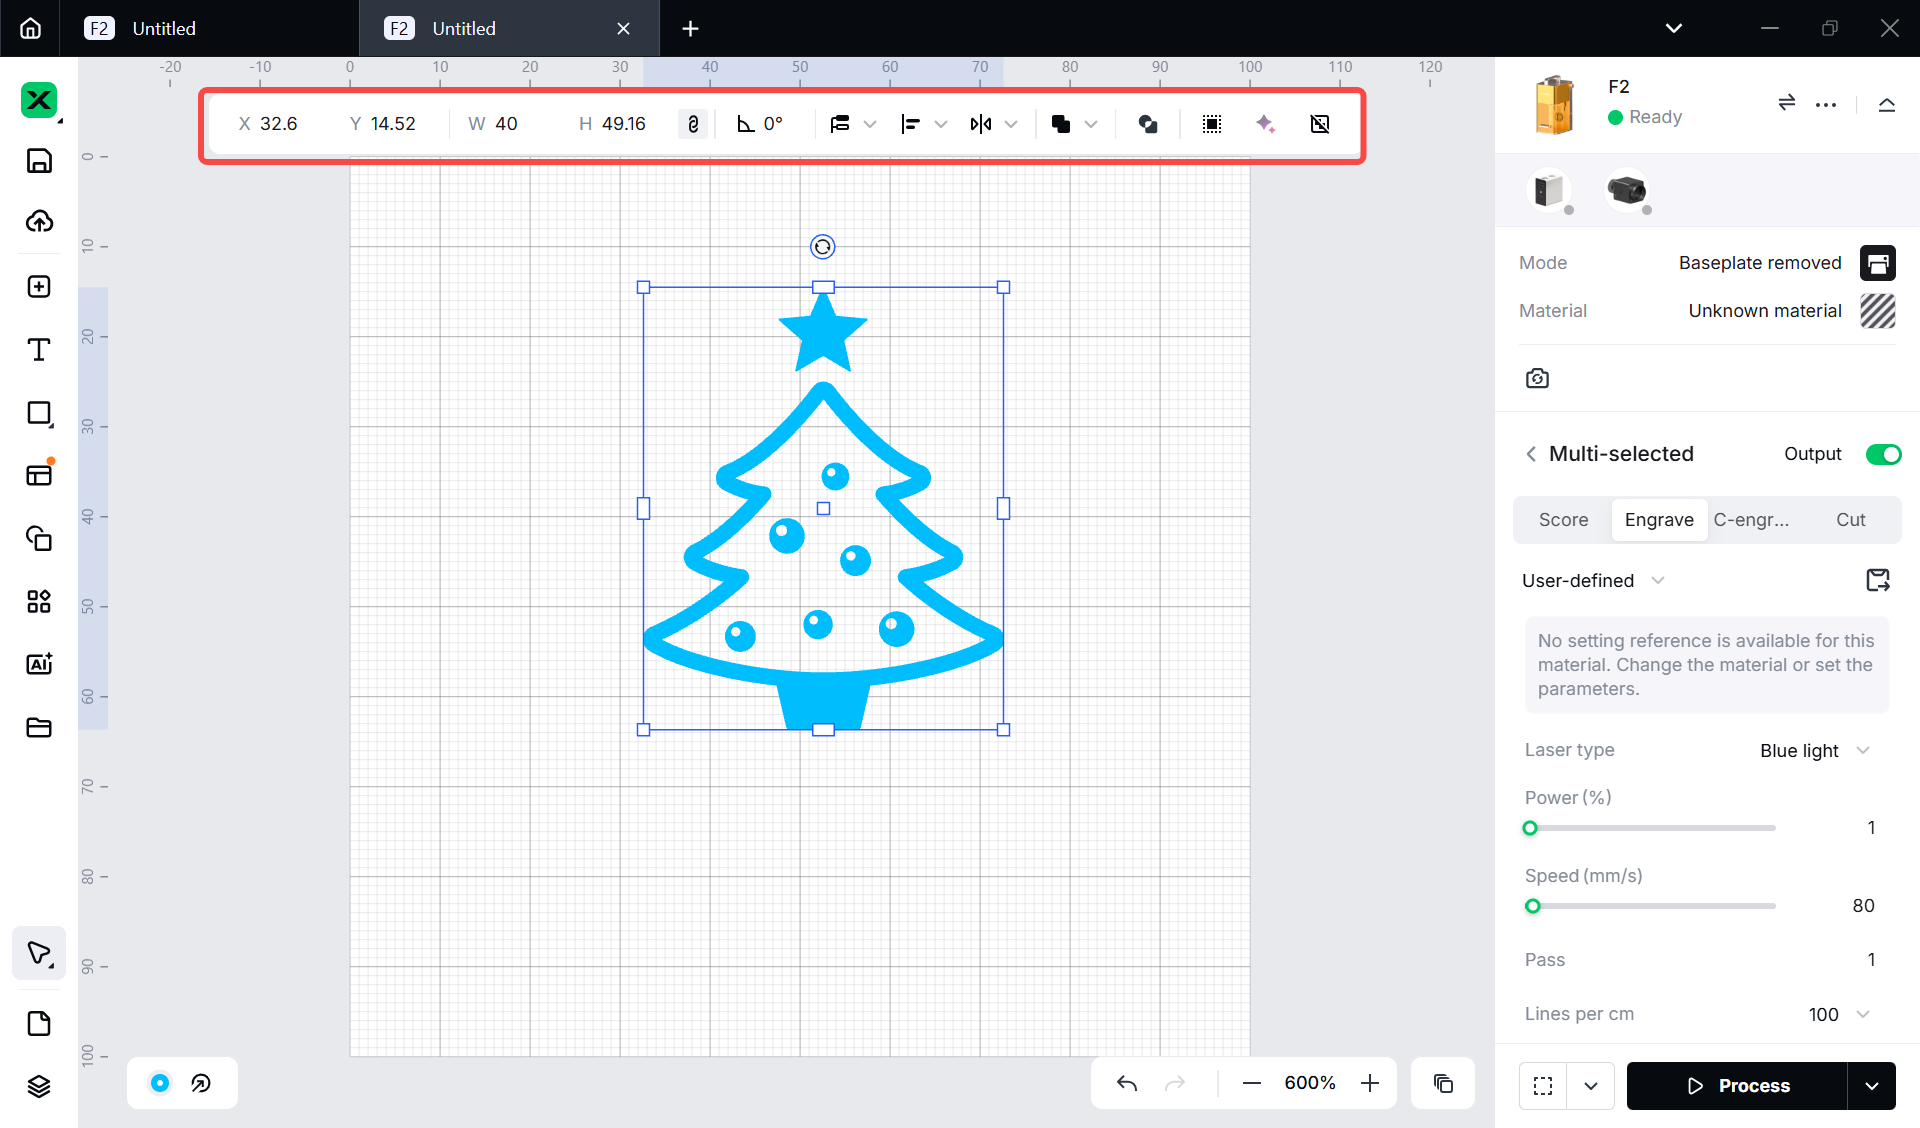
3. Select the processing mode and material name
(1) On the , select Baseplate removed.

(2) In the top-right corner, click Unknown material, select the type and the name of your material, and click Apply.
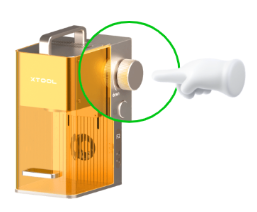
4. Set the laser focus
Turn the knob to move the laser module up and down. When the red and blue light spots coincide, the focus is successfully set.
5. Design objects for processing
(1) Use the tools to the left side of the canvas to create objects. You can import images, insert shapes, enter text, or draw vector graphics.
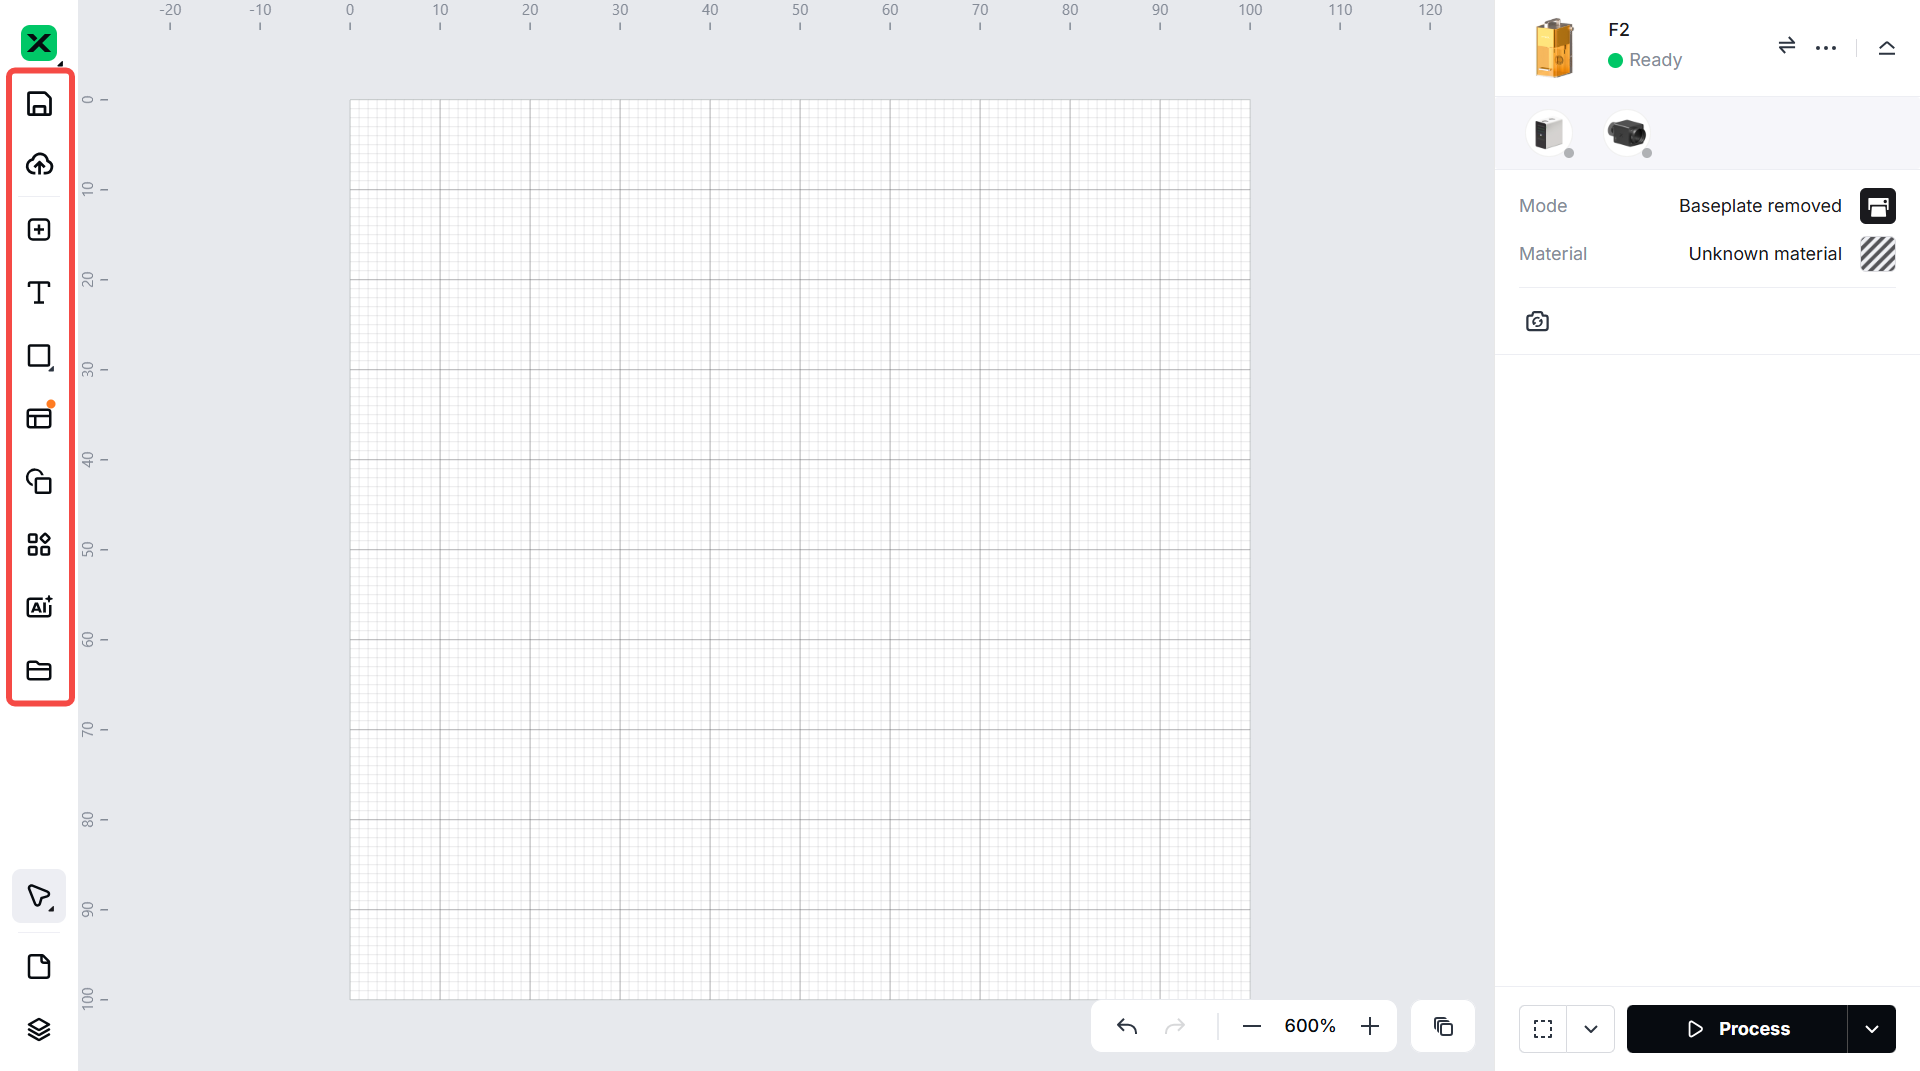
Note: xTool studio supports importing the following image formats: SVG, DXF, JPG, JPEG, PNG, BMP, etc.
(2) Select the objects to further edit them using the features above the canvas.
6. Set parameters for processing
Select objects on the canvas. Then, set parameters for the selected objects on the right panel.
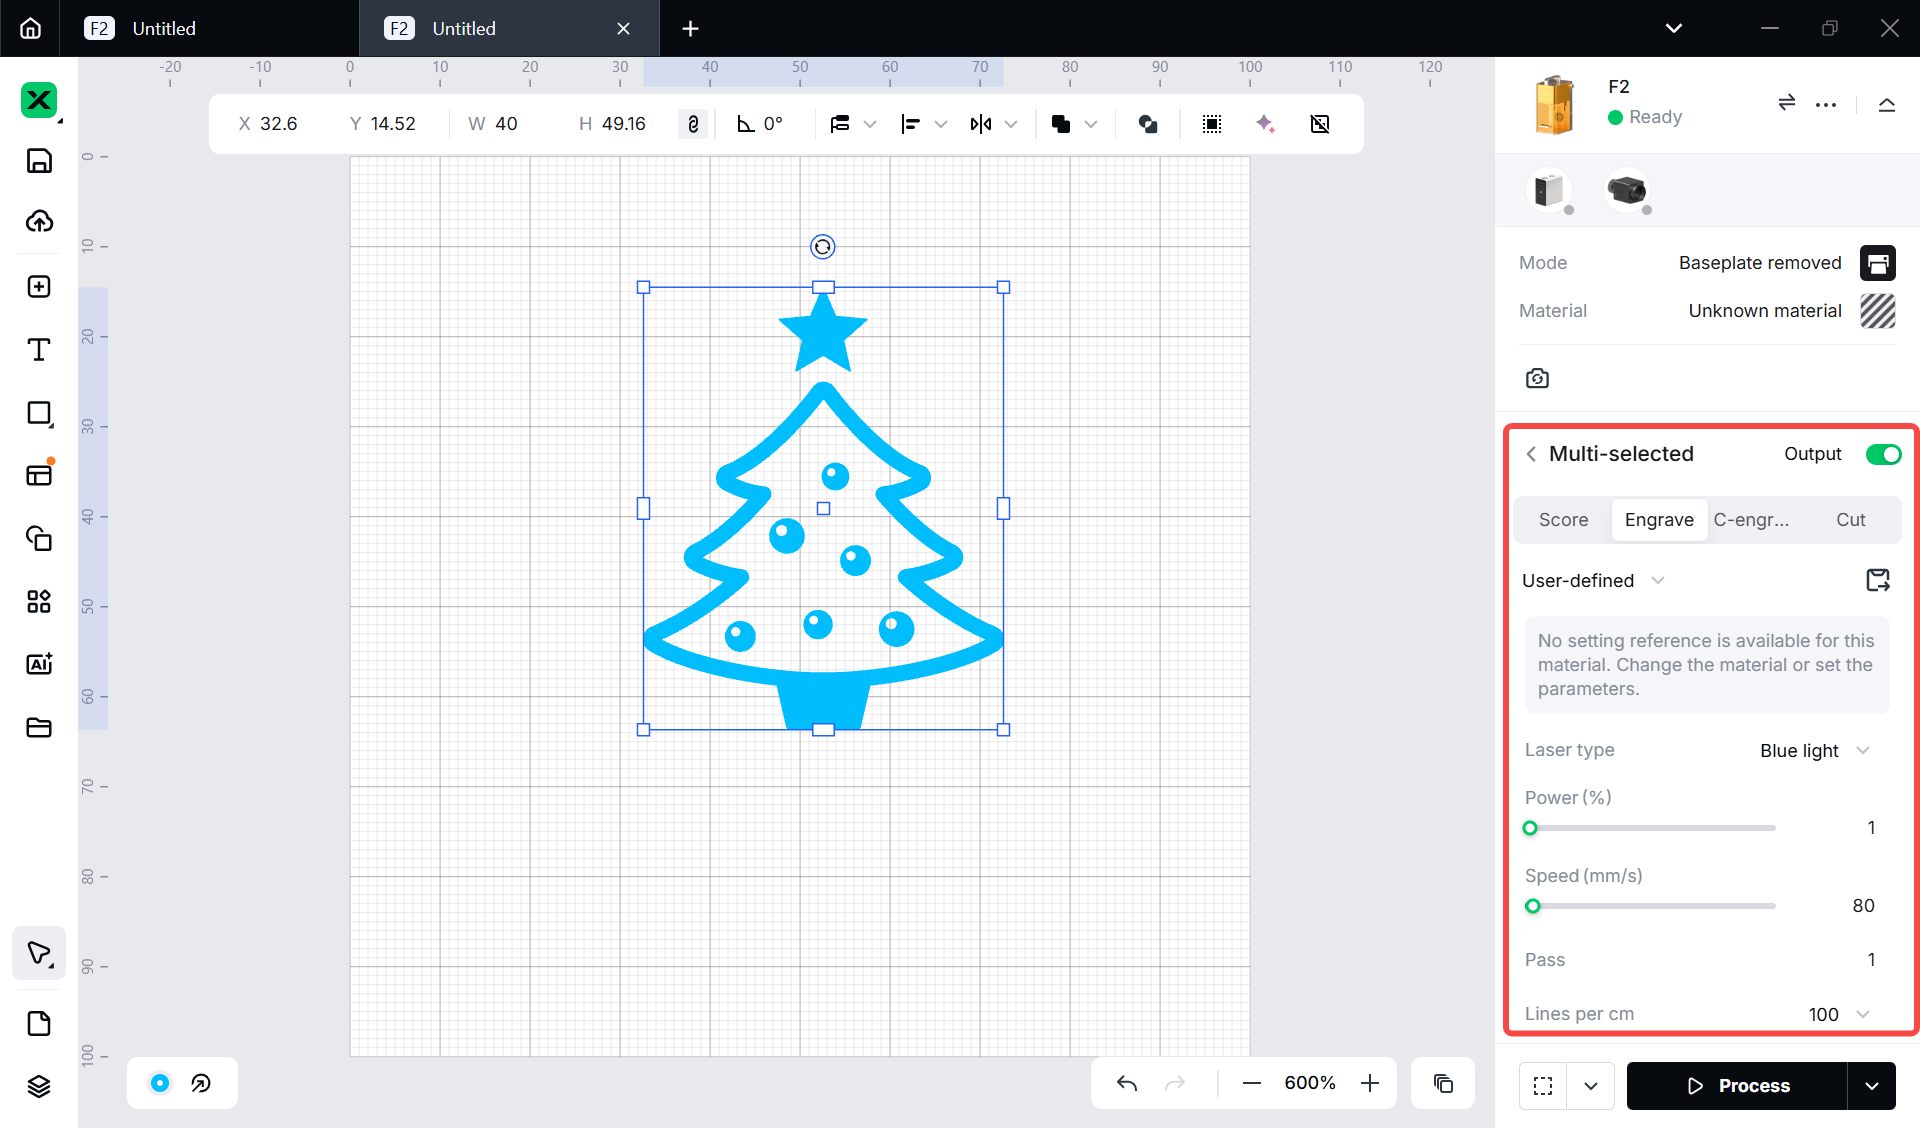
Note:
- You need to set parameters for every object. A missed object may fail to be processed.
- The parameters that can be set for bitmap objects and vector objects are different. You can select multiple objects of the same type and set parameters for them at once.
7. Preview the processing area
You can preview the processing area on the material by framing. Framing means laser dots walk along the border of the processing objects on the material. Take the following steps to start framing:
(1) Click the icon next to the Framing button
to set the parameters for framing.
- Light power: Sets the laser power for framing.
- Mode:
In the Rect mode, laser dots walk along the rectangle border of the processing objects.
In the Outline mode, laser dots walk along the outline of the processing objects.
In the Polygon mode, laser dots walk along the polygonal path defined by the object's vertices.
(2) Close the protective enclosure and click the Framing icon in the software, the laser dots will move along the boundary of the processing objects on the material, allowing you to preview the processing area.
To stop framing, click the button again.
If the area is not ideal, you can adjust the element positions in xTool studio during framing. xTool F2 will adjust the framing area accordingly, allowing you to preview the processing area in real-time.
8. Start processing
(1) On the bottom right corner of the software, click Process.
(2) Preview the processing pattern and path.
On the bottom-left corner, click the icon, and xTool Studio will show you the processing path.
(3) Close the protective enclosure. In the bottom right corner of xTool Studio, click Start.
(4) When the software shows “Ready”, press the Start/Stop button on xTool F2 to start processing.
Services & Help
Learn & Education

Copyright © 2025 xTool All Rights Reserved.