1. Material Kit
1.1 Self-Inking Flash Stamp Set
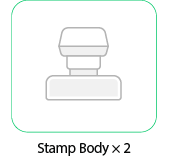
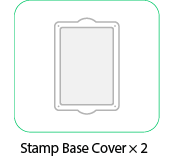
What's in the Box
1.2 Self-Inking Flash Stamp Pad
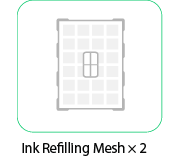
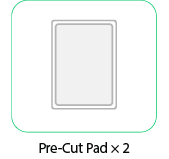
What's in the Box
2. Preparation Before Use
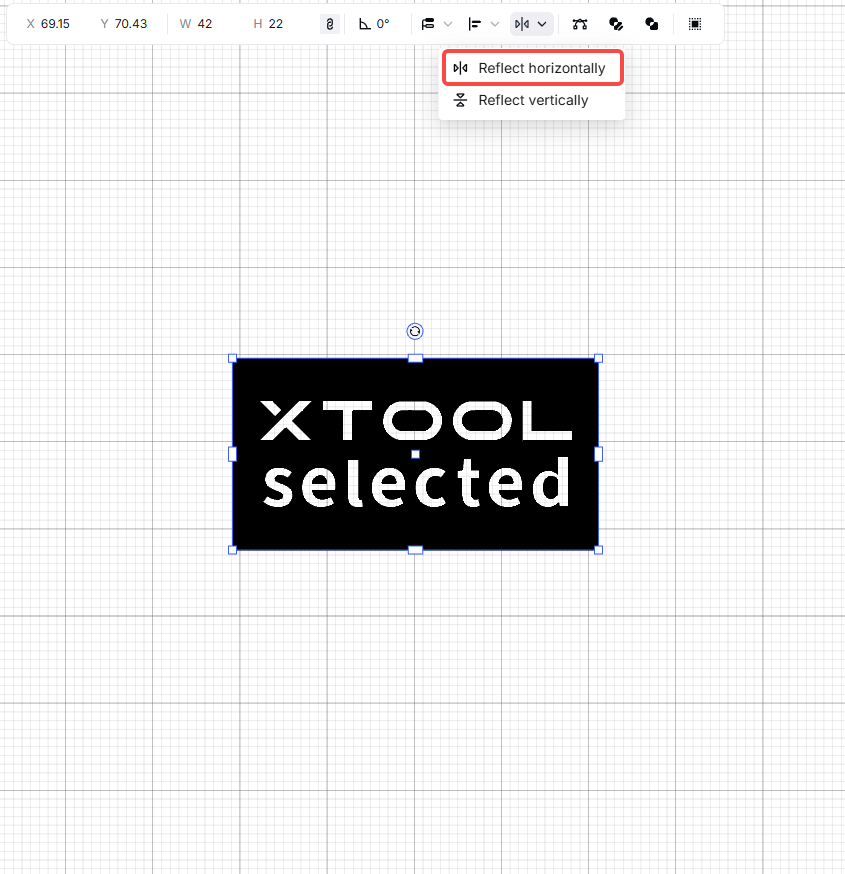
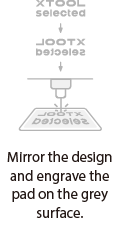
2.1 Mirror Design Before Laser Engraving:
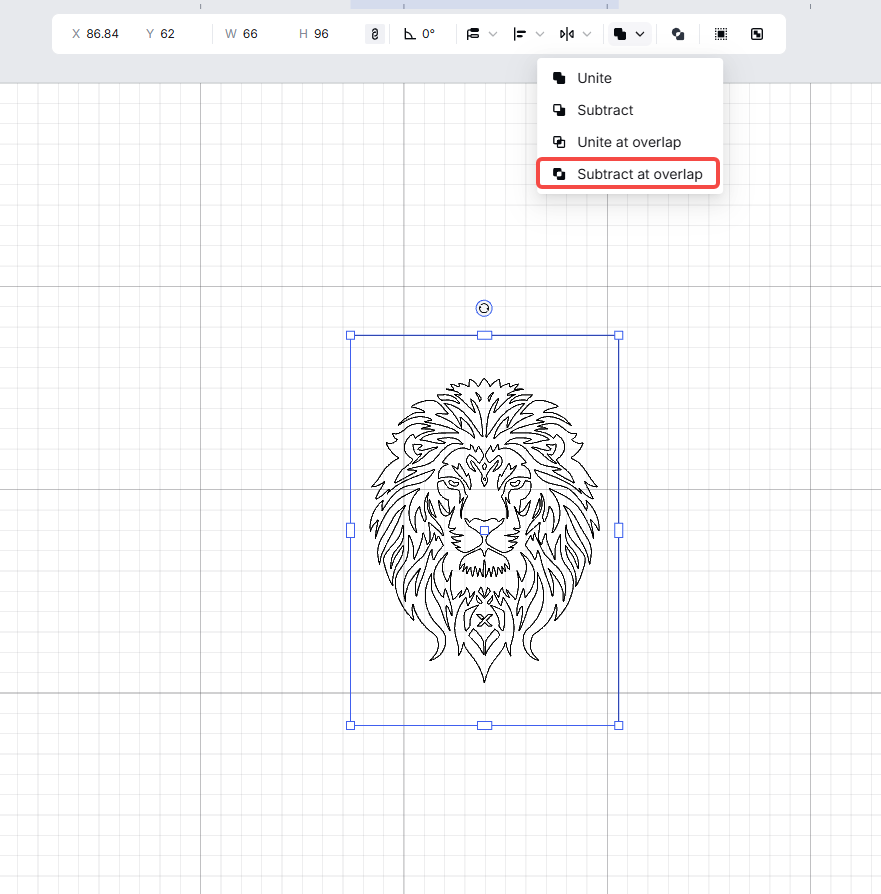
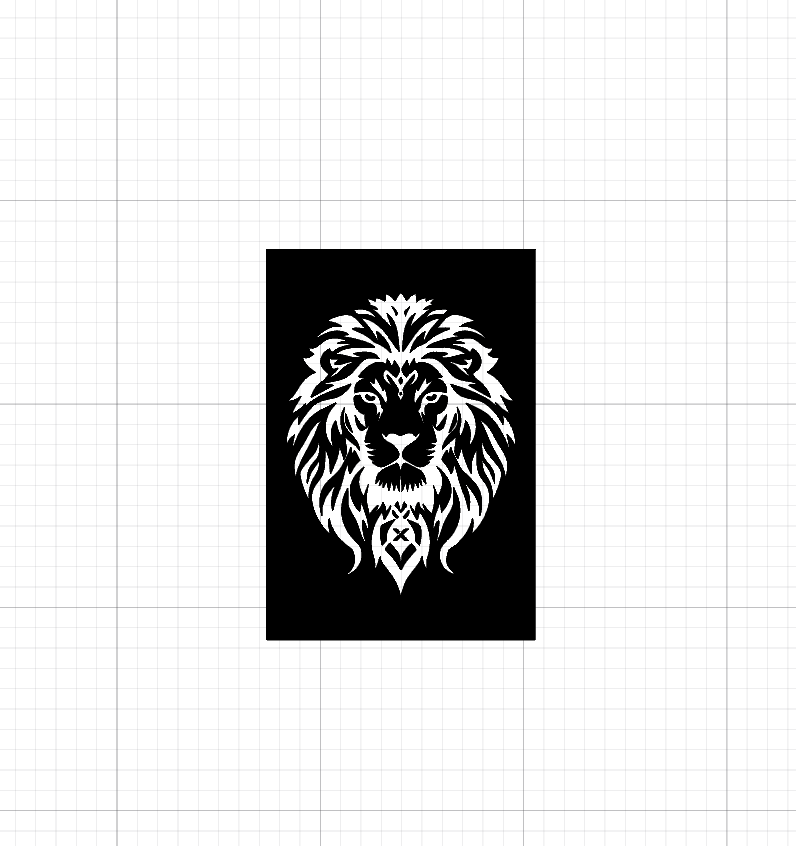
Set your design as a mirror image, The unengraved areas will remain and show color wheen stamped, so please pay attention to this during design and engraving. Recommended line thickness for engravingg:≥0.8 mm.
2.2 Gasket Installation Orientation:
Place the gray side facing upward in the machine’s working area for laser engraving. Install the white side facing upward in the stamp case for inking and stamping.
2.3 Color-Rendering Area of the Stamp Image:
Unengraved areas = color-rendering regions. Ensure the unengraved parts align with the areas where ink should appear on paper.
2.4 Two Types of Photosensitive Pads:
Pre-Cut Pad:
Only requires laser engraving of the design.
Uncut Pad:
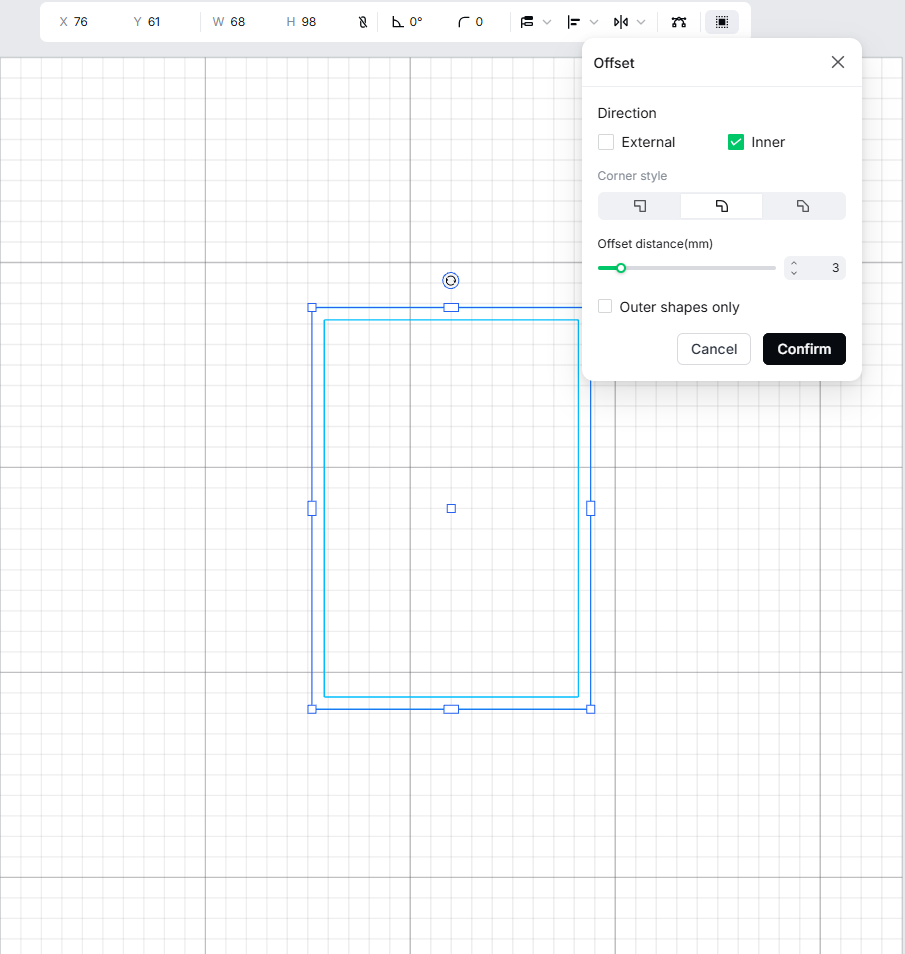
Requires laser engraving of a stepped groove first,then engraving the design To form the stepped groove, laser-engrave a guiding groove around the edge. Use a knife to cut the recessed groove and remove the gray-side edge to fit the retainingg-ring structure. Finally, perform one additional fill engrave to seal the edge. Engraving parameters for the stepped groove are available in EasySet.
2.5 Parameter Adjustment (Reducing Ink Seepage or Holes):
Based on matrix testing, moderately increase total energy (higher power/lower speed) to significantly reduce surface holes and improve engraving stability.
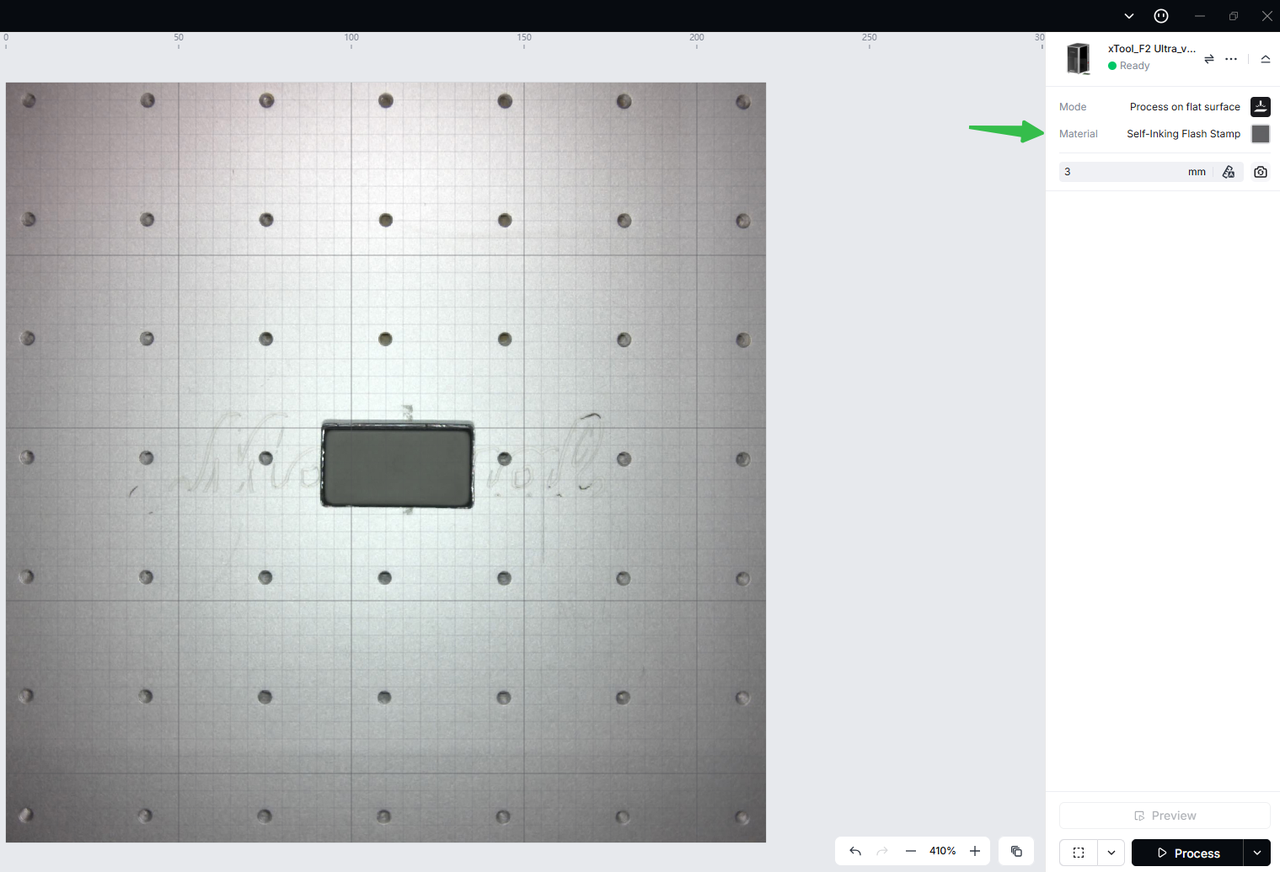
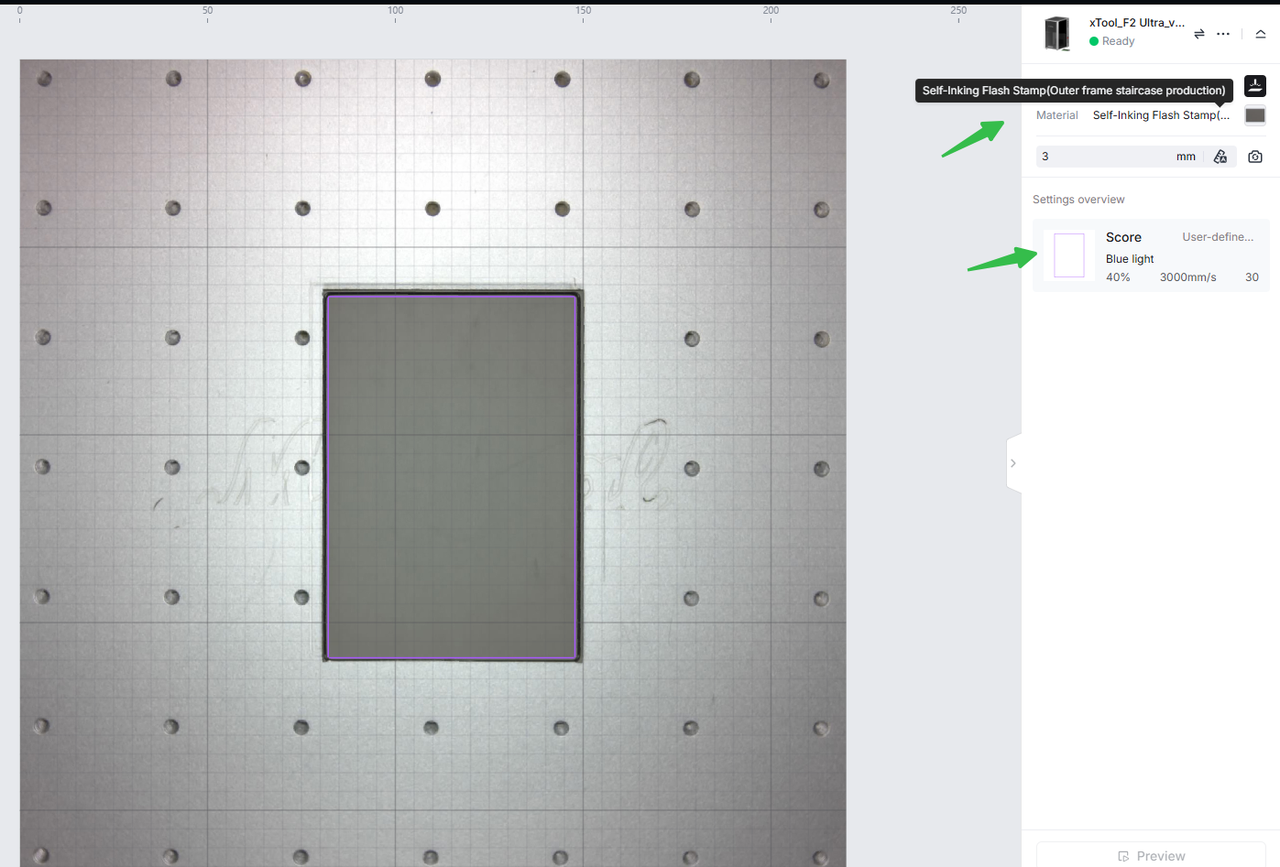
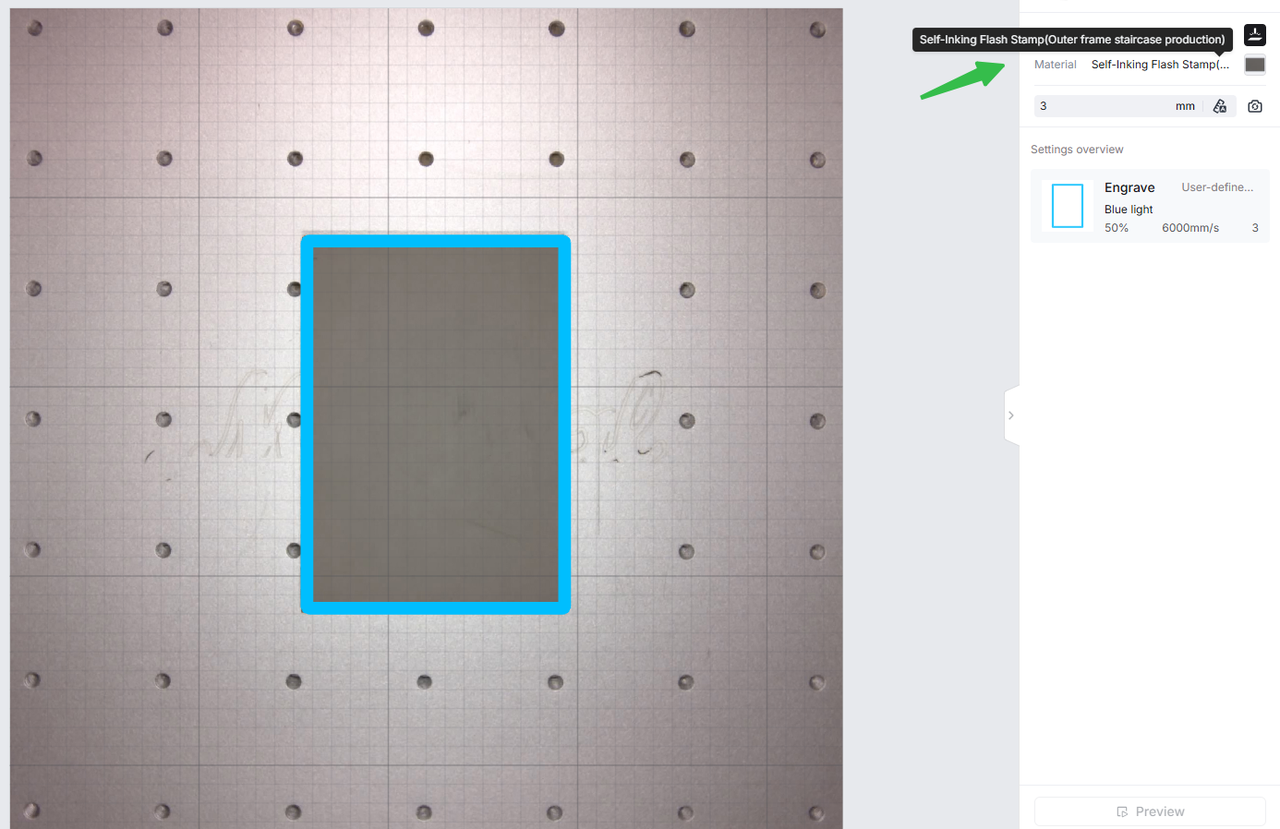
3. Laser Engraving With Official Stamp Housings
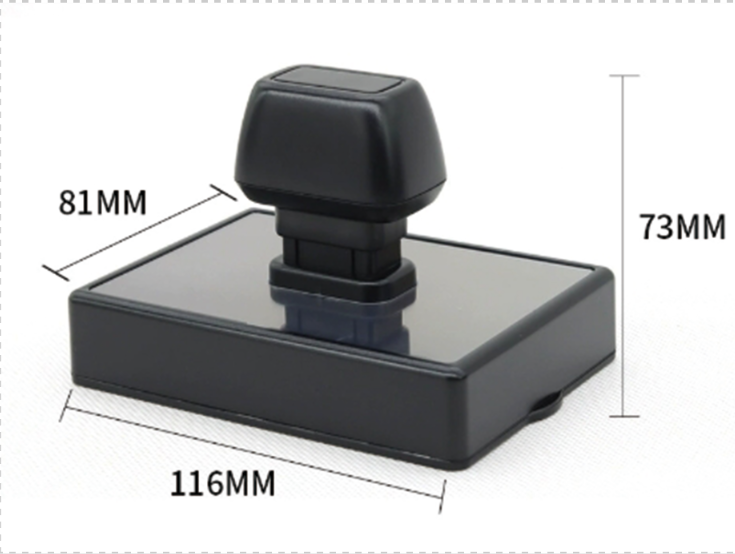
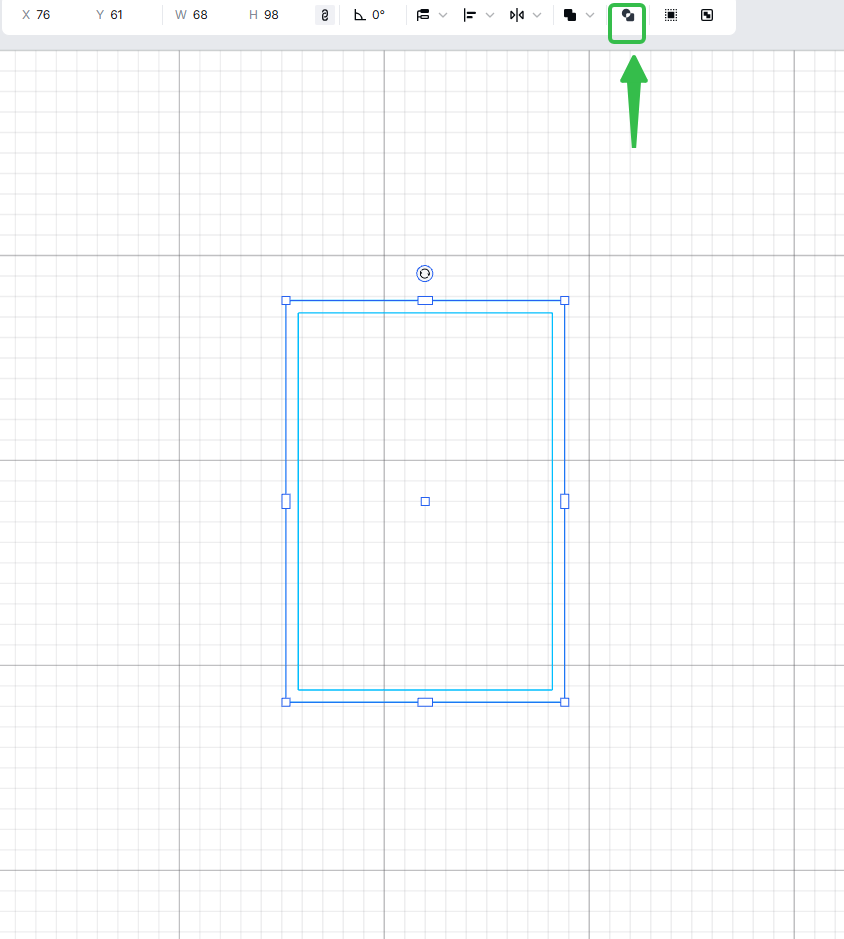
3.1 Large Stamp
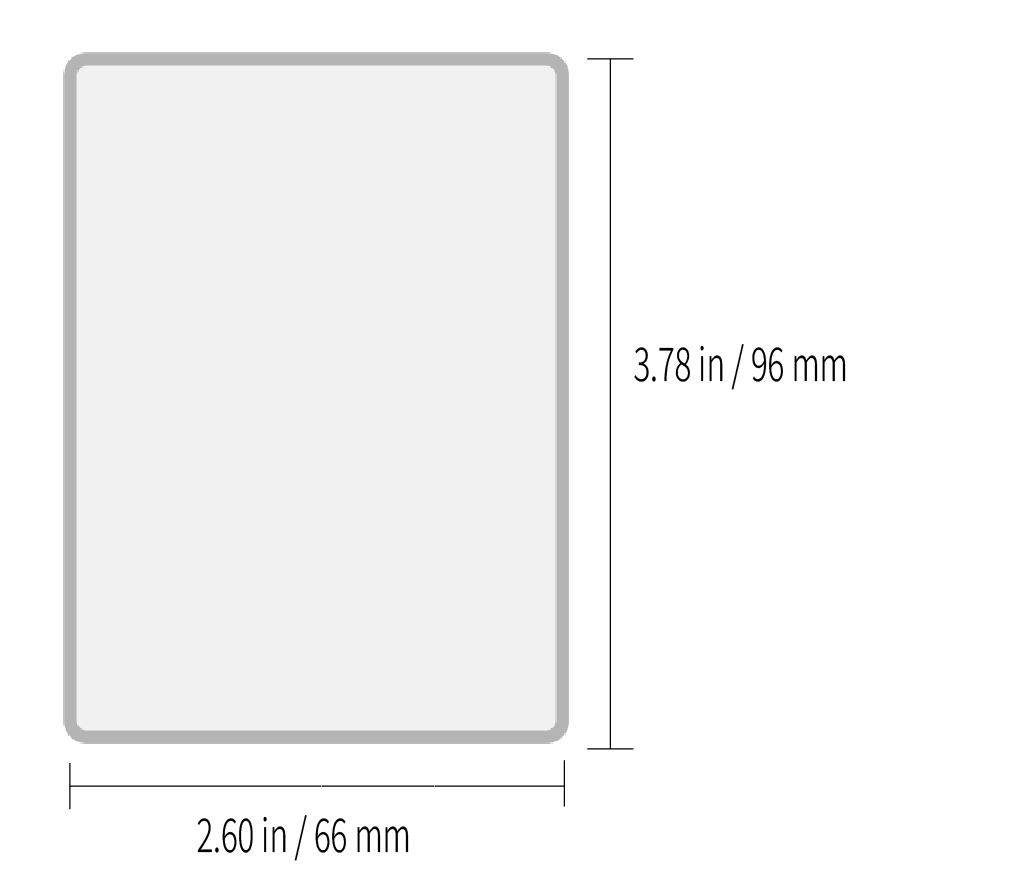
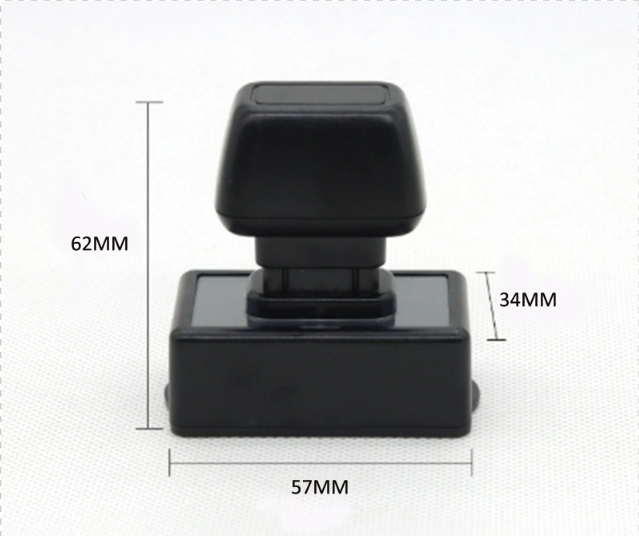
Stamp Size
Example A — Stamp Size: 66 × 96 mm
Laser Engraving Steps
Note: The pattern size must not exceed the indicated stamp dimensions.
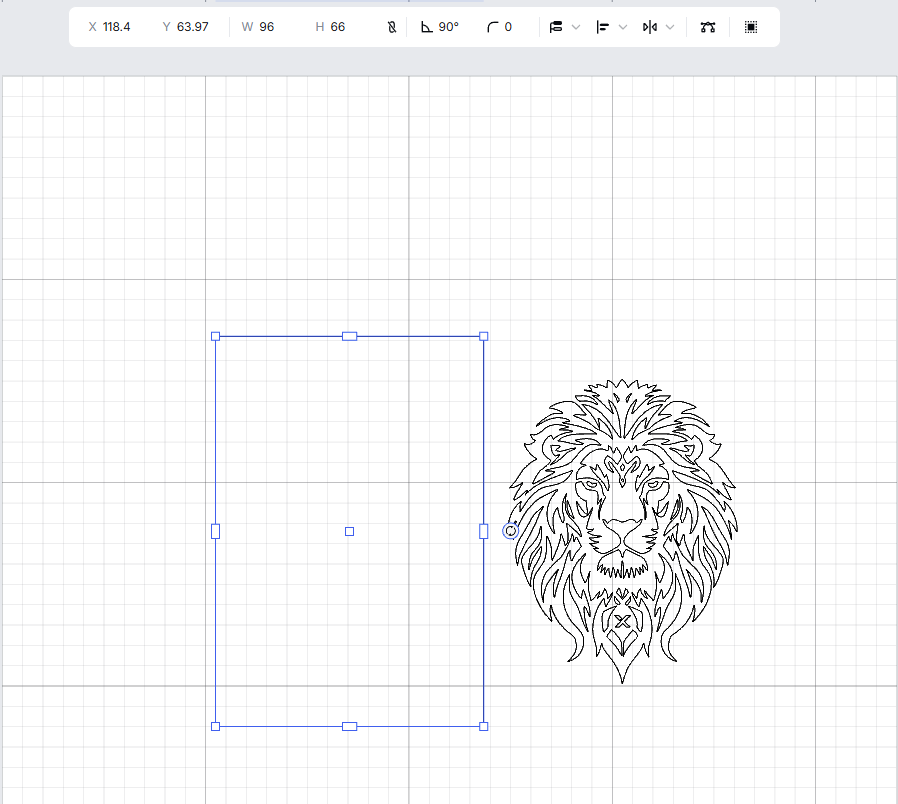
Step 1
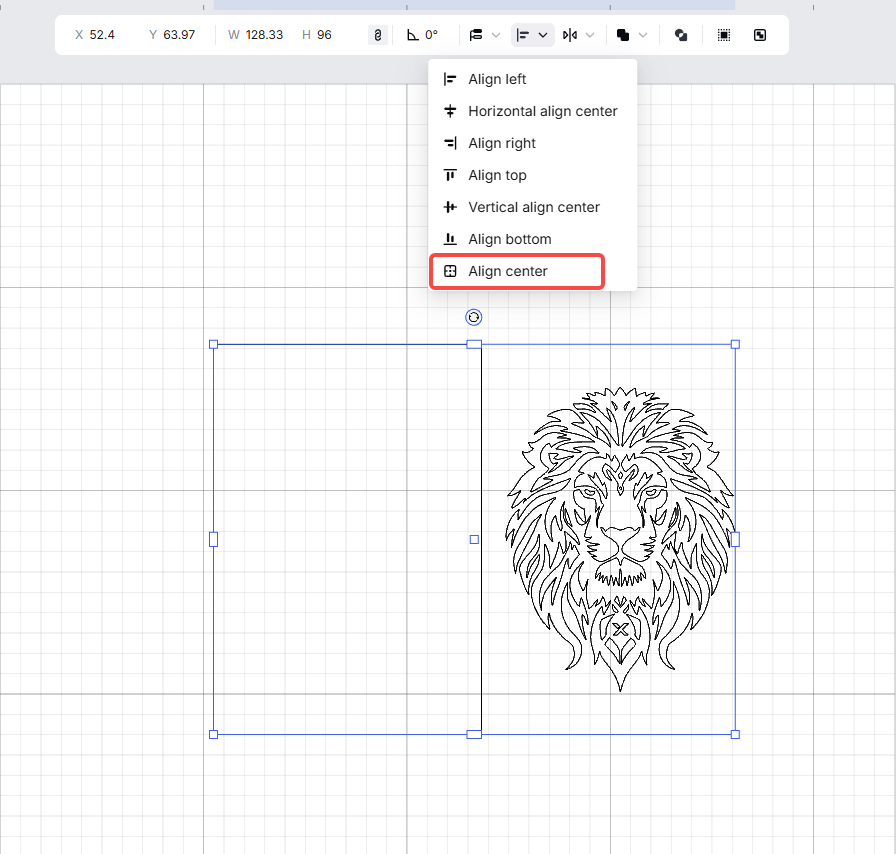
Step 2
Step 3
Step 4
Step 5
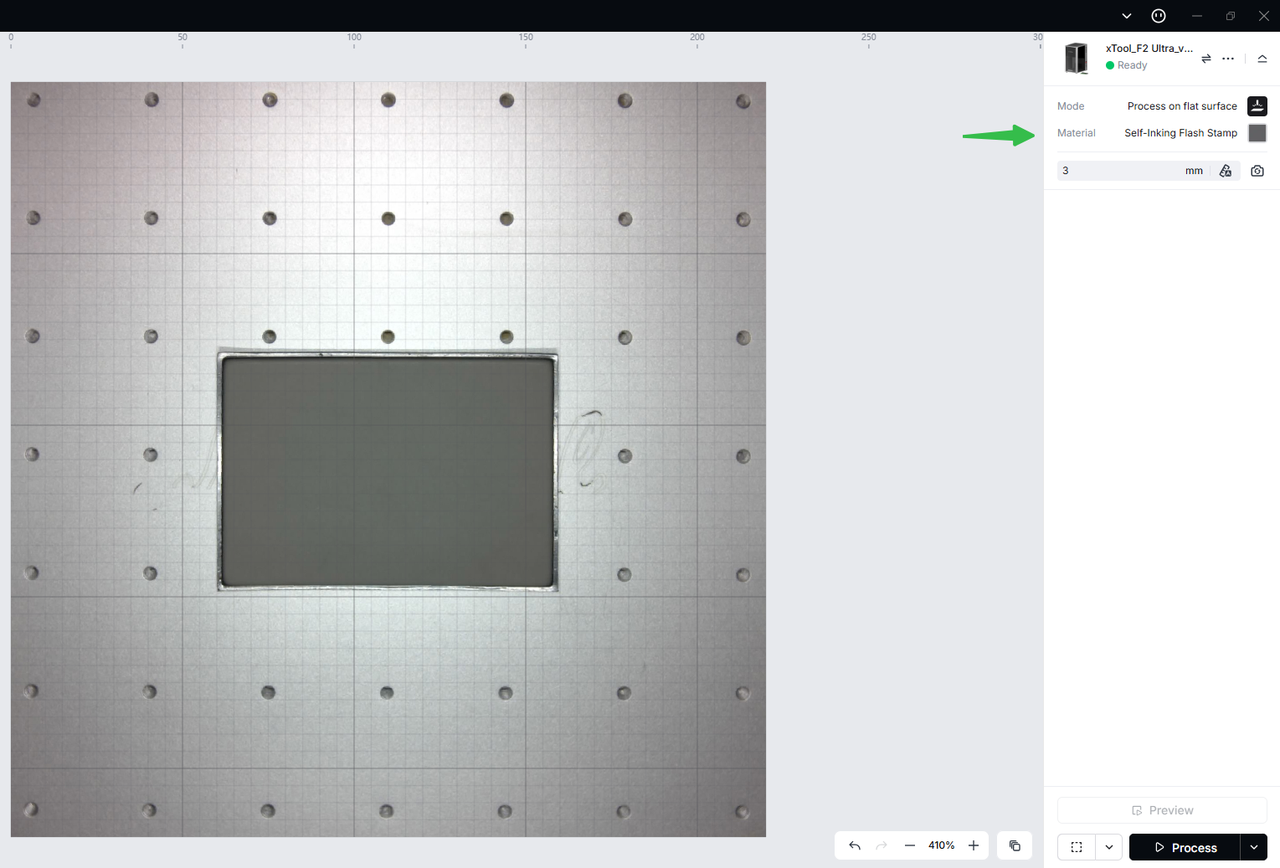
Laser Engraving:
Use xTool laser machines to engrave the pad on the gray surface.
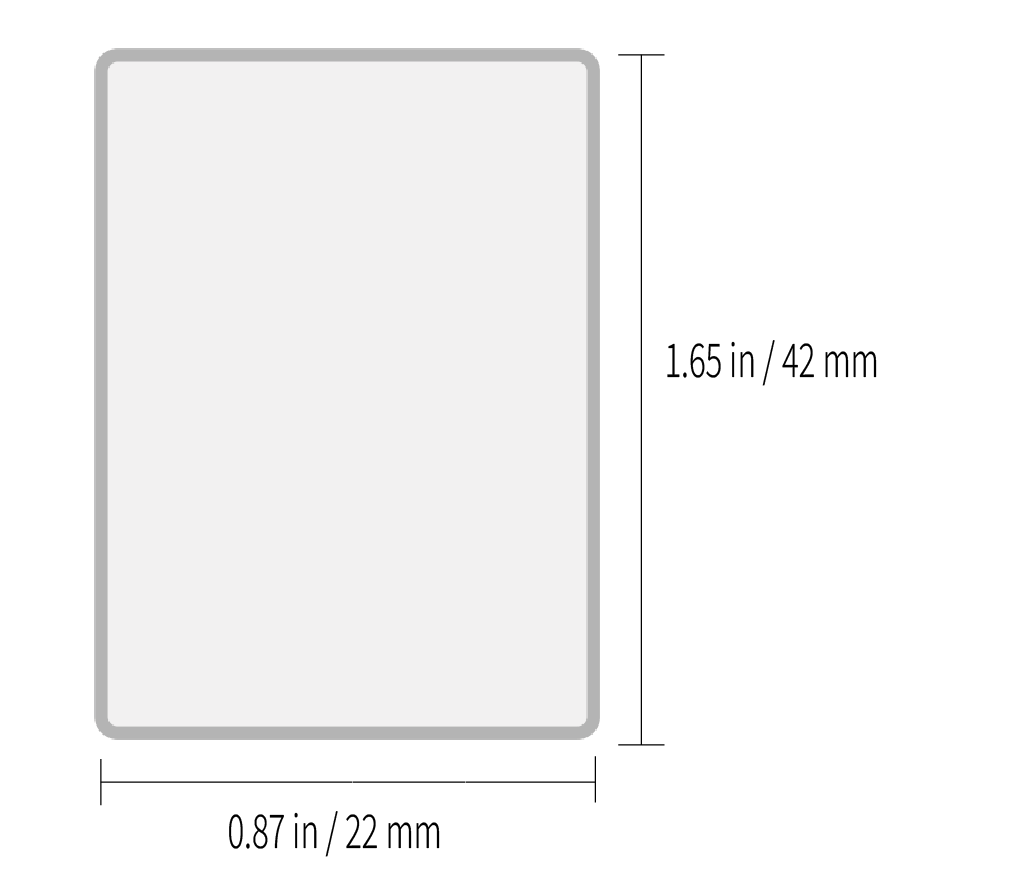
3.2 Small Stamp
Stamp Size
Example B — Stamp Size: 22 × 42 mm
Laser Engraving Steps
Note: The pattern size must not exceed the indicated stamp dimensions.
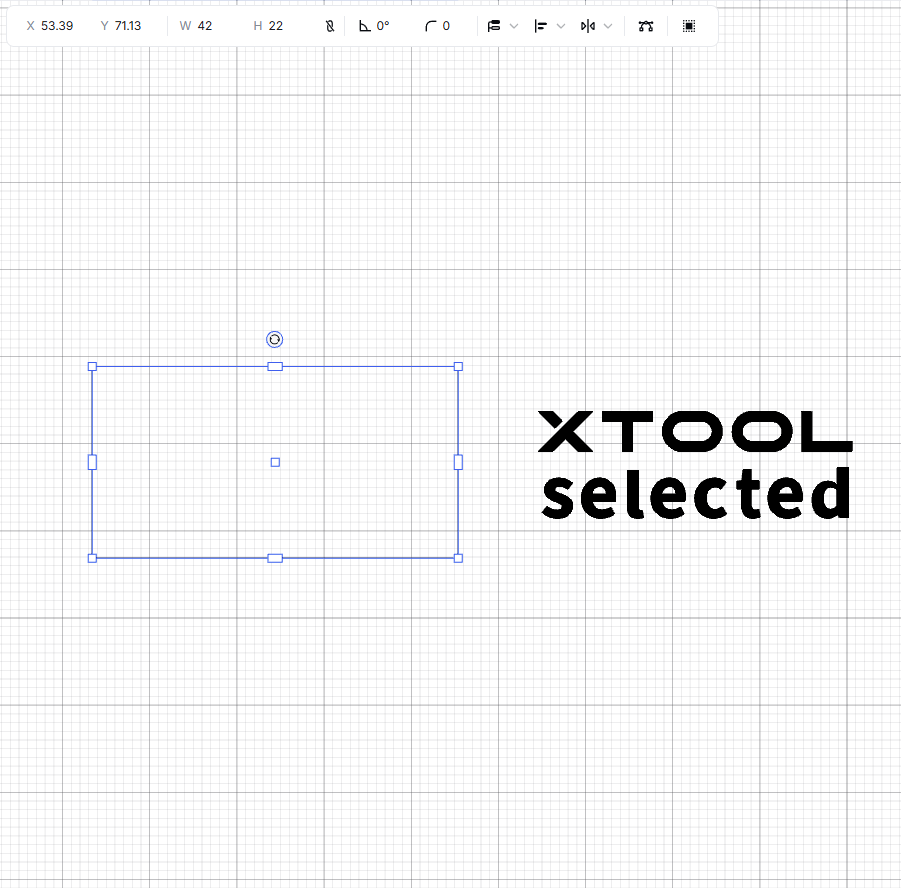
Step 1
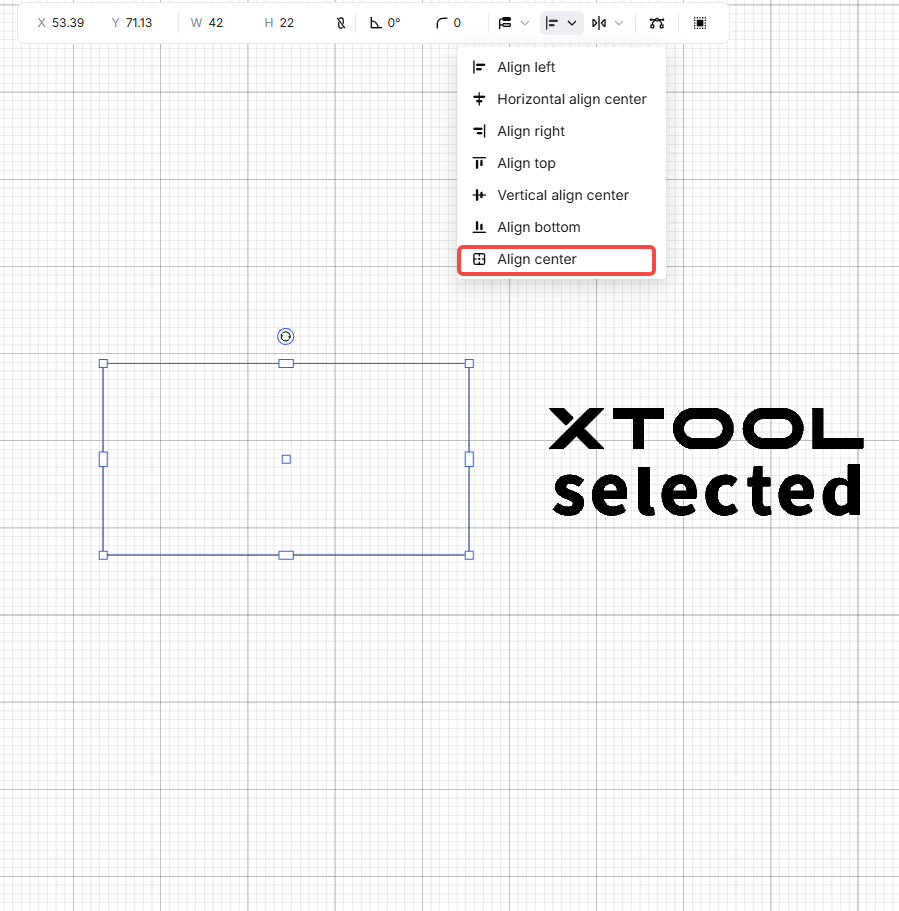
Step 2
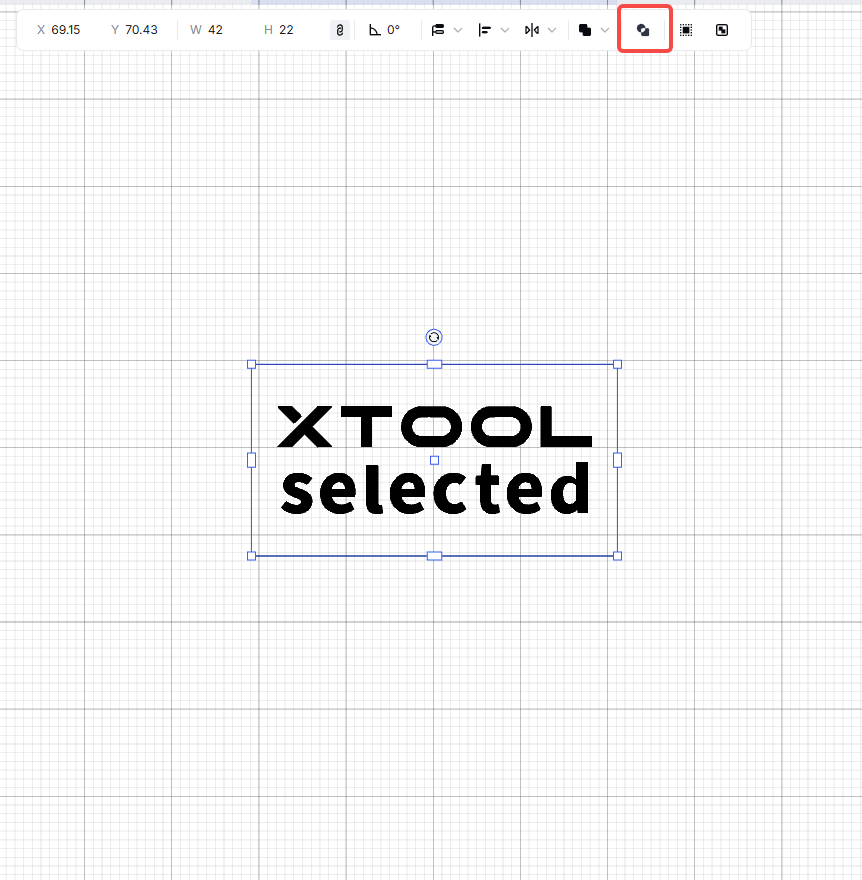
Step 3
Step 4

Step 5
Step 6
Laser Engraving:
Use xTool laser machines to engrave the pad on the gray surface.
3.3 Manual Cutting of Uncut Pads
Add a Rabbet at the Outer Edge of the Pad to Secure the Retaining Ring:
Laser Engraving:
Use xTool laser machines to engrave the pad on the gray surface. First, laser-engrave a guiding groove around the edge. Then, use a knife to cut the recessedgroove and remove the gray-side edge to fit the retaining-ring structure. Next, use scissors or a CO2 laser cuutter to cut the pad to the stamp body size, and perform one additional fill engraving to seal the edge.Finally, engrave your design on the pad.
3.4 Stamp Assembly
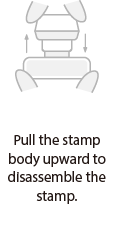
Step 1
Step 2
Step 3
Step 4
Step 5
Step 6
Stamp Assembly: Layer in the following order: Ink Pad → Photopolymer Stamp → Snap Ring (Ink Pad Facing Up).
Ink Application: Use a dropper to apply the specialized photopolymer ink in small, repeated amounts. The ink should moisten the stamp surface without dripping.
Stamping: Align and press the stamp until the snap ring is secured. Let it sit until the ink is fully absorbed before testing the stamp.
Official Case Advantages: Easier ink application, better fit, and lower stamping pressure required.
3.5 Part Replacement and Ink Refilling
Replacing the Gasket: Open the ink mesh and retaining ring to replace the gasket. Wear gloves during the operation to avoid getting stamp ink on your hands.
Use Only the Designated Photopolymer Ink: Other types of ink may affect color development or damage the gasket.
Ink Refilling Rhythm: Add small amounts of ink multiple times. After each refill, allow the ink to fully penetrate before adding more.
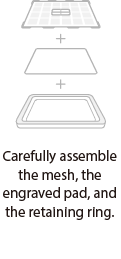
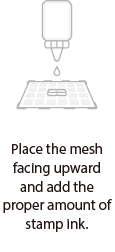
Assembly and Inking: Carefully assemble the mesh, the engraved pad, and the retaining ring; Place the mesh facing upward and add the proper amount of stamp ink.
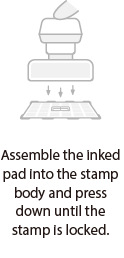
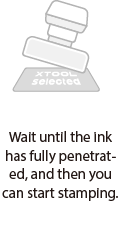
Install the Stamp Body: Assemble the inked pad to the stamp body and press dovwn until the stamp is locked; When the ink has fully penetrated, the stamp will be ready to use.
4. Laser Engraving With Custom Stamp Housings
This Section Notes Only Differences from “Using the Official Stamp Case”;General parameters, mirroring/line width, material presets, and safety instructions remain as described earlier and will not be repeated here.
4.1 Design Preparation
Laser Engraving Notes: Set your design as a mirror image, with a recommendedd line thickness of ≥0.8mm to ensure clear stamping results.
Set Outline Dimensions According to Custom Case Cavity: Recommend 0.1–0.2 mm assembly clearance for easy insertion without looseness.
Snap Ring and Press-Fit Structures: Reserve rabbet width and depth along the outline edges to match the case snap; structures without snap rings do not require rabbet slots.
4.2 Engraving and Cutting
Pattern Engraving:
Place the gray side facing up; use the Flash Stamp Pad material preset to perform fill engraving, achieving a dense, low-porosity surface (fine-tune if necessary using a parameter matrix test).
Rabbet Slot and Outline (for Snap Ring / Press-Fit Structures):
First, engrave the outline guiding slot as a line; use a craft knife (blade tip facing outward) to trim along the slot and remove gray edges. Return to fill engraving and use the preset to seal/form the edges, ensuring the slot matches the case snap.
Structures Without Snap Rings:
Perform direct outline cutting (e.g., CO₂ laser cutting, or scissors/tools as needed). After cutting, use the preset to seal the edges once to prevent ink leakage from the sides.
Use xTool laser machines to engrave the pad on the gray surface, then use scissors or a CO2 laser cutter to cut the pad to match the stamp body size.
Note: Custom case tolerances may vary significantly. Always test-fit with a small sample before mass production. If the fit is too tight, prioritize adjusting the outline dimensions rather than the pattern area.
4.3 Part Replacement and Ink Refilling
Ink Filling Layer Sequence:
Oil Mesh → Gasket → Retaining Ring/Pressure Ring. Add ink in small amounts multiple times. Allow standing time to ensure full absorption.
Ink Filling Notes:
Place the self-inking pad white side up. Evenly apply self-inking ink, then secure the pad into the custom case. Let it sit until the ink fully penetrates beforeuse.
Stamping Pressure:
Custom cases may require greater stamping pressure. This can be improved by deepening the relief layers (slightly deeper or dual-layer engraving) or optimizing the elasticity of the case and the paper-pressing structure.
Rabbet Step Groove Design:
The retaining ring is press-fitted for fixation, with dimensions based on the case’s locking notch (trial fit recommended).
Non-Retaining Ring Structures (e.g., Gluing, Screw Plates, Magnetic Fixtures):
The rabbet groove can be omitted; only the overall dimensions and surface flatness need to be ensured.
5. Troubleshooting
5.1 Ink Print Appears Gray or Unclear:
Check whether the non-engraved line width is ≥ 0.8 mm. Slightly increase power and reduce speed. If needed, apply a second pass to increase surface density.
5.2 Ink Seepage or Surface Holes in Engraved Area:
Increase total energy by raising power and reducing speed. If necessary, decrease line spacing or repeat the engraving with adjusted energy.
5.3 Requires High Pressure for Stamping (Common in Custom Cases):
Enhance relief depth or optimize case elasticity to ensure proper contact during stamping.
5.4 Loose Fit or Won’t Fit:
Adjust the outline by 0.1–0.2 mm. For uncut designs, ensure the step groove matches the ring.
6. Safety & Care
Wear Gloves During Operation: Prevent direct contact between skin and stamp ink.
Cover After Use: Always replace the dust-proof cap to avoid exposure to high temperatures or direct sunlight.
Storage: Store in a cool, dry place, away from children and open flames.
7. Note
The unengraved areas will remain and show color when stamped, so please pay attention to this during design and engraving.
To replace the pad, open the ink refilling mesh and retaining ring to replace it. Be careful to avoid getting ink on your hands during the process.
Use only the designated self-inking ink. Other inks may affect the stamping quality or damage the pad.
