How to Calibrate Distant-View Camera or Close-View Camera of xTool P3
Updated Oct 15,2025
Updated Oct 15,2025
Introduction
- The solution is applicable to the distant-view camera and the close-view camera. Calibration helps correct misalignment and ensures precise positioning. To ensure the optimal calibration results, update xTool Studio and the firmware to the latest version before calibration.
- The distant-view camera is located on the lid, which captures images of large processing areas, covering a size up to 915 mm × 458 mm. The close-view camera is located on the laser module, with a capture area of 160 mm × 140 mm.
- Camera accuracy deviation, which is the deviation between the position of the processed object in the image captured by the software and its actual processing position. It cannot be completely avoided. What's more, it is directly related to material flatness. Please first verify whether the camera positioning deviates significantly from the normal range.
- Positioning accuracy of the close-view camera:
- The middle area of 80% of the processing area: 0.2 mm
- Edges of the processing area: 0.5 mm
- Positioning accuracy of the distant-view camera:
- The middle area of 60% of the processing area: 0.5 mm
- Edges of the processing area: 1 mm
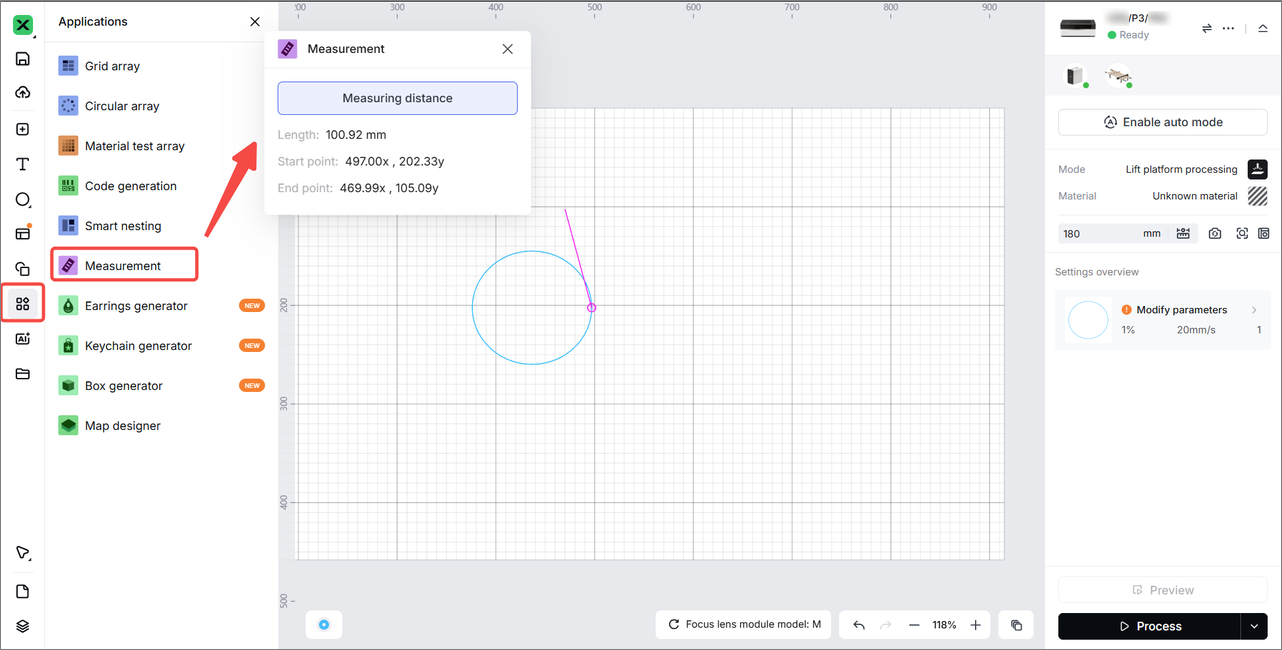
You can measure the deviation by following the steps below.
- If the accuracy is within the range, no action is required.
- If the accuracy is out of range, you need to calibrate the camera.
Applicable scenarios
- After the replacement of the camera module;
- The camera positioning deviation is too much;
- The camera fails to take photos or has severe photo distortion issues due to missing calibration files.
Important notes
- For calibration, use flat and blank white paper whenever possible (the highest recognition success rate). If blank white paper is unavailable, substitute with other solid light-colored paper.
- Use large-sized calibration paper; it must not be smaller than the area required for calibration.
- The flatness of calibration paper directly affects calibration accuracy. Do not use paper with visible creases or deformations, and make sure the paper is perfectly flat.
- If hard cardstock is unavailable, standard A4 paper can be used for calibration, but ensure the paper is securely flattened.
- If the paper is too flexible to lie flat, make sure to place it on a flat board before calibration.
- Use white or light-colored tape to secure paper to ensure successful recognition.
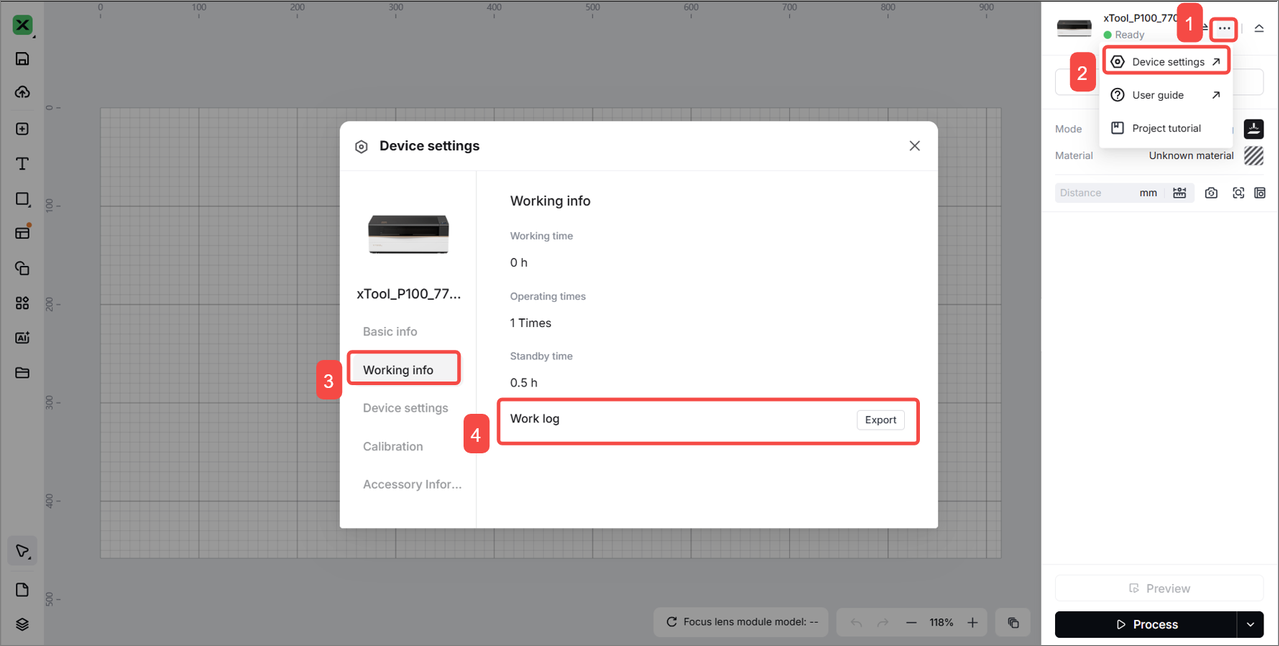
- If you continue to experience calibration failures, contact the xTool after-sales service and provide work logs and a video of the calibration process.
Calibration procedures
- Connect xTool P3 to xTool Studio.
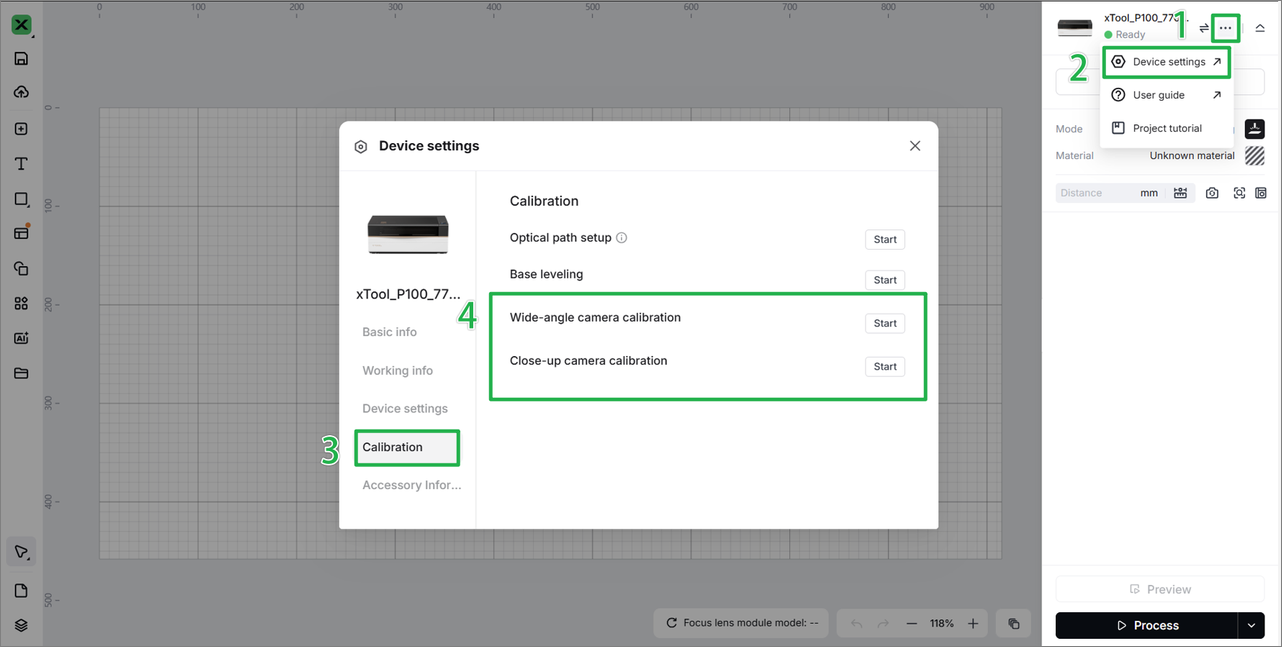
- Go to ··· > Device settings > Calibration > Camera calibration.
- Select the camera to calibrate as needed.
- Follow the tips and steps in the software.
Preview
Was this page helpful?
75 out of 89 found this helpful
Help Ticket
Use this help ticket to submit your issue. We will respond within 1 business day
Submit a Ticket 