xTool Store
Export PNG, JPG, SVG
Updated May 20,2026
Updated May 20,2026
Export lets you save canvases or objects for printing, sharing, or use in other software. xTool Studio supports PNG, JPG, and SVG from the Export dialog, and SVG from the canvas right-click menu.
Note on DXF: Studio can import DXF files into a project. The editor Export dialog does not include DXF as an export format (only XCS2, XCS, SVG, PNG, and JPG). To share vector paths with CAD/CAM tools, use SVG export below.
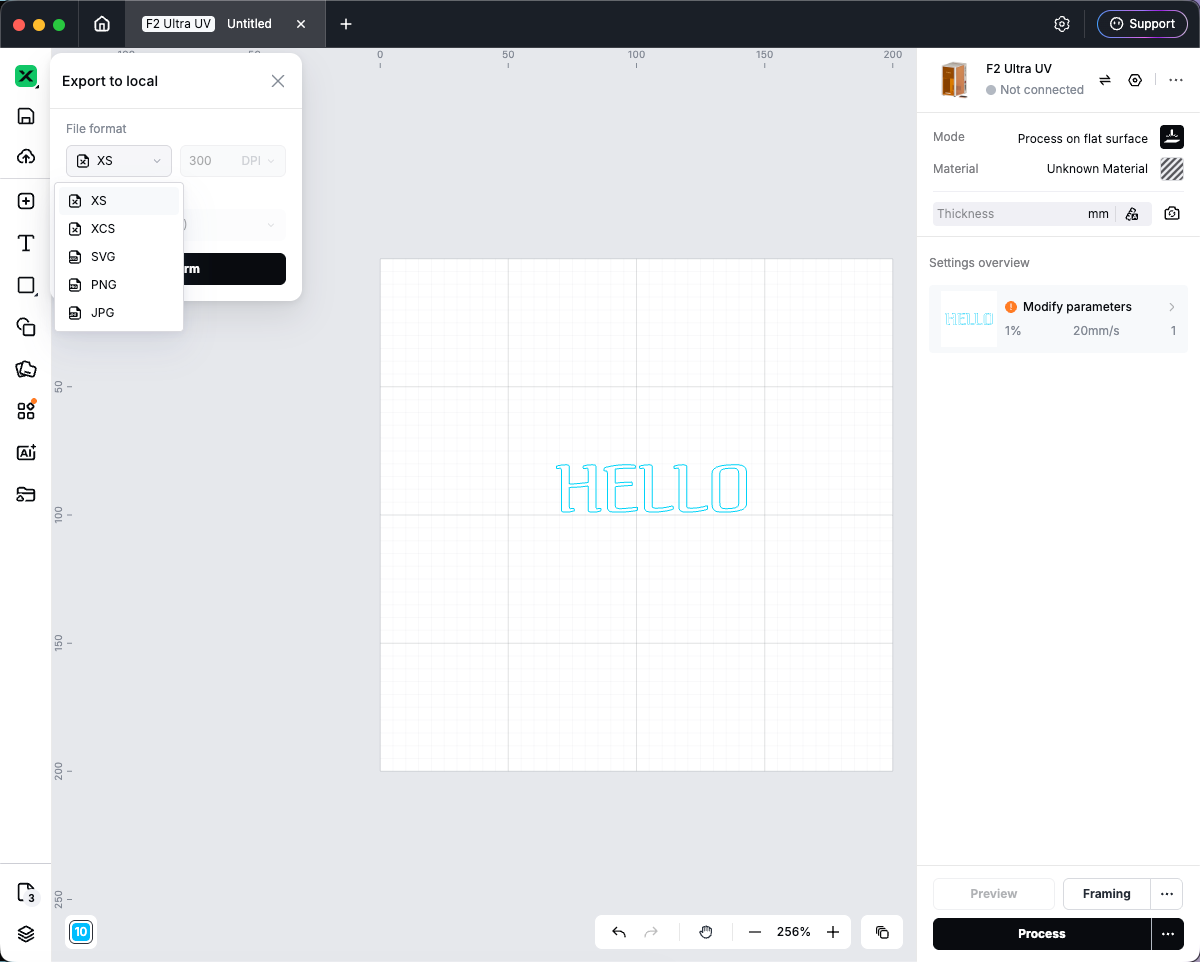
Open the Export dialog
Use either path:
File menu (desktop and web)
- Click the Studio logo on the left rail to open the menu.
- Go to File → Export.
- The export panel opens (title may show Export to local).

Export as PNG or JPG
- Open the Export dialog.
- Under File format, choose PNG or JPG.
- Set DPI (50–1000). This affects output resolution for image exports.
- Under Canvas, open the canvas list:
- Select one or more canvases to export.
- Or select All canvases.
- Click Confirm.
- Choose where to save the file(s) on your computer.
Tips
- JPG uses a white background behind the design.
- PNG and JPG export a raster image of the canvas (good for previews and print bitmaps).
- PNG, JPG, and SVG are not available for 3D canvases in the format list.
- Very large exports may be limited by maximum image size in the app.
Export as SVG — Export dialog
- Open the Export dialog.
- Under File format, choose SVG.
- Select which Canvas entries to include (same as PNG/JPG).
- Click Confirm and save the
.svgfile.
If the design contains text, Studio may show a message that text will be handled in a specific way for SVG export. Follow the on-screen prompt.
Export as SVG — Right-click (quick export)
To export without opening the full Export dialog:
- Right-click an object on the canvas (or the canvas background, depending on what you need).
- Choose Export as SVG....
- Save the
.svgfile when prompted.

This path is useful for sending selected vector artwork to other apps. For exporting whole canvas(es) with format and DPI options, use the Export dialog above.
Preview
Was this page helpful?
24 out of 27 found this helpful
Help Ticket
Use this help ticket to submit your issue. We will respond within 1 business day
Submit a Ticket Tags
Help Ticket
Use this help ticket to submit your issue. We will respond within 1 business day
Submit a Ticket Services & Help
Learn & Education

Copyright © 2025 xTool All Rights Reserved.