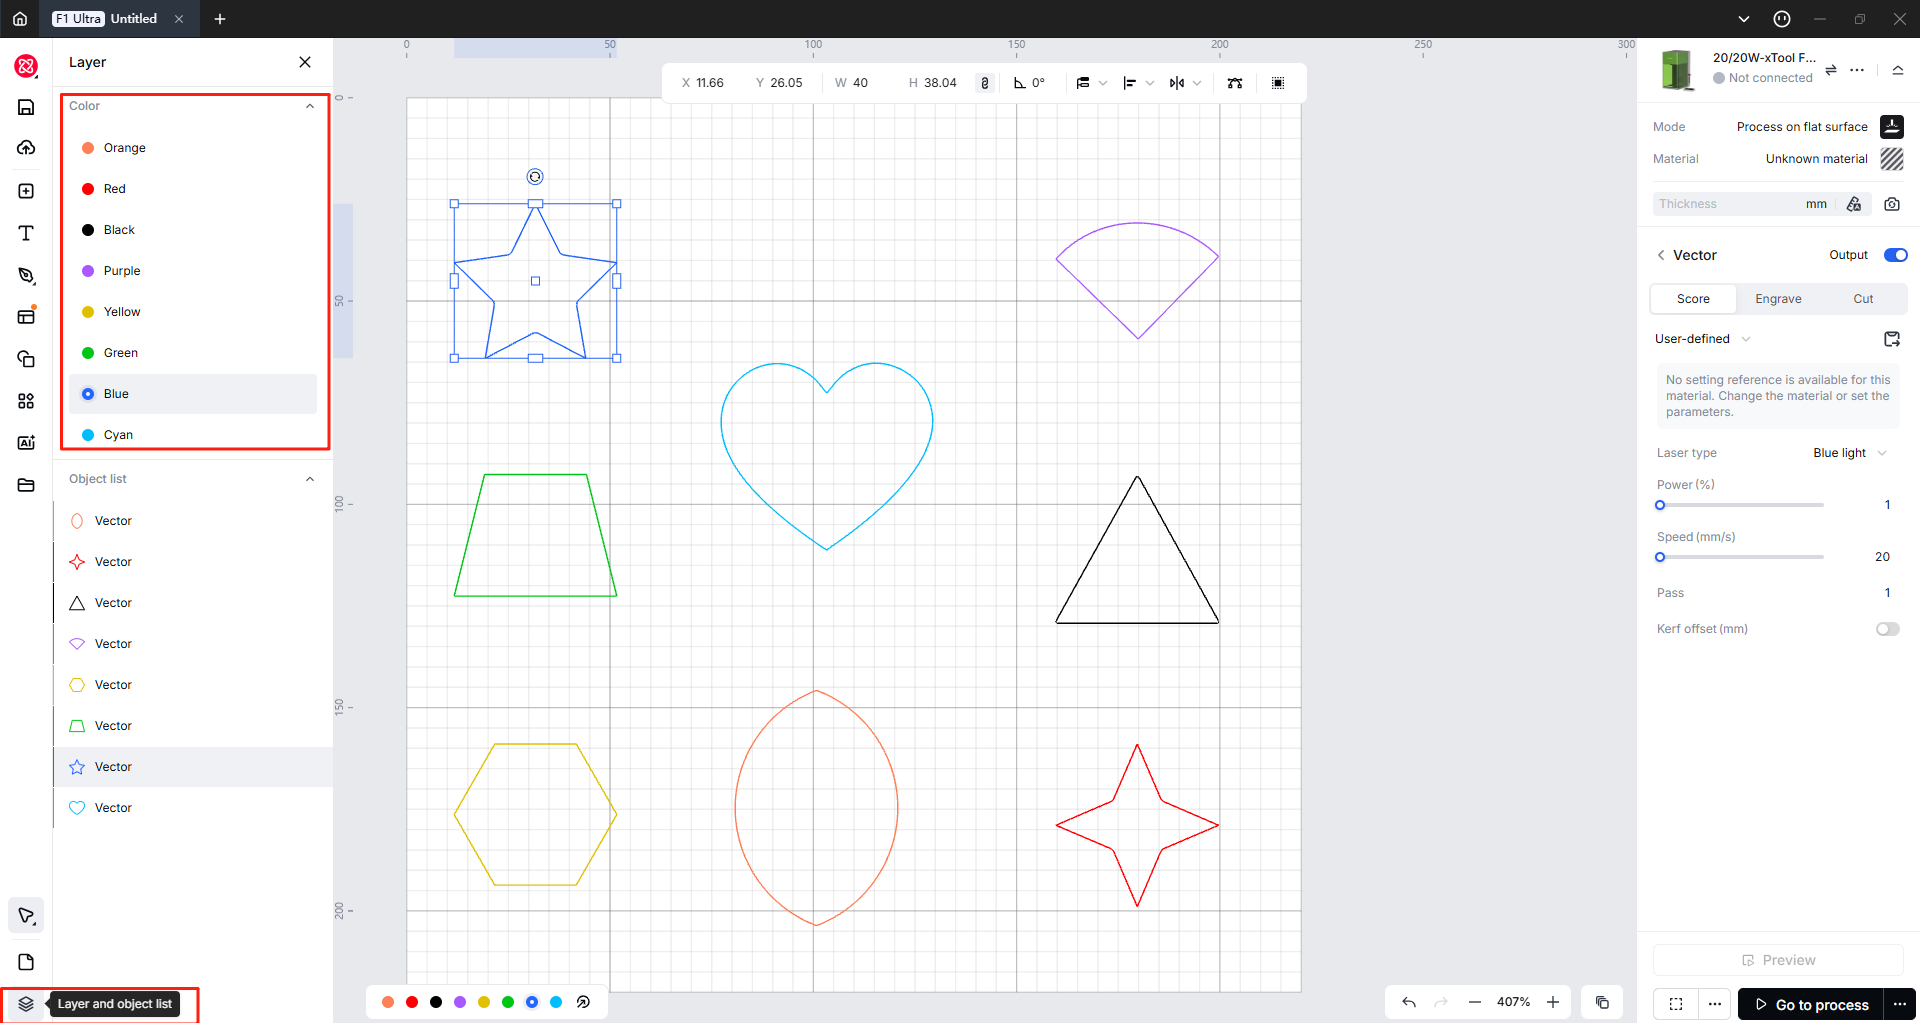
Layer
For complex vector graphics, managing objects becomes more effective with layers. xTool Studio uses the colors of vector lines to define layers, and objects within the same layer share the same processing parameters. Easily select and move objects across layers to streamline your design process.
Move a layer
When you import or create an element, it will be given a default layer automatically. You can change the layer for different elements:
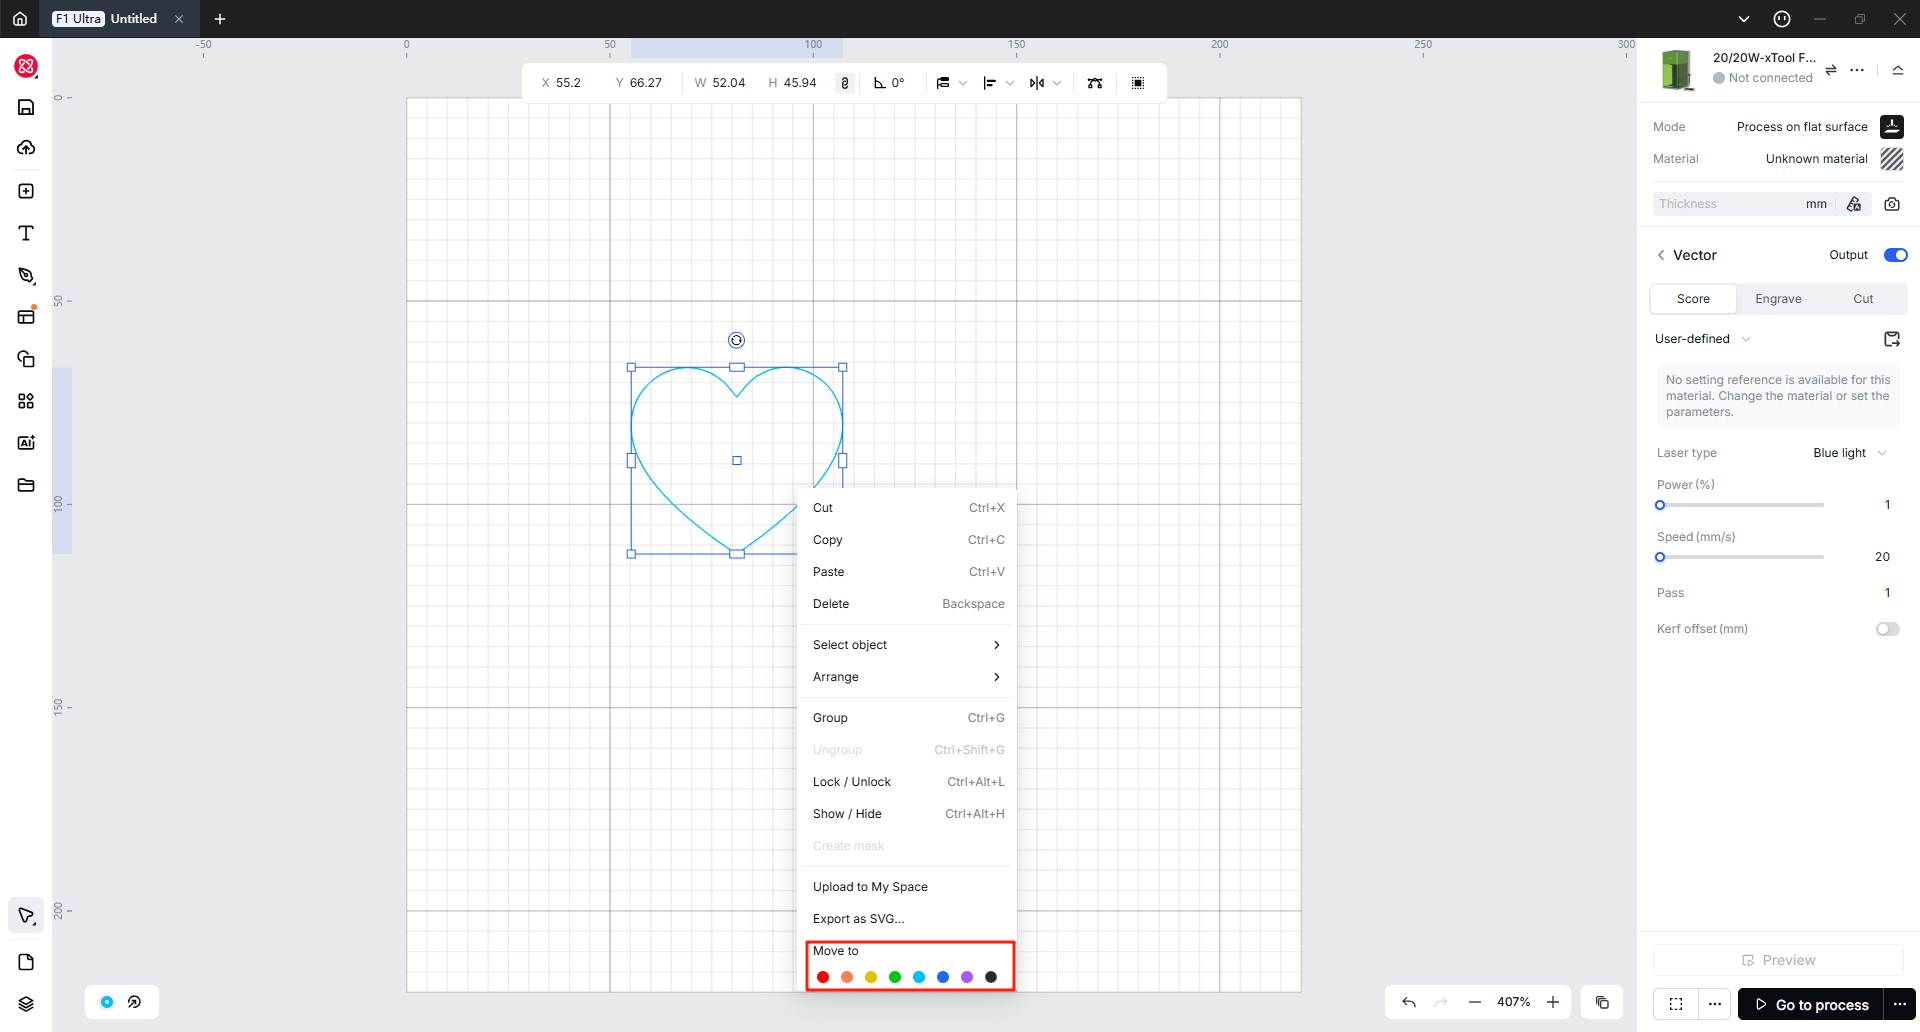
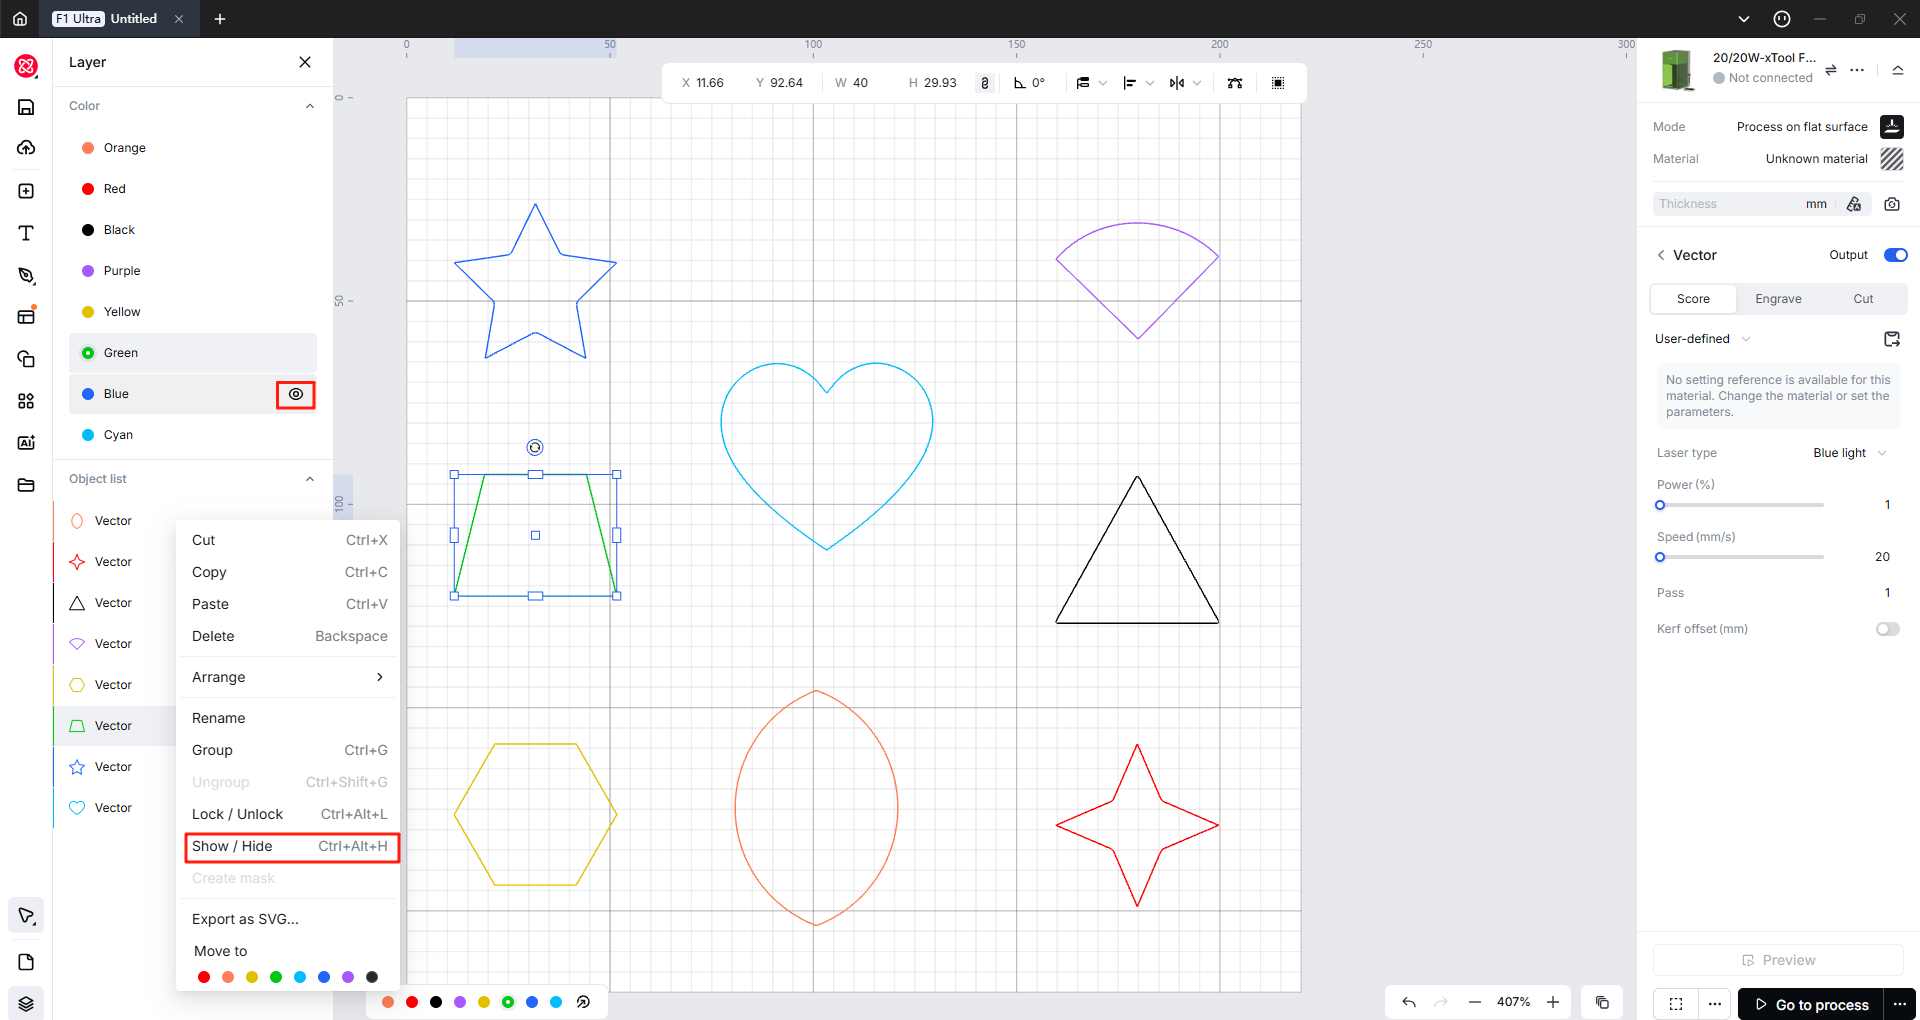
Right-click the element and move it to the assigned layer in the pop-up box.
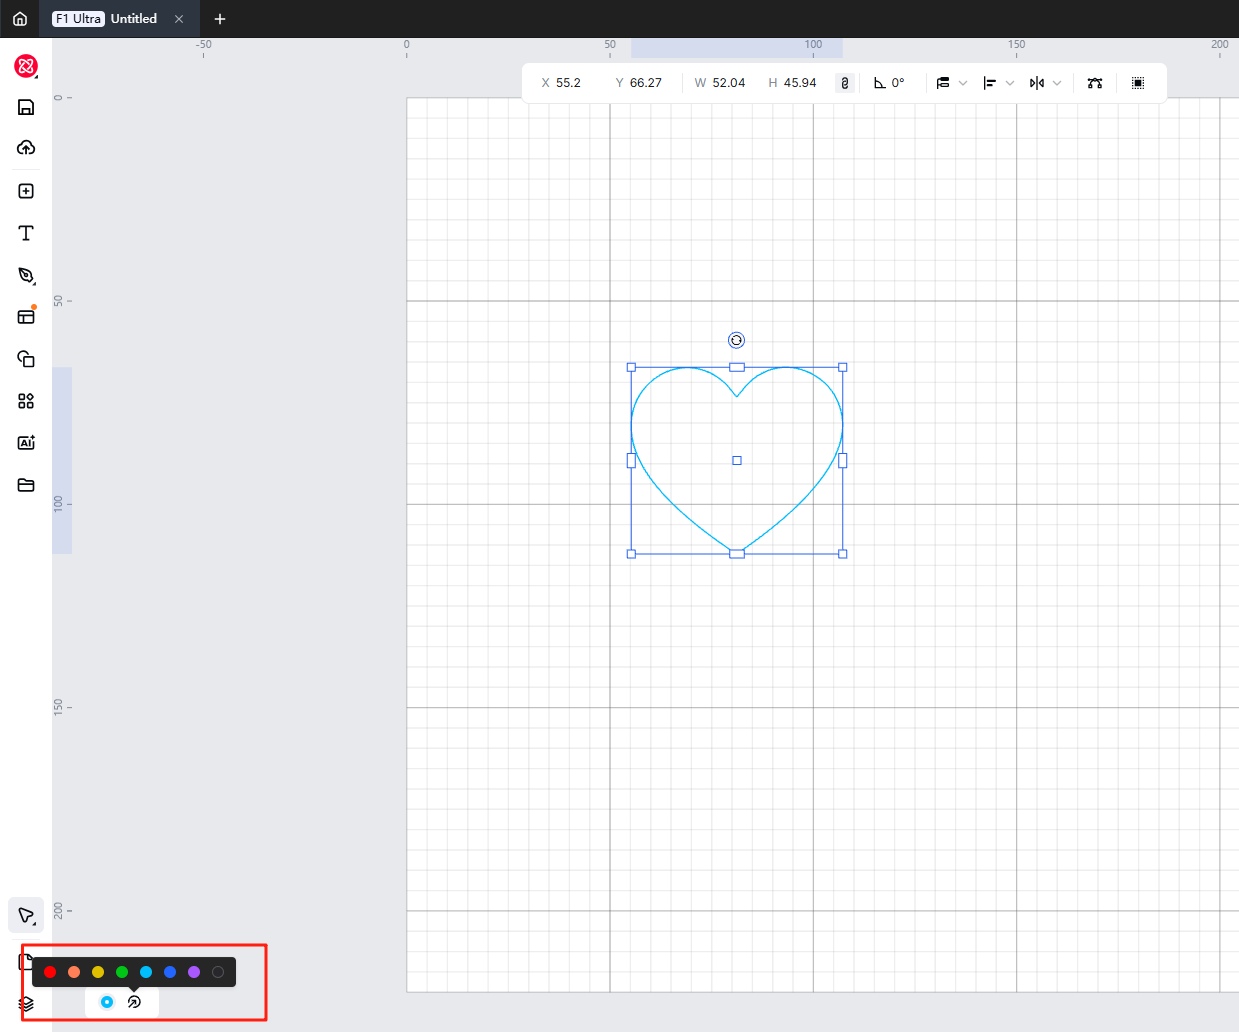
Or you can also move layers at the bottom of the canvas.
Layer color and naming
The xTool Studio preset 8 colors, and different colors represent different layers (such as Green, Purple, Yellow, etc.). These colors help you to distinguish layers intuitively. At the same time, you can name each layer as needed.

Set Processing Order by Layer
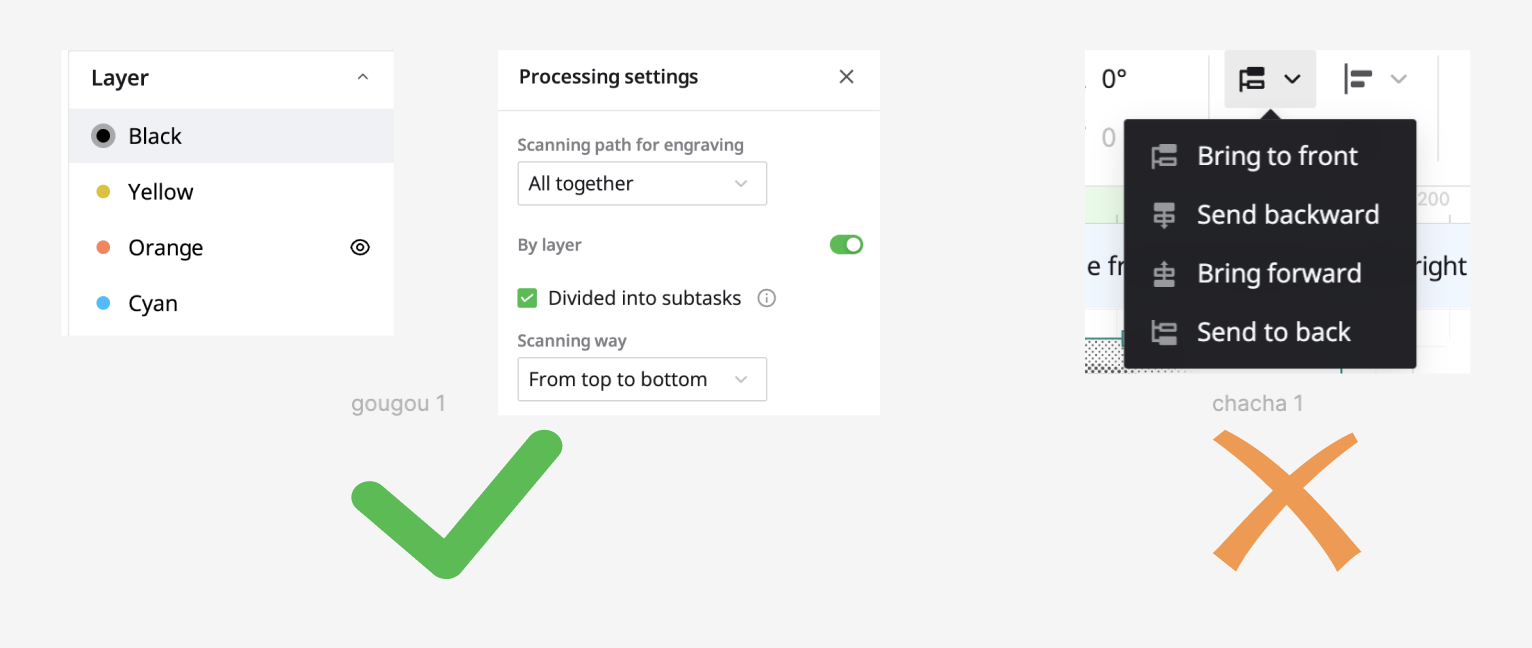
xTool Studio lets you set the order in which your design gets processed by simply adjusting the layer order.
The processing order follows the vertical layer order, from the top layer down to the bottom. The sequence isn't dictated by layer numbers. To change the order, just left-click and hold the layer you wish to move and drag it to your preferred position.
Then, choose the "By layer" option in the parameter setting panel.
Note:
For those familiar with LightBurn or other software alike, layer-oriented processing parameter settings may be customary.
However, xTool Studio layers do not directly establish parameters. Instead, the primary purpose is to expedite the selection of identically colored objects with a single click, followed by the application of uniform parameters.
For instance, by clicking on the yellow layer, all yellow objects can be selected and set to "cut". Adding another yellow graphic to the canvas will not be automatically assigned to "cut"; parameters must be manually set once more.
Use layers with processing types
Layers group objects by stroke color. They help select and order work—they do not auto-assign cut/engrave to every new shape on that color.
Select all objects on one layer
- Click a layer in Layer and Object List or on the bottom color bar.
- Set processing type and parameters on the right for that selection.
New objects with the same color still need parameters set again.
Set processing order
- Drag layers in Layer and Object List — top processes before bottom.
- In device settings, choose By layer when available.
Move object to another layer
- Select object(s).
- On the bottom color bar, open Move to and pick a color.
Step | Action |
1 | Use one color per role (cut vs engrave) |
2 | Click each layer → set processing type |
3 | Drag layer order |
4 | Enable By layer if the device supports it |
Object list
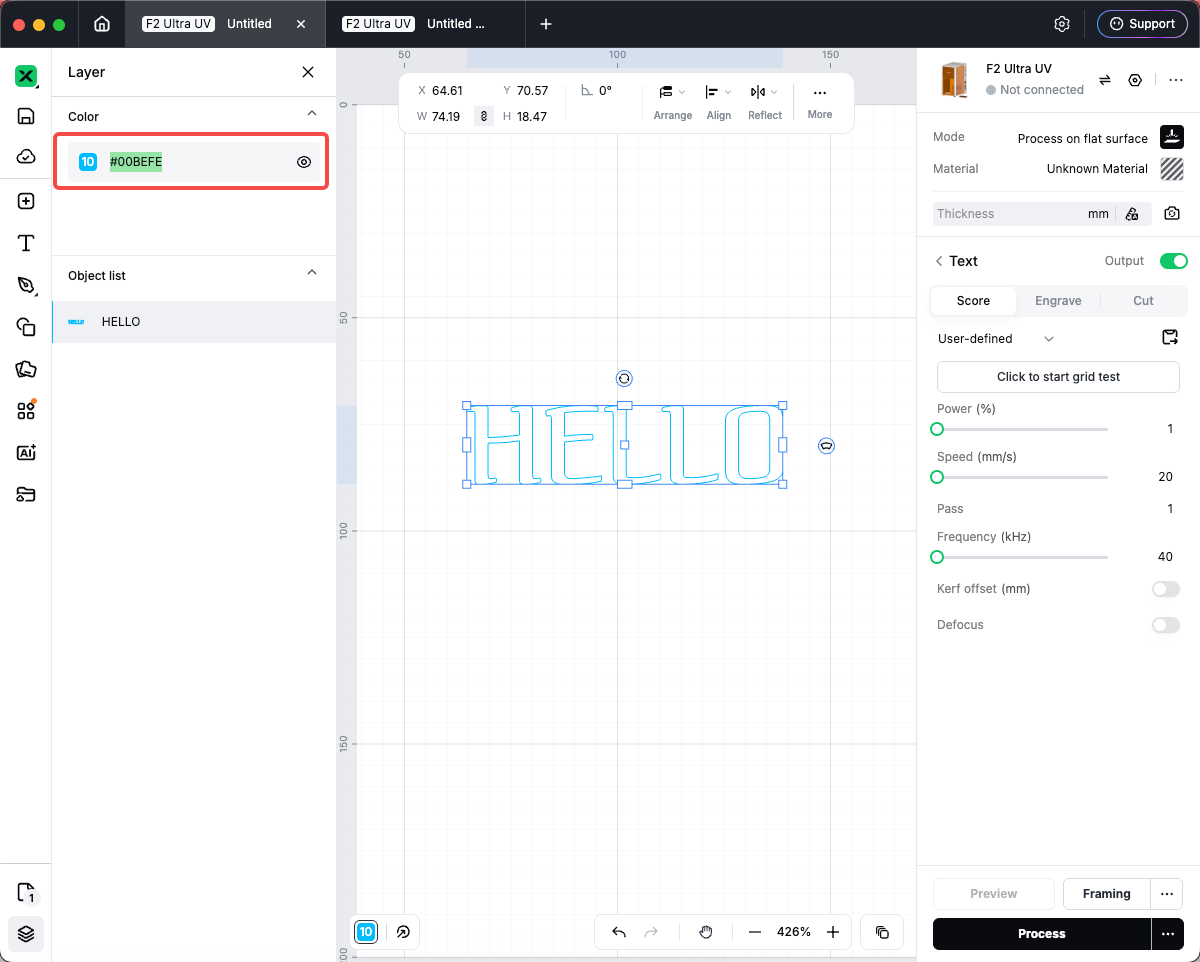
The object list give all the independent objects in the canvas, which can be a vector or bitmap. You can click an object and show or hide it.
Select objects on the same layer
You can easily select one or more objects on the same layer and process them together.

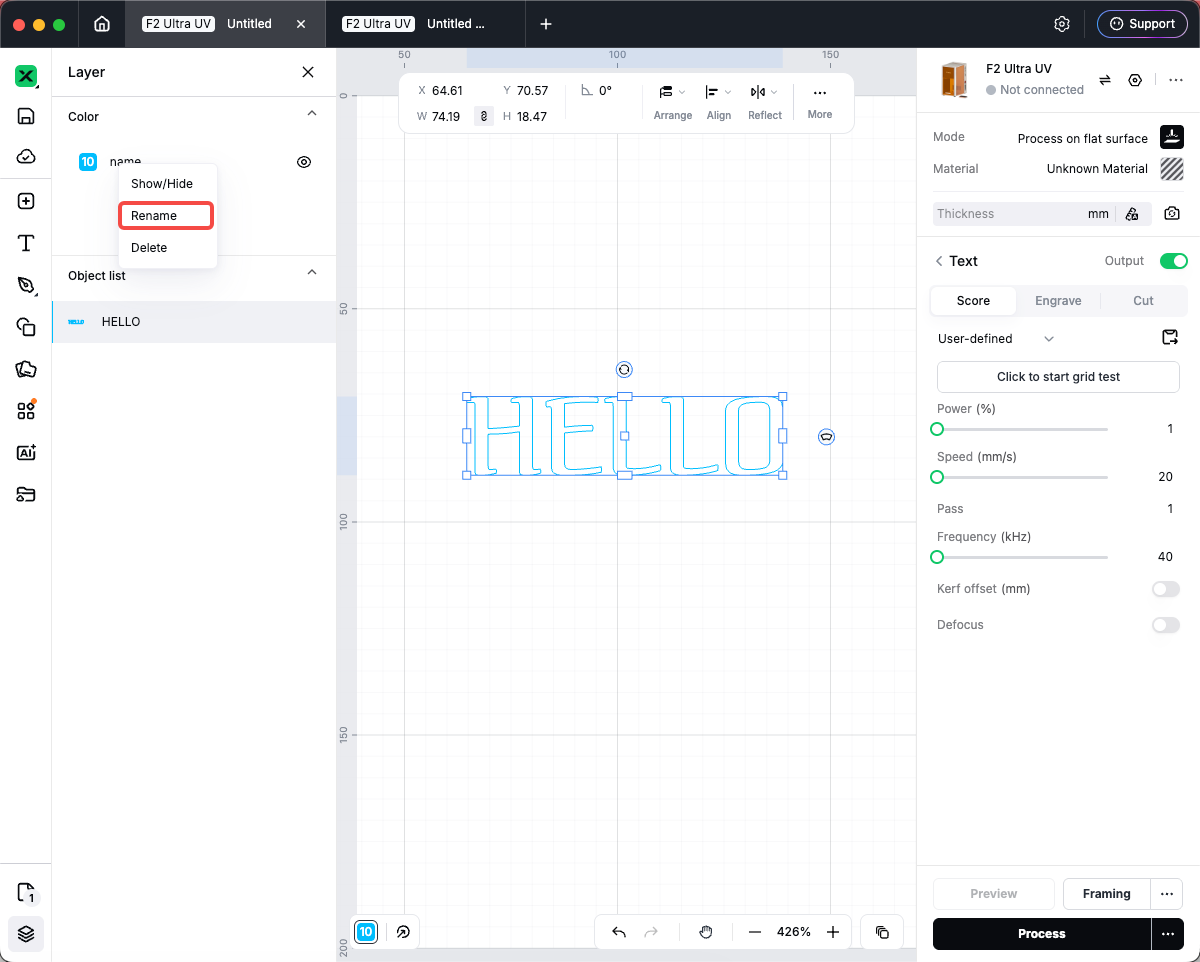
Rename layer
Method A — double-click
- Open Layer and Object List on the left rail.
- Expand the Color section.
- Double-click the layer name beside the color swatch.
- Type a new name (up to 20 characters) and confirm.
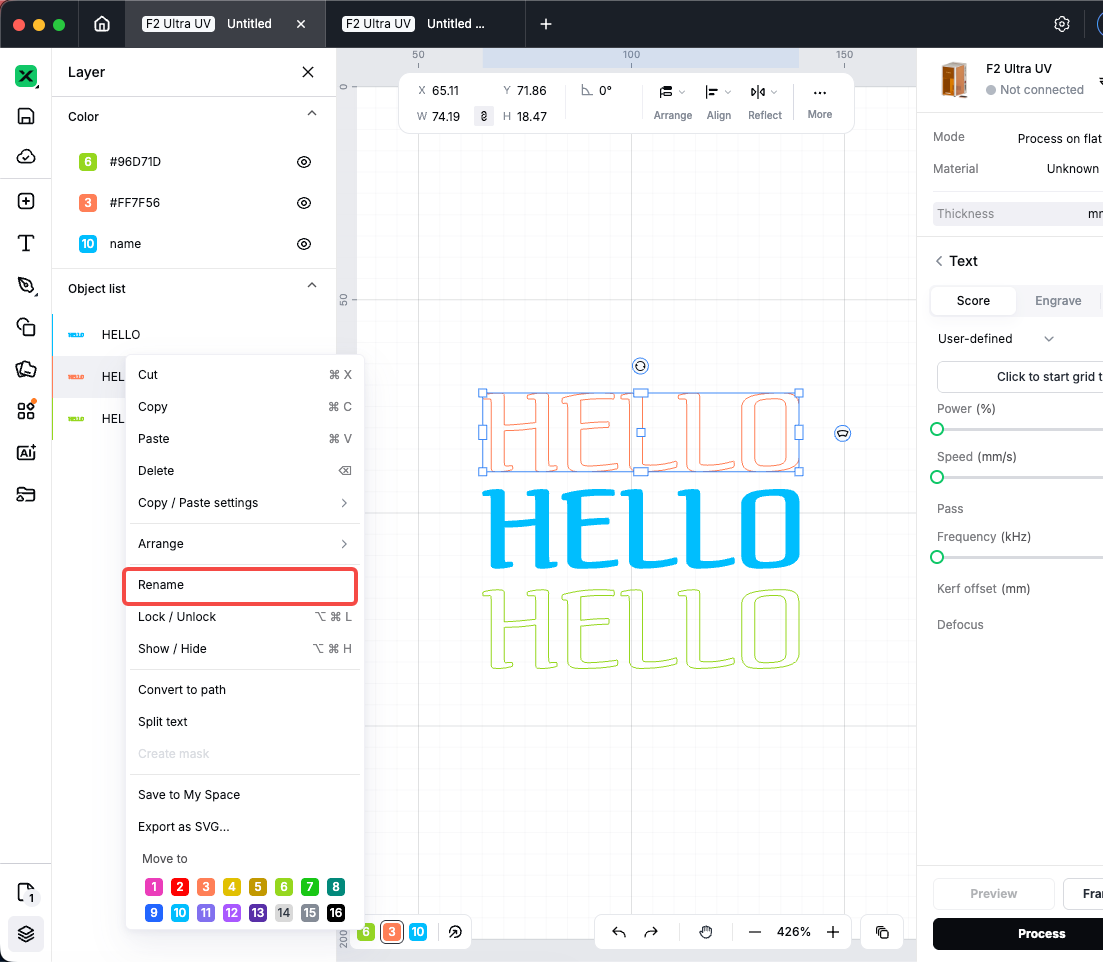
Method B — context menu
- Right-click a layer row in the list.
- Choose Rename and enter the new name.
The name also appears in tooltips on the color bar at the bottom of the canvas.
Manage object labels
Each object on the canvas appears in the Object list with a label (name). Default labels describe the type, for example Rectangle, Text, Image, Vector, or Group. Custom names help you find objects in busy designs.
Open the object list
- At the bottom of the left rail, click Layer and object list (or the layer/objects icon).
- Expand the Object list section if it collapses.
Rename an object or group label
Method A — double-click
- In Object list, double-click the object’s label.
- Type a new name (up to 20 characters) and confirm.

Method B — context menu
- Right-click the object row in Object list.
- Choose Rename.
- Enter the new name and confirm.
Renaming a group or parametric array row updates the group name shown in the list. Text objects show their text until you rename them.
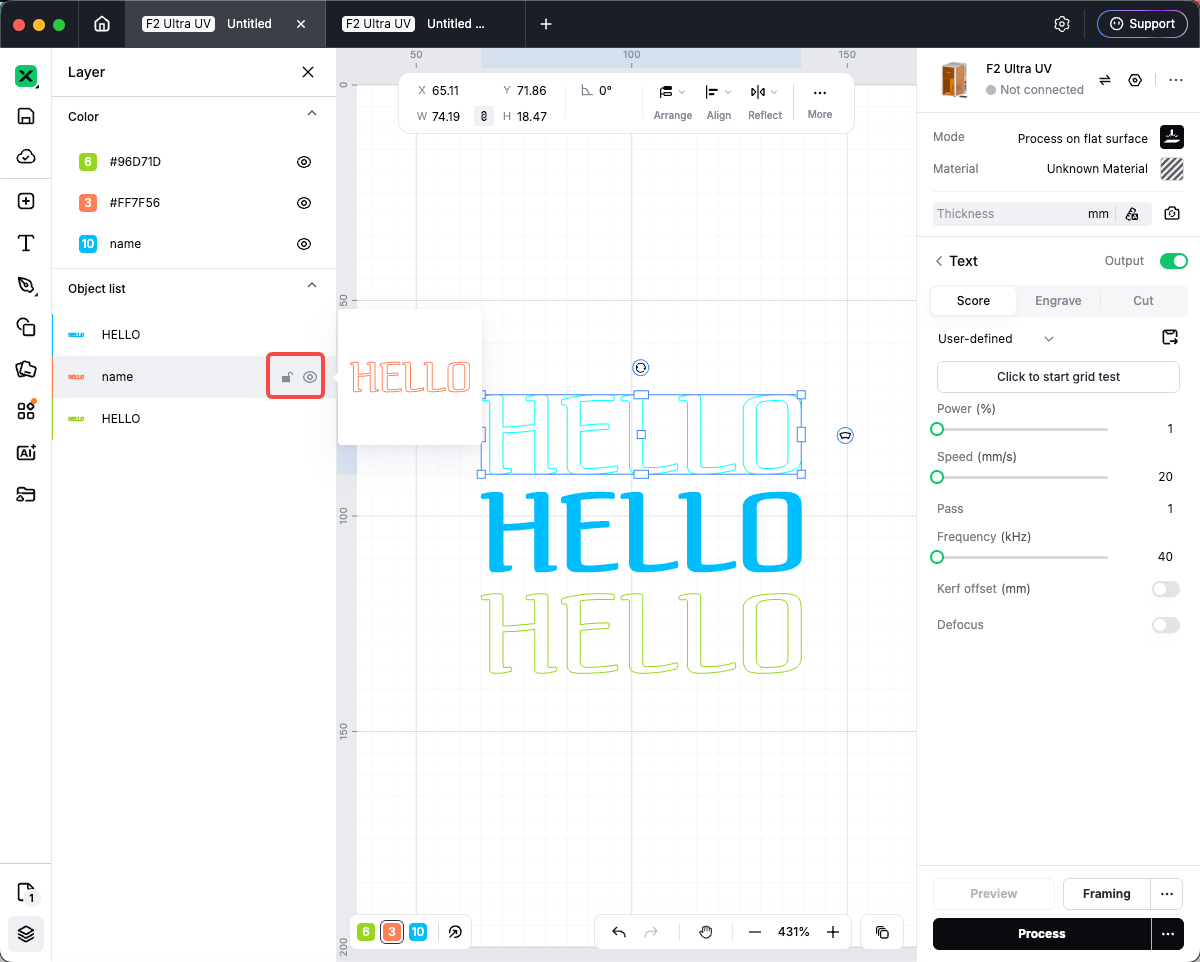
Show, hide, and lock from the list
- Click the eye icon on a row to show or hide that object on the canvas.
- Click the lock icon to lock or unlock editing for that object.
You can also use the canvas context menu for Show/Hide and Lock/Unlock.
Select and reorder
- Click a row to select the object on the canvas. Click a group row to select all objects in the group.
- Shift+click to extend the selection; Ctrl+click (Windows) or ⌘+click (Mac) to add or remove objects.
- Drag a row up or down to change stacking order (which object is in front). Drag onto a group row to move objects into or out of groups where supported.
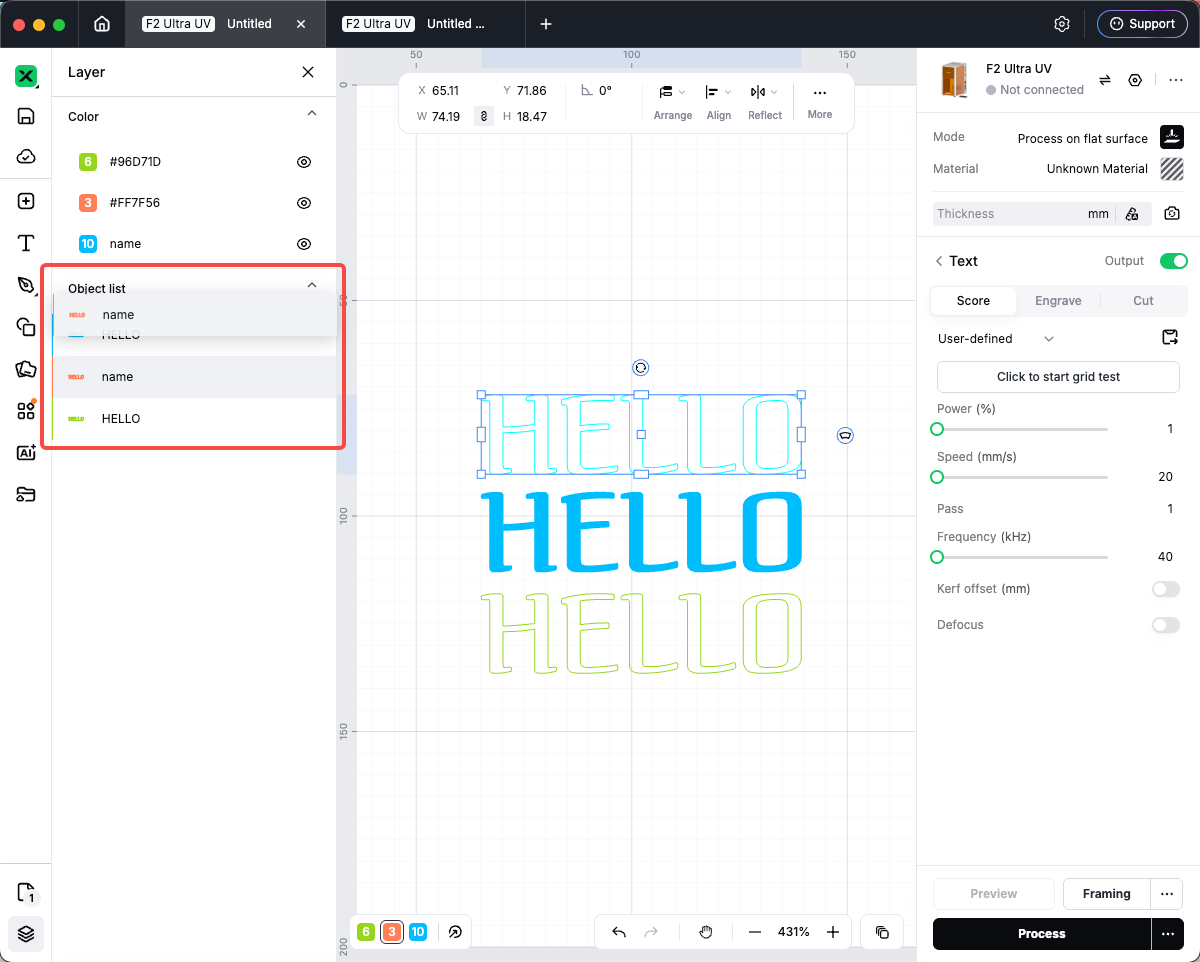
- Hover a row to highlight the object on the canvas. Double-click a thumbnail (when shown) to zoom the view to that object.
Object labels are for organization in Studio. They are not the same as layer colors (stroke color layers) in the Color section—use both together for large projects.
