This function allows you to crop bitmap images using any vector shapes you like. Imagine crafting unique Textured Typography that adds depth and delicacy to your projects, precisely cropping your image in any shape, or creating Custom Frames that elevate your photographs to a new level.
In this guide, we'll walk you through how to use Clipping Masks effectively, explore creative scenarios, and share some handy tips and tricks.
The Logic Behind Clipping Mask:
By positioning a vector shape over the base bitmap image, the vector shape will act as a mask, revealing only the portion of the base design that overlaps with the vector shape. Everything outside the shape will be hidden.
Where to Use Clipping Masks
Clipping Masks inxTool Studio can be applied to various elements, including:
- Bitmap images compatible with xTool Studio.
- Materials from the built-in Shape Library in xTool Studio.
- Text created using xTool Studio's Text tool.
- Imported vector assets compatible with xTool Studio.
How to Use Clipping Masks in PC
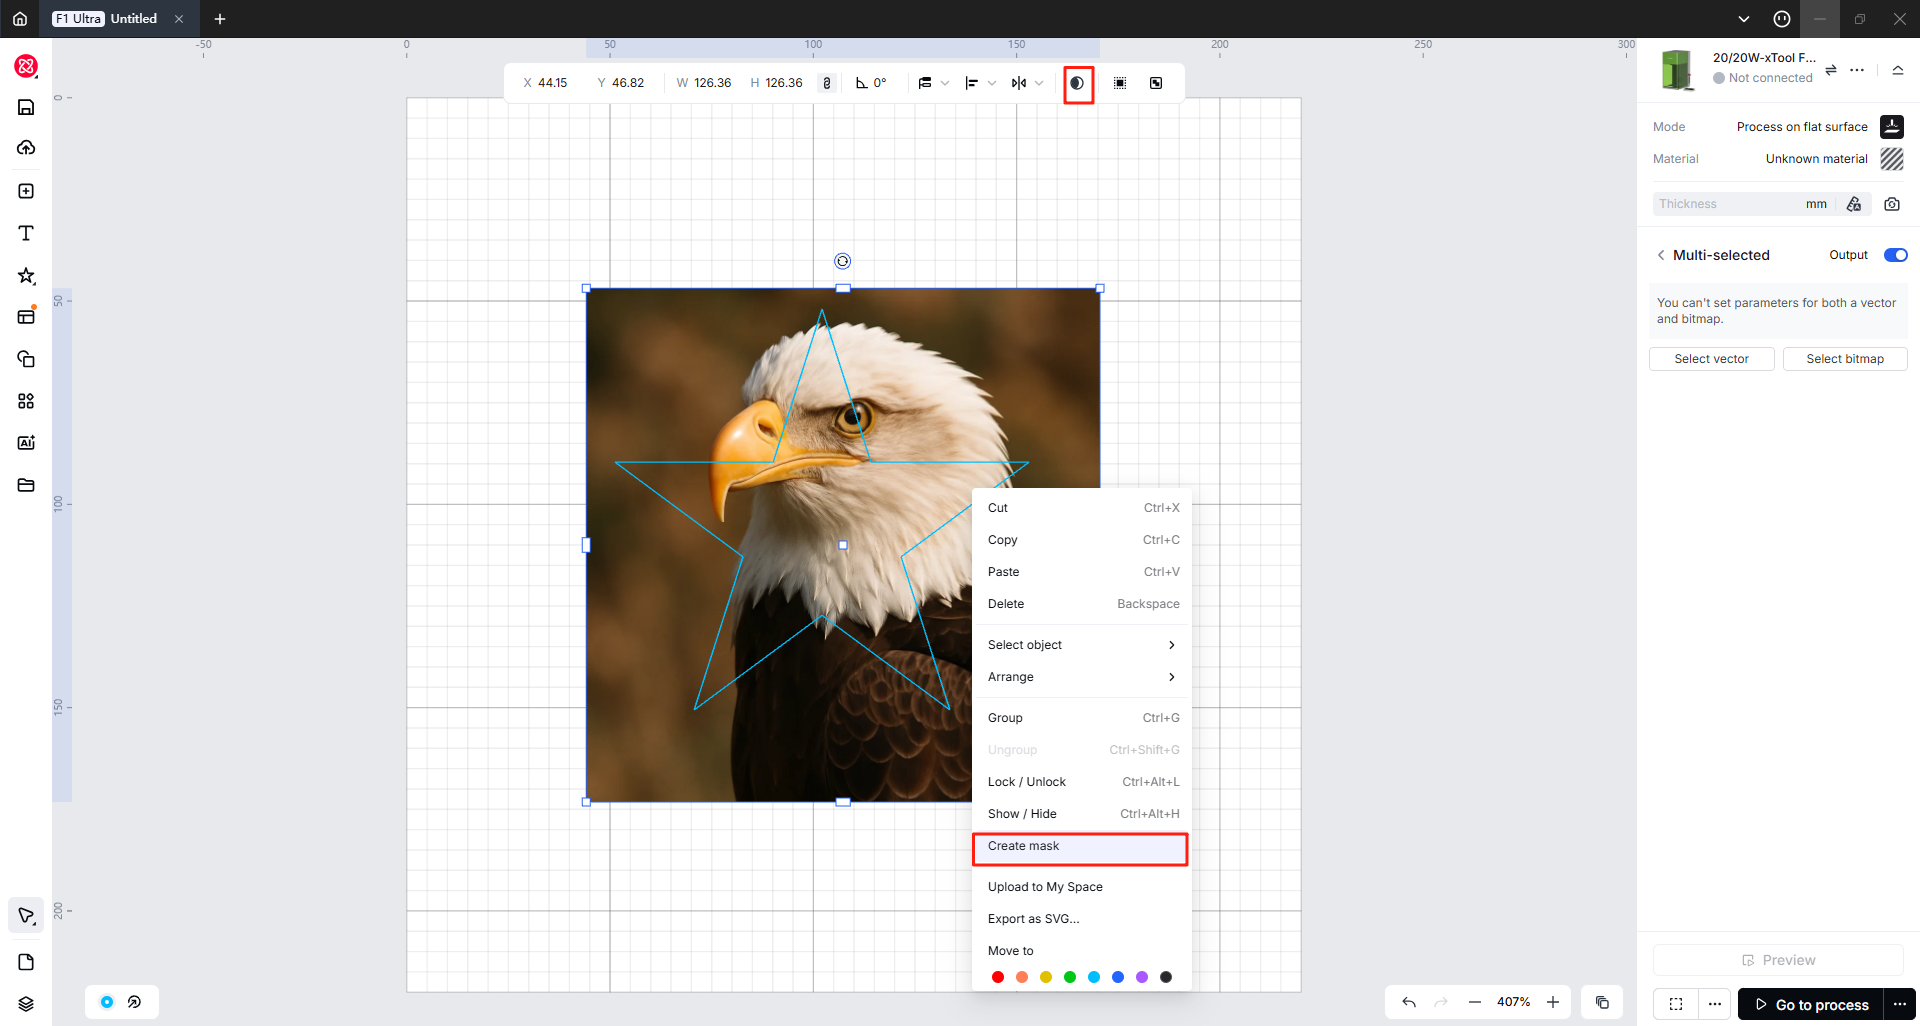
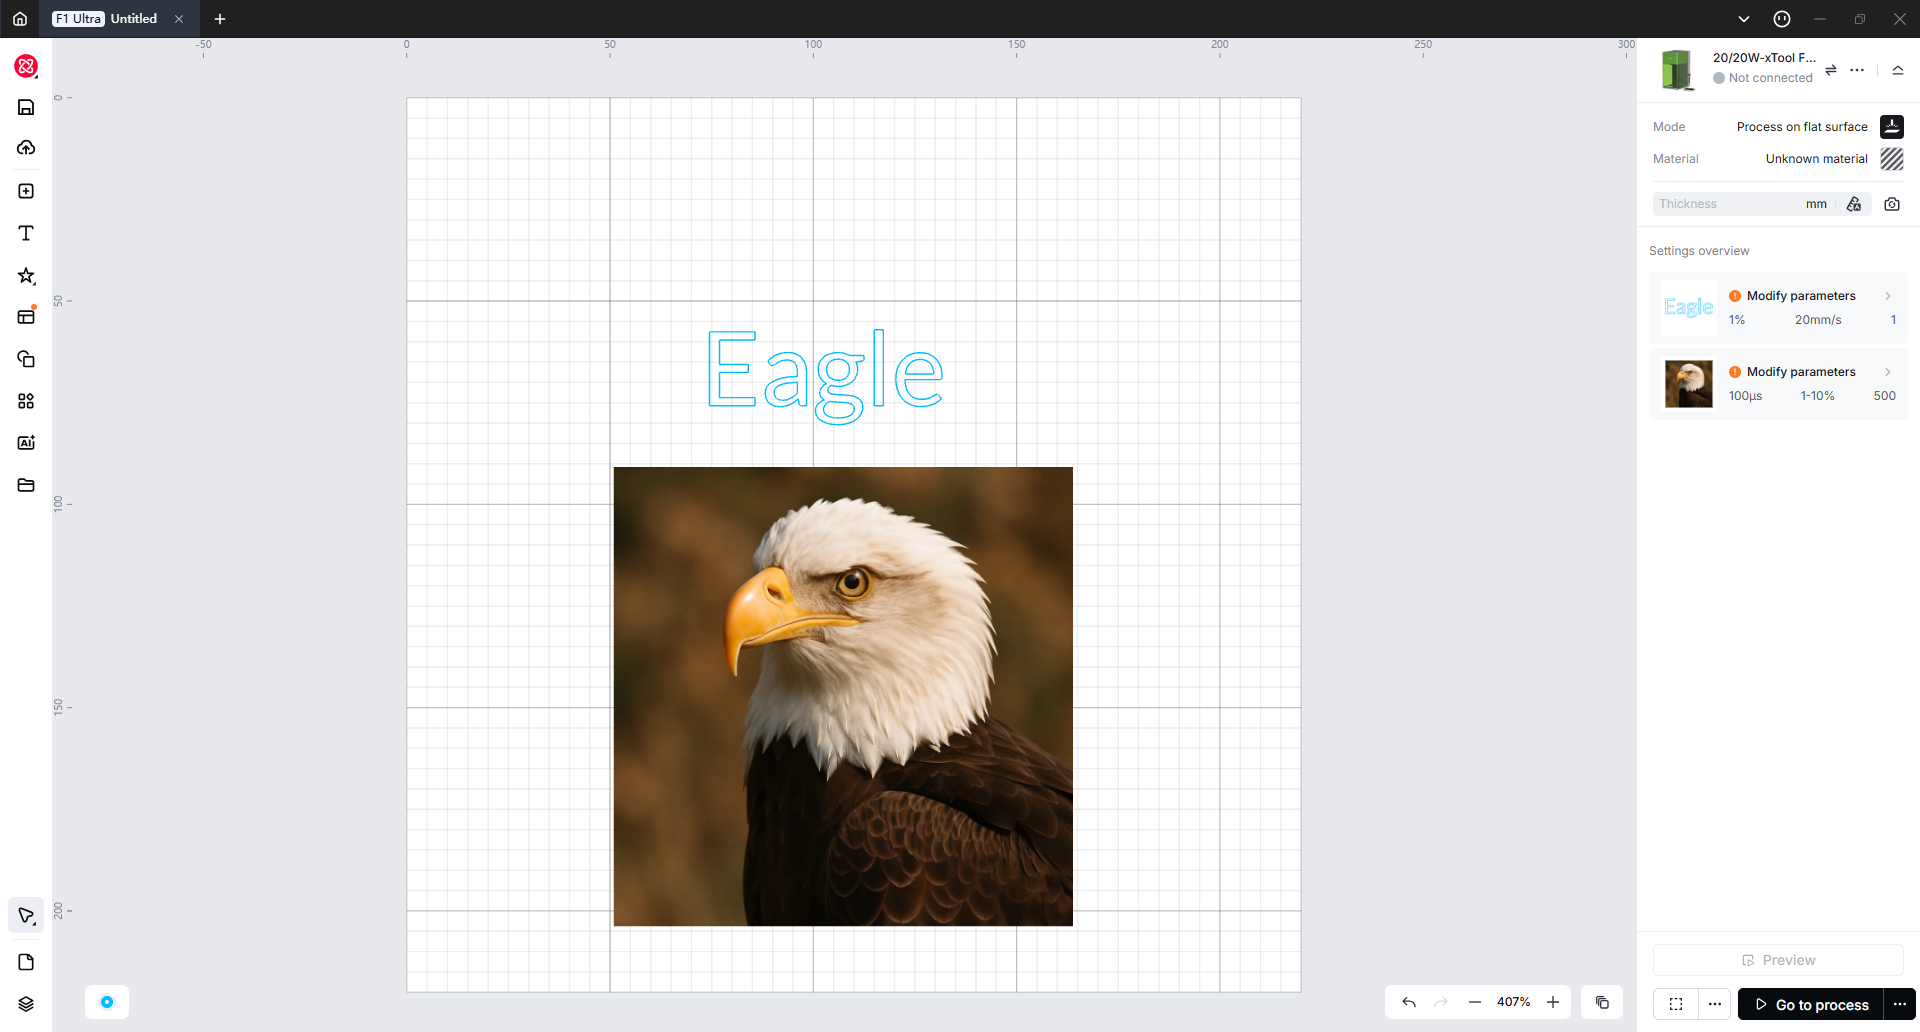
- Start with importing the base image that you want to engrave or cut. Then choose the vector shape you intend to use as the mask.
- Select both, right-click to open the options menu and choose "Create Mask", or you can click "Create Mask" on the top toolbar.
- Position the vector shape or path over the base design
Note
The triggering conditions require simultaneous selection of an unmasked bitmap image and a non-mask vector graphic. Otherwise, the "Create Mask" function won't be available.
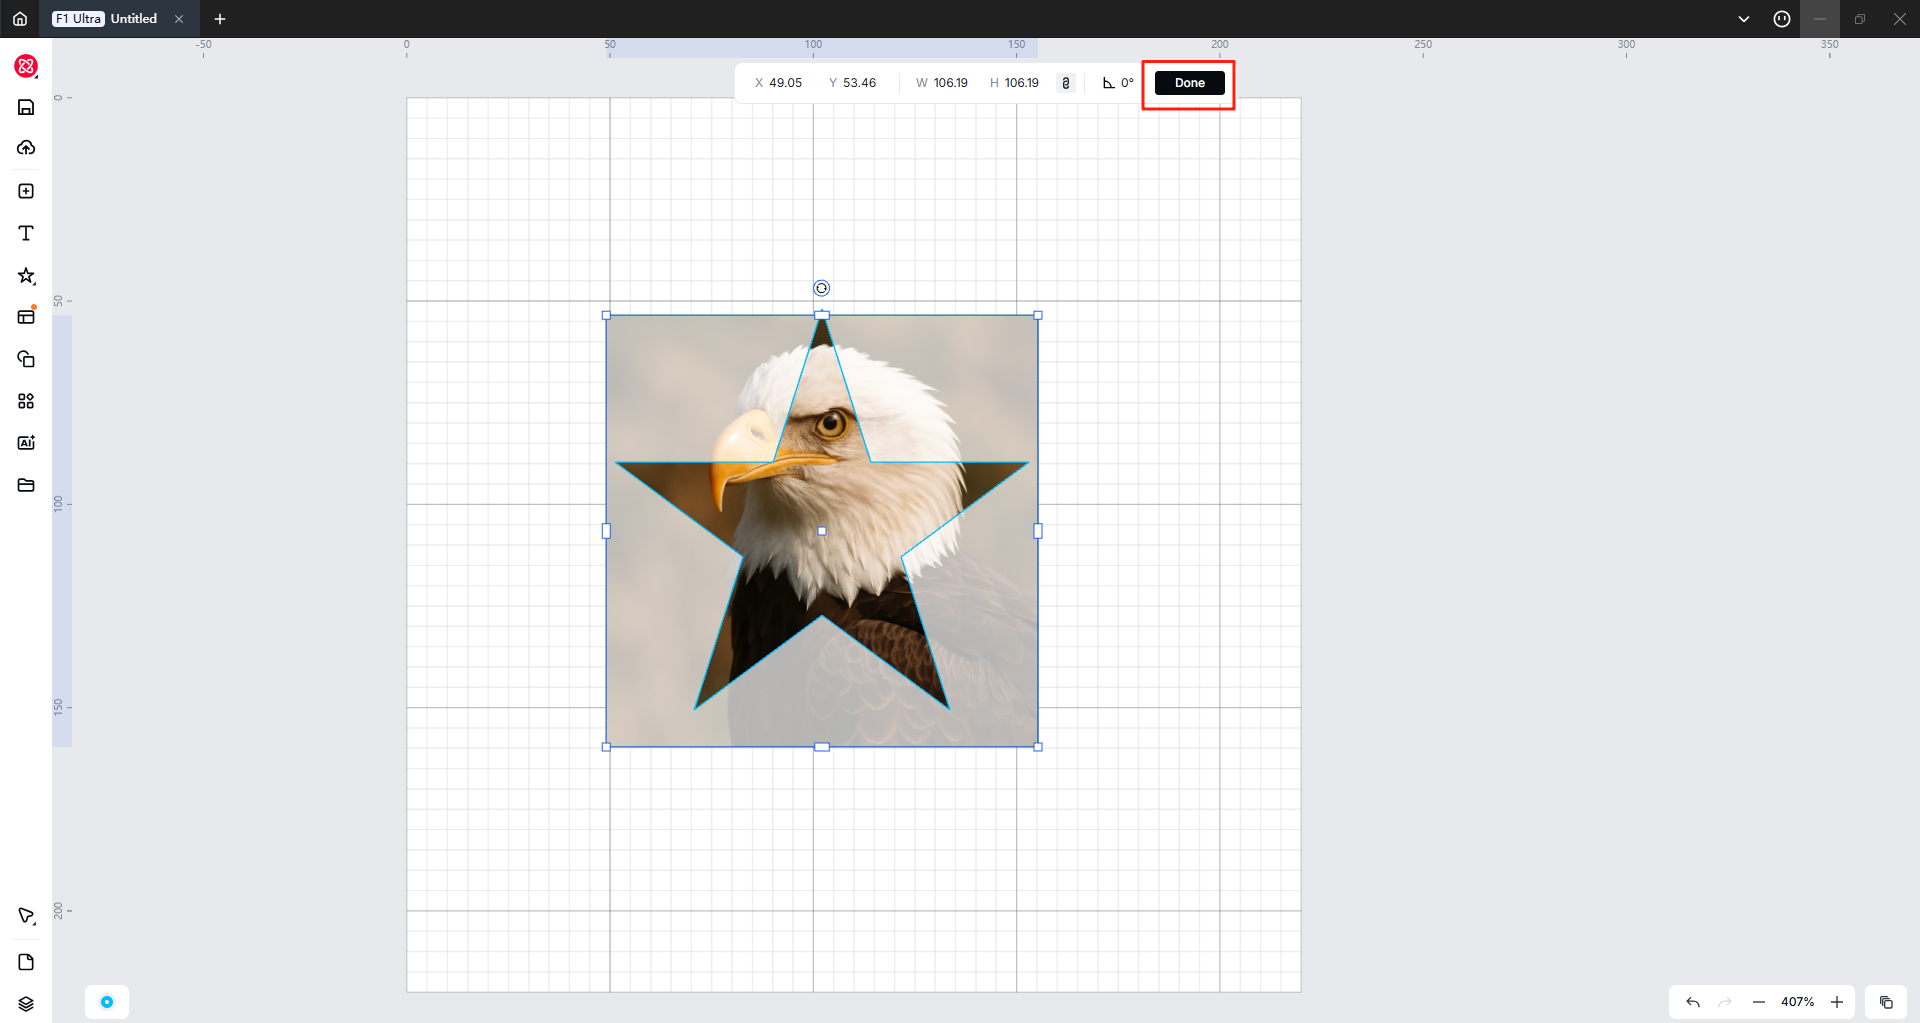
- Adjust the size and position of the bitmap image and the vector until you achieve the desired Clipping Mask effect.
- Click "Done" to generate the clipped bitmap as shown below.
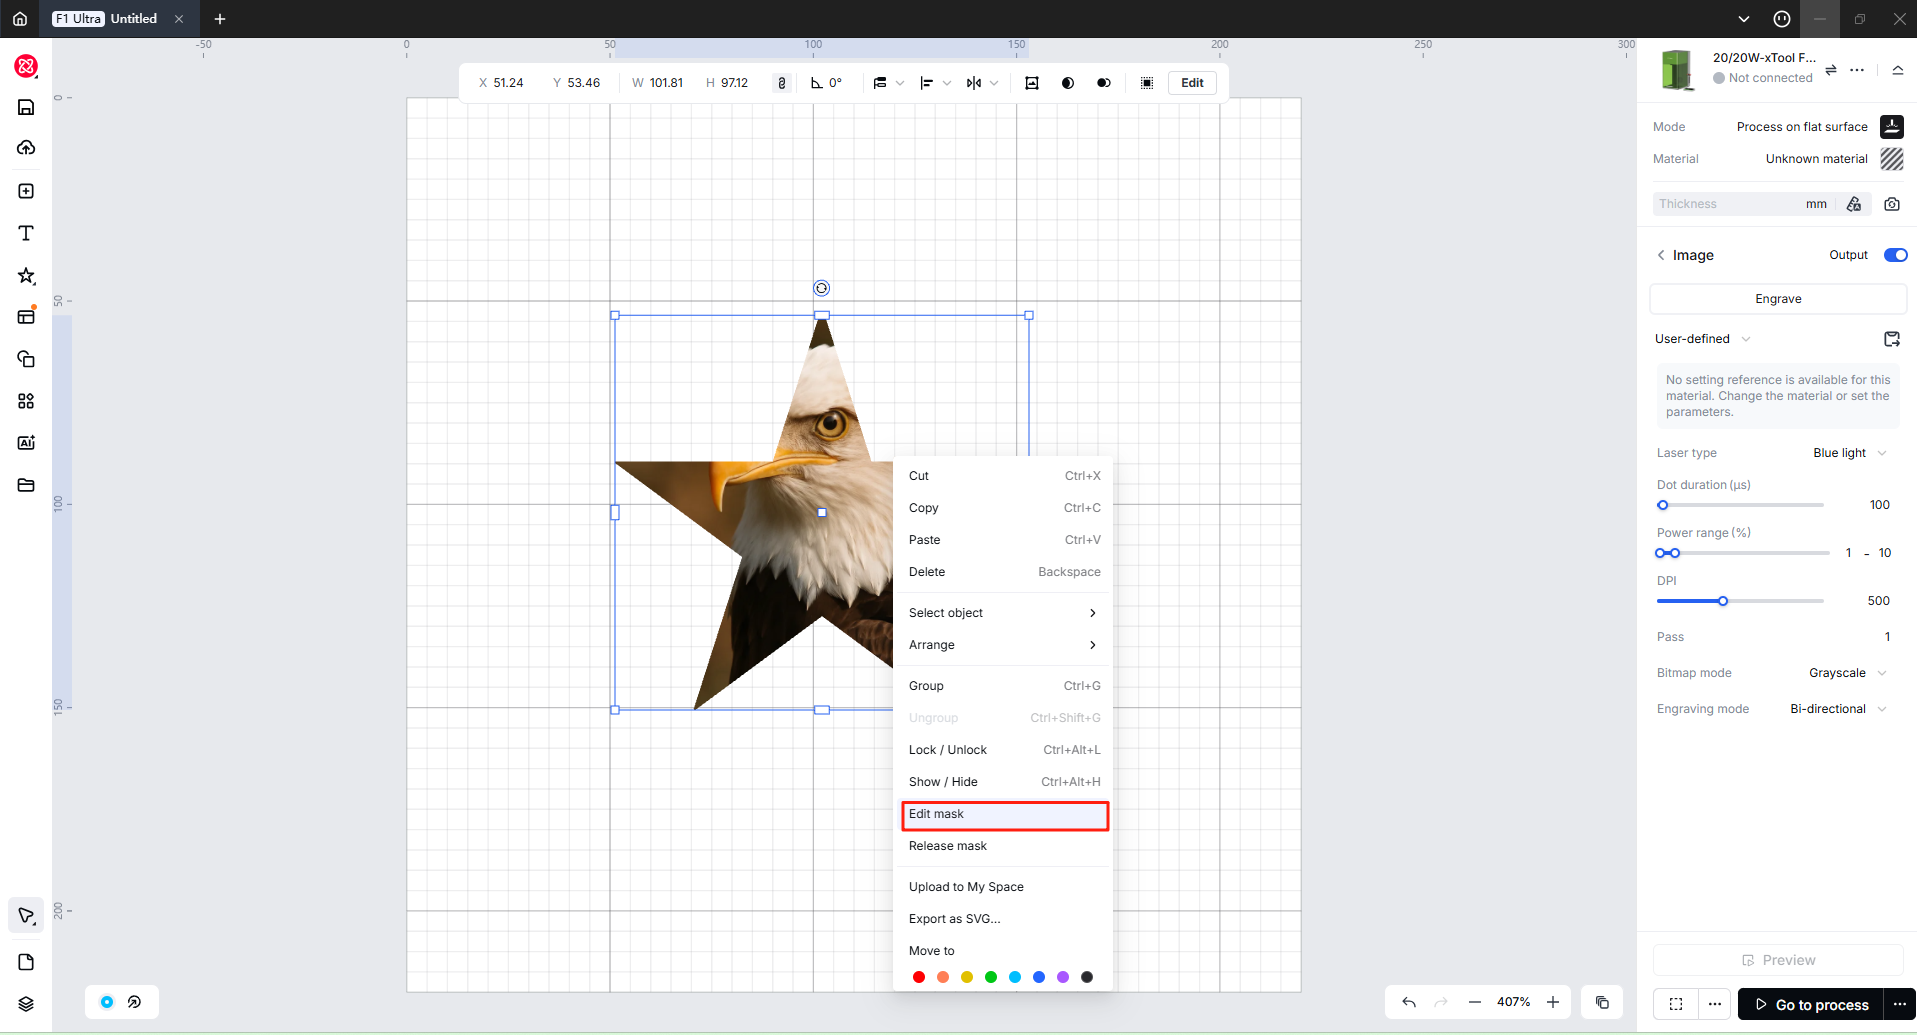
Revise Clipping Masks
For Clipping Masks that you've already created, you can easily make adjustments. Right-click on the masked image and choose "Edit Mask" from the menu. Alternatively, you can double-click with the left mouse button on the asset to access the adjustment options.

Releasing Clipping Masks
If you're not satisfied with the Clipping Mask you've created and want to revert it to its original bitmap and vector, follow these steps:
- Right-click on the Masked image.
- Choose "Release Mask" from the menu.
Exploring Further
Clipping Masks offer even more possibilities in xTool Studio. For text entered within xTool Studio, you can undo and redo Clipping Masks as needed.
However, once text has been welded, it becomes non-editable.
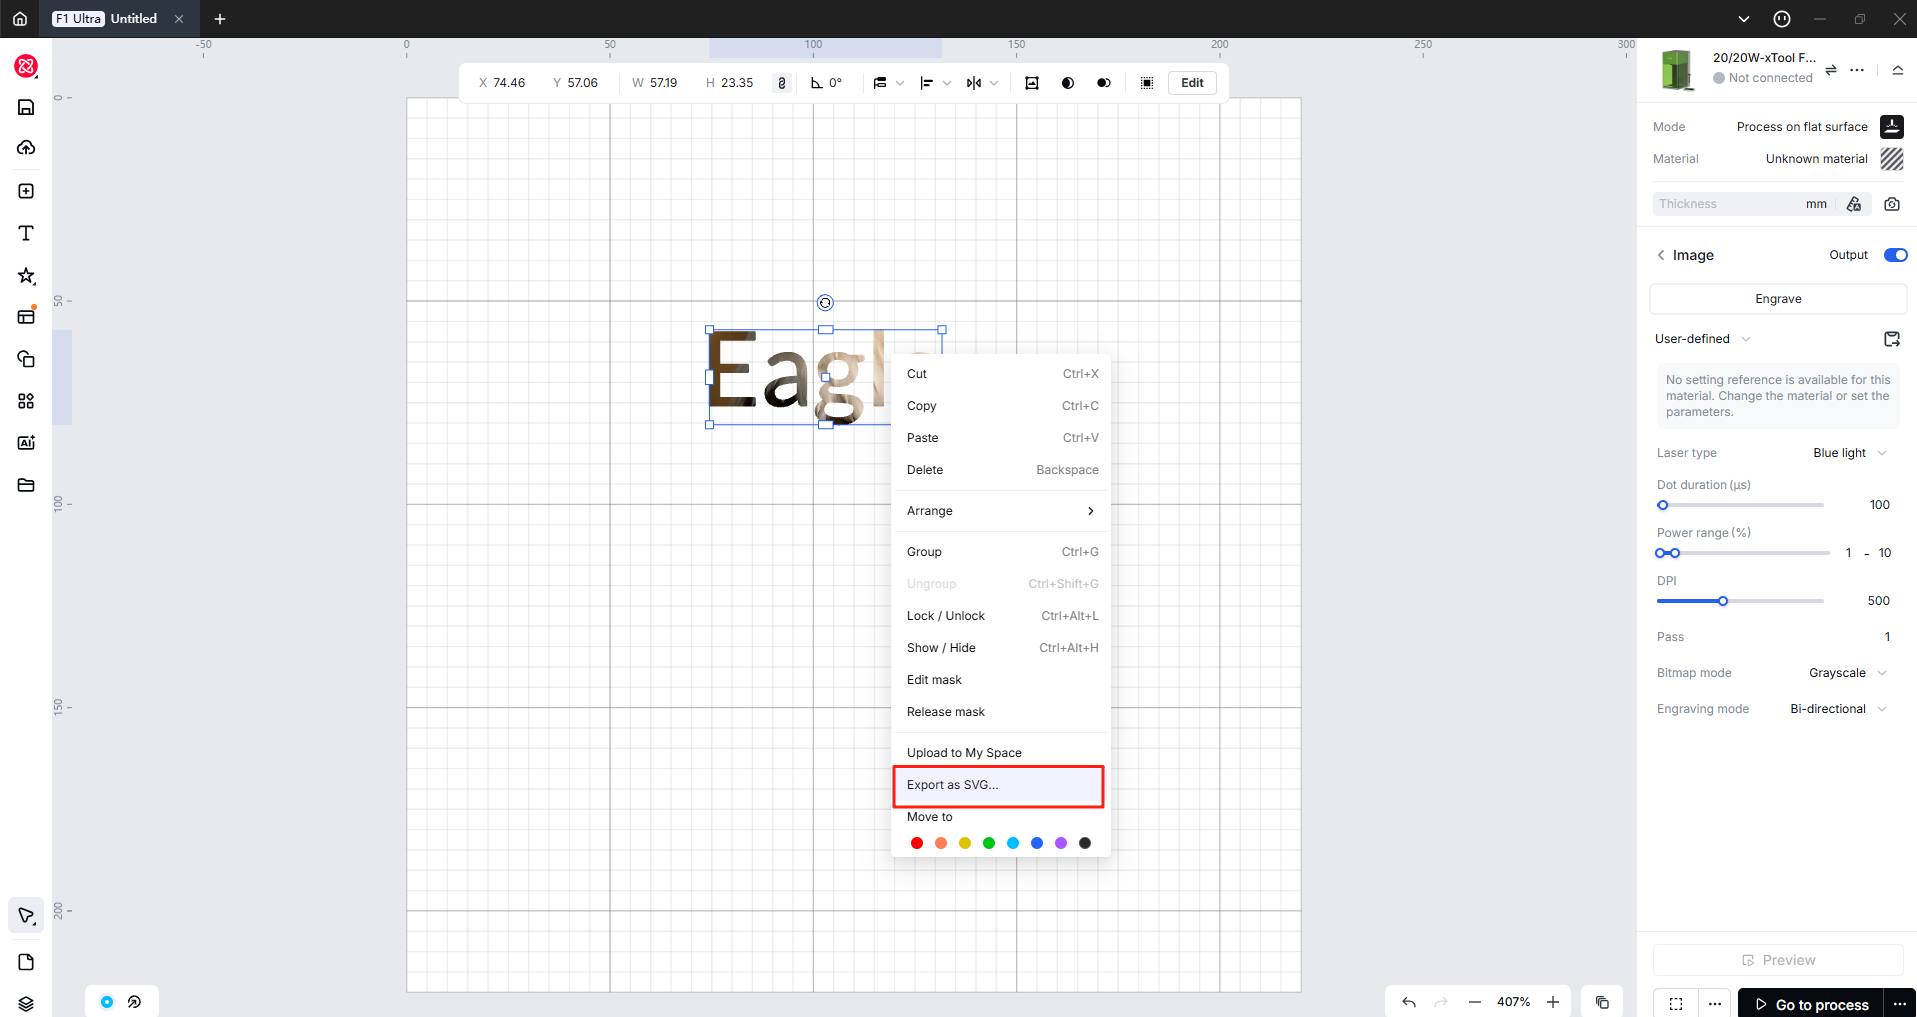
Additionally, you can export your creations as SVG files directly by right-clicking and selecting "Export as SVG" after applying Clipping Masks. This allows you to save your artwork with masks intact.
Once you're satisfied with your Clipping Mask design, save or export it in a format compatible with your laser engraving or cutting machine.
Services & Help
Learn & Education

Copyright © 2025 xTool All Rights Reserved.