1. Materials and Equipment
1.1 Bent Material
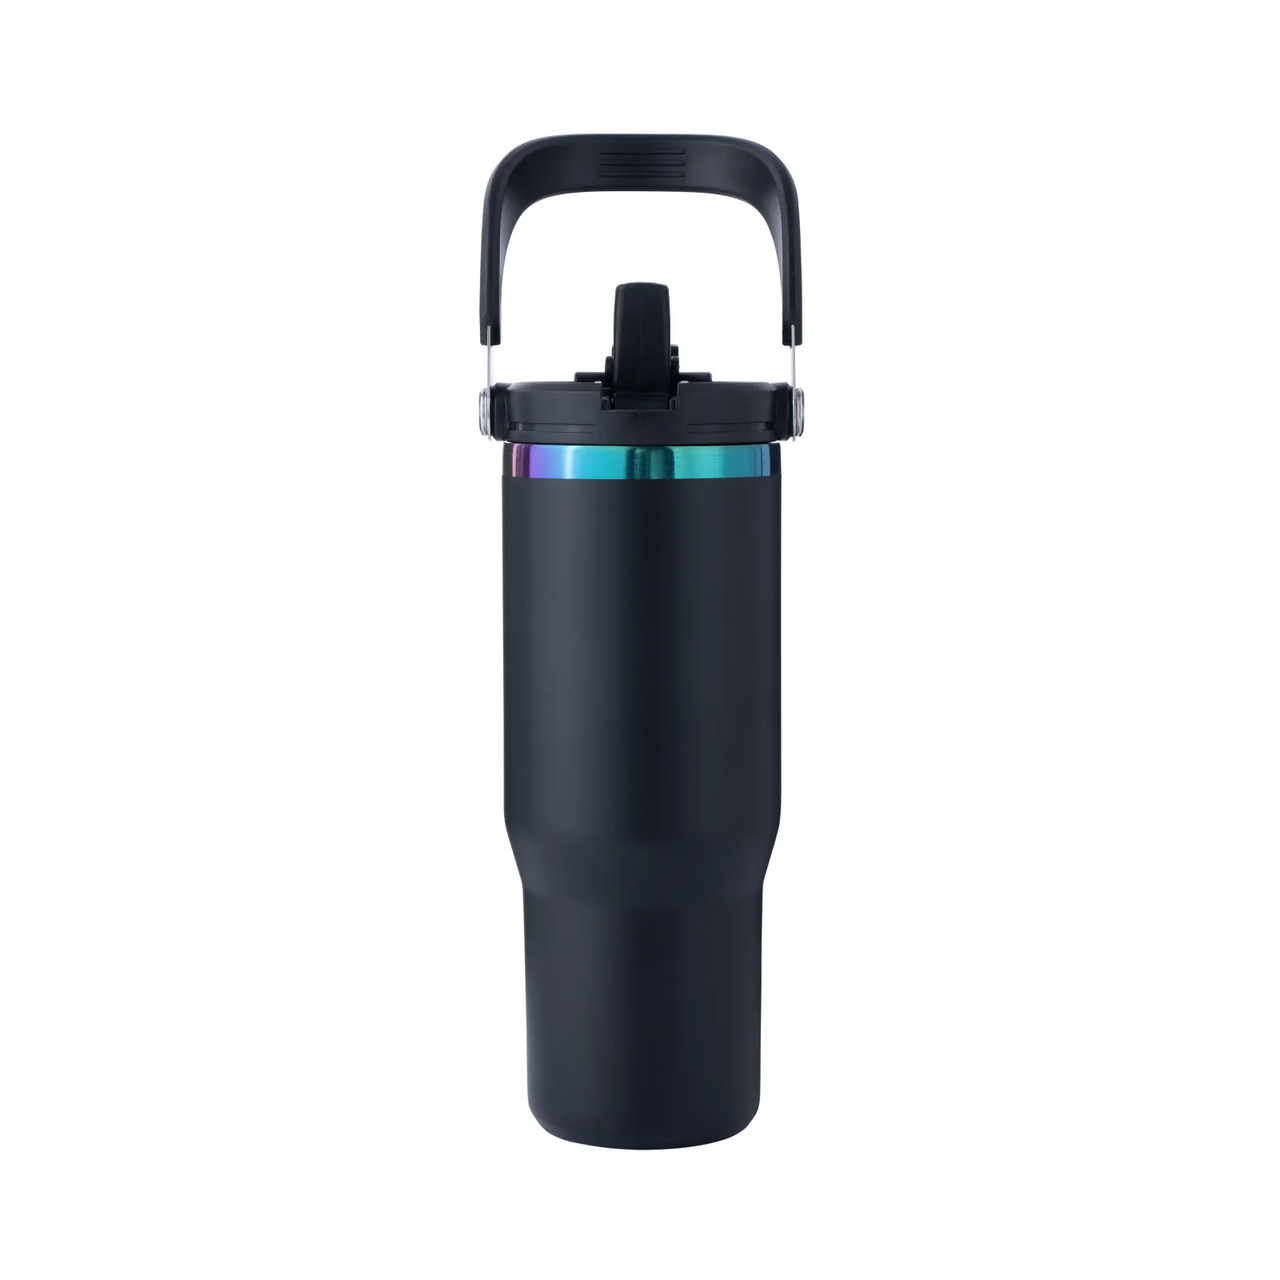
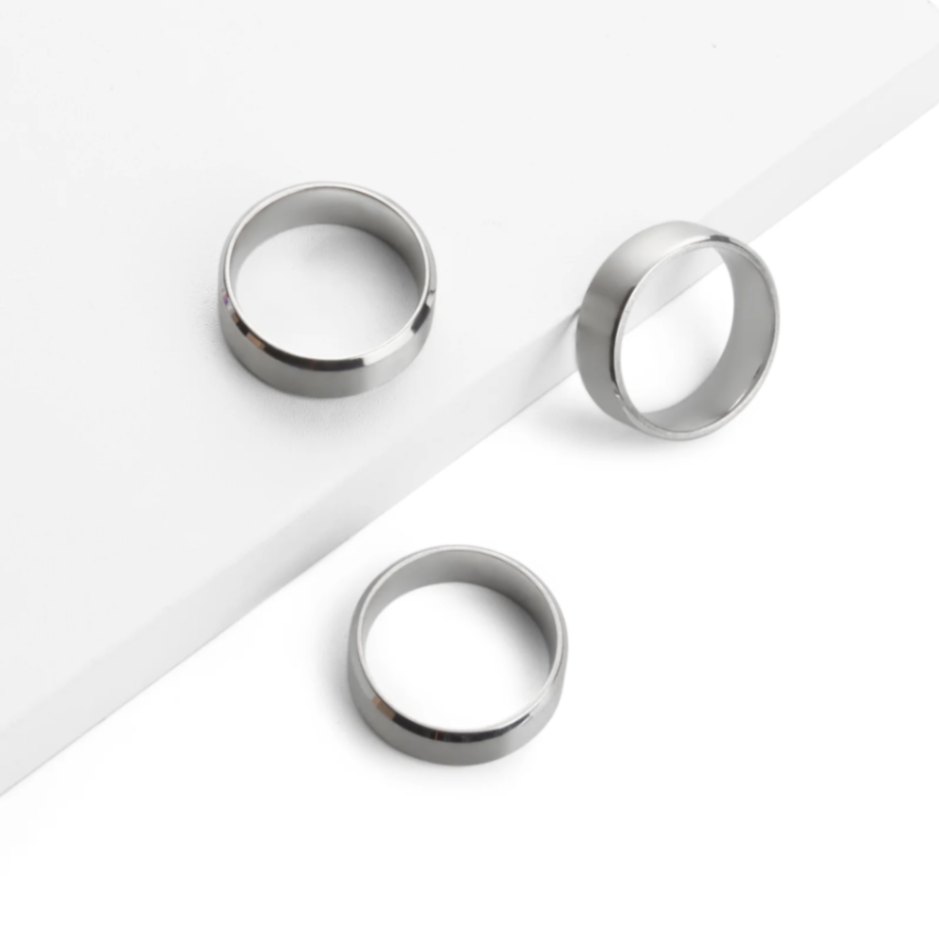
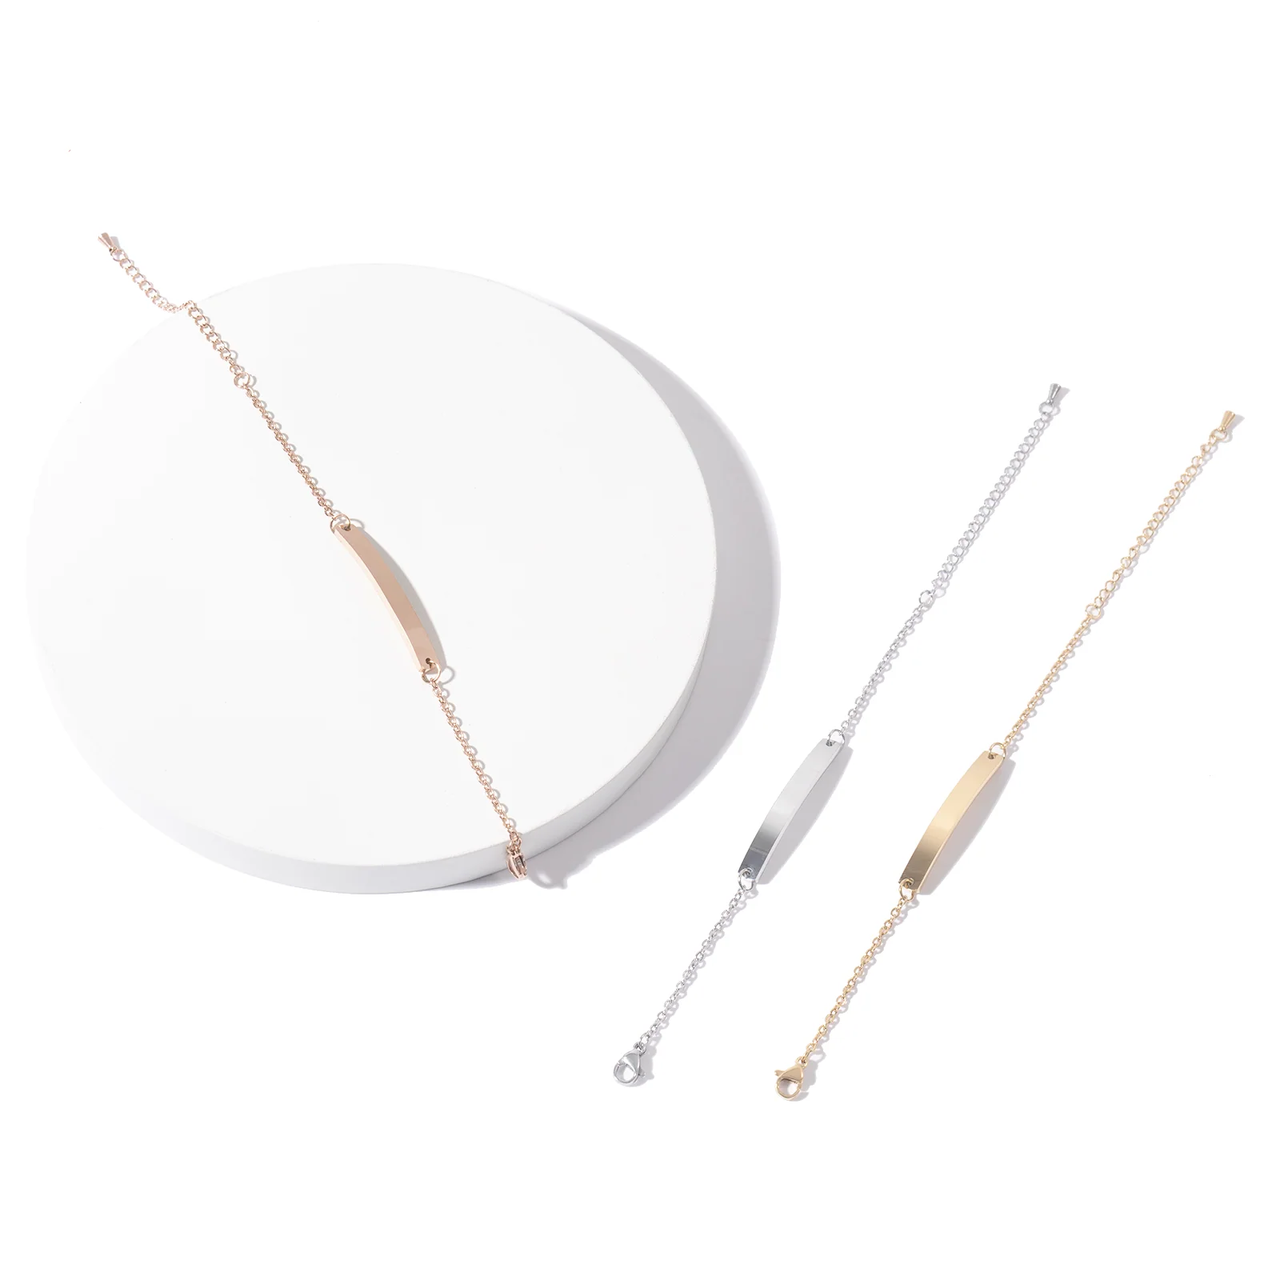
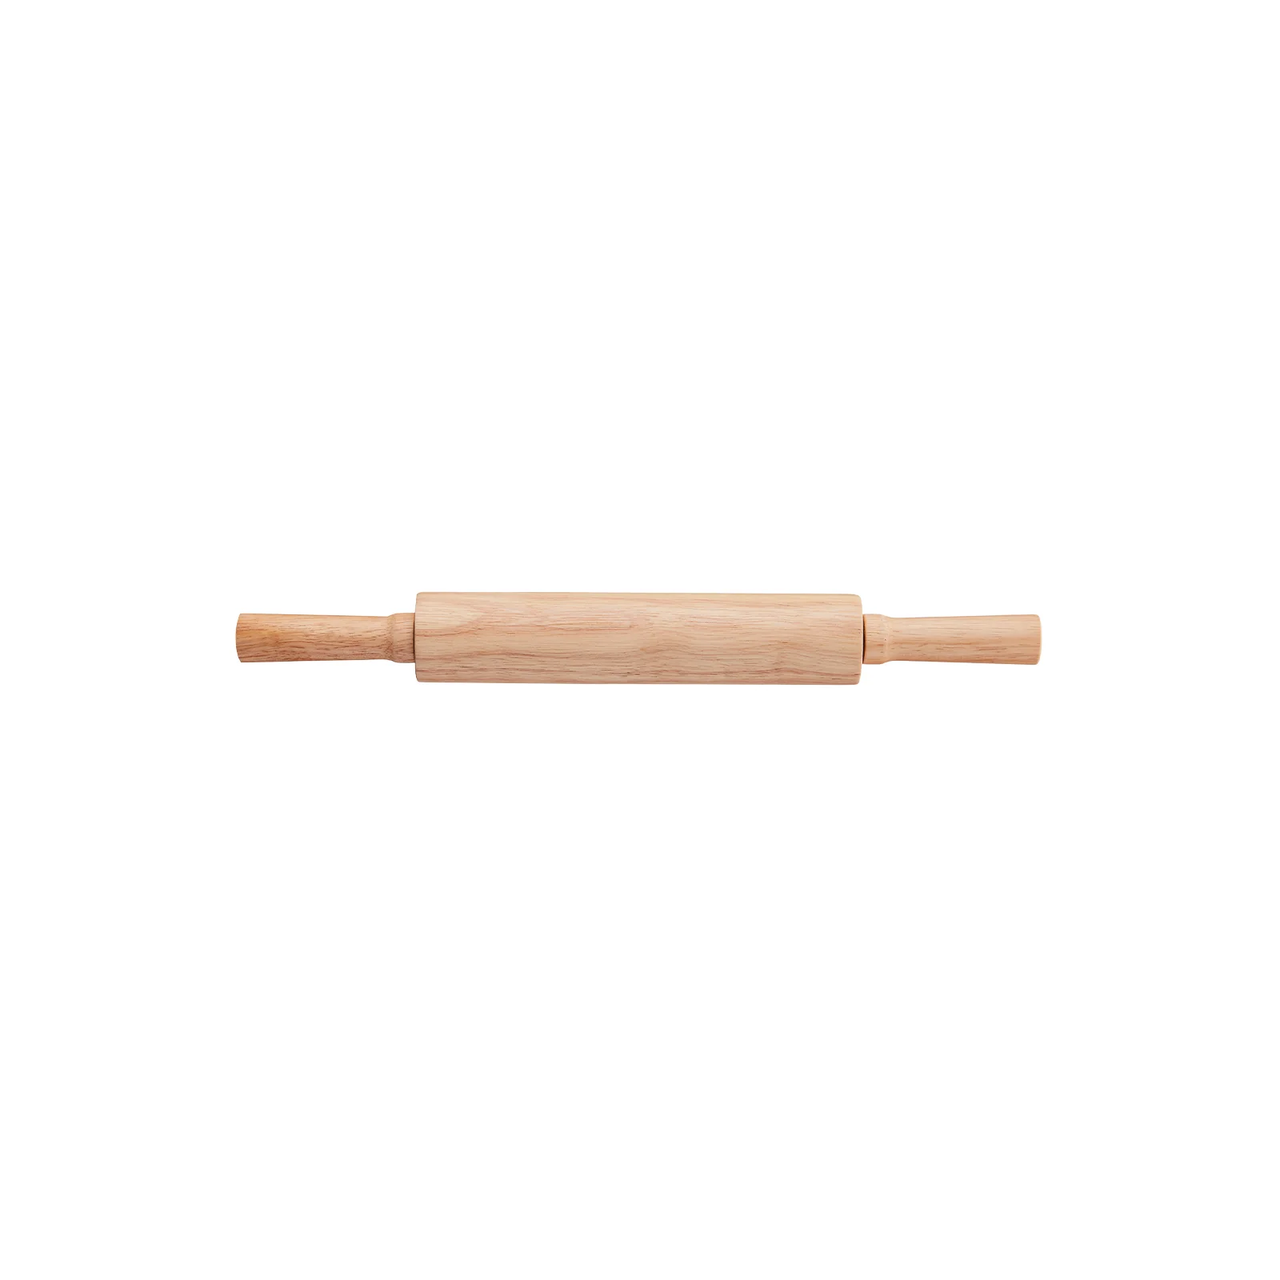
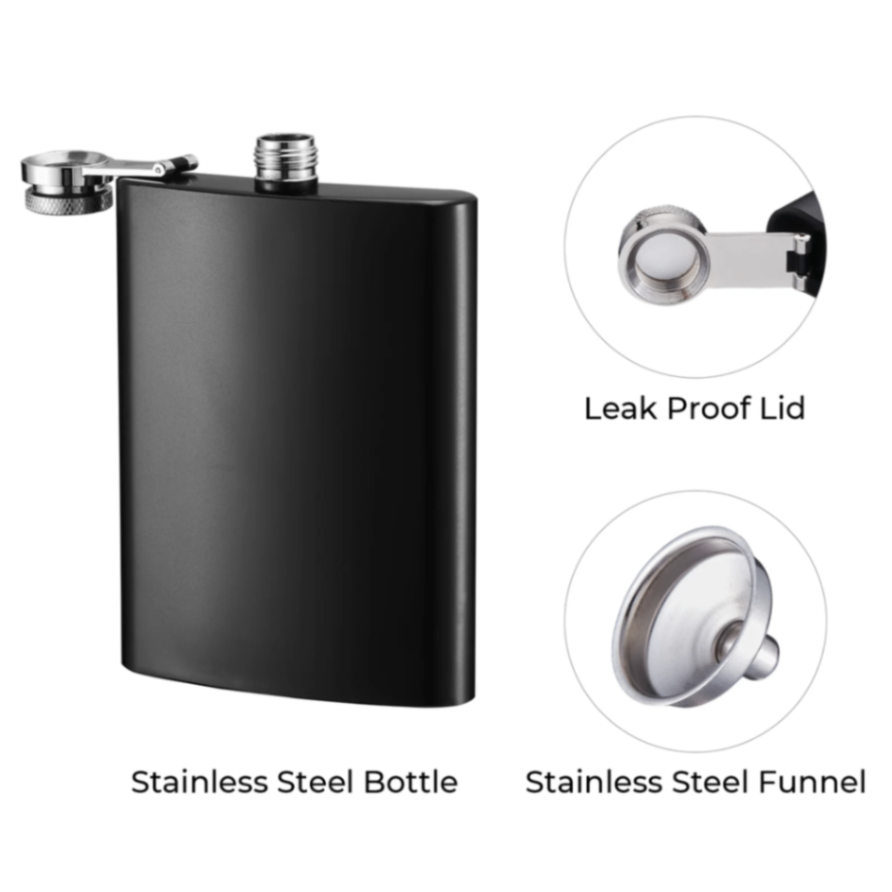
Stainless Steel Black Hip Flask

Frosted Amber Candle Jars with Making Kits

More circular bent materials can be found on the Xtool Official website
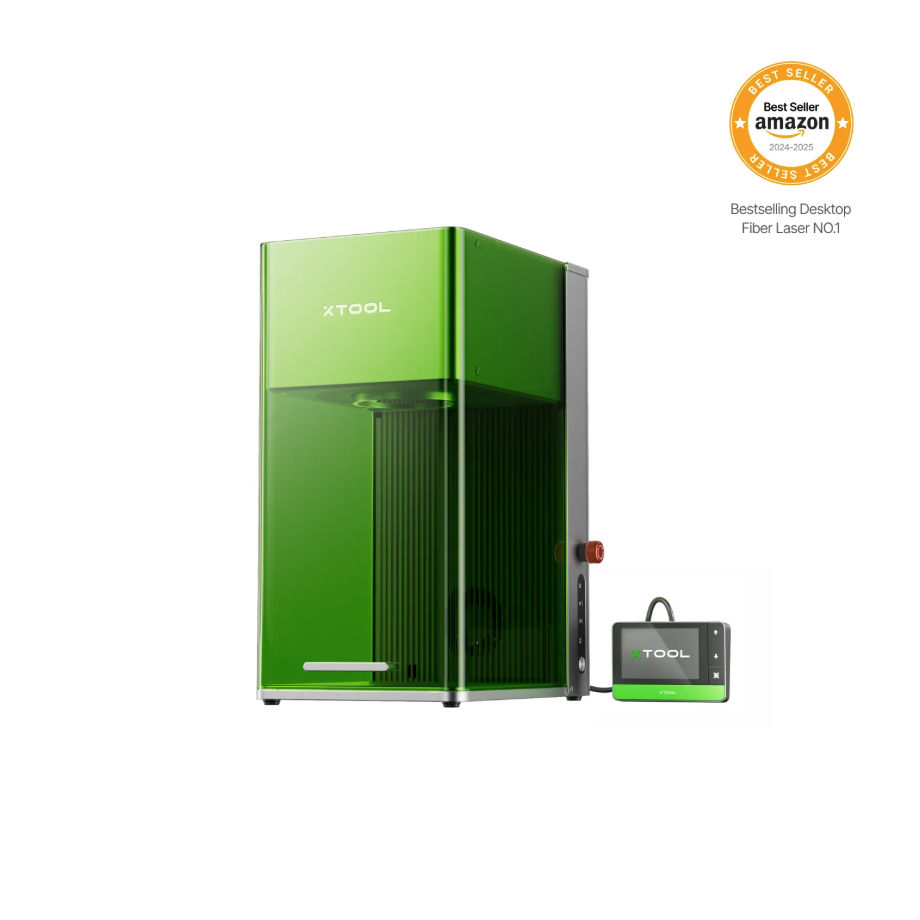
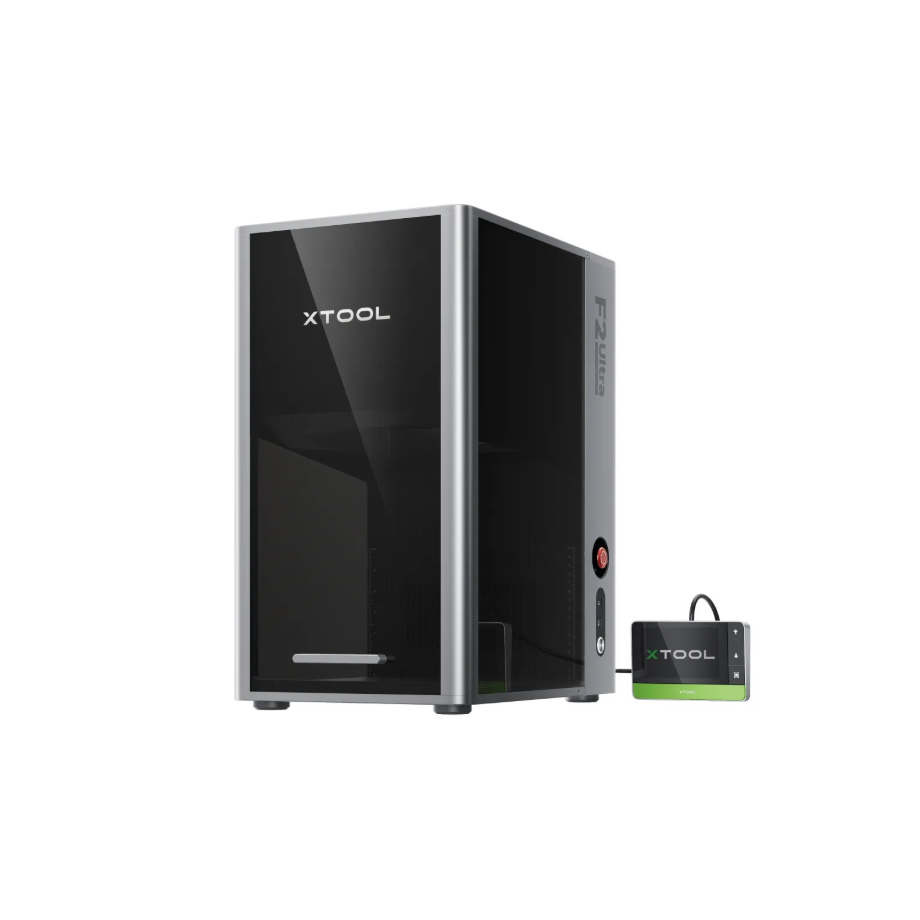
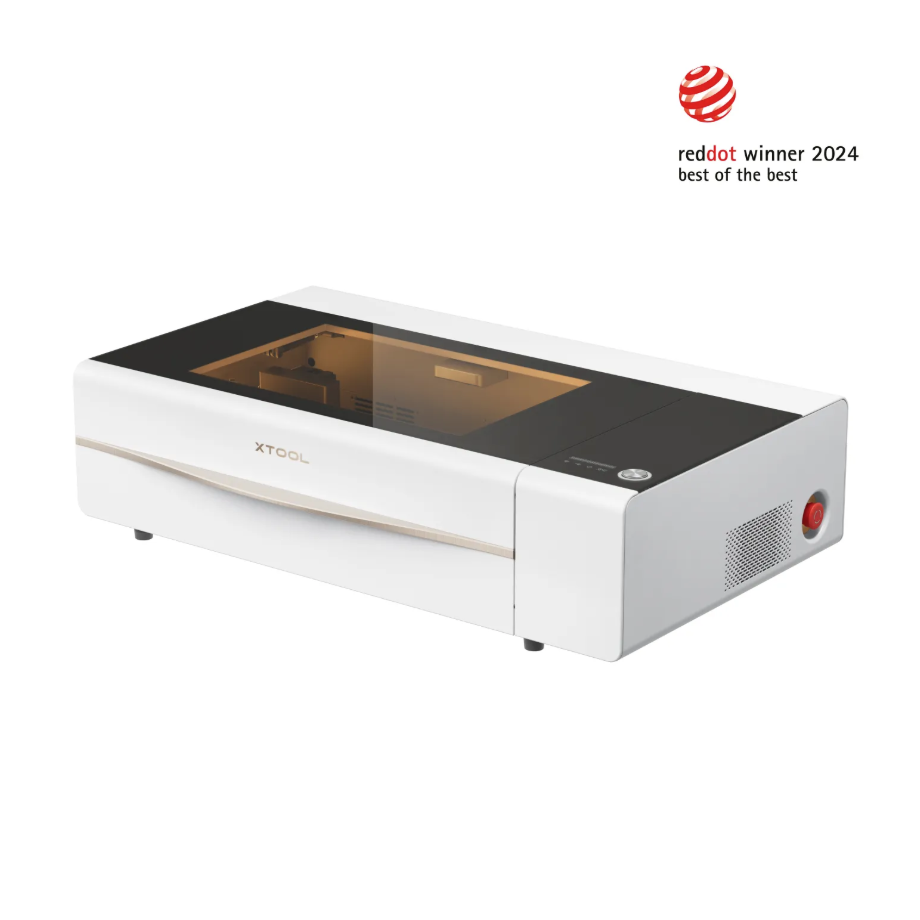
1.2 Adaptation of Processing Equipment
Processing Mode Adaptation: Curved Material
1.3 Use of Accessories
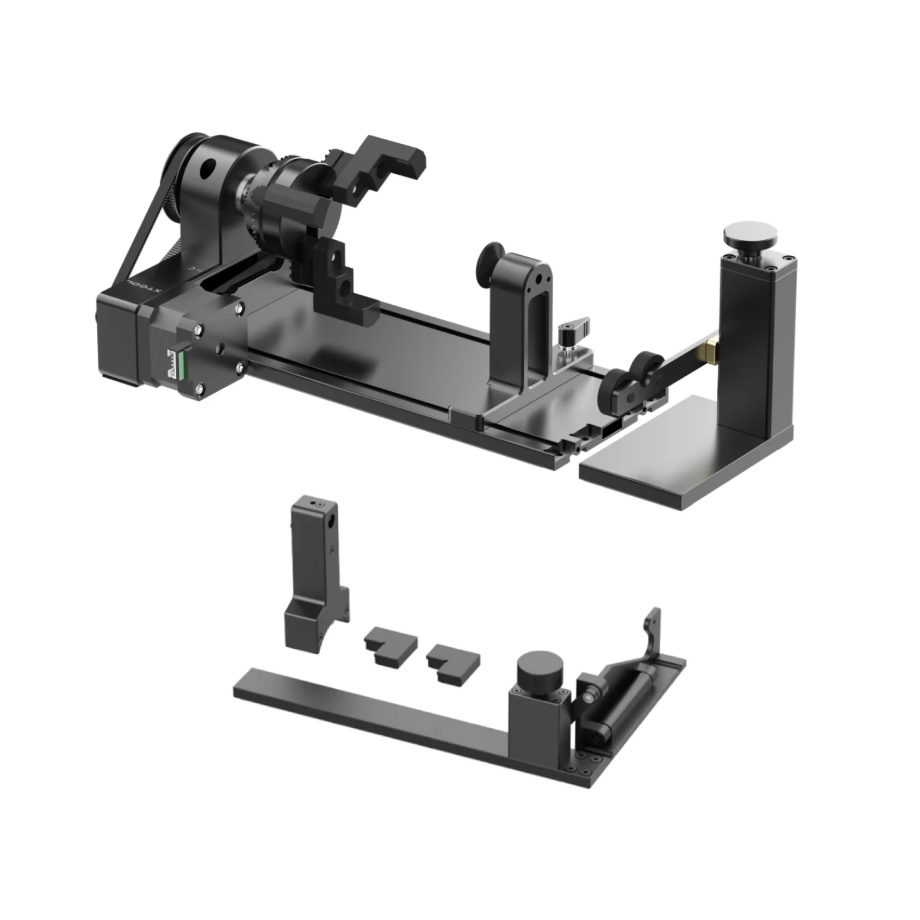
The Rotary Attachment allows for 360° rotational processing of cylindrical materials.
2. Pre-processing Preparation
2.1 Curved Material
The Curved material machining mode should be used for processing, allowing the pattern to be simulated as projected onto the curved surface, which helps avoid stretching or distortion caused by the degree of curvature.
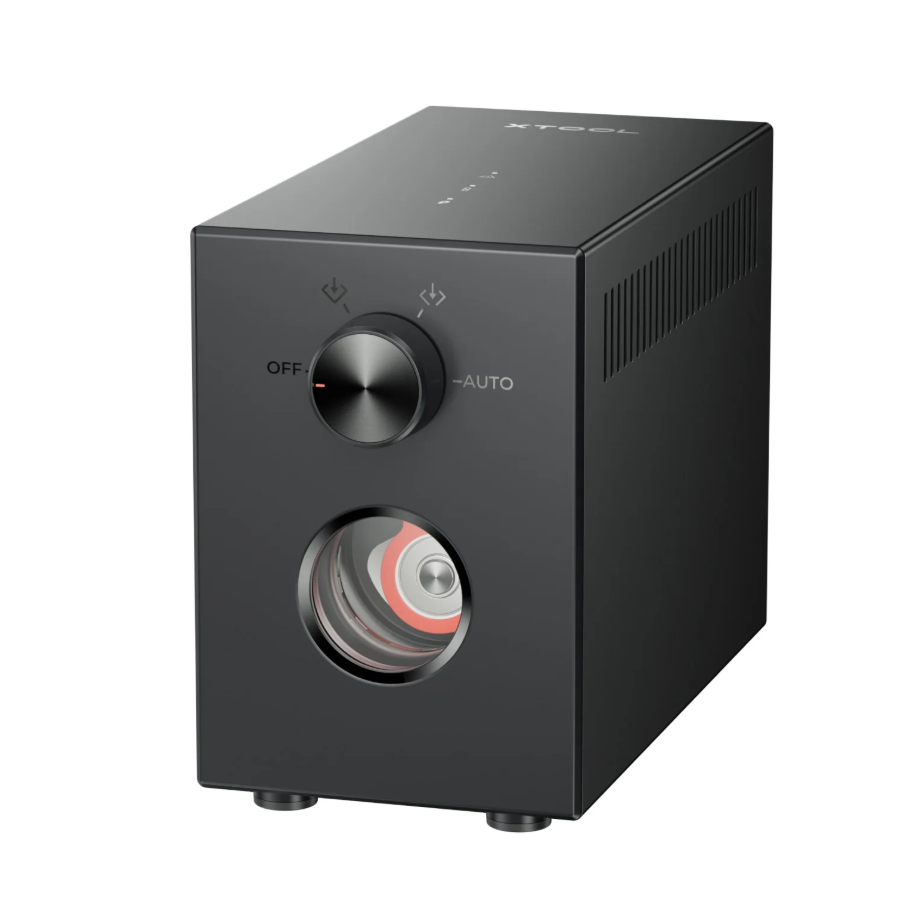
2.2 Enable Air-Compress Assist
When metal needs to be processed to present a carve-in-color effect:
It is not recommended to enable Air-Compress Assist, as the colored effect on metal occurs on its surface. Enabling Air-Compress Assist affects the process in which heat causes the metal to change color.
Wood and other materials:
When processing wood and coating materials, it is recommended to turn on Air-Compress Assist. The airflow generated by Air-Compress Assist can aid in processing, provide airflow-assisted cooling for the Laser Module during operation, blow away smoke and dust, and protect the Laser Lens.
2.3 Wearing Protective Equipment
Glasses: When the Laser Module is emitting light, it is prohibited to open the device's protective casing. If there is exposed laser emission, appropriate Laser Safety Goggles for the corresponding laser wavelength must be worn.
Mask: It is recommended to wear a mask during equipment processing.
Purifier: It is recommended to connect the device's smoke exhaust pipe to the outdoors. For devices that cannot be connected outdoors, it is recommended to connect to an air purifier to isolate the irritating gases generated during processing.
3. Common Issues and Solutions
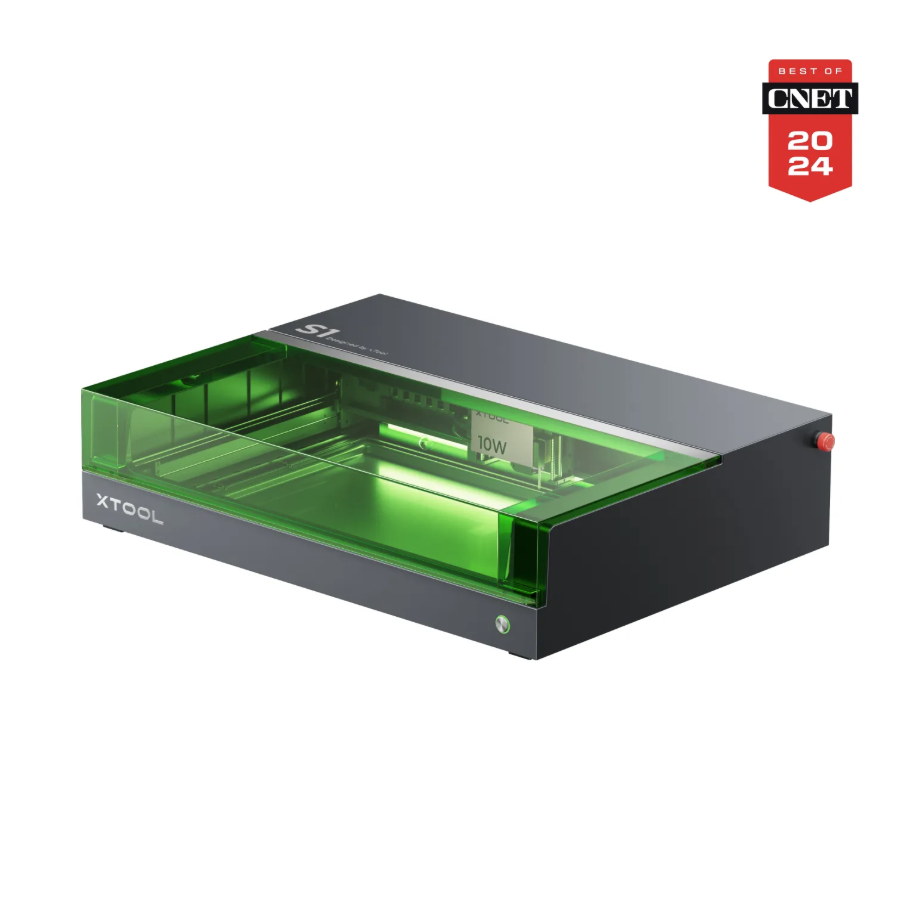
3.1 Mechanical Part Measurement Positioning Issue
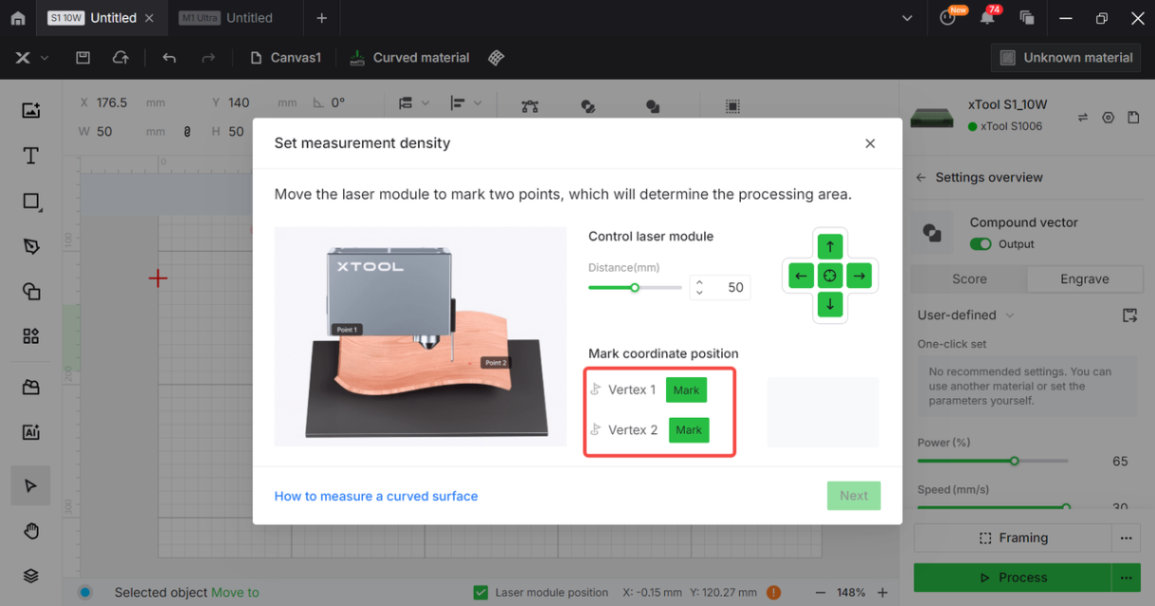
The S1 mechanical distance measurement positioning key requires manually moving the Laser Module, but the Laser Module can also be moved using the four arrow keys to position the machining area on the material.
After clicking to mark the positions of the first point and the second point respectively, the processed area on the material surface can be outlined.
Then proceed with the density measurement.
3.2 Optical Measurement Positioning Problem
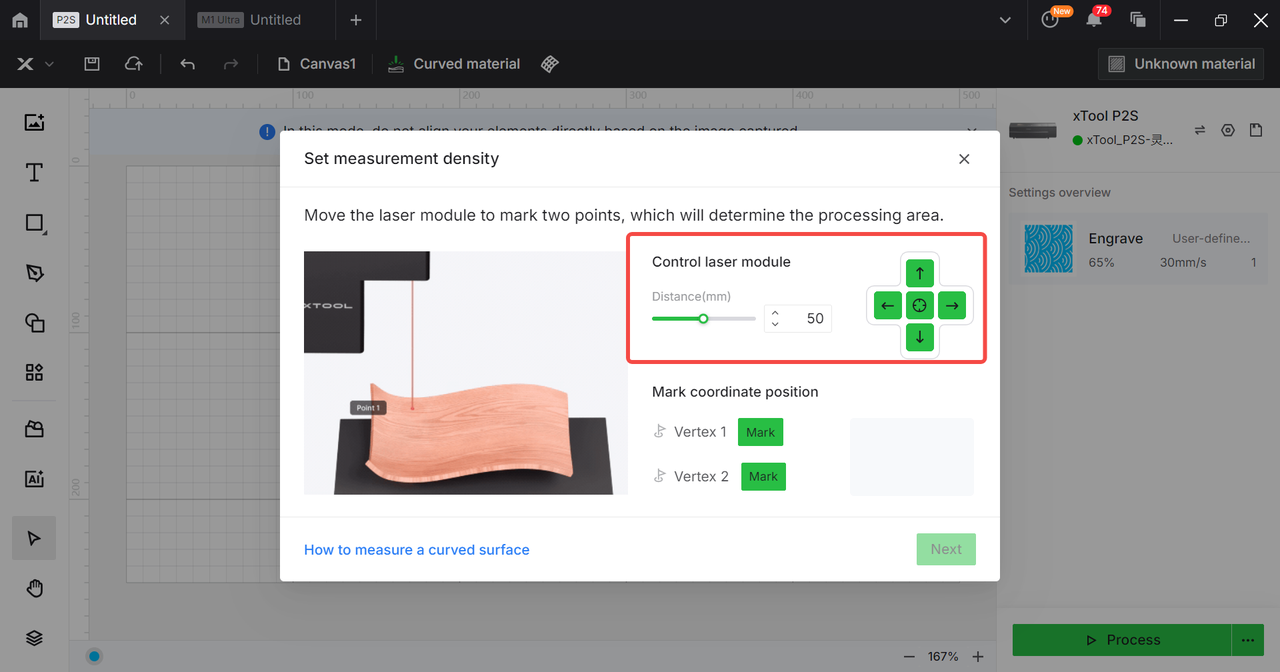
The positioning key of the P Series device requires clicking the movement button to control the movement of the Laser Module.
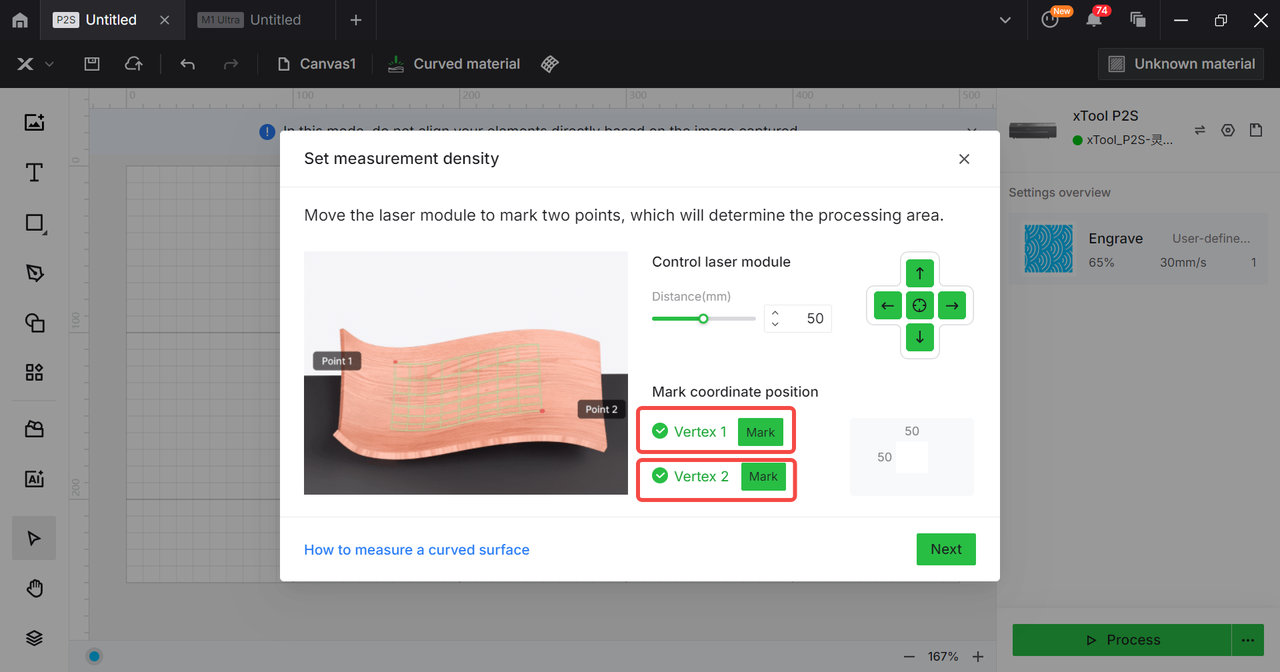
After moving the laser module to the position on the material where you need the measurement, you can click to mark two points. Once the two points are marked, the area you need to process on the material can be determined.
3.3 Processing Mode Issues
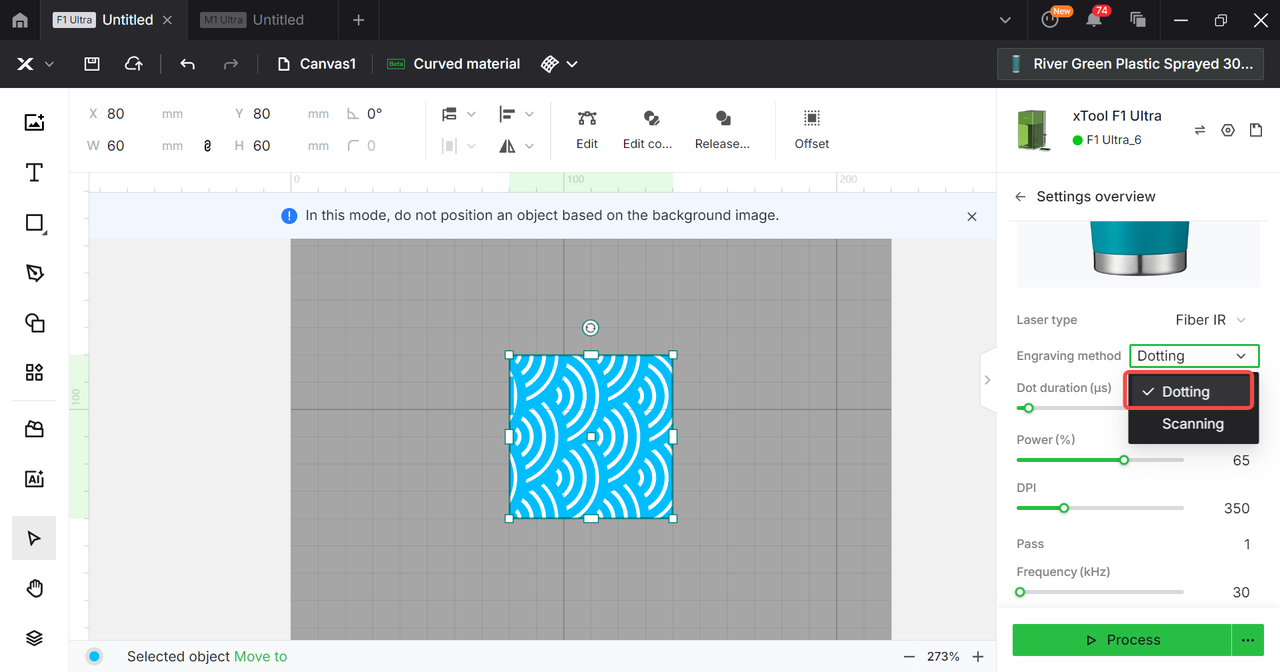
Please select Curved material.
When processing Engrave graphics, please select the "Dotting" mode for engraving.
3.4 Material Placement Issues
Question:
During material processing, there will be shifting and shaking.
The processed pattern and the material are not on the same central axis.
Tumbler is not within the Laser Module processing range.
Method:
The material needs to be secured, and no shaking should occur during processing to avoid affecting the test results.
Please ensure that the tumbler is positioned in alignment with the X-axis to prevent distortion of the processed design on the tumbler.
The height of the tumbler in the device should be moderate—neither too high, which could affect the movement of the laser module, nor too low, which could cause the measurement to fail to detect it.
3.5 Insufficient machining precision
Use the optimal recommended parameters for the corresponding material, or select a desired effect from the optimal recommended parameter matrix, and process using the selected parameters.
Before processing the equipment, make sure to focus, ensuring that the focal center point is on the material.
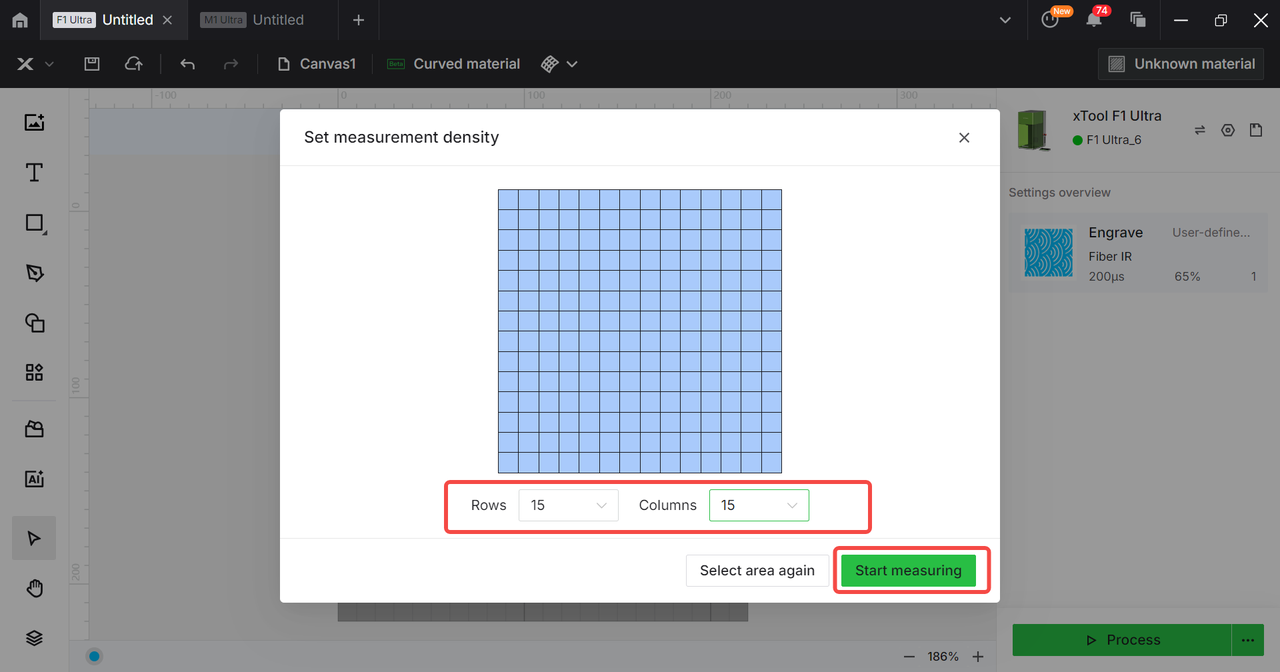
Increase measurement density to make the device more accurate when recording surface curvature information.
3.6 Misalignment of Images and Materials
Ensure that the material is secured within the equipment's processing area to prevent it from shifting during measurement density checks or processing, thereby avoiding any impact on the test results.
Before processing, the machining area location needs to be framed.
3.7 Material edge processing is not obvious
Do not place materials outside the equipment processing area.
Framing must be performed before processing.
Increase measurement density.
You can try multiple rounds of processing.
Services & Help
Learn & Education

Copyright © 2025 xTool All Rights Reserved.