1. Materials and Equipment
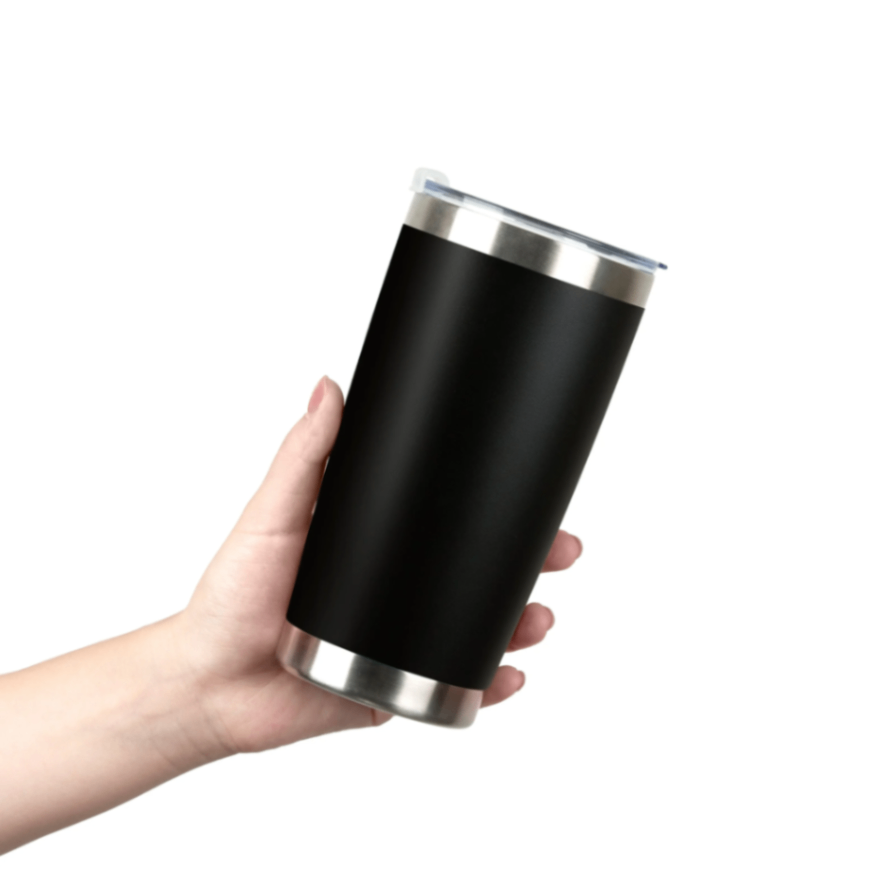
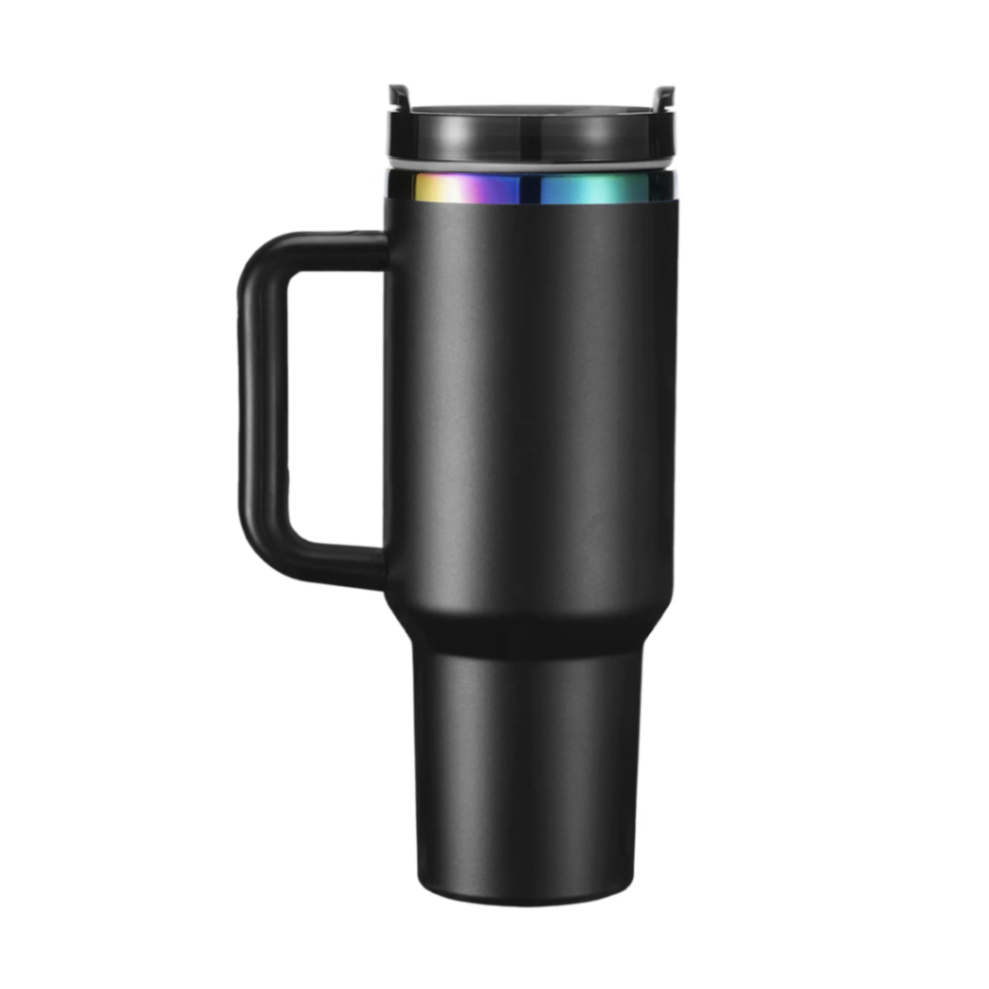
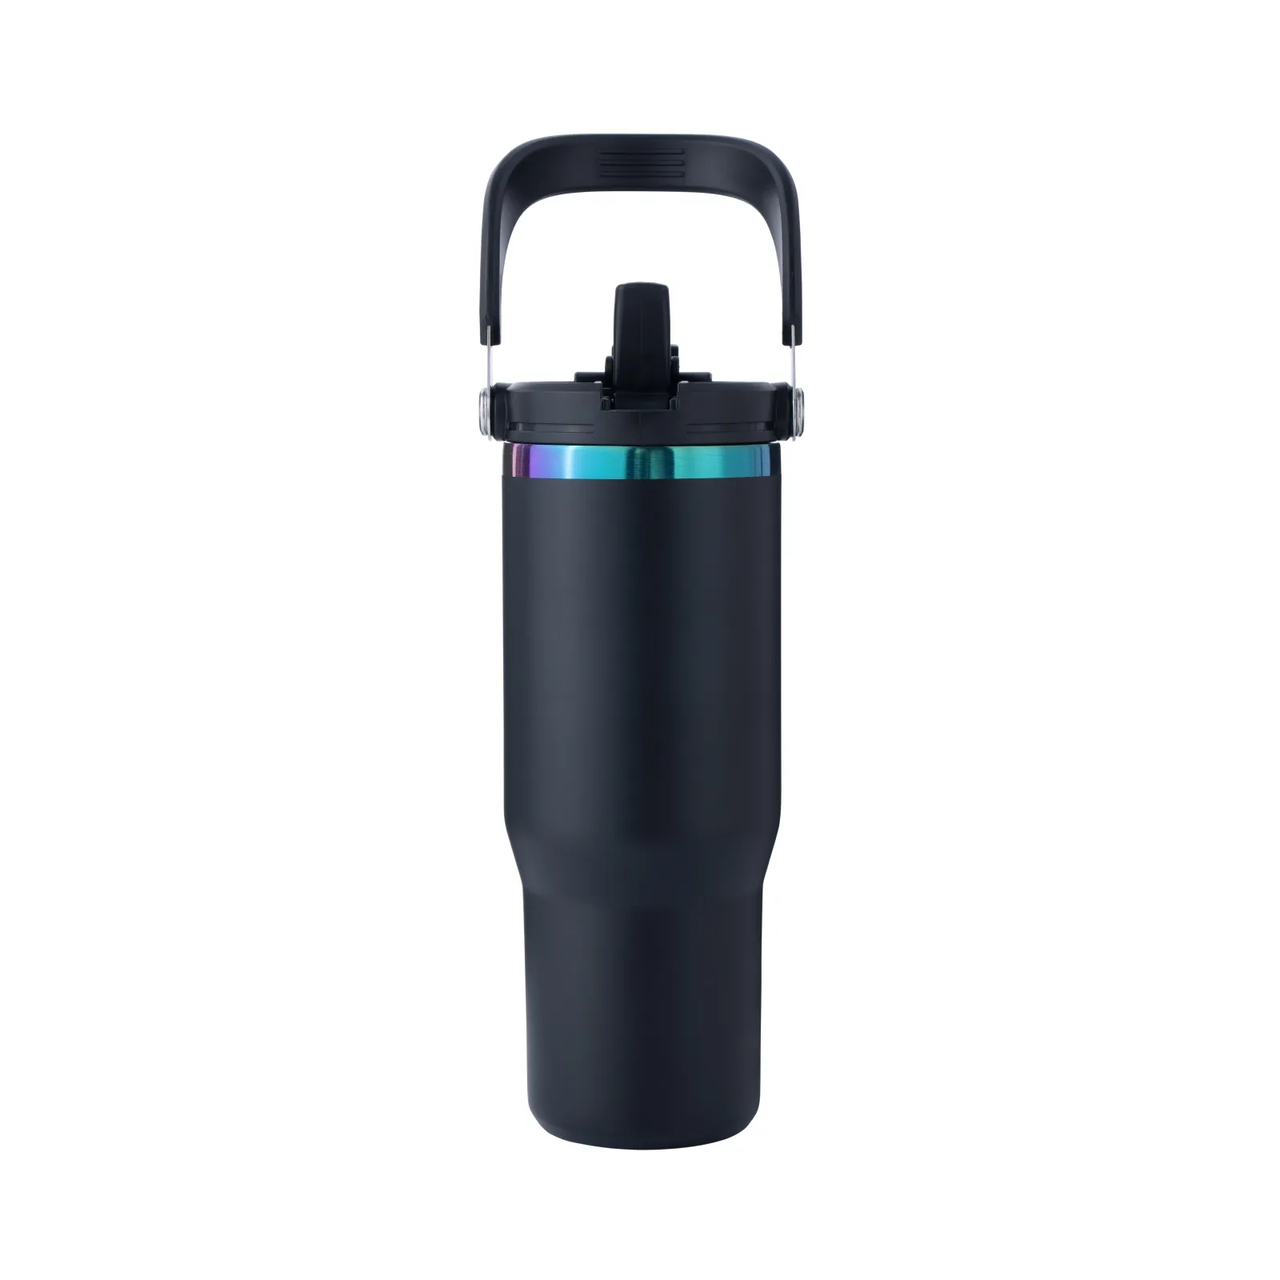
1.1 Selling Materials

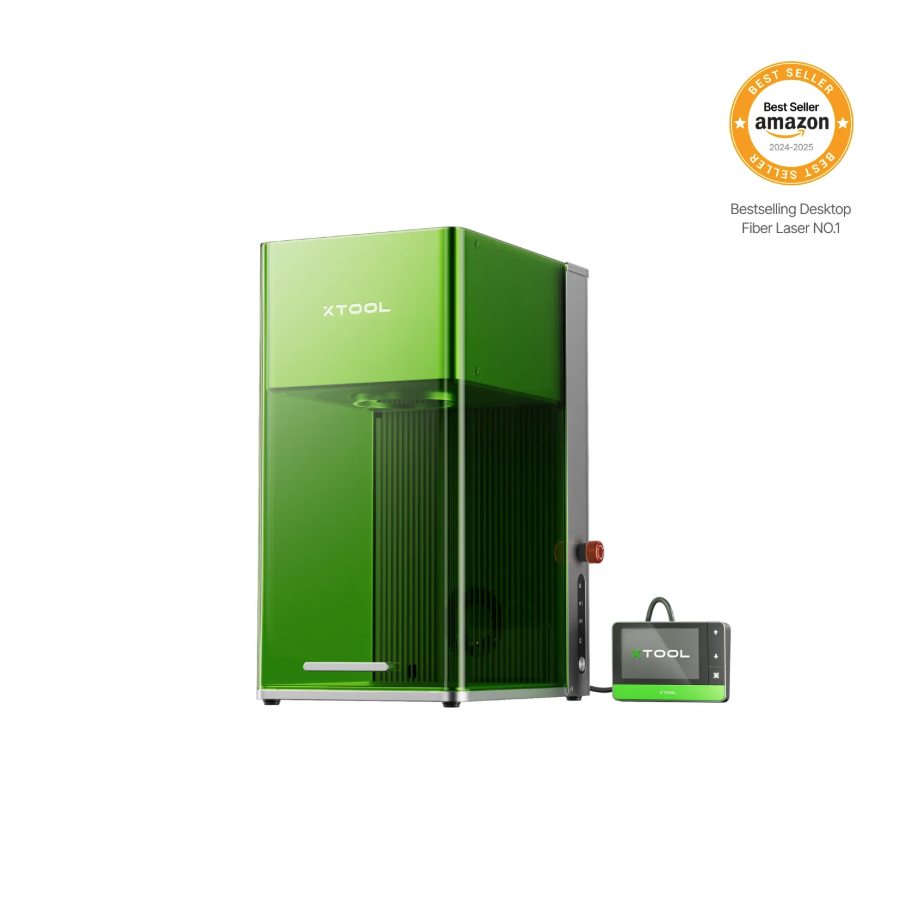
1.2 Adaptation of Processing Equipment
Adaptation Processing Mode: Curved Material/Rotary Attachment Processing Mode
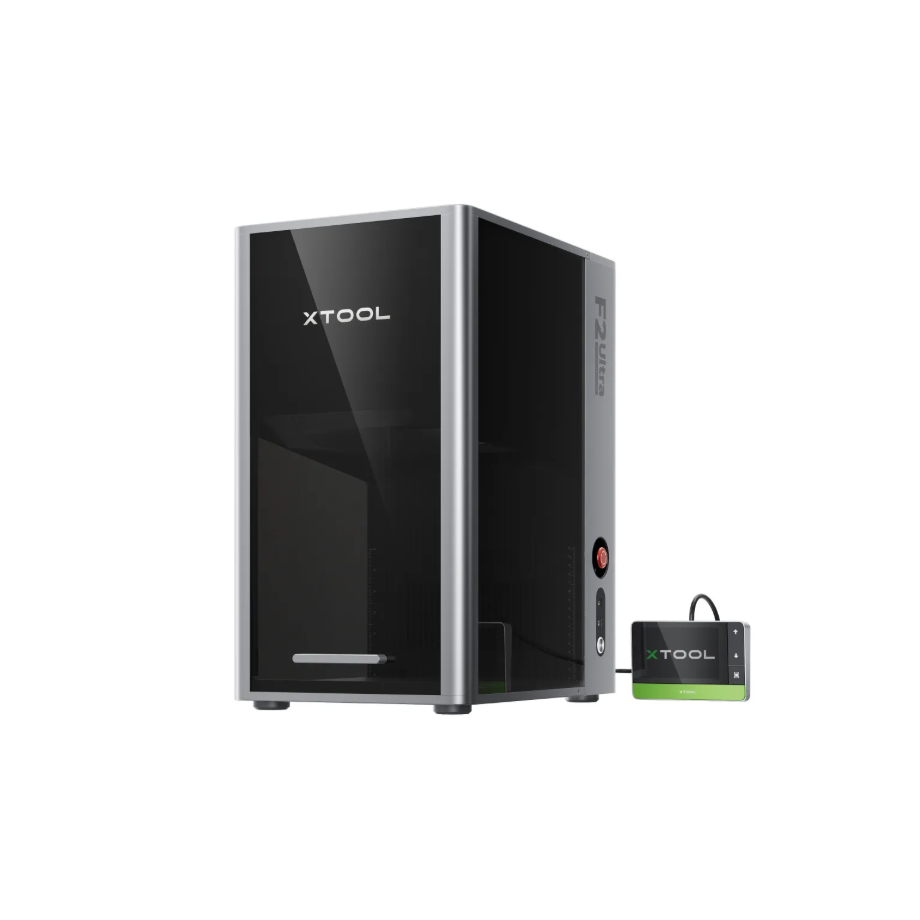
Adapted Processing Mode: Rotary Attachment Processing Mode
1.3 Use of Accessories
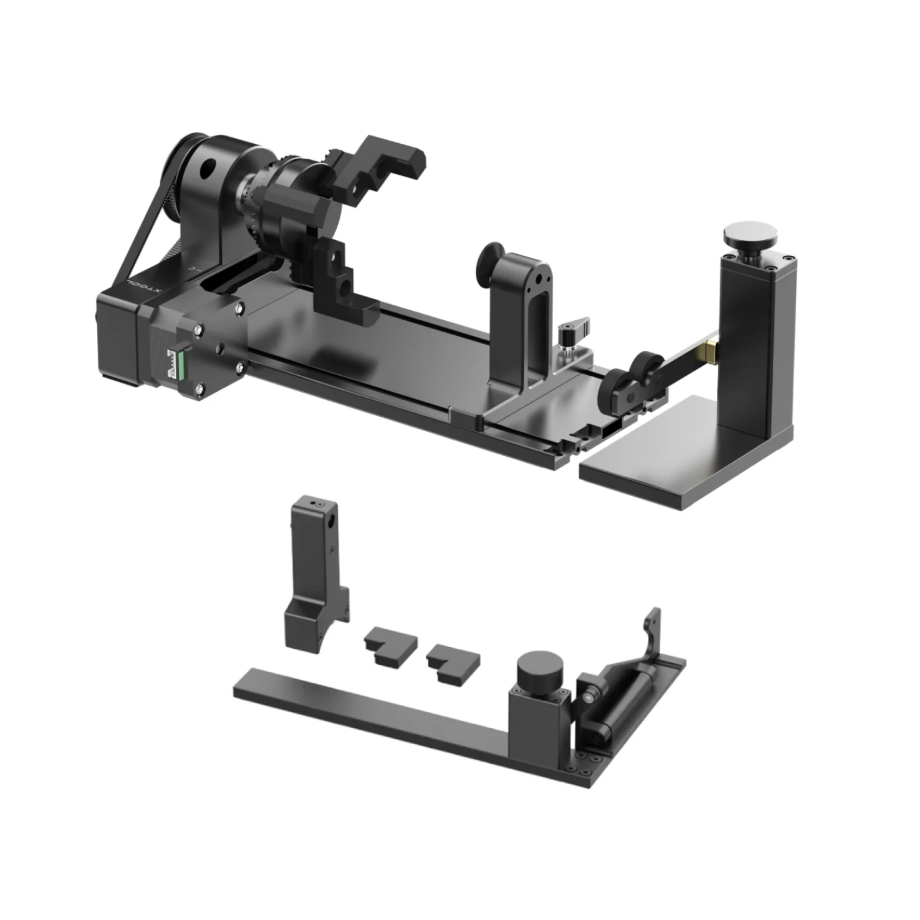
The Rotary Attachment can be used with the equipment to perform 360° rotational processing of cylindrical materials.
2. Preparations Before Processing
2.1 Should Air-Compress Assist be enabled during engraving
When carving a graphic with a single color effect:
It is recommended to enable Air-Compress Assist, as the airflow can effectively dissipate heat and reduce deformation of the metal caused by heating.
Enabling Air-Compress Assist can also extend the Laser Module's working time for metal processing, as the airflow can dissipate heat and provide a cooling effect for the Laser Module.
When metal needs to be processed to achieve a carve-in-color effect:
It is not recommended to enable Air-Compress Assist, as the colored effect of metal occurs on its surface layer, and enabling Air-Compress Assist affects the heating process that changes the metal's color.
2.2 Wearing Protective Equipment
Protective mask: filters dust and odors.
Protective gloves: Prevent cuts when handling metal materials, and also prevent burns when picking up materials after metal processing.
Smoke Air Purifier: Handles dust and exhaust gases generated during processing.
2.3 Setting Up the Processing Environment
According to the height of the Tumbler and the Rotary Attachment, remove the device's metal plate with a flat bottom and add a riser base to ensure that the laser module can properly process the highest point of the tumbler.
2.4 Disassemble Tumbler Handle
To ensure that the Tumbler can rotate 360°, first remove the lid with the handle from the Tumbler, or use a screwdriver to remove the handle from the tumbler body.
2.5 Wipe the Laser Lens
Before processing, the Laser Module and Laser Lens need to be inspected and wiped.
3. Common Issues and Solutions
3.1 Blue Light Processing Issues
Processed Image Tilt
The placement of the tumbler should remain parallel to the edge of the device to avoid misalignment, which could result in a certain tilt angle between the tumbler and the image.
Please perform a machining preview before processing to ensure the machining position is accurate.
Undecorated Tumbler Surface Coating
Please process using the recommended parameters.
Please clean the processed area first.
The effect of incomplete engraving indicates that the power is too low. Please check whether the Laser Module and Laser Lens are dirty. If they are not dirty, you can appropriately increase the processing power.
3.2 Fiber IR Processing Issues
Bubbling on the surface of the processed material
This is a normal phenomenon caused by processing the Tumbler surface with a Fiber IR light source. After processing, remove the Tumbler from the equipment, moisten the processed area with alcohol or water, then scrub it with a hard-bristle brush. After scrubbing, rinse the area.
3.3 CO2 Processing Issues
Shallower Processing Effect
Before processing, please check whether the Laser Module and Laser Lens are kept clean.
Before processing, please perform a distance measurement and adjust the measurement center to the highest point of the tumbler.
Do not place the tumbler beyond the machine's processing range.
Distance Measurement and Positioning Issue
For distance measurement with the CO2 model, place the highest point of the Tumbler under the distance measurement red dot, and ensure that the Tumbler height is maintained between the baseplate and the Laser Module.
3.4 General Machining Issues
Excessive effect, damaging the metallic color effect
The effect of the Tumbler's normal engraving through the coating is that the color of the processed area matches the metallic color of the rim.
Excessive engraving can damage the colored electroplating layer on the metal surface, resulting in black and burnt yellow appearances.
Please process using the best recommended parameters.
Rotation Direction
After the tumbler is secured on the rotary attachment and placed into the machine’s processing area, pay attention to the reverse rotation of the tumbler during processing to prevent machining in the wrong direction, which could cause the tumbler’s attached handle to collide with the laser module.
After selecting the Rotary Attachment mode, you can find the machining direction arrow icon on the axis of symmetry in the processing canvas of the software.
Shallow Processing Effect
Before processing, please make sure to check whether the Laser Module and Laser Lens are clean.
Before machining, please first perform distance measurement and adjust the measurement center point to the highest point of the tumbler.
Please do not place the tumbler beyond the machine's operating range.
Processed Image Tilt
The tumbler should be placed parallel to the edge of the equipment to avoid tilting, which could result in a certain angle of inclination between the tumbler and the image.
Please perform a machining preview before processing to ensure the machining position is accurate.
Services & Help
Learn & Education

Copyright © 2025 xTool All Rights Reserved.