1. Materials and Equipment
1.1 Acrylic Material


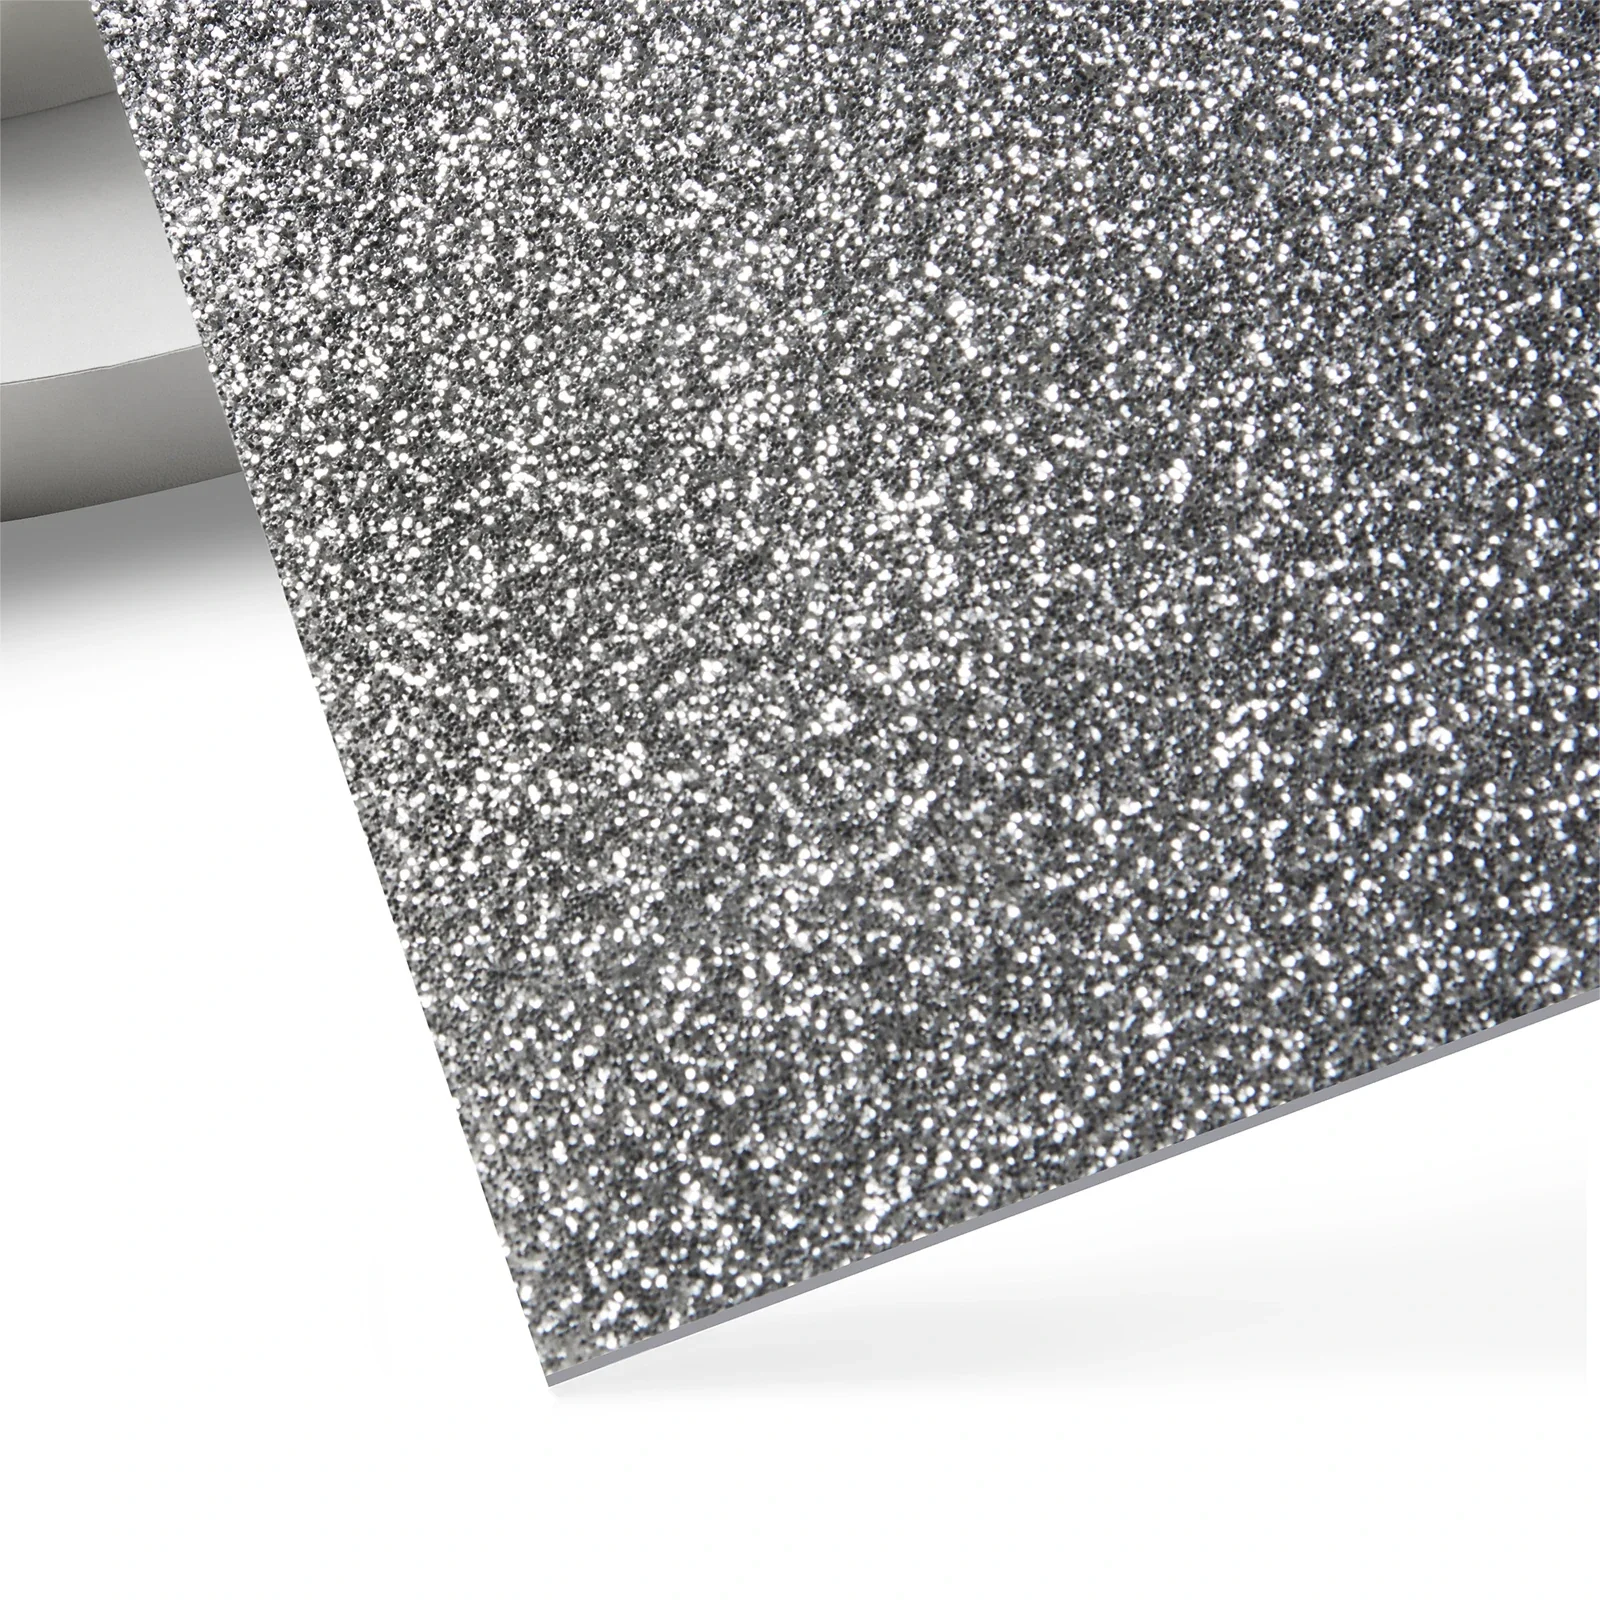
For more acrylic materials, please click Official Website to search and view.
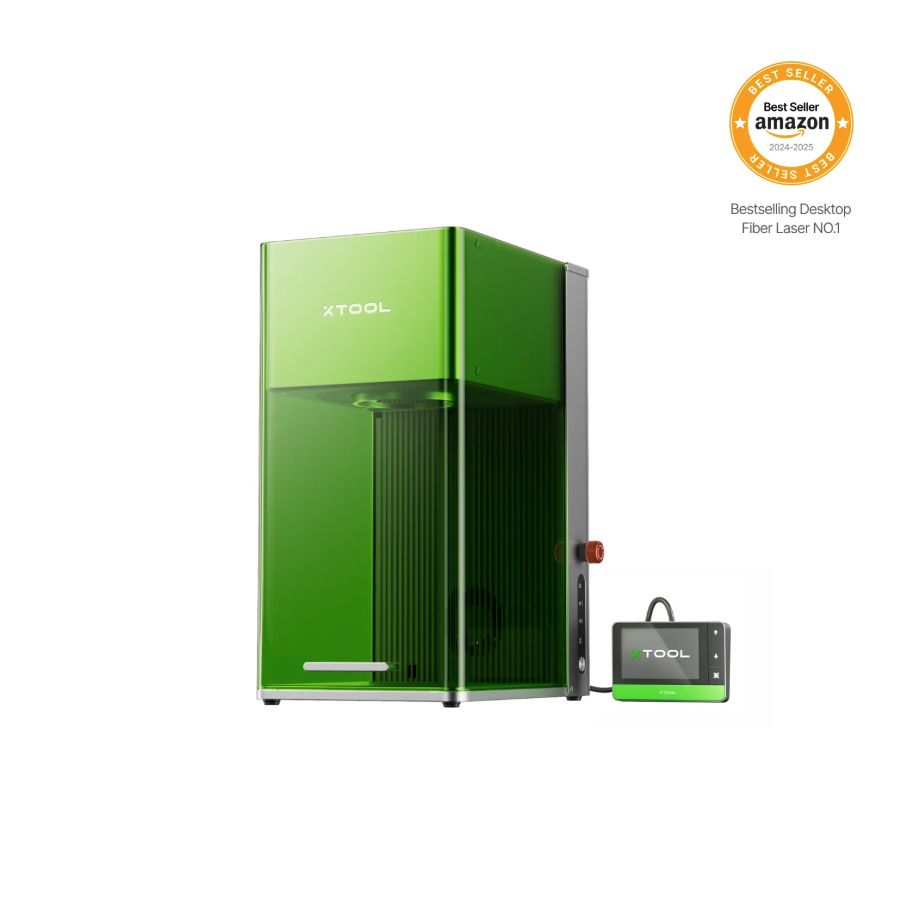
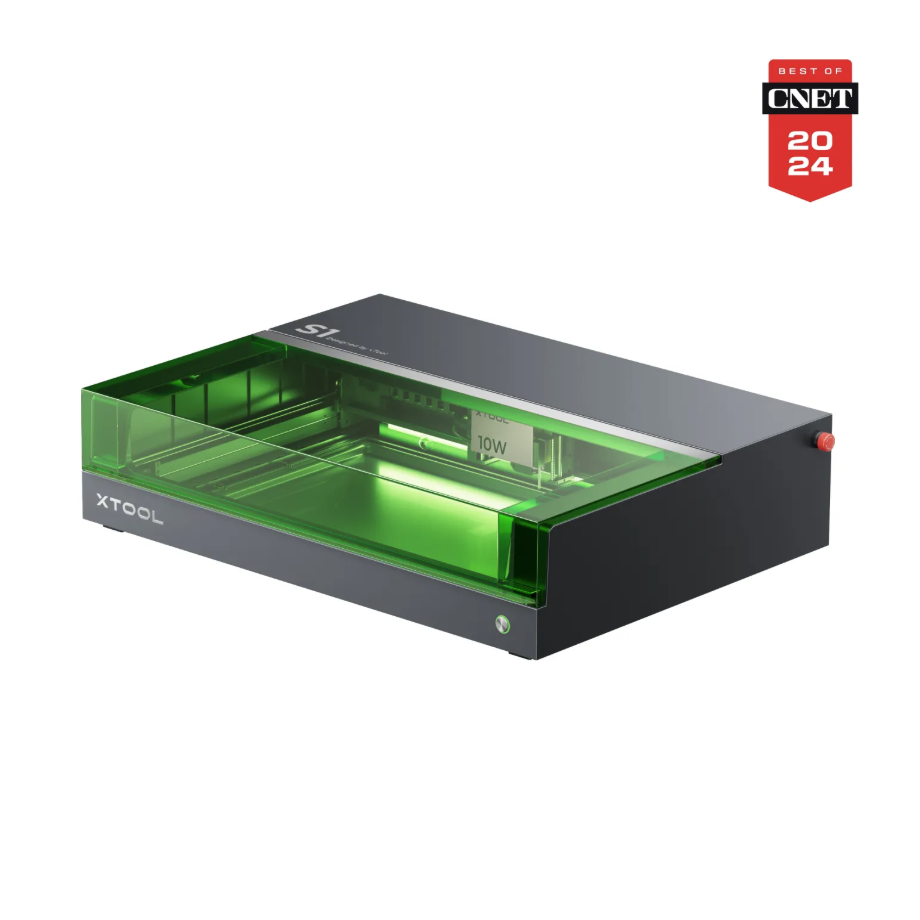
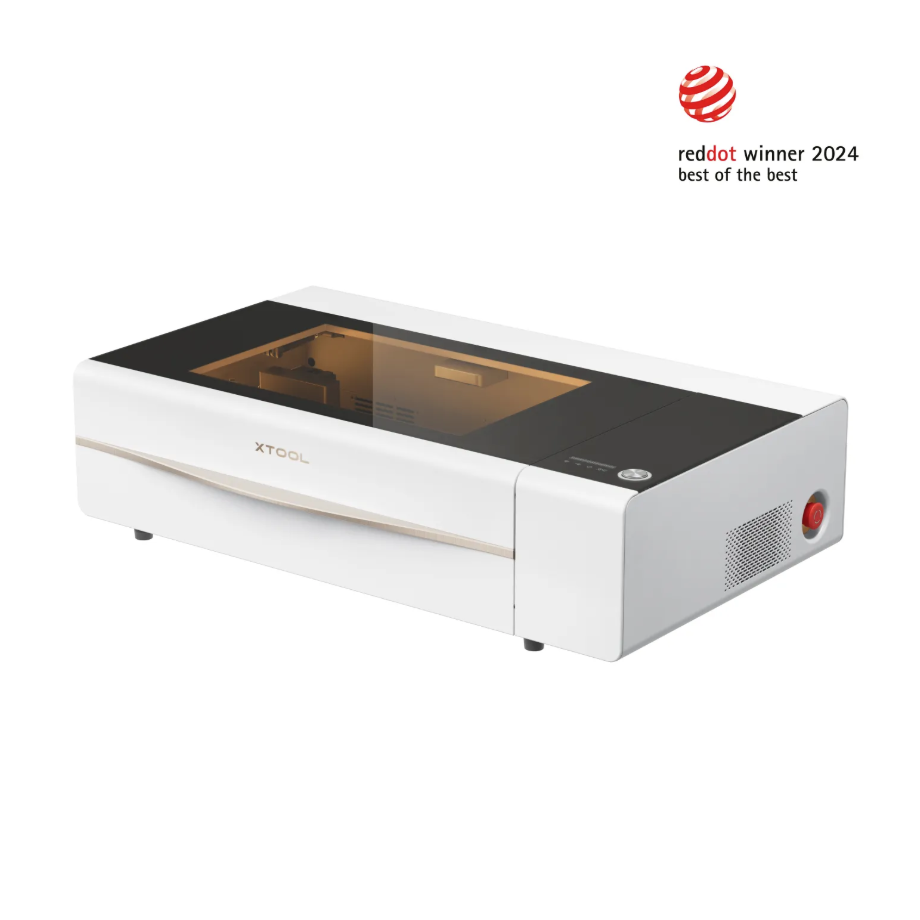
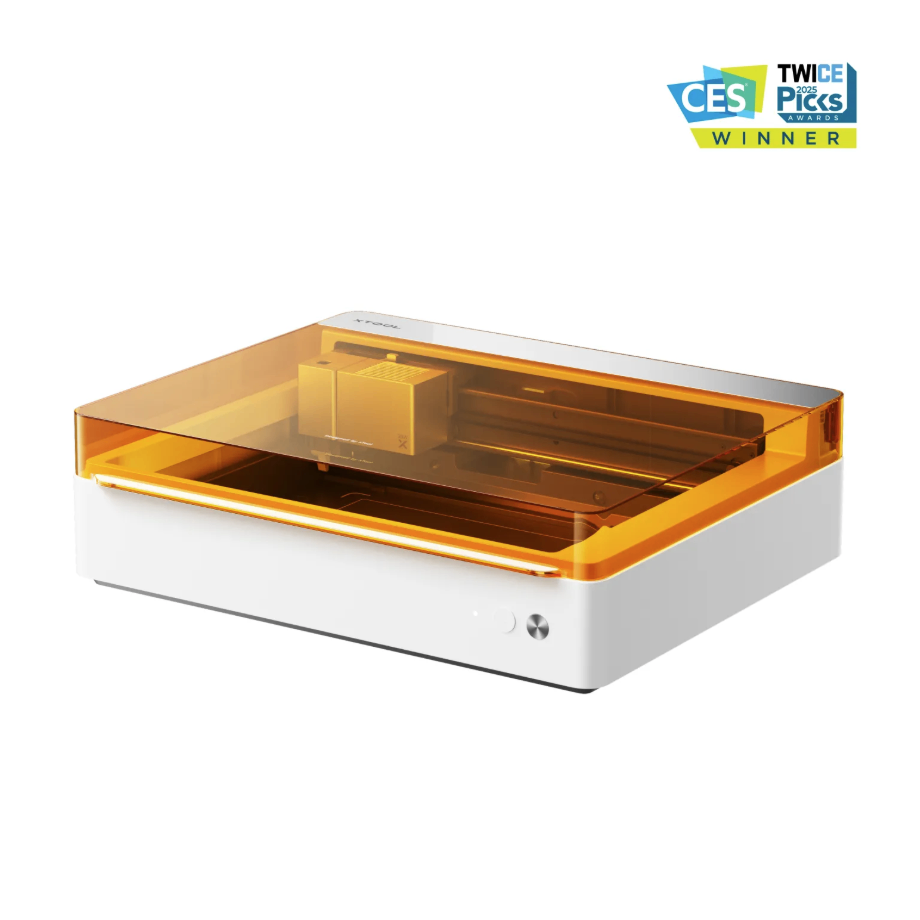
1.2 Adaptation of Processing Equipment


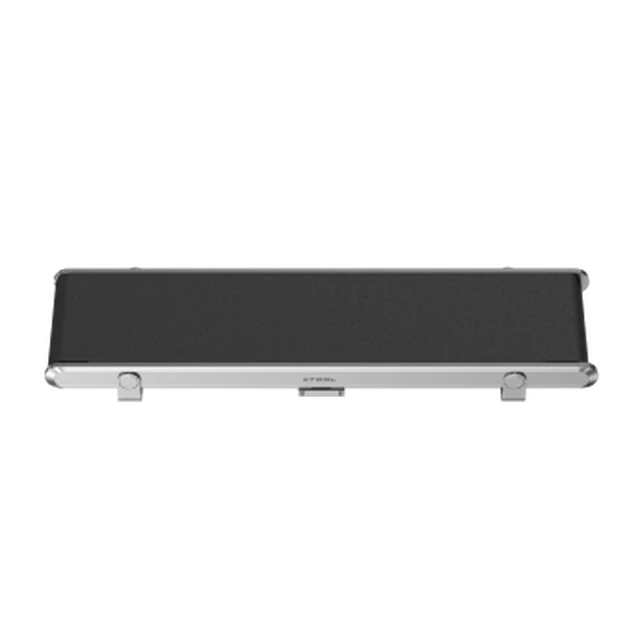
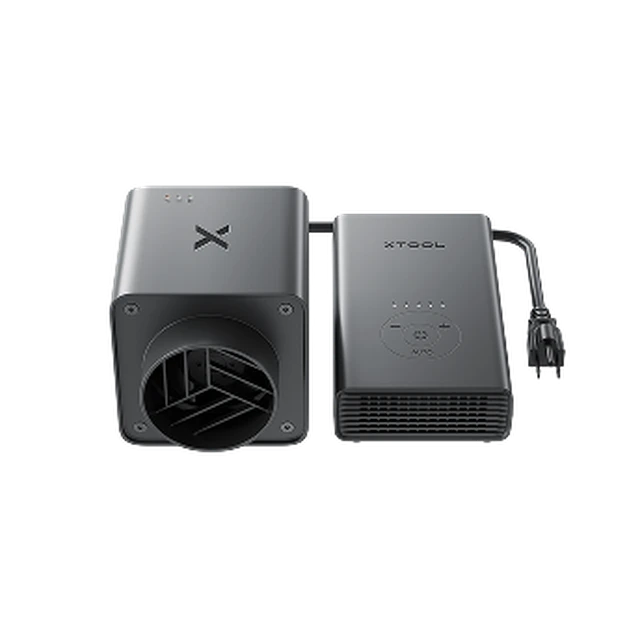
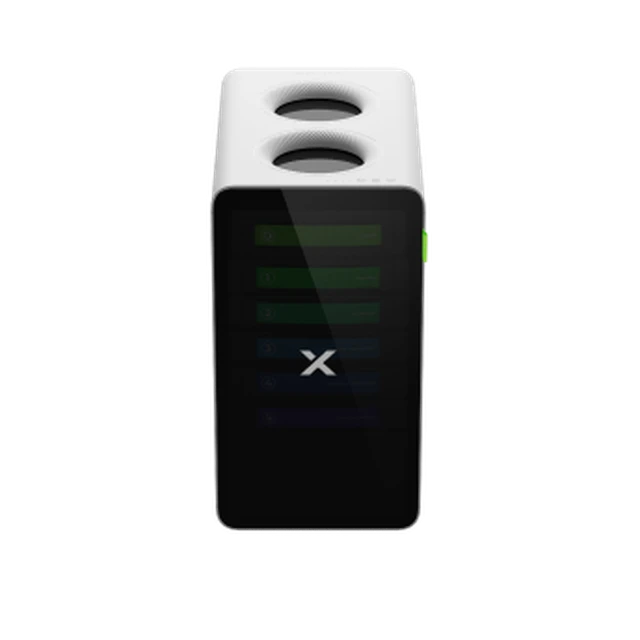
1.3 Use of Accessories

2. Preparation Before Processing
2.1 Environment Setup
Check whether it is necessary to remove the base plate or add a height extension device.
Select suitable accessories according to processing requirements.
2.2 Wearing Protective Equipment
Glasses:
Protective goggles for the corresponding laser wavelength must be worn.
Mask:
Processing may produce an irritating odor; it is recommended to wear a mask.
2.3 Material Handling
Decoating treatment:
Tear off the protective film from the acrylic surface to avoid the plastic film being burned during processing, which could generate smoke and dust and contaminate the lens or laser window. For blue-light processing, it is recommended to remove the film from acrylic (including anti-scratch film and iridescent film) before processing.
Surface Cleaning:
After removing the film, wipe with anhydrous ethanol or a neutral cleaner to remove grease, dust, and other impurities.
Flatness Inspection:
Ensure the sheet is free from warping to avoid affecting laser focus and cutting quality.
3. Common Issues and Solutions
Problem description:
Blackened edges, incomplete cutting, loss of detail.
Solution:
Use Air-Compress Assist, focus down adjustment, and spot calibration.
Problem Description:
Transparent, mirror-finish acrylic with special material treatment.
Solution:
Transparent acrylic with light-blocking treatment, such as a laser marking pen.
Mirror acrylic reverse side processing, process the pattern in mirror image.
Problem Description:
Colored acrylic special material processing.
Solution:
Conduct parameter testing for the sample trial, adjusting parameters and energy compensation according to the color.
Problem Description:
Edge burr.
Solution:
Check the focal position and increase the air blowing pressure.
Problem Description:
The cutting position is tilted.
Solution:
Calibrate the optical path, check the material flatness, and adjust the fixture pressure.
Problem Description:
The processing effect is uneven in depth.
Solution:
Check the stability of the guide rail and clean the optical lenses.
Note: To avoid the above issues as much as possible, it is recommended to use official consumables and recommended parameters.
Services & Help
Learn & Education

Copyright © 2025 xTool All Rights Reserved.